In Kingdom Come: Deliverance 2, finding myself smack-dab in the heart of The Lion’s Den is a pivotal moment. This mission sees me sneaking deep behind enemy lines, right when the tension between King Sigismund and the Bohemian resistance was at its peak. It’s a test of my abilities in stealth, negotiation, alchemy, and combat. Every decision I make during this quest carries immense weight, shaping the story’s conclusion in ways that I can hardly predict.
This manual details each significant phase of the mission, starting with preparation, moving on to stealthy entry, crucial interactions, detective work, and the climactic showdown. Regardless if you lean towards diplomacy, shadowy maneuvers, or physical combat, this tutorial should assist you in mastering every curveball that The Lion’s Den presents in the game ‘Kingdom Come: Deliverance’.
Speak to Jan Zizka
The adventure commences at the Devil’s Den. Here, Henry encounters Jan Zizka. Prior to any action, it’s essential that players hold off until Sam comes back with crucial details. This pause in the action offers players a full day within the game to get ready. Use this time judiciously by fixing weapons and armor, reading skill books to enhance important attributes, brewing potions such as Strong Cockerel and Quickfinger, and accumulating Groshen (strive for at least 800).
The story begins at the Devil’s Den. Here, Henry meets Jan Zizka before any action takes place. Players must wait for Sam to return with important info. During this waiting period, they can prepare for the next move by mending weapons and armor, reading books to boost abilities, making potions, and gathering Groshen (try to have at least 800).
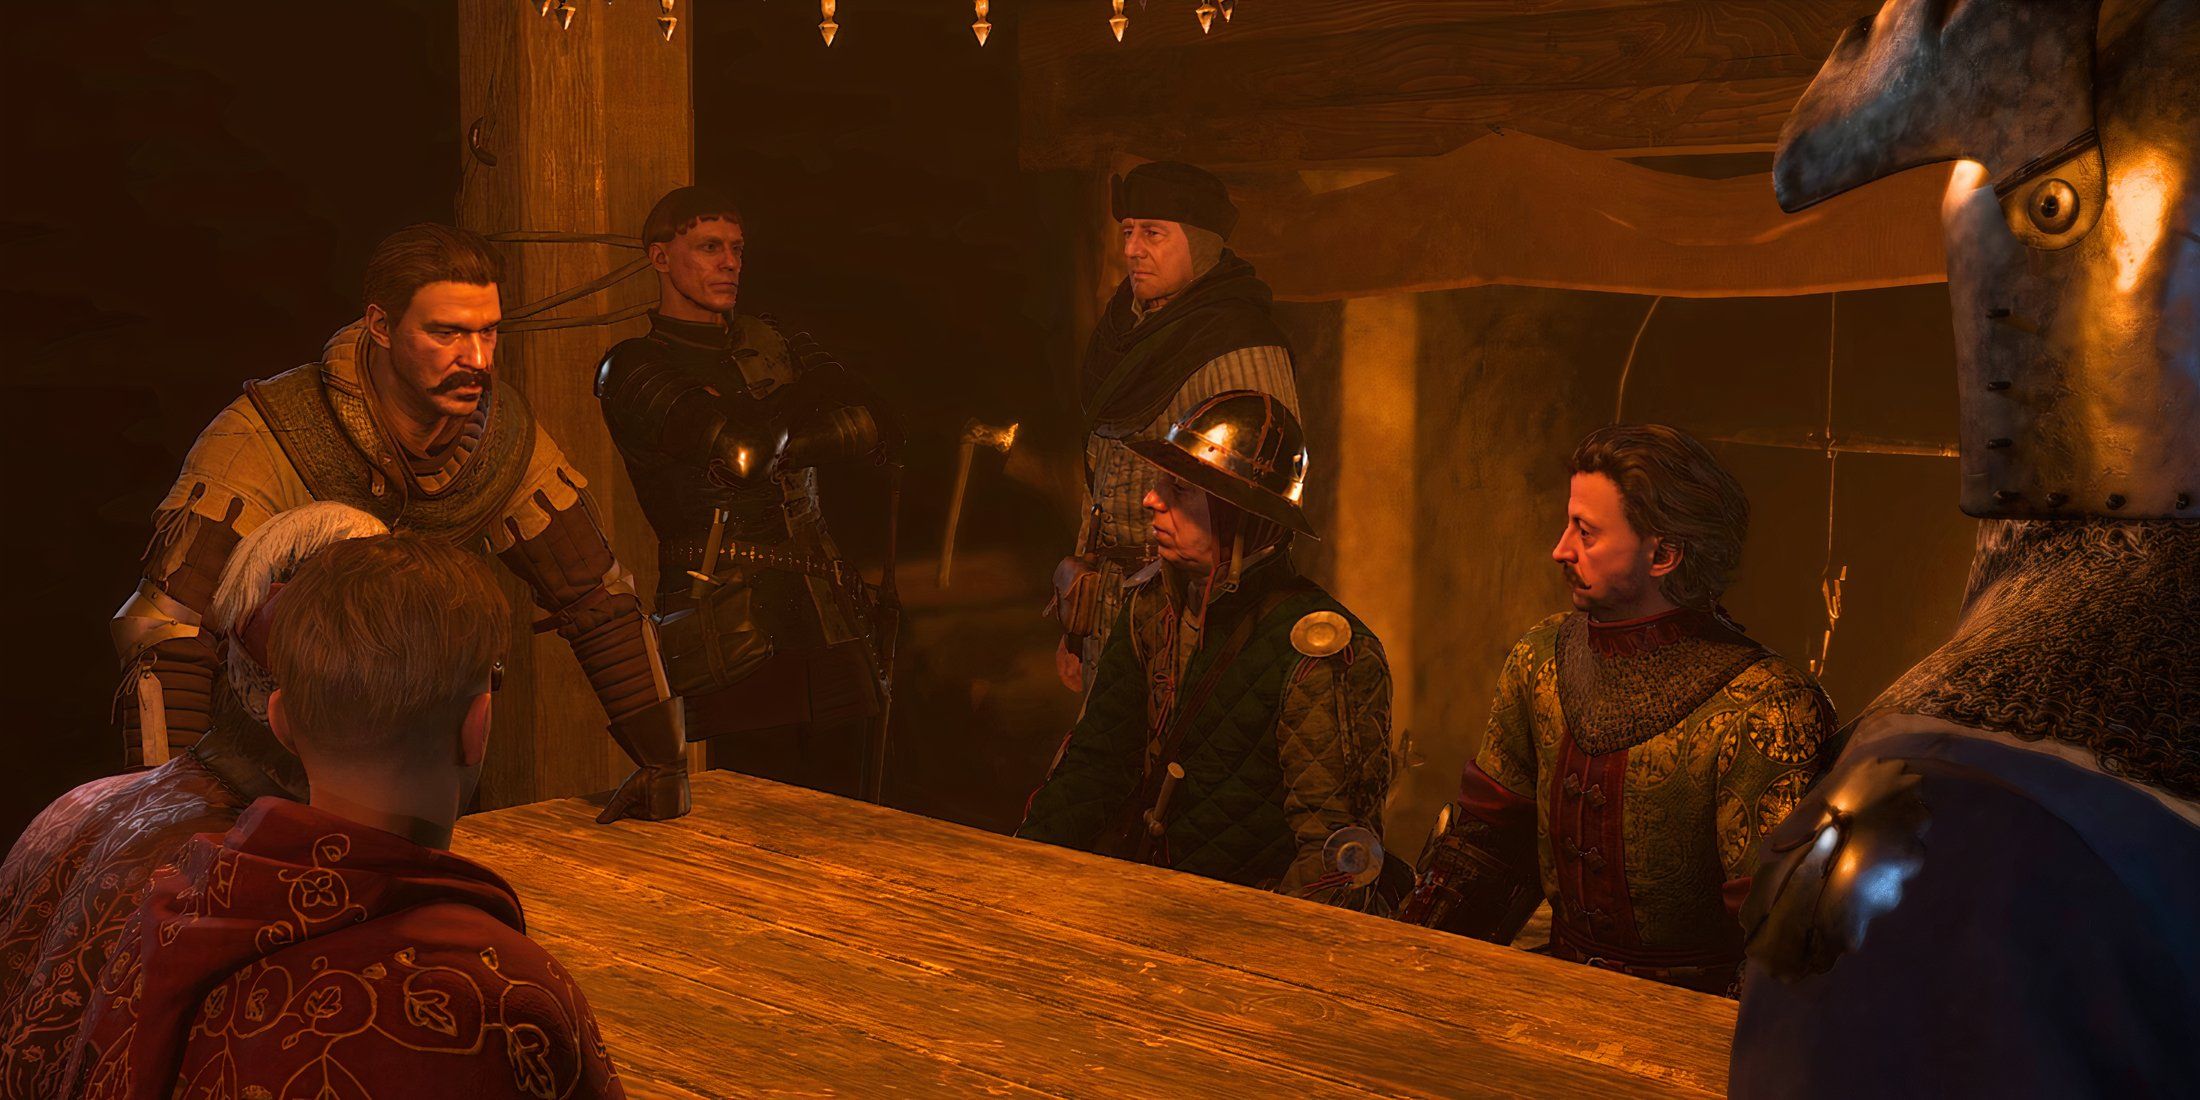
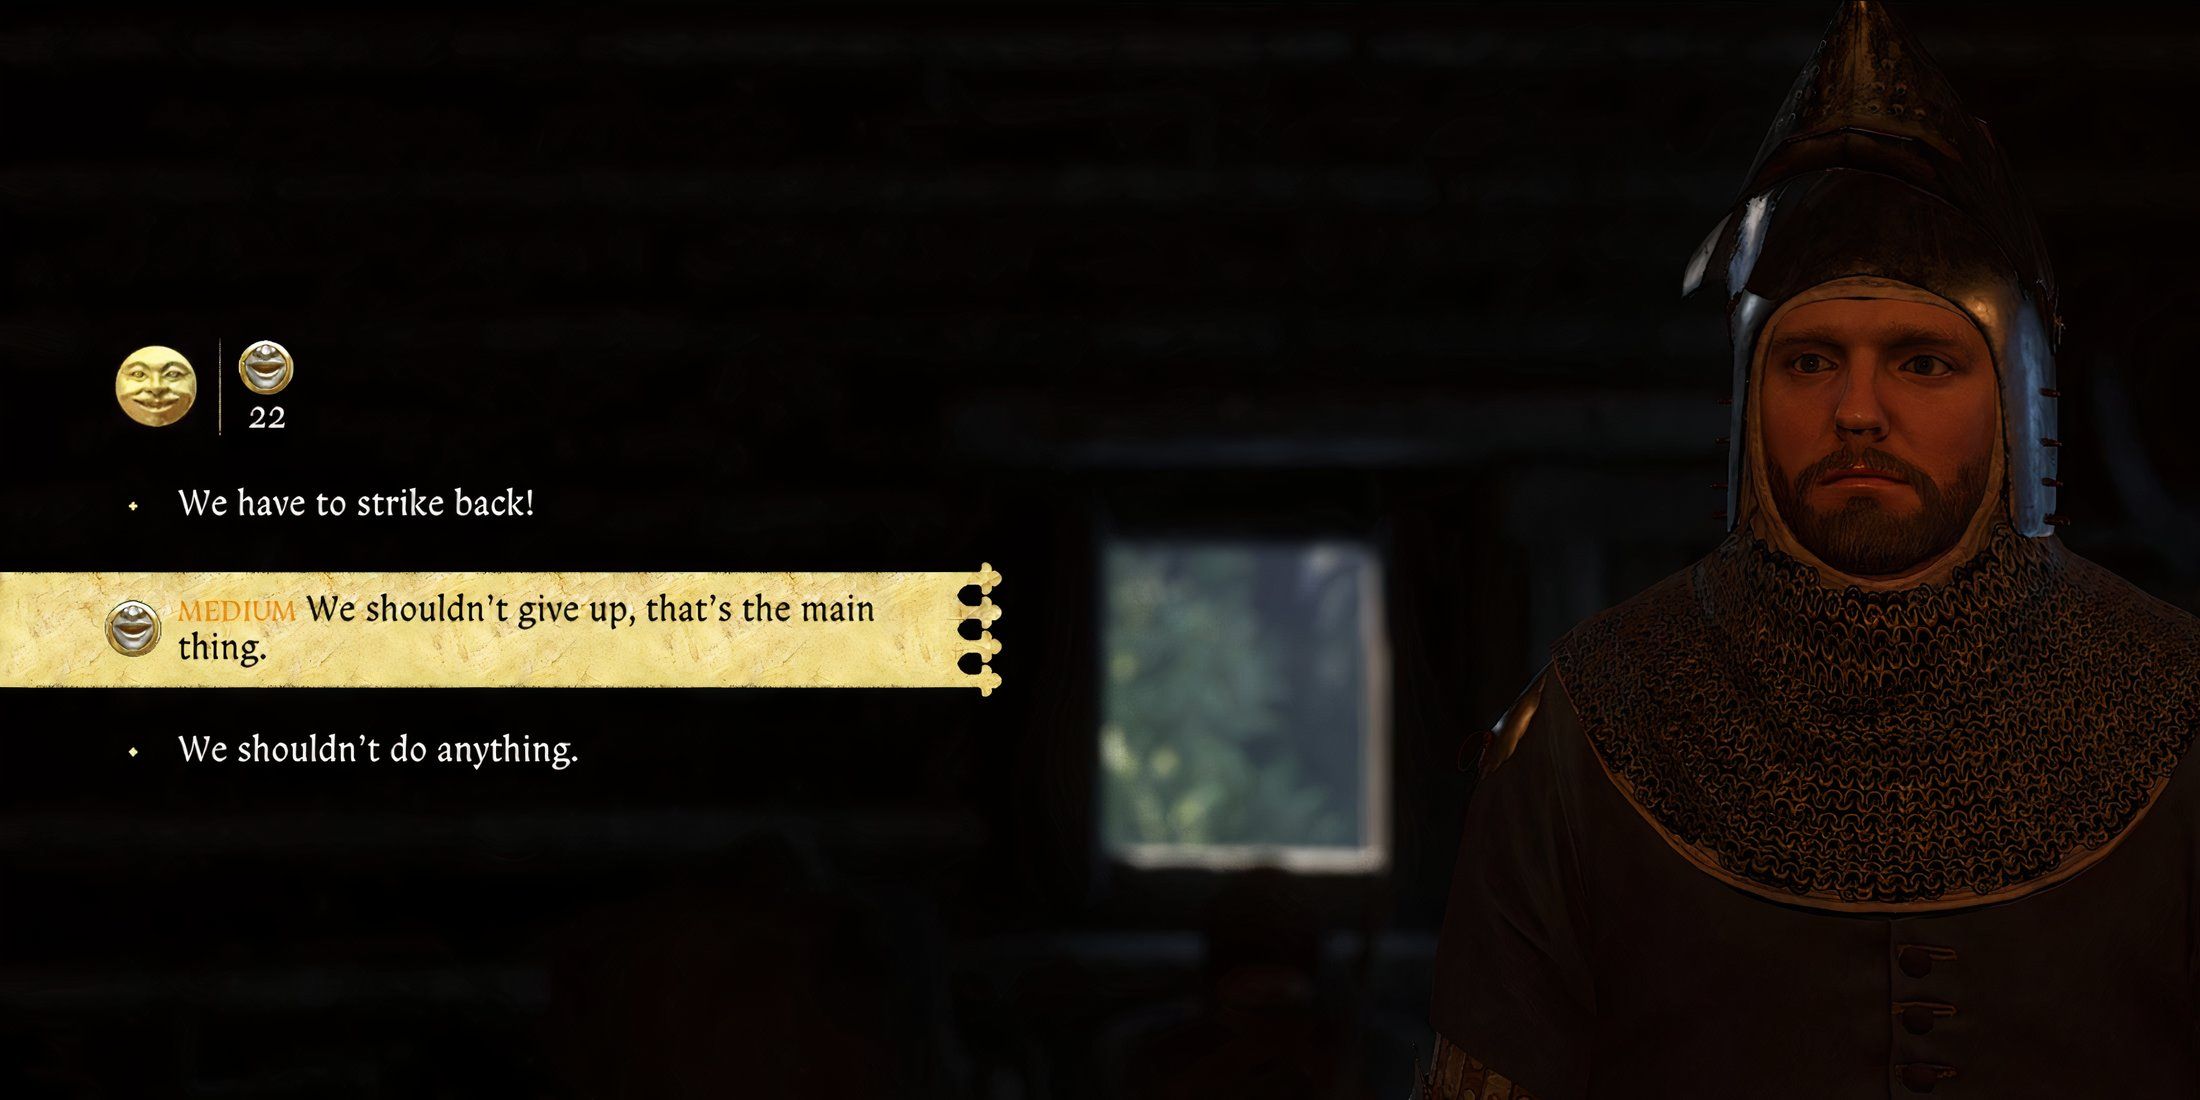
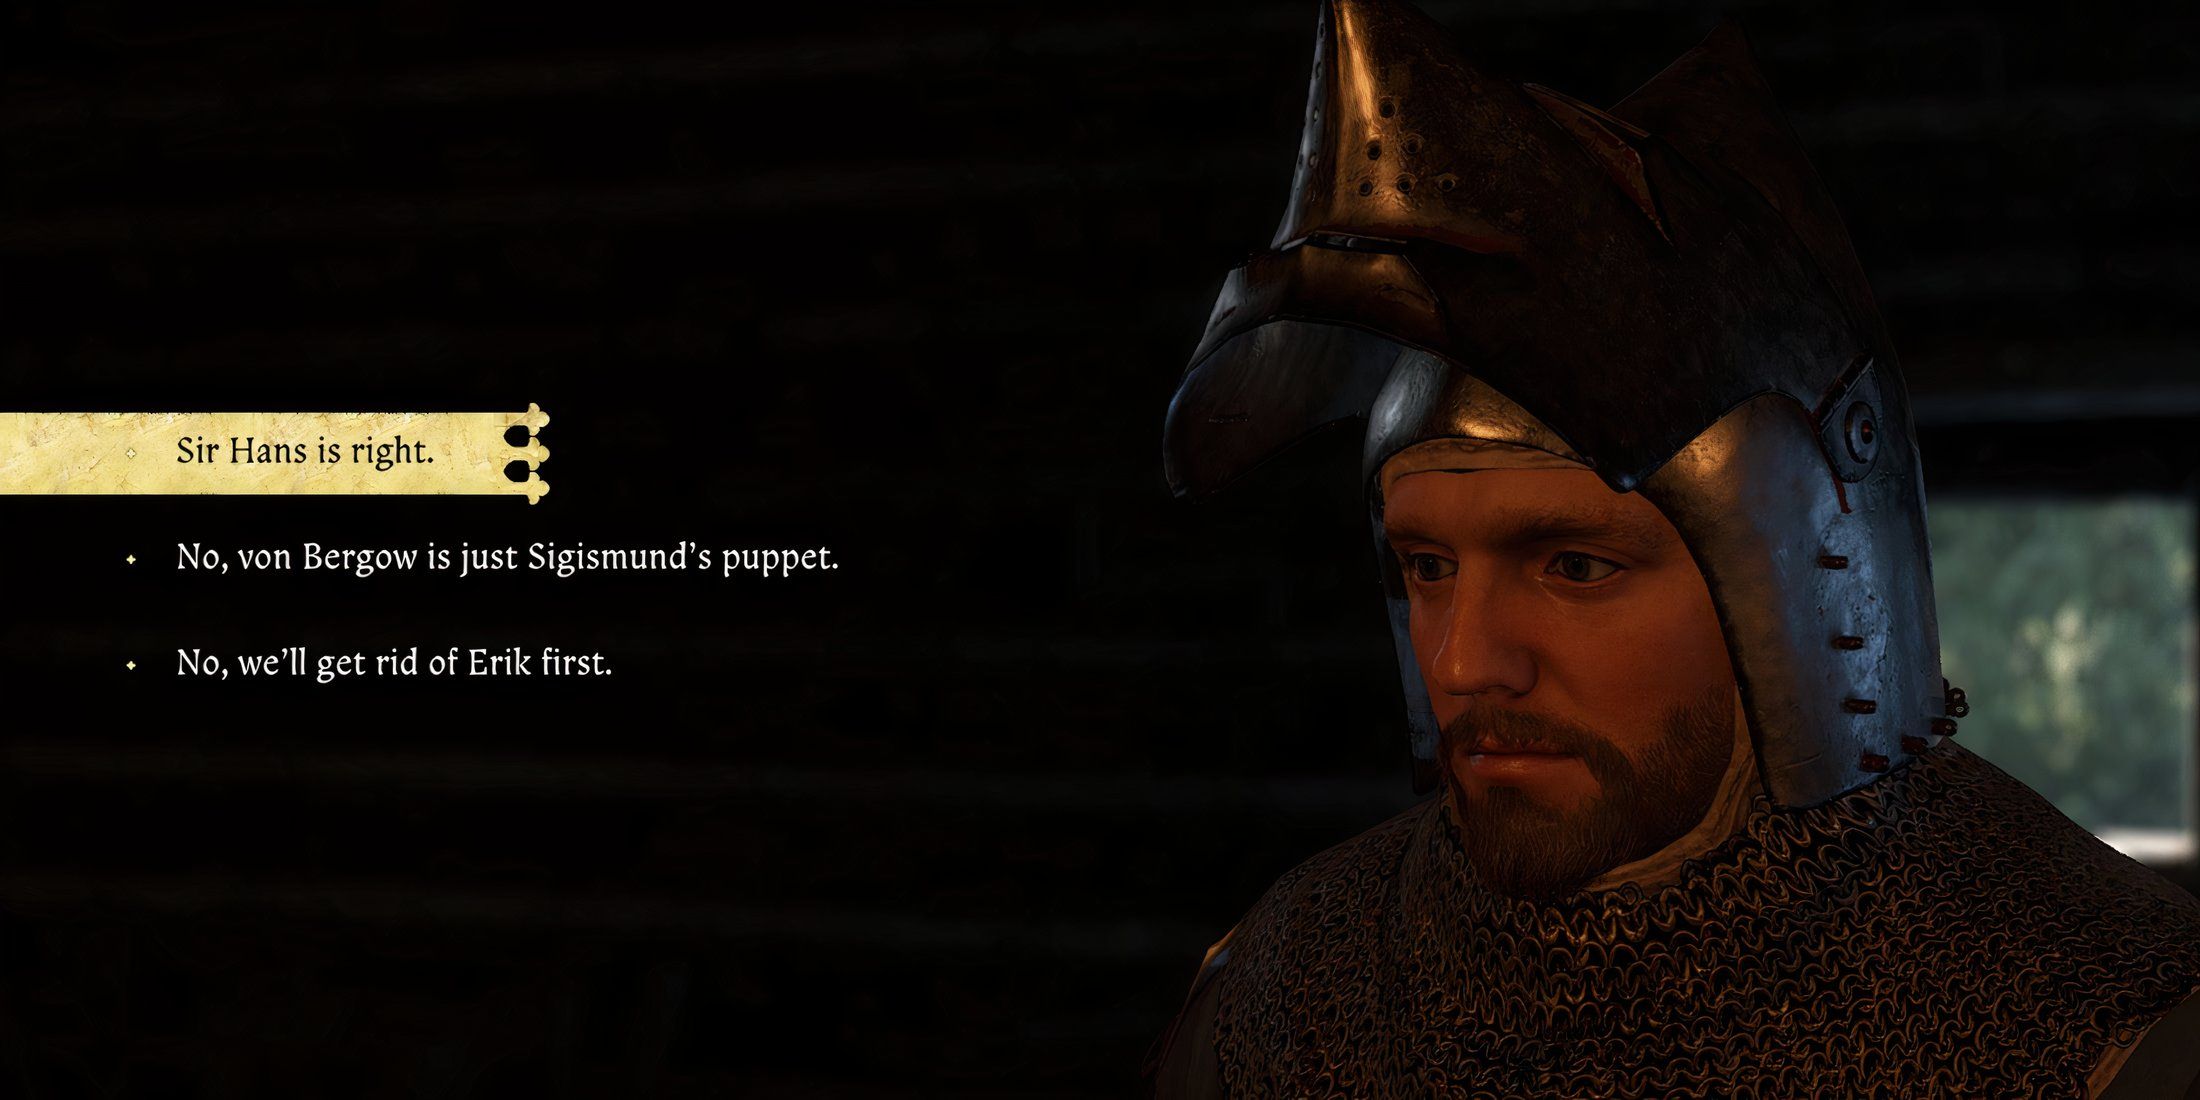
On the following day, we shall gather once more with Zizka for a war council. On this occasion, Henry shall join us for a tactical debate concerning Otto von Bergow and King Sigismund. To strengthen our standing, let’s opt for these dialogue choices during our discussion.
- “We were very lucky.”
- “We shouldn’t give up, that’s the main thing.” (MEDIUM Speech Check)
- “Sir Hans is right.”
- “How do you mean?”
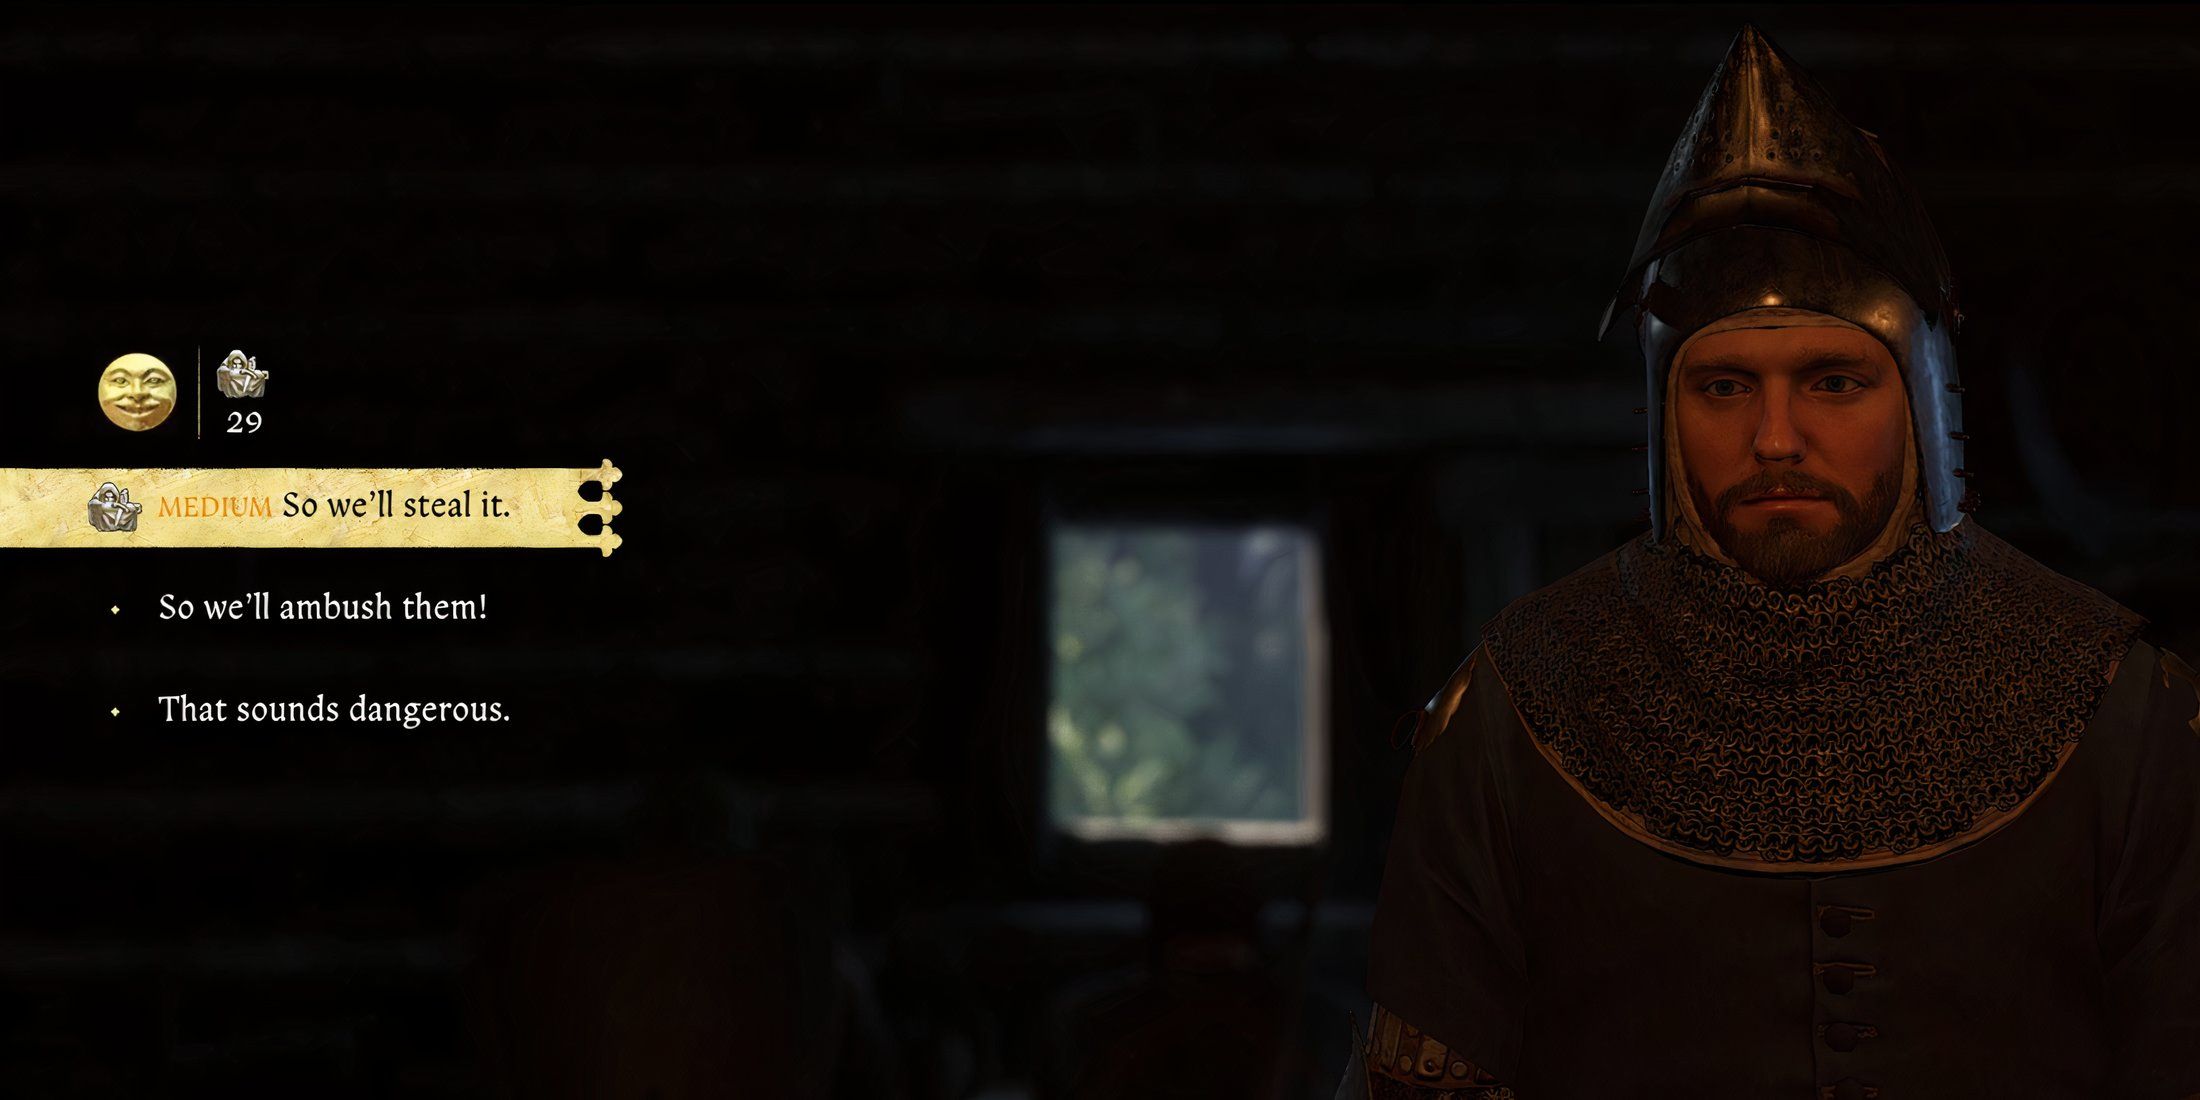
- “So we’ll steal it.” (MEDIUM Stealth Check)
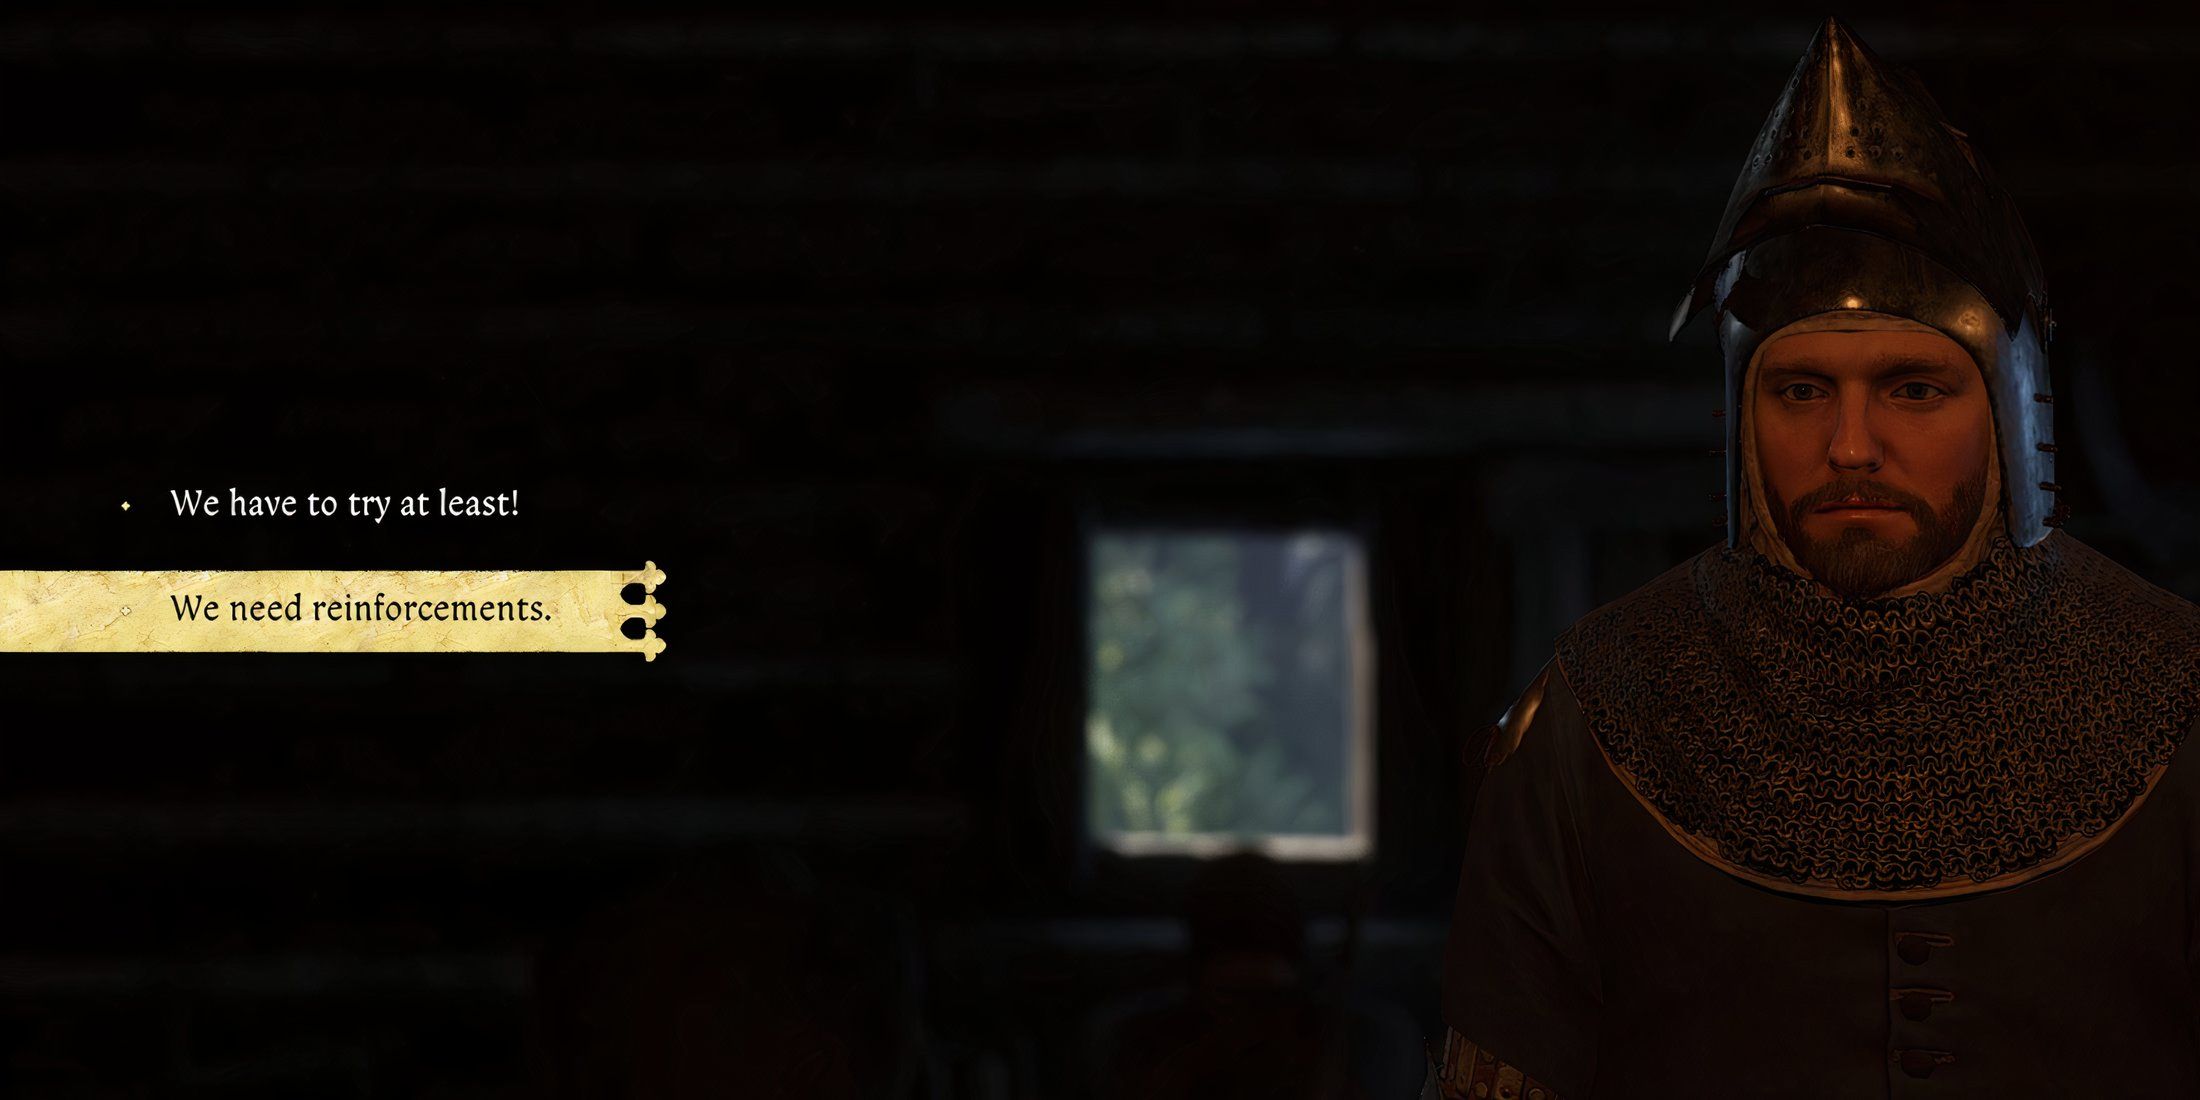
- “We need reinforcements.”
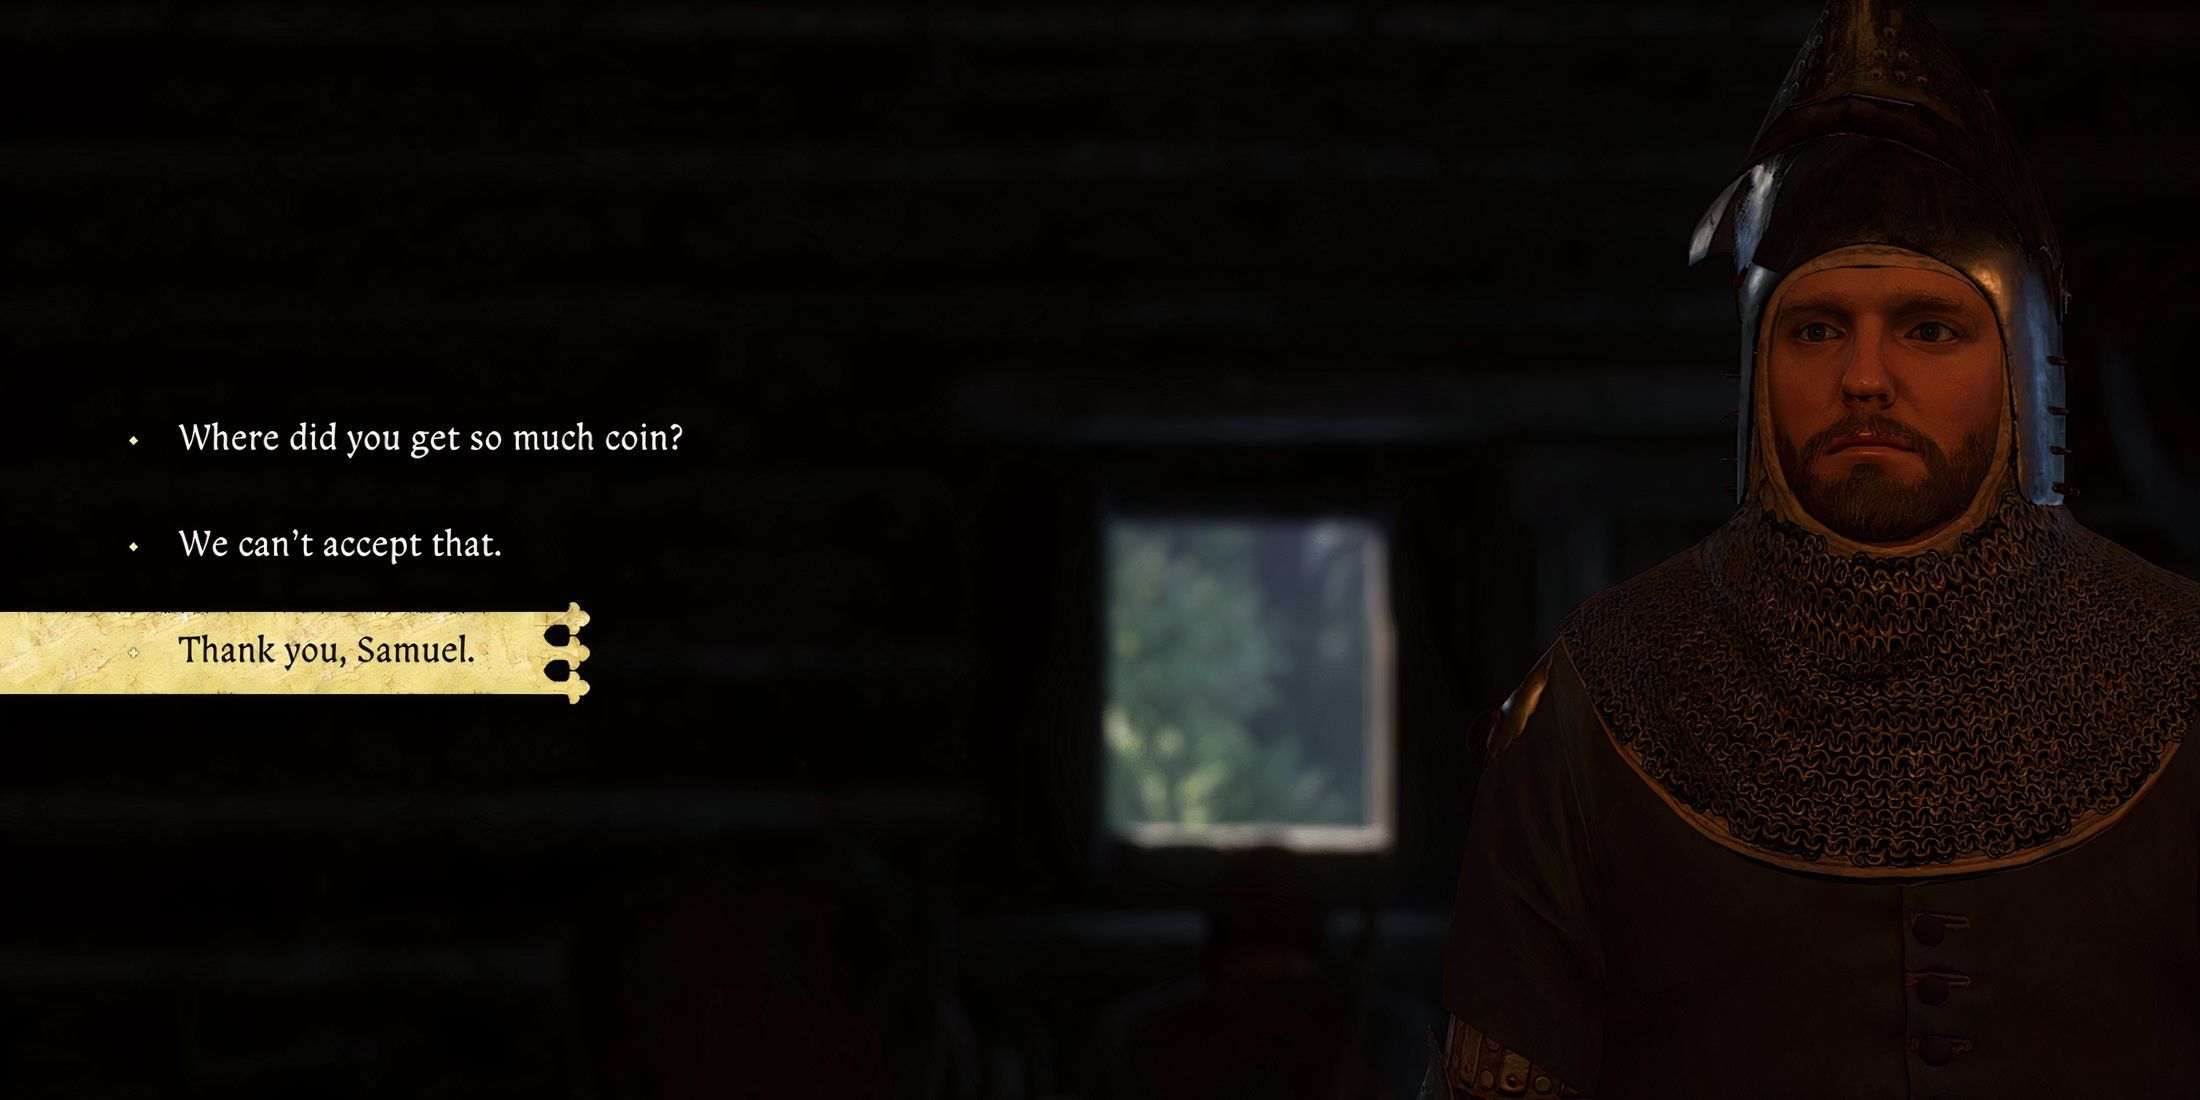
- “Thank you, Samuel.”
- “I’d be glad to!”
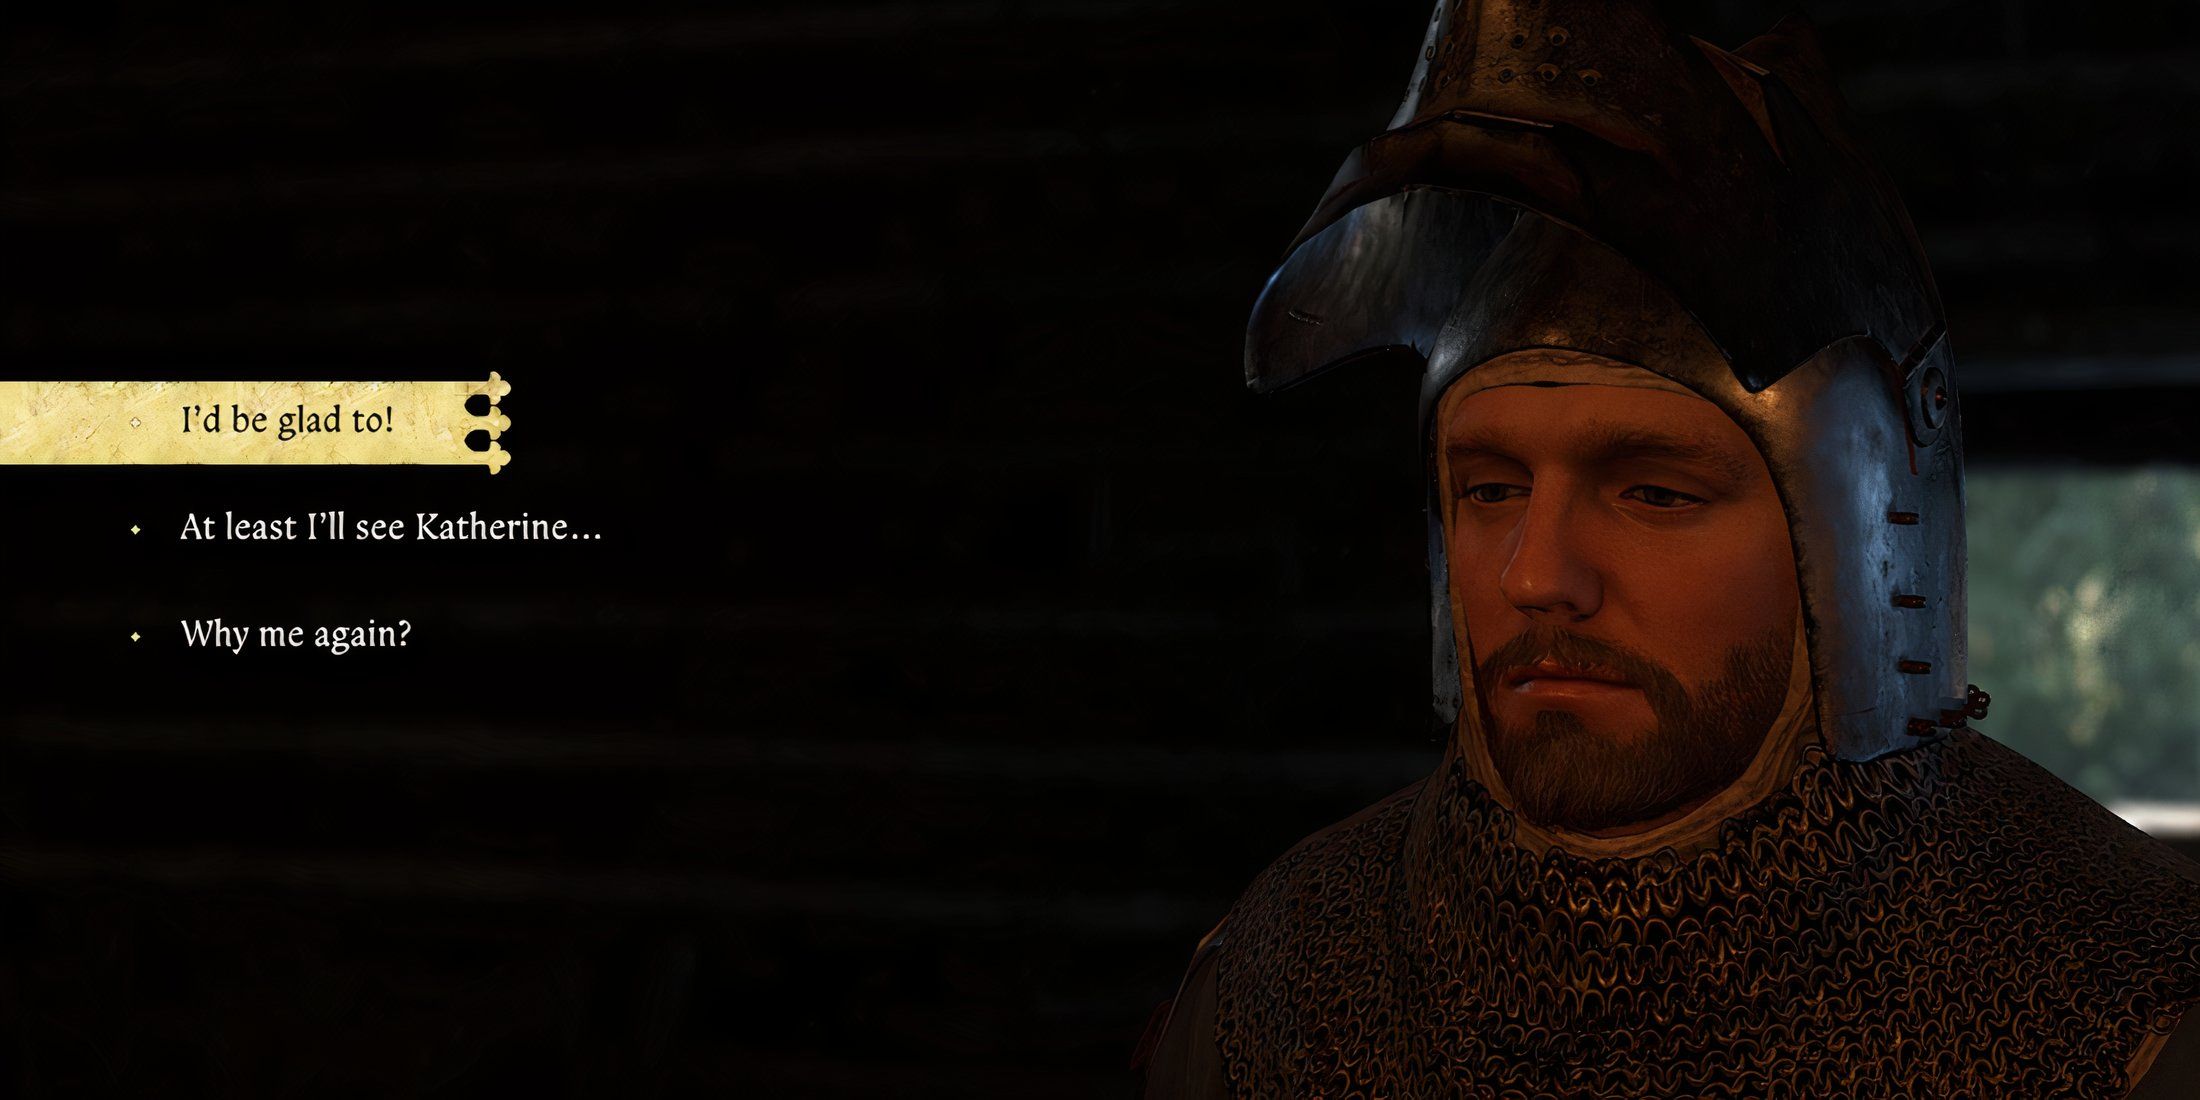
After the meeting, Henry volunteers for a dangerous undercover mission inside Sigismund’s camp.
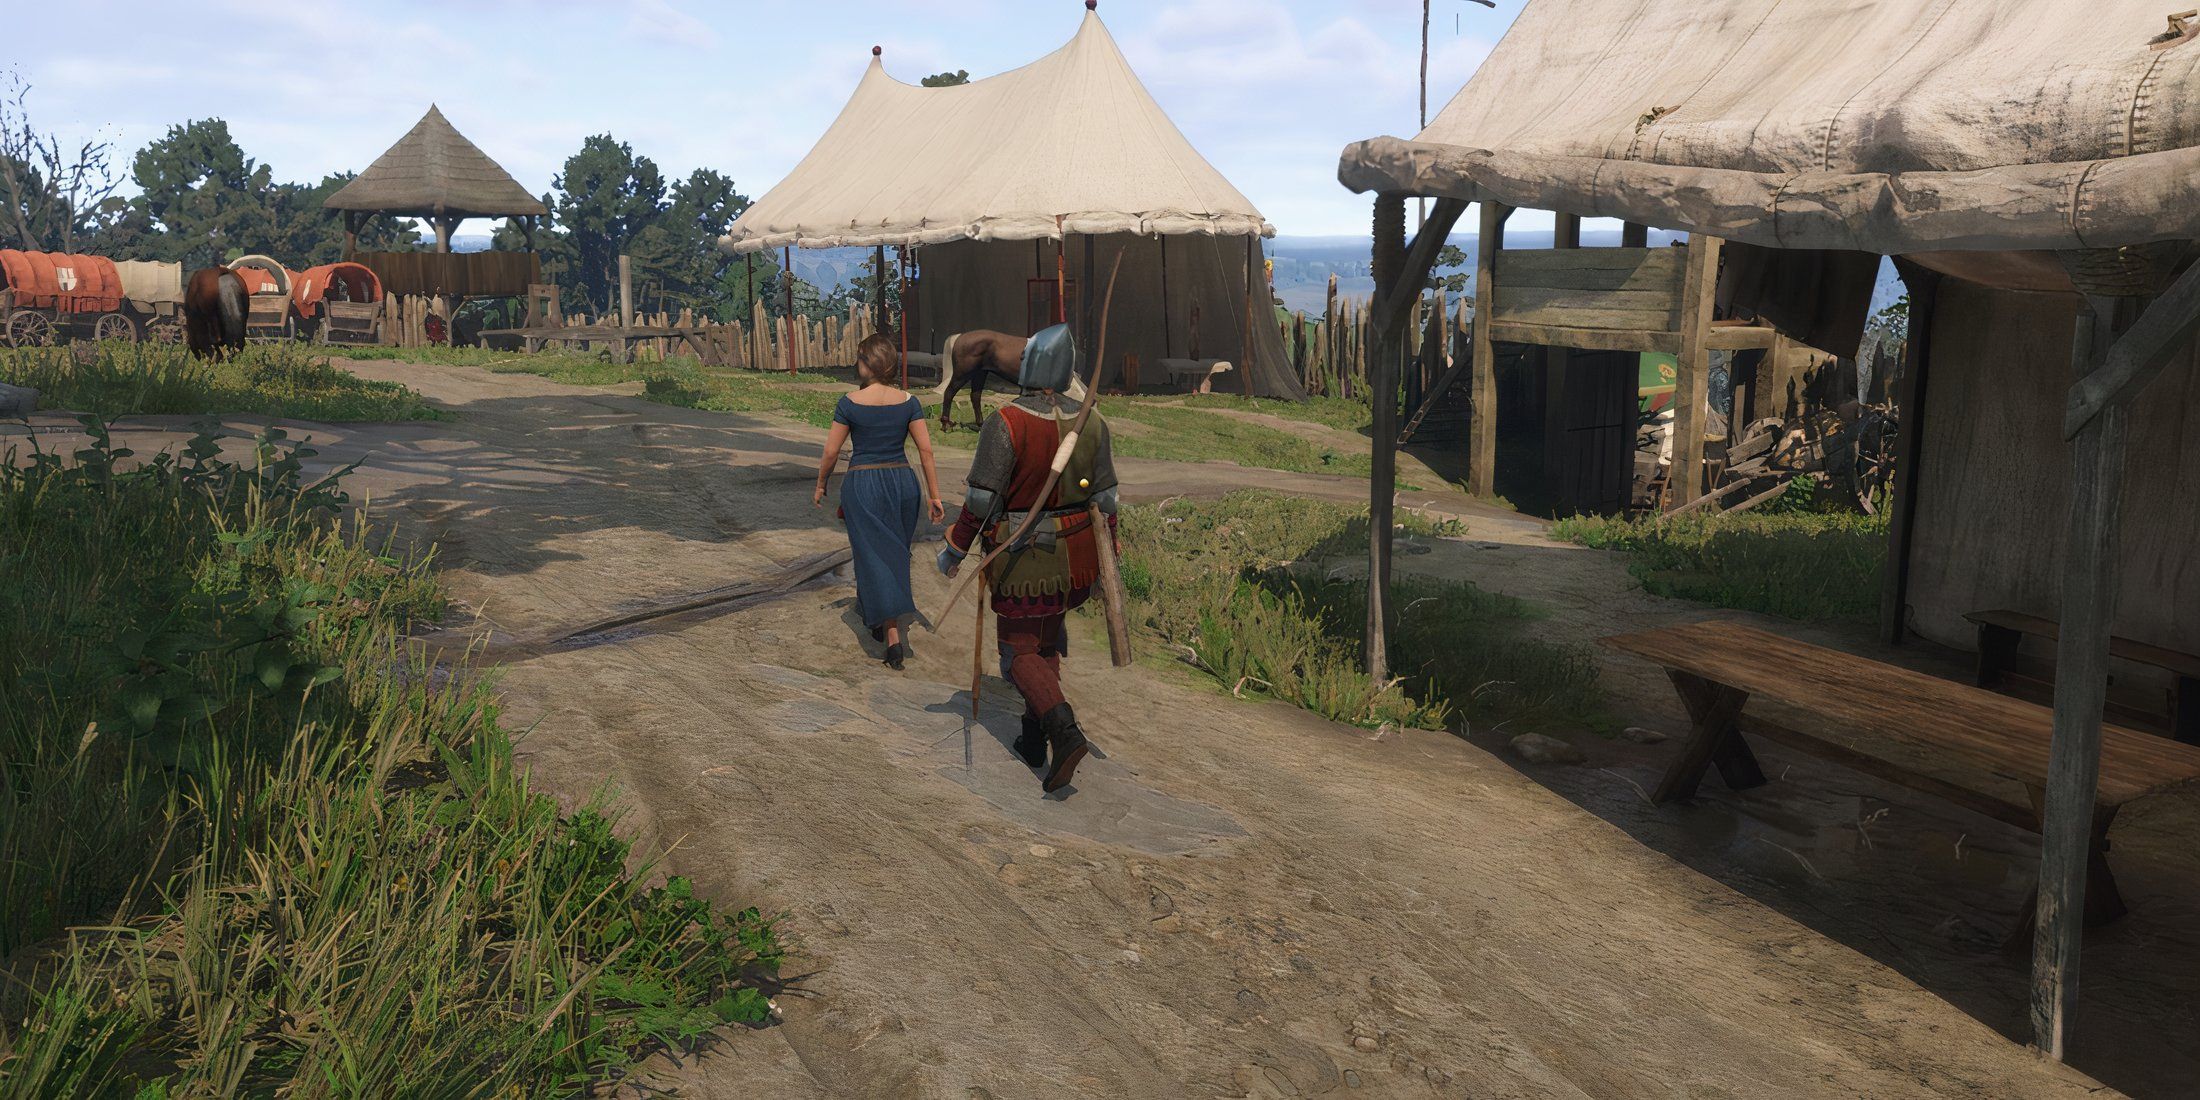
Meet Katherine at Sigismund’s Camp
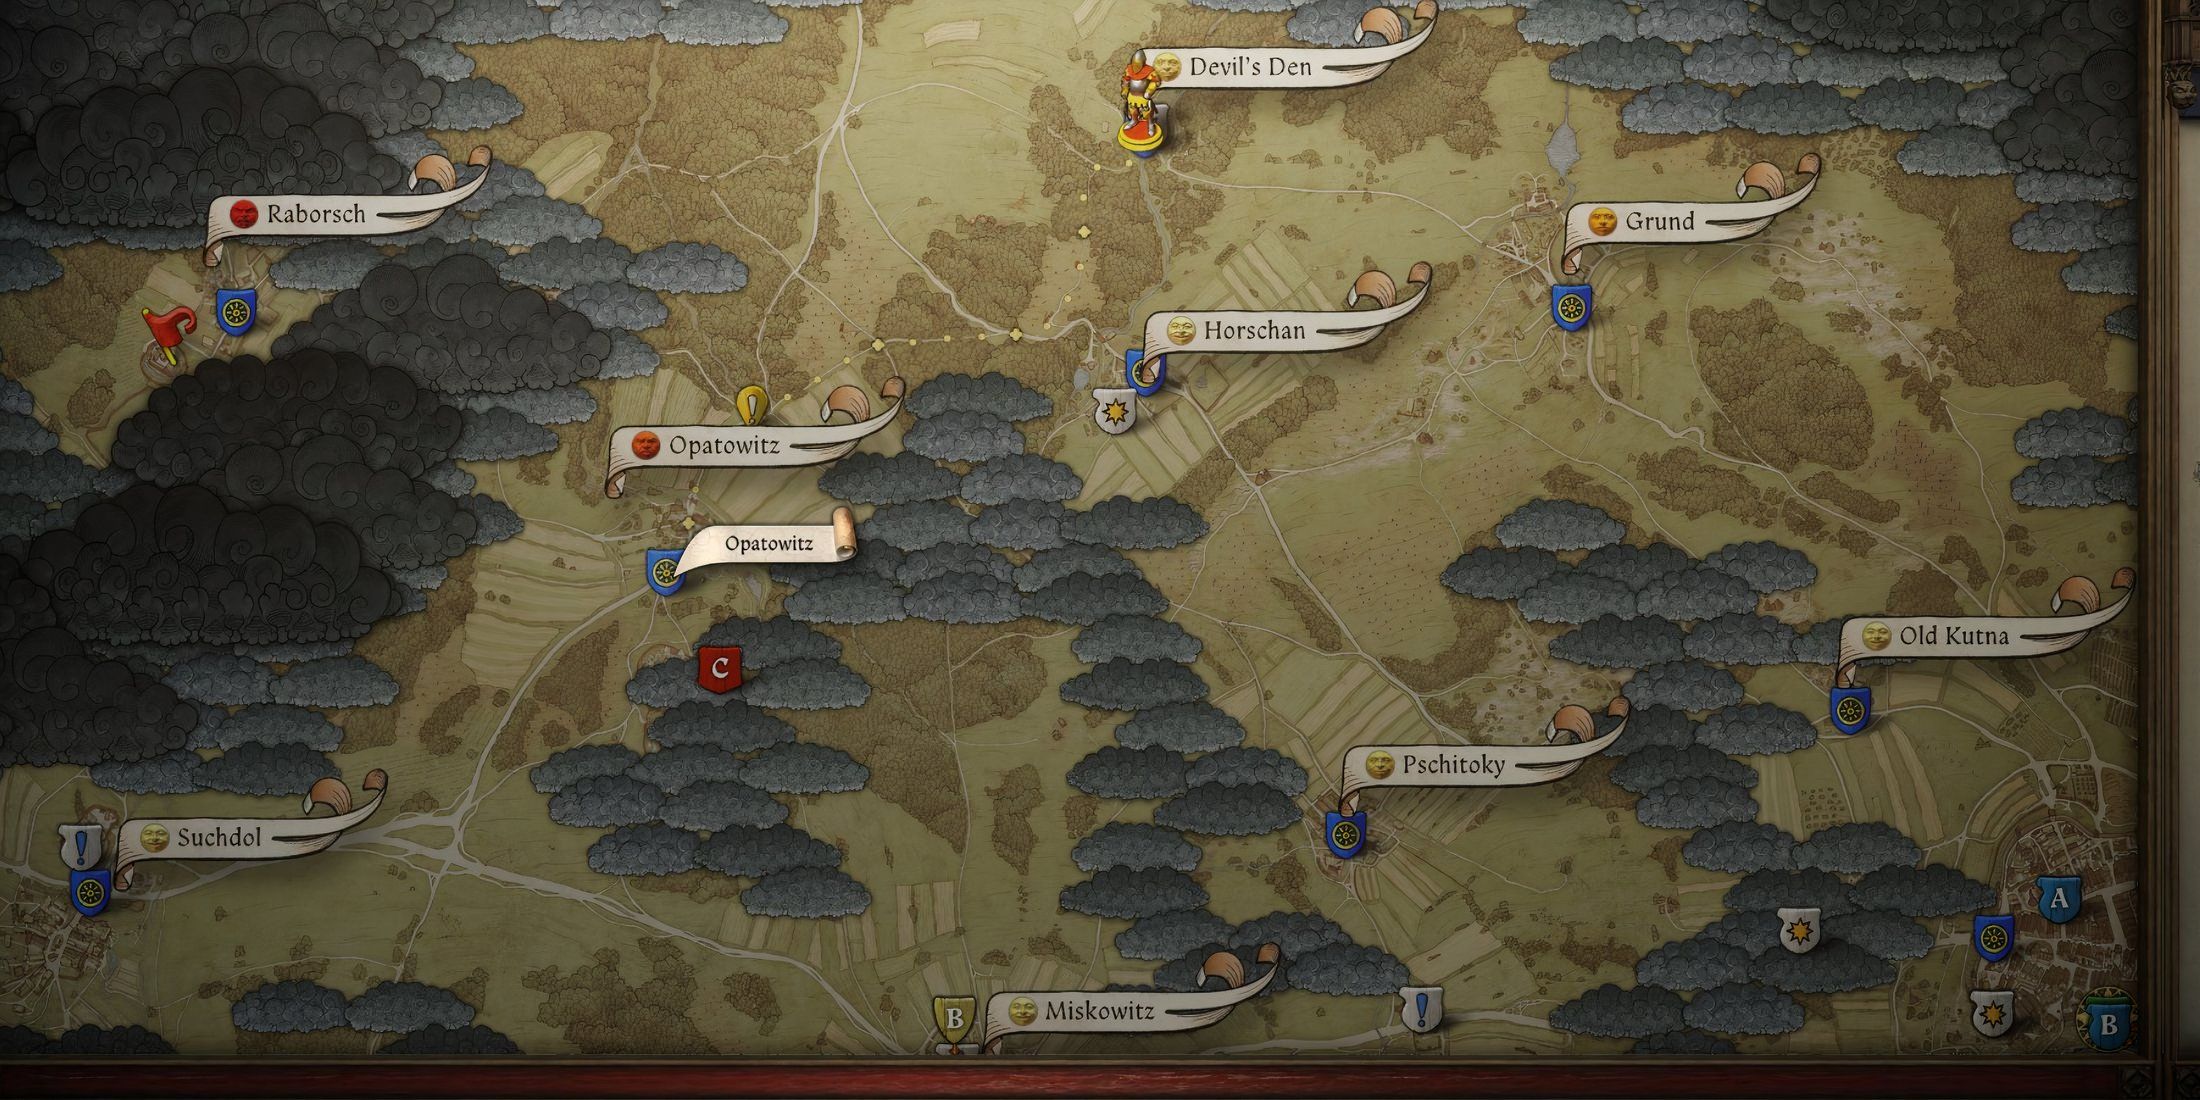
As a devoted fan, I’d recommend hurrying to Opatowitz, situated northwest of Sigismund’s encampment. It’s best to bypass the town since it harbors hostility towards Henry from the get-go. From there, it’s a swift journey southeast. You’ll find two entry points to the camp:
- Sneak in, avoiding patrols (high Stealth recommended).
- Bribe a guard (costs 500 Groschen).
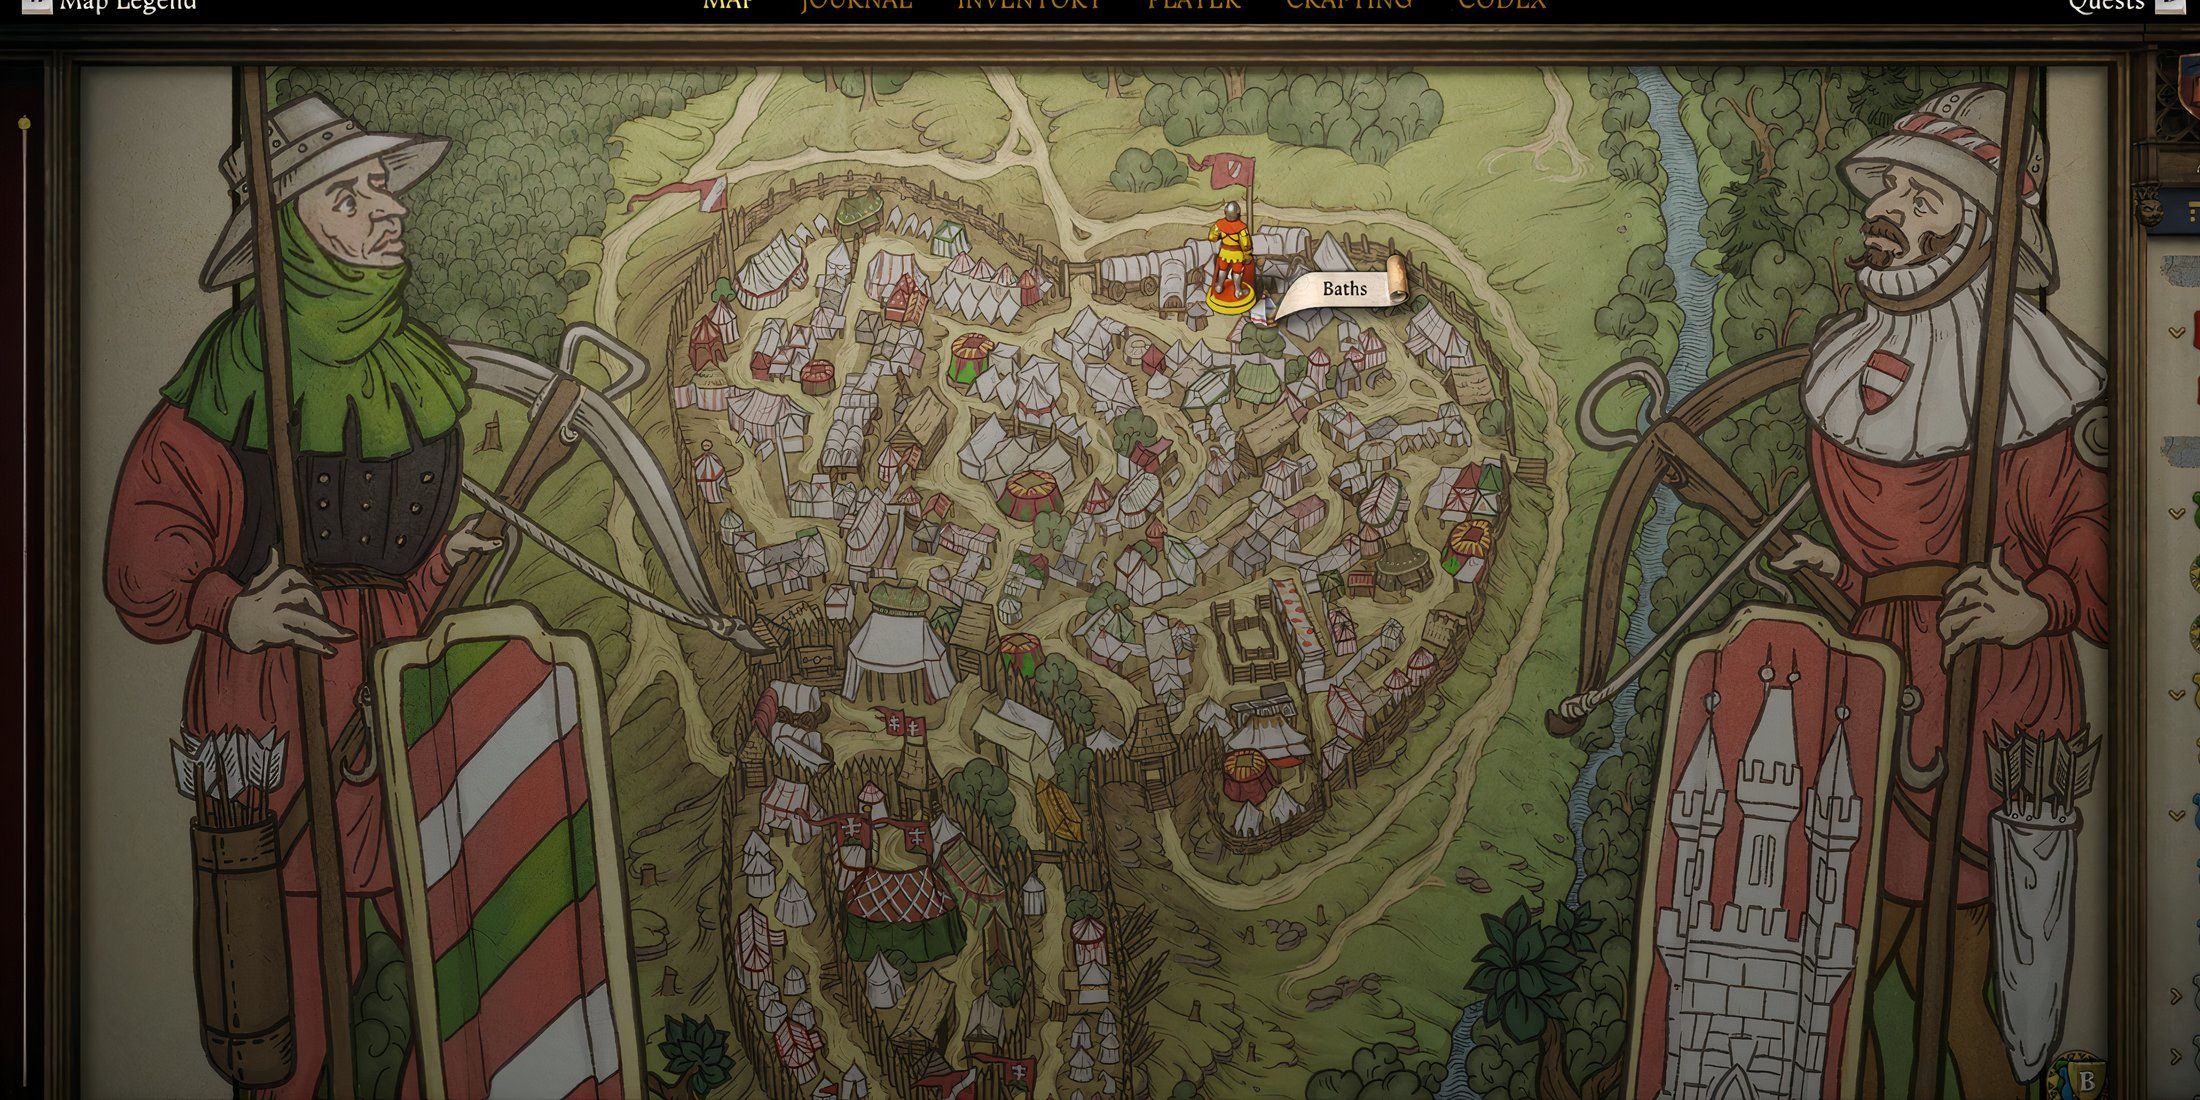
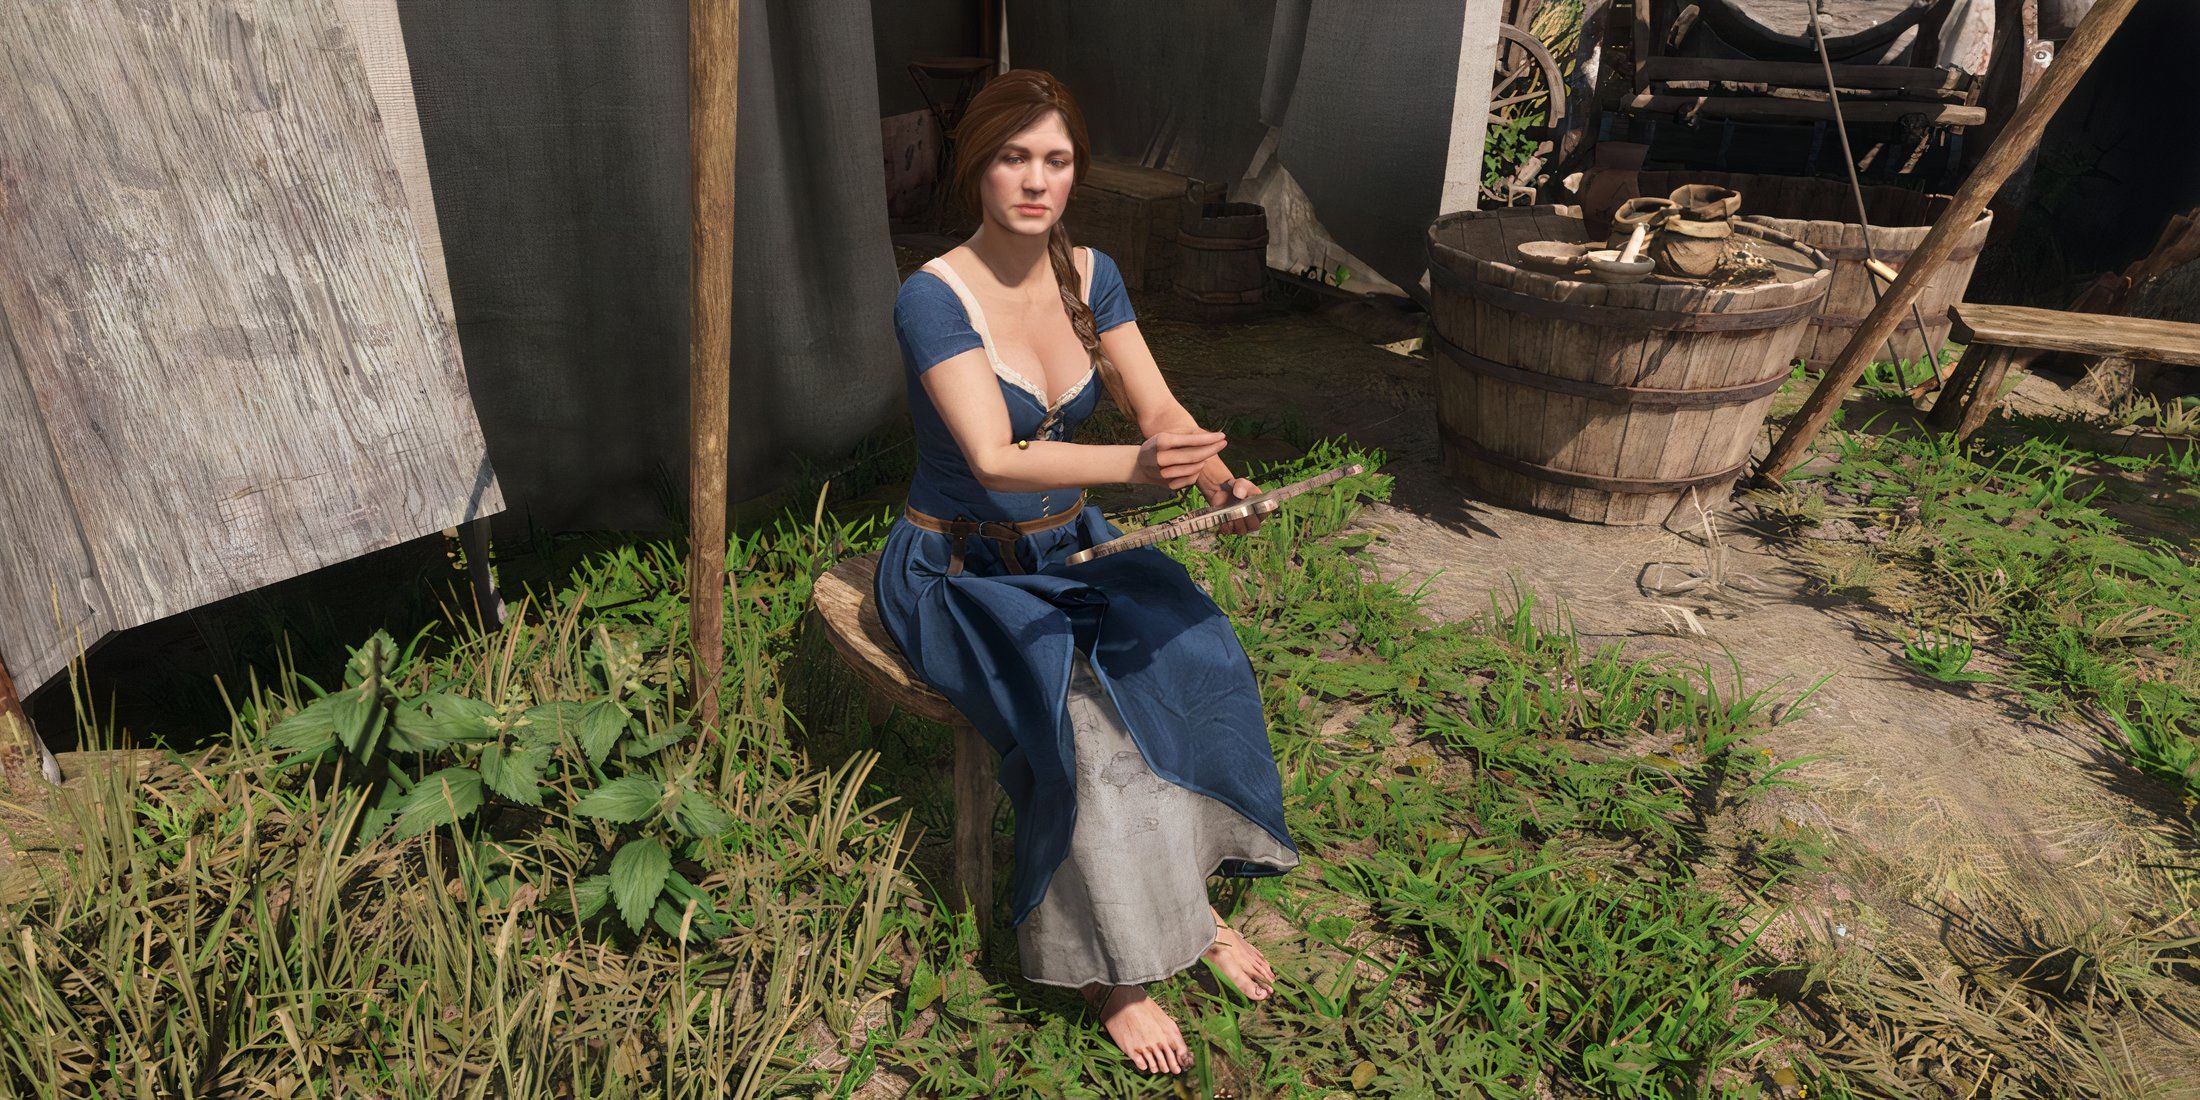
Upon entering, navigate towards the bathhouse located in the north, and there you’ll come across Katherine. Should your visit be during the daylight hours, she will instruct Henry to reappear later in the evening.
In a possible scenario, Henry could encounter an individual known as Blaha, who has spotted him at Nebak. If Blaha isn’t satisfied with a conversation from Henry, he warns that he will call for a guard unless they engage. The options for Henry are either to pay Blaha 250 Groschen, succeed in a MEDIUM level Intimidation challenge, or engage in a physical altercation (fistfight) to persuade him to remain quiet.
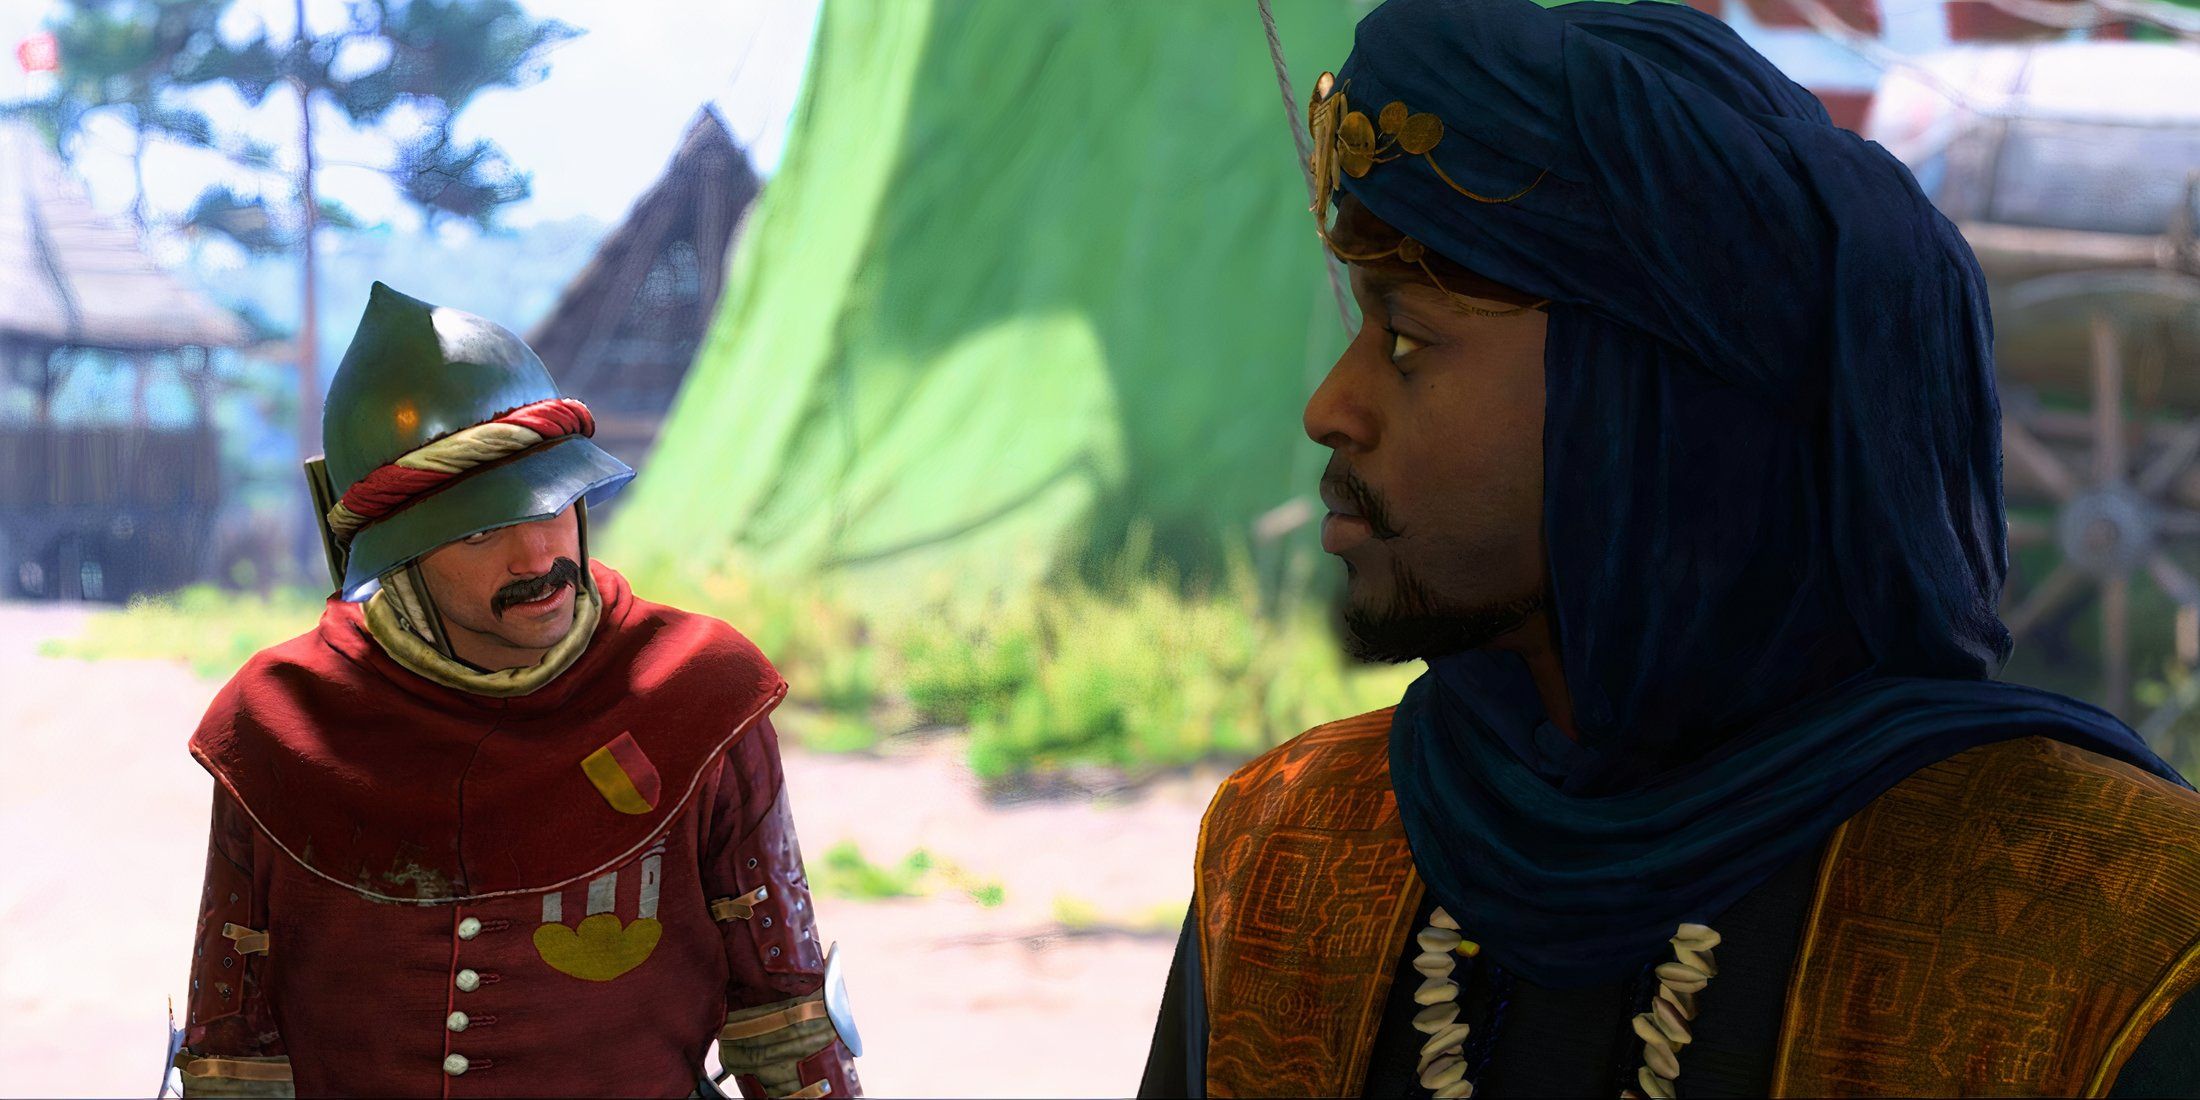
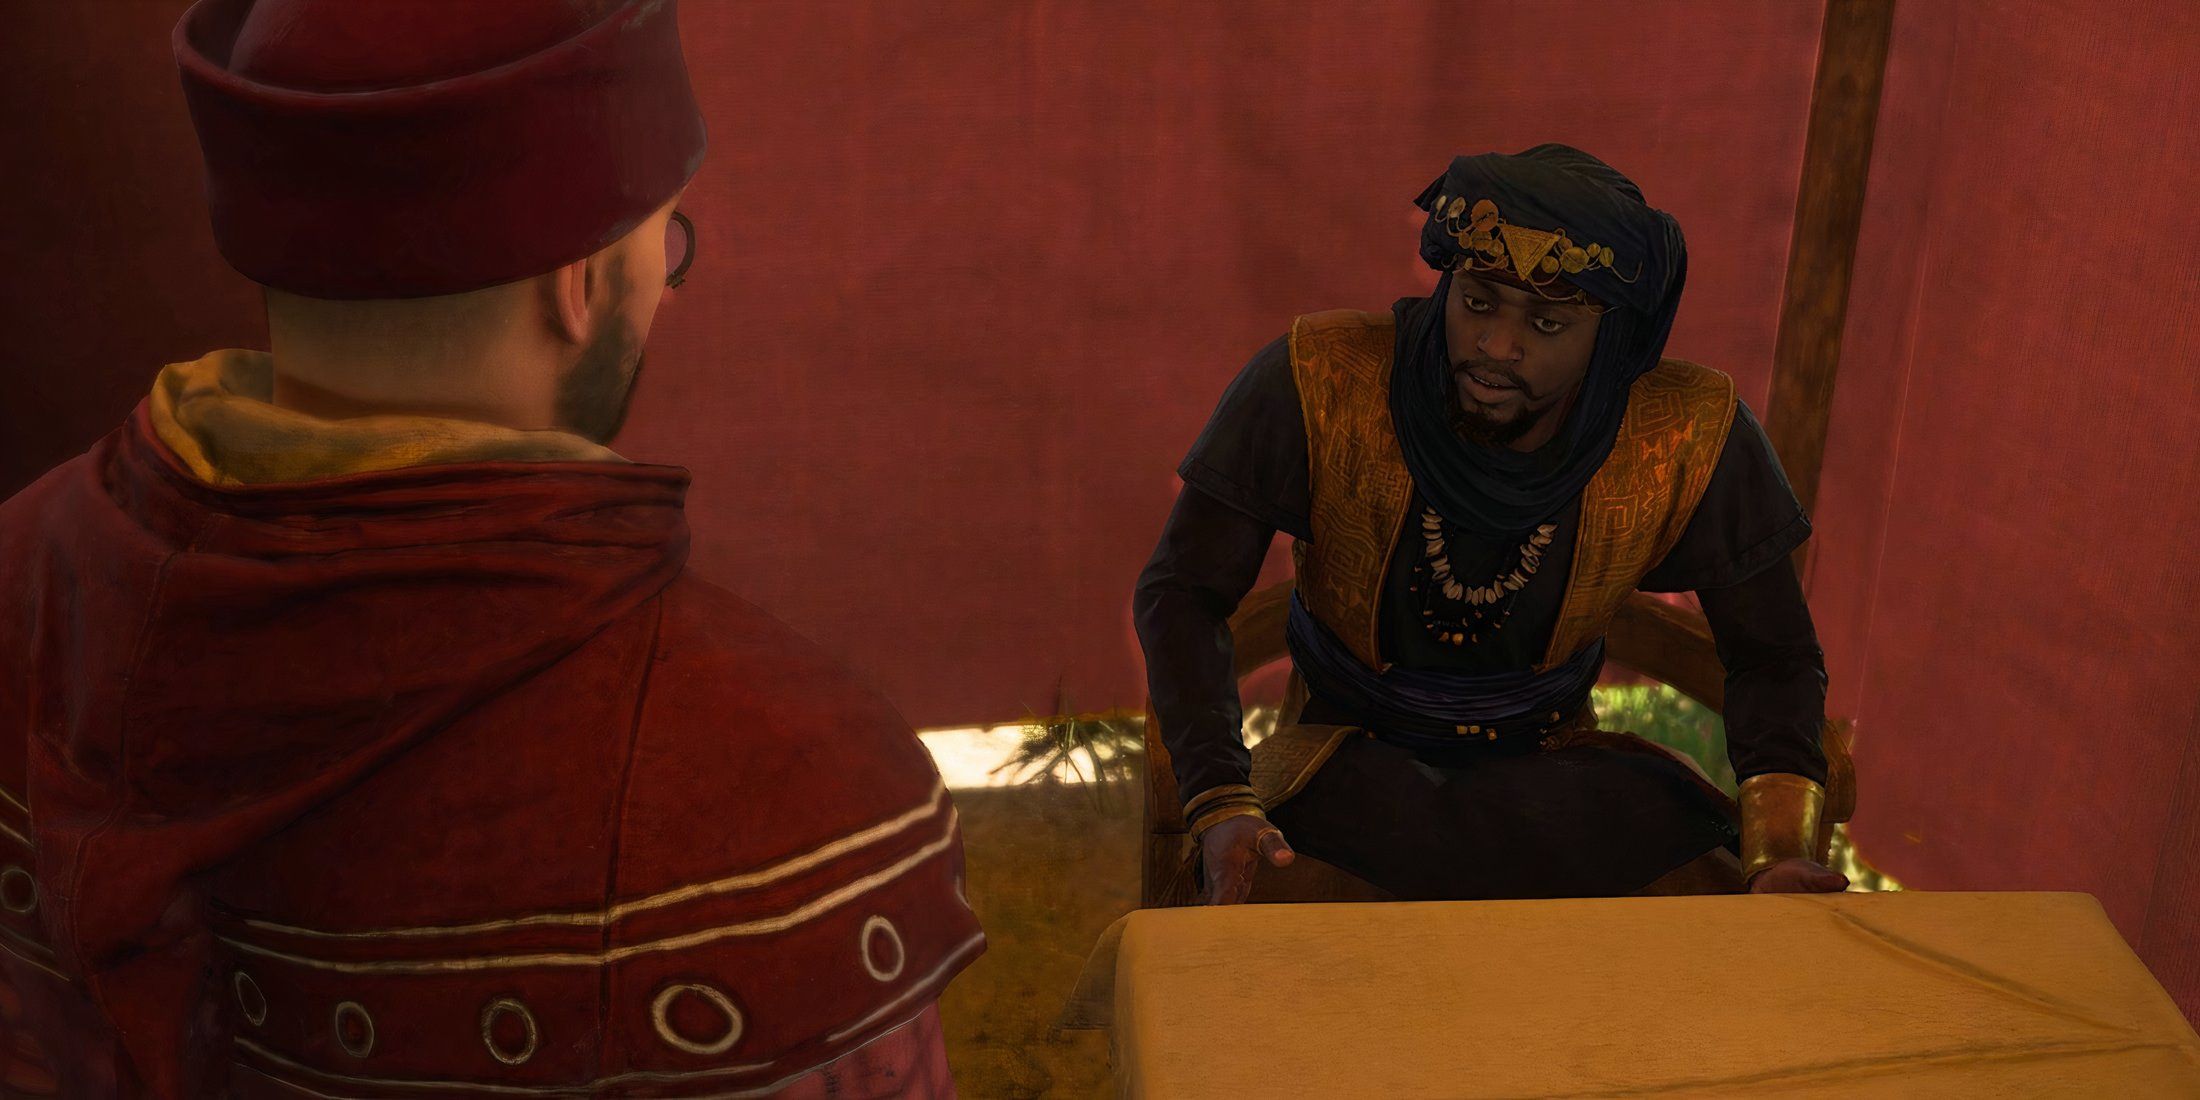
Talk to Musa of Mali
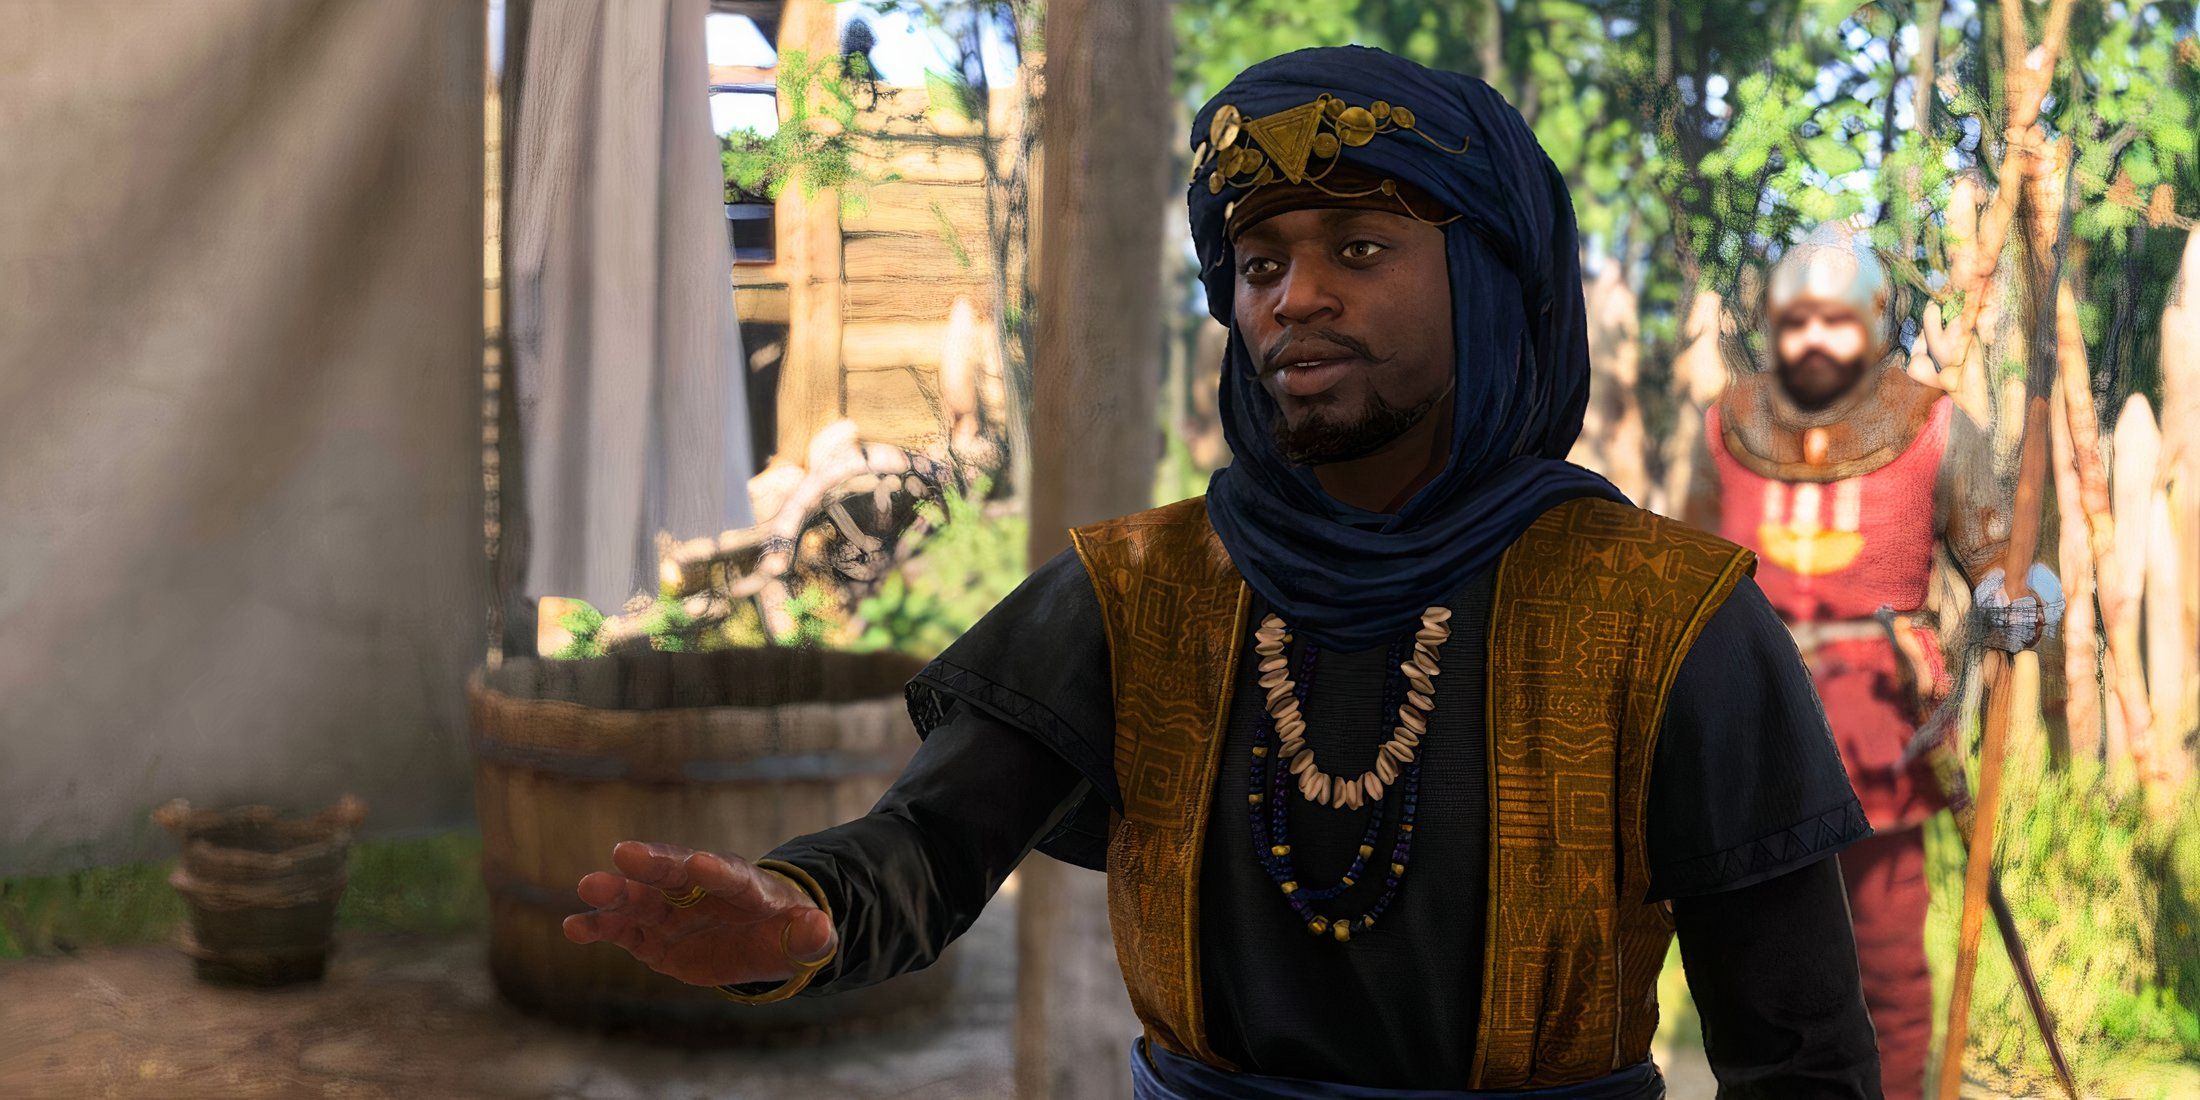
Spend a moment finding Musa from Mali, who serves as Sigismund’s physician. Talking with Musa not only gives you extra details but also sets the stage for potential future partnerships. He will guide Henry through the camp, indicating key figures along the way. Since the camp can be confusing, it’s useful to familiarize yourself with its layout first. Making a good impression during this visit is advisable, though not necessary.
Enlist in Sigismund’s Army

As evening approaches, make your way back to Katherine at the public bathhouse. After a quiet chat (with opportunities for flirtation if courting her), she suggests that Henry should join Sigismund’s troops by seeking out Stephen Crow.
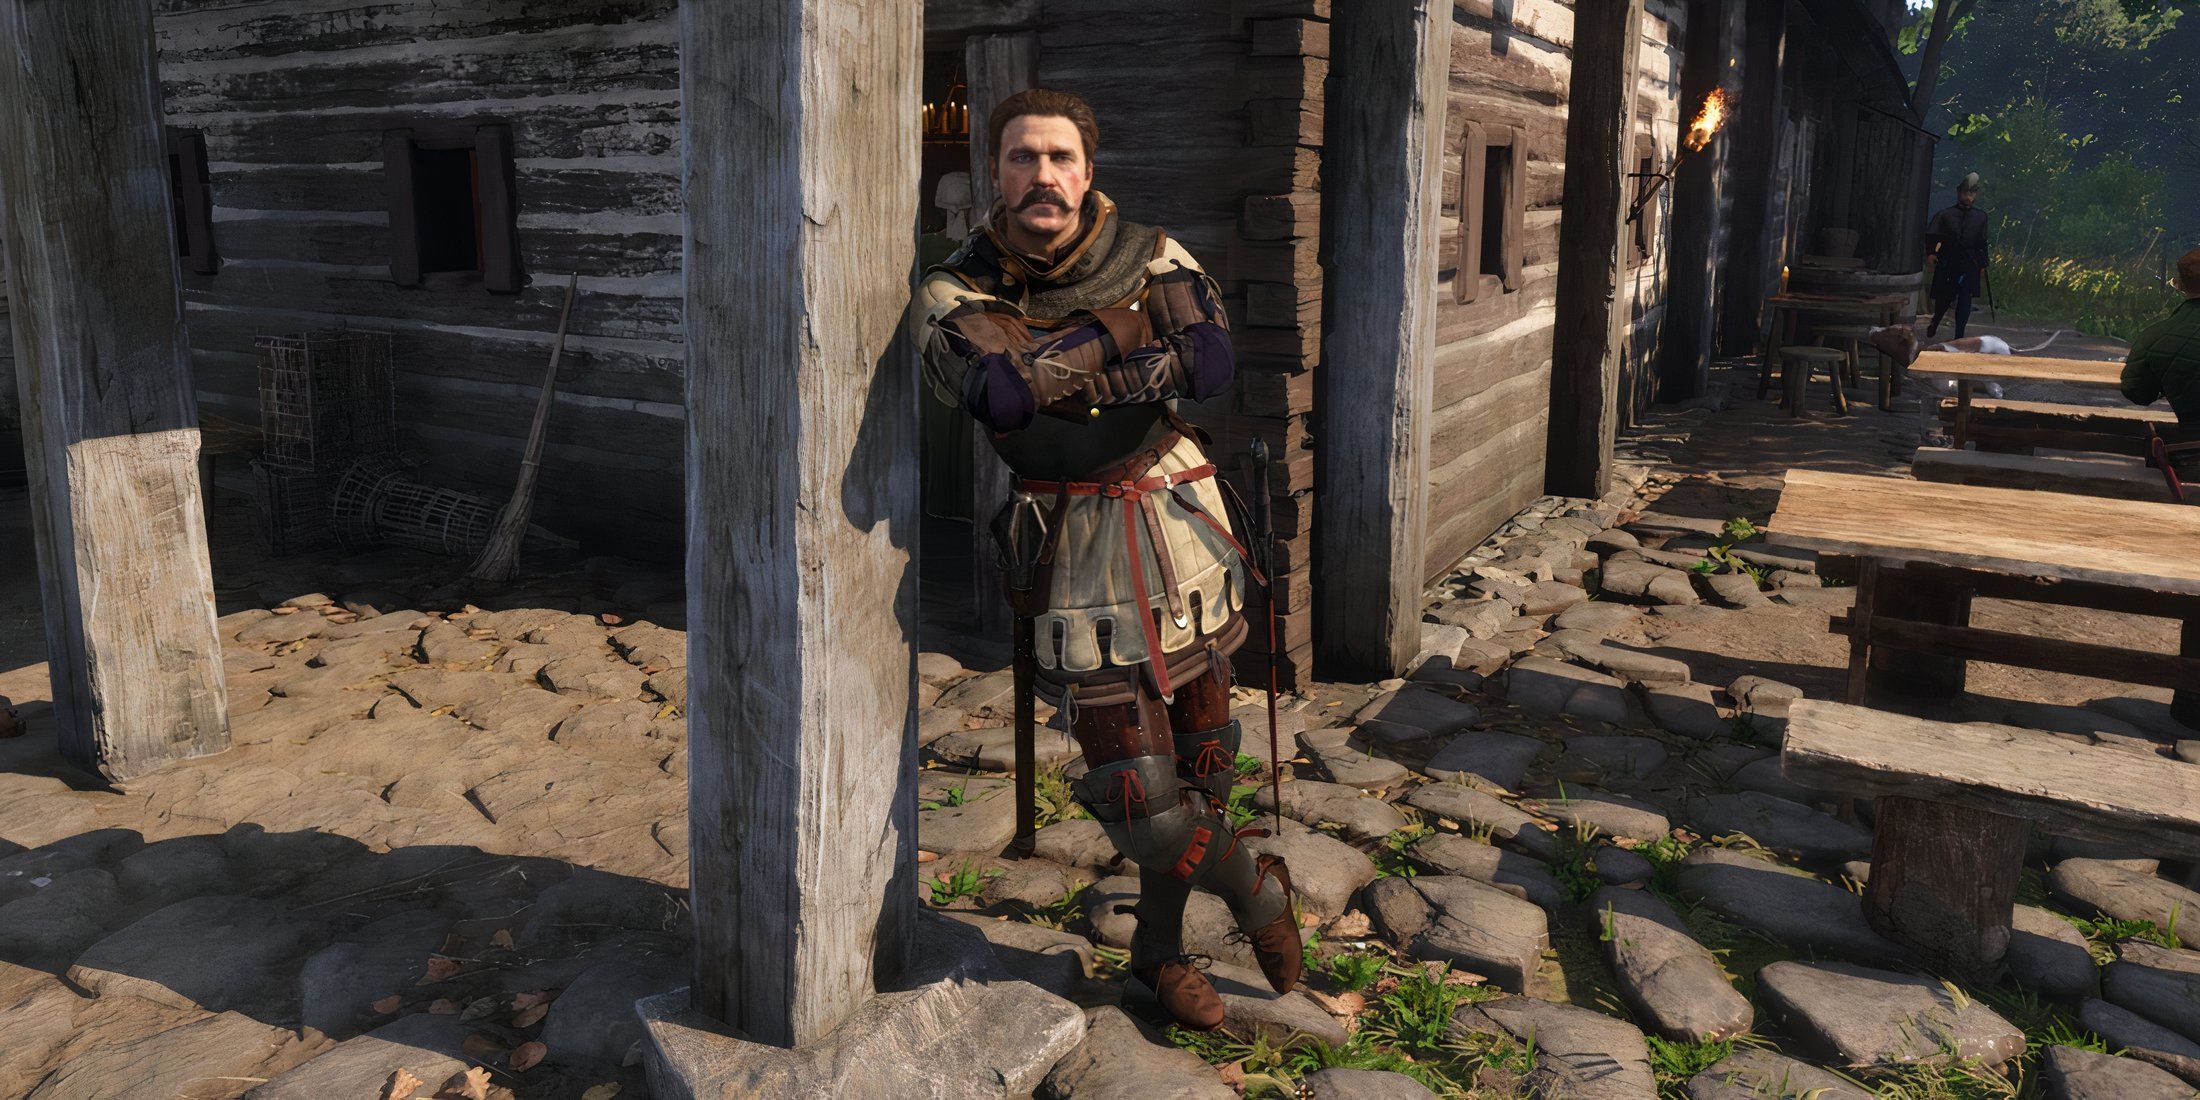
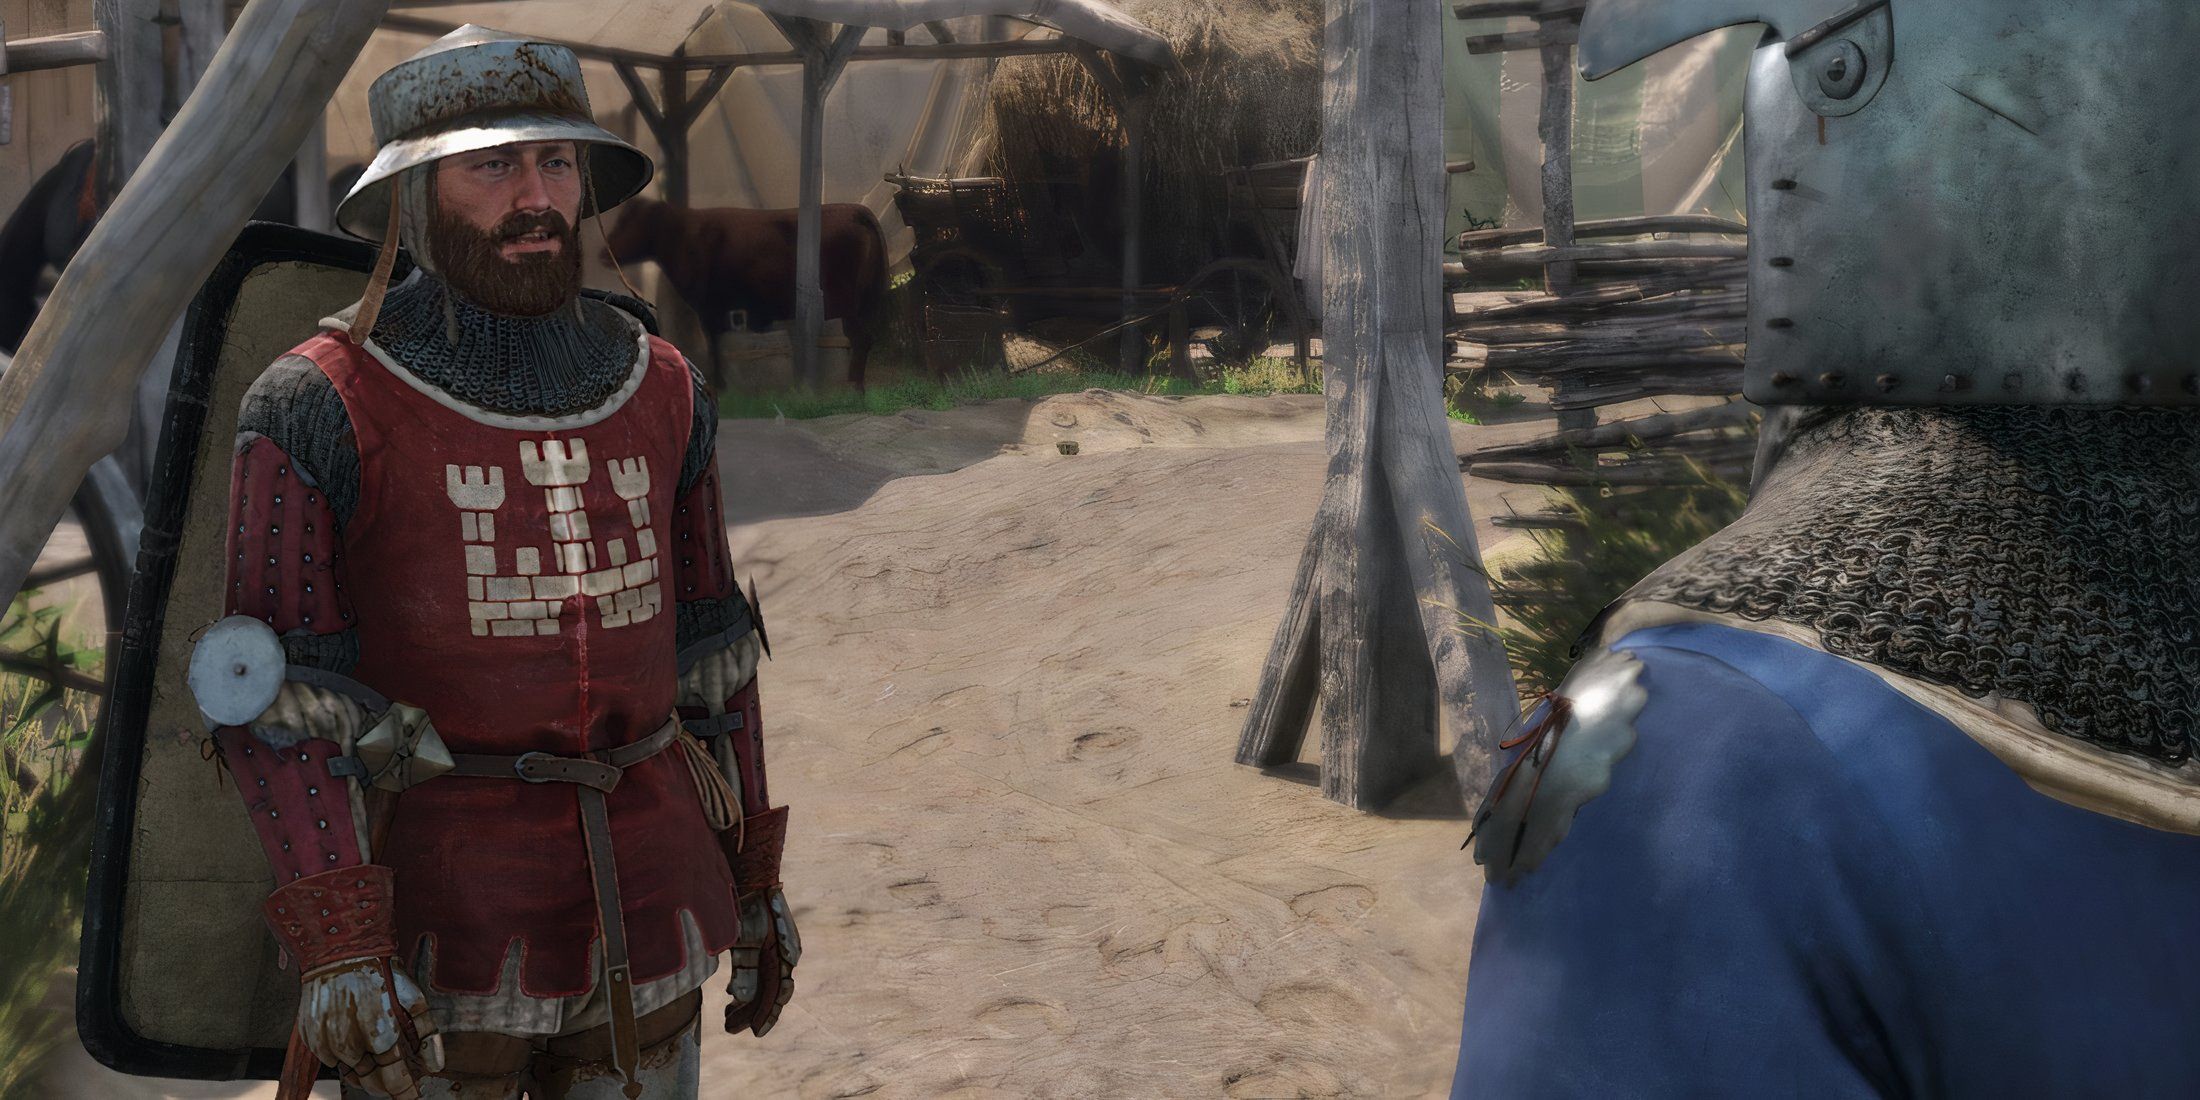
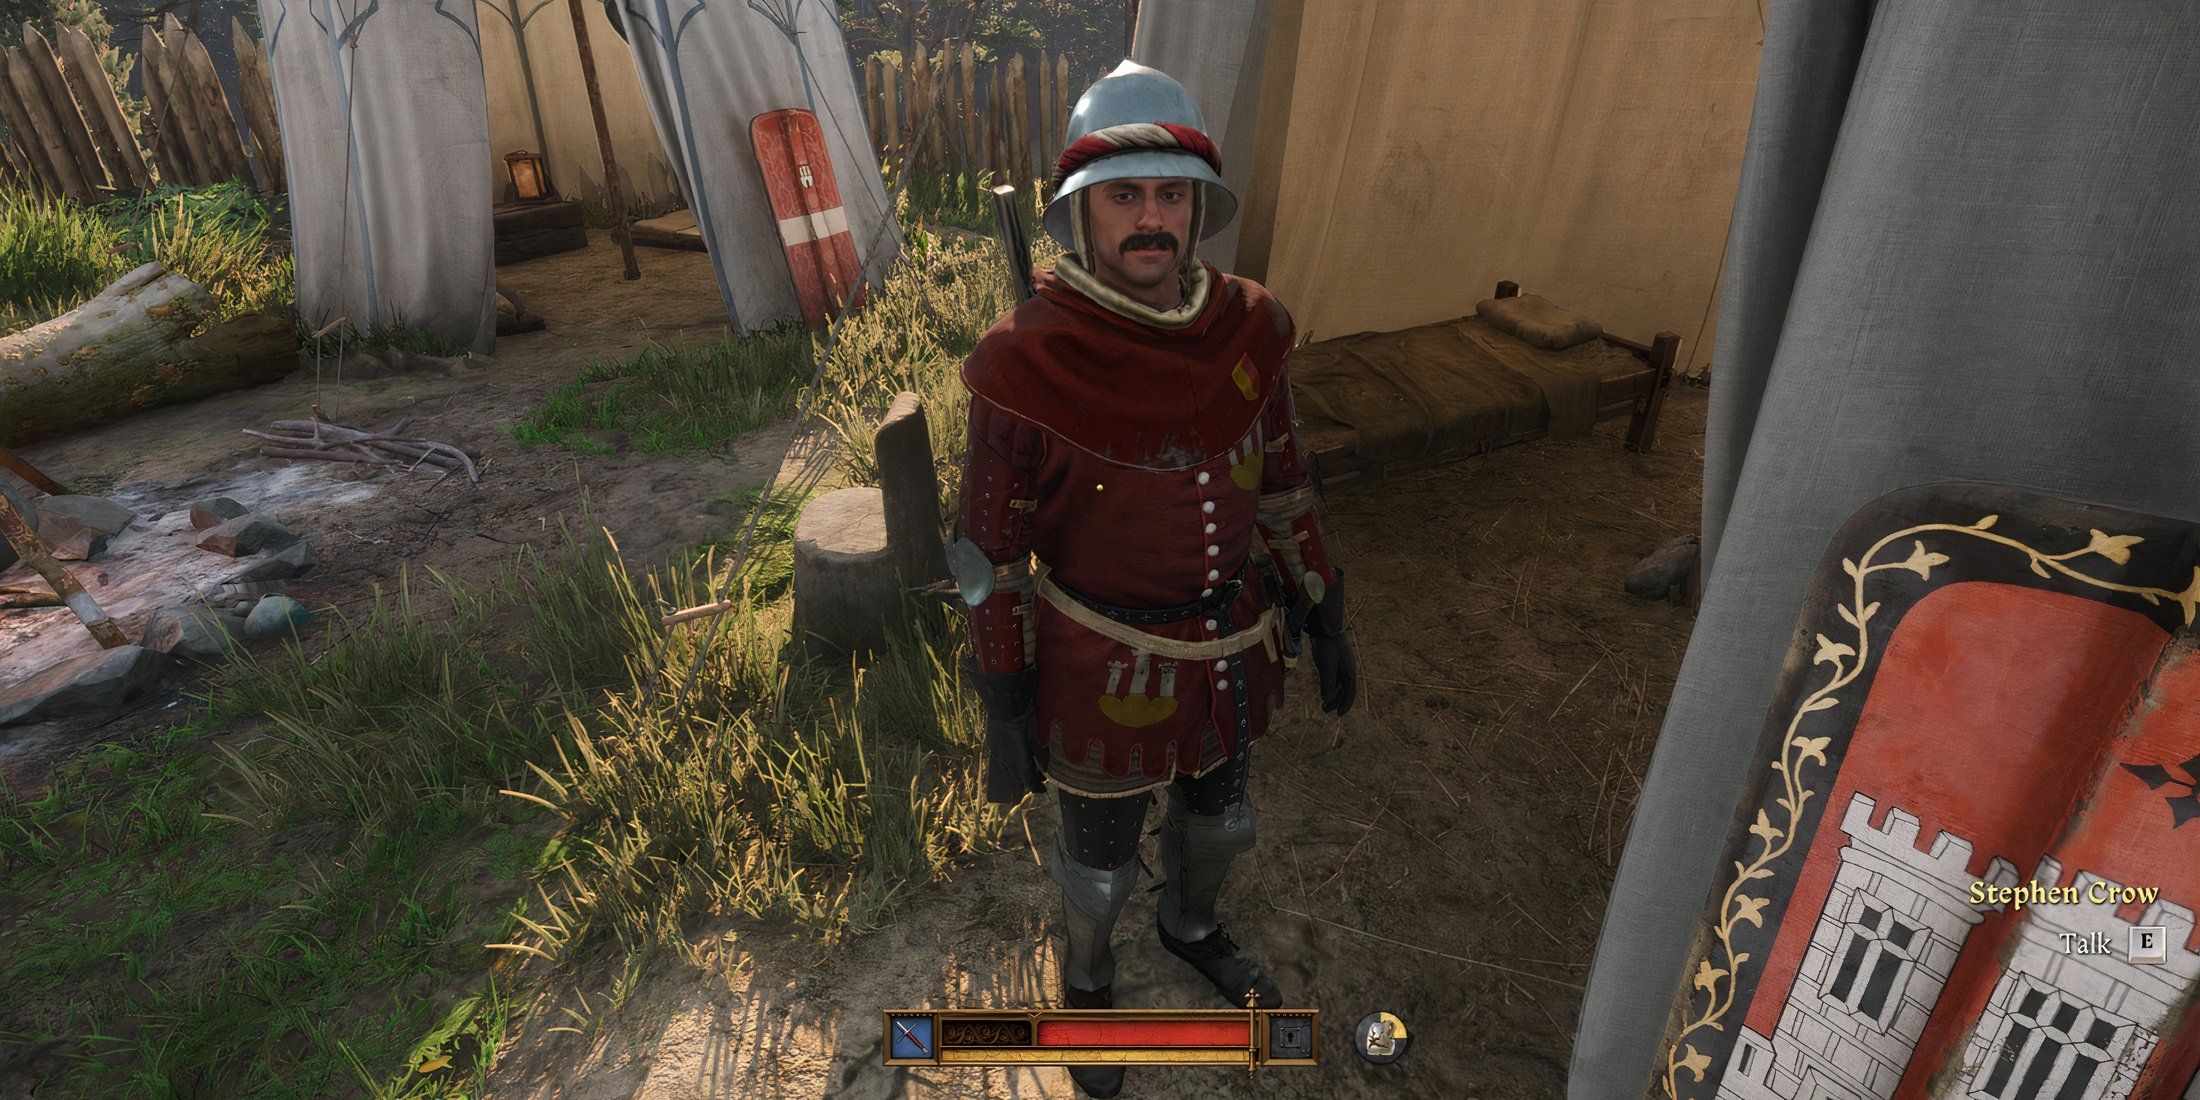
Talk to Stephen Crow
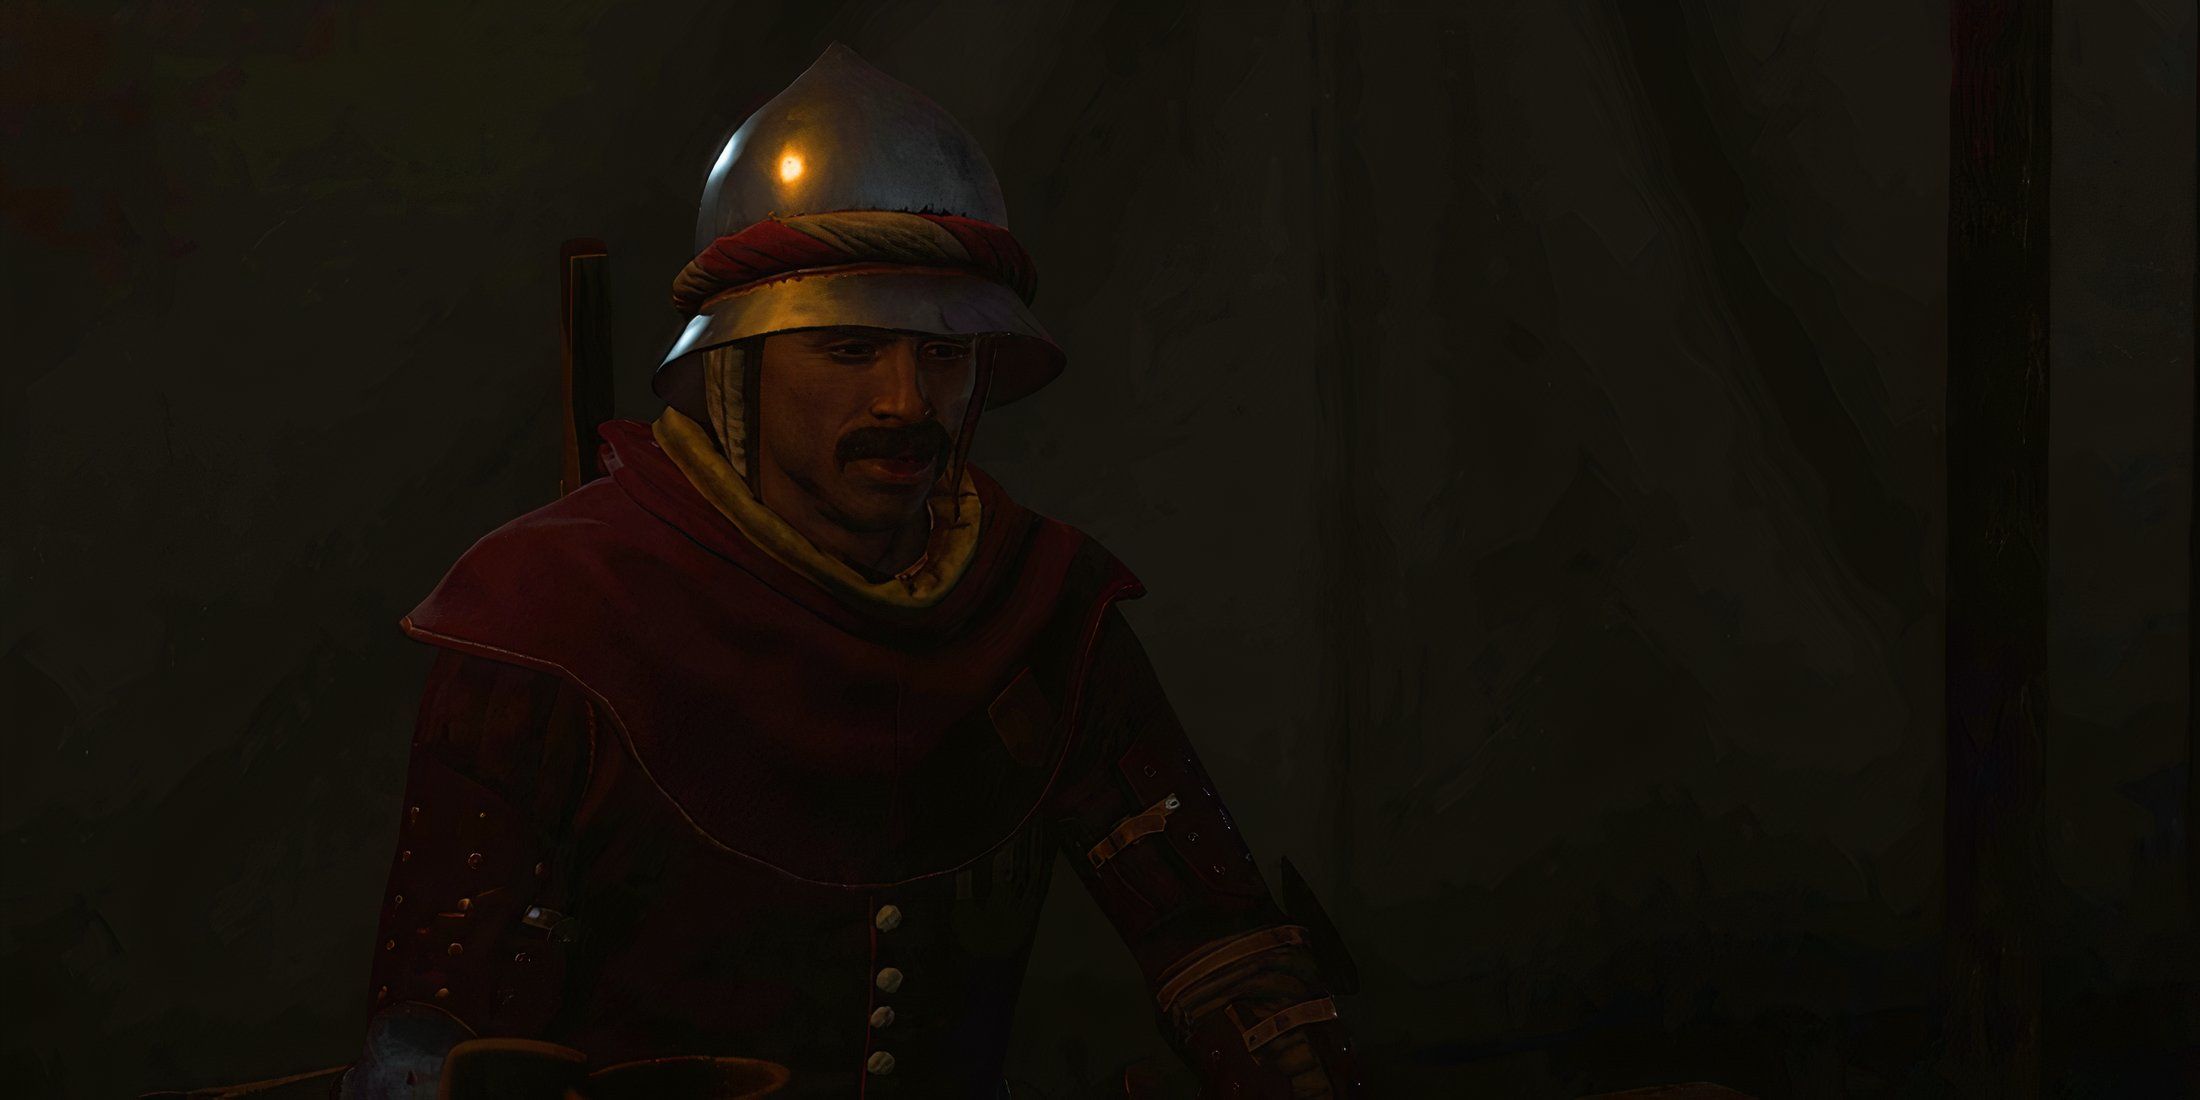
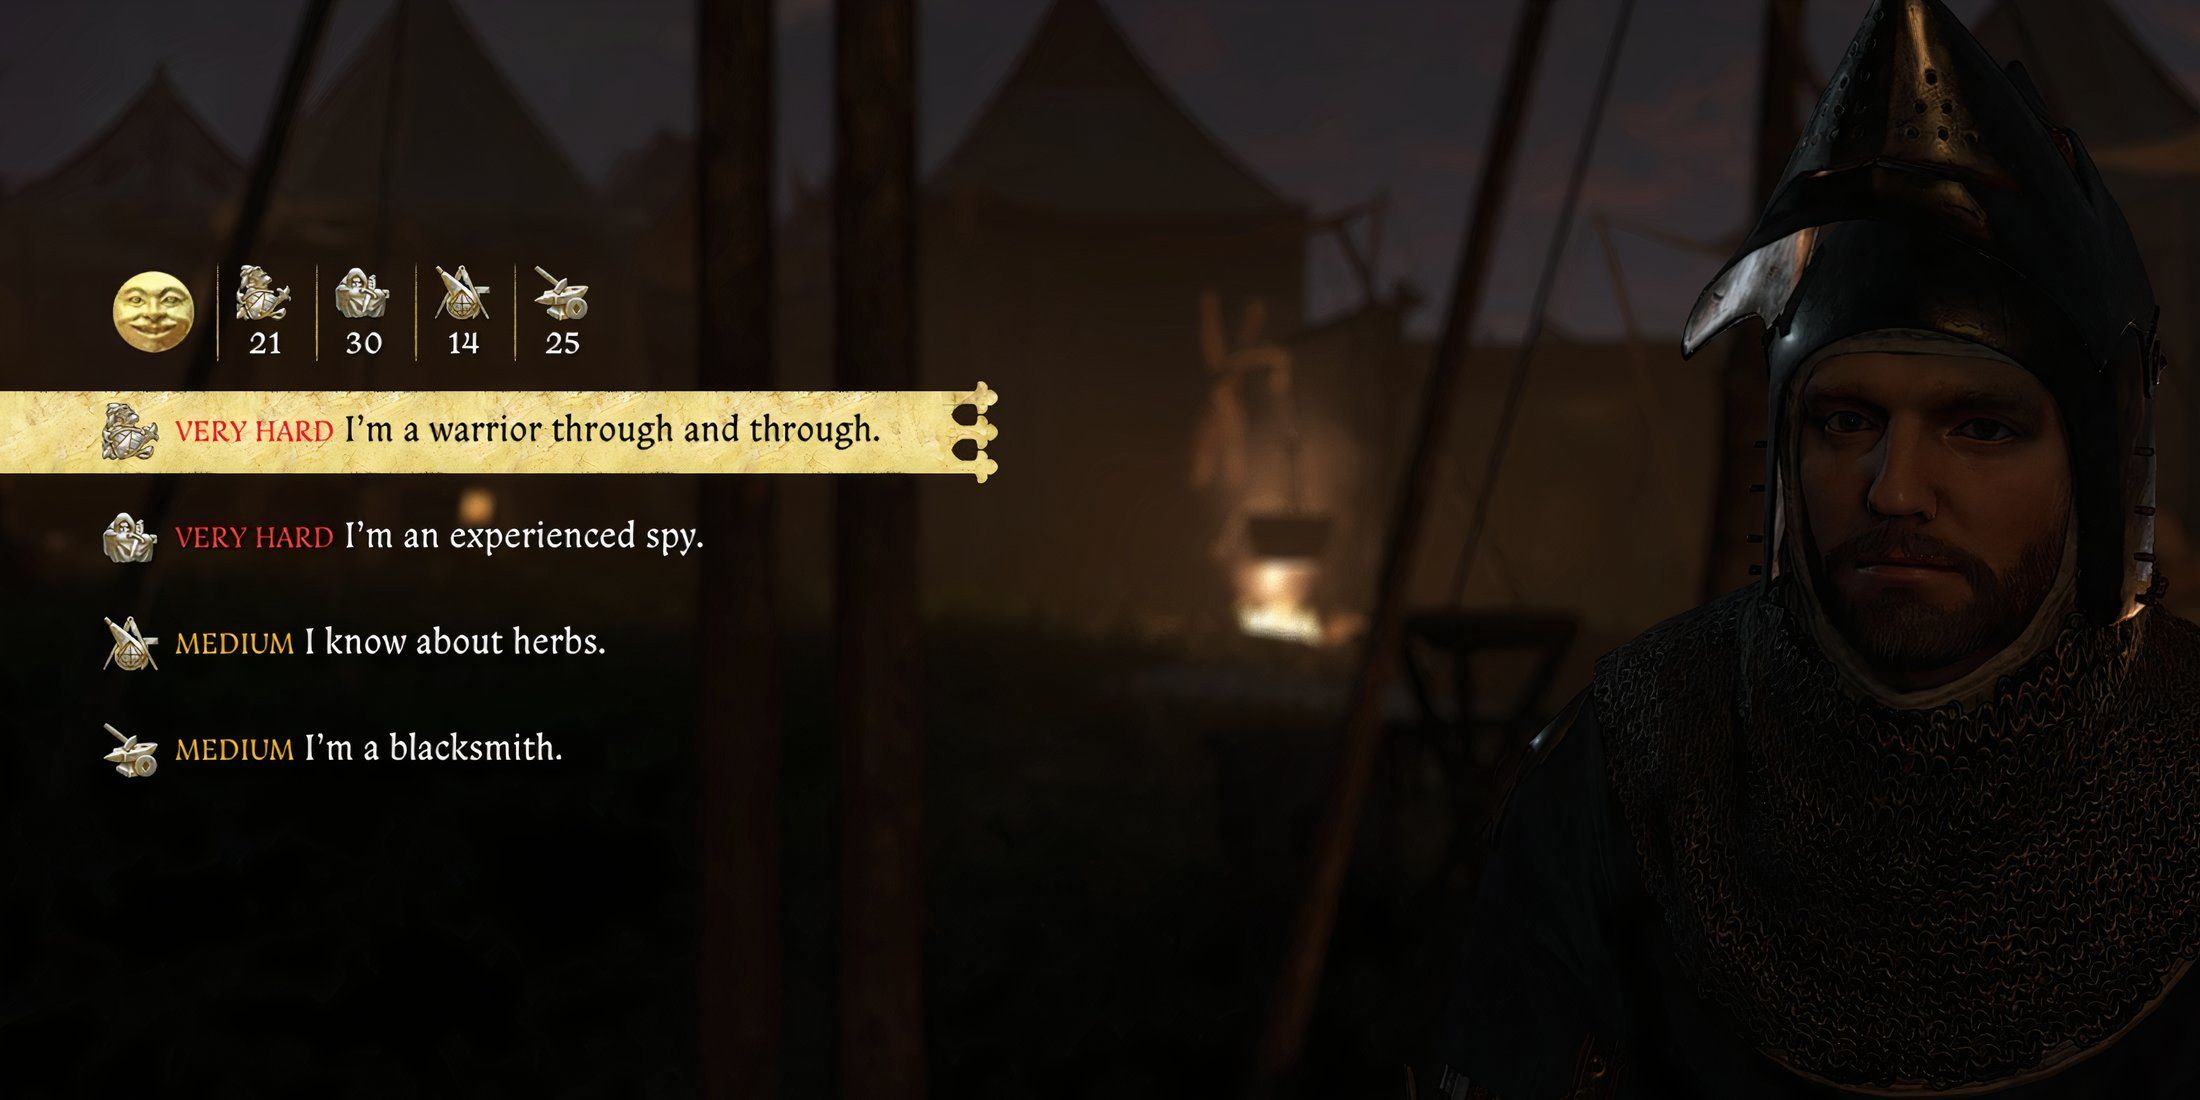
Stephen Crow is one of the commander’s top aides, so Henry needs to discuss enlistment with him. He can usually be found at the shooting range in the daytime or the bathhouse in the evening. For players to gain an audience with Commander Katz, they will need to successfully complete several ability checks. They must convince Crow that Henry is a valuable addition to their forces by demonstrating one of the following:
- “I’m a warrior through and through.” (VERY HARD Warfare check)
- “I’m an experienced spy.” (VERY HARD Stealth check)
- “I know about herbs.” (MEDIUM Alchemy check)
- “I’m a blacksmith.” (MEDIUM Craftsmanship check)
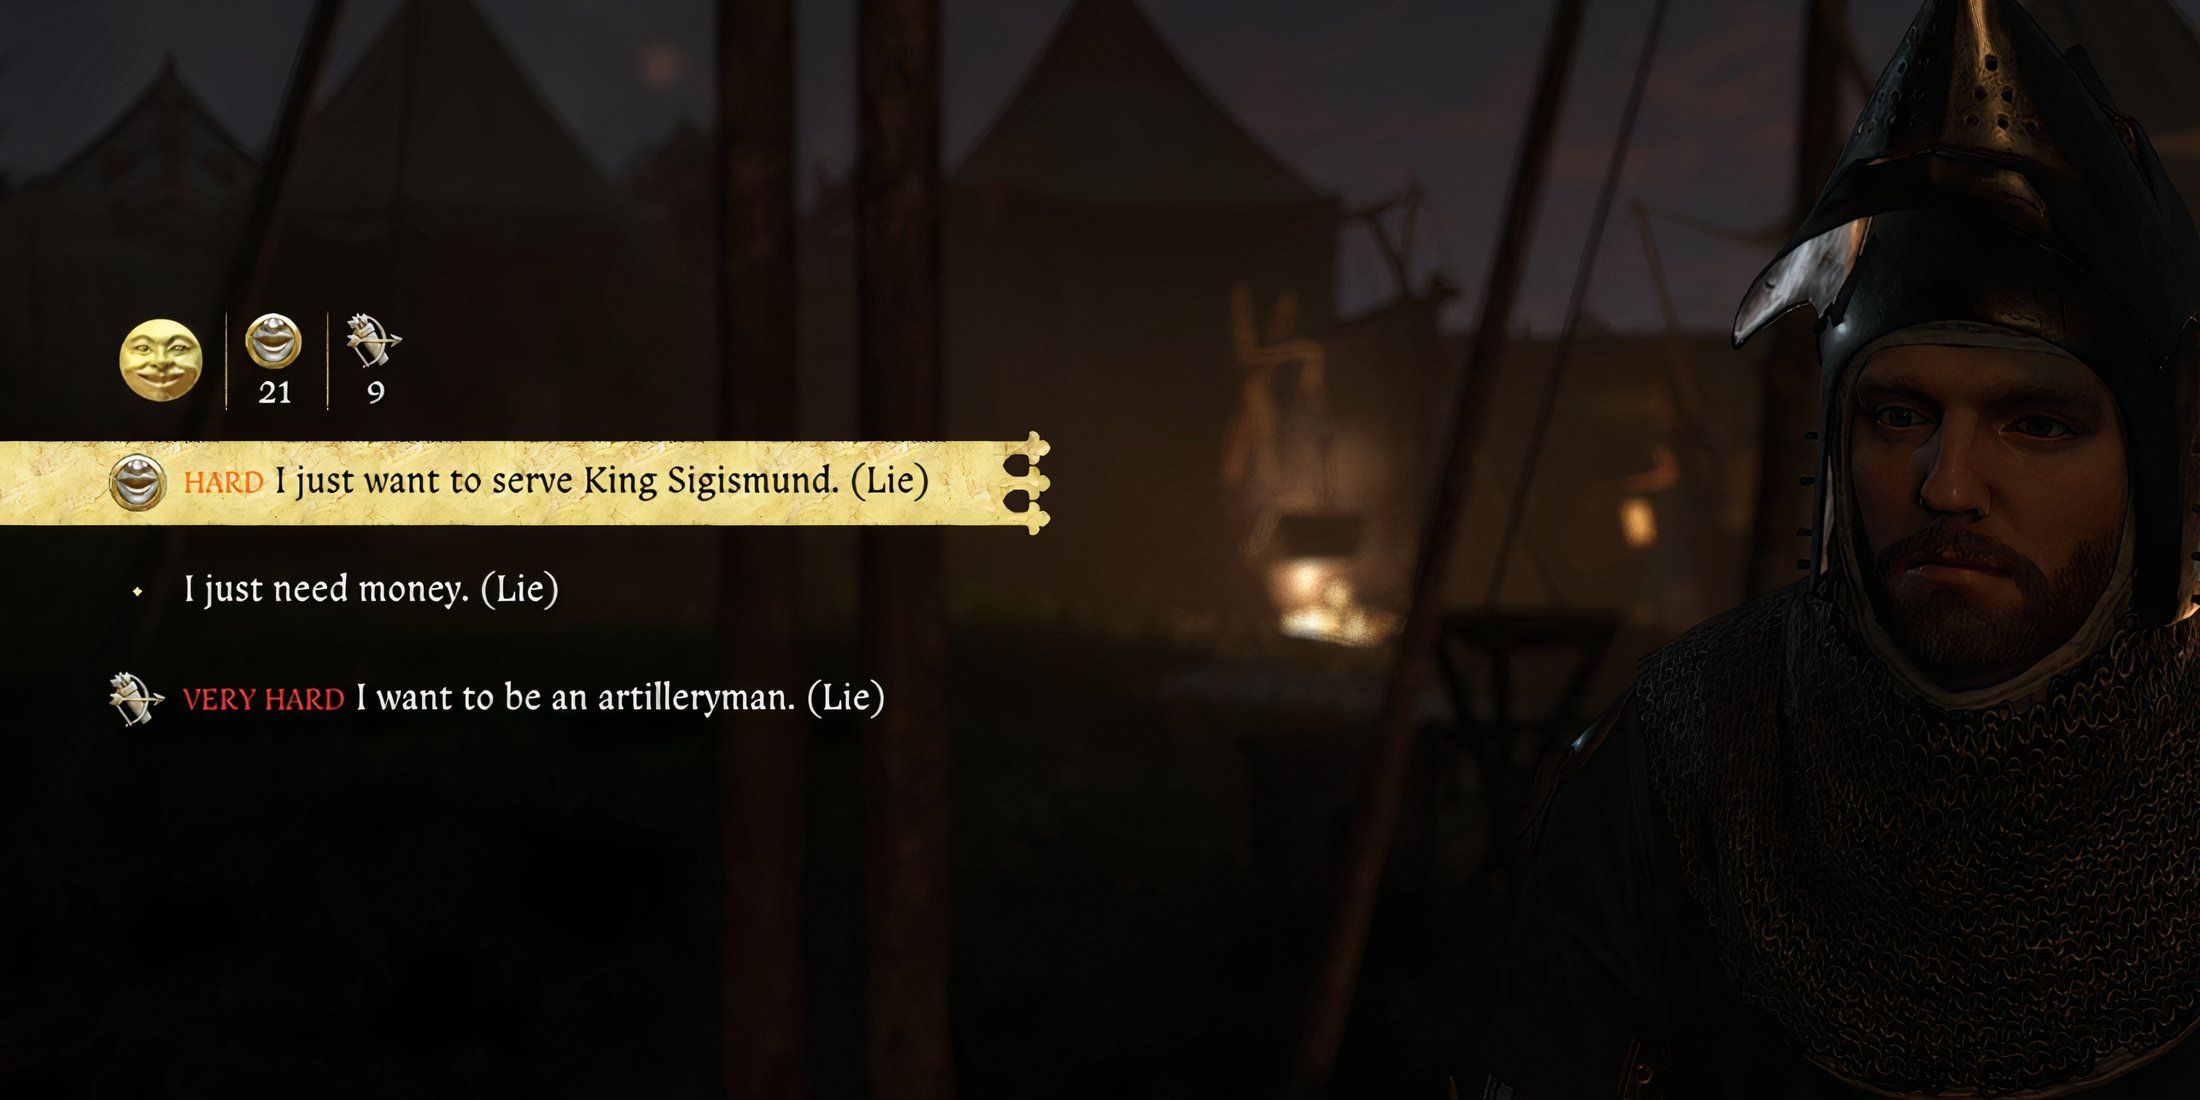
Regardless of passing those hurdles, Stephen remains unsatisfied and queries Henry about his eagerness to join. Faced with this question, Henry could fabricate a need for money, potentially damaging his reputation, or truthfully express his reasons.
- “I just want to serve King Sigismund.” (HARD Speech check)
- “I want to be an artilleryman.” (VERY HARD Marksmanship check)
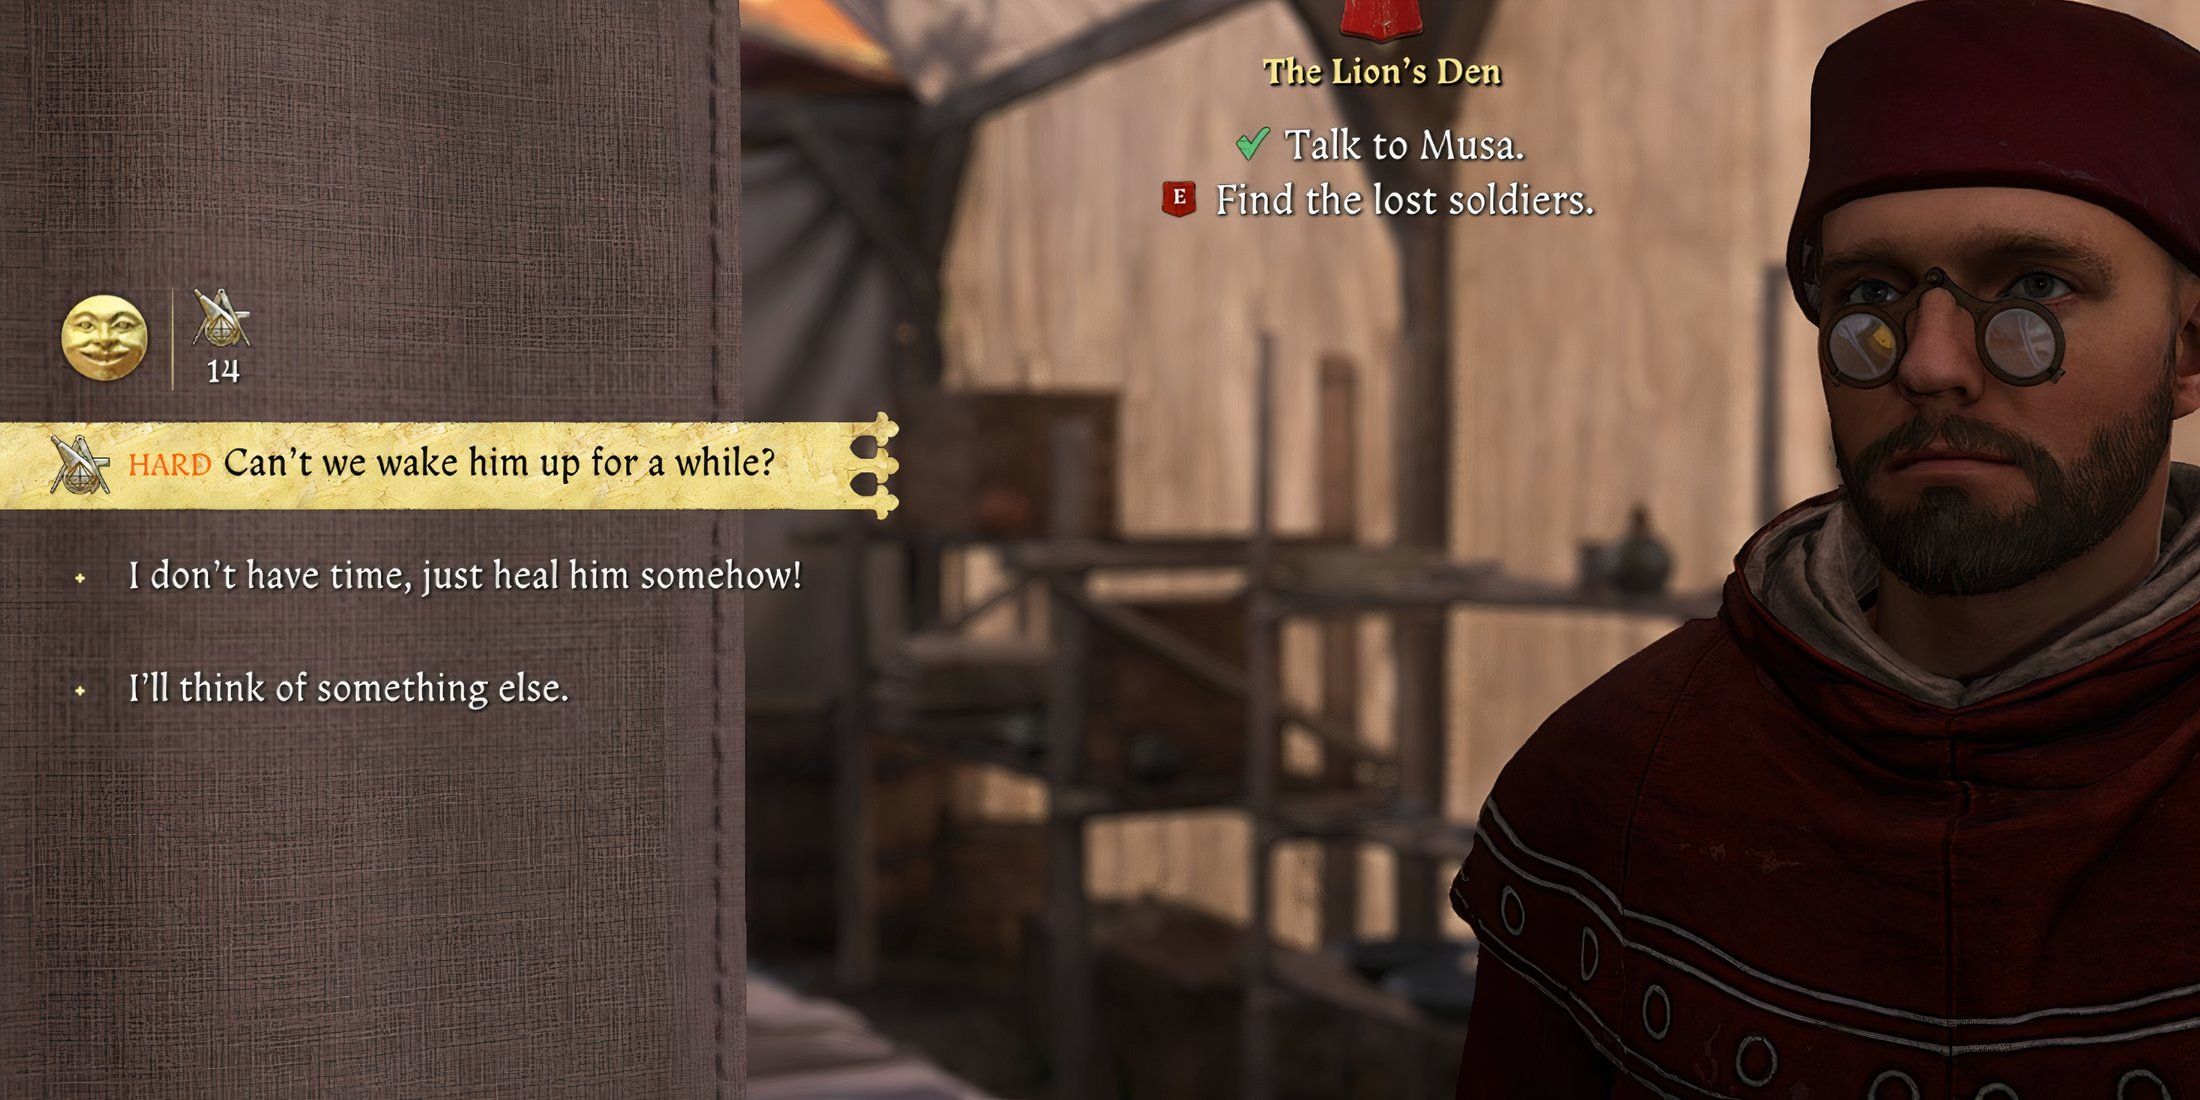
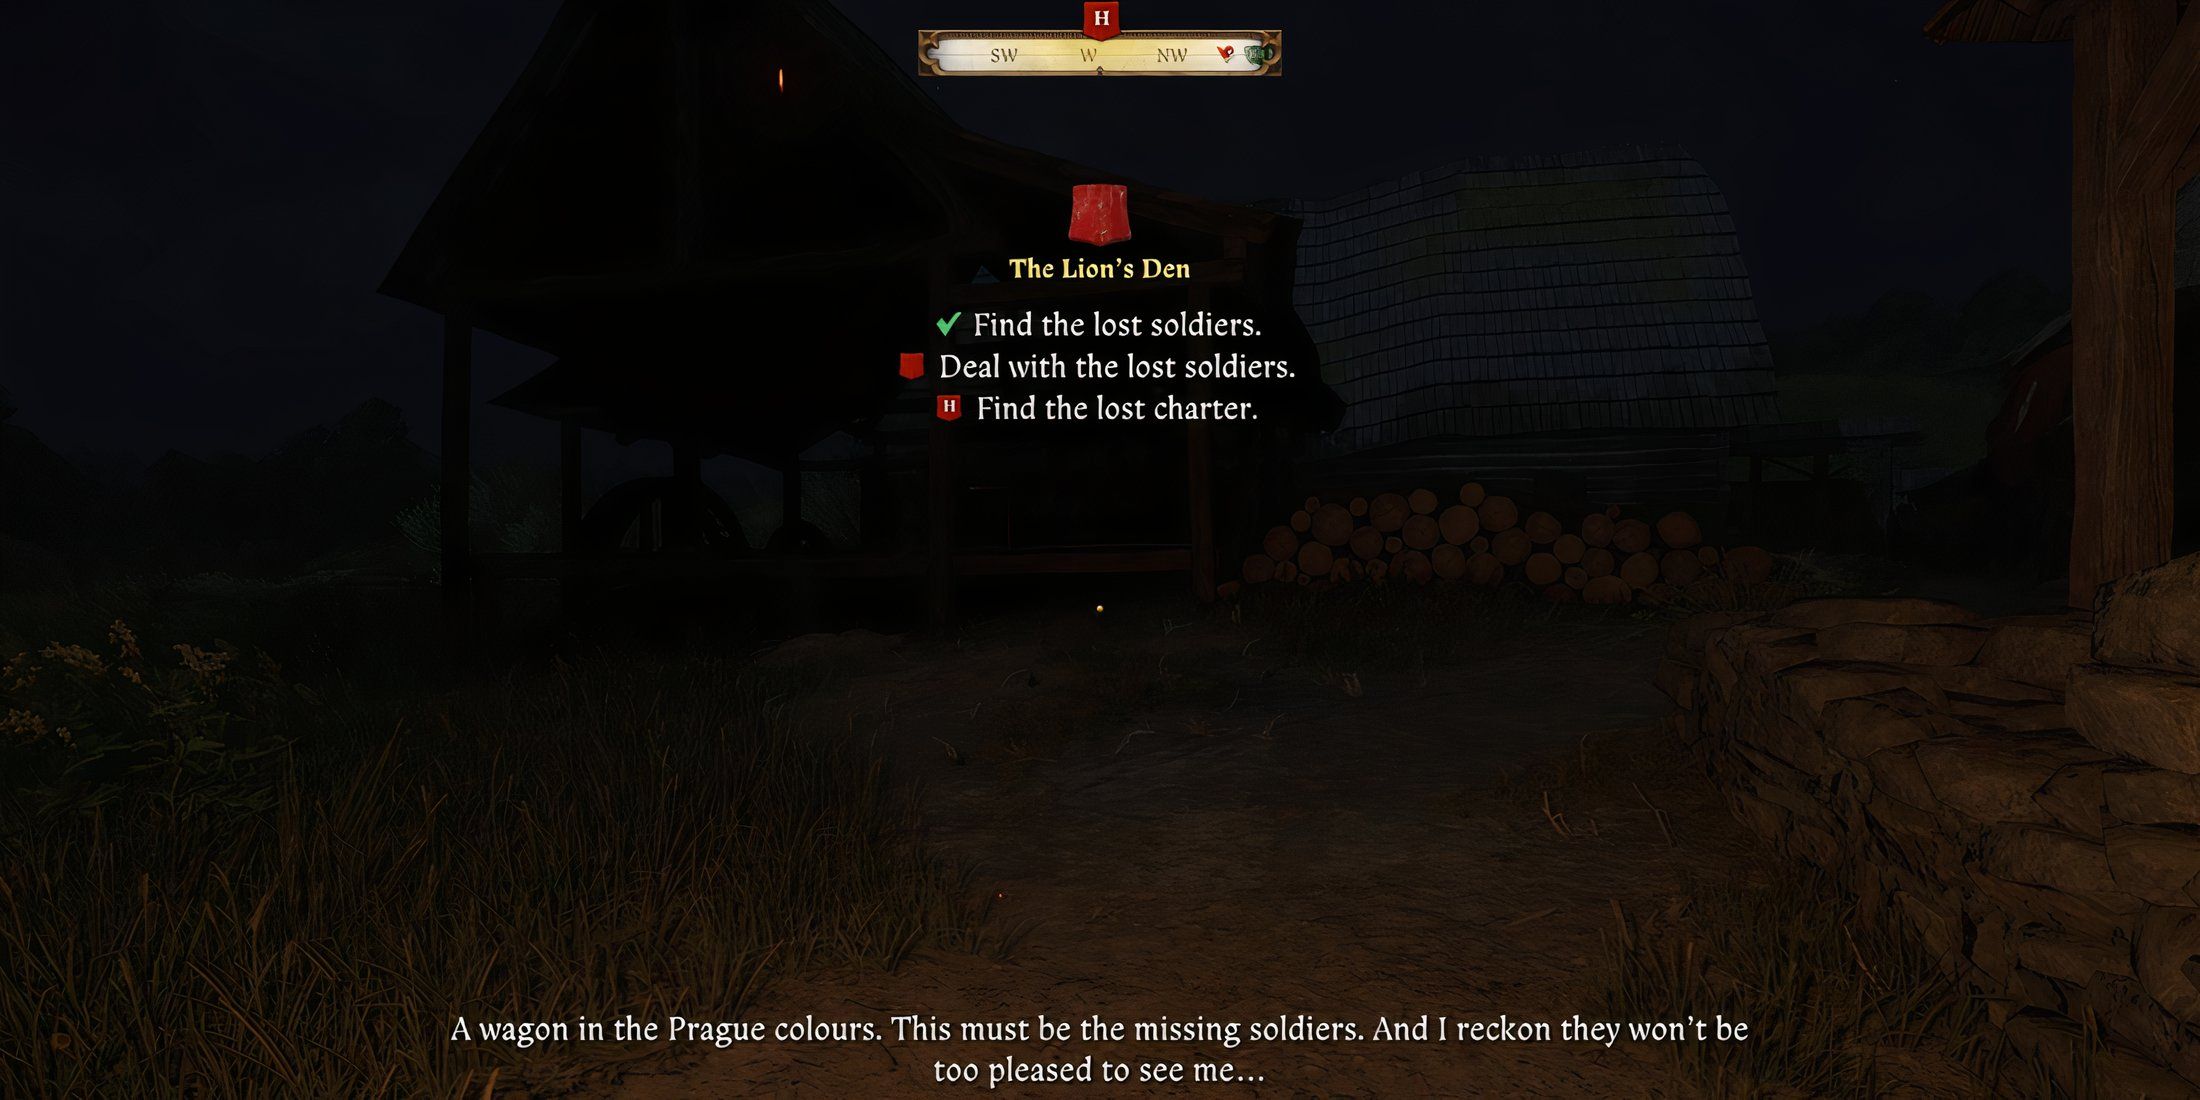
Find the Lost Soldiers
As a loyal follower, I’m granted entry by Commander Katz on his terms – a small favor. It seems that a crucial document, accompanied by a team of soldiers, has mysteriously vanished. My mission, should I choose to accept it, is to track down these missing troops and recover the document at hand.
Talk to Musa of Mali About Myshek
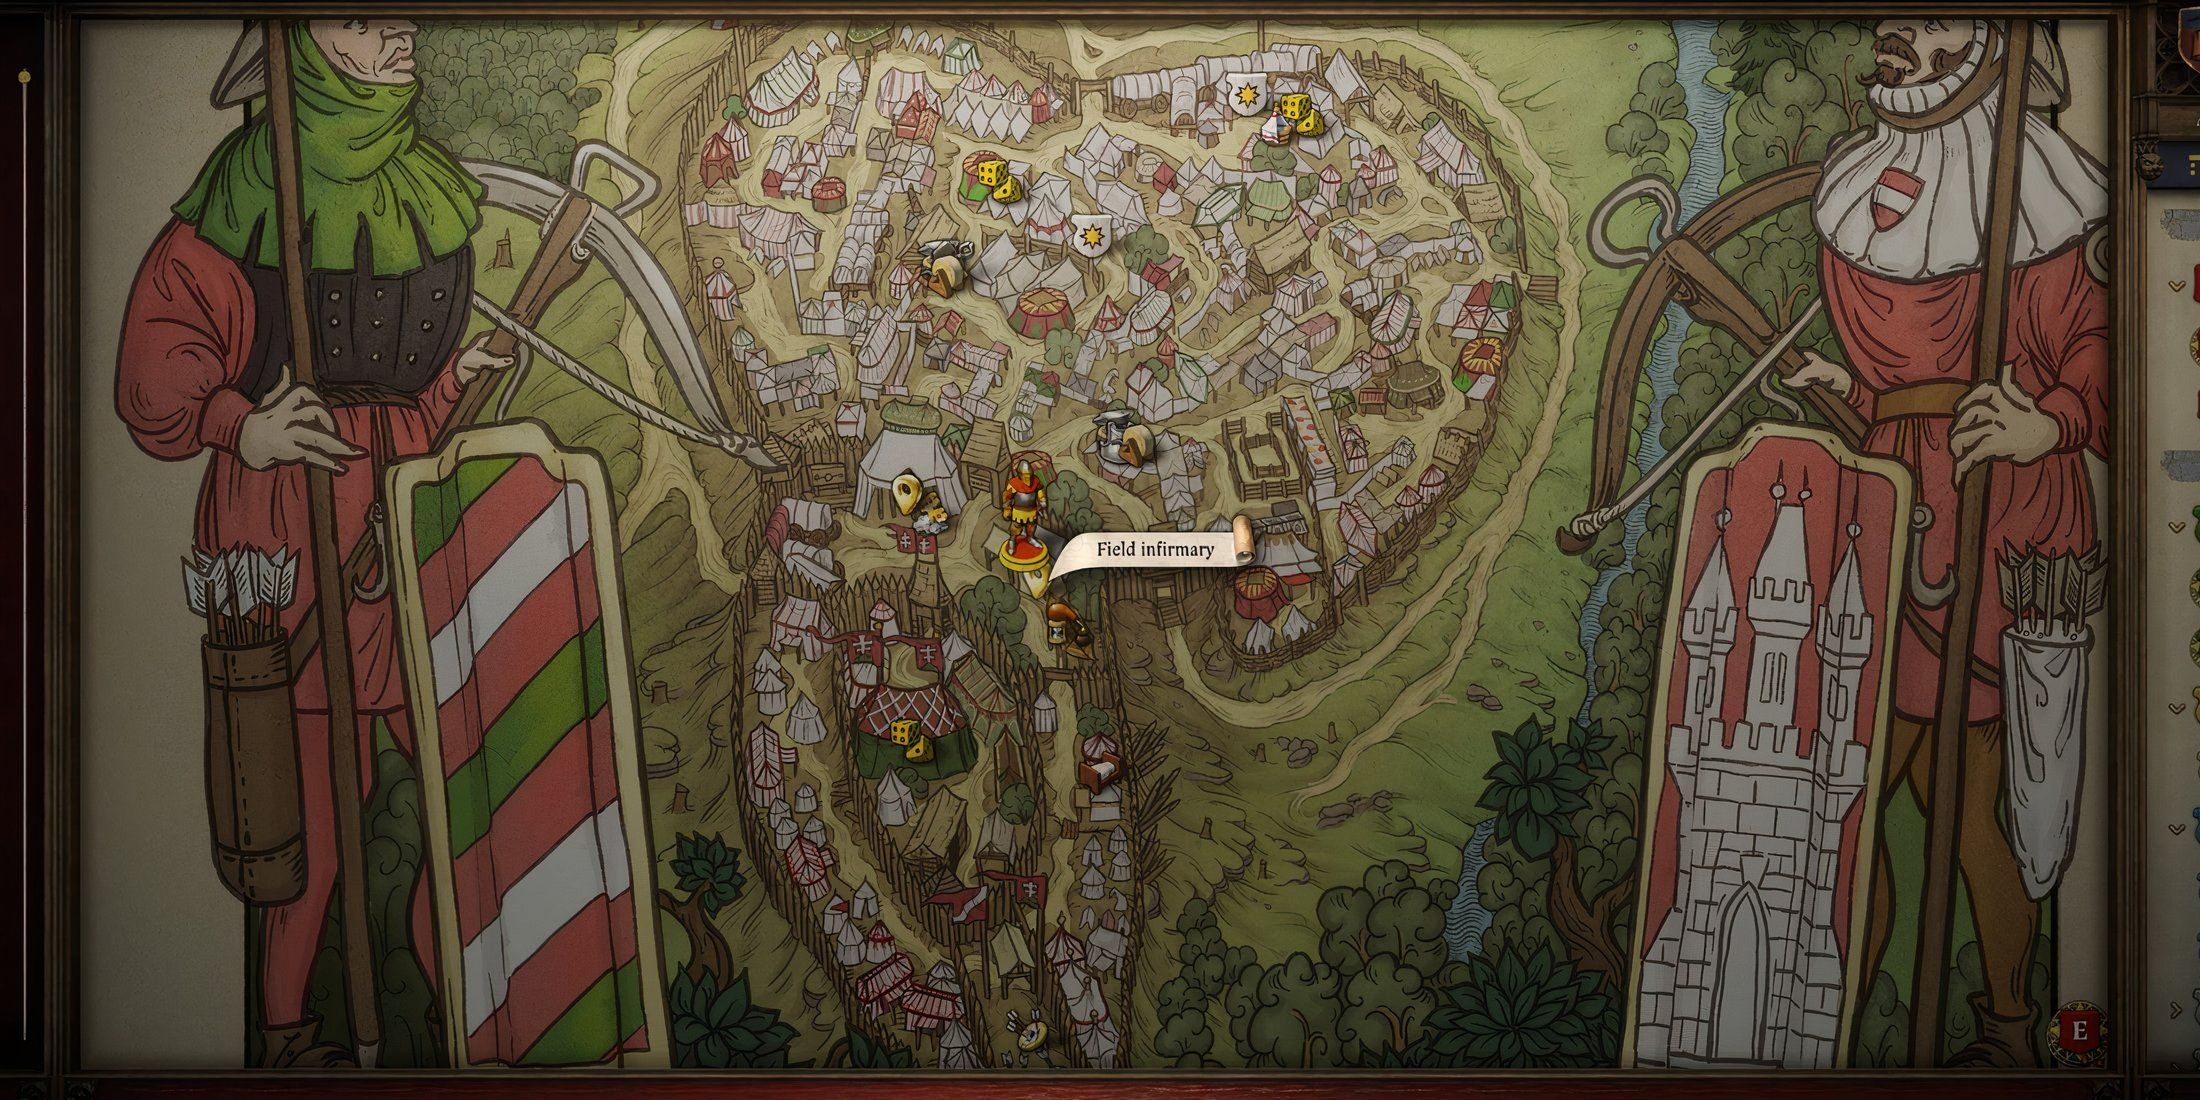
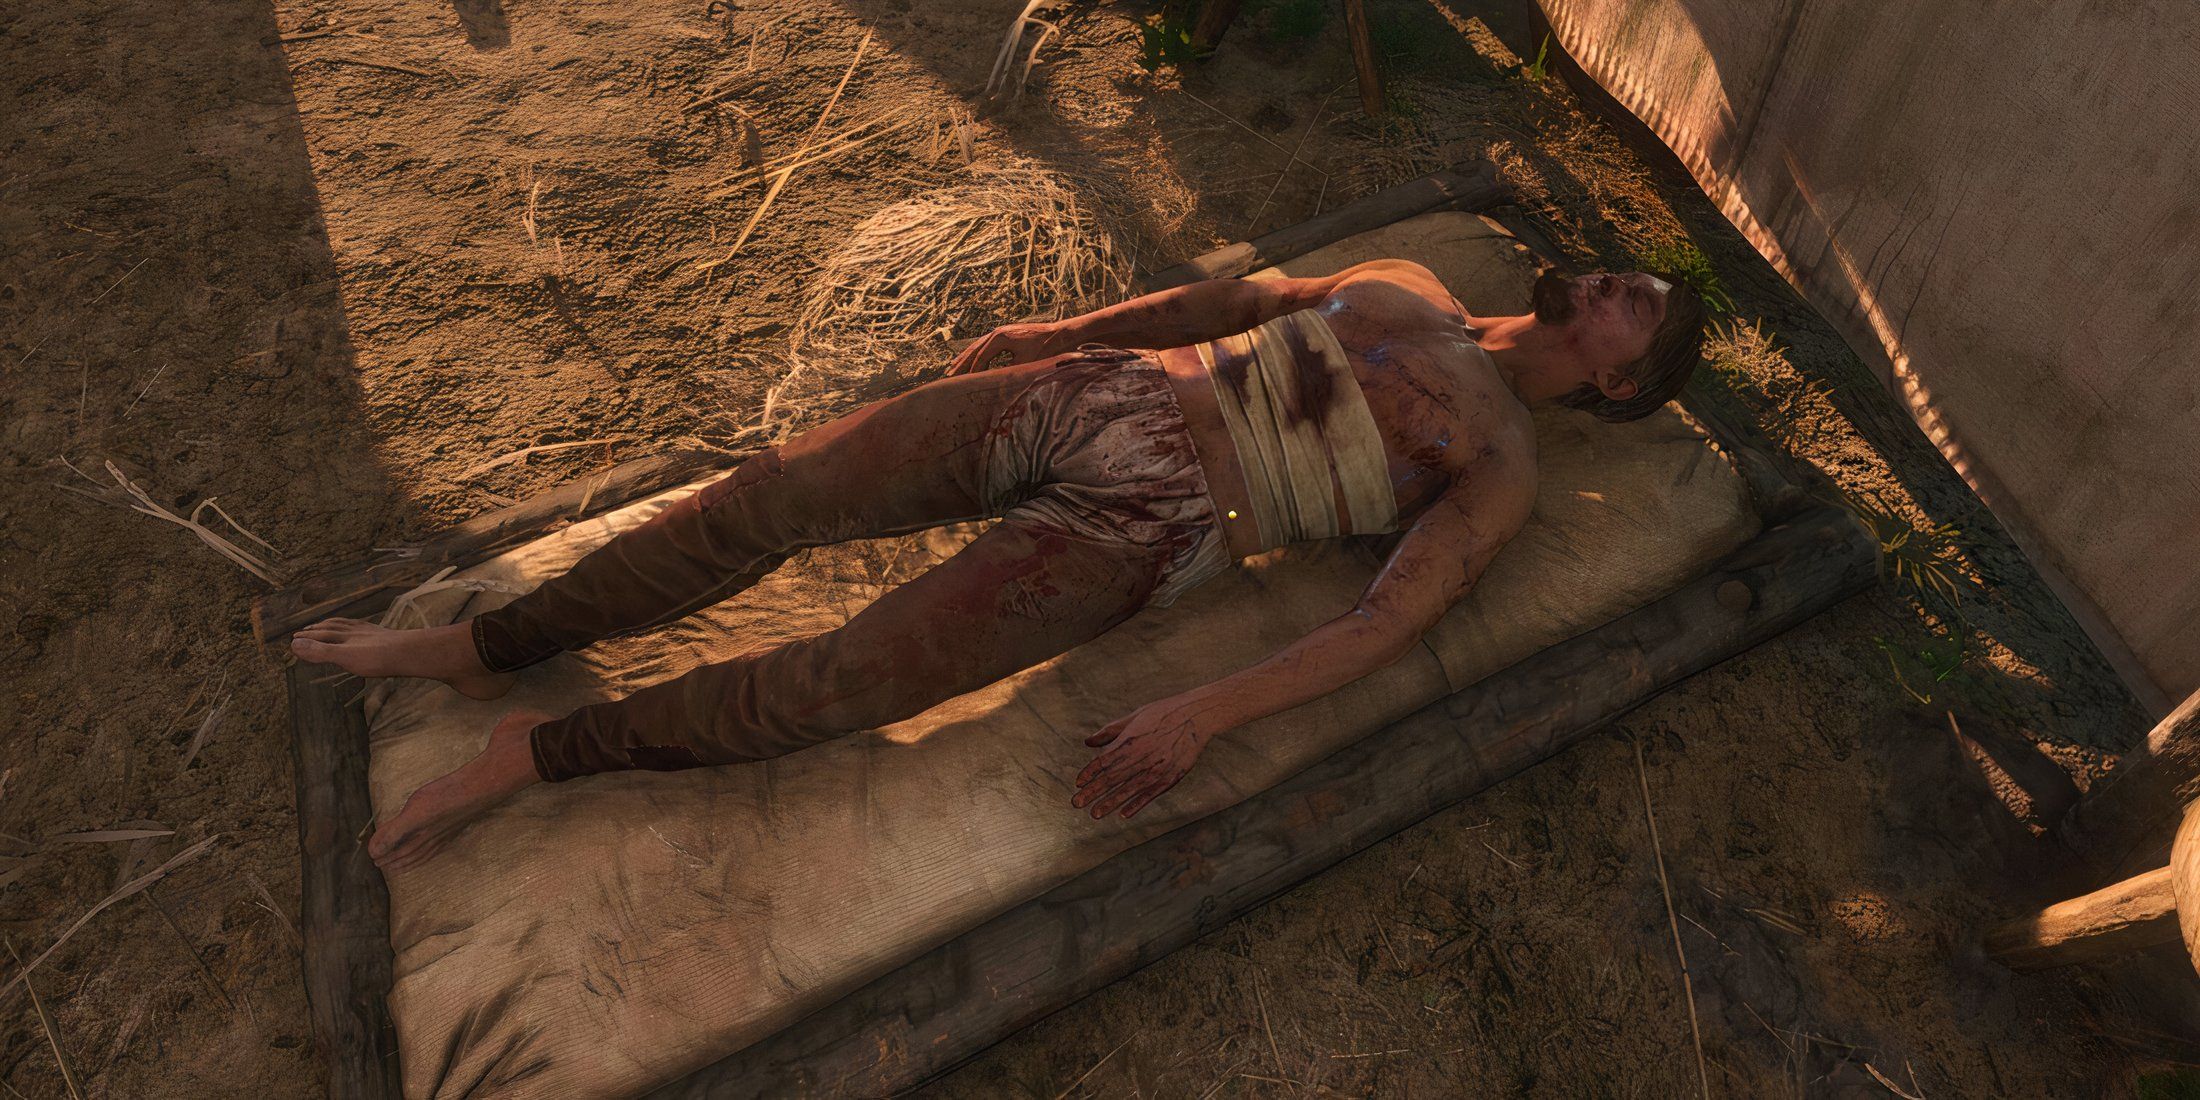
In the medical tent, one soldier named Myshek had come back from battle gravely injured. He’s being tended by another soldier named Musa at present. If players manage to successfully pass an advanced Alchemy test, they might find favor with Musa and acquire additional information from him. Musa shared with Henry that Myshek is currently in a deep slumber, but a potent Cockerel Elixir could rouse him temporarily to ask about the events leading up to his injury.
Players can either purchase a potion from an Alchemist in one of the nearby towns or make it on their own. To enhance the potion’s strength, players must gather fresh ingredients.
- Mint – found in community gardens and growing around people’s houses.
- Valerian – found near bodies of water such as lakes, rivers, and ponds.
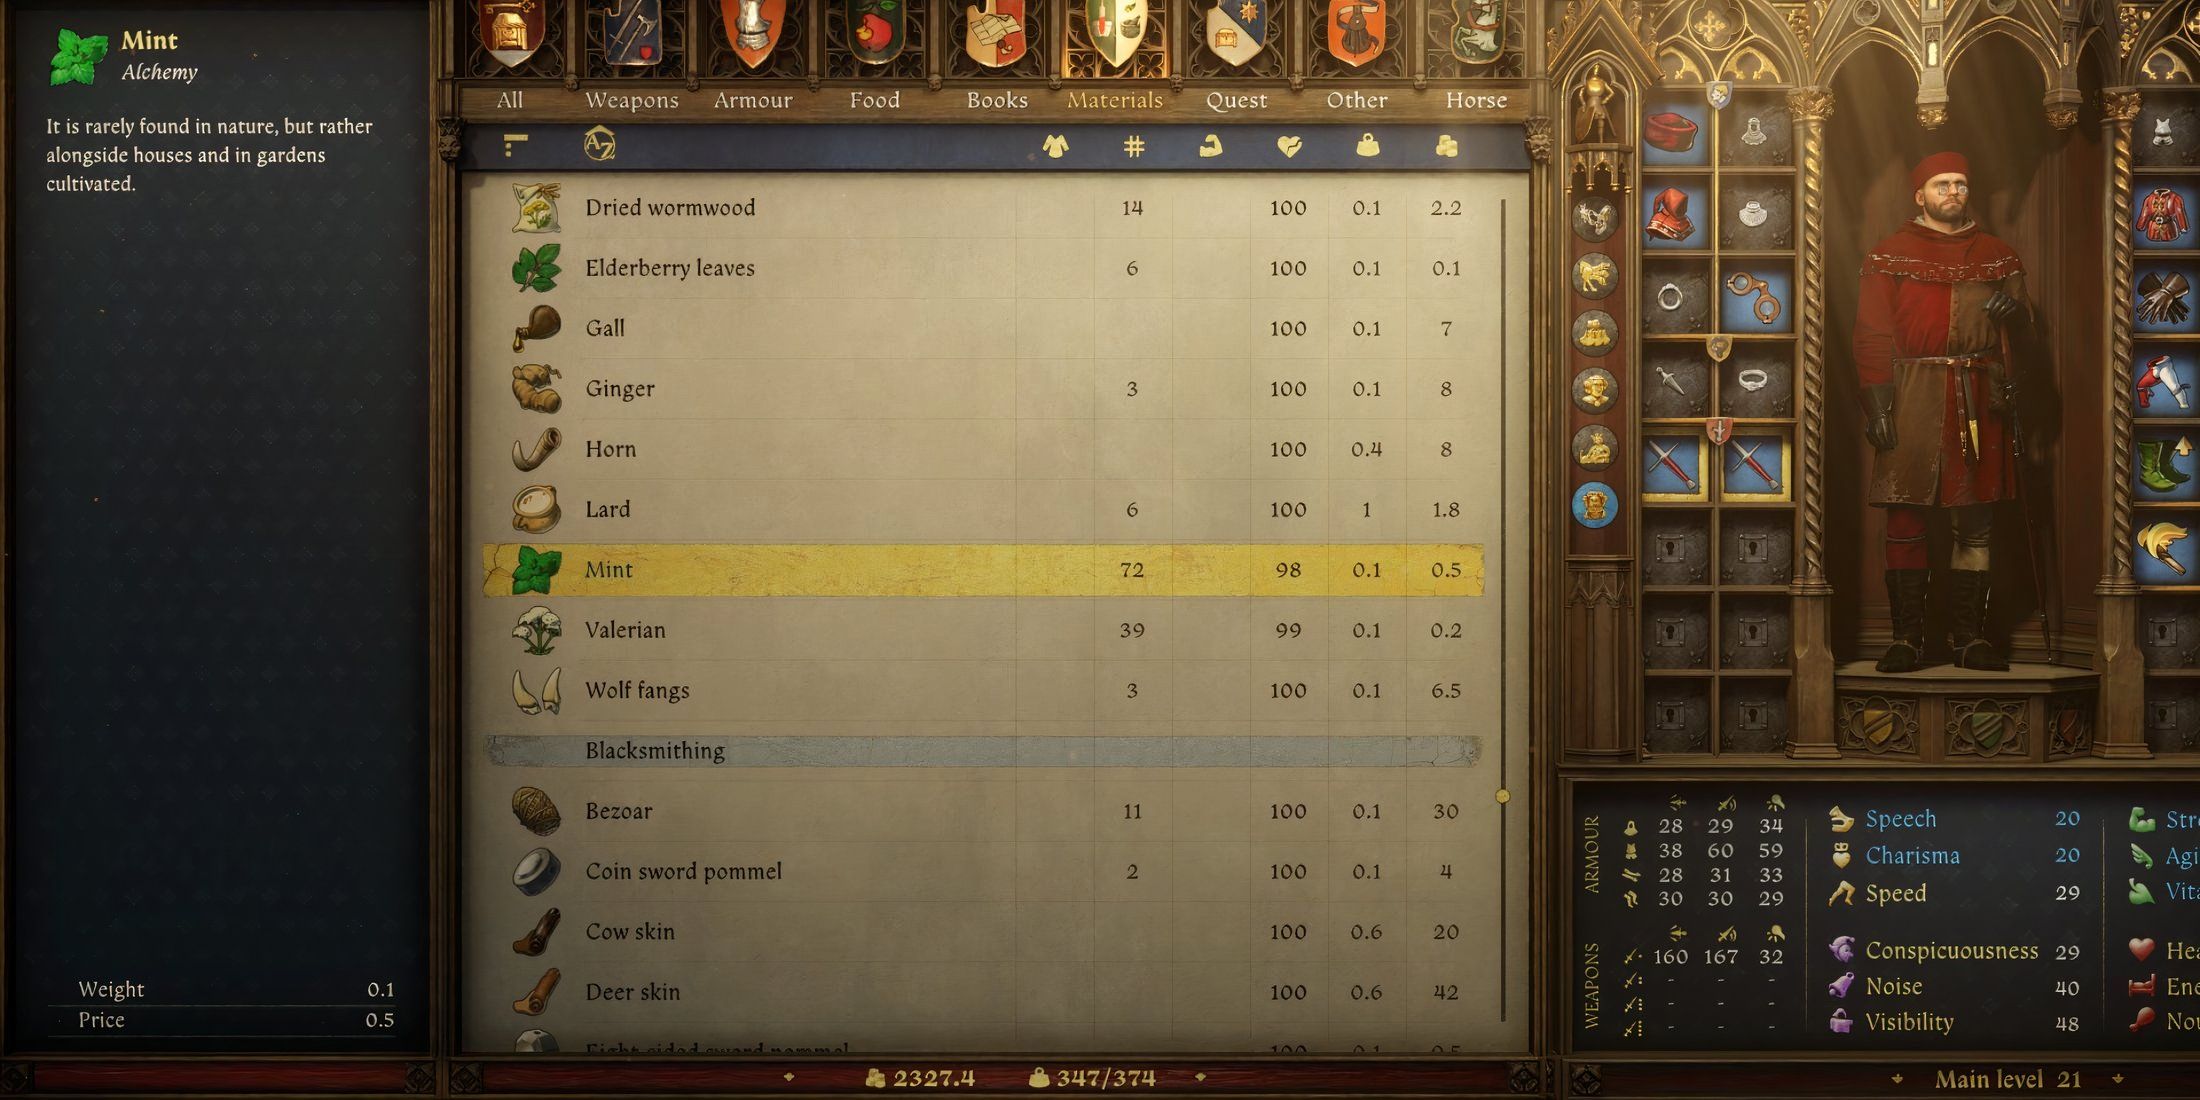
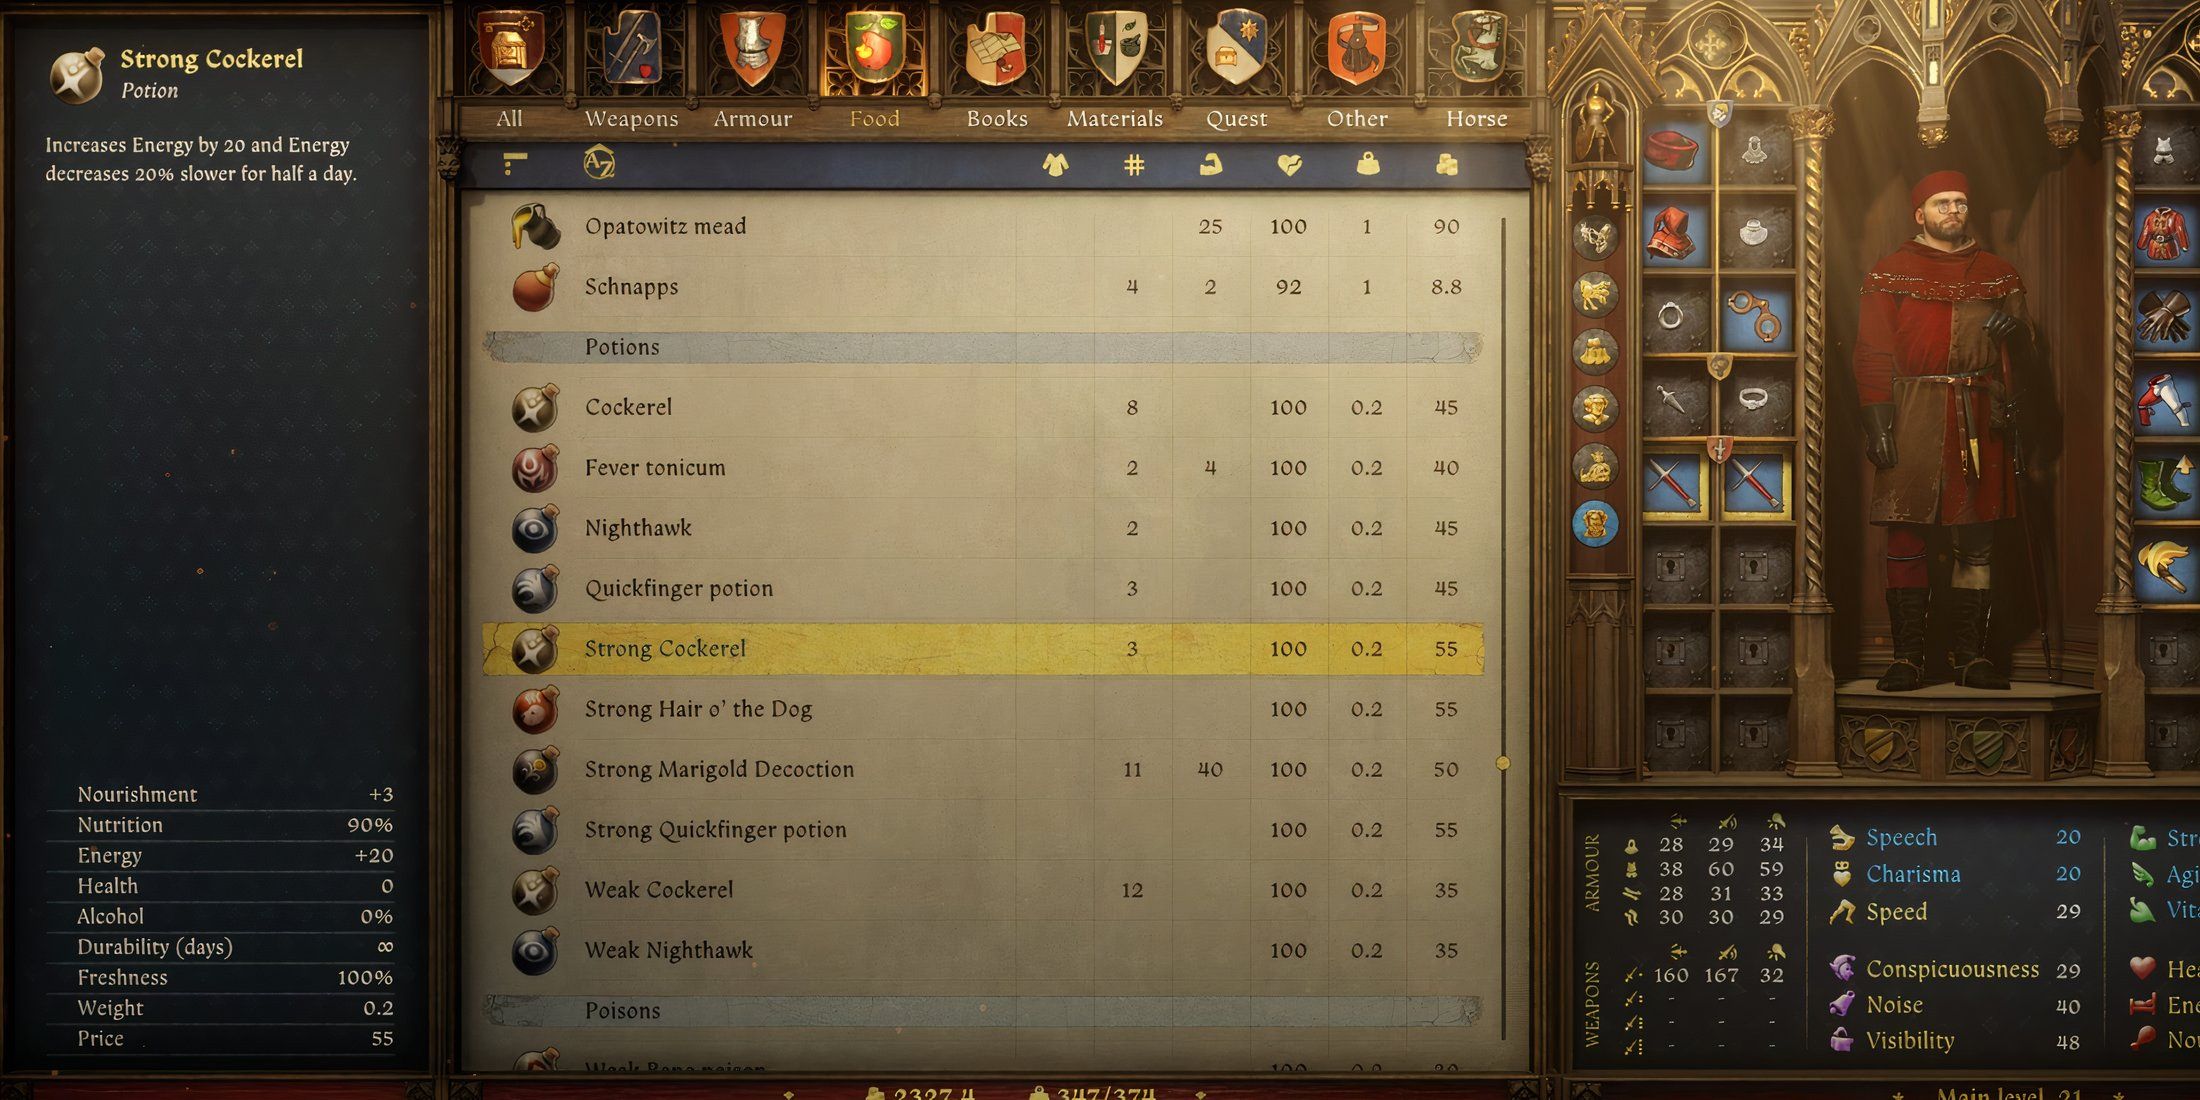
The potion must be of Strong quality, or it will kill Myshek.
In his disclosure, Myshek unveiled that the soldiers had deceived their own ranks by pilfering the supplies and concealing themselves in the vicinity of Old Lhota, which lies close to southern Kuttenberg.
Go to Old Lhota

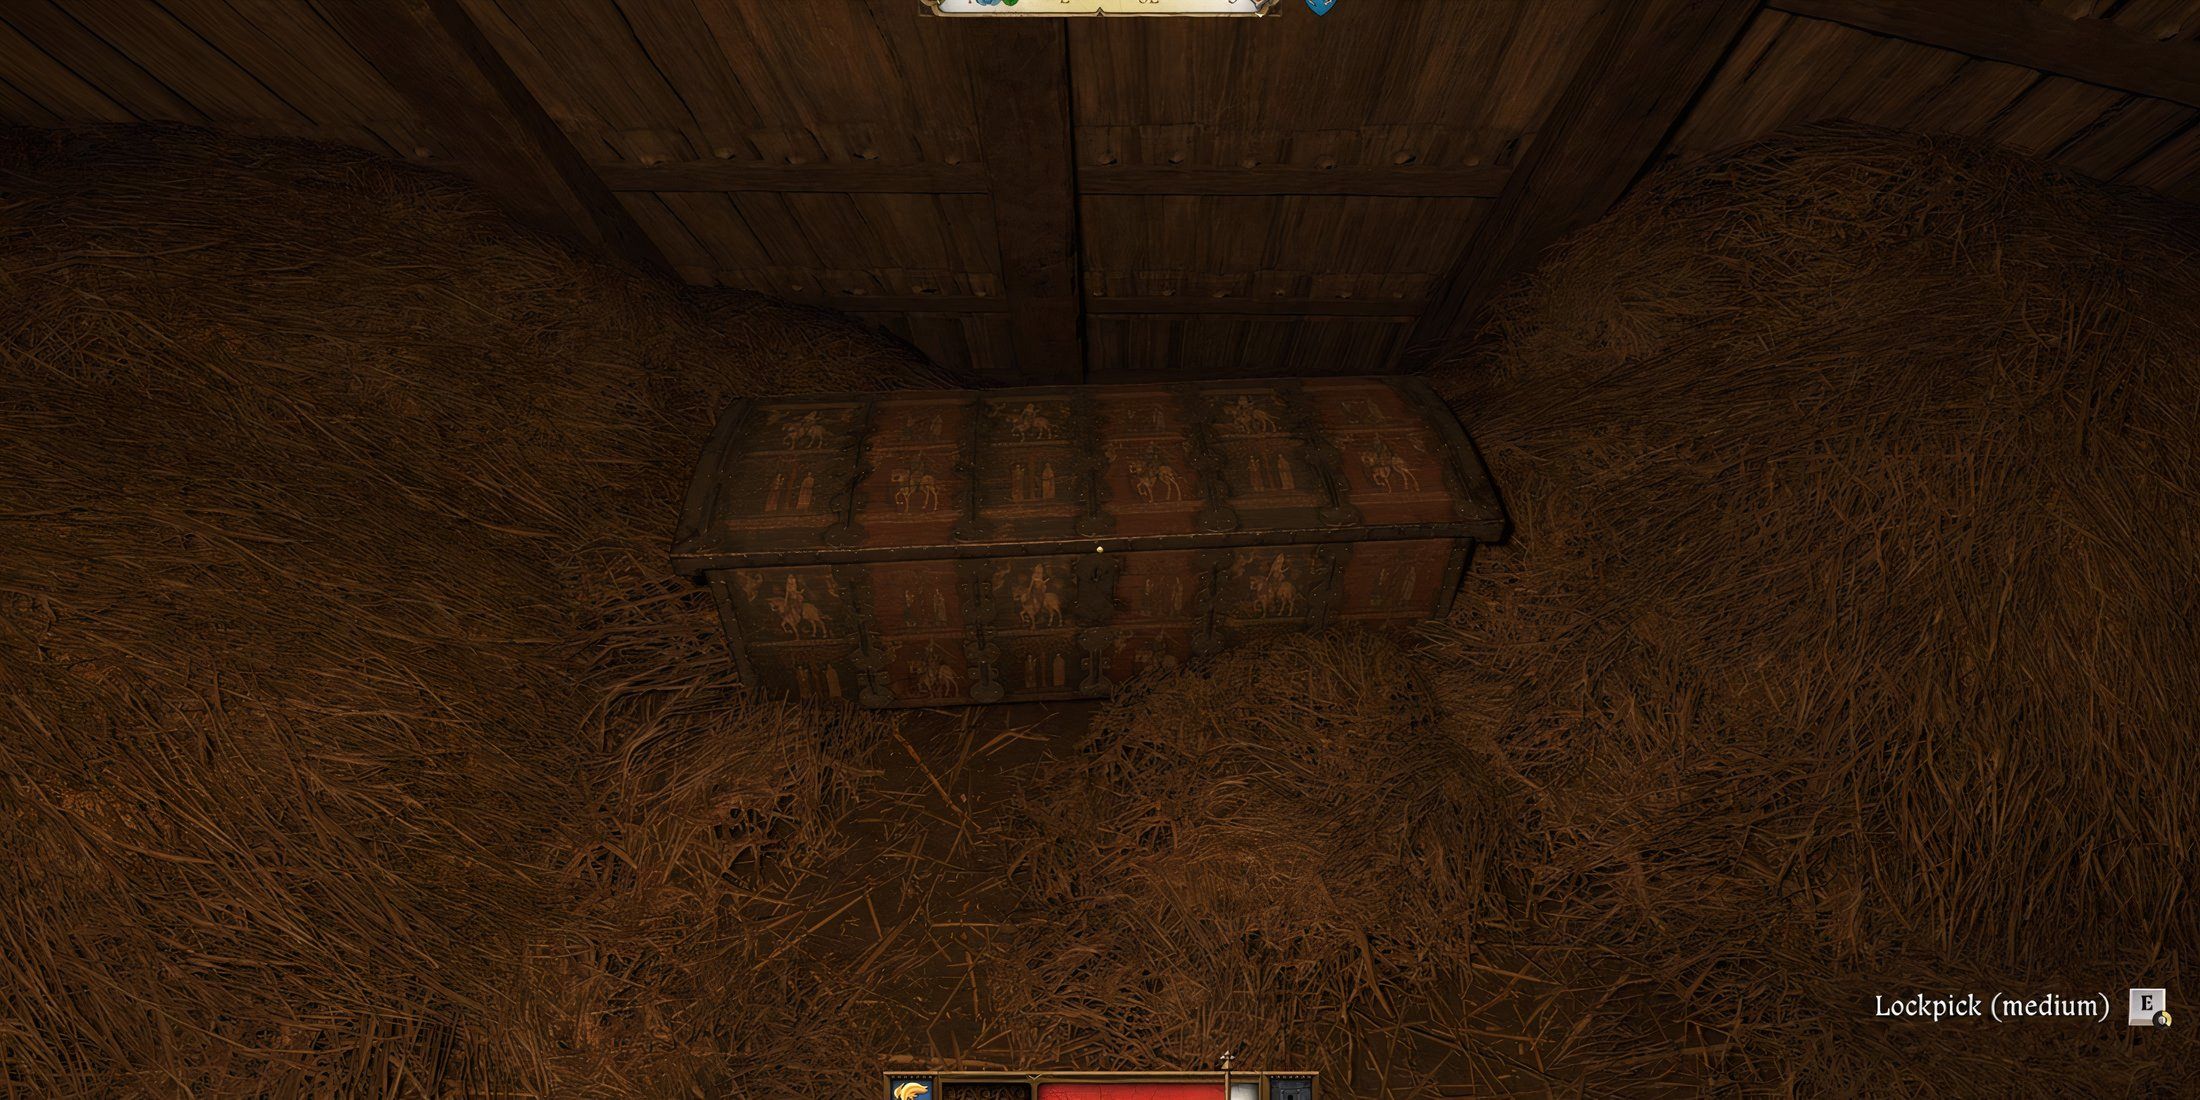
Players encounter soldiers, and they have several strategies: negotiating with them to obtain the document, stealthily taking it, or eliminating everyone present. In any case, the charter is located within a decorated chest situated in the upper sleeping quarters of the main cabin. Regardless of their approach, they’ll need to crack a tough lock to gain access.
If struggling with the lock, take a Quickfinger potion.
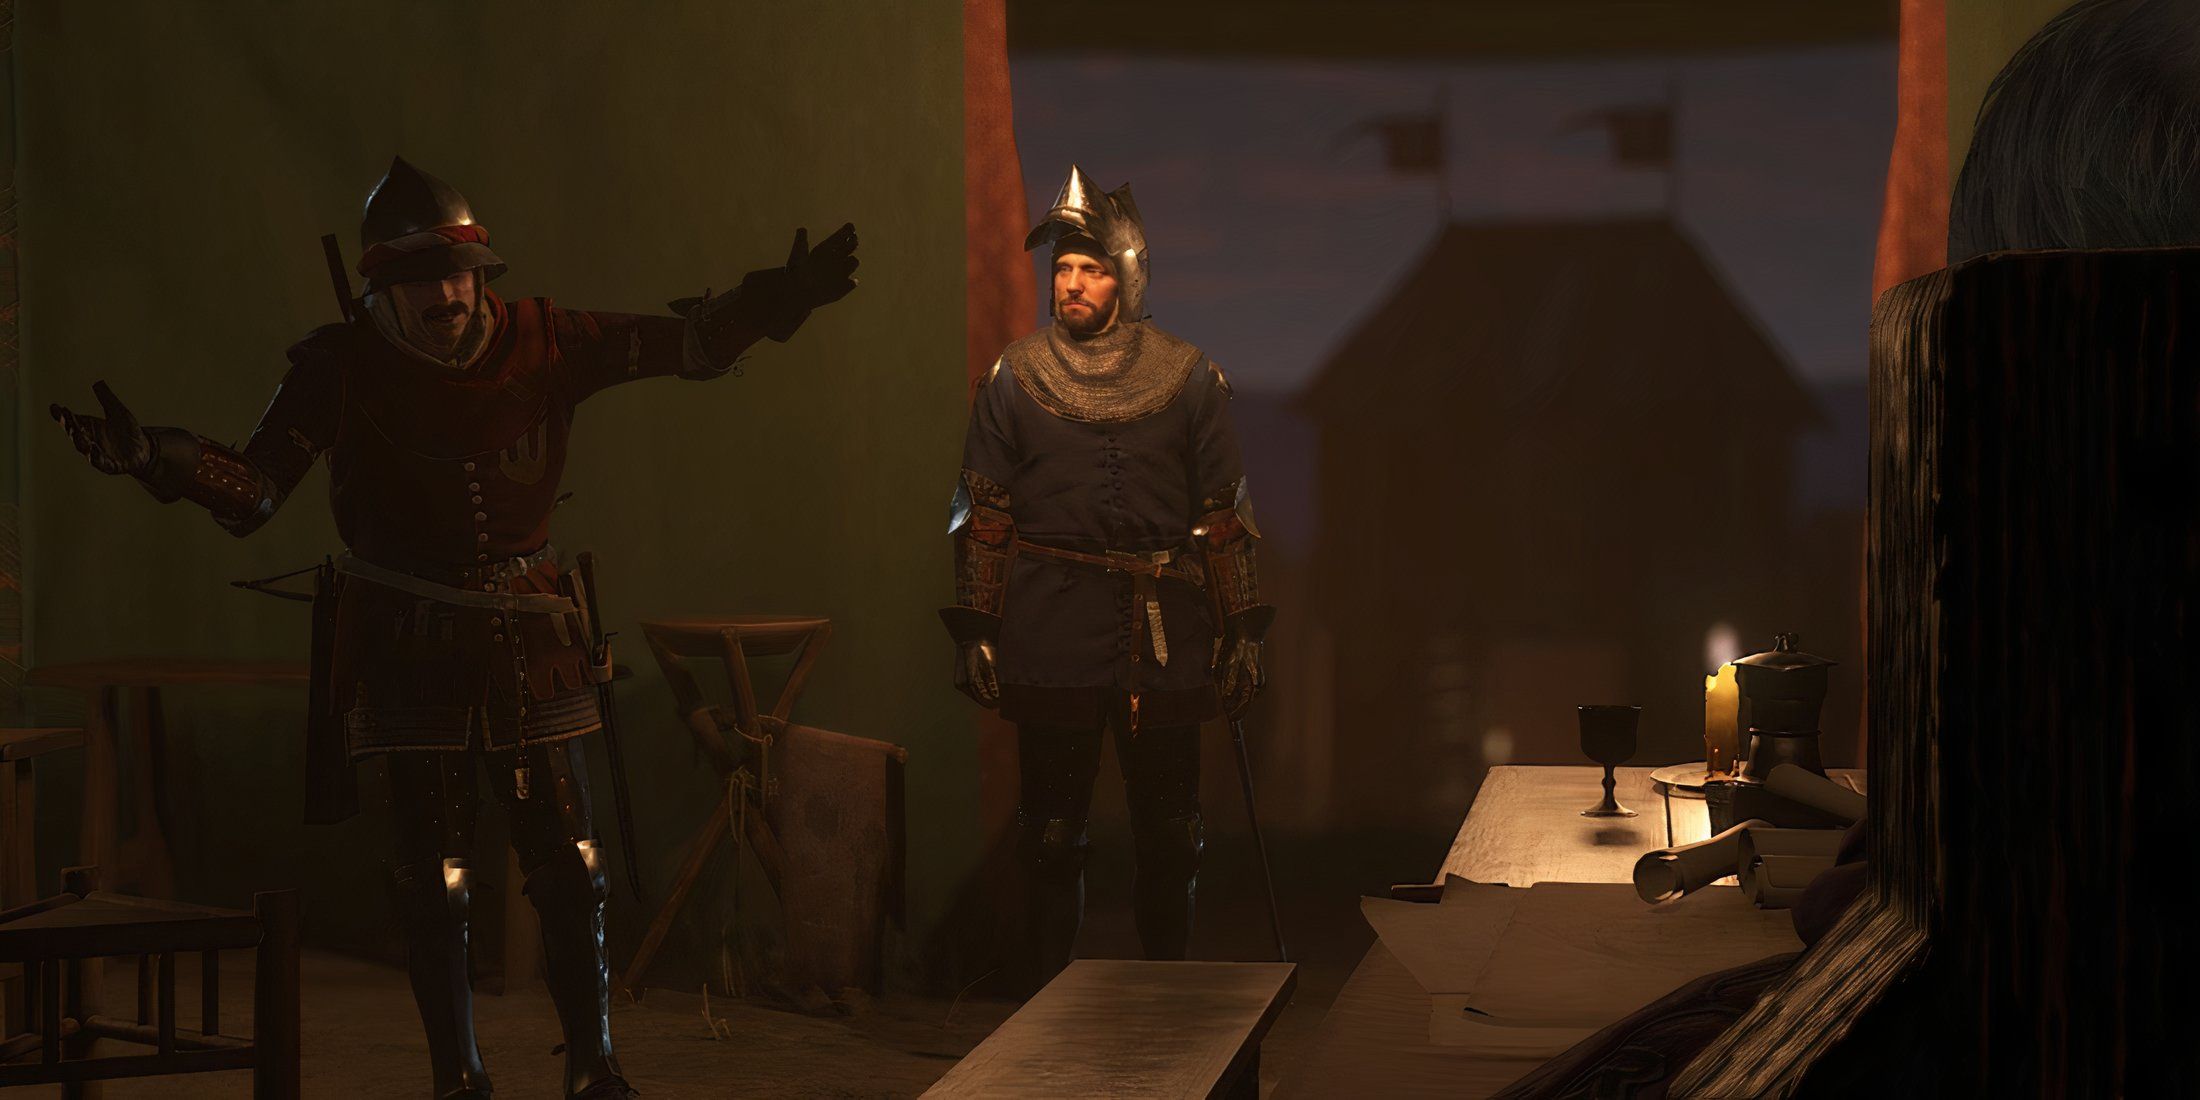
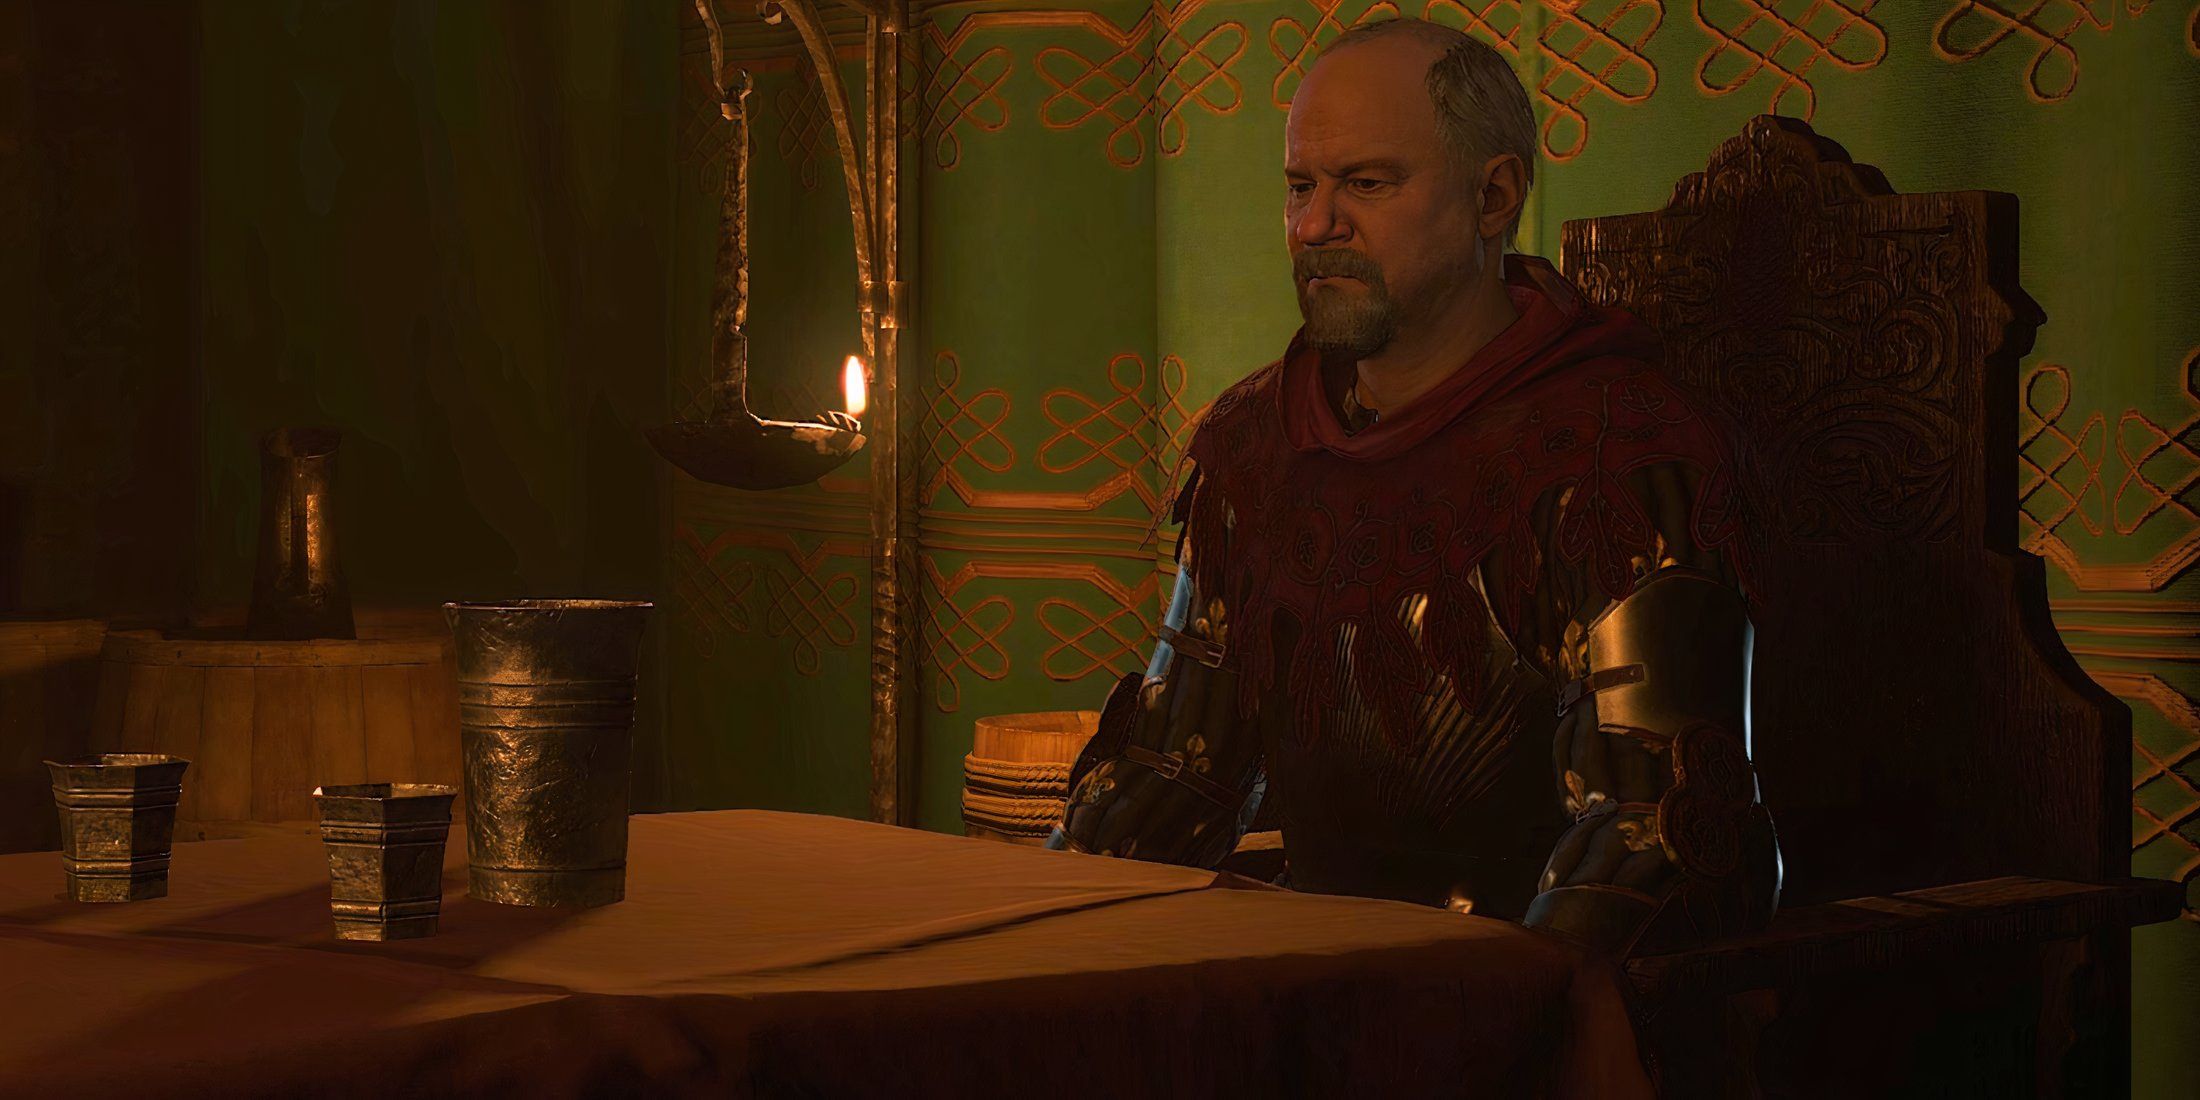
Holding the charter tightly, I make my way back to Commander Katz, eager to share the good news. Upon presenting it to him, his eyes light up, and he warmly welcomes me into our ranks. He offers me a spot in our esteemed army and extends an invitation for a celebratory night out with him and Musa – what an honor!
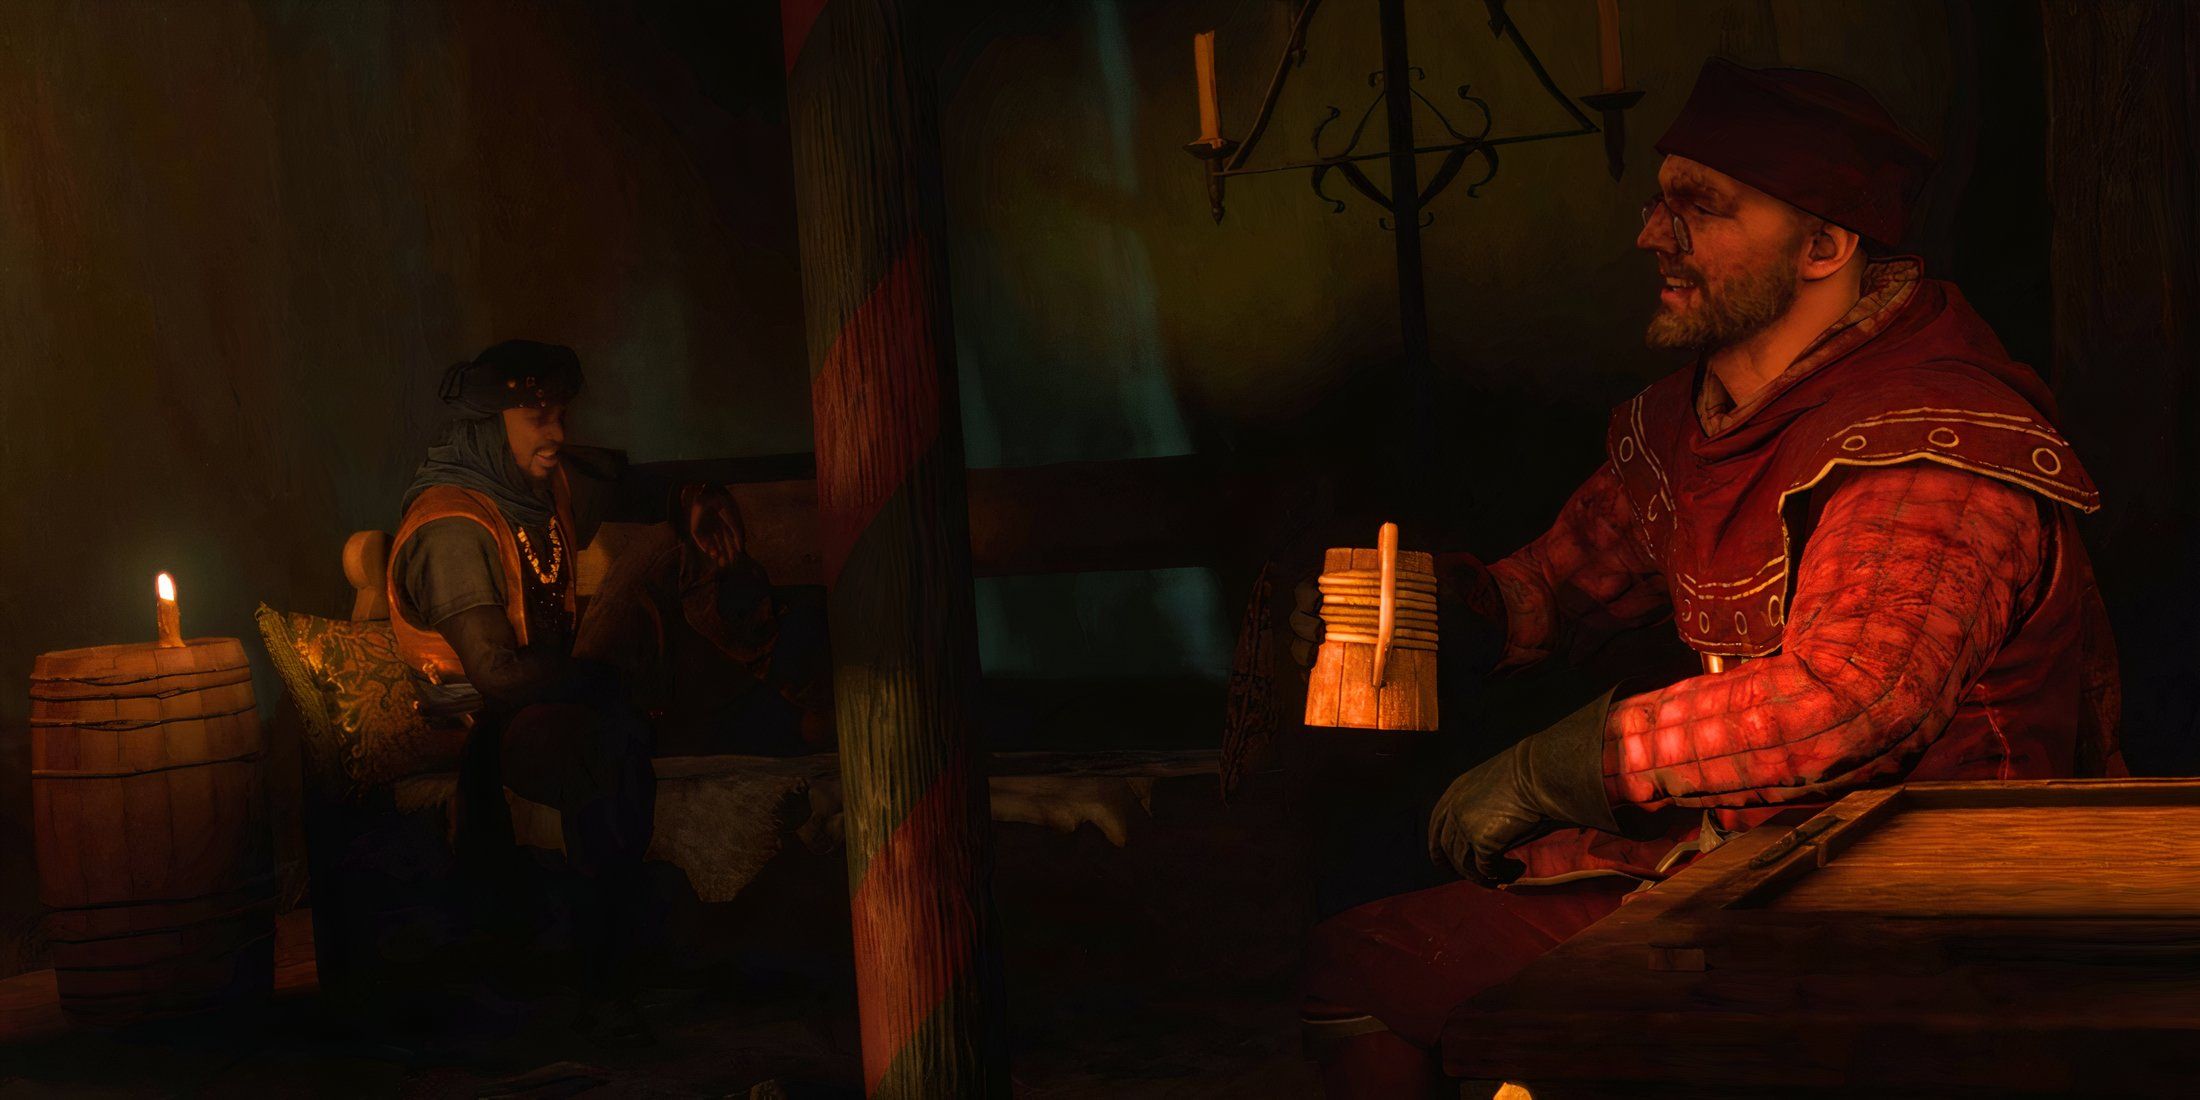
While the trio socializes and enjoys some refreshments, Katz proposes a game of dice against Henry. Go on, give it a try to brighten his mood. Regardless of who wins or loses, they’ll earn a favorable standing among their peers. However, the festivities are cut short as a soldier hastens up to deliver grim news.
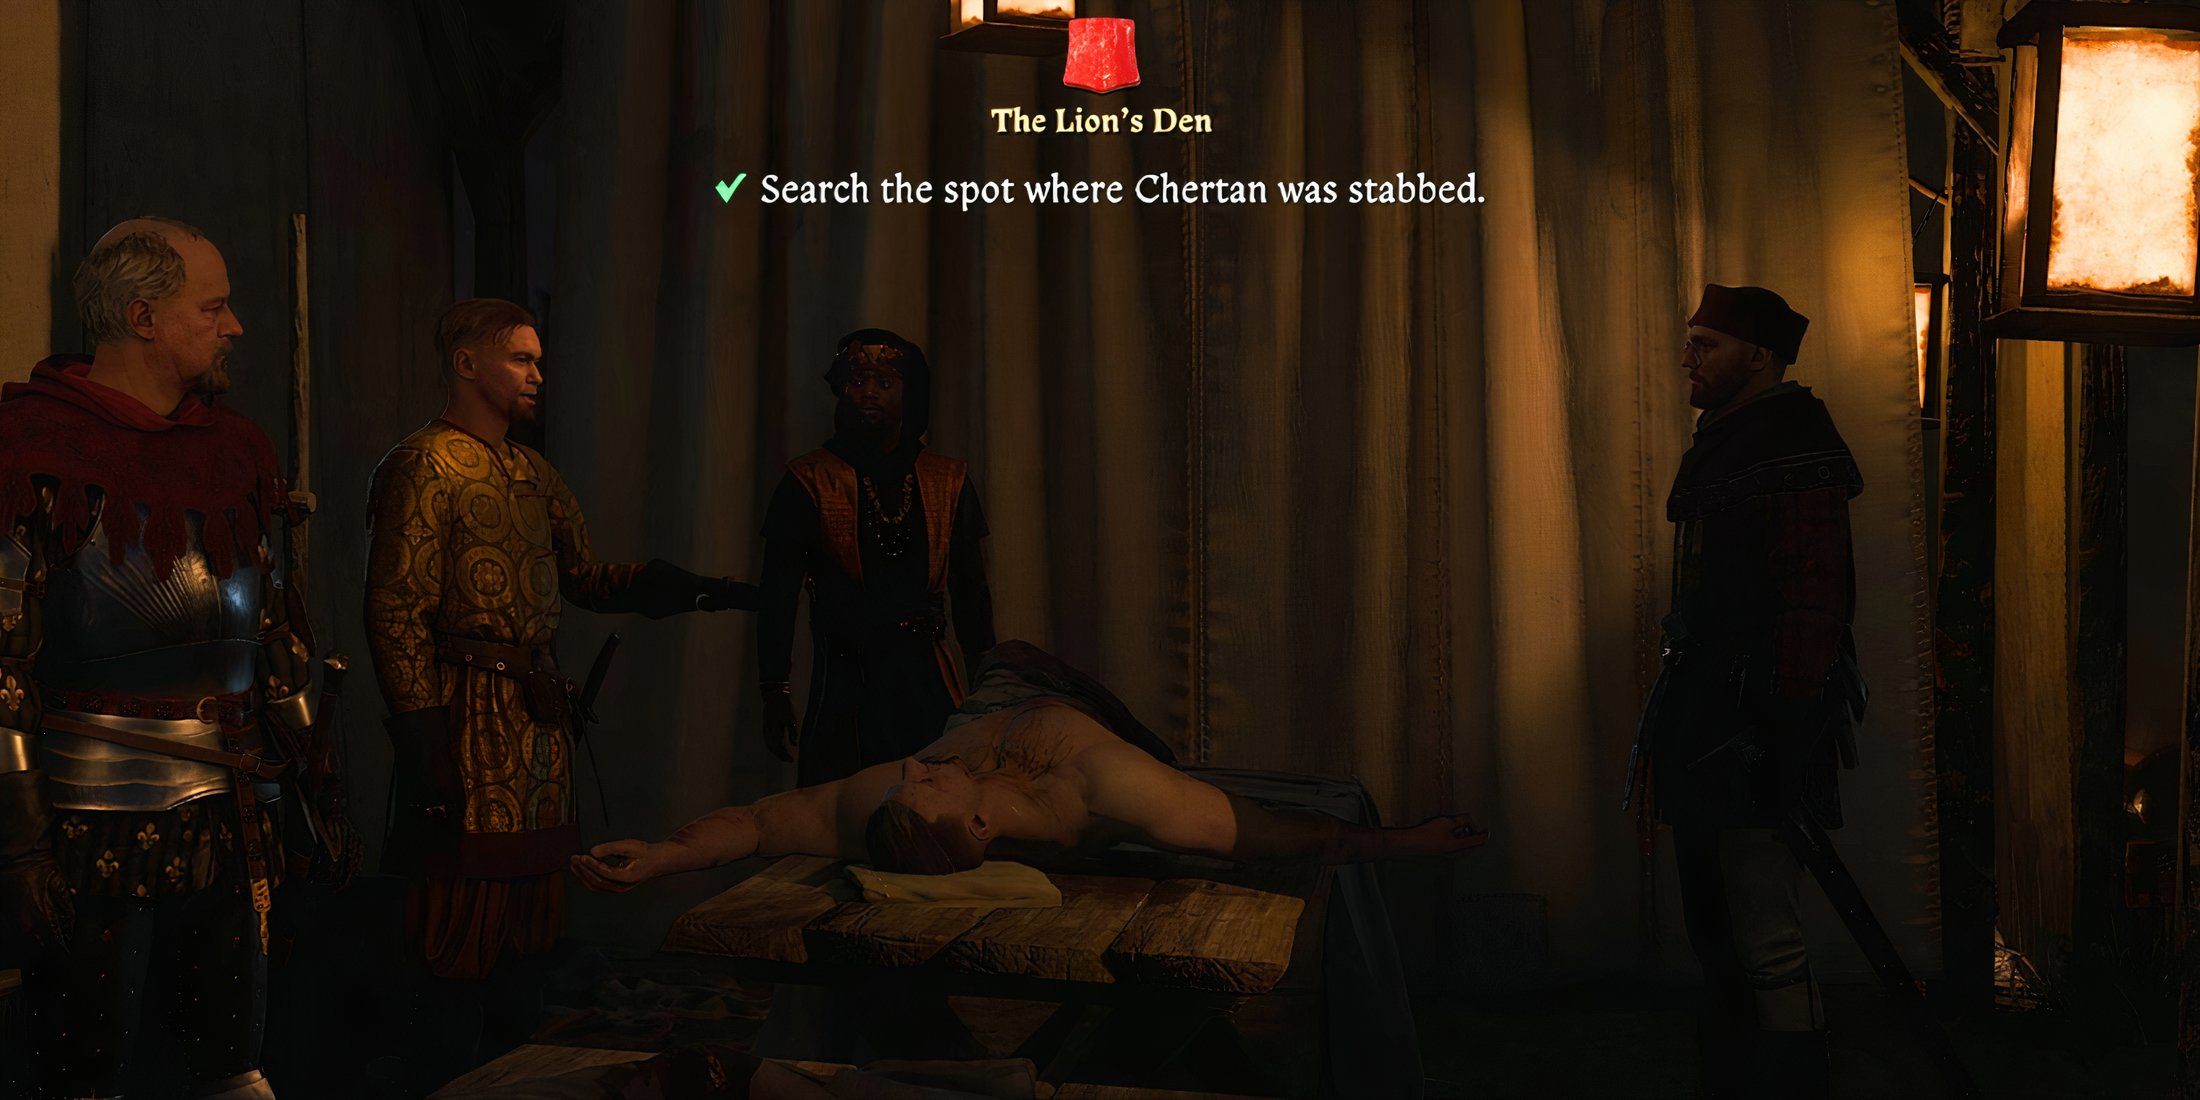
Search For Clues
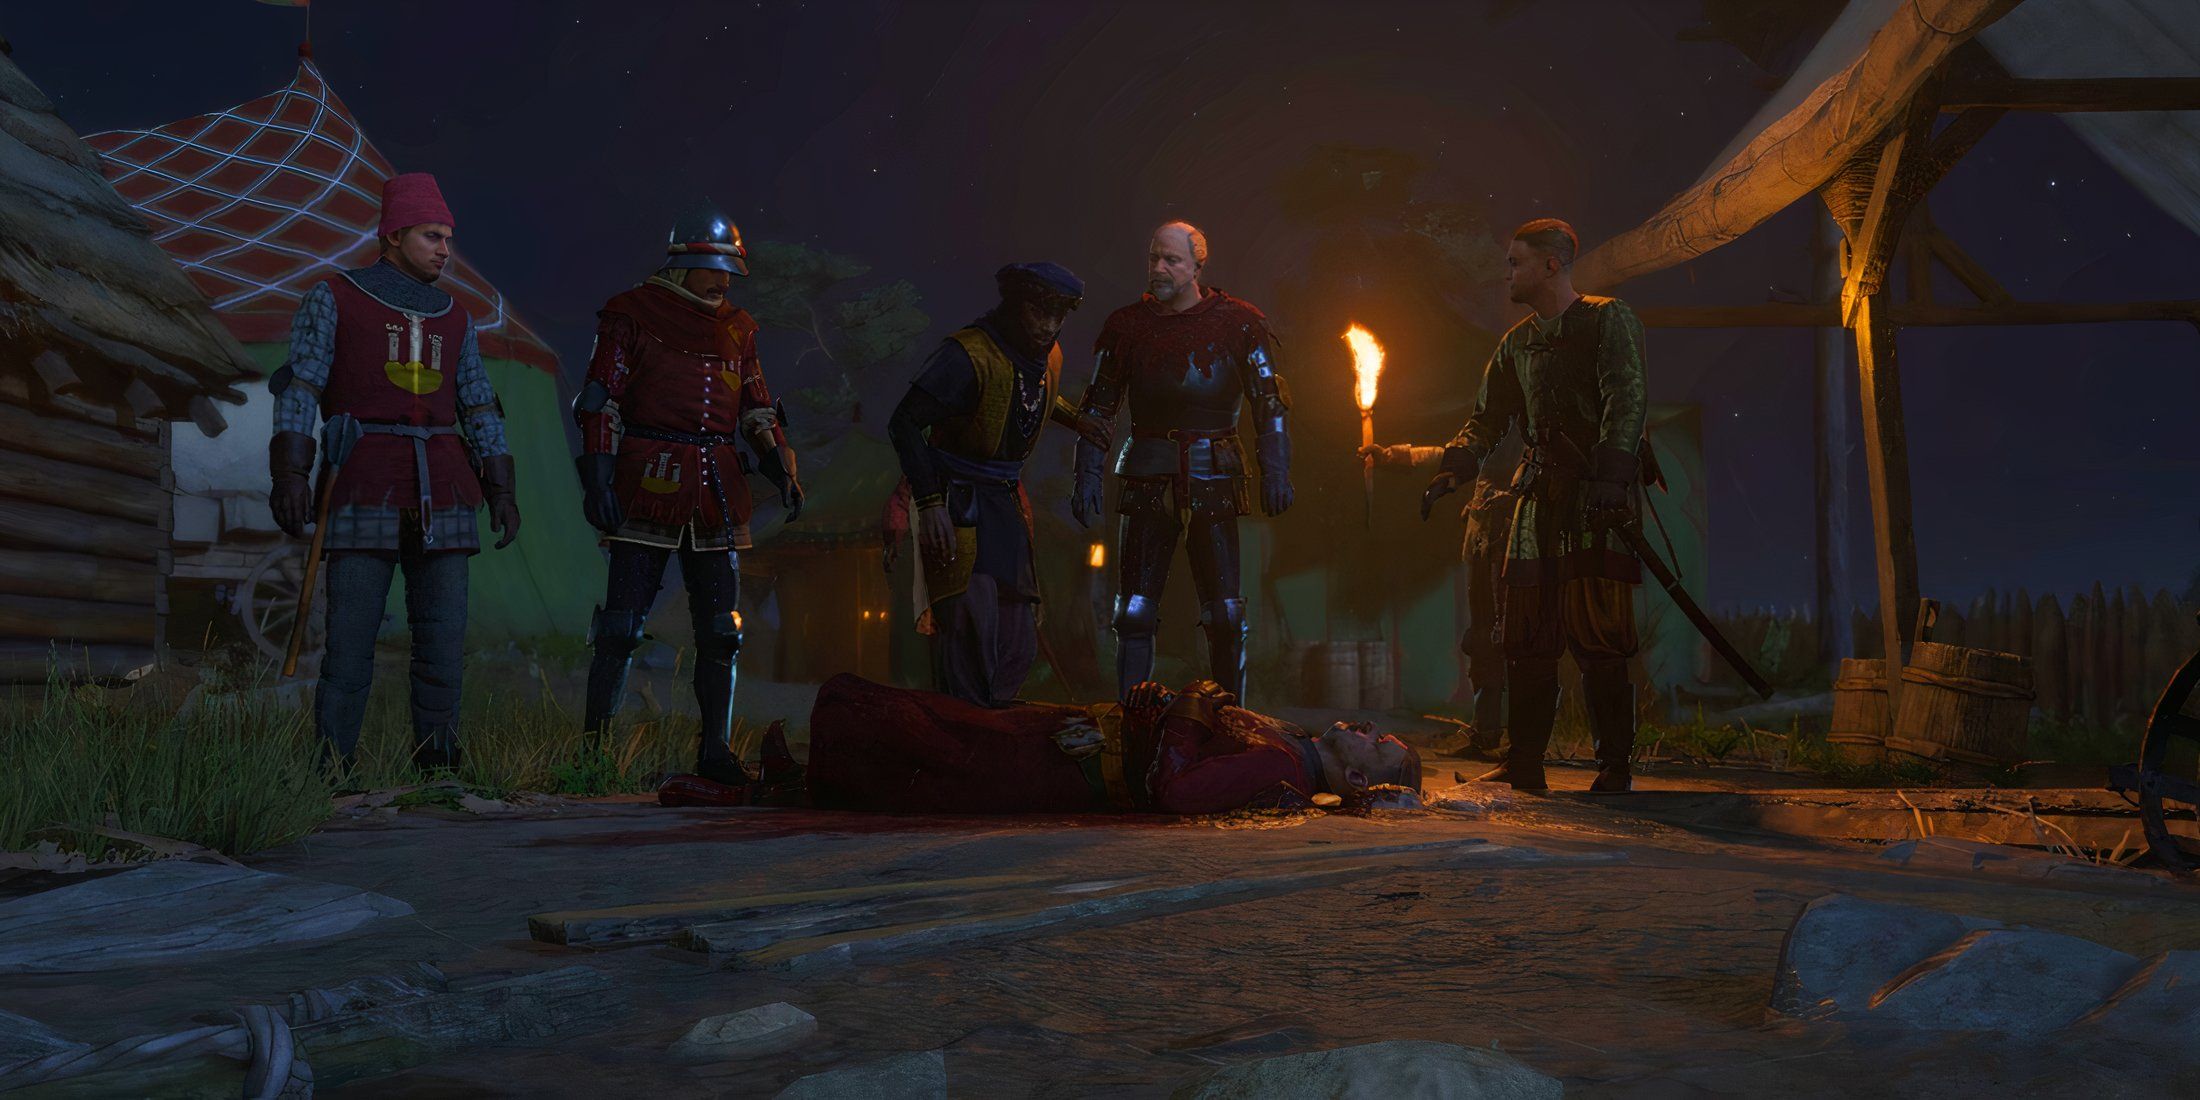
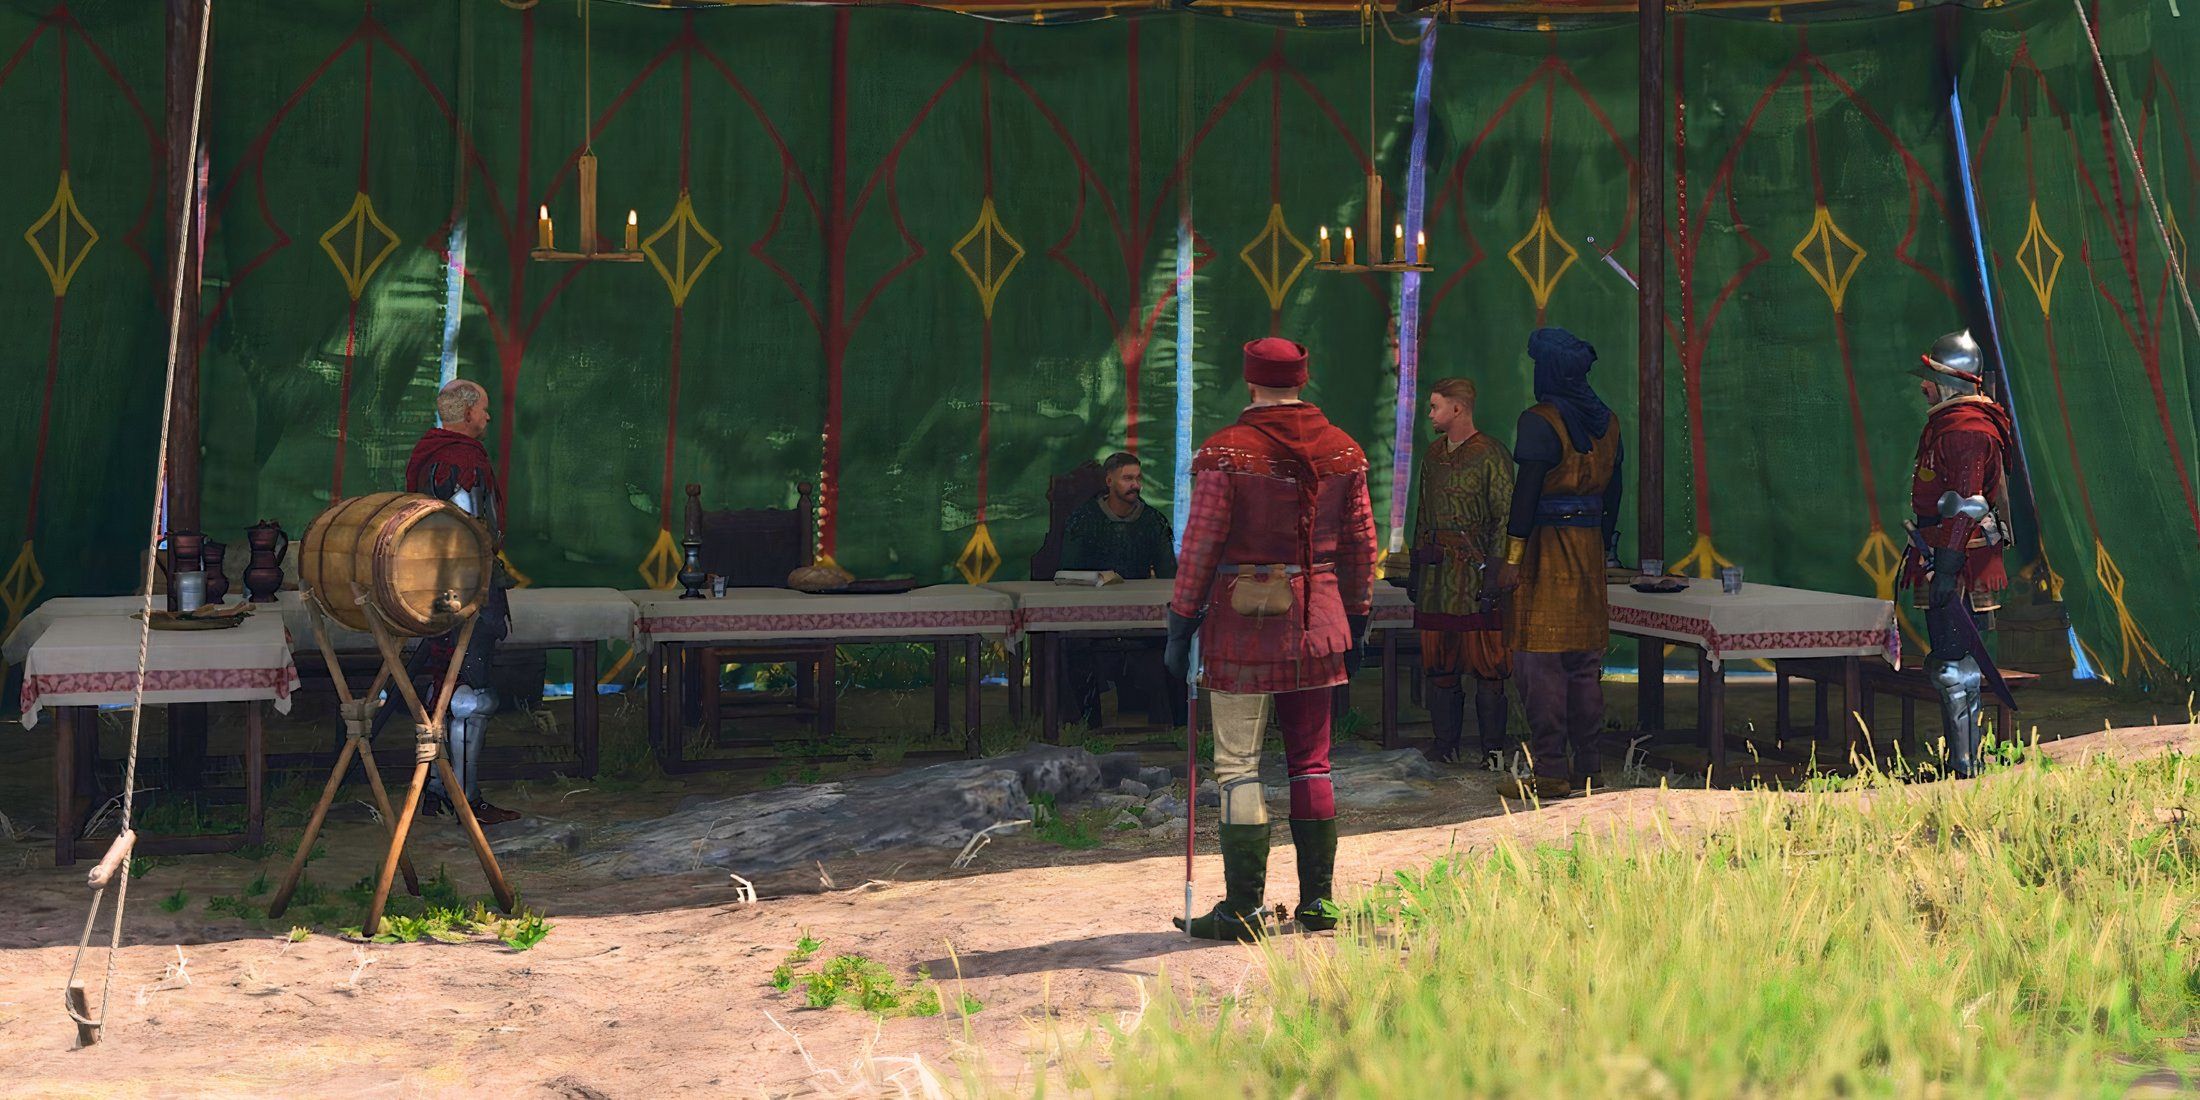
Hurry outside, as you’ll discover that Commander Chertan of the Cumin squadron has been wounded by a stab. Musa carries him off towards the medical center, leaving Henry in your company with Katz. Speak with him now and convey this message:
“Hey there, we’ve got some troubling news. Commander Chertan from the Cumin group has been injured severely – he was stabbed. Musa is taking him to get medical attention, but for now, you’re here with Katz. I wanted to let you know about this situation.
- “We have to keep this hushed up.”
- “Get some rest.”
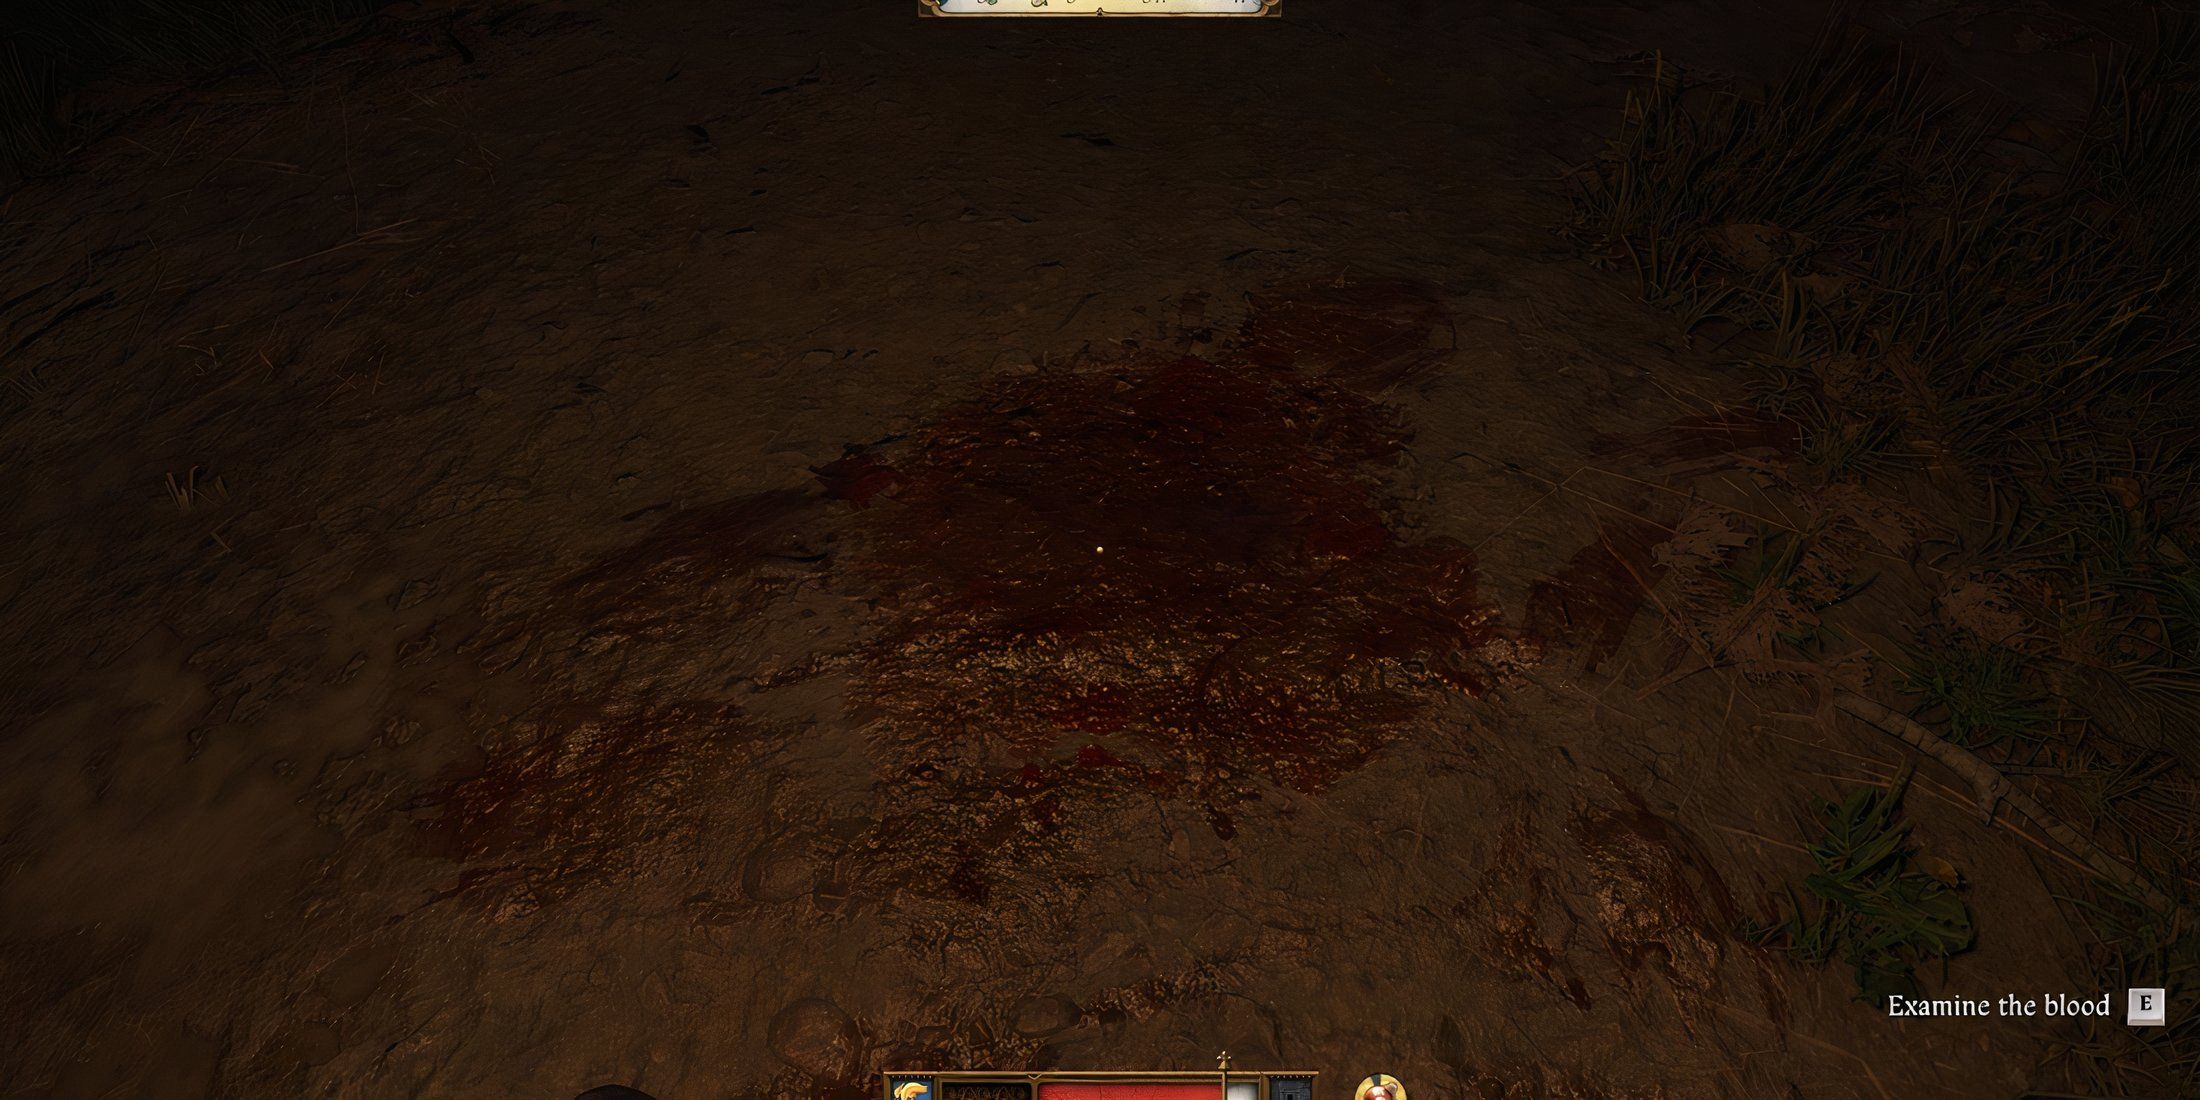
After that, players will look for hints regarding the perpetrator’s whereabouts by inspecting the scene of the attack. Check out these spots:
- Blood on the ground where Chertan was found
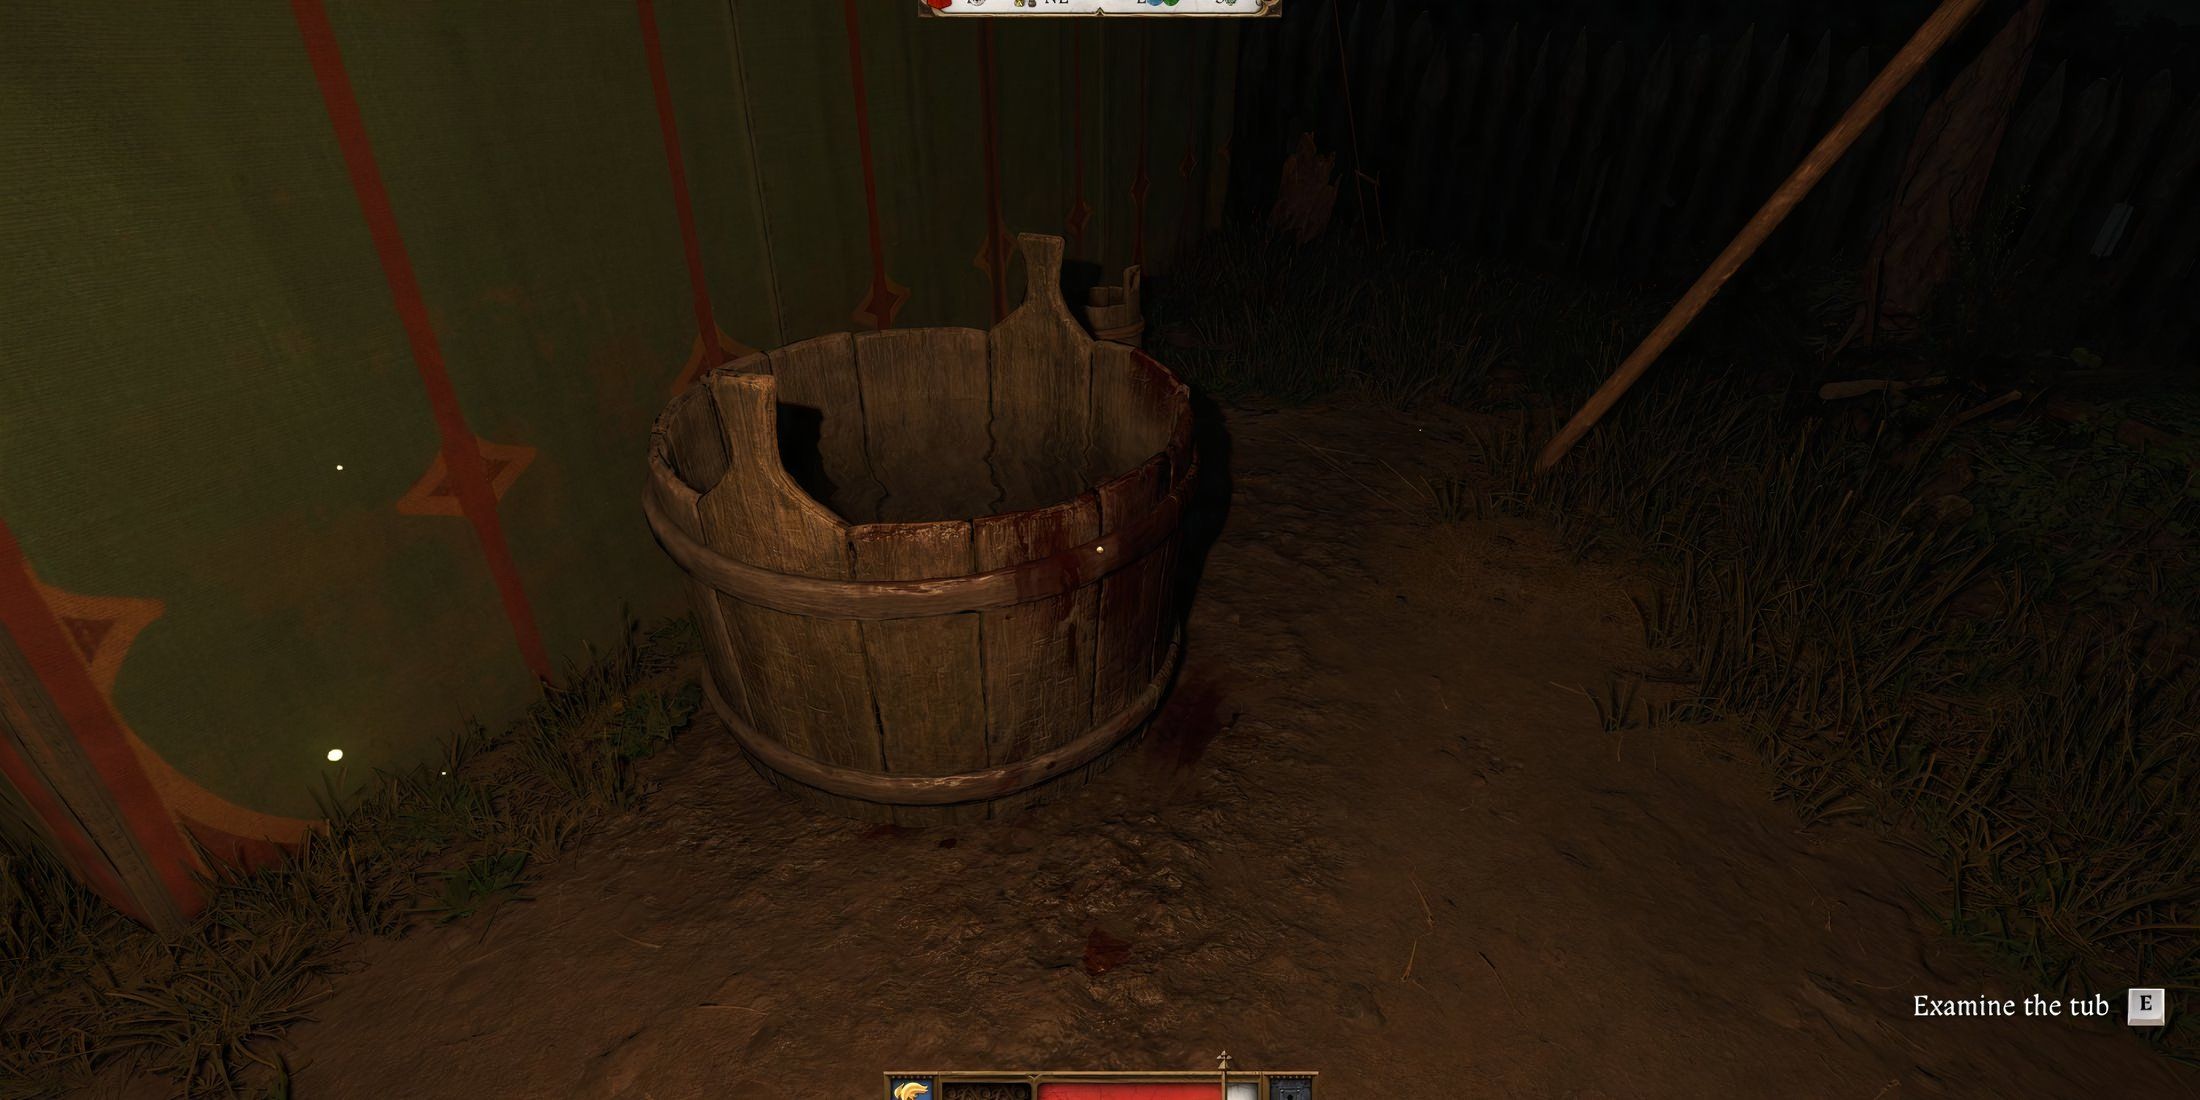
- Washtub with blood on the side
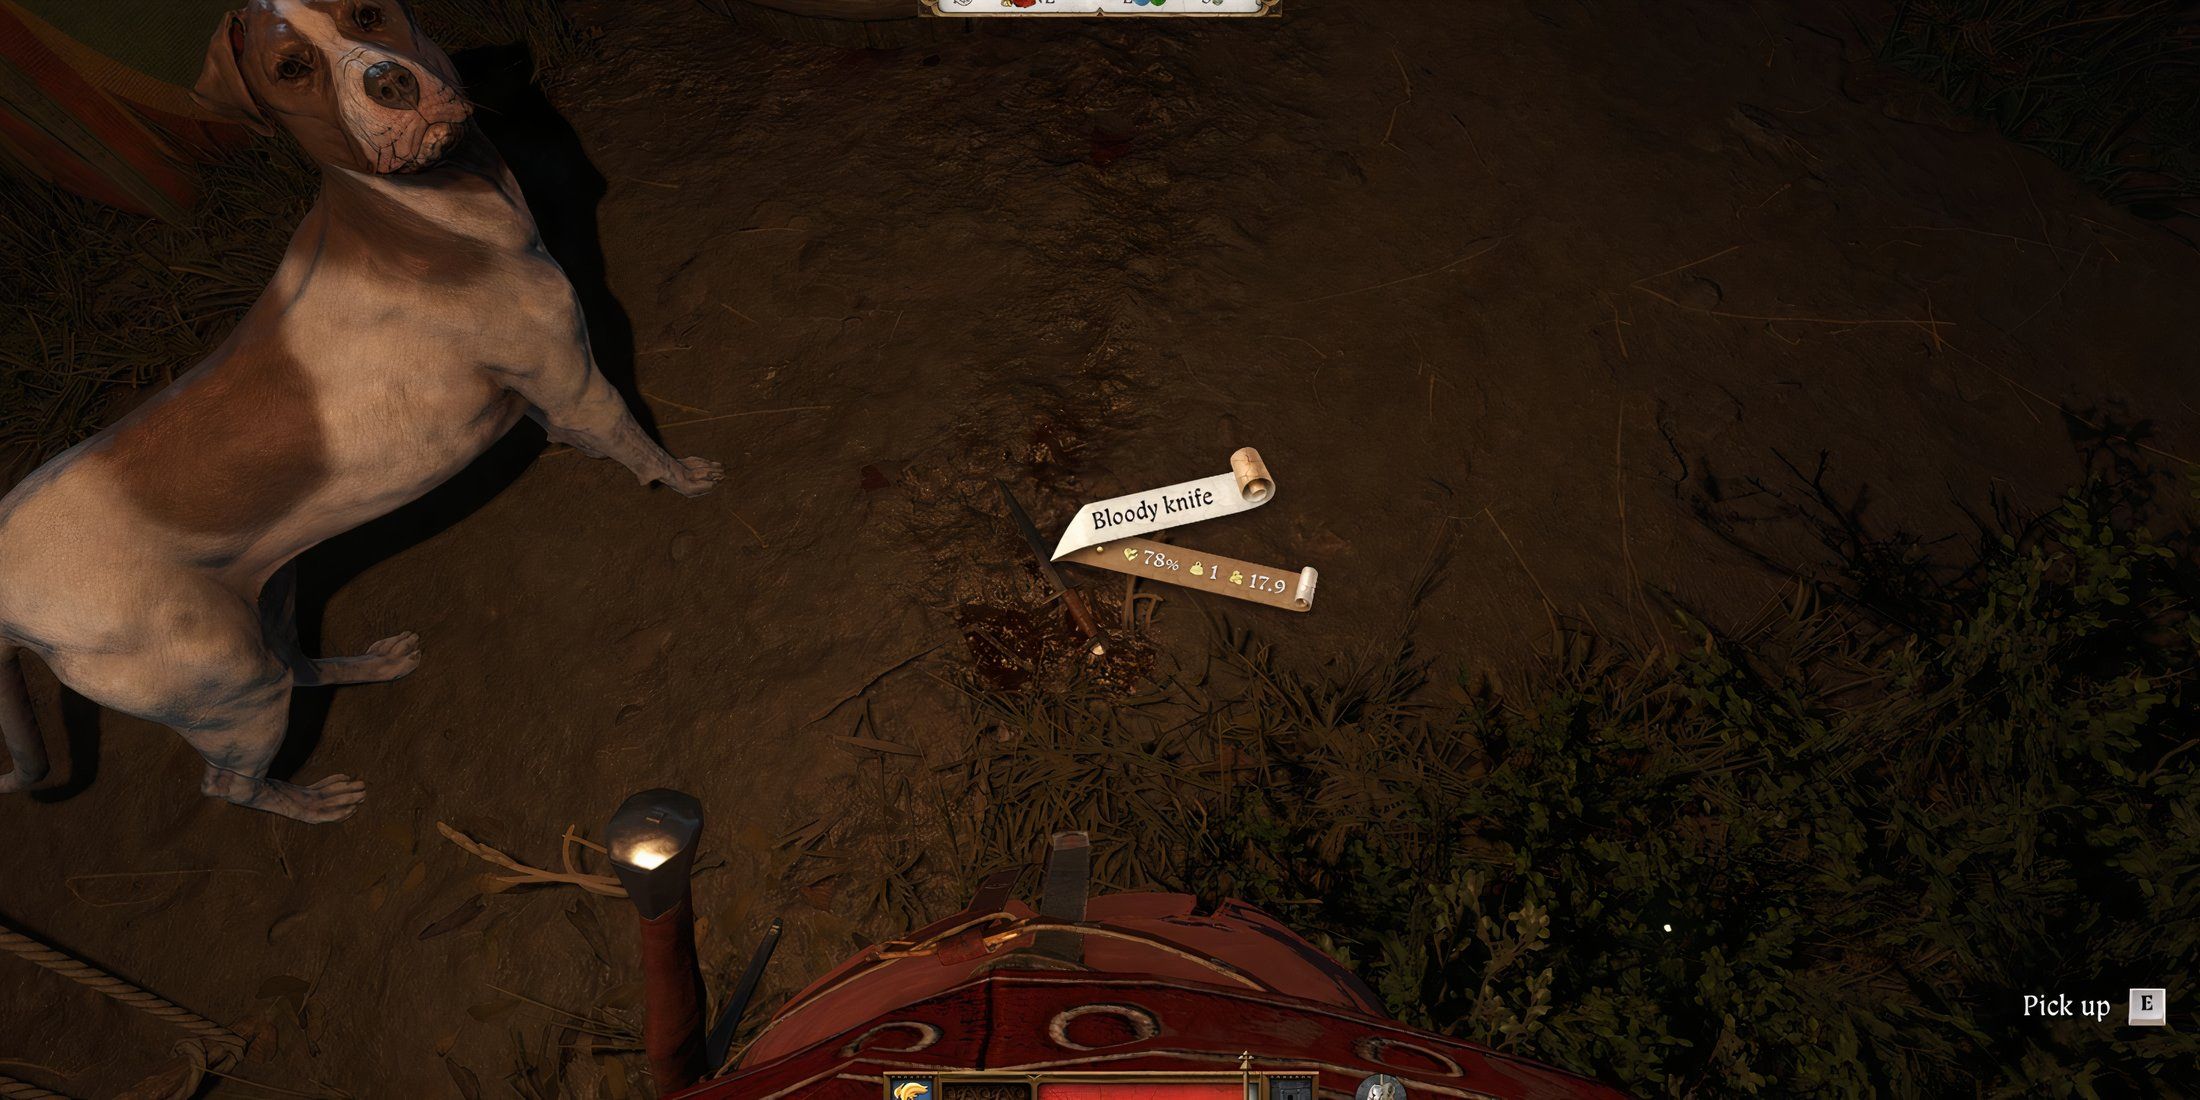
- Knife in front of the Washtub
Players can have Mutt sniff the knife, and he will lead them to the murderer’s tent.
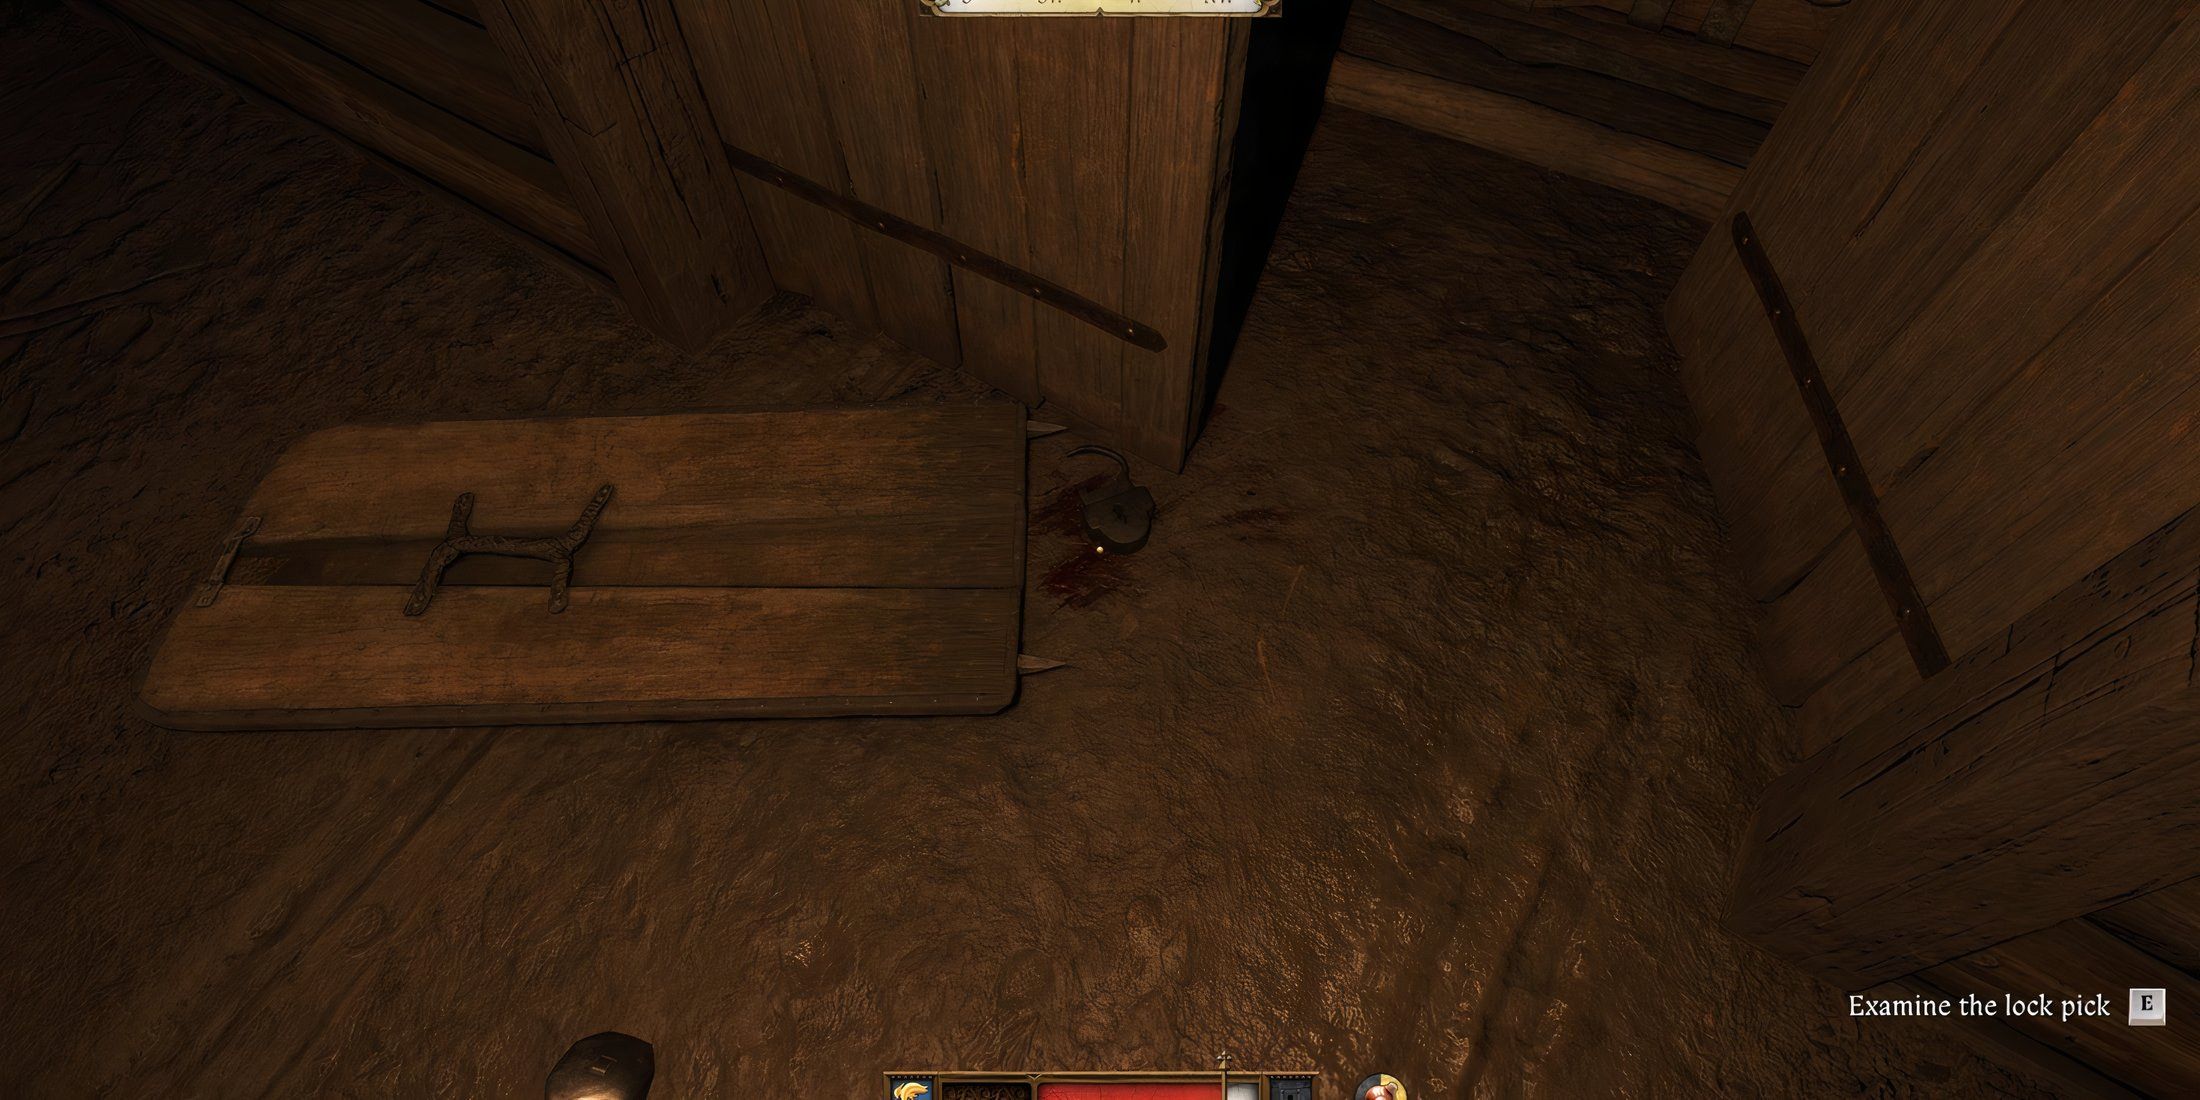
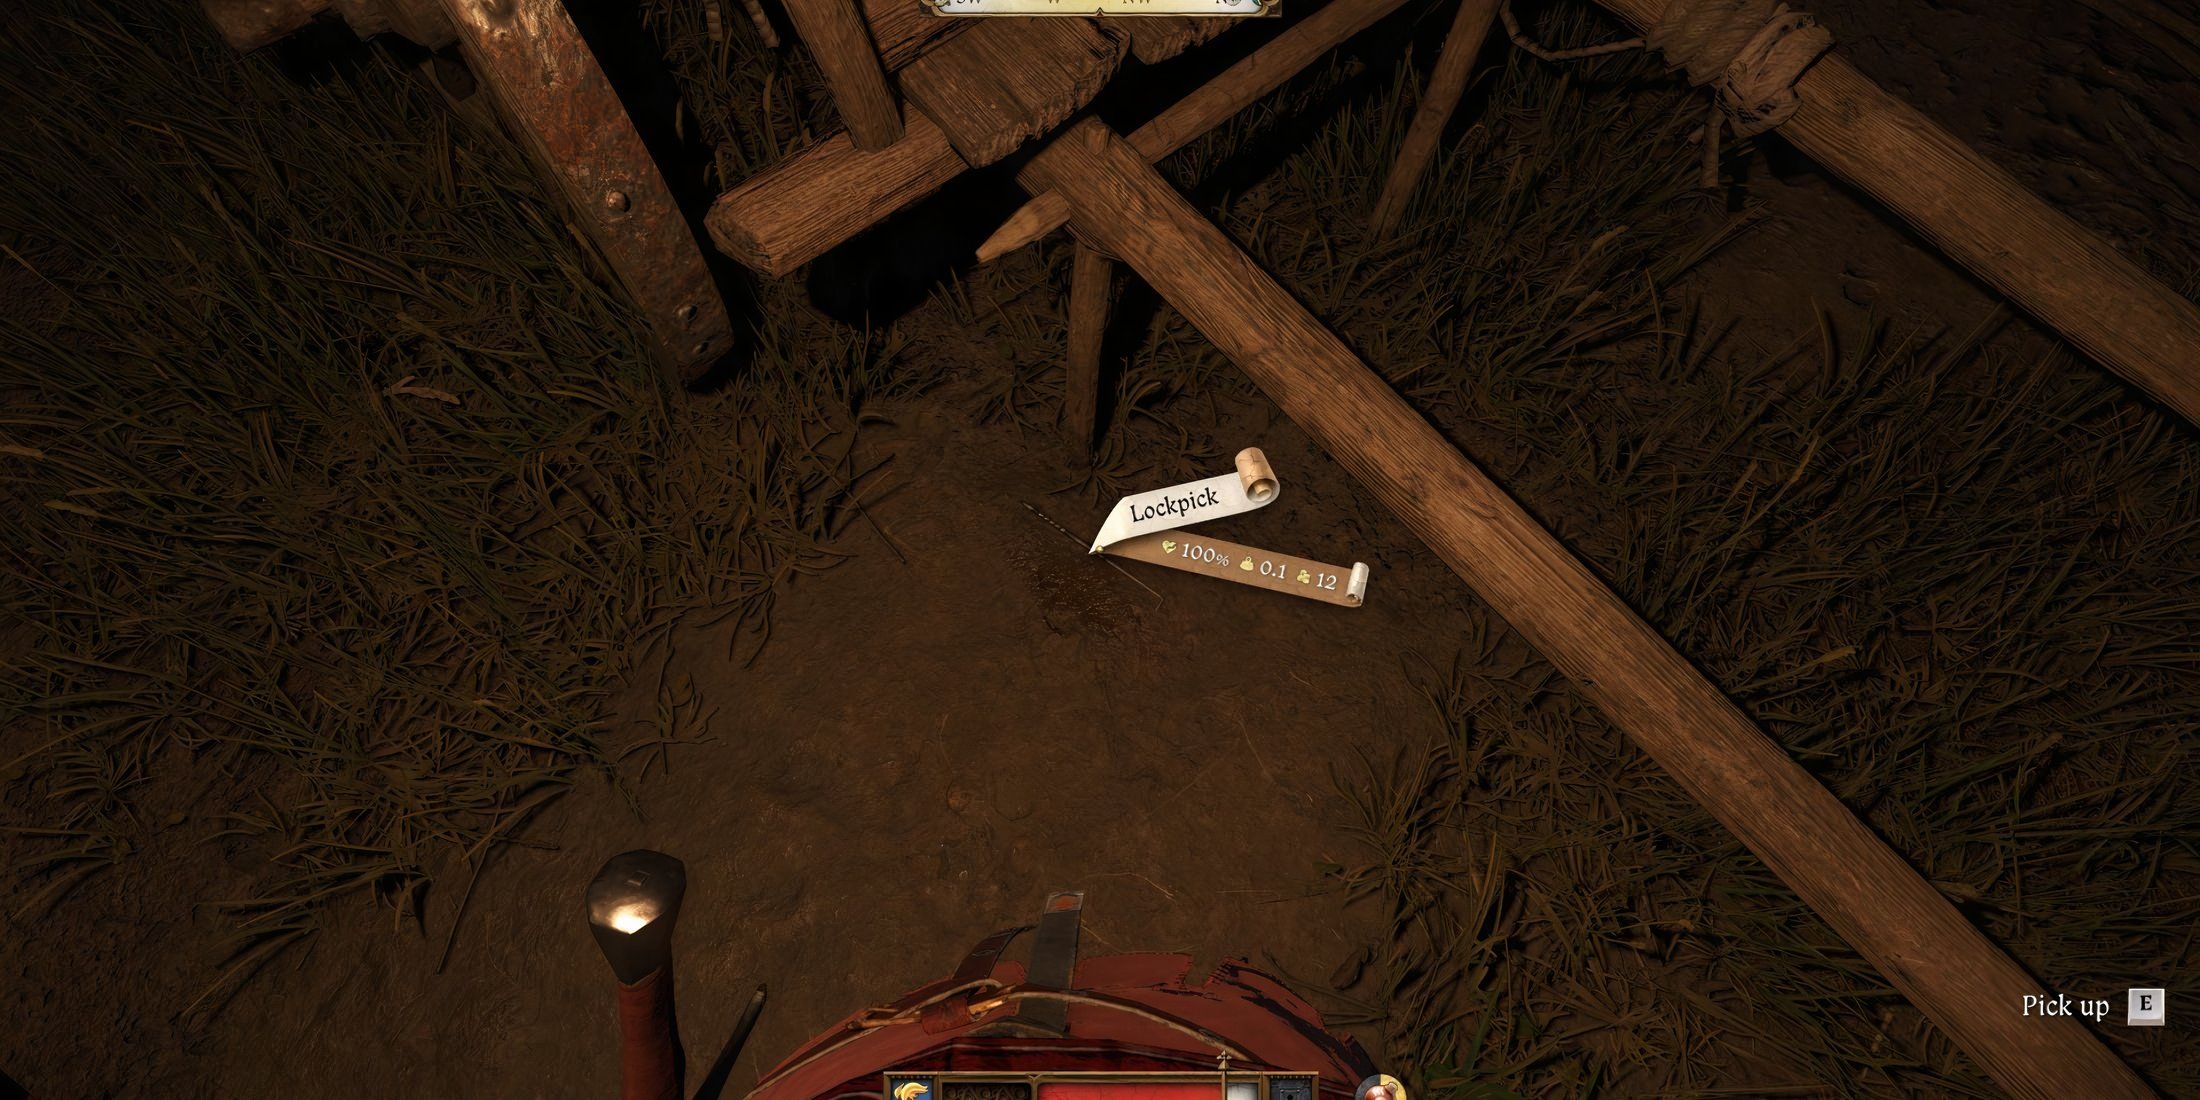
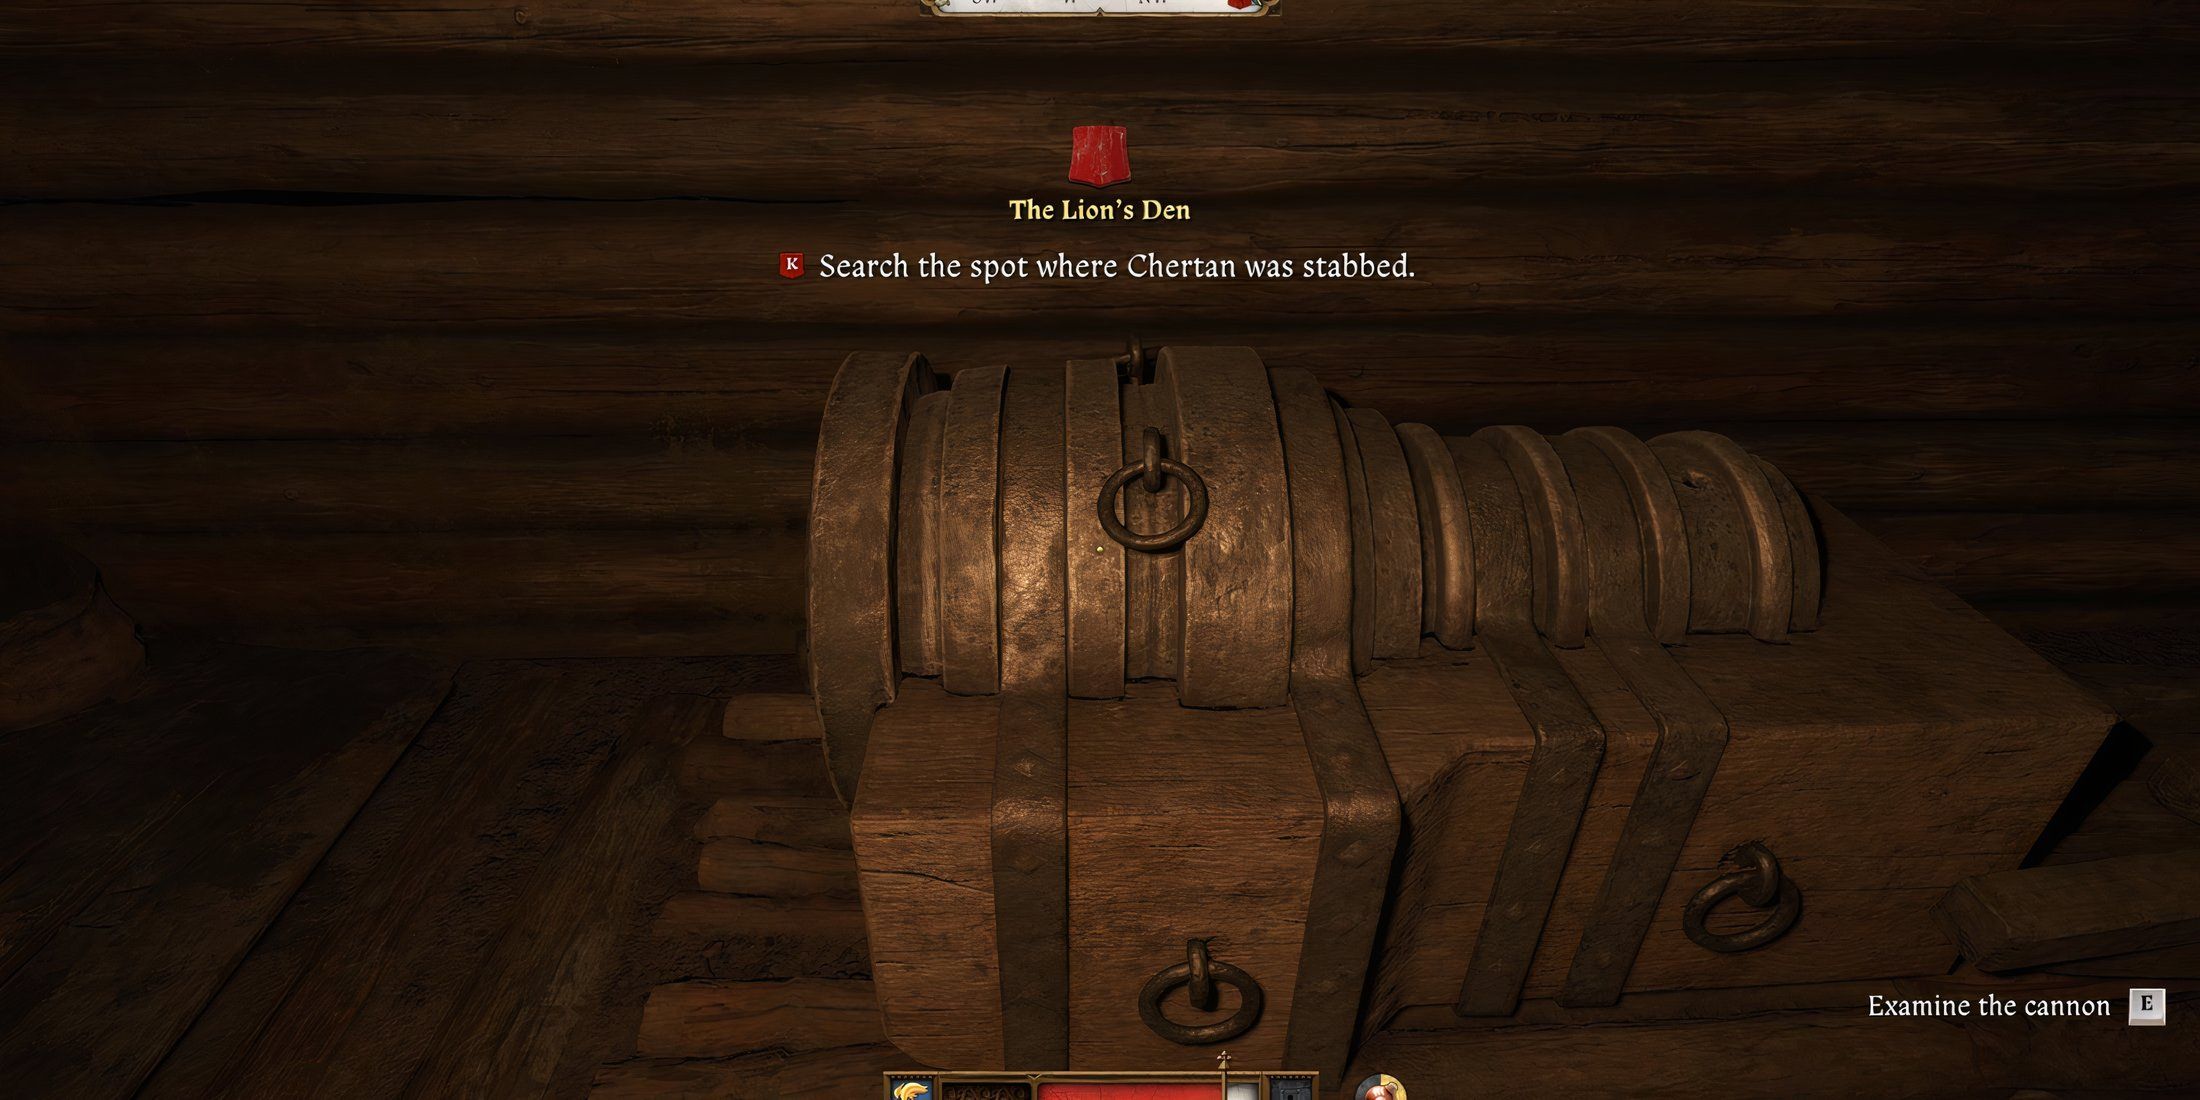
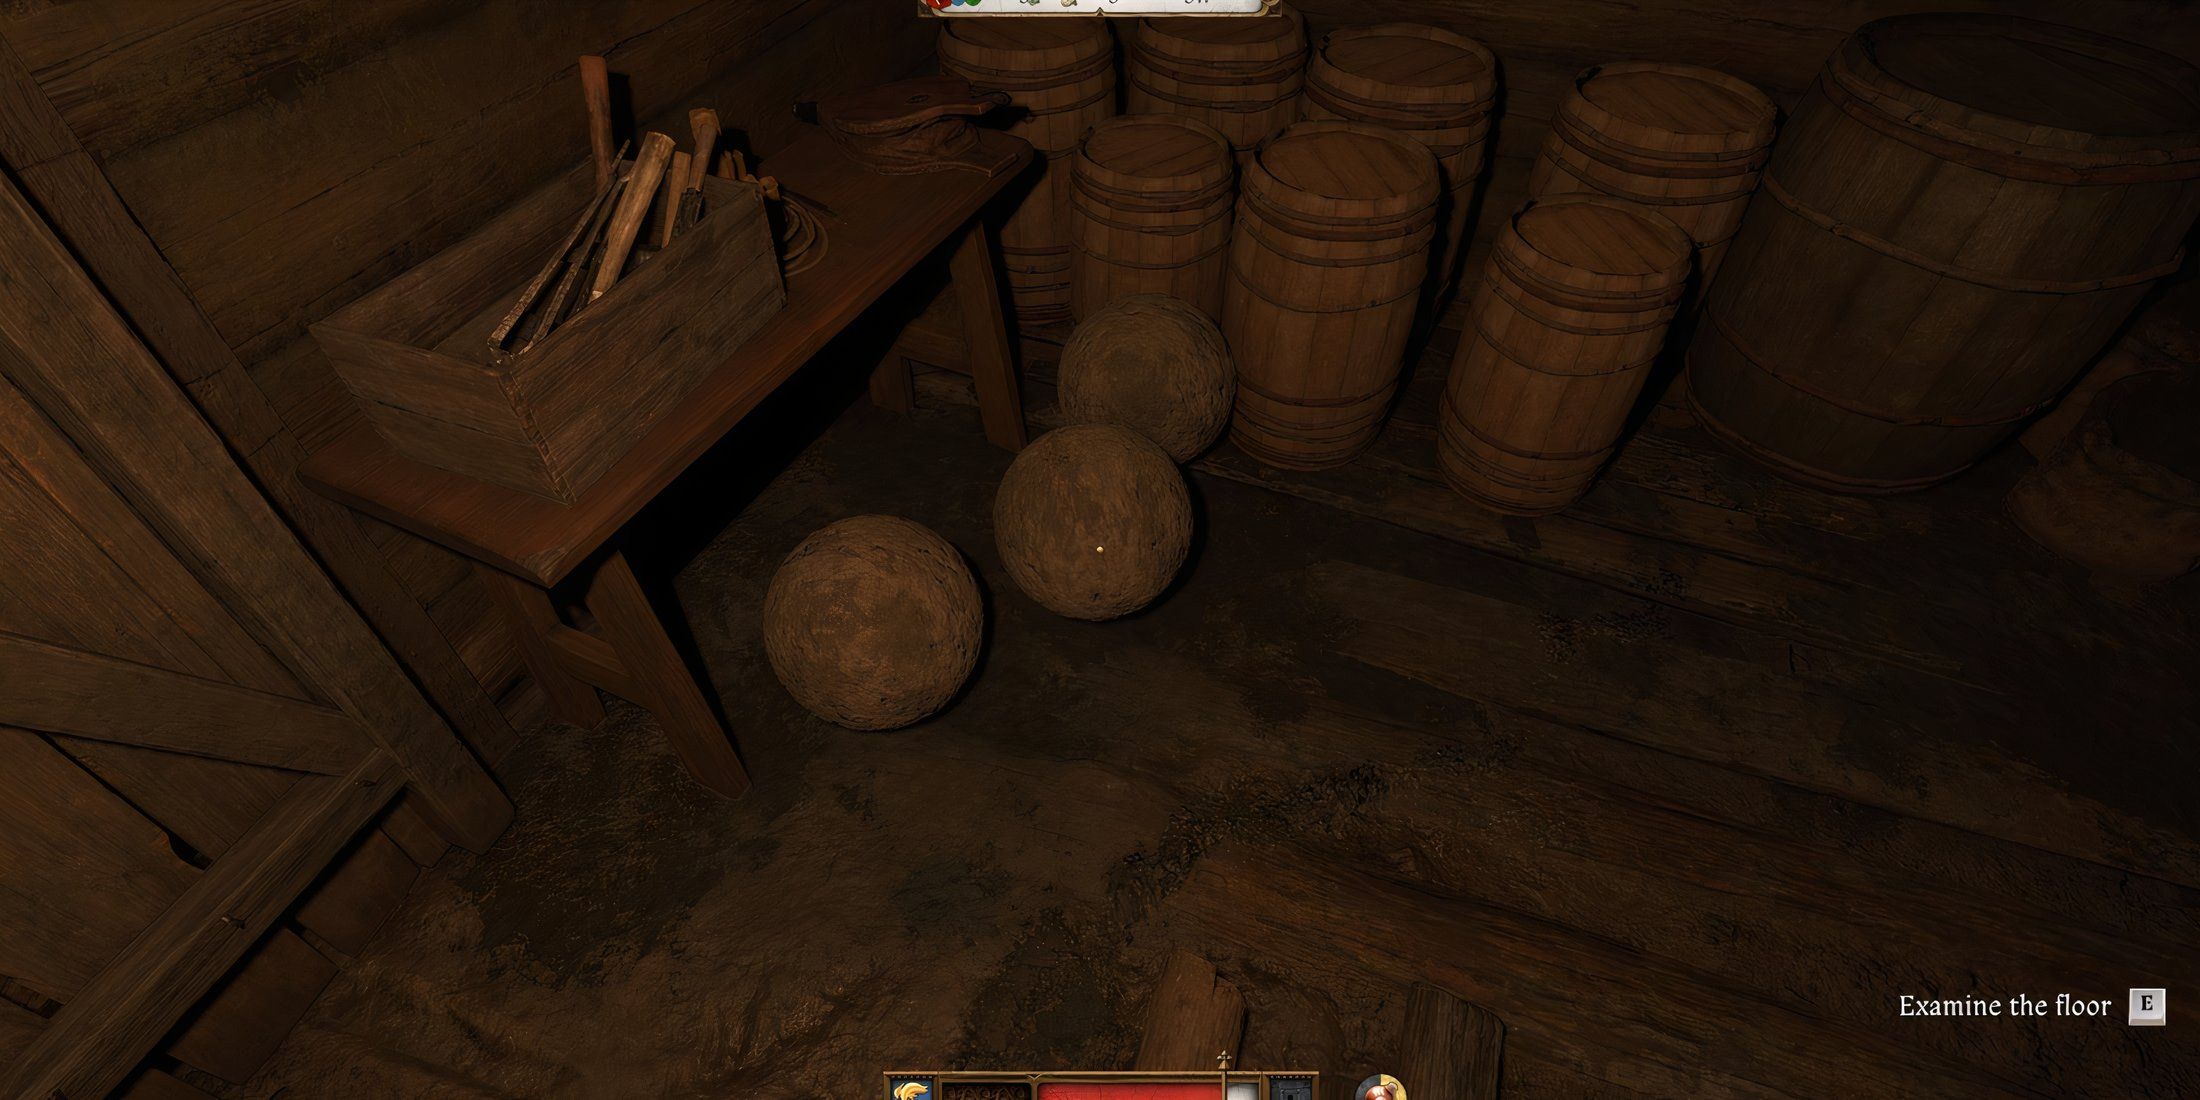
- Broken lock on the artillery shed
- Lockpick near the wagon
- The cannon inside the artillery shed
- The floor of the artillery shed
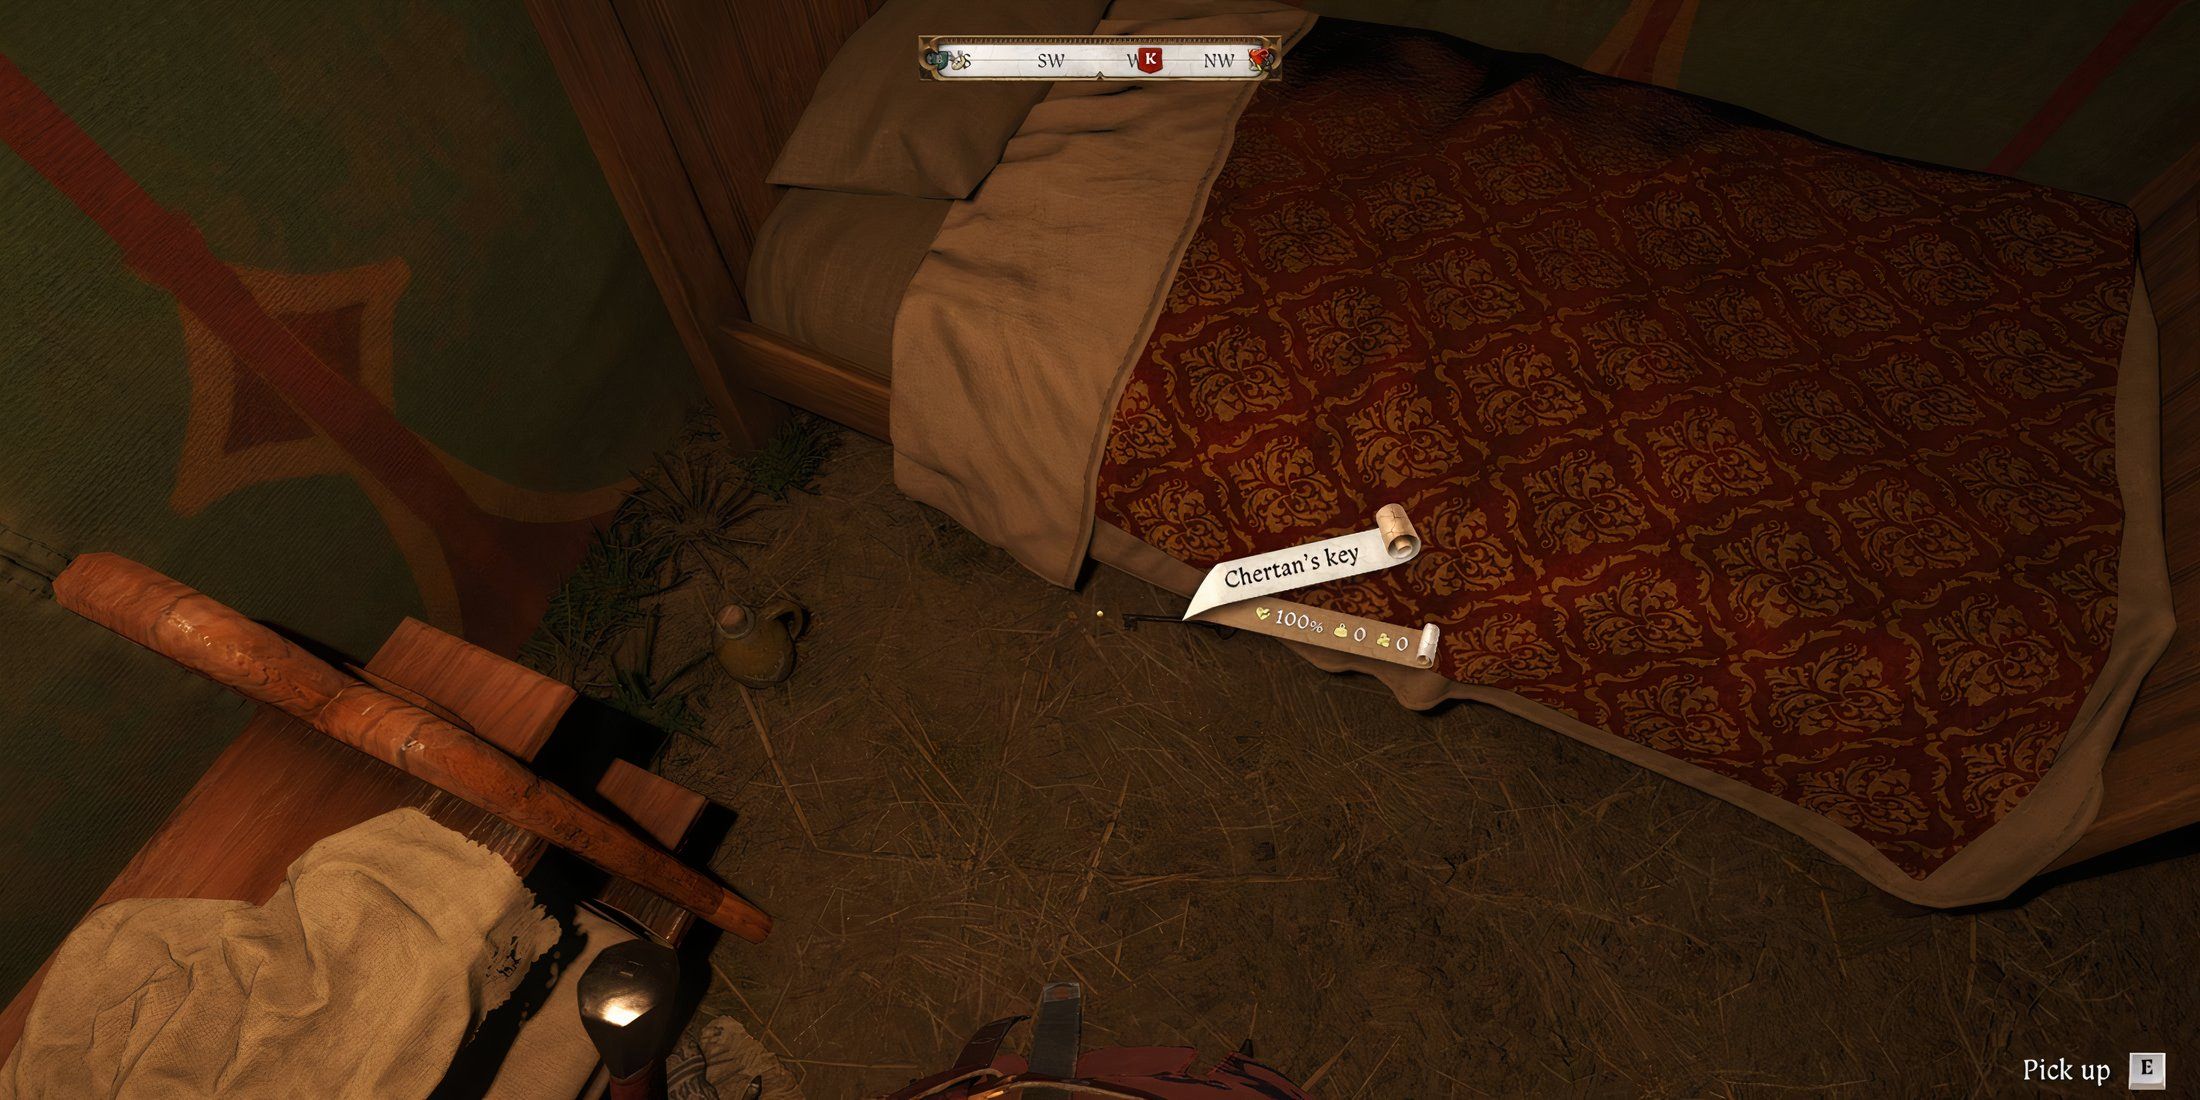
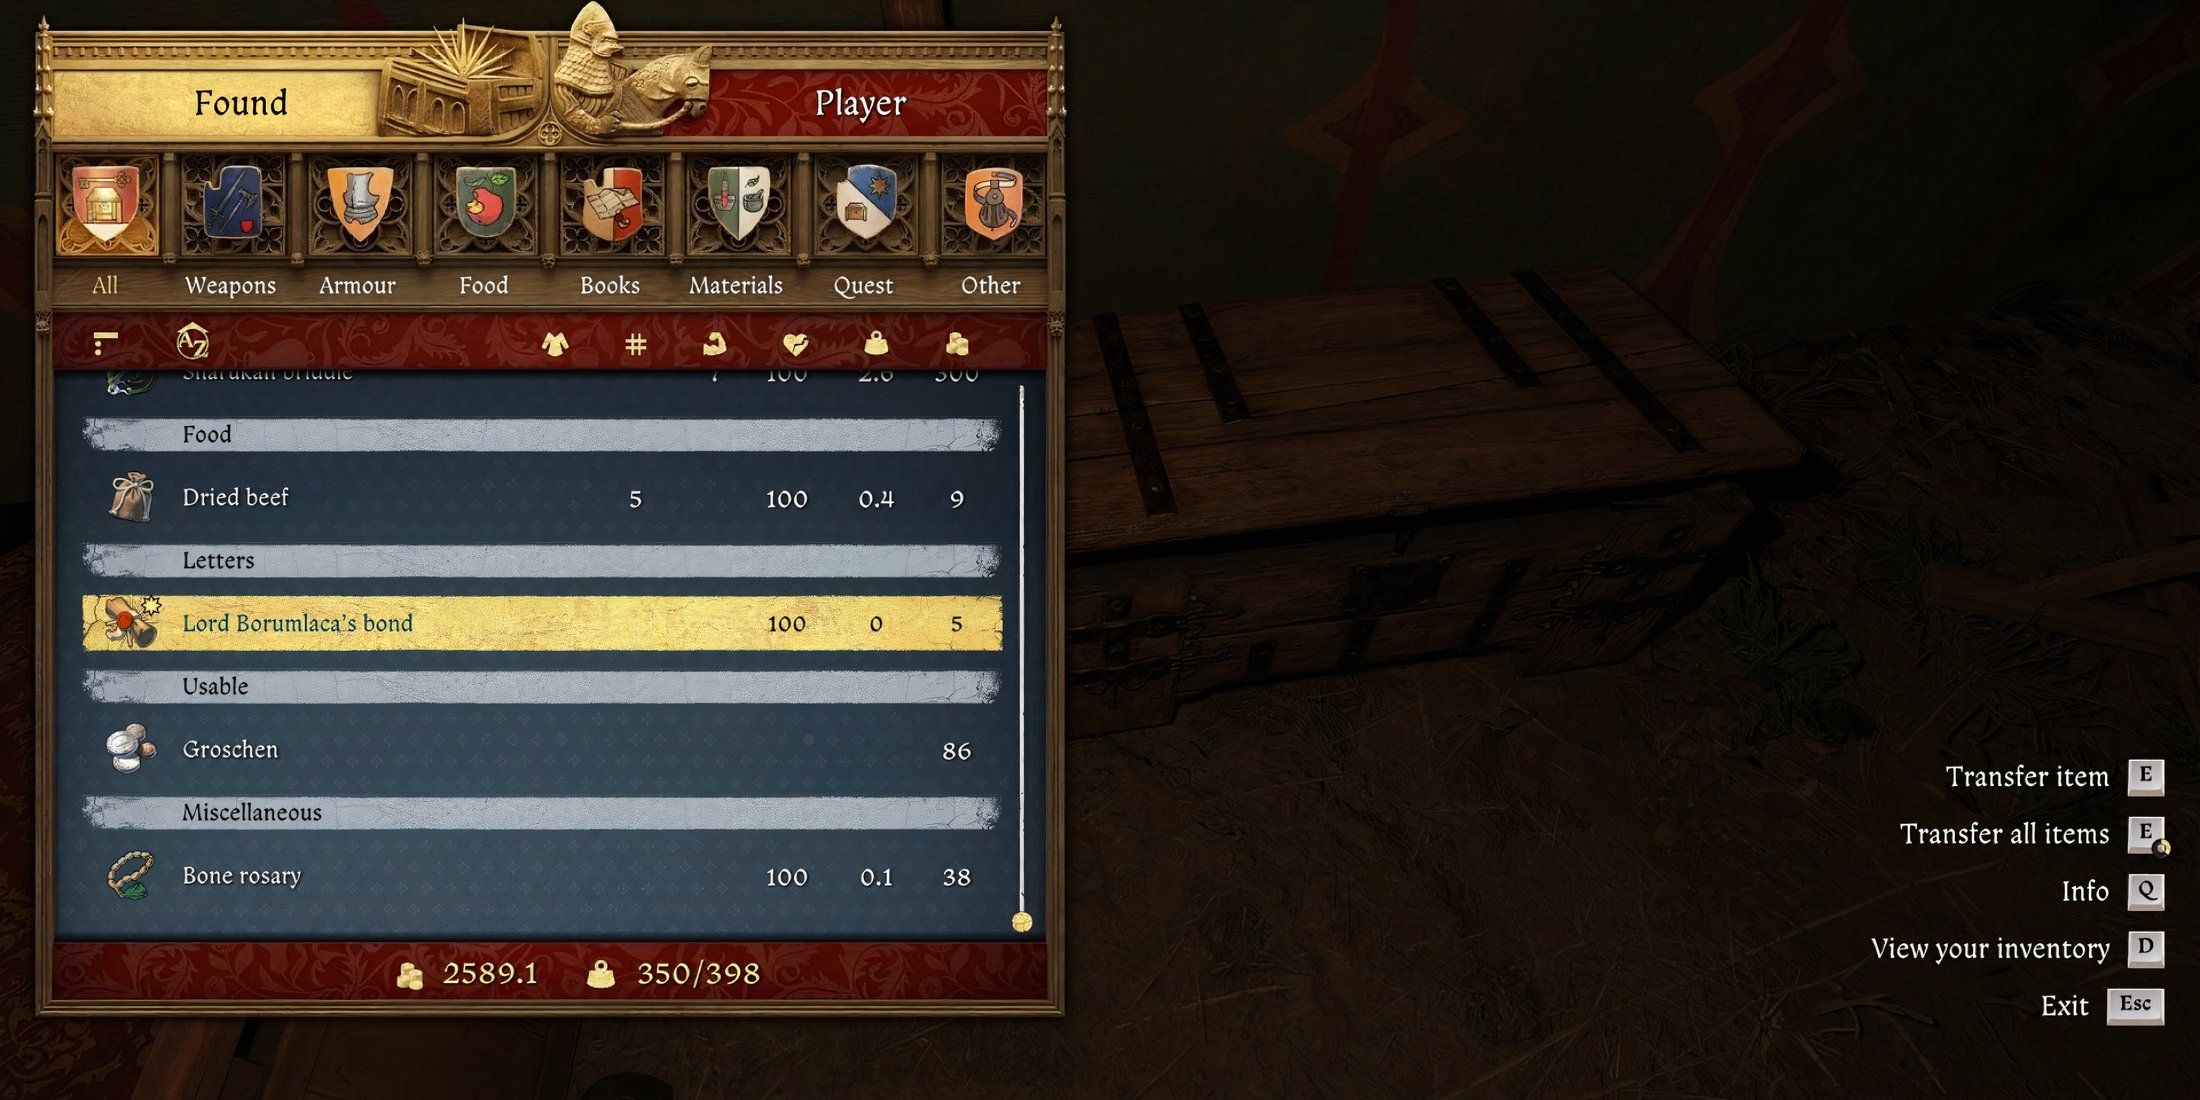
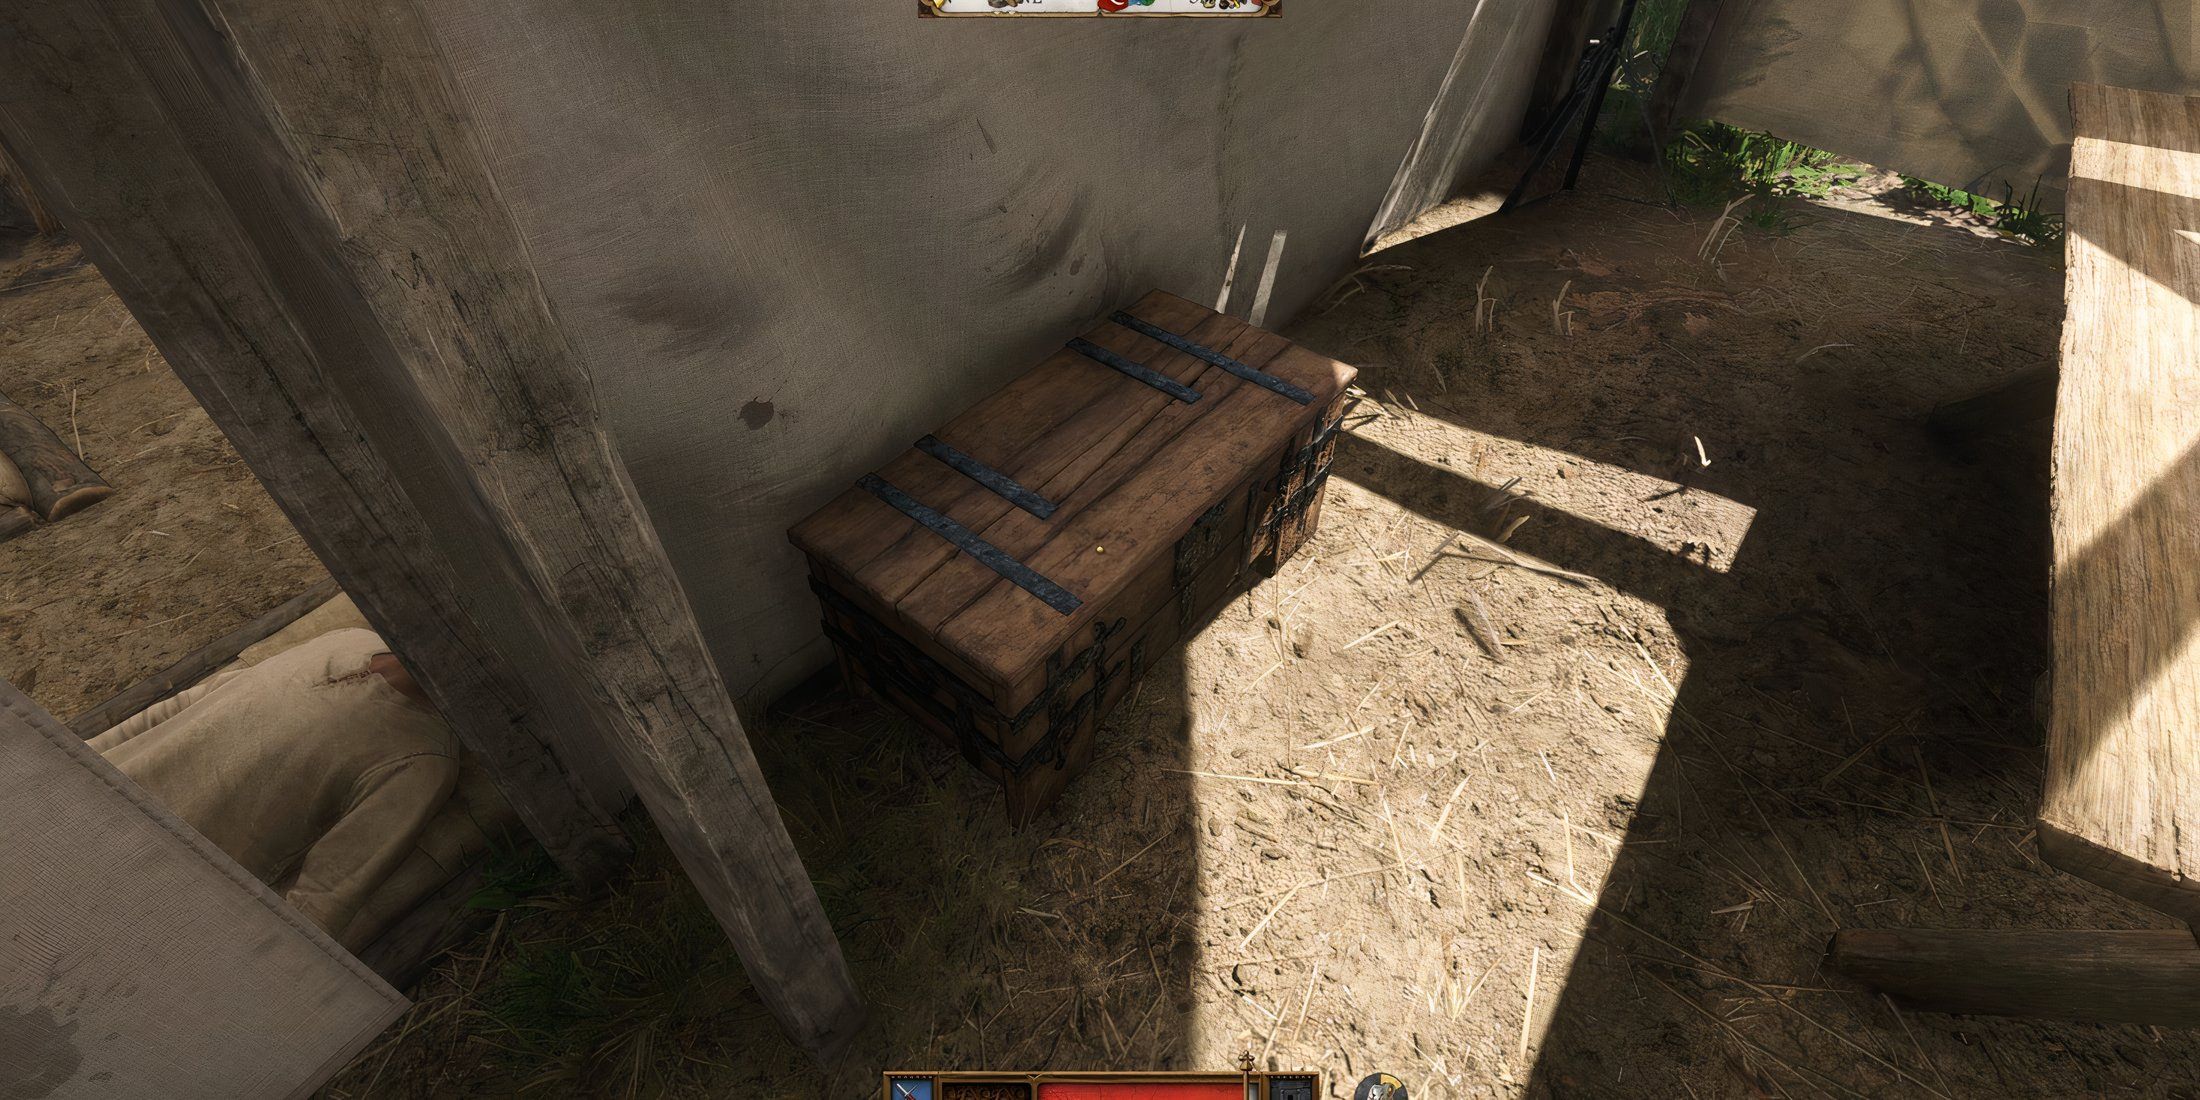
Players should additionally explore Chertan’s tent to uncover hints. Locate a key hidden under his bed, and then unlock the chest nearby. Inside this, they will discover Borumlaca’s Pact, which indicates that Grozav owed money to Chertan.
Inform Katz about our discoveries to move forward with our mission. We’ll head to the medical facility to examine Chertan. Upon Henry’s arrival, the commander has already perished. A heated exchange ensues where Musa is falsely implicated in the murder. When given the chance, players should vouch for him and say:
“Musa didn’t kill the commander. We need to find out what really happened.
- “Why would Musa do that?”
- “The wine killed him.” (HARD Alchemy check)
- (Stand up for Musa)
As a detective-gamer diving into the mystery, I commit myself to unraveling this intricate puzzle. Katz tasks me with probing into the grisly murder case to unearth proof that could vindicate Musa’s name.
Prepare For the Trial
Henry requires conversing with Musa to determine ways they can assist him and gain insights about the murder. Unfortunately, he’s currently restricted in his room under watchful eyes of a guard, making it necessary for players to address his needs before engaging Musa.
Get Katherine’s Help With the Guard
Katherine can divert the guard keeping an eye on Musa, but she needs Henry’s assistance first. She has a stalker who made off with one of her shoes. Use Mutt’s Tracking Command to locate the stalker, confront him and scare him away. Once that’s done, Katherine will assist in drawing the guard away from Musa.
Talk to Musa
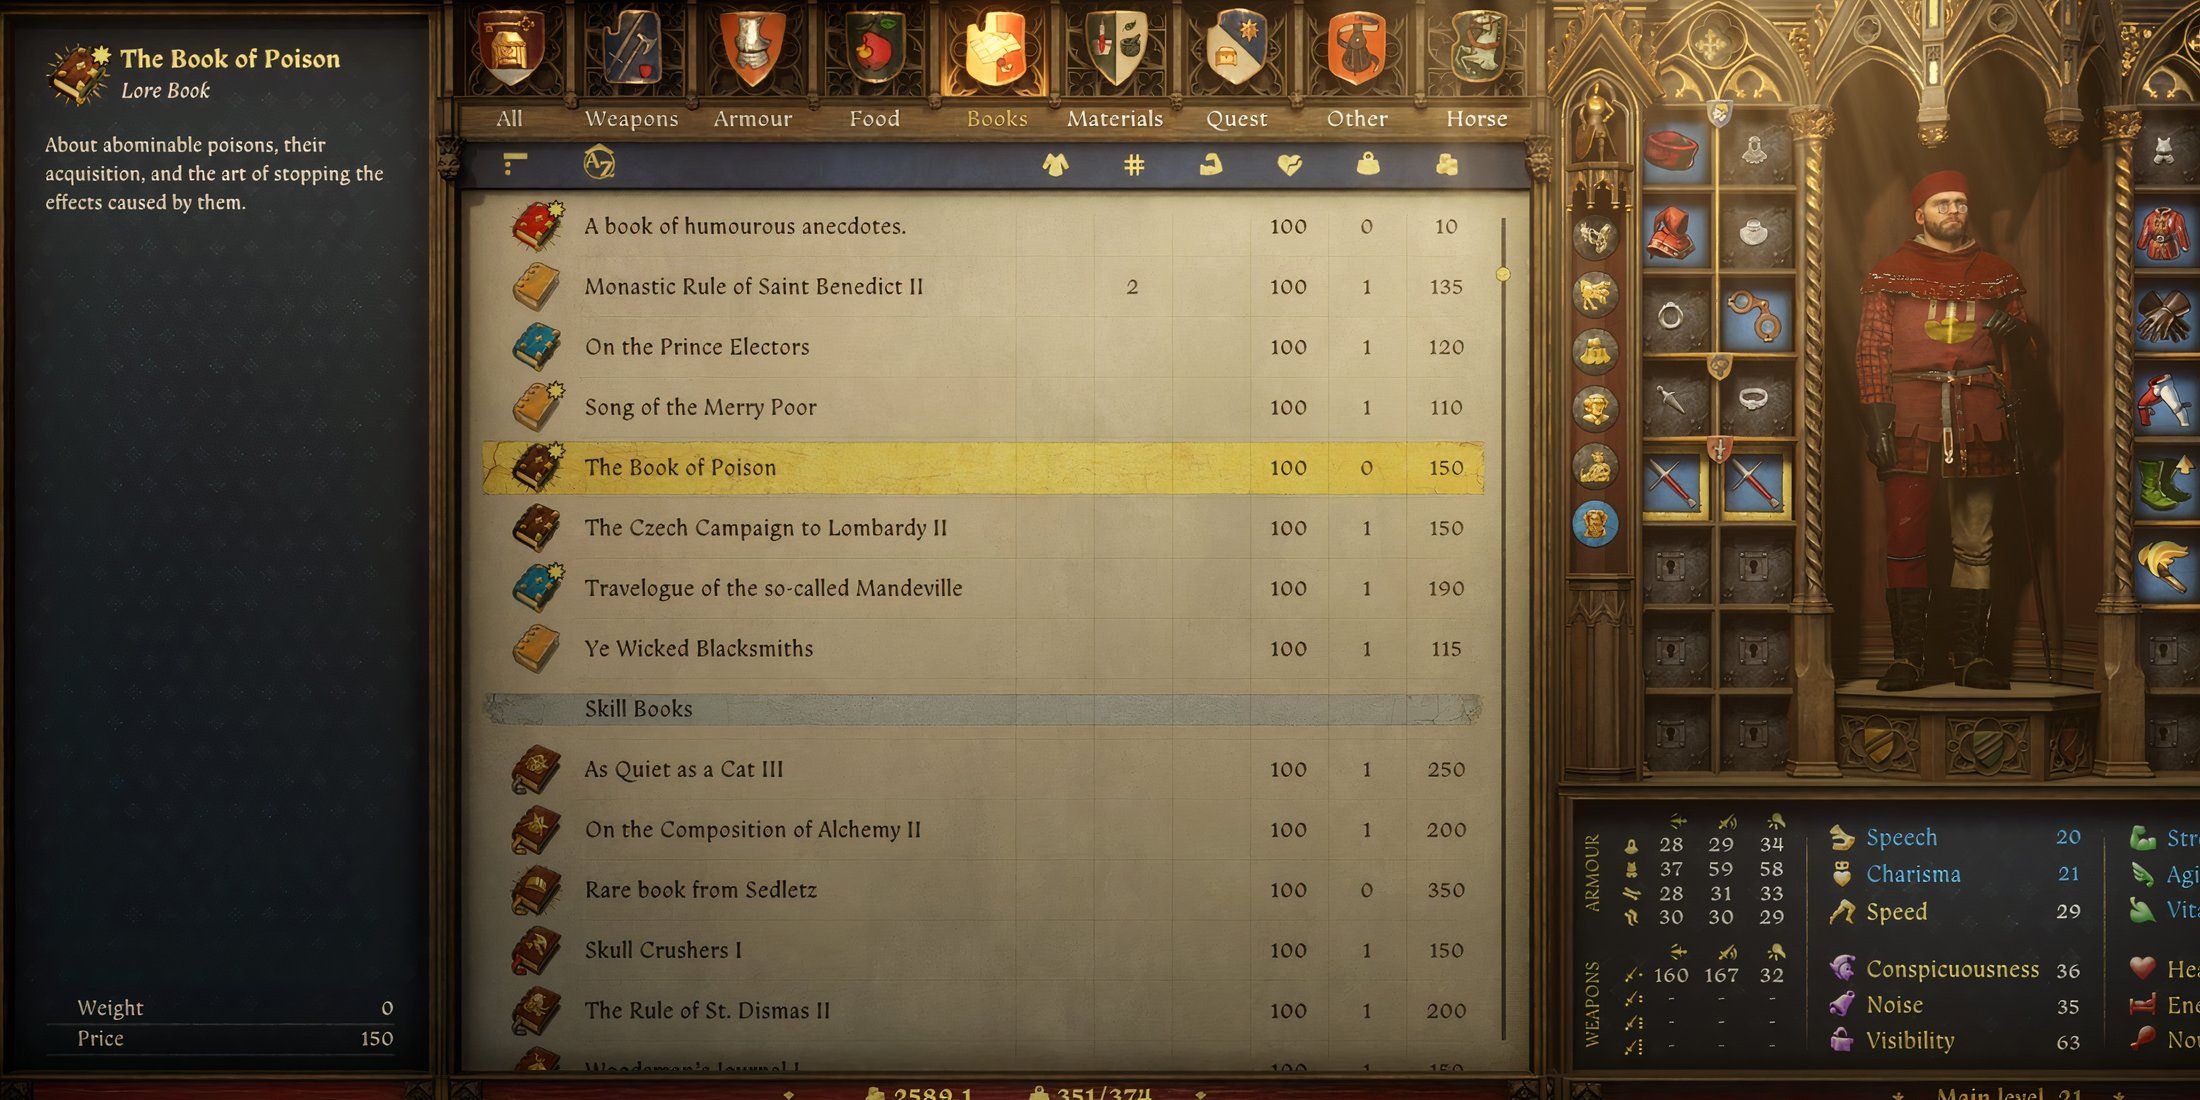
Once Katherine speaks with the guard, it’s easy for Henry to engage with Musa. Musa instructs him that to determine the poison that claimed Chertan’s life, he must carefully examine Chertan’s symptoms and consult the “Book of Poisons,” which is kept locked within the infirmary chest.
What Poison Killed Chertan
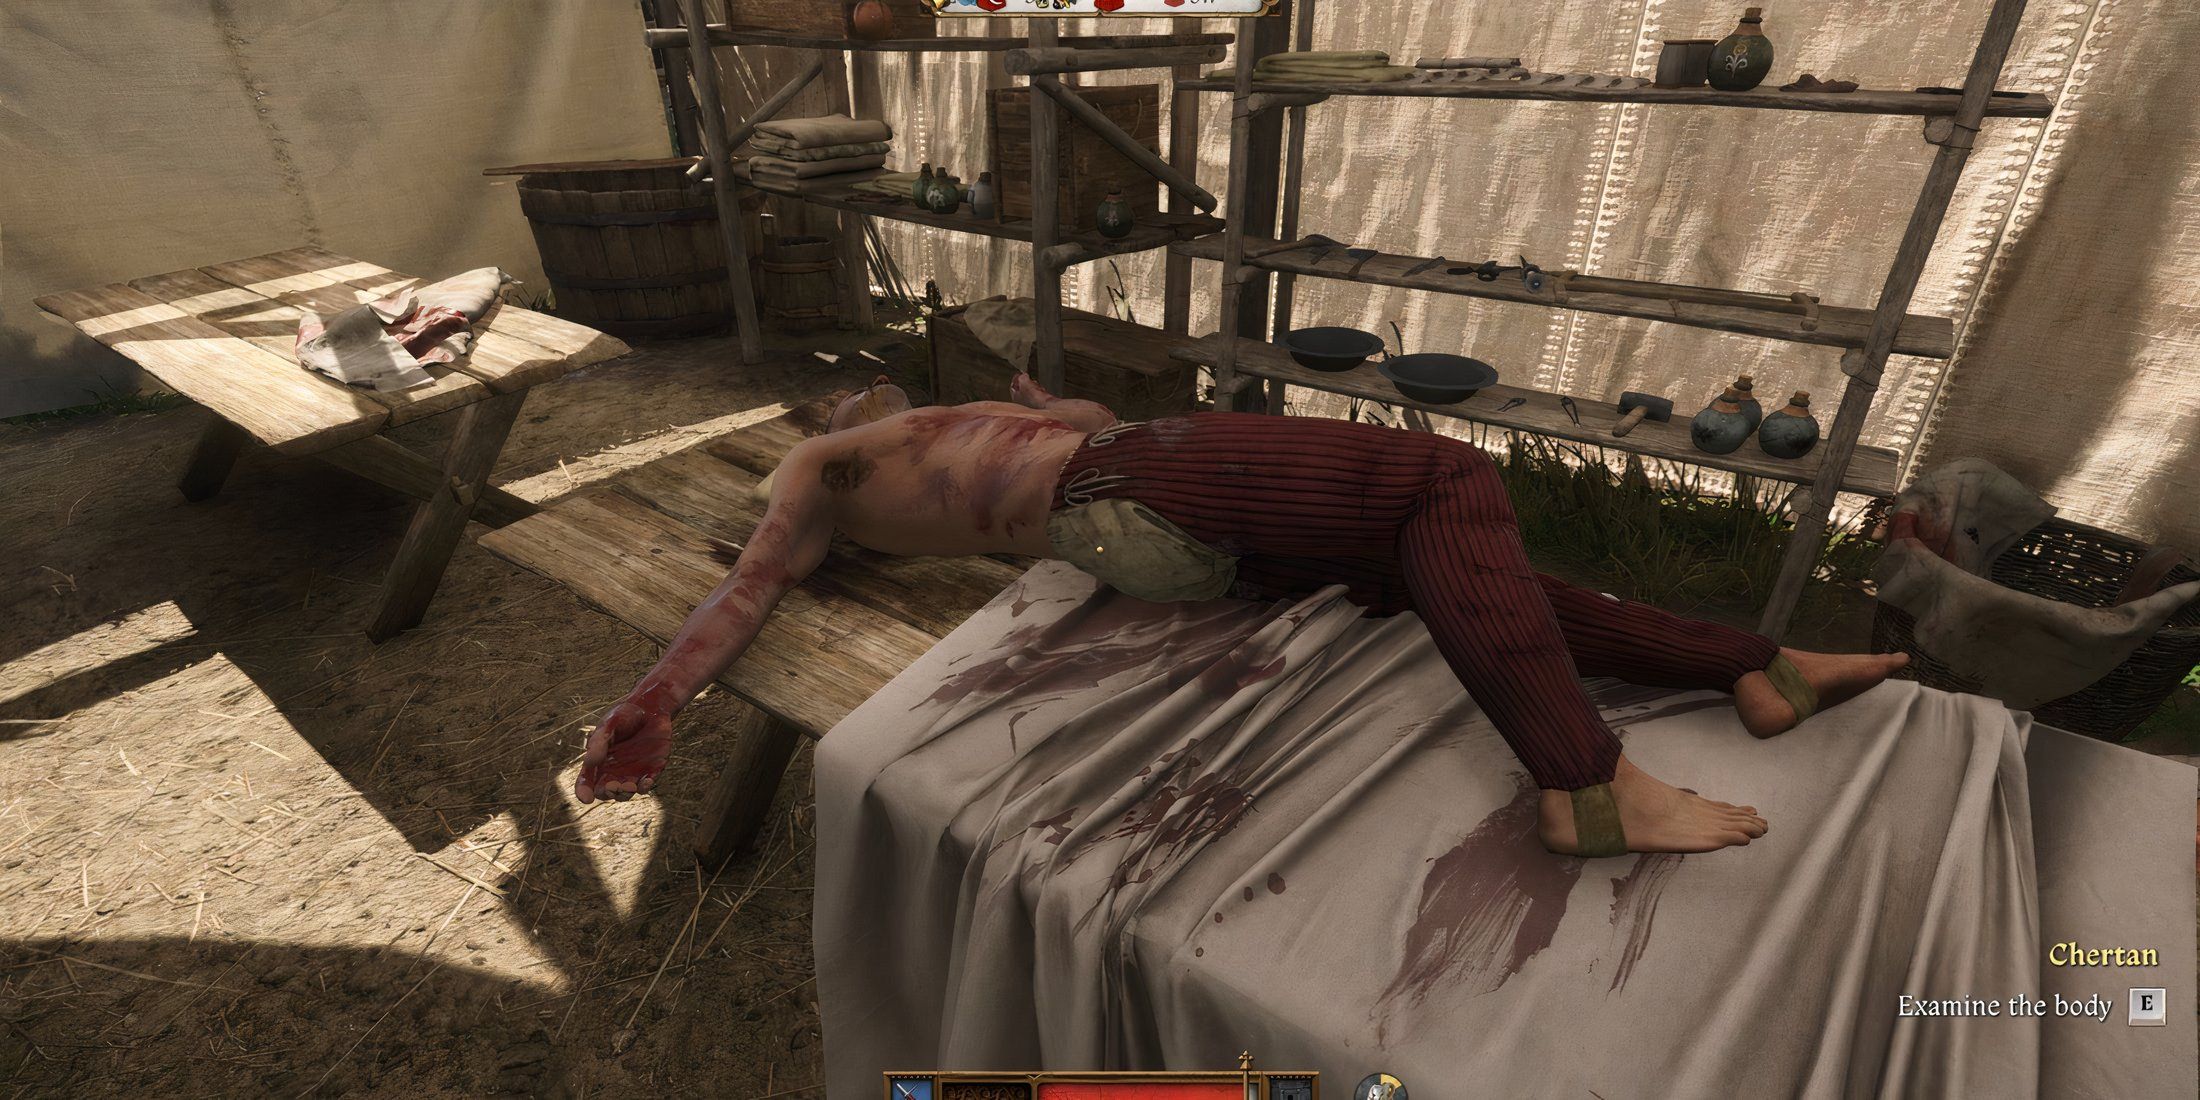
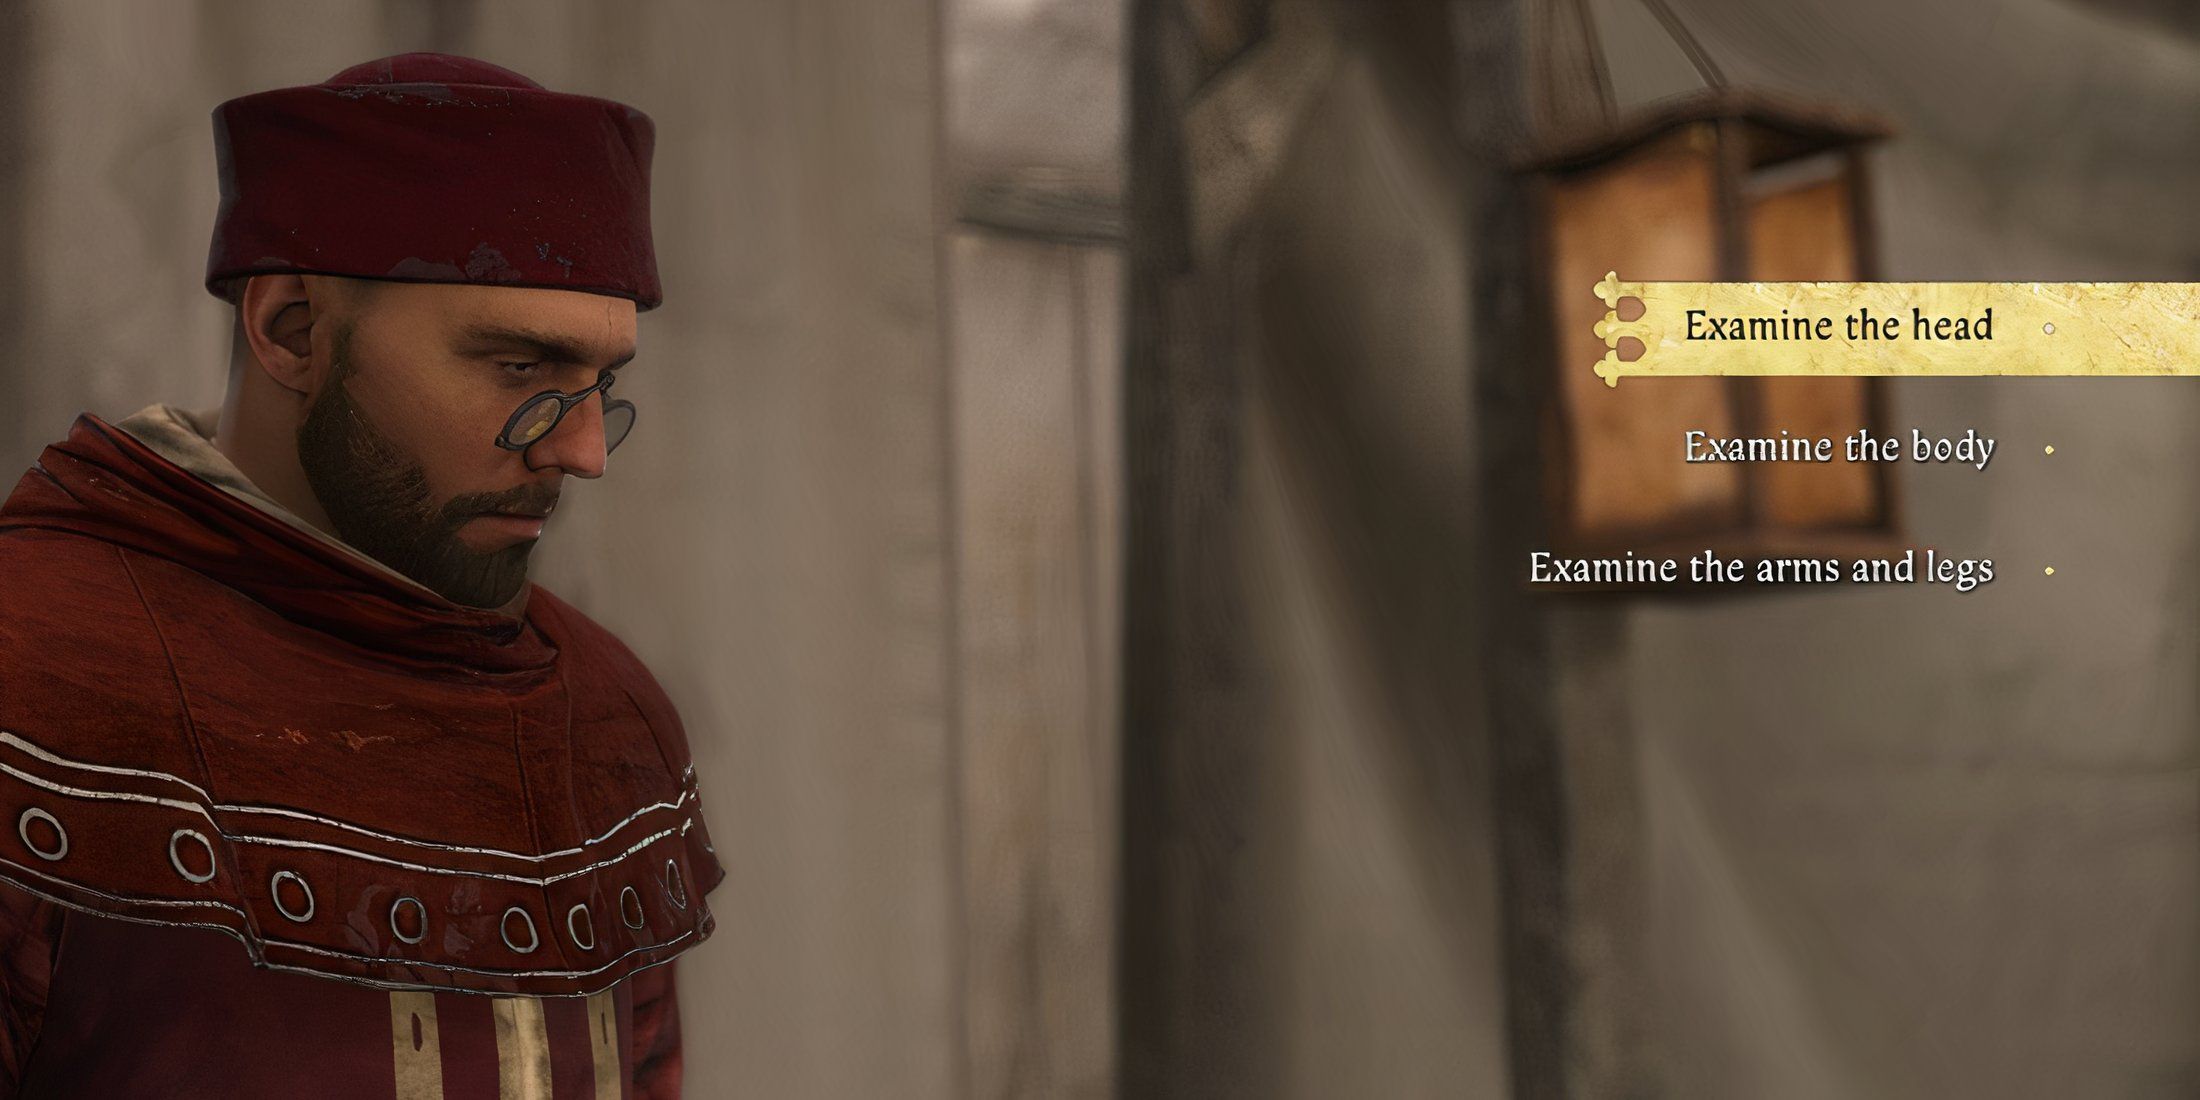
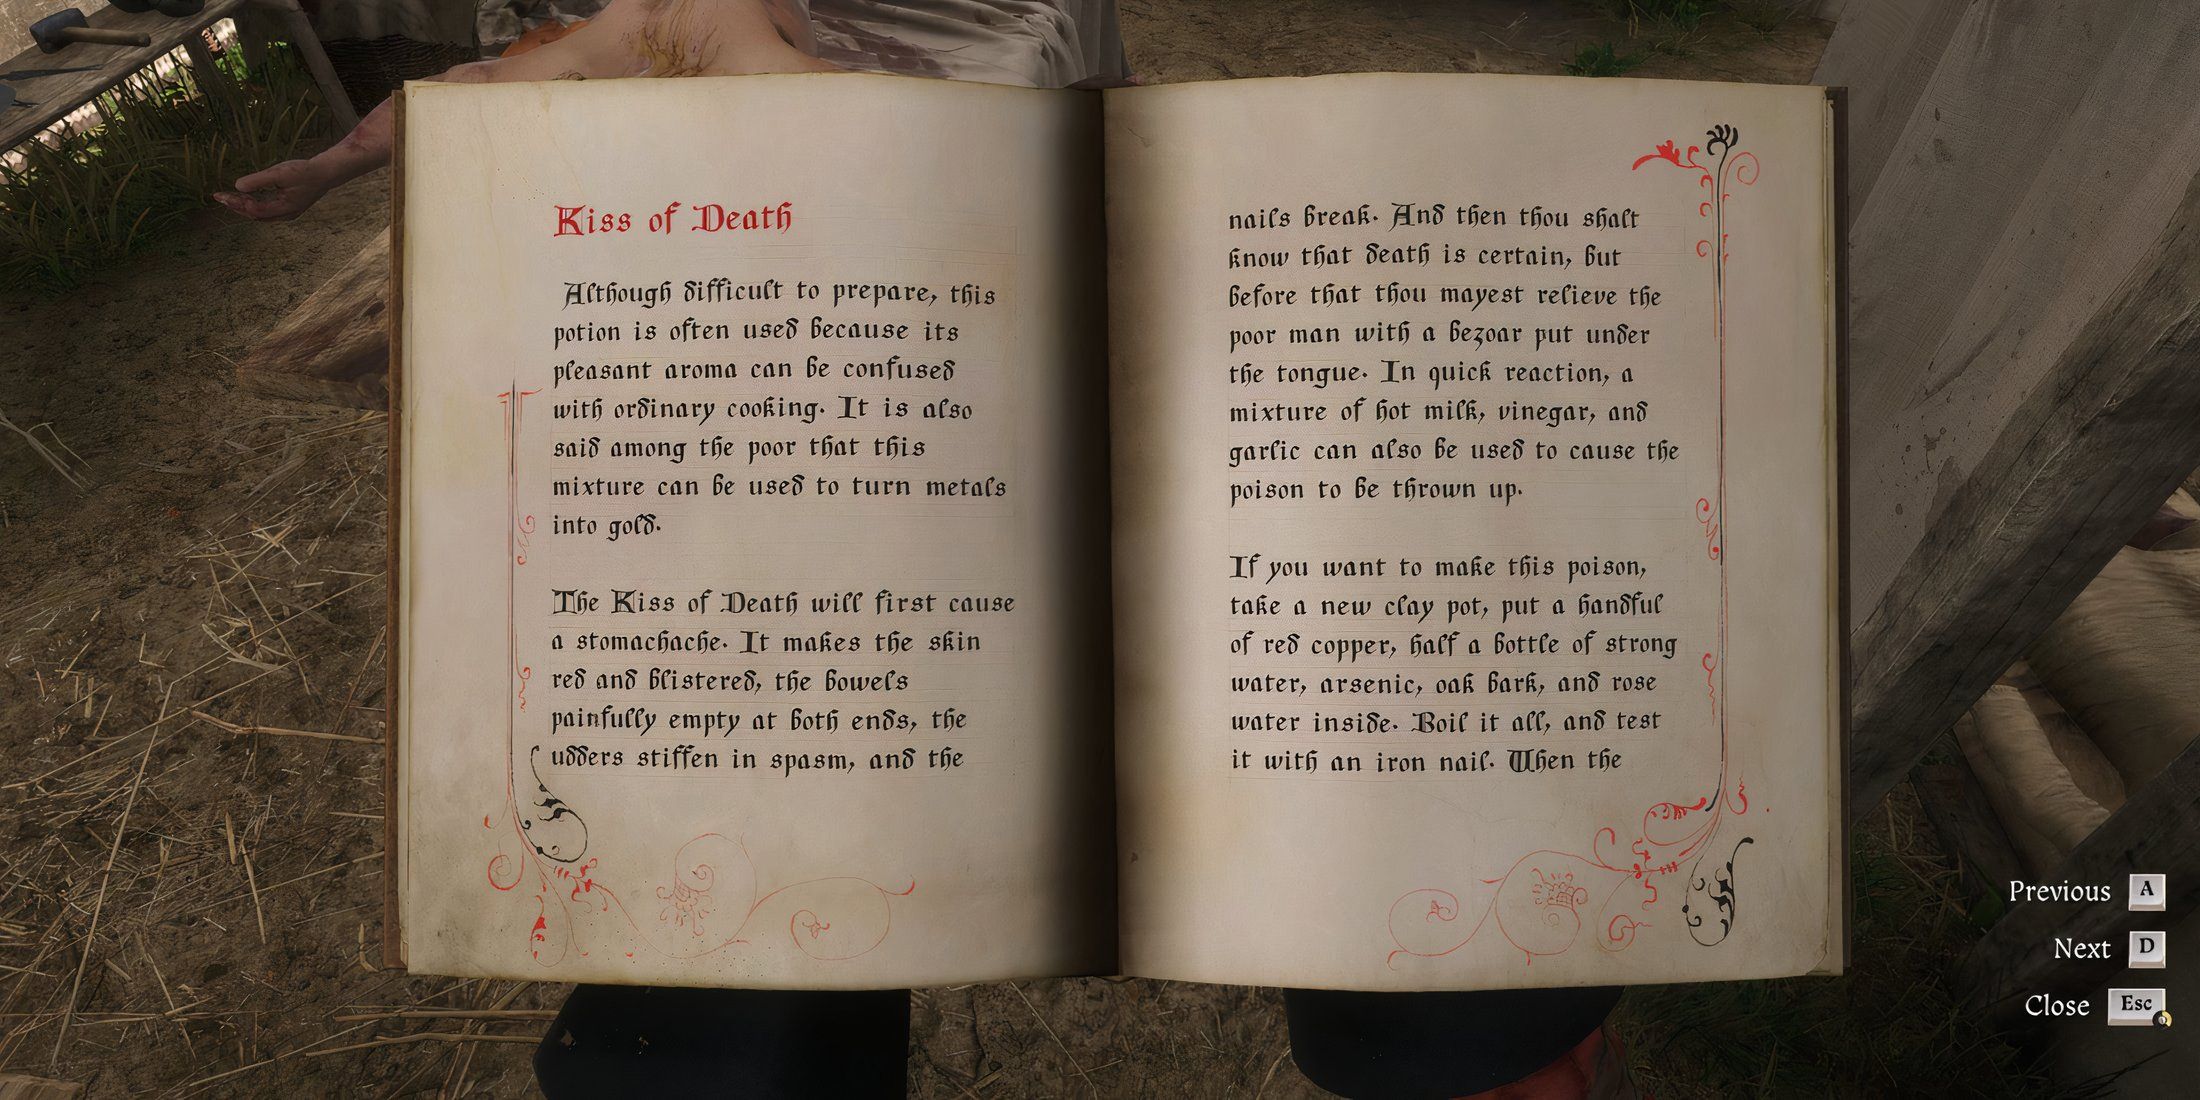
When players examine Chertan’s body, they will notice the following symptoms:
- Spasms
- Lesions on his hands
- Red skin
- Emptied his bowels
The chest lock is simple enough for players to effortlessly unlock it. Upon reading the book, they’ll discover that Chertan met his end due to the Kiss of Death poison, as indicated by his symptoms. Go back and inform Musa about Henry’s findings. Additionally, players will uncover the fact that Musa isn’t faithful to Sigismund if they disclose their true factions.
Interrogate the People Involved in the Murder
It is necessary for the players to question certain individuals who were associated with the crime, in order to gather additional details that may assist Musa.
| Person | Location | Information Revealed |
|---|---|---|
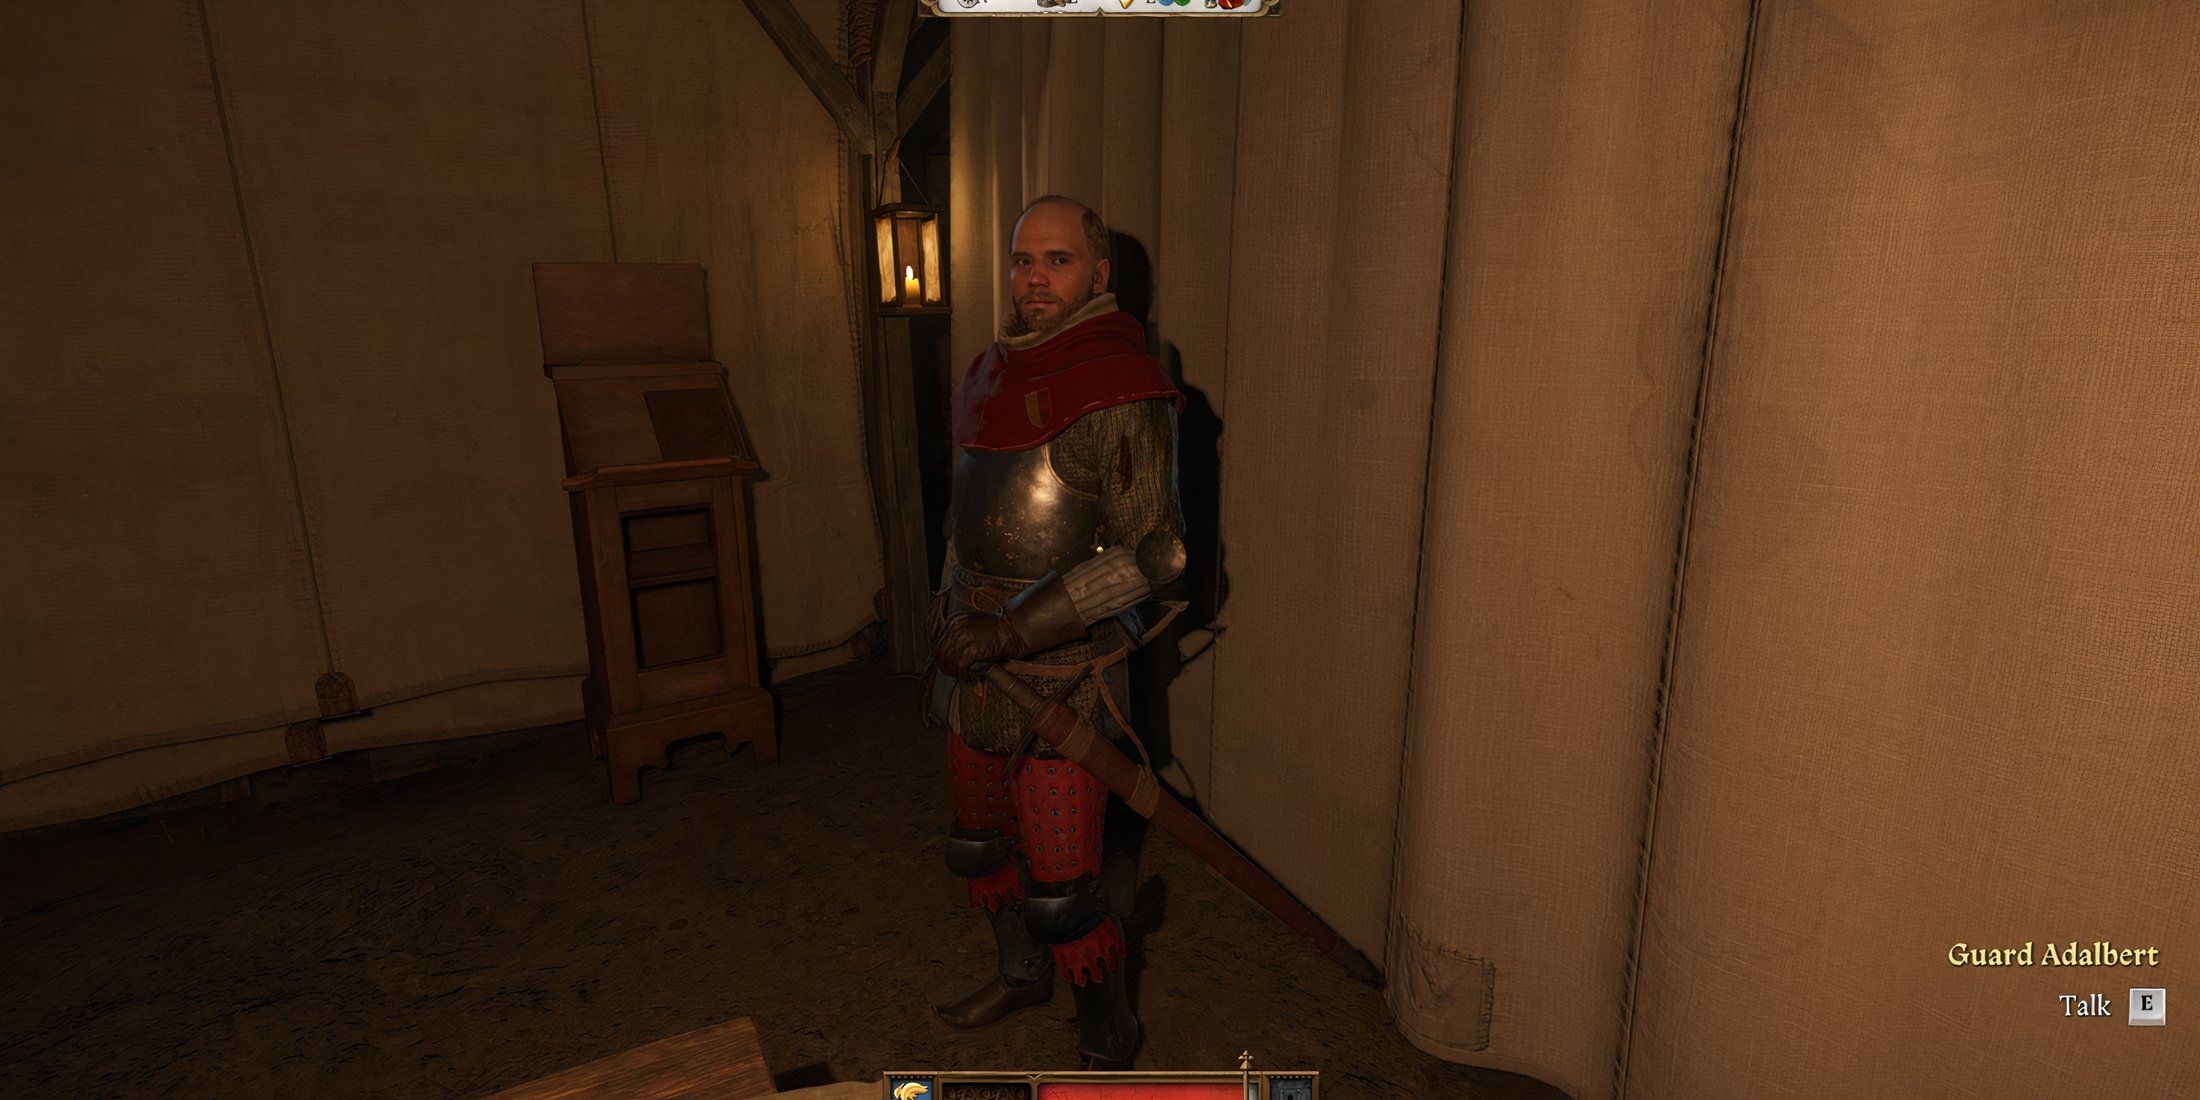
| Guard Adalbert | Infirmary |
|
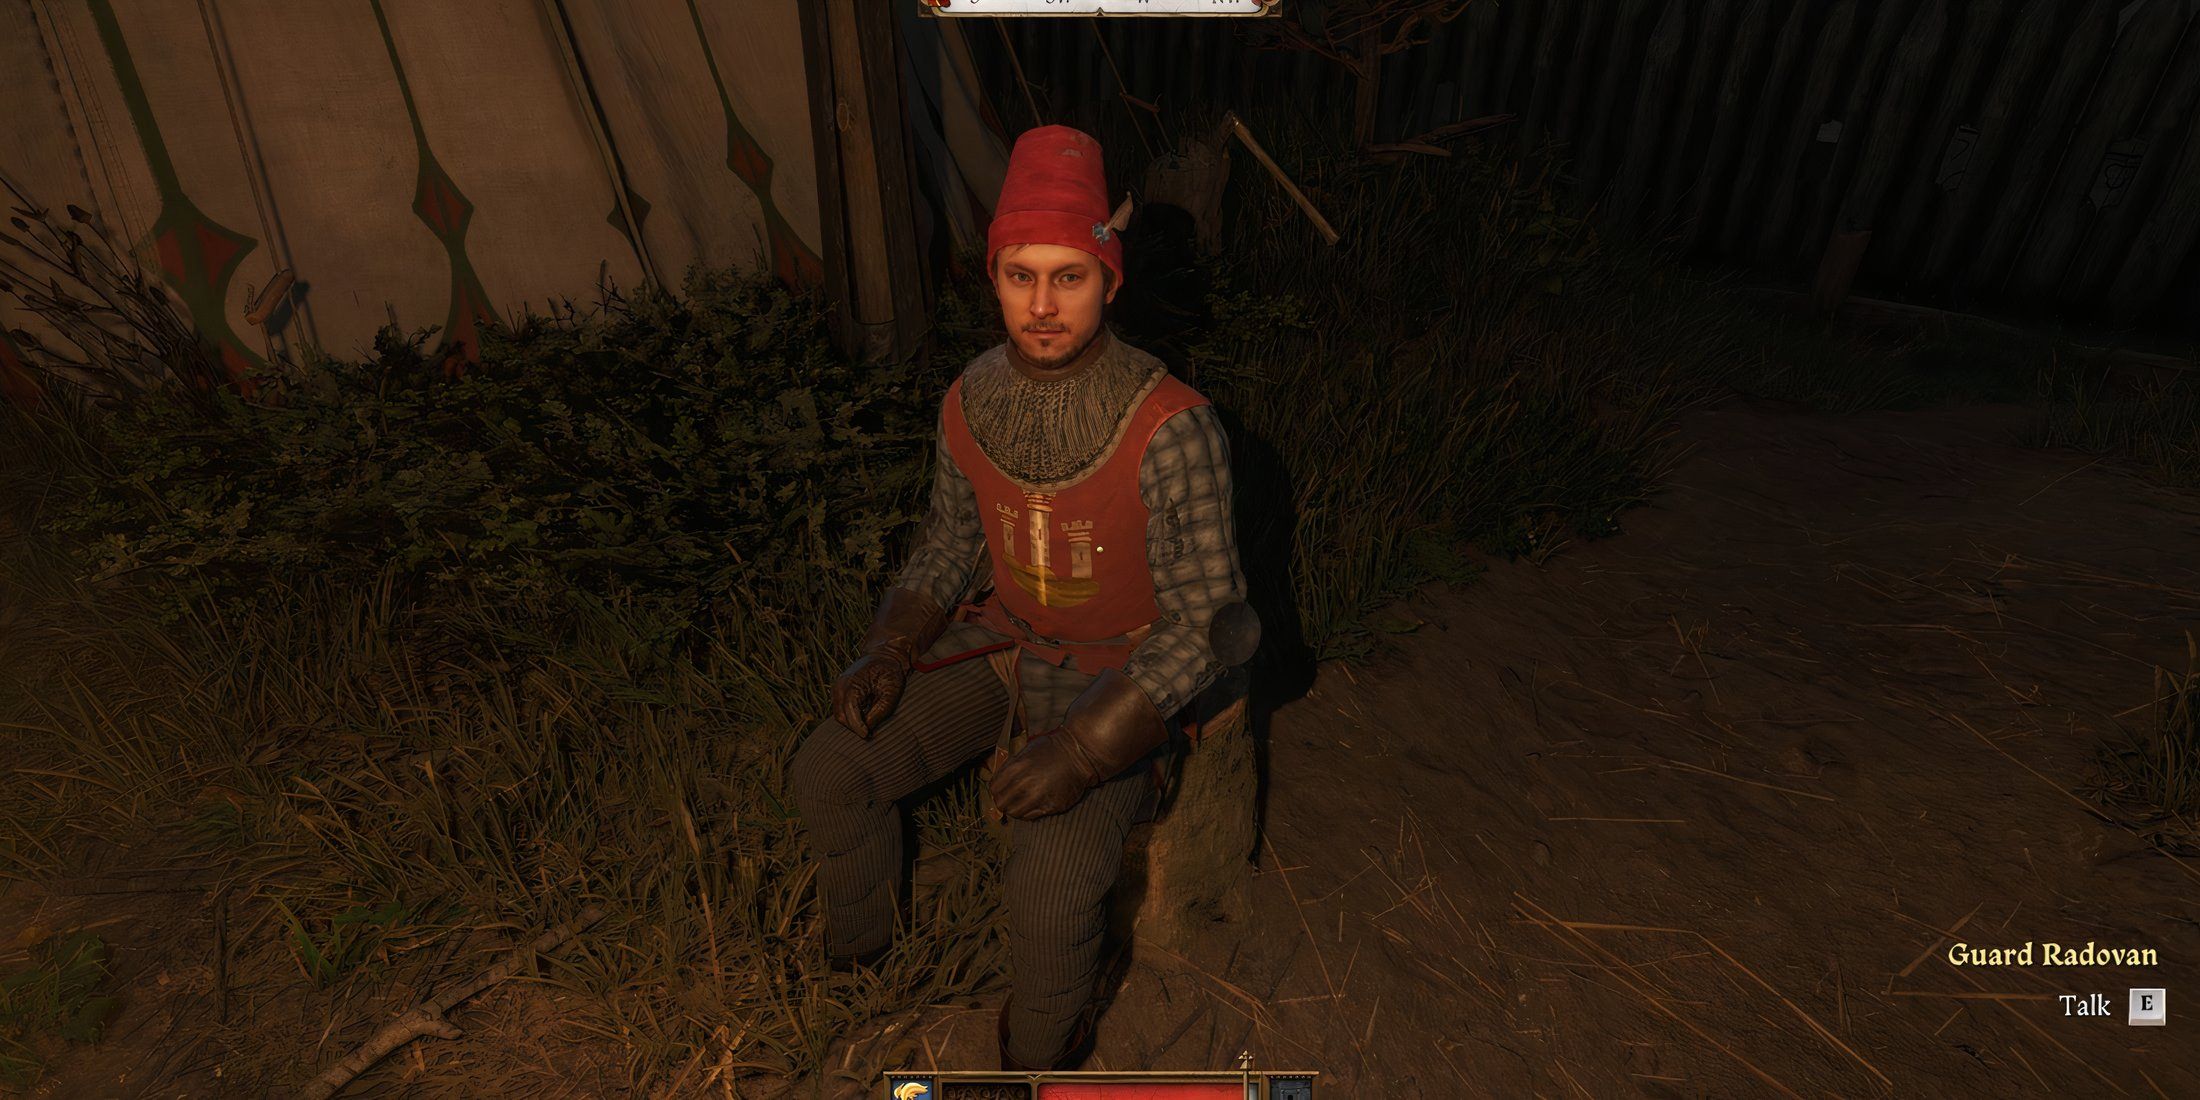
| Guard Radovan | Officer’s Camp |
|
| Stephen Crow | Shooting Range |
|
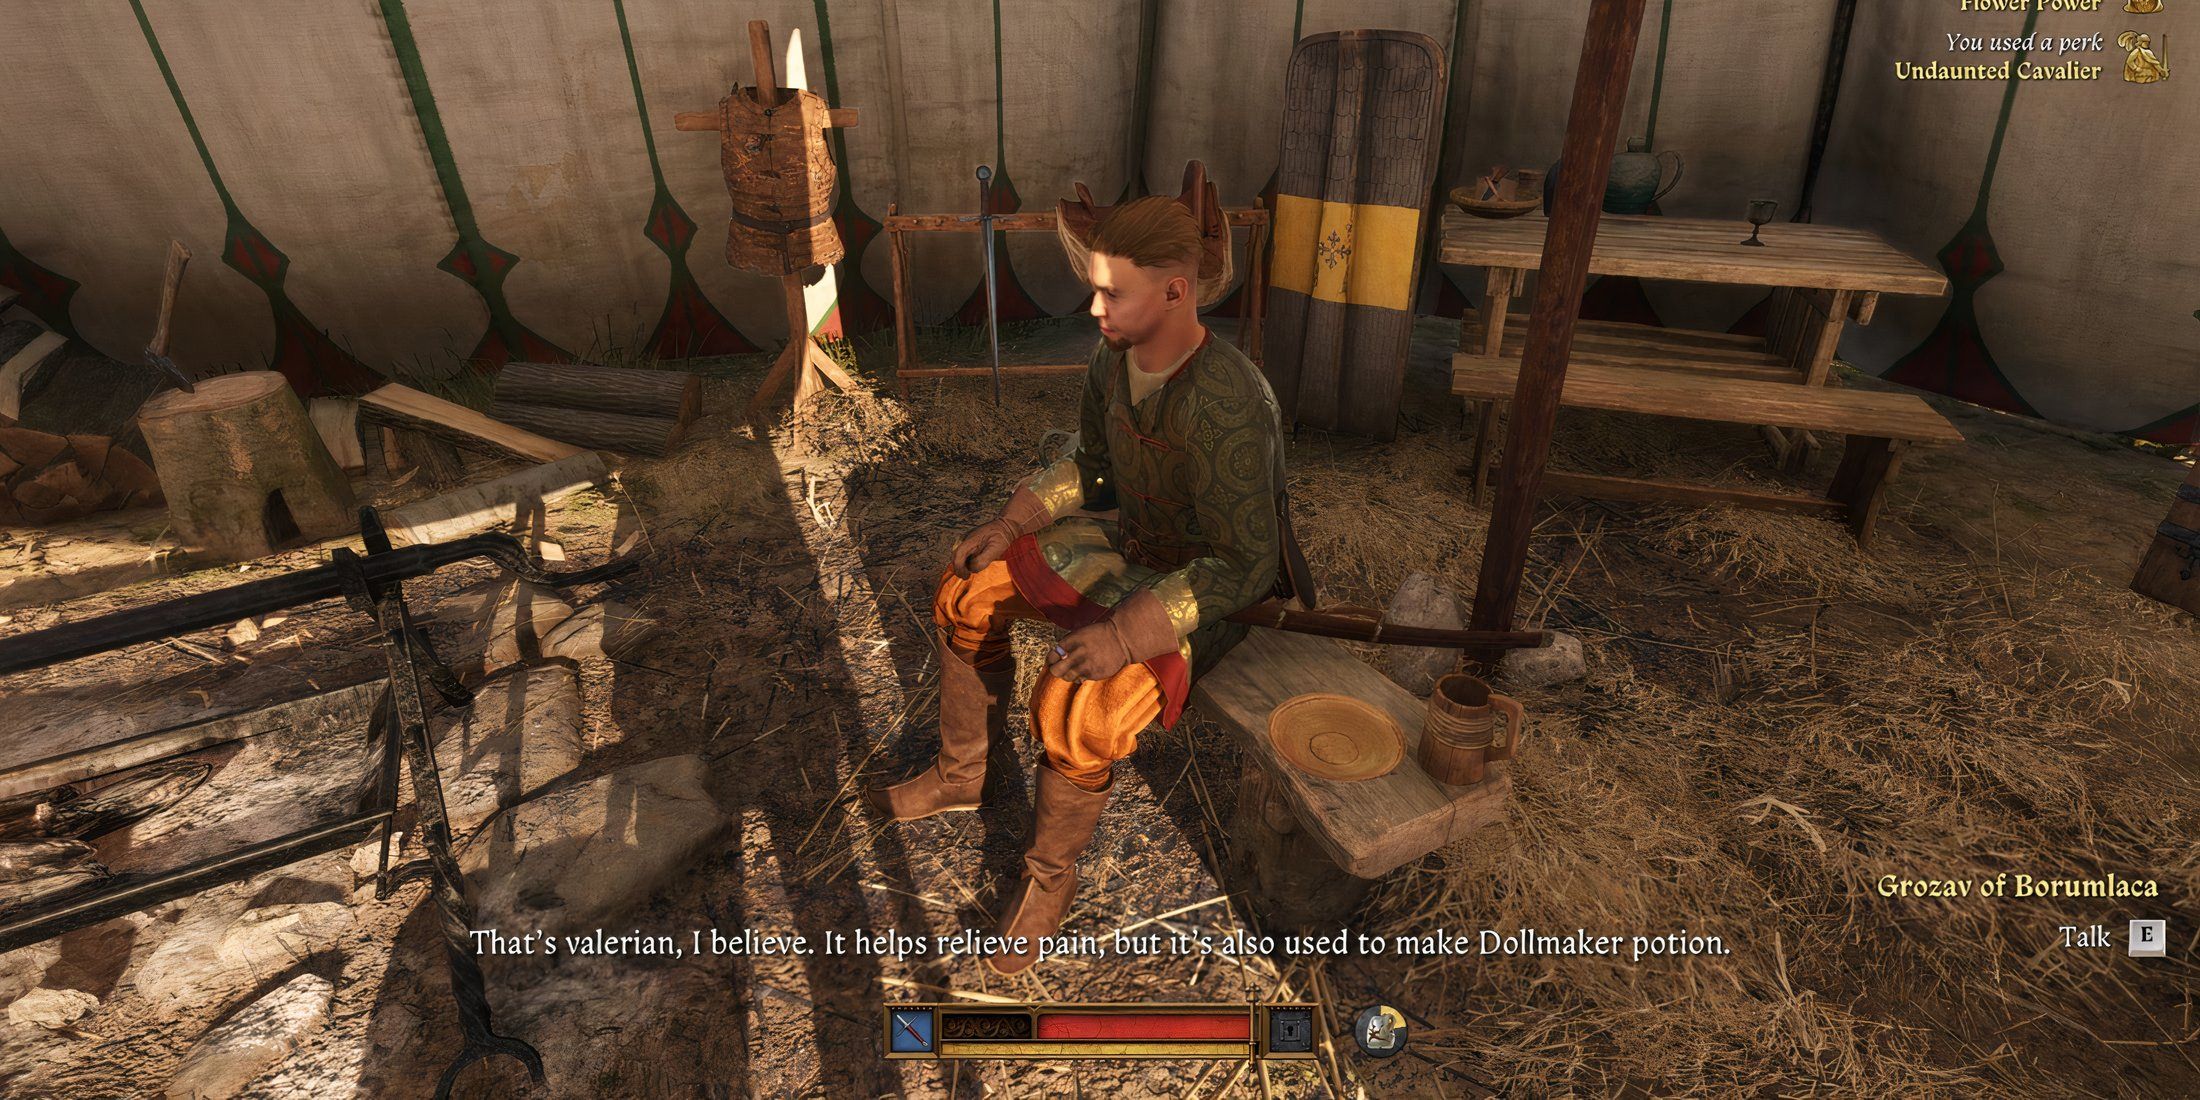
| Grozav | Commander’s Tent |
|
Search Musa’s Tent
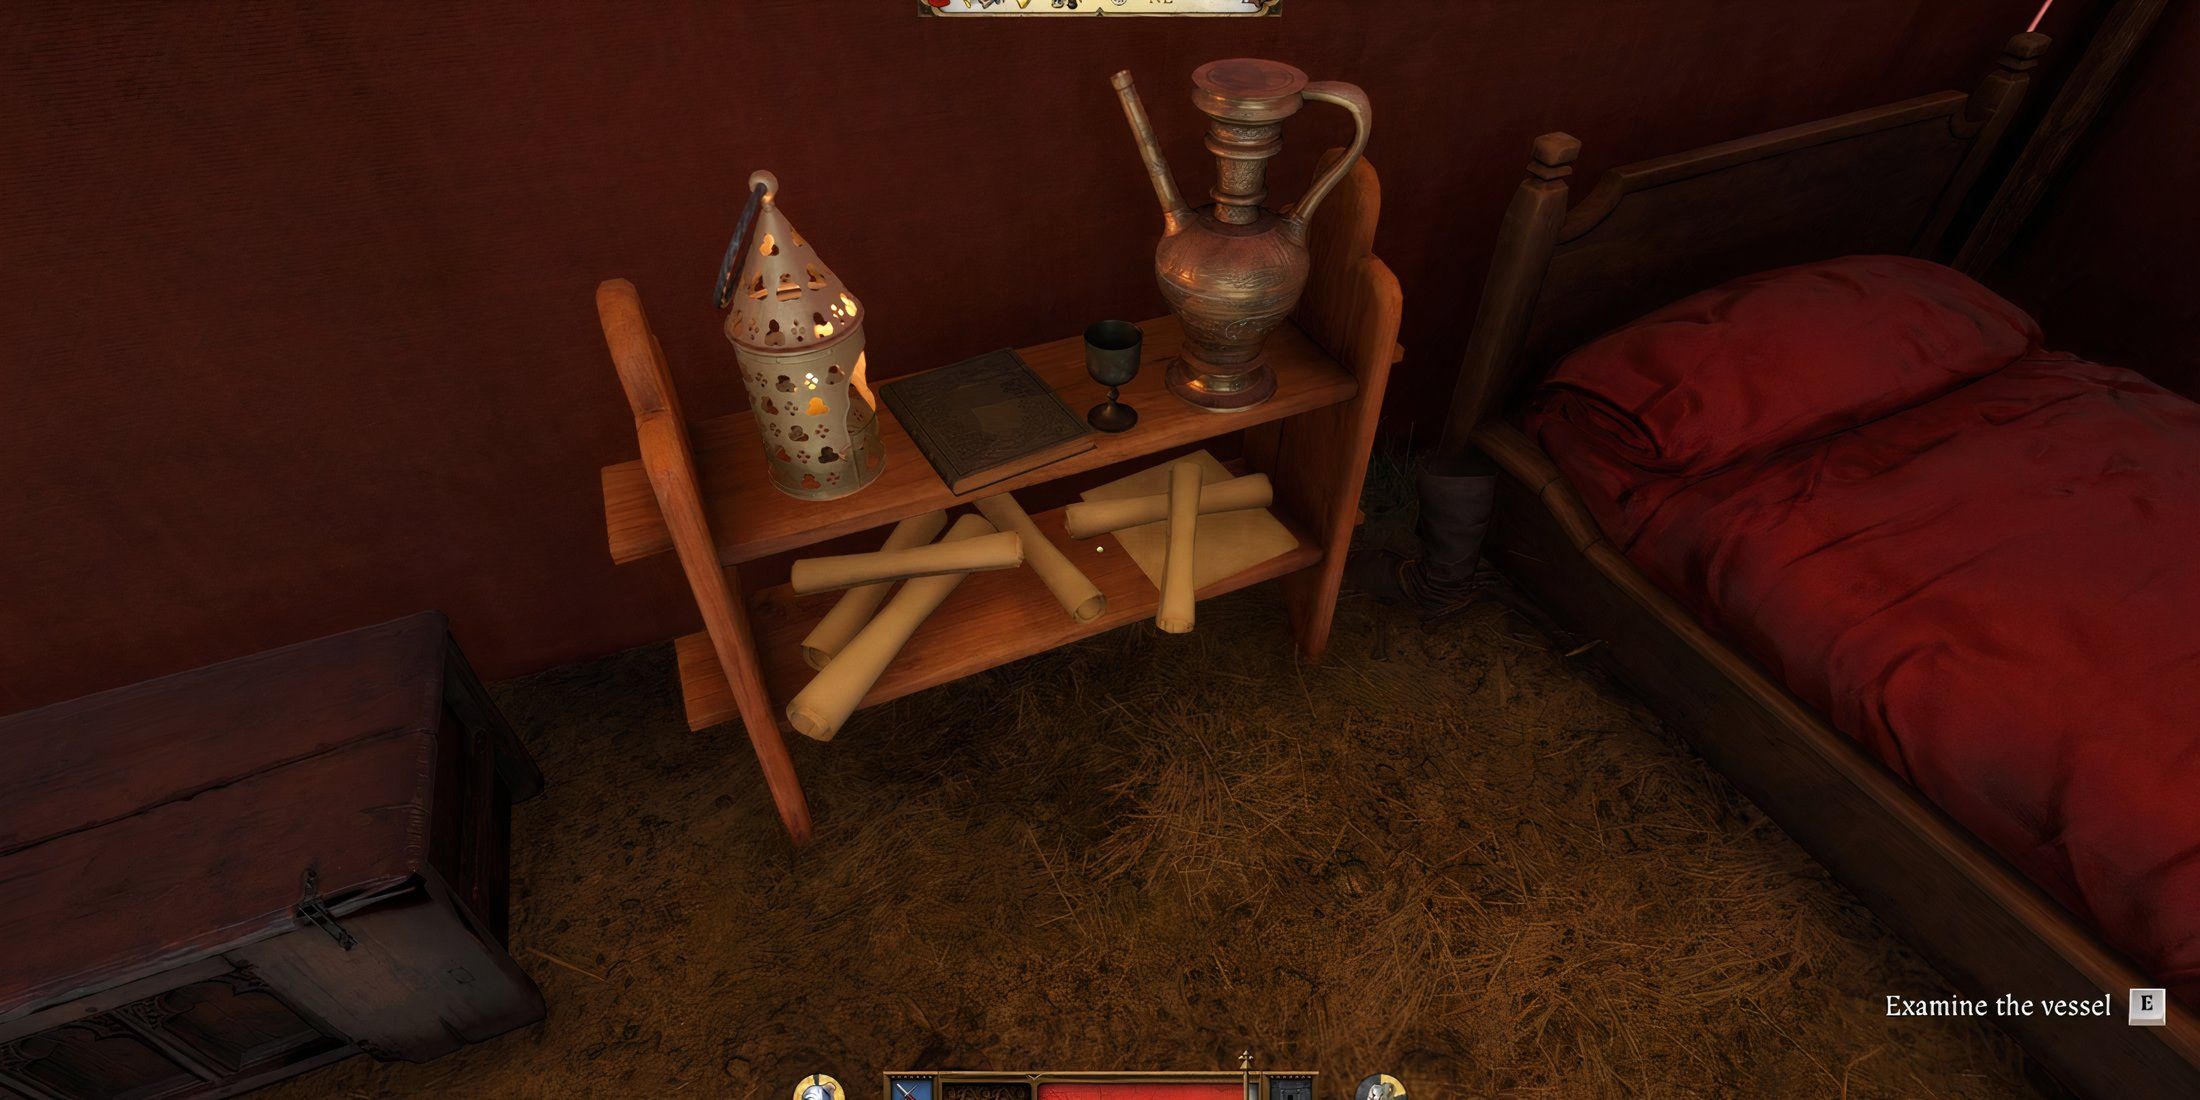
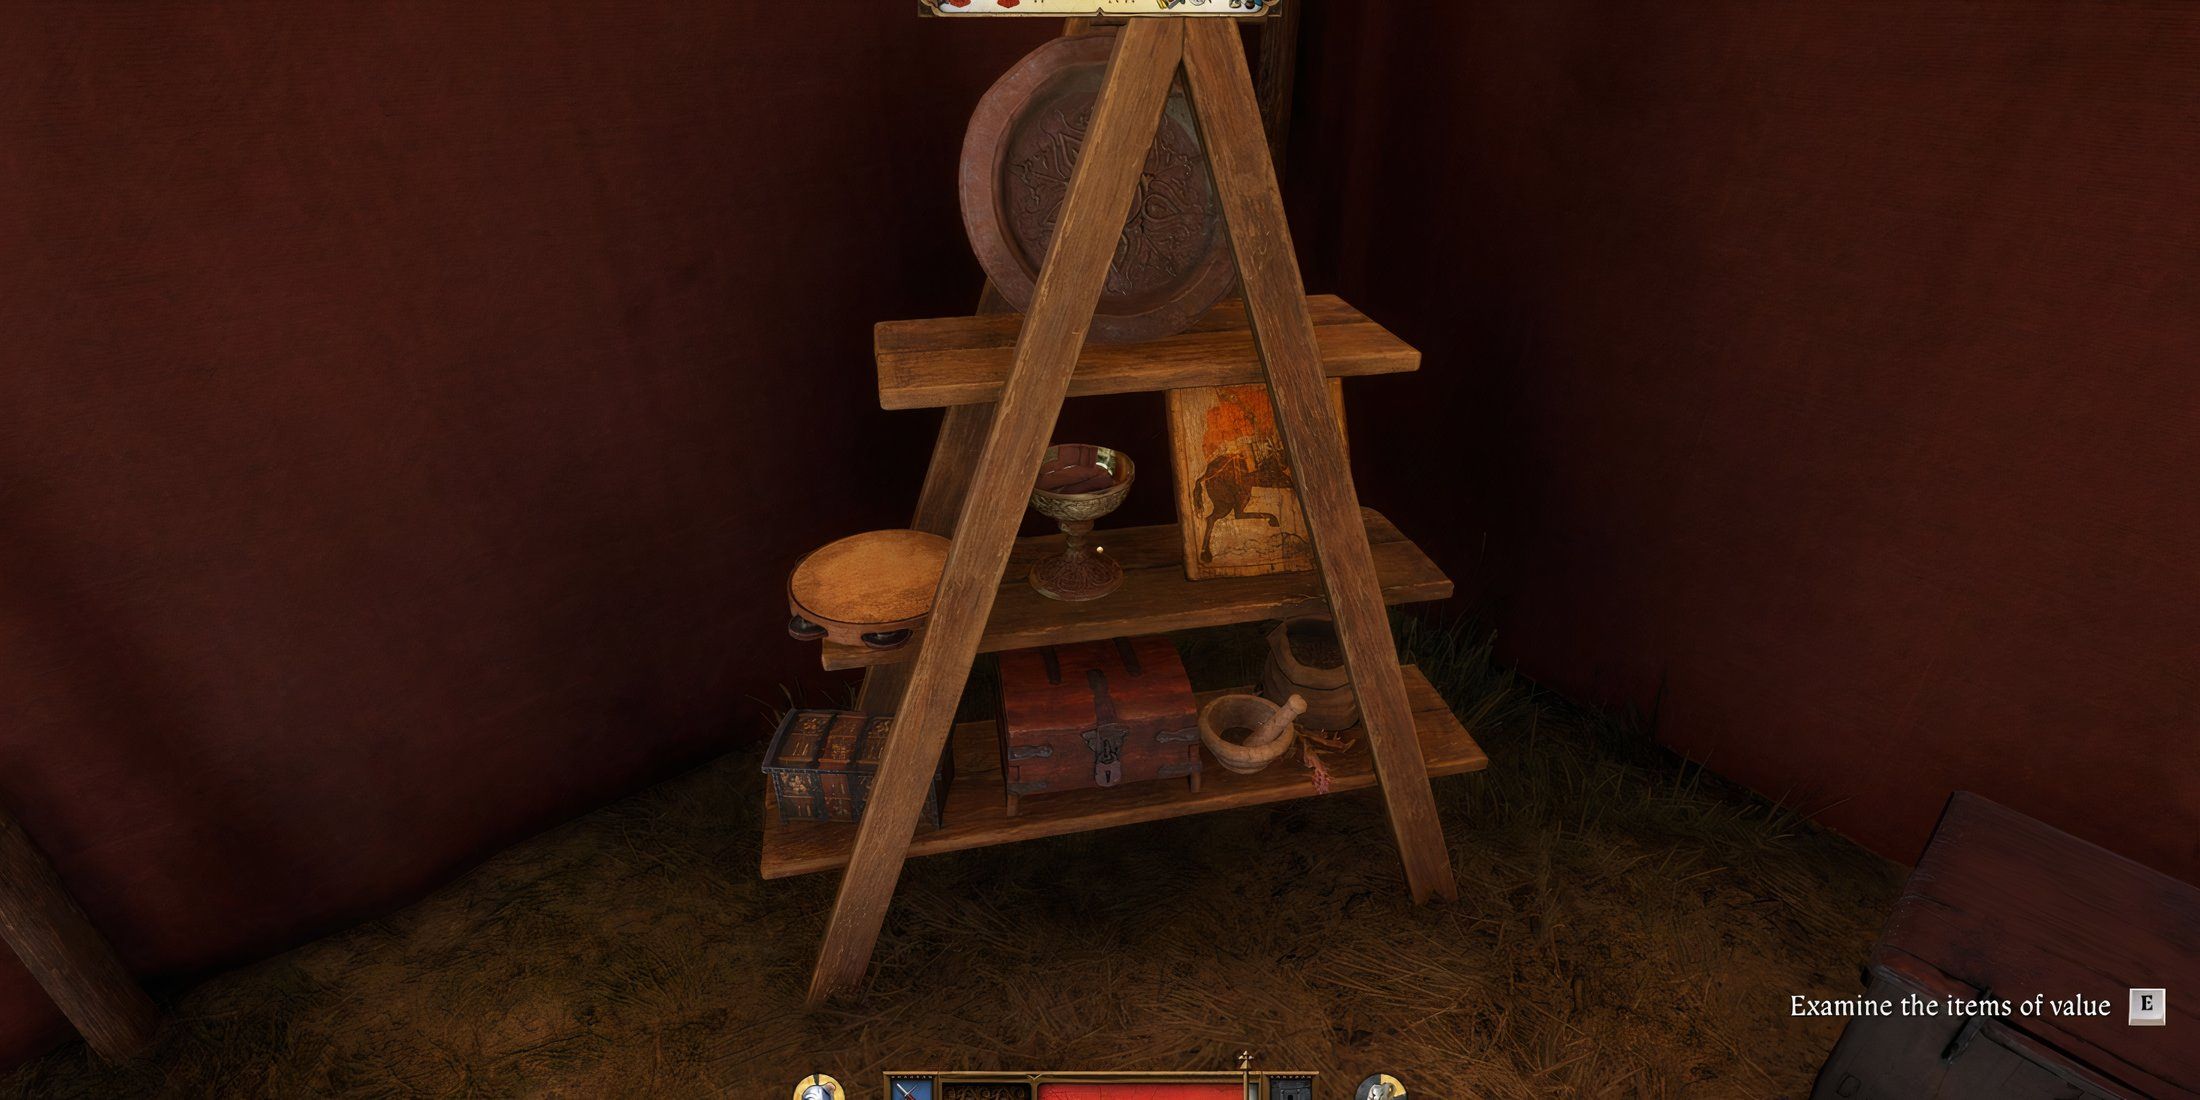

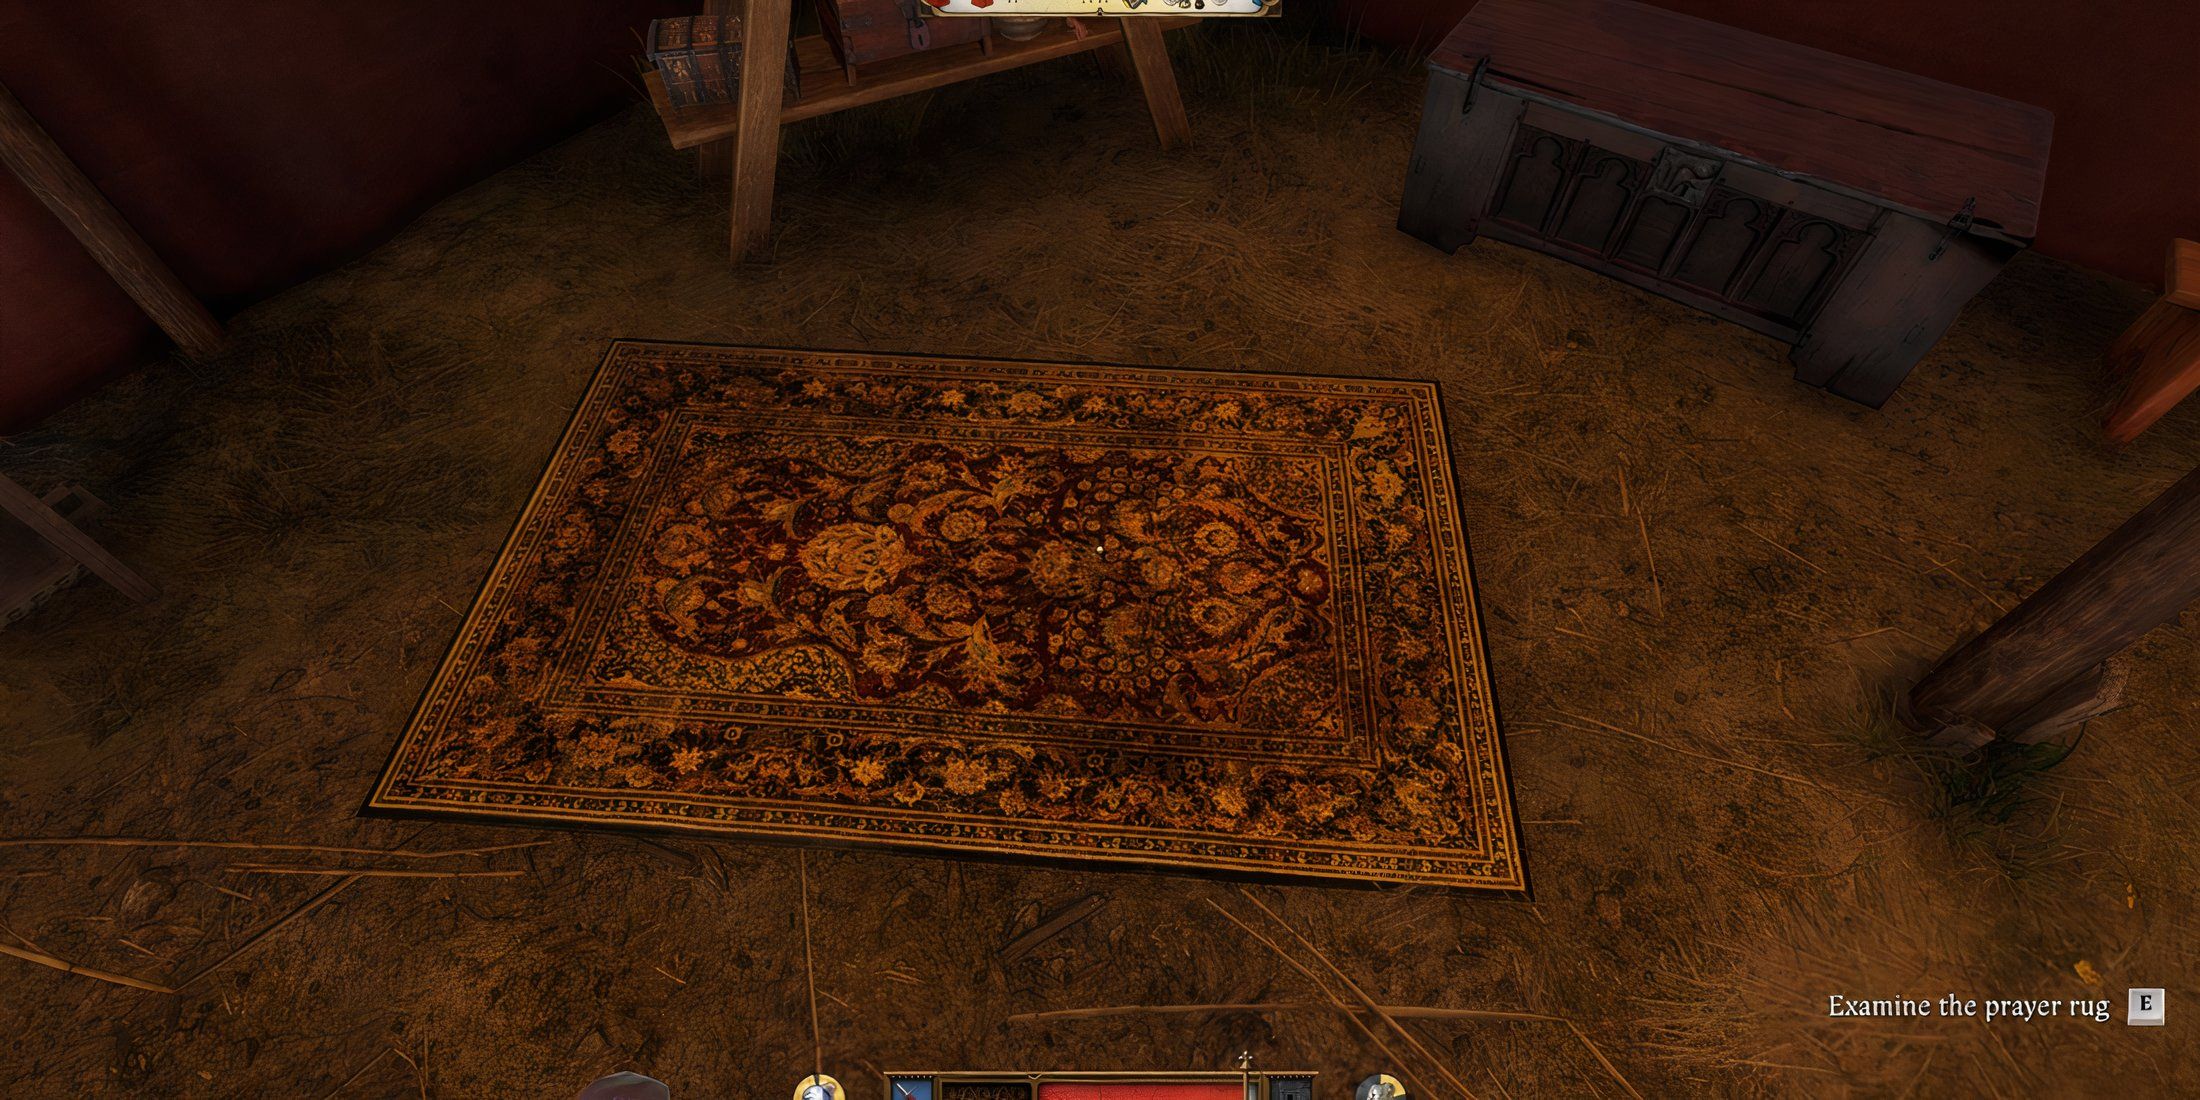
Following questioning of all individuals, Henry will now proceed to inspect each tent for relevant evidence. Let’s start with Musa’s tent since he has been declared as innocent. Key areas to examine include:
- A vessel resting on a shelf beside his bed.
- Precious belongings arranged on a shelf in the corner of his tent.
- A prayer rug on the ground near the treasured items.
- A cabinet standing nearby, stocked with healing potions.
Search Stephen Crow’s Tent
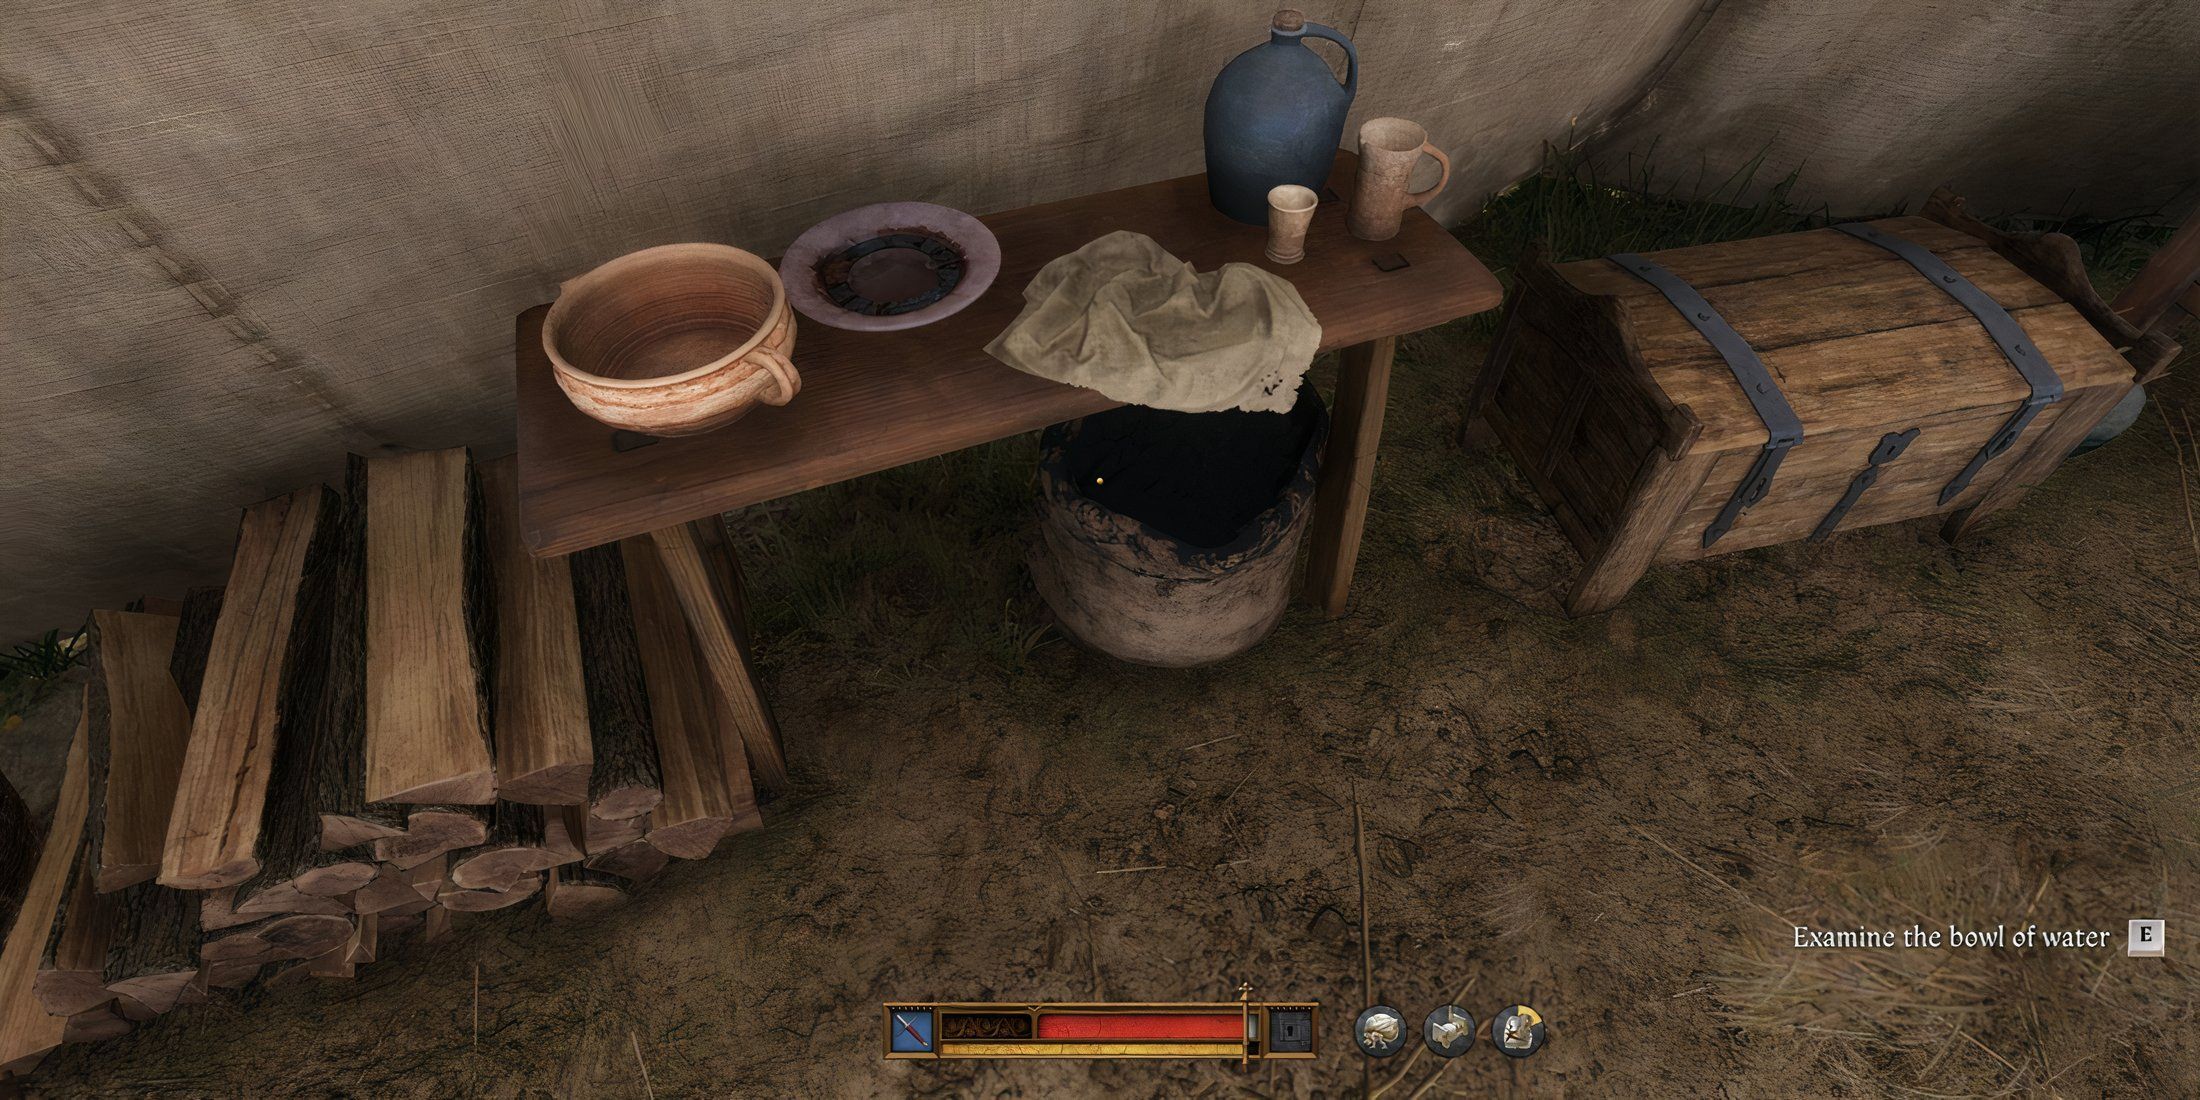
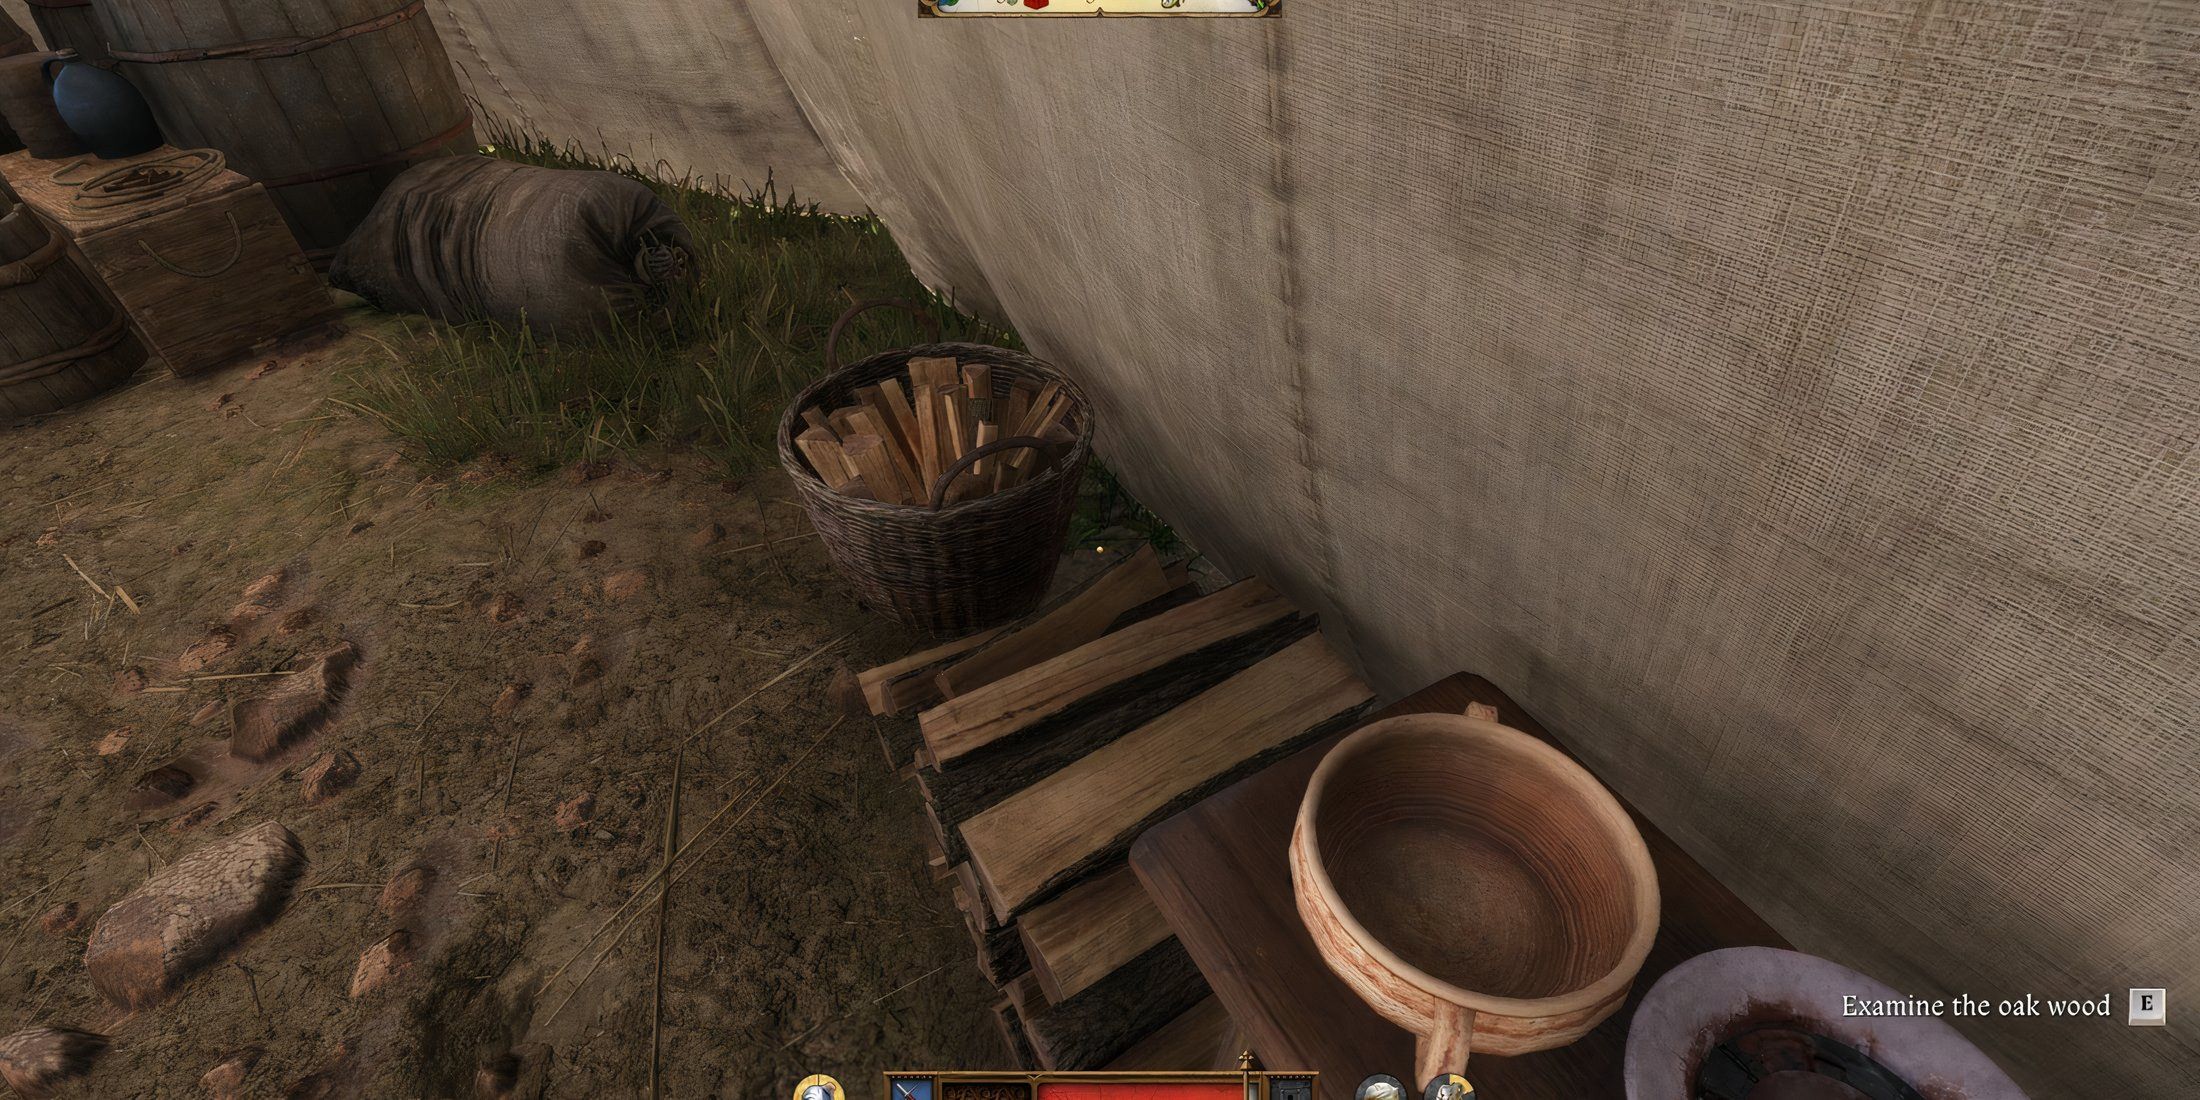
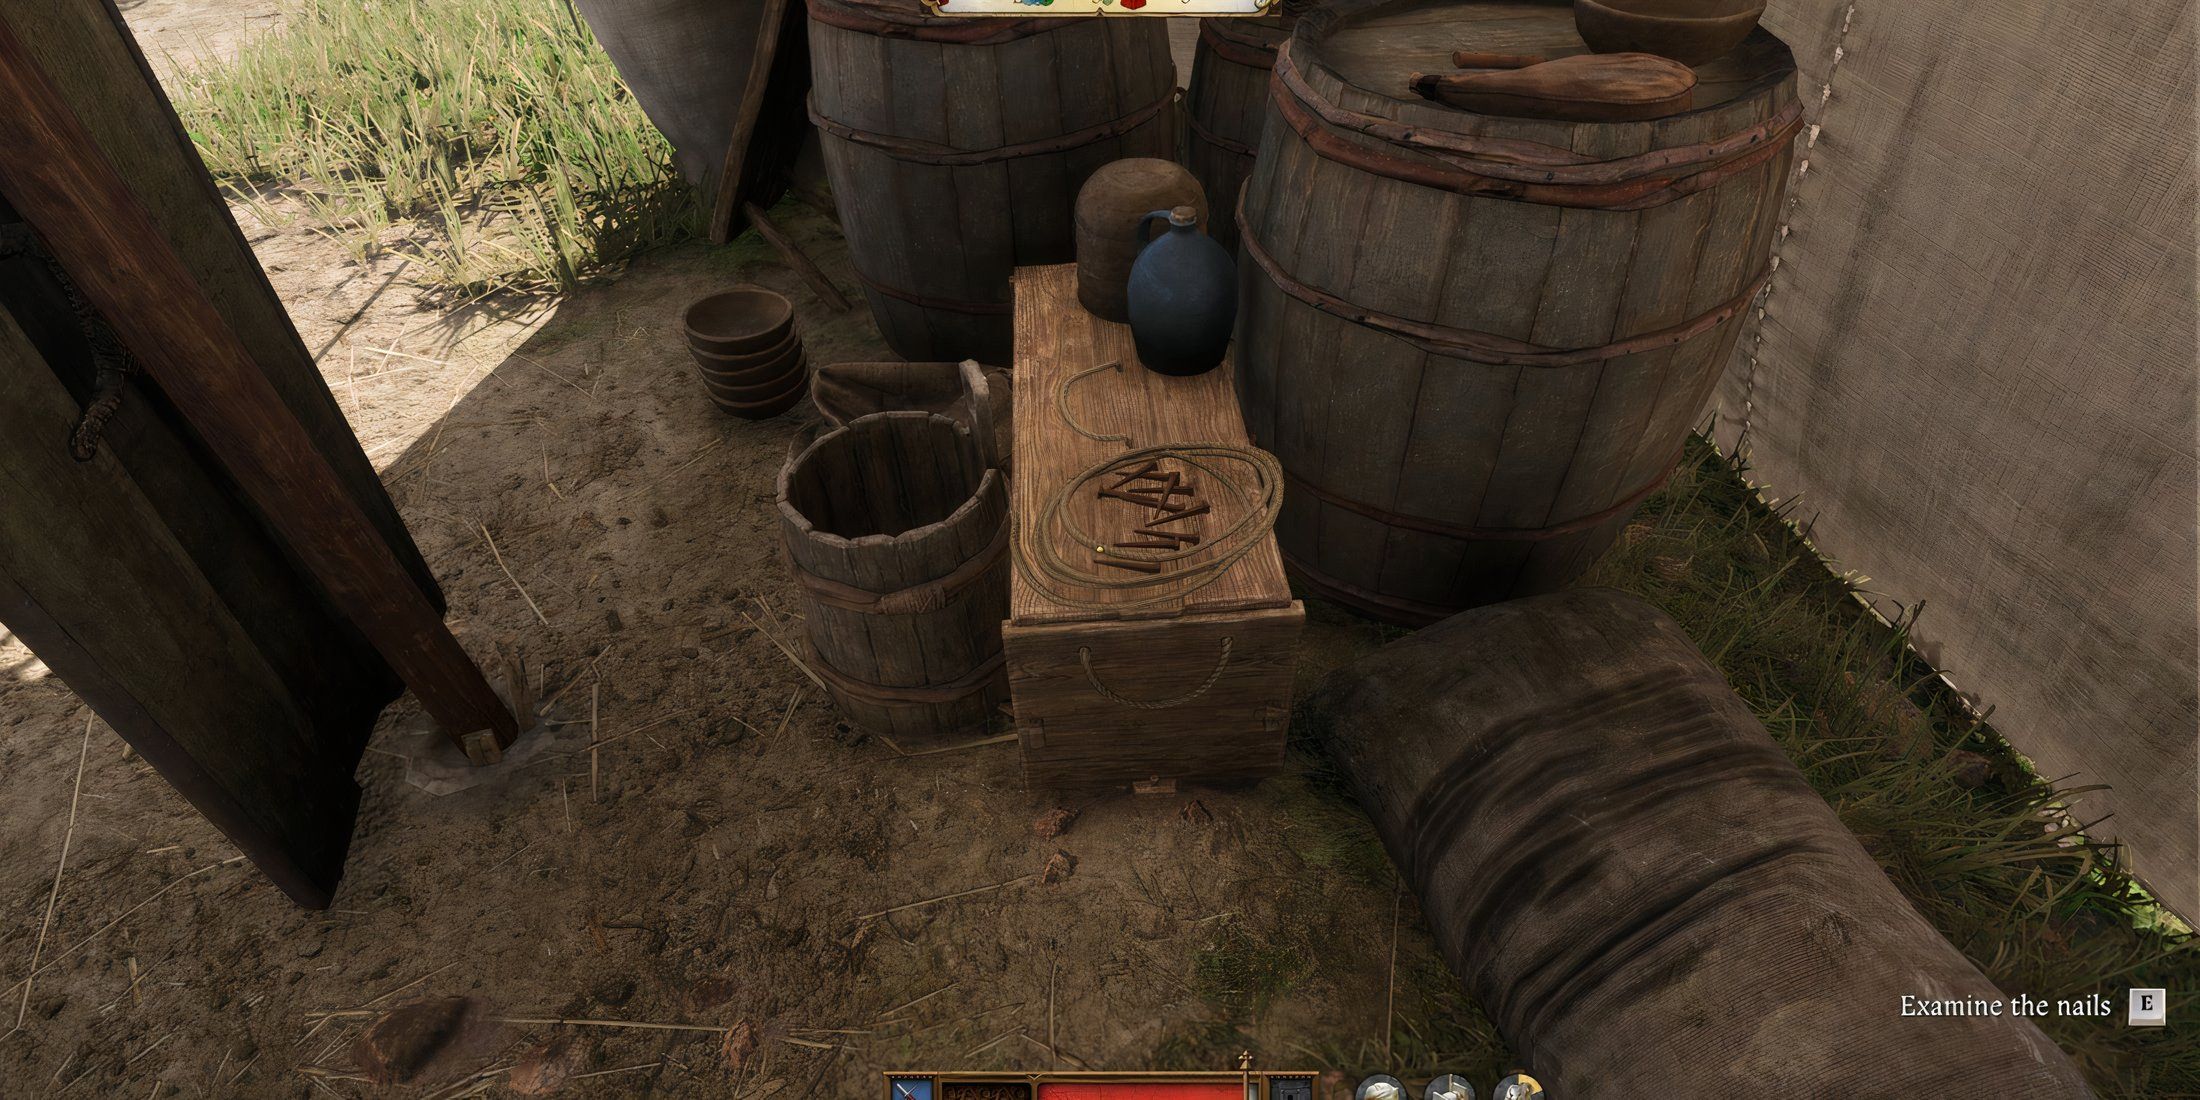
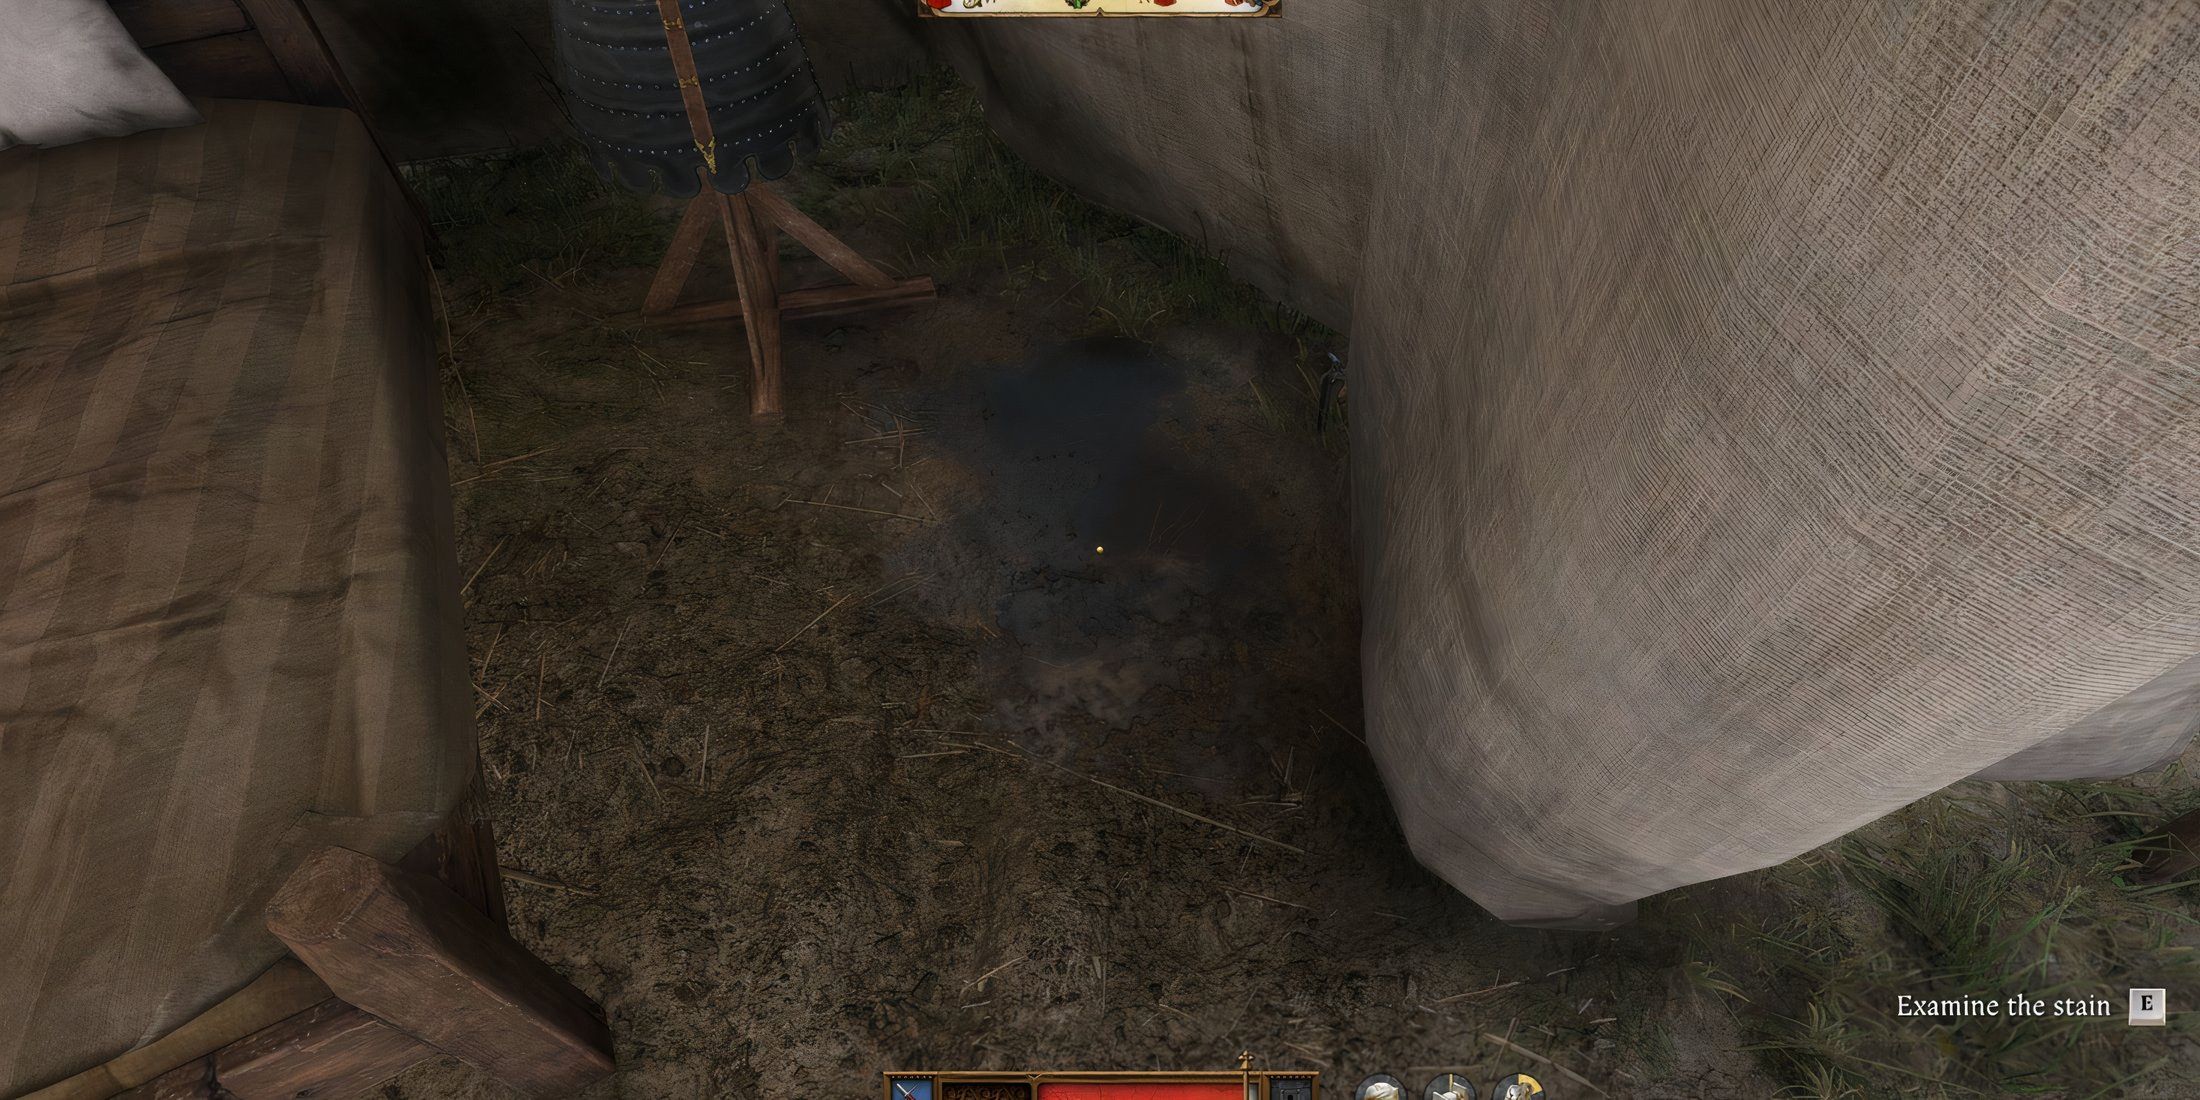
Stephen’s tent reveals a few suspicious finds. Examine the following places:
- A bowl of water, fragrant with the scent of roses.
- A stack of oak wood neatly piled nearby.
- Loose nails scattered across a crate.
- A stain on the ground beside the bed, sharp with the scent of urine.
Search Adalbert and Radovan’s Tent

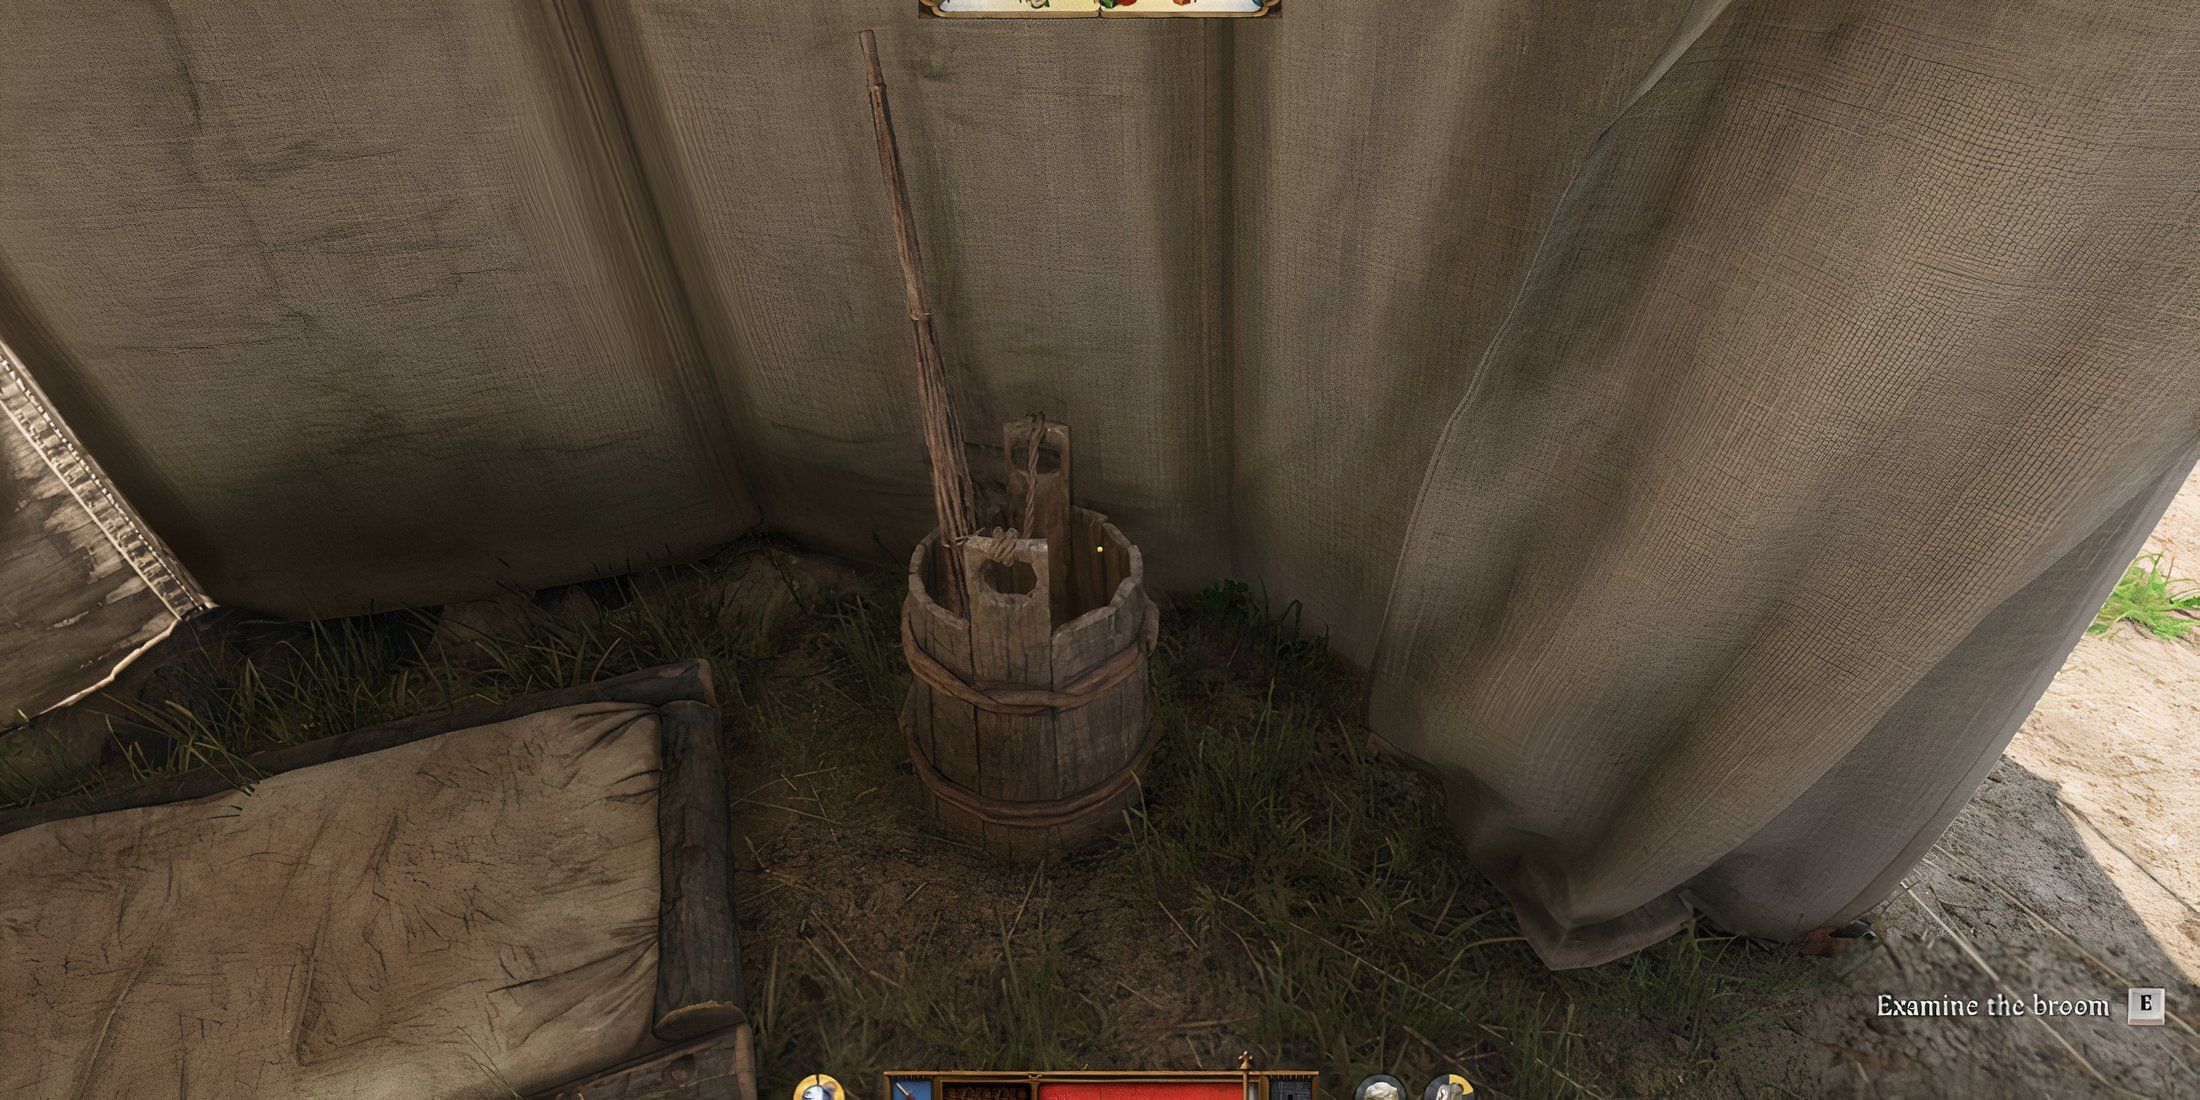
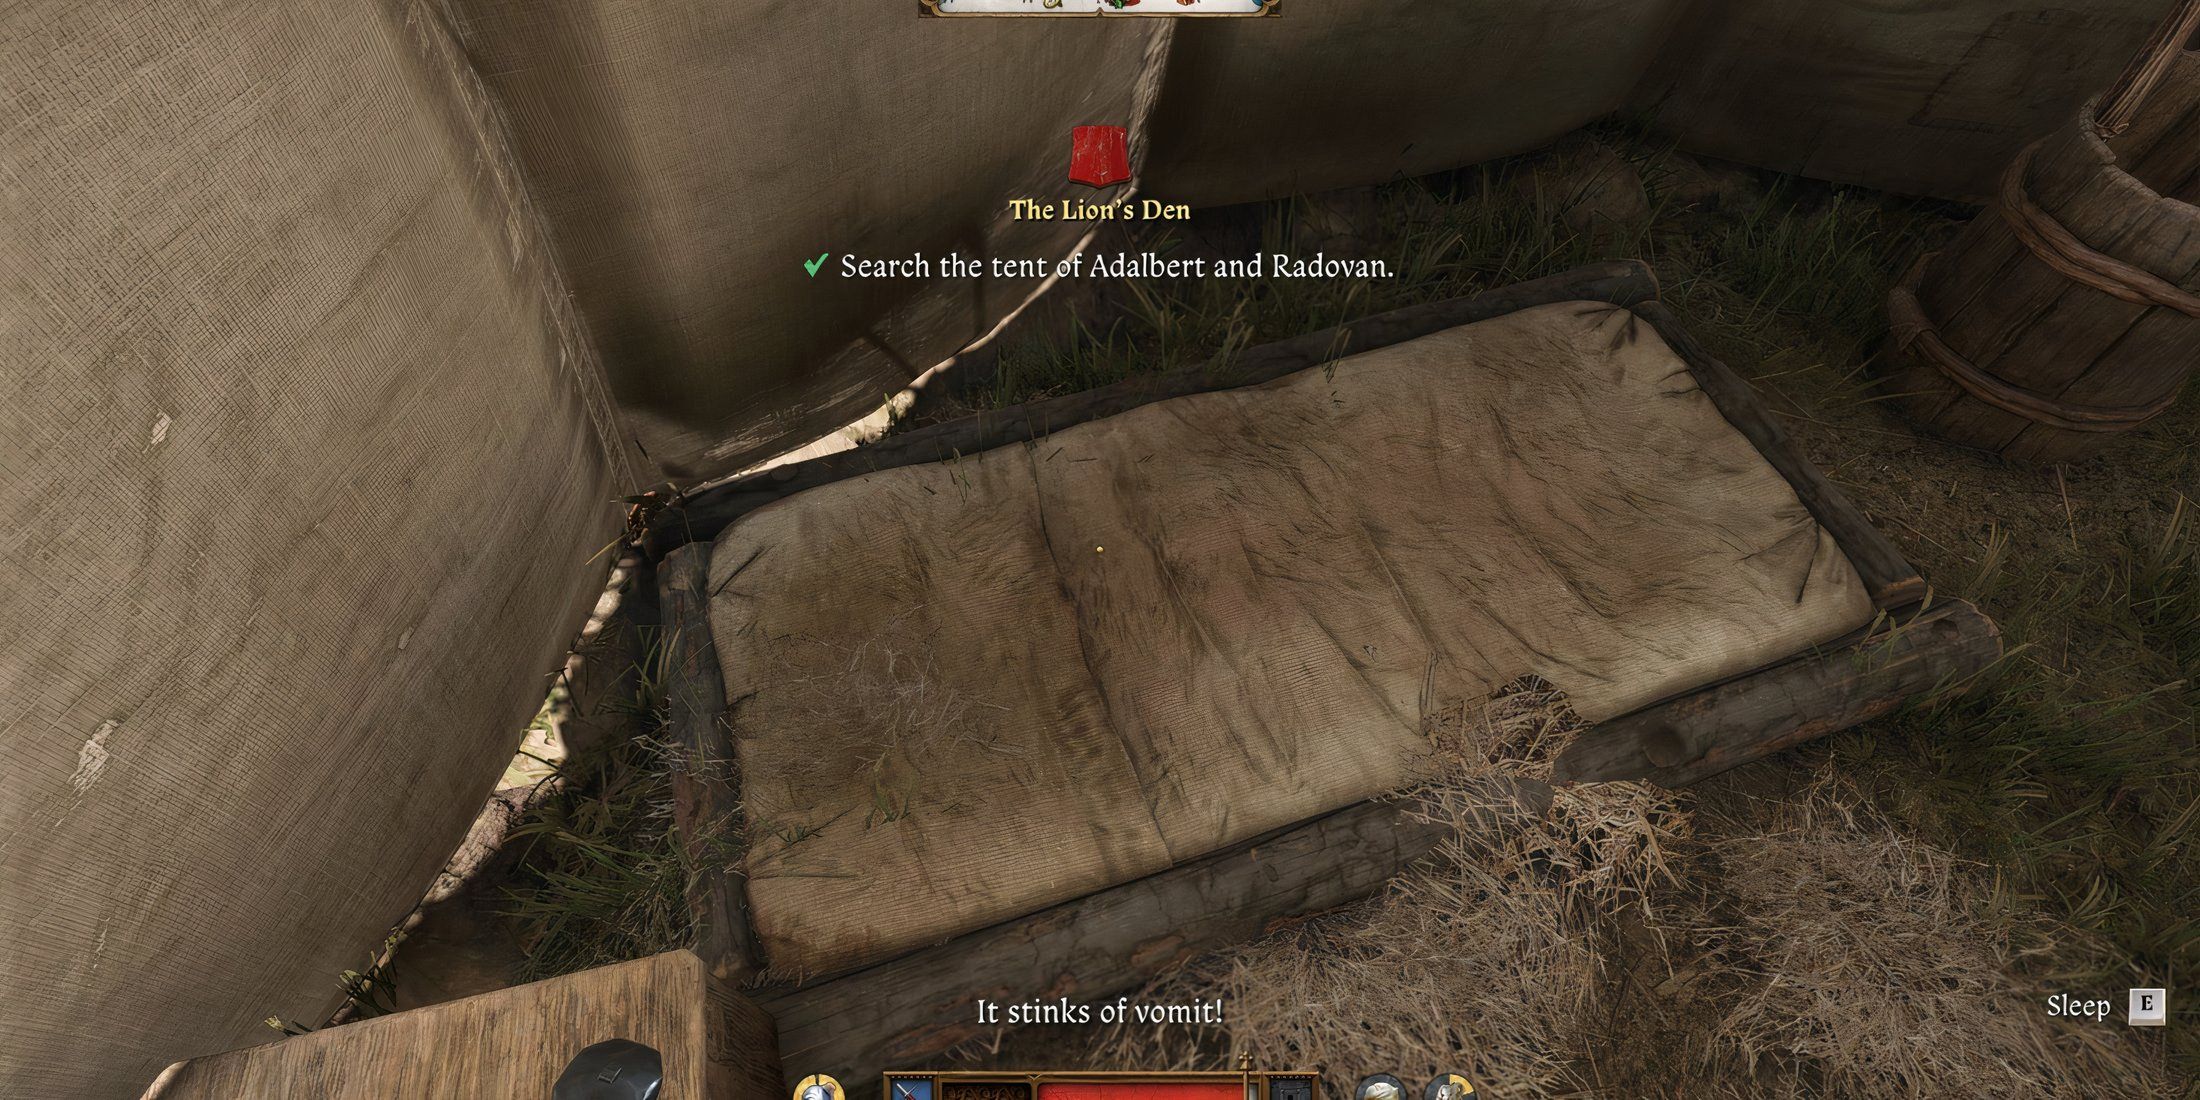
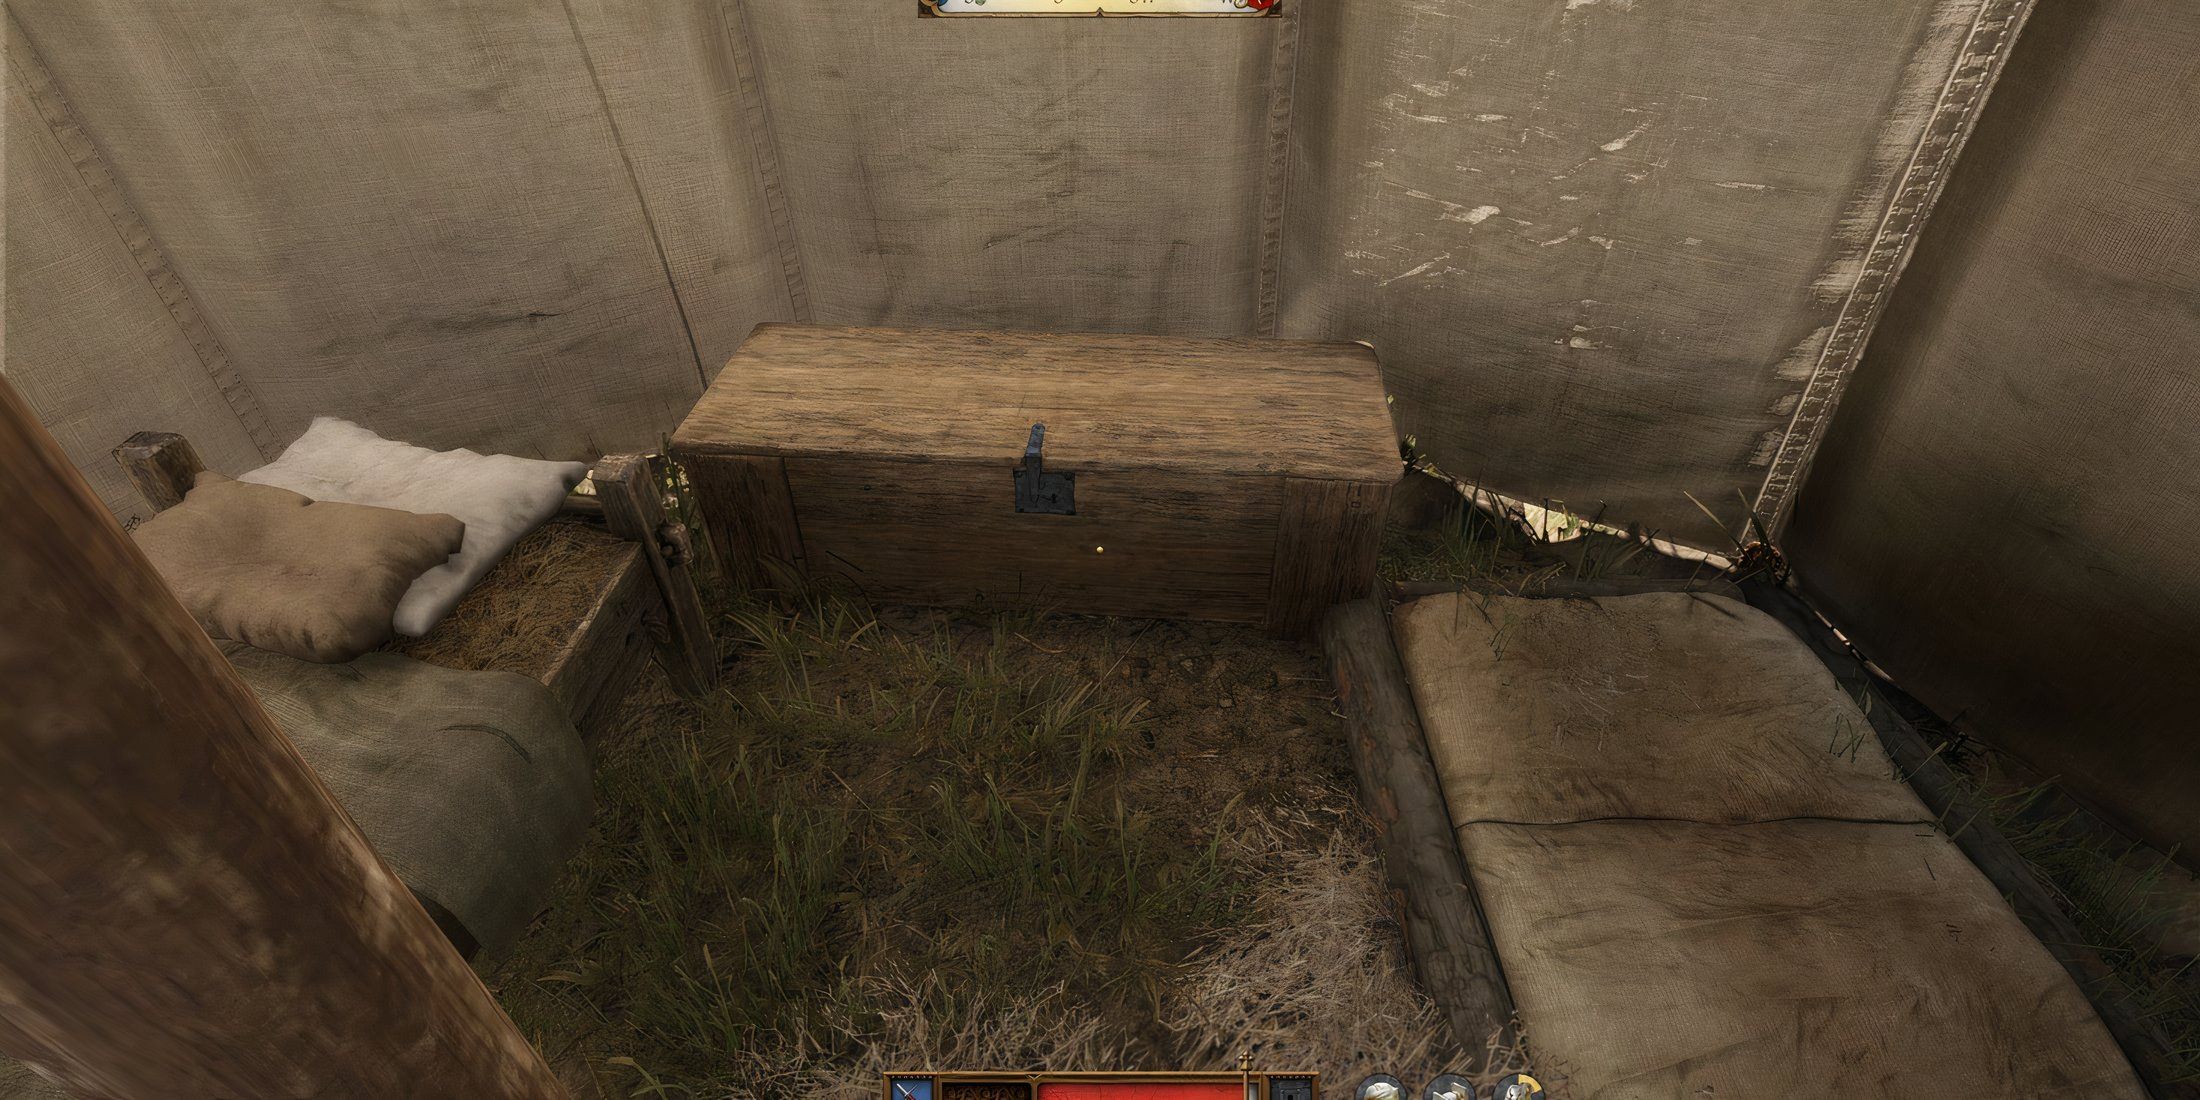
Investigators won’t discover any valuable items within the guards’ tent, but they are encouraged to inspect it nonetheless. Here are some areas worth checking out:
- Jugs of alcohol clustered near the entrance.
- A simple broom leaning against the opposite wall.
- A bedroll crusted with dried vomit.
- An empty chest, offering nothing of interest.
Search Grozav’s Tent
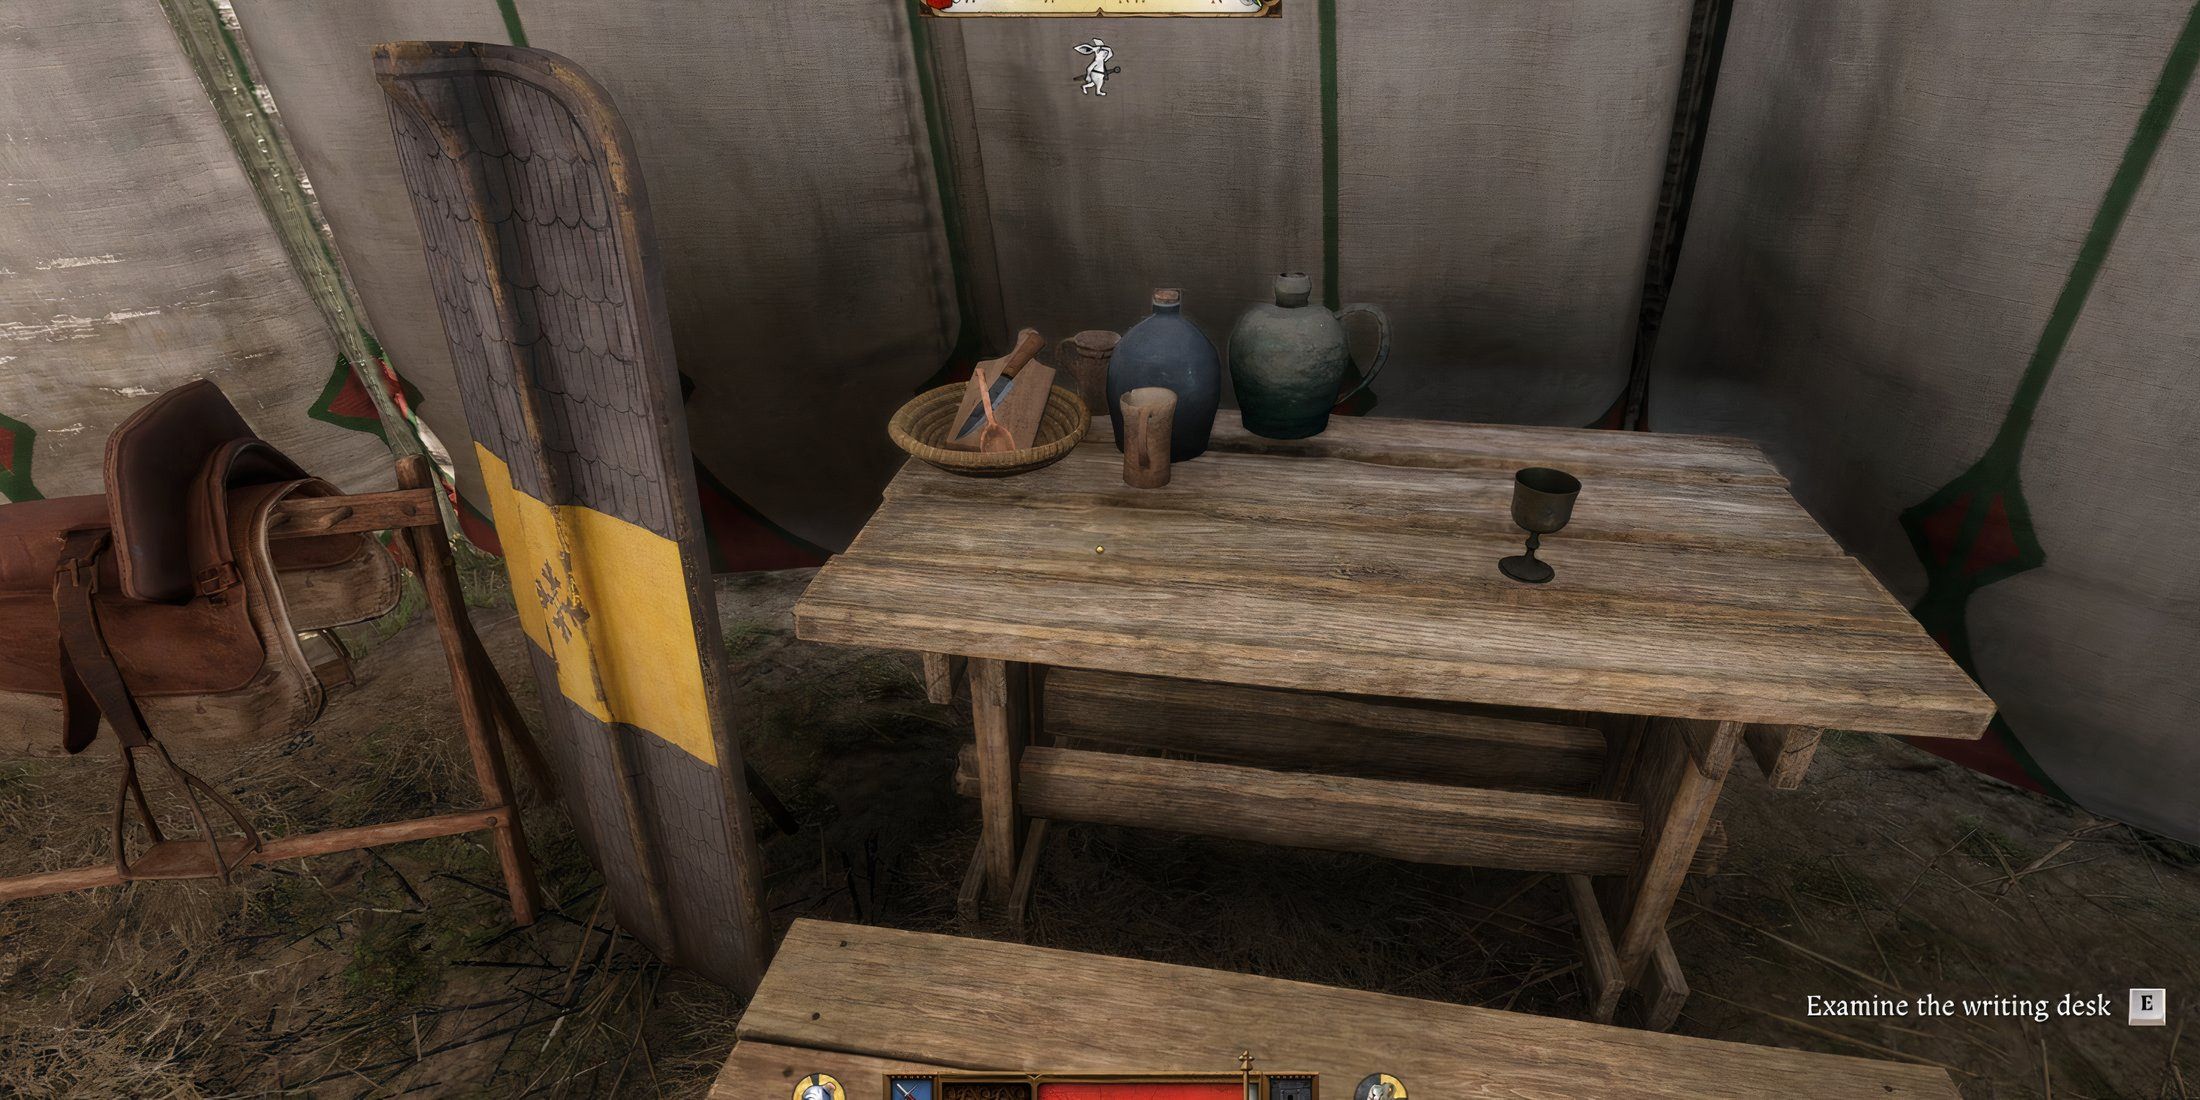
Grozav has one interesting thing inside his tent in the Officer area. Examine the following:
- The table by the camp’s entrance, where a bit of Valerian is laid out.
Defend Musa at the Trial
After gathering all the necessary items, players should have a better understanding of the events. Then, proceed back to Commander Katz to inform him that you are prepared for the upcoming trial.
Who Killed Chertan?
1. “The evidence suggests that Stephen Crow is responsible for Chertan’s death, according to what Henry discovered.”
2. “Based on Henry’s findings, it appears that Stephen Crow is the one who took Chertan’s life.”
3. “It seems clear from Henry’s findings that Stephen Crow is the individual who ended Chertan’s life.”
4. “The evidence uncovered by Henry indicates that Stephen Crow was the one who killed Chertan.”
5. “According to what Henry found, it can be inferred that it was Stephen Crow who took Chertan’s life.”
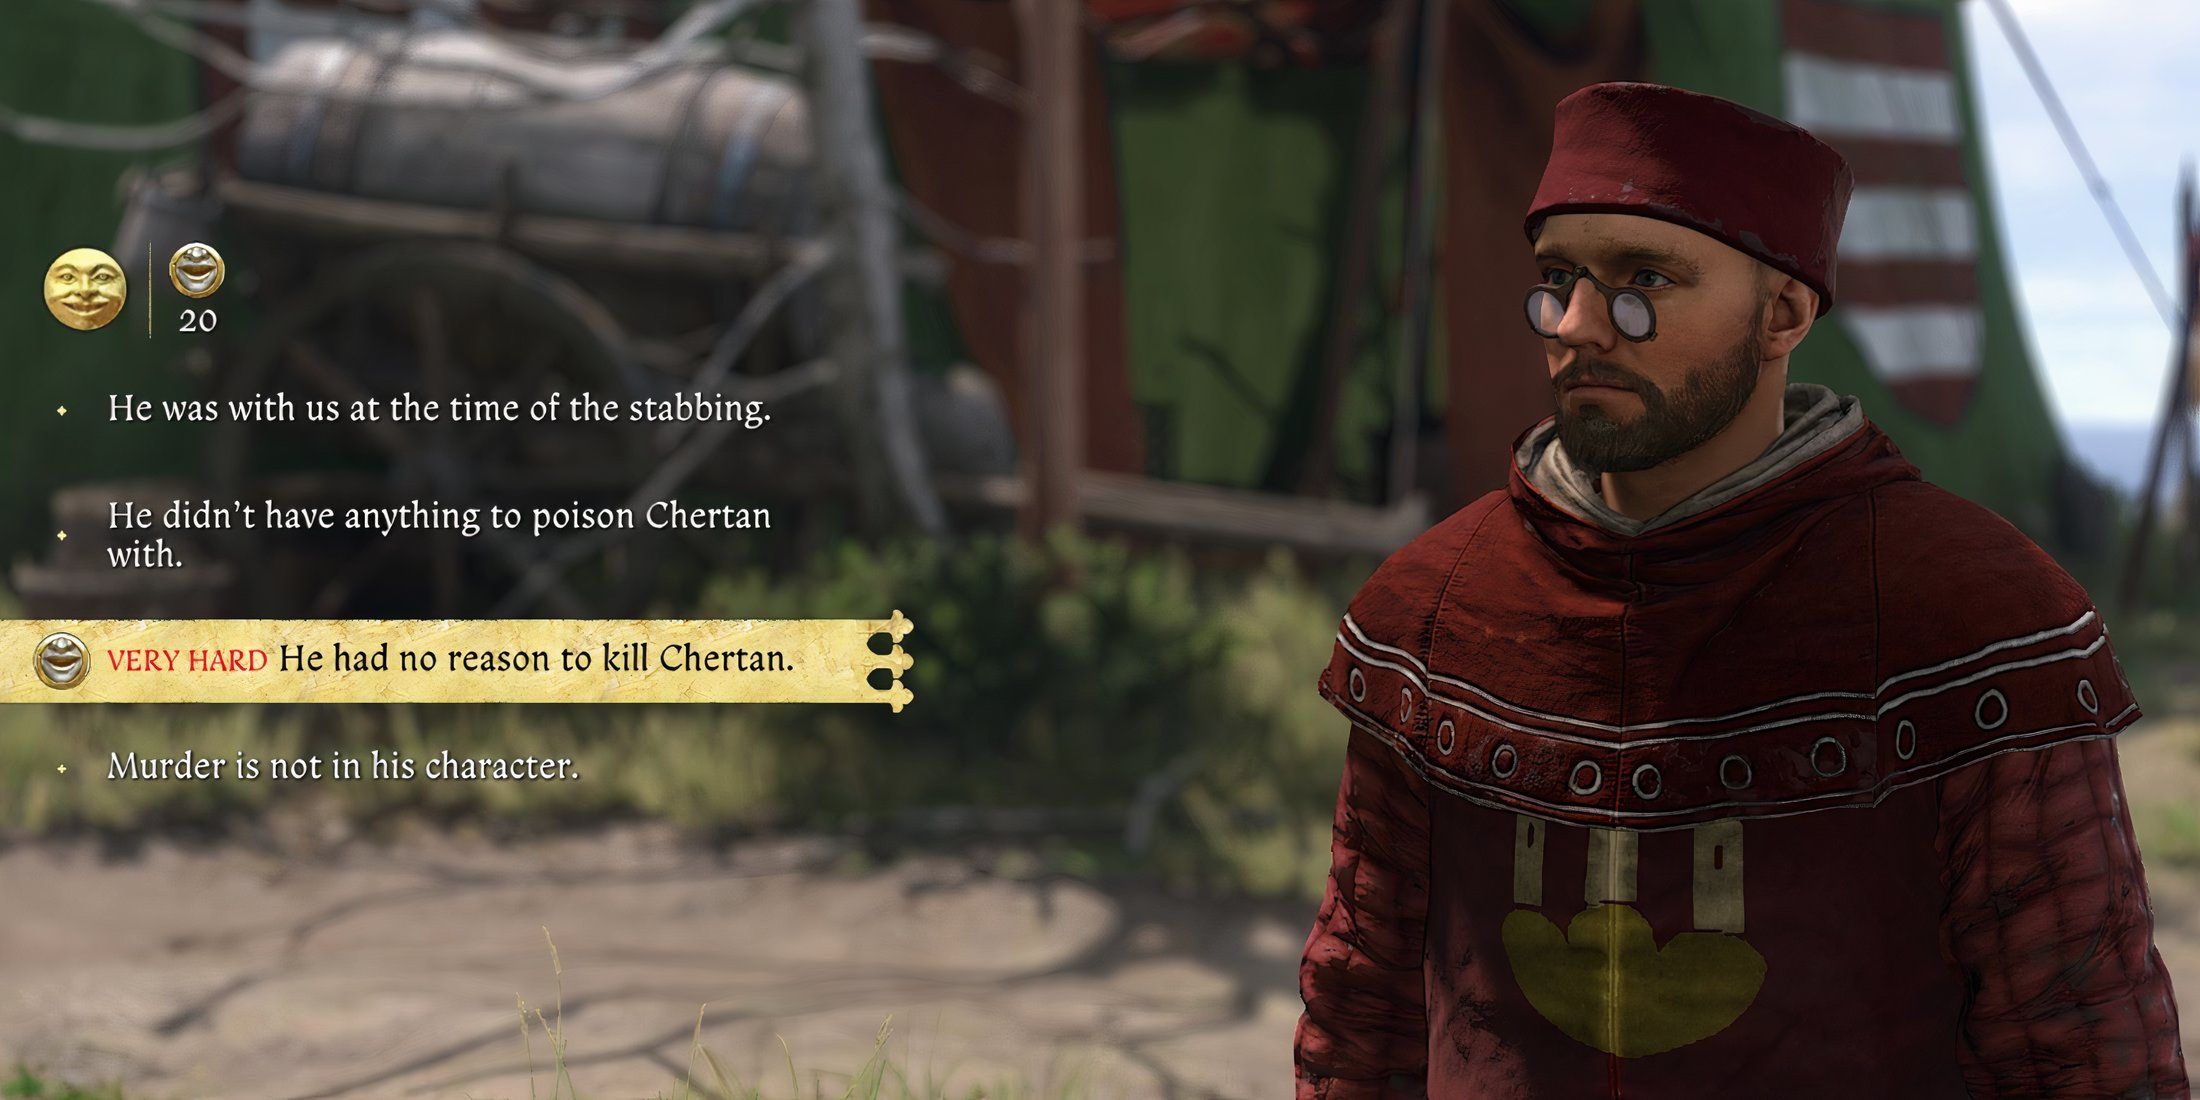
- “Musa is innocent!”
- “He had no reason to kill Chertan.” (VERY HARD Speech check)
- “Corporal Stephen Crow” “Chertan caught Crow stealing powder.”
- “The murder forced the ammunition store lock, so he didn’t have a key.”
- “Crow poisoned the wine while Musa wasn’t looking.”
- “You brewed up a poison called the Kiss of Death.”
In this scenario, the judge will find the evidence compelling, leading to a sentence of capital punishment for Stephen Crow. However, his attempts at escape are likely futile as he won’t make it far. There exists an alternate path in this game where players can align with Stephen Crow and set up Grozav instead.
Leave the Camp with the Praguers

Following the trial, players are instructed to inform Katherine about their intentions so she can pass the information on to Zizka. Once Henry communicates his readiness, Katz will propose that he join them, offering him a corporal position. The group sets off, and a cutscene ensues.
Defeat the Praguers
In a surprise attack, Zizka and his troops catch the travelers off guard on the road. The characters will be called upon to participate in the battle. Once all the travelers have been defeated, Zizka will confer with them. He will inform them that they are now prepared to move forward with the next part of their scheme, and extend an invitation for Henry to depart with him. If the characters desire to search any of the fallen travelers for valuables, they should instruct Zizka to continue on his way and find him later at the Devil’s Den.
Read More
- Clash Royale Best Boss Bandit Champion decks
- Vampire’s Fall 2 redeem codes and how to use them (June 2025)
- Mobile Legends January 2026 Leaks: Upcoming new skins, heroes, events and more
- World Eternal Online promo codes and how to use them (September 2025)
- Clash Royale Season 79 “Fire and Ice” January 2026 Update and Balance Changes
- Best Arena 9 Decks in Clast Royale
- Clash Royale Furnace Evolution best decks guide
- FC Mobile 26: EA opens voting for its official Team of the Year (TOTY)
- Best Hero Card Decks in Clash Royale
- How to find the Roaming Oak Tree in Heartopia
2025-04-24 12:06