Okay, so I just finished “Where Winds Meet An Unholy Prophecy” in Kaifeng, and wow, that quest is a trip! It’s one of those Legacy Quests, which are known for being super story-driven and mysterious. Honestly, though, this one was also really annoying. The instructions were so unclear, and I kept getting wrecked by hidden spike traps. Definitely a cool story, but be prepared to struggle a bit!
As a big fan of Where Winds Meet, I’m excited to share a guide to help you with the ‘Unholy Prophecy’ quest! It walks you through everything – how to actually start the quest, where to look for clues about the God of Killing, and even how to track down that tricky Armored Sentinel. Hopefully, it’ll make the whole thing a lot smoother for you!
How to unlock An Unholy Prophecy in Where Winds Meet
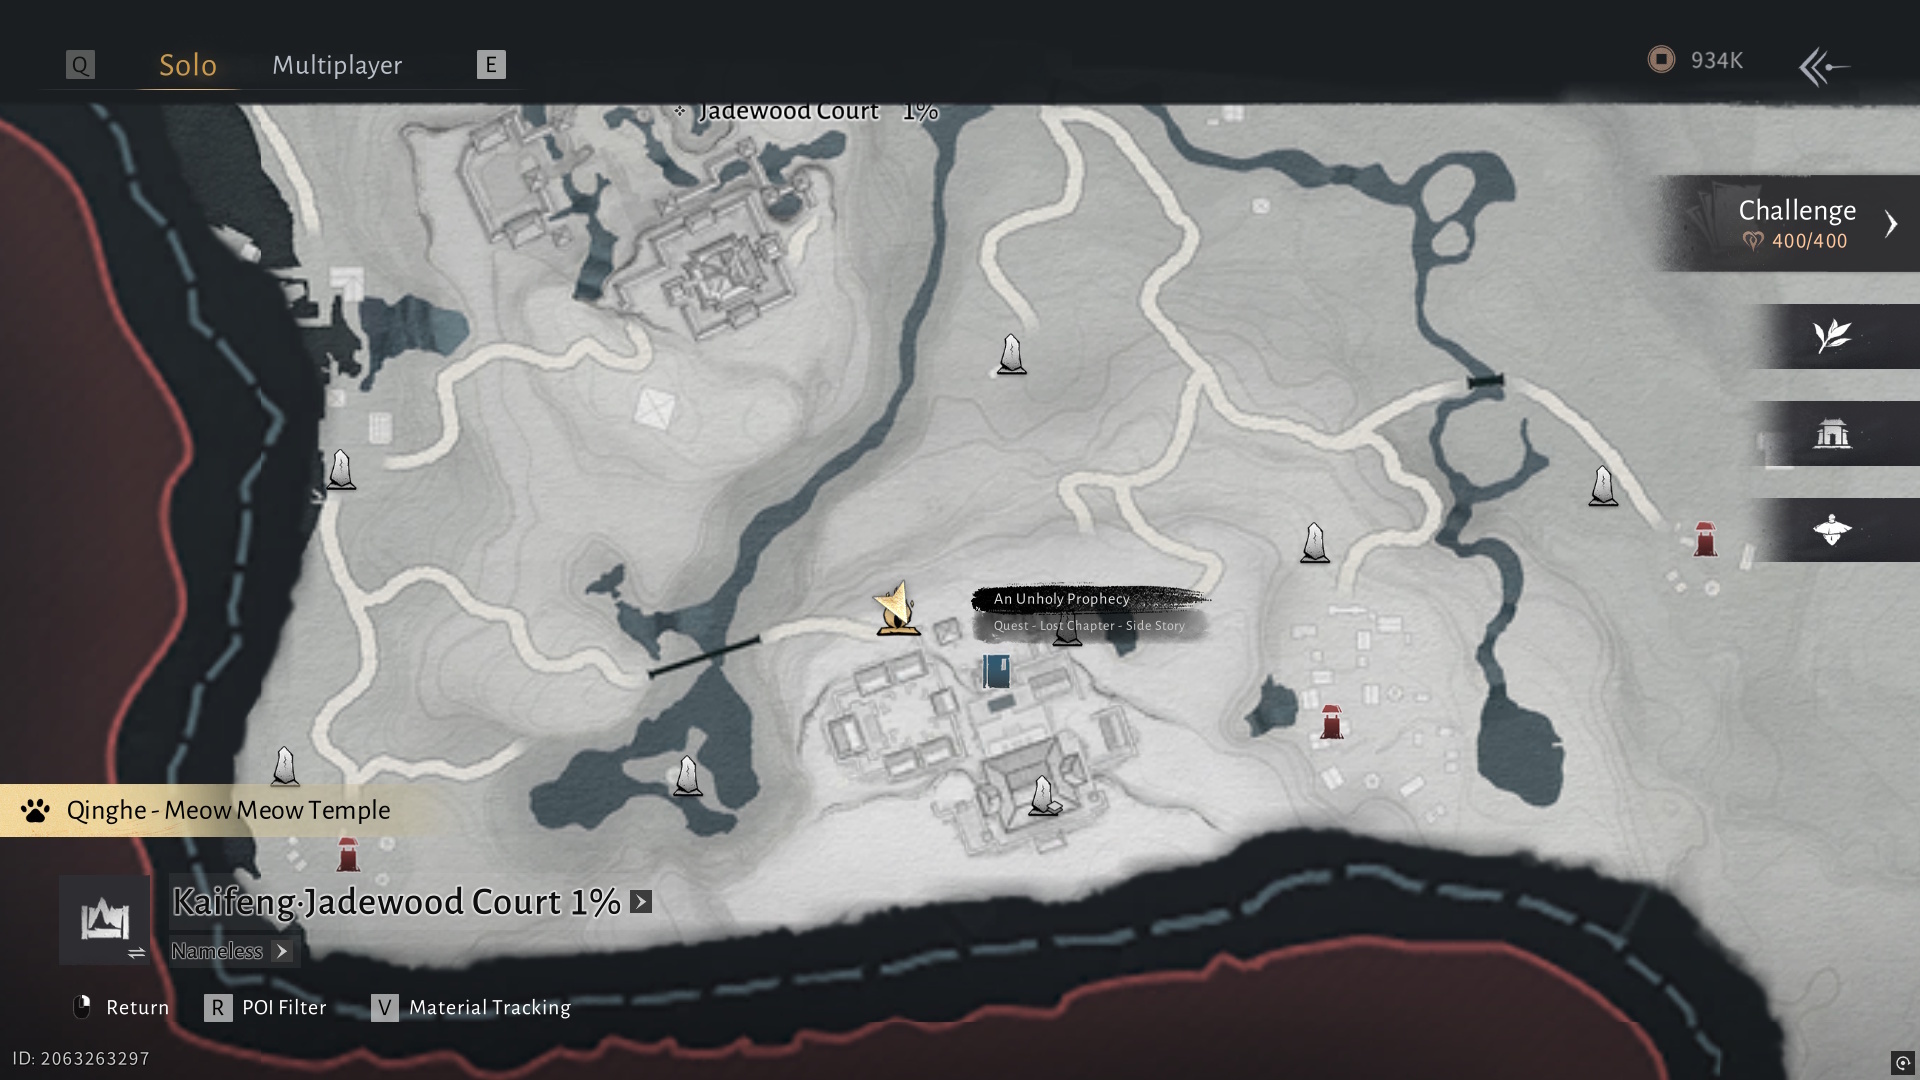
To begin the quest ‘Unholy Prophecy’, you first need to unlock the Kaifeng region by playing through the main story. Once you’ve reached Kaifeng, find the Wayfarer at the campsite in Jadewood Court – they’re located in the southwest part of the area – and speak to them to start the quest.
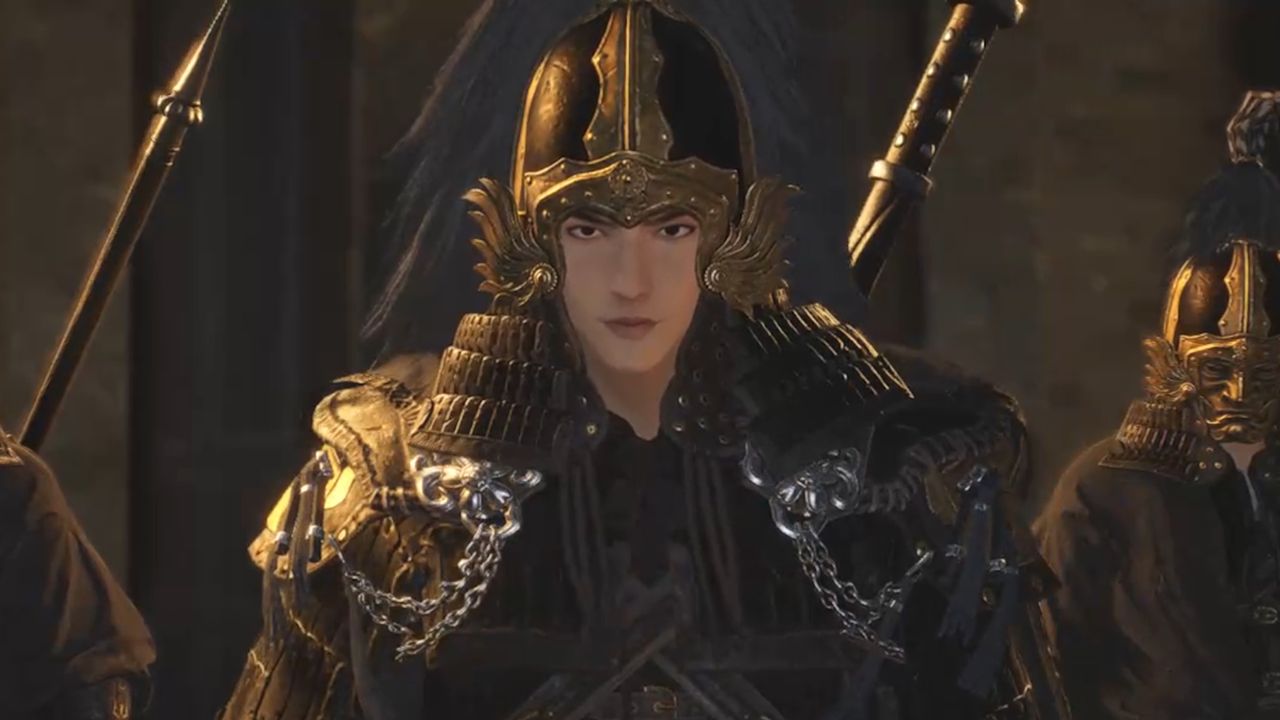
Once you’ve completed that step, congratulations! You can now find the quest in your journal to talk to the ‘Mysterious Painter.’ This will begin your adventure into a dungeon beneath the Martial Hall – it’s a bit like something you’d find in a Tomb Raider game!
How to search for traces of the God of Killing in Where Winds Meet
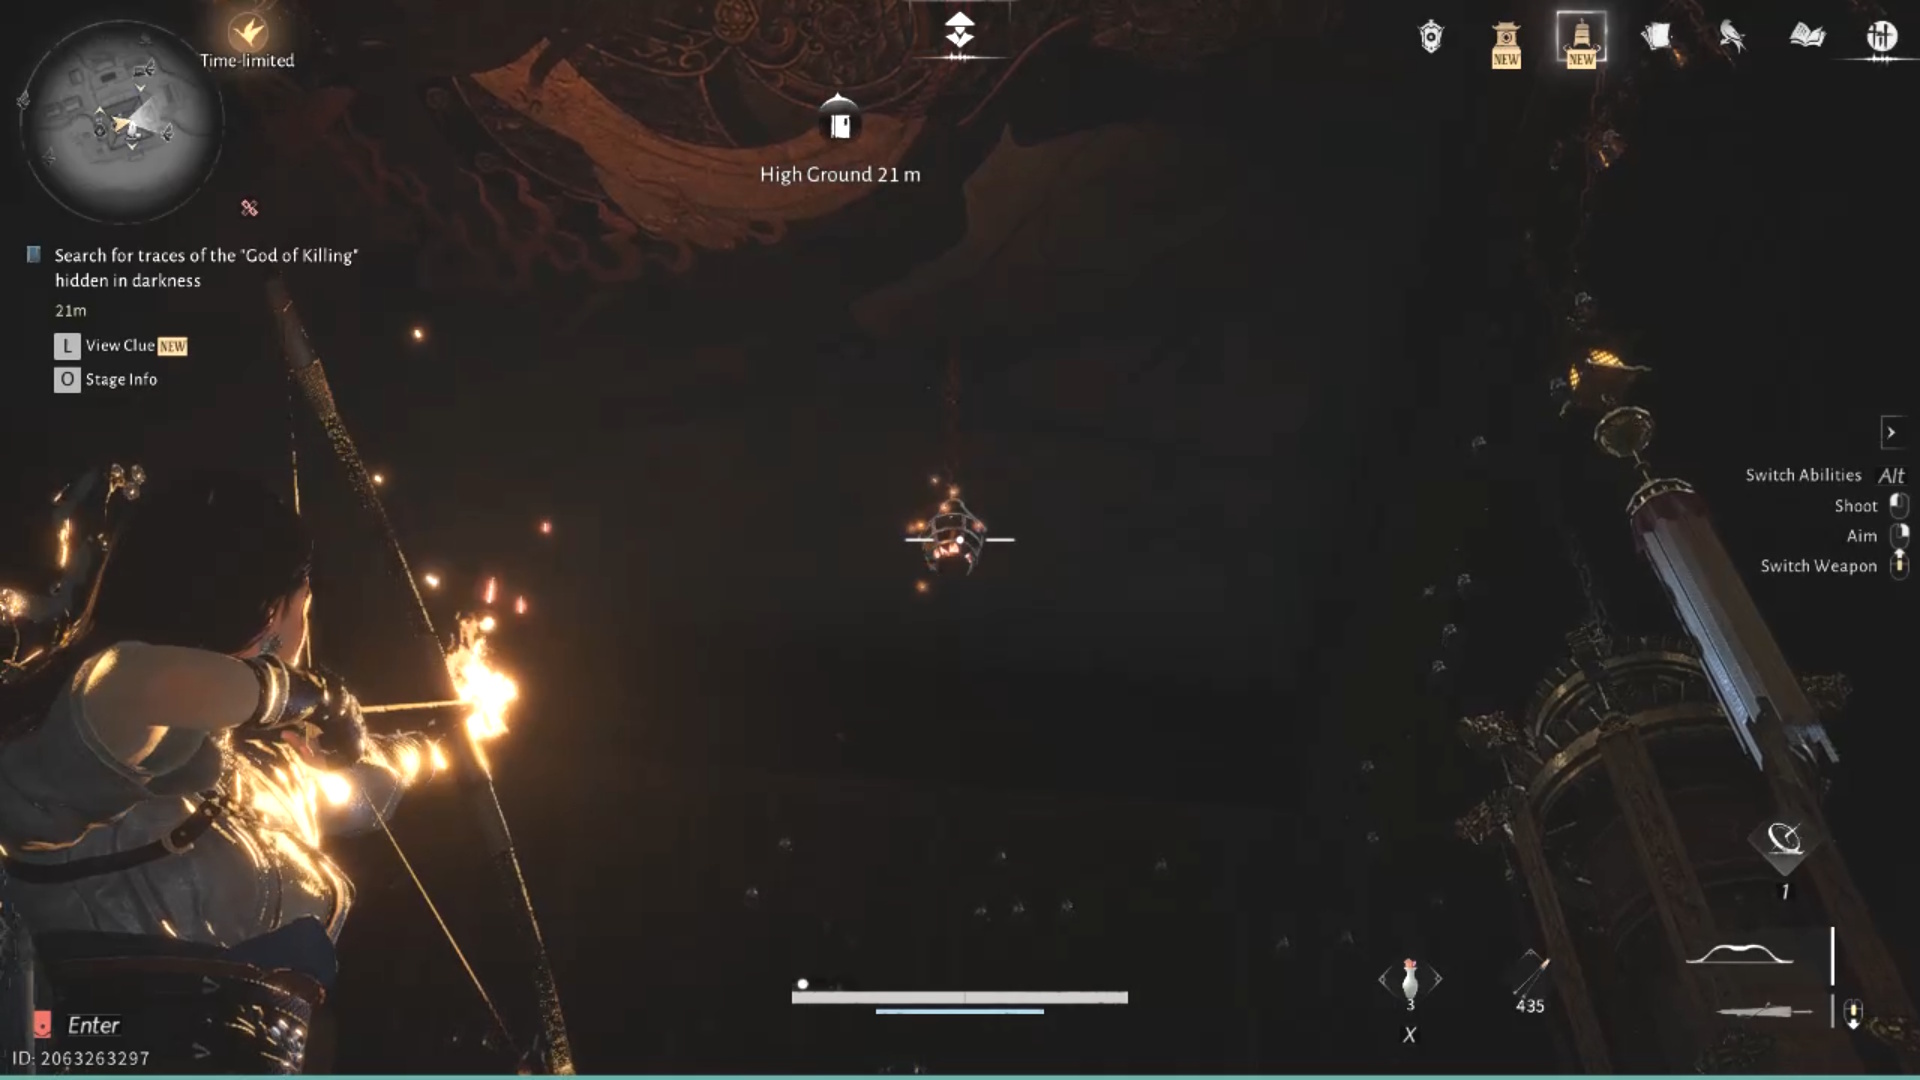
Once you’ve gotten back inside and talked to the Mysterious Painter, the An Unholy Prophecy quest truly starts. Your first task is to find clues about the ‘God of Killing’ hidden somewhere in the darkness.
To proceed, equip fire arrows and shoot the three braziers attached to the highest part of the ceiling – avoid the ones near the statues. This step isn’t very straightforward, but you’ll find this quest has a lot of puzzling moments.
How to return the God of Killing in Where Winds Meet
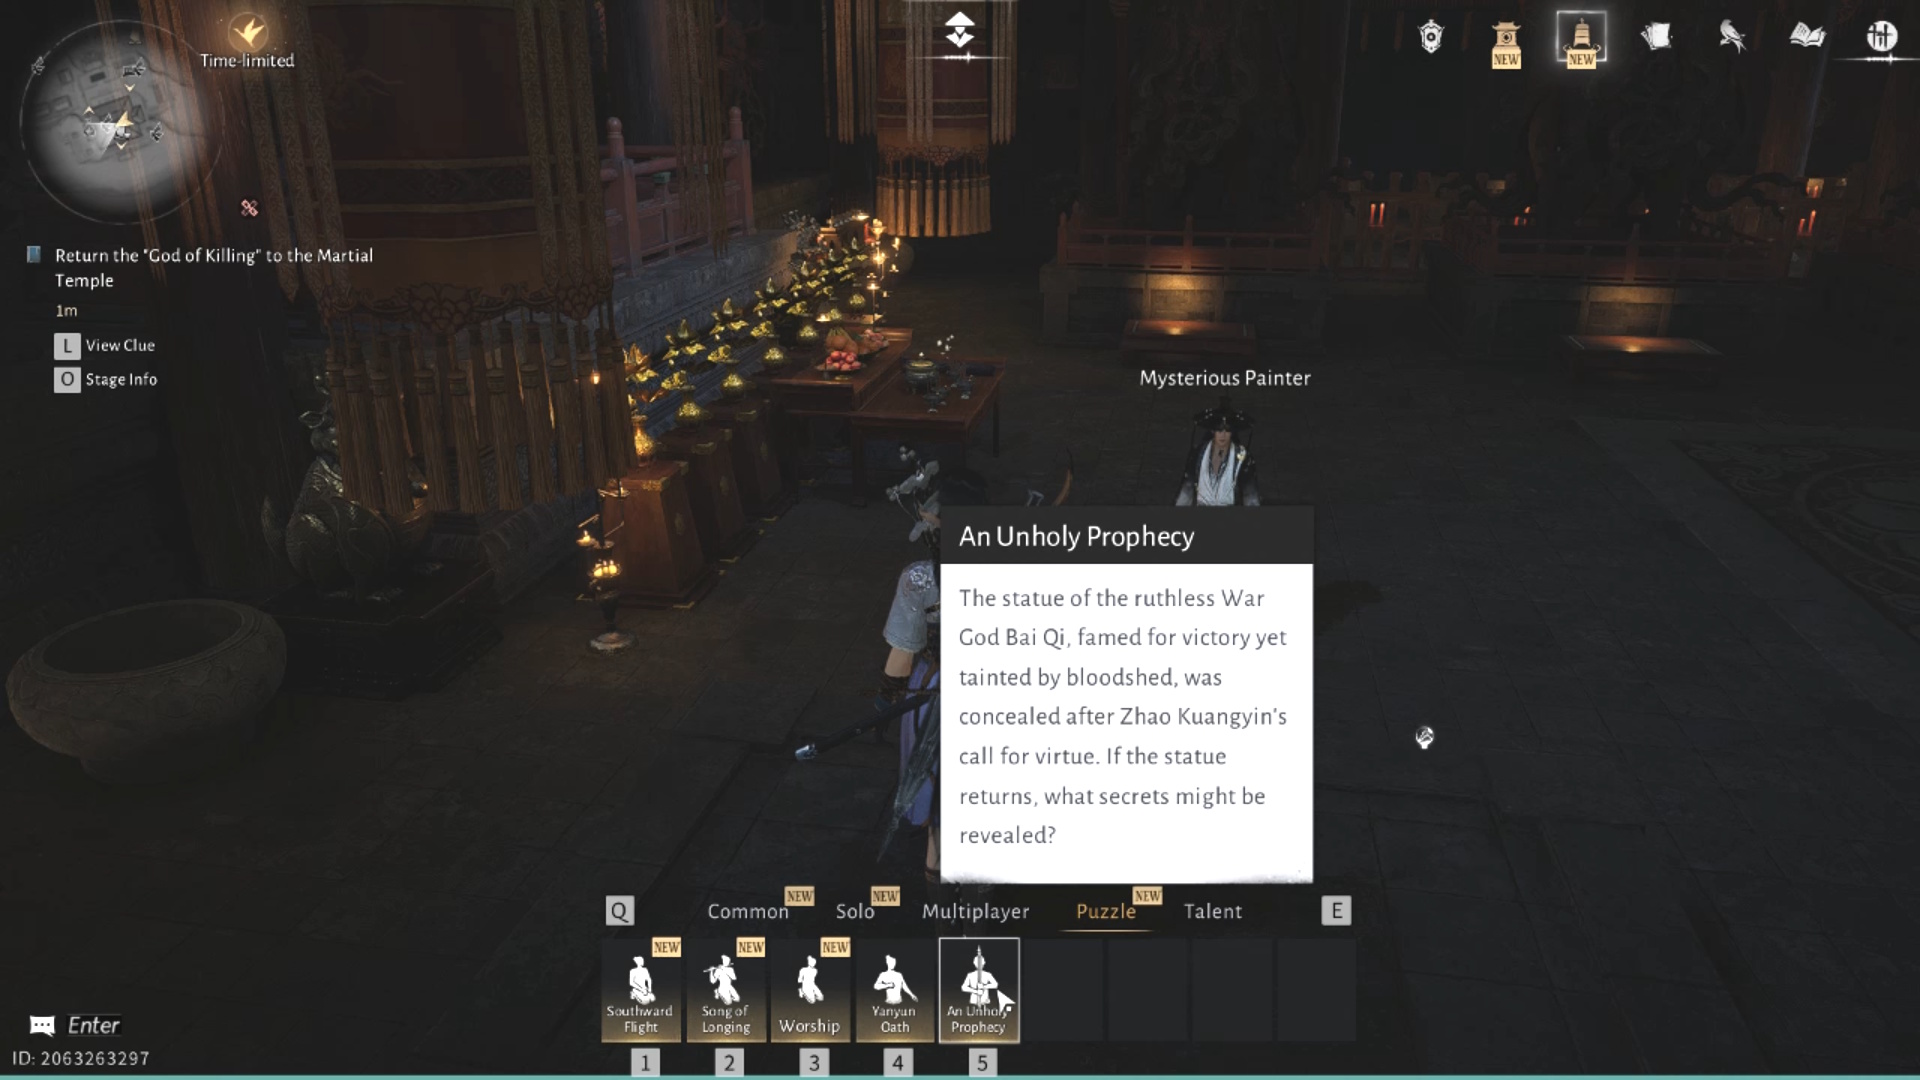
Now that you’ve unlocked the An Unholy Prophecy emote, simply use it near the Mysterious Painter to access the Martial Hall. If the location marker appears above you, don’t be concerned – it will correct itself once you’re at the bottom of the elevator.
Explore deeper in Where Winds Meet
Once you exit the elevator, proceed forward and defeat the enemies in your path. Then, ring the bell and immediately use the Meridian’s Touch ability to break the circular lock above the door next to it. You’ll be repeating this bell-ringing process often throughout this dungeon, so keep it in mind.
Continue ahead into the Secret Edit Chamber, remembering to check the chest and Boundary Stone along the way. You’ll encounter some enemies inside, but they’ll be easier to defeat if you eliminate their healer first.
With the enemies out of the way, investigate the armor to get properly started with this quest.
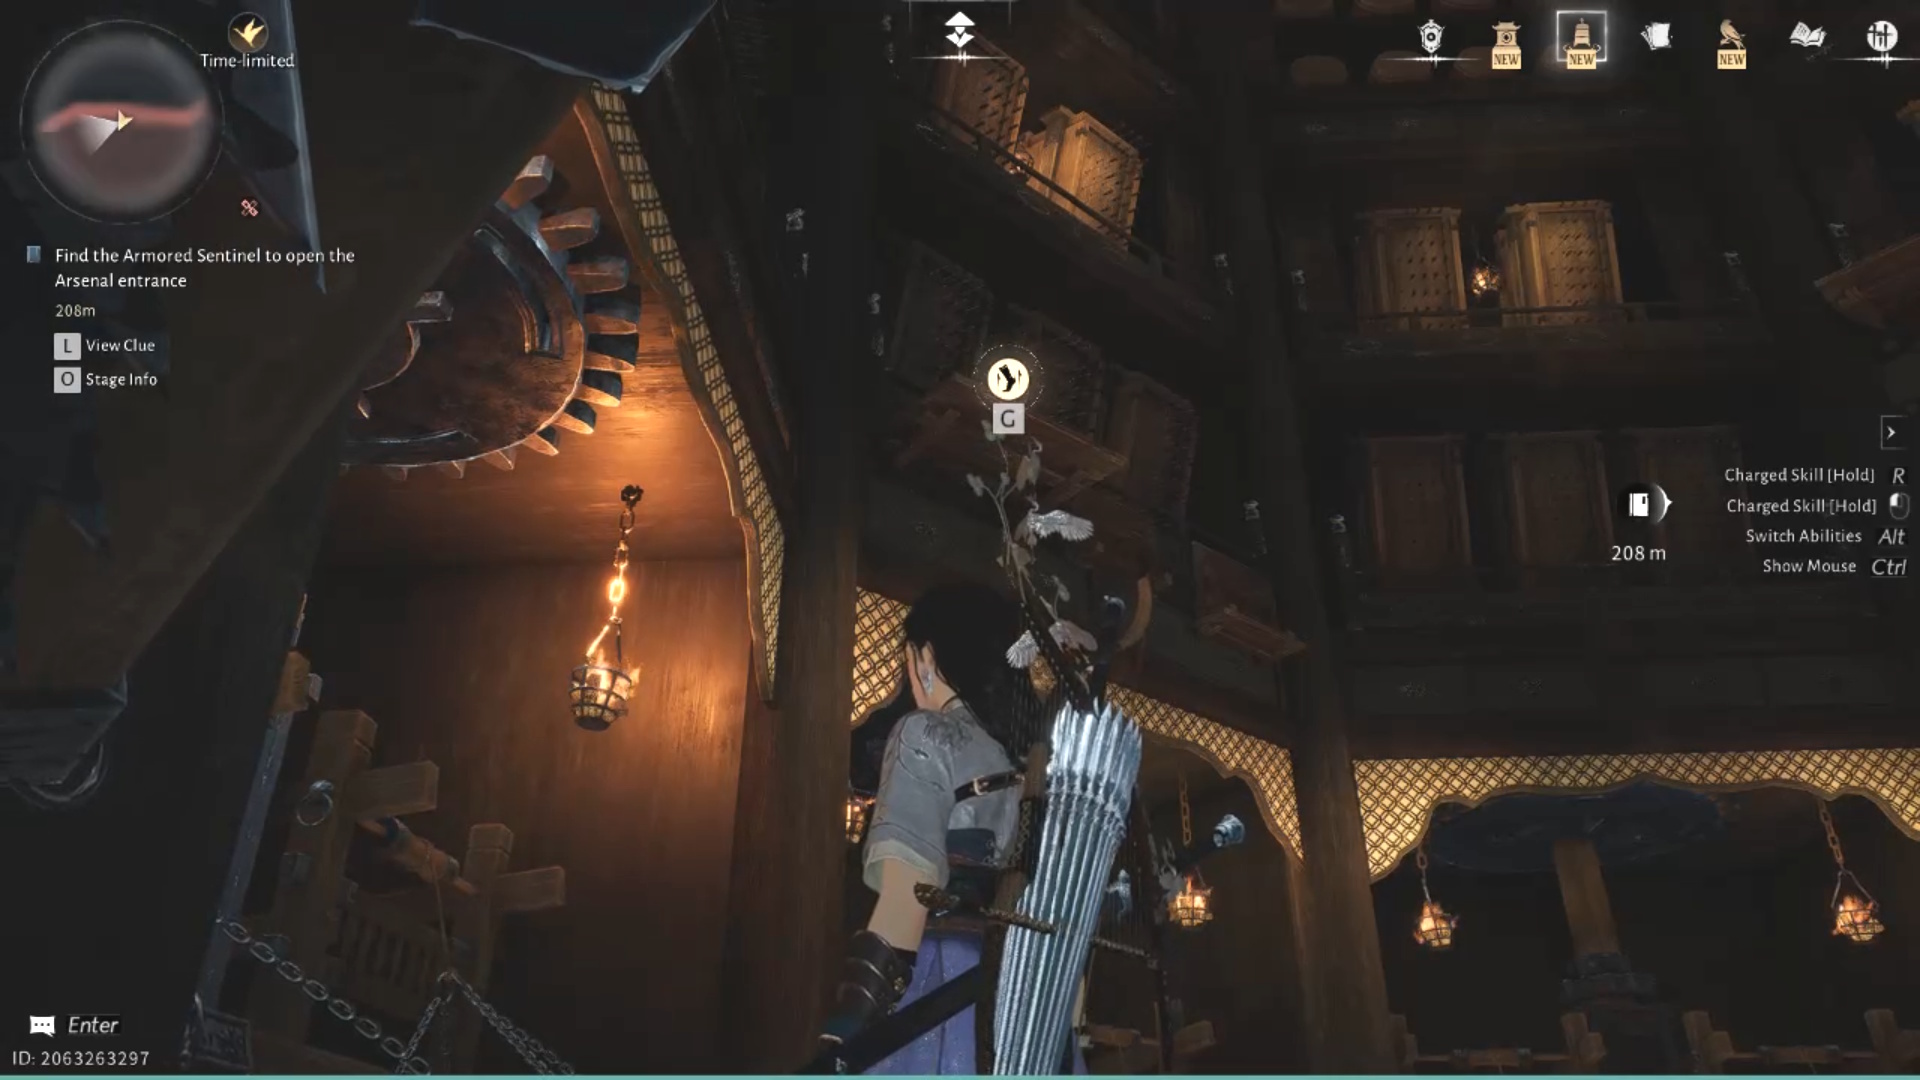
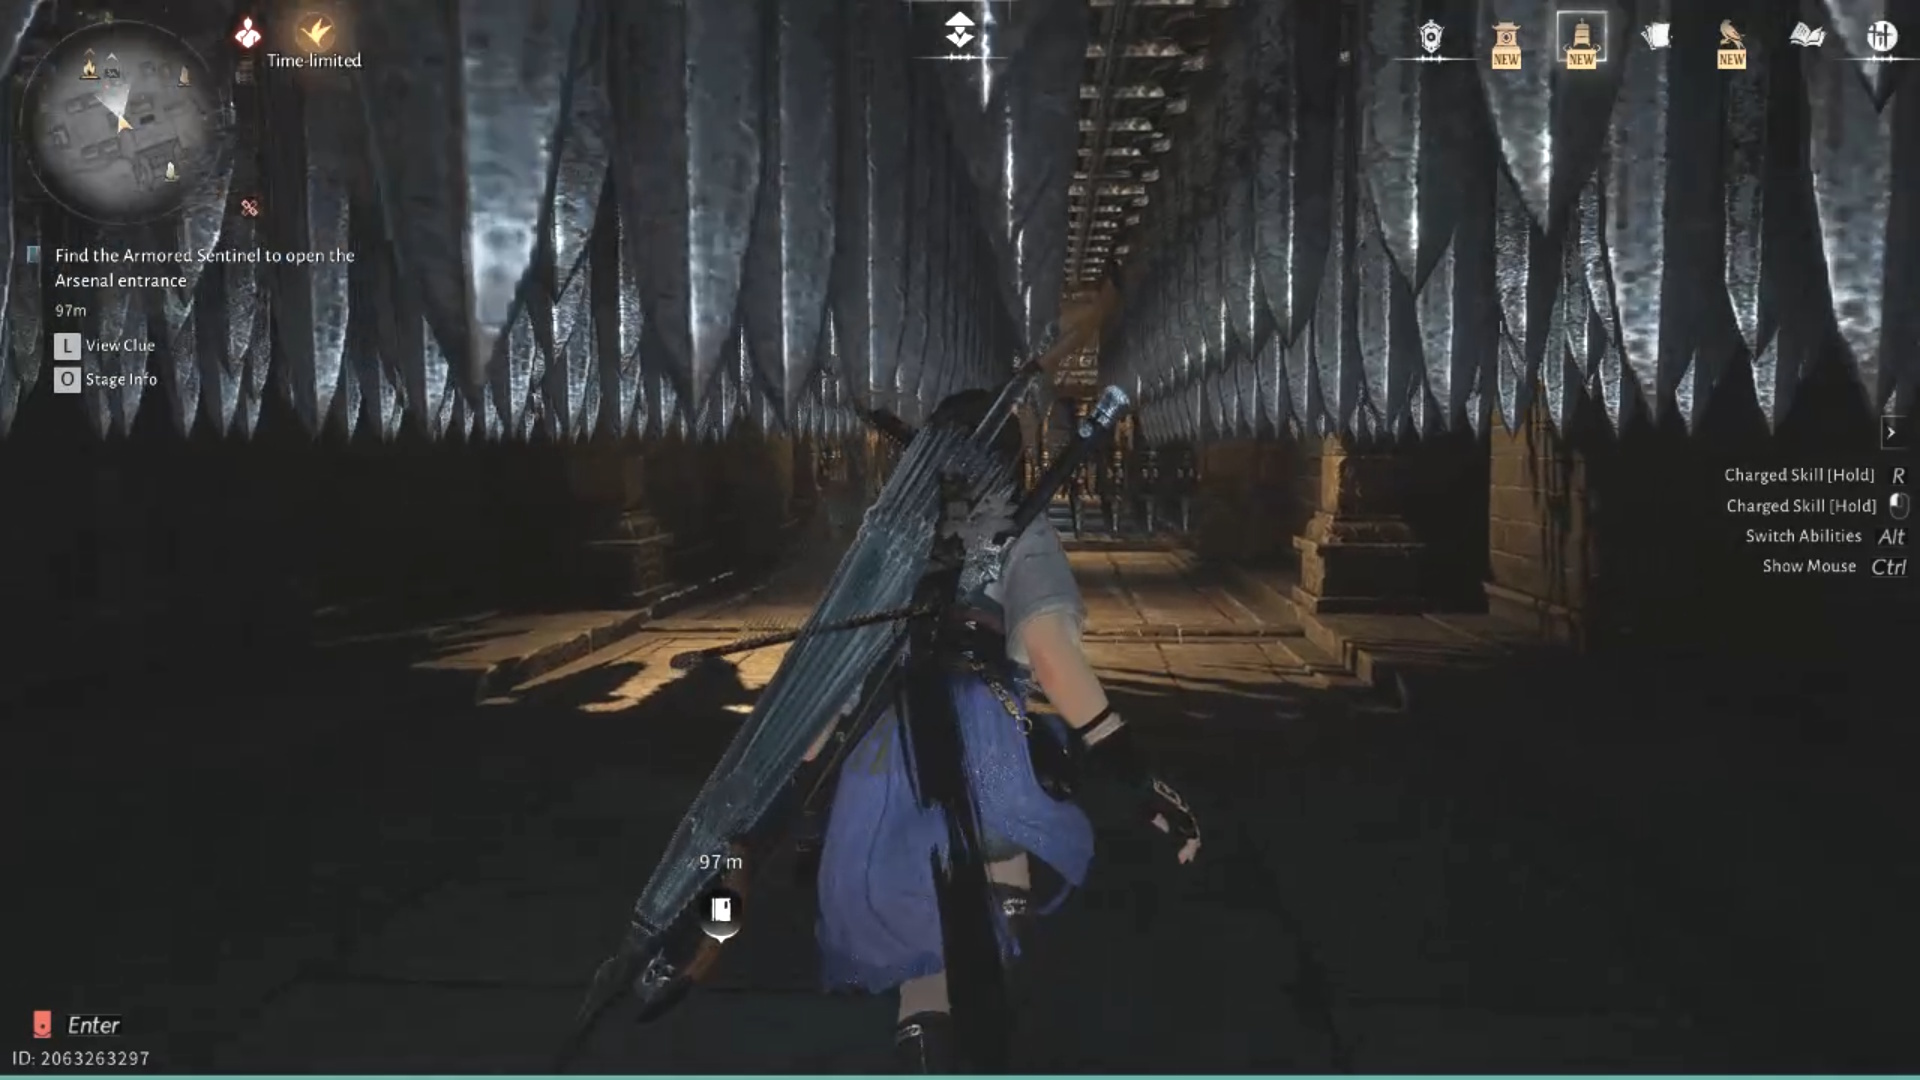
How to find the Armored Sentinel to open the Arsenal entrance

This quest step can be tricky, but here’s the gist: you need to collect six weapons from the two hallways within the Secret Edit Chamber. These weapons will unlock the entrance to the Arsenal in Where Winds Meet. You’ll place them into the short and long slots of the armor you previously examined, which will then open the Arsenal’s doors.
I recommend trying the left hallway first. It’s a good place to learn the timing of the spike traps because the ones on the right are more difficult.
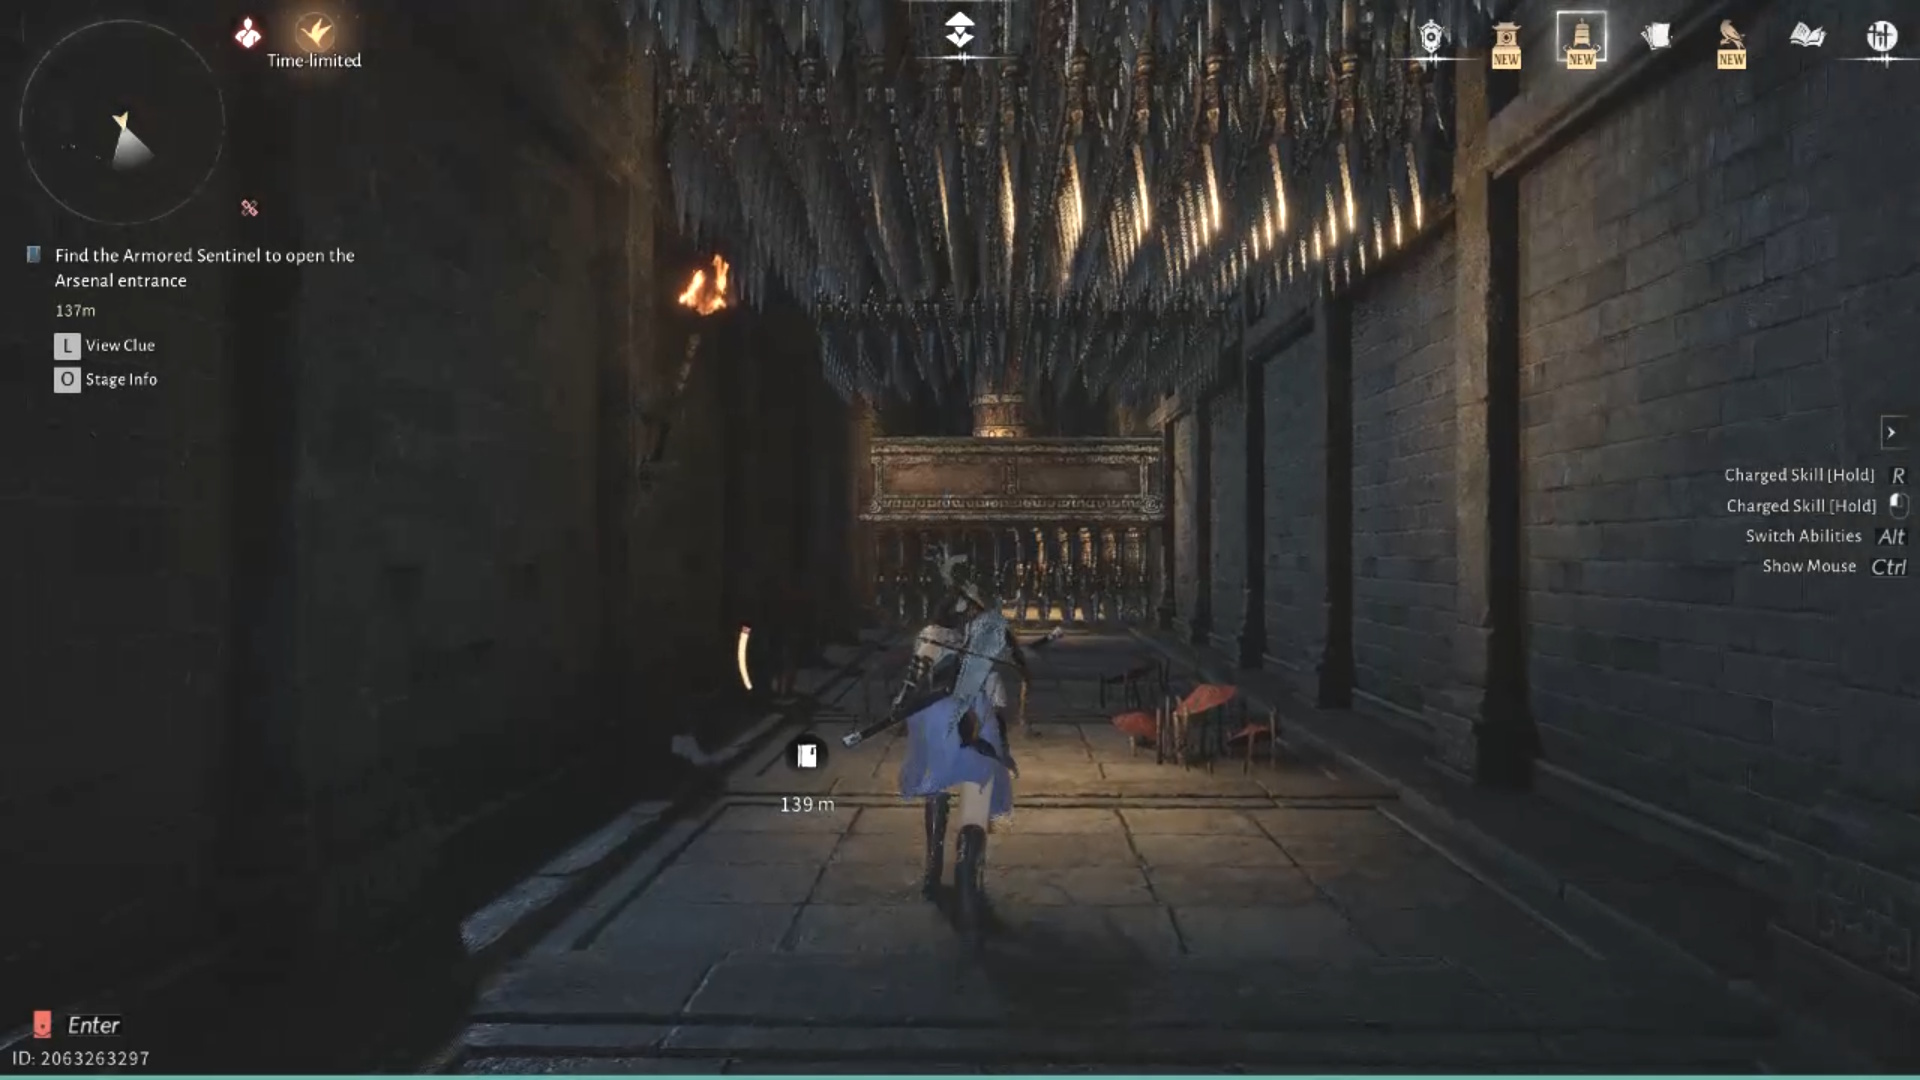
Left hallway
First, eliminate the enemies in the left hallway, then head down the stairs. You’ll encounter a spike trap there. You can avoid it by using the beams above, but I found it simple enough to quickly run through when the spikes pulled back into the wall.
Once you’re past the spike trap, pull the lever to turn it off. Be careful, though – pulling the lever will also cause enemies to appear. You can quickly defeat them by pulling the lever again.
Ring the bell, then use Meridian’s Touch to enter the room where you’ll find the first weapon. Luckily, there’s only one enemy inside that isn’t protected by a shield.
After that, open the next door and continue down the path until you reach a pit filled with spikes. To avoid falling in, use your grappling hook to swing to the platforms above, then drop down into the next room. You’ll find the second weapon you need inside.
Ahead, you’ll find more wall spike traps, but you can get past them by timing your dashes just like before. Or, you can hide to the left and find a chest. Be careful though – if you fall through the hole in the floor, enemies will attack!
Okay, so once you make it through all the traps, the first thing you need to do is pull the lever to shut them down. Then, ring the bell, and use Meridian’s Touch on that seal above the door one more time. That should open the way to the third weapon – awesome!
Okay, so to progress, I need to head back to the Secret Edit Chamber. Just a heads-up though – there’s a bunch of enemies waiting for me at the end of the path, so I gotta be ready for a fight!
Right hallway
Okay, things are about to get a little harder. Start by eliminating the single enemy at the beginning of the right hallway. Then, head down the stairs to find the next trap. It looks intimidating, but you can easily get past it by crouching under the first ceiling spike, and then carefully walking across the next one when it’s safe.
Ahead, you’ll find a lock requiring a lever, bell, and Meridian’s Touch. Beyond that is a room with the fourth weapon and a shielded enemy. Defeat the enemy, grab the weapon, and proceed carefully to the next dangerous gap.
Climb up the platforms along the edge of the gap to get to the top, then jump down into the next room – it’s similar to the previous one. Grab the fifth weapon you find in this room, and then head into the corridor that has the last of the spike traps in the dungeon.
These traps are the most difficult to overcome, so we suggest observing their timing before attempting to run through. While you can crouch to avoid the center spikes, I personally found it simpler to just repeatedly use the dash.
Once you’ve bypassed the traps, activate the lever, ring the bell, and use Meridian’s Touch on the door lock. Behind the door, you’ll find the sixth and final weapon. This room is safe, but be prepared – a group of enemies awaits you on the path back to the Secret Edit Chamber.
Once you’ve defeated those enemies, return to the armor in the Secret Edit Chamber and choose to return both the long and short weapons. This will unlock the secret Arsenal entrance, allowing you to proceed through it. At the end, you’ll find a treasure chest and have to battle Shi-Zen and his minions.
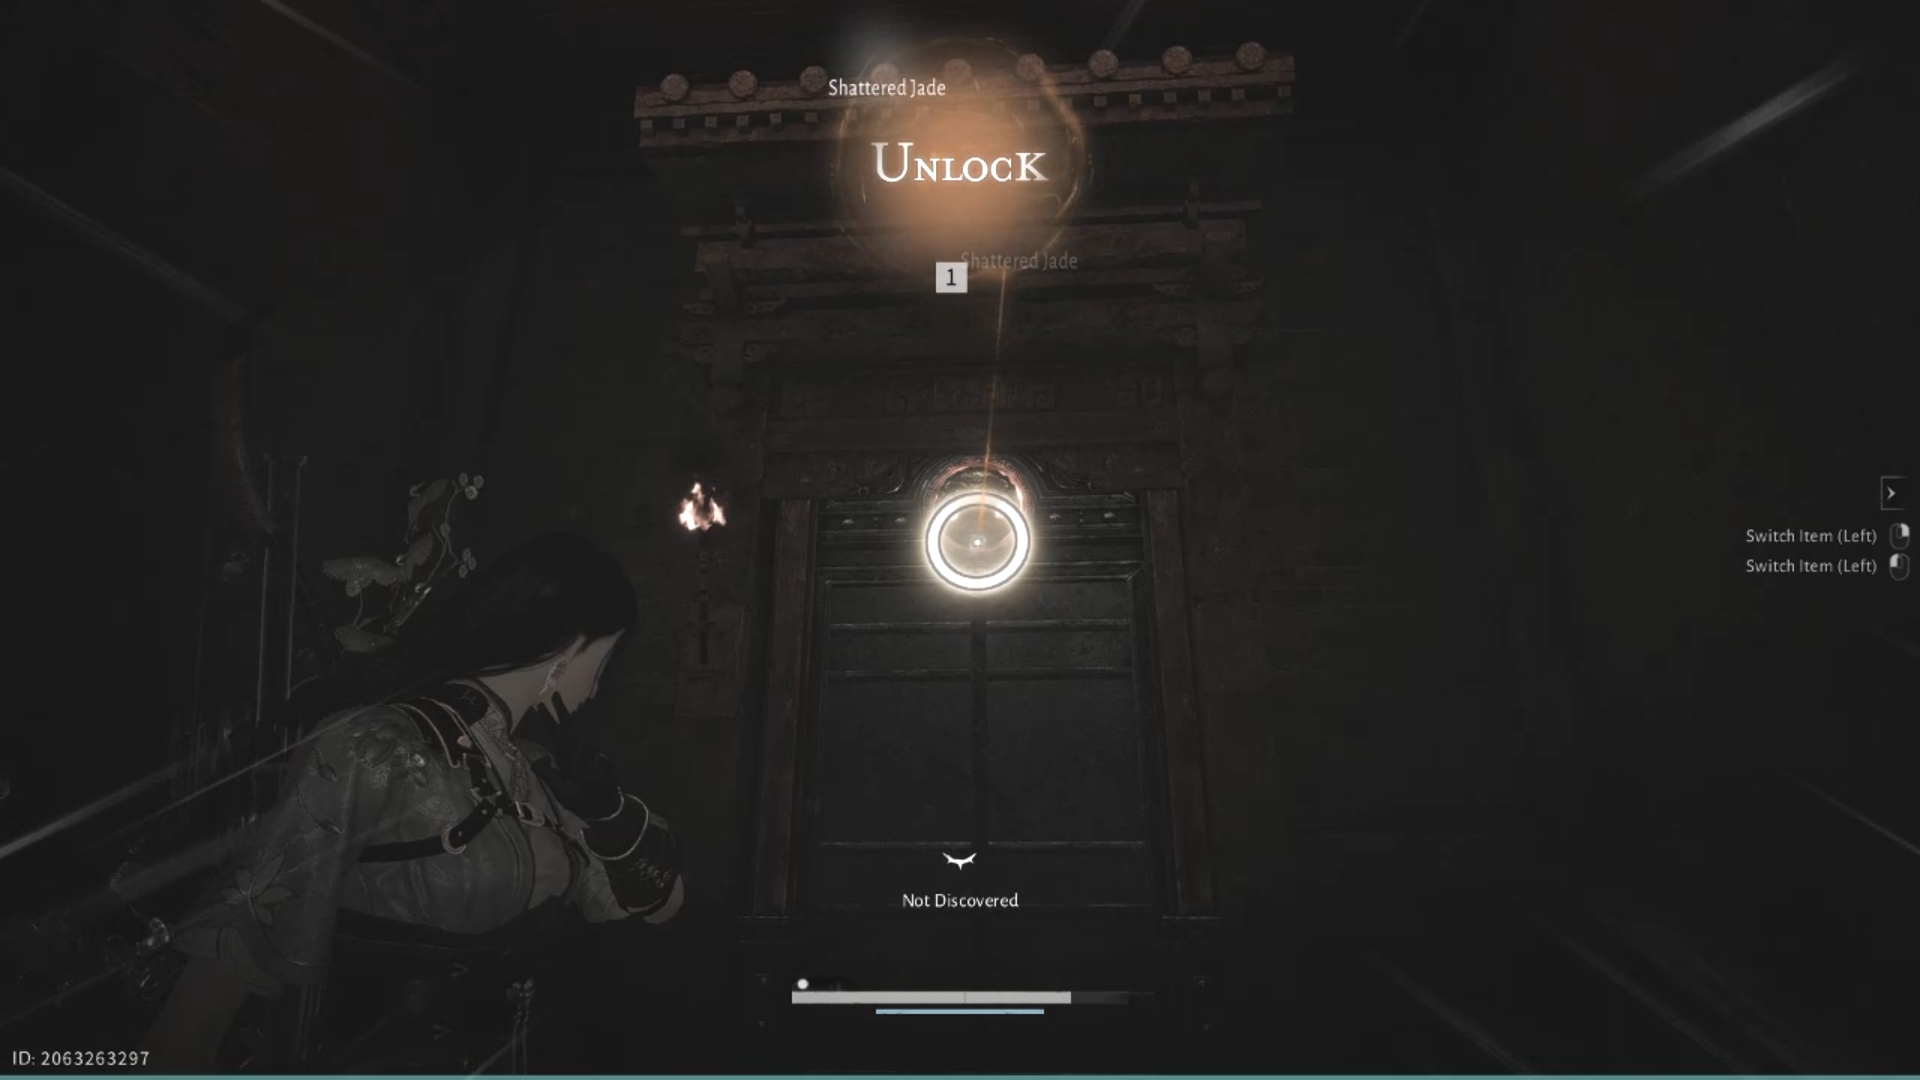
You’ve technically finished the Unholy Prophecy quest, but to fully complete it, you need to exit through the secret passage and talk to the Mysterious Painter once you’re outside. Before you go, be sure to search the hidden passage for a chest and breakable Dushan Jade.
Read More
- Clash Royale Best Boss Bandit Champion decks
- Mobile Legends January 2026 Leaks: Upcoming new skins, heroes, events and more
- Vampire’s Fall 2 redeem codes and how to use them (June 2025)
- Clash Royale Furnace Evolution best decks guide
- Clash of Clans January 2026: List of Weekly Events, Challenges, and Rewards
- M7 Pass Event Guide: All you need to know
- Brawl Stars Steampunk Brawl Pass brings Steampunk Stu and Steampunk Gale skins, along with chromas
- Best Arena 9 Decks in Clast Royale
- Mobile Legends: Bang Bang (MLBB) Sora Guide: Best Build, Emblem and Gameplay Tips
- How “Hey Grok” turned X’s AI into a sexualized free-for-all
2025-12-12 19:42