In Monster Hunter Wilds, similar to other games, there isn’t a single best armor that suits all players. The effectiveness in this game is largely determined by your character build, which means what works for you might not work for someone else based on factors like your chosen weapon, skills, and playstyle. However, it’s worth noting that certain armor sets tend to excel over others when used with specific weapons or playstyles.
Understanding which stats and abilities are crucial, based on your chosen weapon class, is essential. For instance, Constitution is vital for Dual Blade users as it decreases stamina consumption when performing specific moves, enabling you to maneuver faster and sustain combat for longer periods without getting hit. Keep in mind that every weapon type has its unique priorities, so always consider yours when selecting your armor. Furthermore, for clarity, the following armors will be used separately, not mixed together.
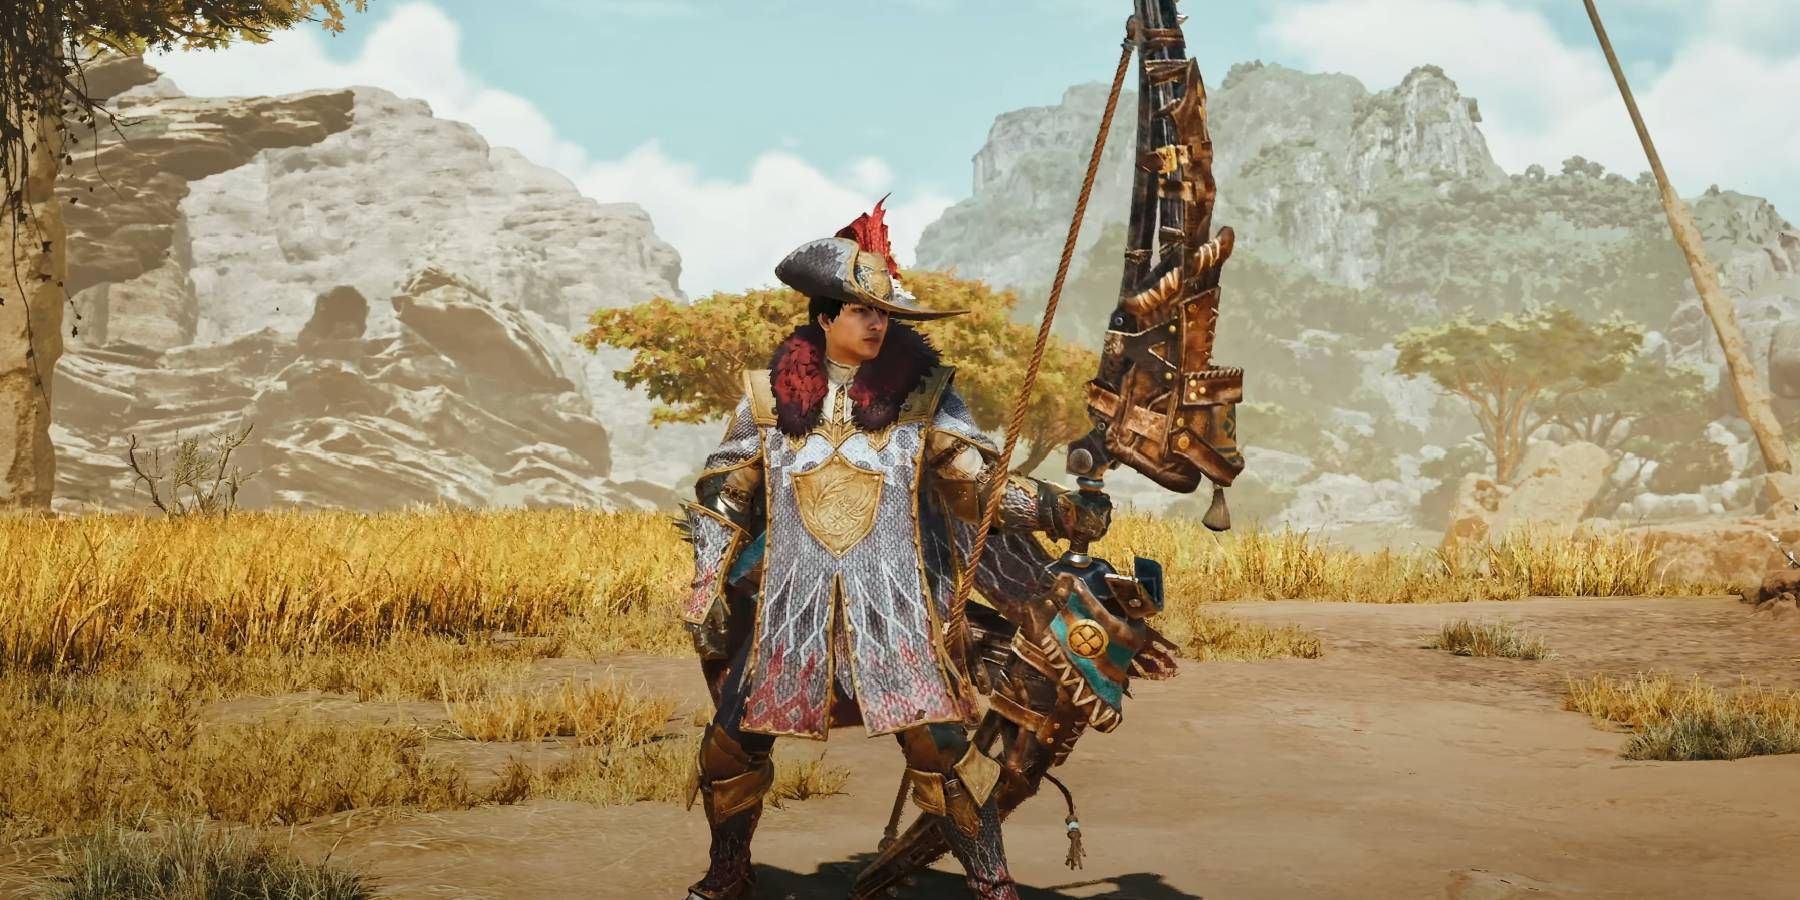
10. Butterfly Armor α
For Beginners, Full Of Comfort Skills
As a newcomer to the captivating world of Monster Hunter, there’s no denying the initial overwhelm of choices, and understandably so, deciding on the right armor might seem daunting. However, for those who are still finding their footing in the game, the Butterfly Armor α version could be an invaluable asset. Although it may not offer the highest damage output, its impressive array of built-in skills makes it an ideal choice for novice players.
This set comes equipped with Evade Extender 3 and Evade Window 5, ensuring that evading monstrous attacks becomes more manageable, while Recovery Up 2 and Recovery Speed 1 are included to help you swiftly regain your footing after taking a hit. In essence, the Butterfly Armor isn’t particularly flashy, but it will serve as a reliable shield during those challenging monster encounters as you navigate through the learning curve.
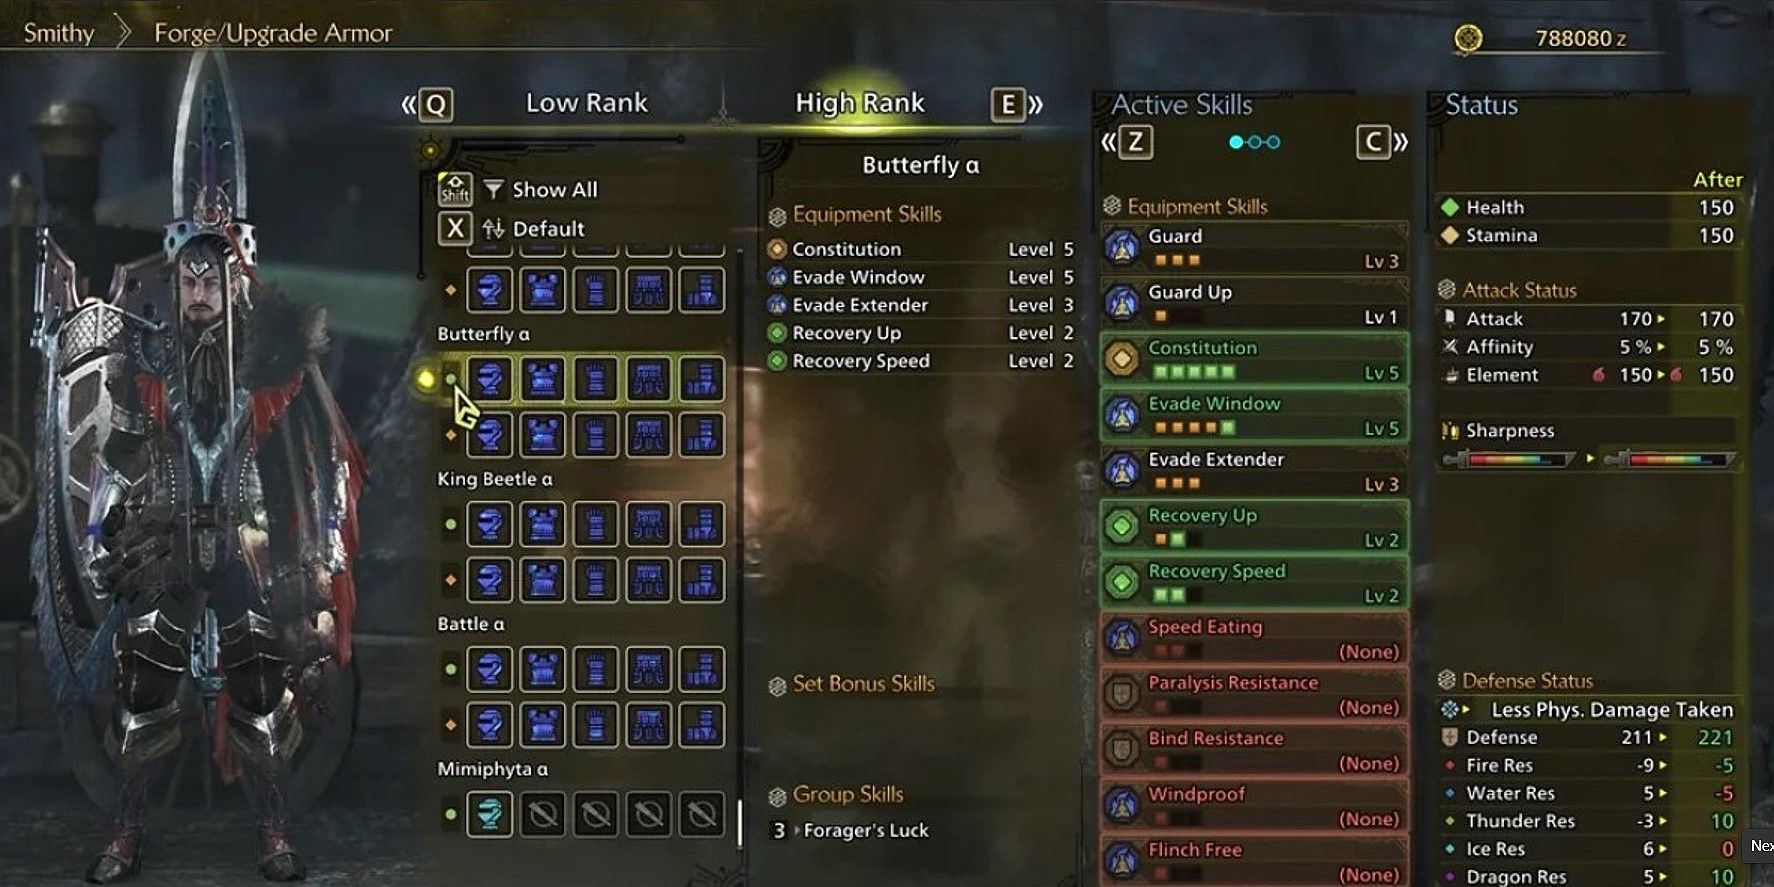
9. King Beetle Armor α
Good For Poison Builds With Room For Some Comfort Skills
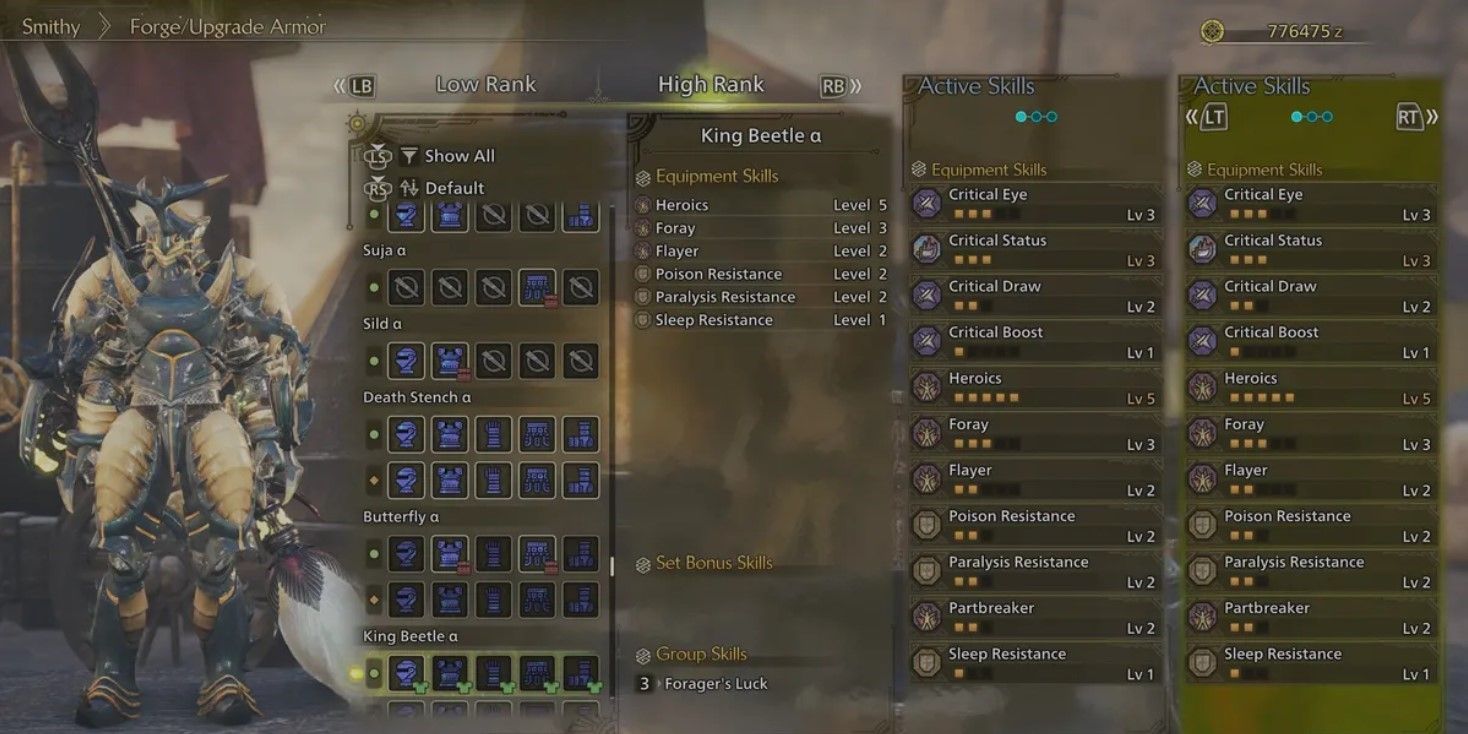
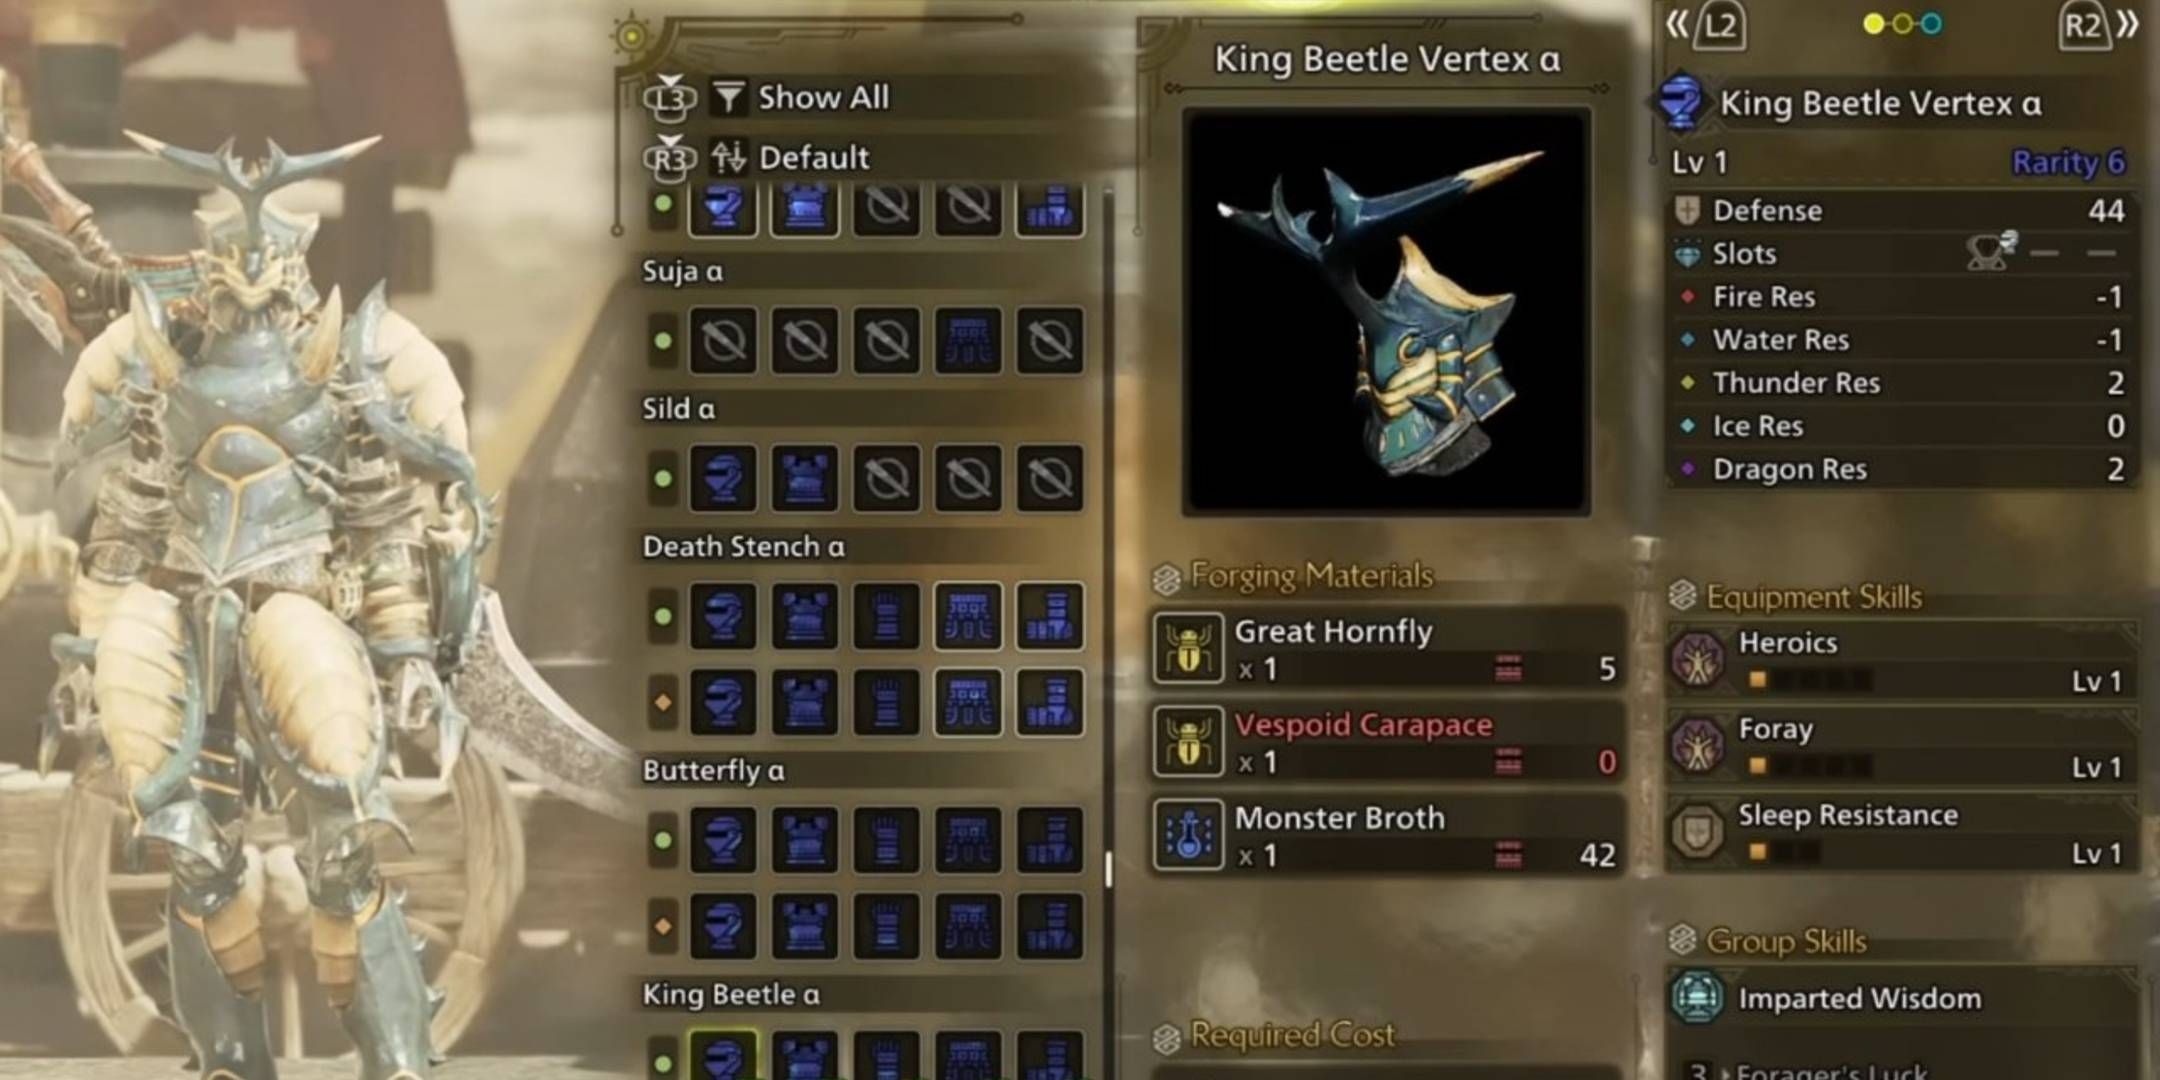
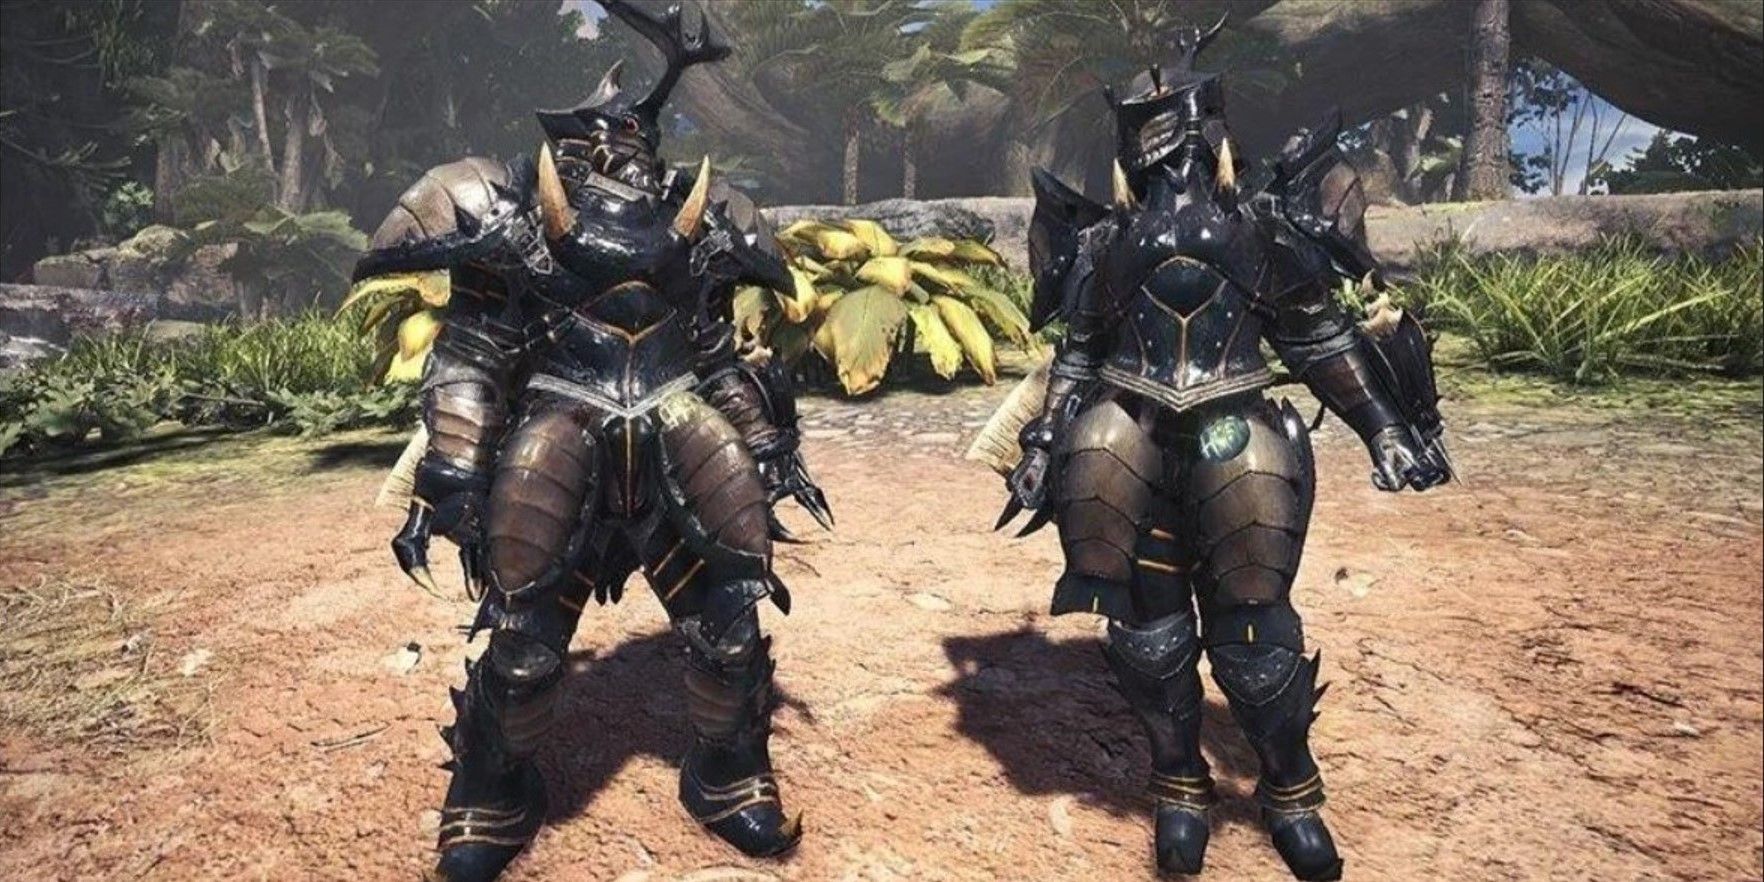
While the King Beetle version α armor may not boast the greatest strength, it holds a steady promise for players aiming to specialize in poison-centric gameplay. This is due to its embedded skills such as Flayer, Foray, and Heroics. The Flayer skill enhances the likelihood of causing wounds, Foray deals extra damage against monsters afflicted by poison or paralysis, and Heroics boosts both your attack and defense when your health drops below 35%. To effectively execute a poison strategy with this equipment, several key elements are required.
When it comes to building for status-based attacks, opting for a weapon that delivers swift blows, such as Dual Blades, is advisable. This is because the accumulation of status effects depends directly on the number of times the monster gets hit. Furthermore, while King Beetle α may have fewer decoration slots, it’s beneficial to equip some Poison Duration Up and Poison Attack decorations to enhance your sustained damage.
In general, I find poison and other DOT (Damage Over Time) builds somewhat passive in my playthroughs, yet they serve as an excellent starting point for newcomers due to their straightforward nature. Essentially, you apply the poison, avoid taking damage, let the enemy perish, and repeat as often as required.
8. Damascus Armor α
Wide Range 5 Means It’s Not Just Your Healing, It’s Our Healing
In Monster Hunter Wilds, there aren’t many true support weapons, but the Damascus Armor α set becomes crucial for those who want to keep their party alive during battles. The armor’s main support power comes from its Wide-Range 5 skill in combination with Item Prolonger 2. The Wide Range skill enables nearby allies to gain the benefits of items you use, and at Level 5, they can experience the full effect.
In simpler terms, the specific items compatible with Wide Range are not clearly specified, but generally, most healing items can be passed on to your teammates during gameplay. To maximize your survival, make use of both the Item Prolonger skill and this Wide Range ability.
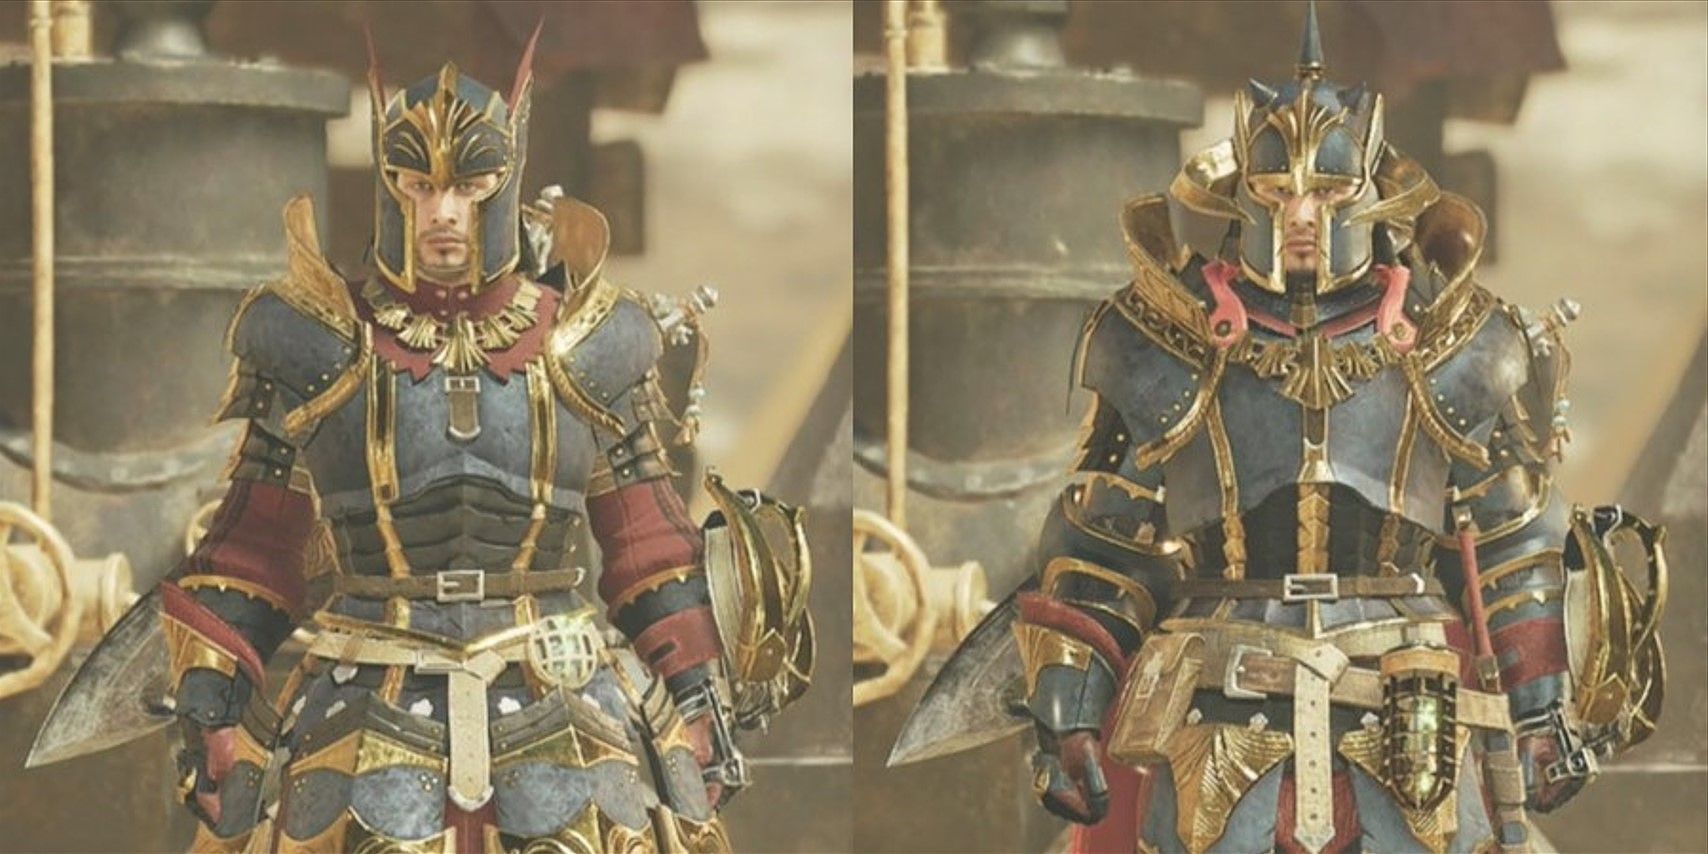
7. Jin Dahaad Armor α/β
Weakness Exploit And Agitator Means You’ll Be Dealing Consistent Damage


This armor set belonging to Jin Dahaad features Weakness Exploit and Agitator, making it an excellent choice for increasing damage against three-star and four-star weak points. Additionally, it provides extra attack power and infinite attacks when the target becomes enraged. These skills are straightforward to utilize and don’t require a specific build, making it ideal for versatile gameplay. I find this armor set of Jin Dahaad particularly distinctive and unique among others, and it ranks high on my list of favorites.
Similar to numerous top-tier armors, the Jin Dahaad sets boast a versatile selection of decoration slots. In simpler terms, these sets are highly customizable to suit your preferences, enabling you to incorporate your chosen skills rather than seeking out an armor set that inherently includes them. If you’re hesitant about investing in a specific armor set, it would be wiser to acquire the Jin Dahaad set components instead of spending time crafting armor that may ultimately go unused.
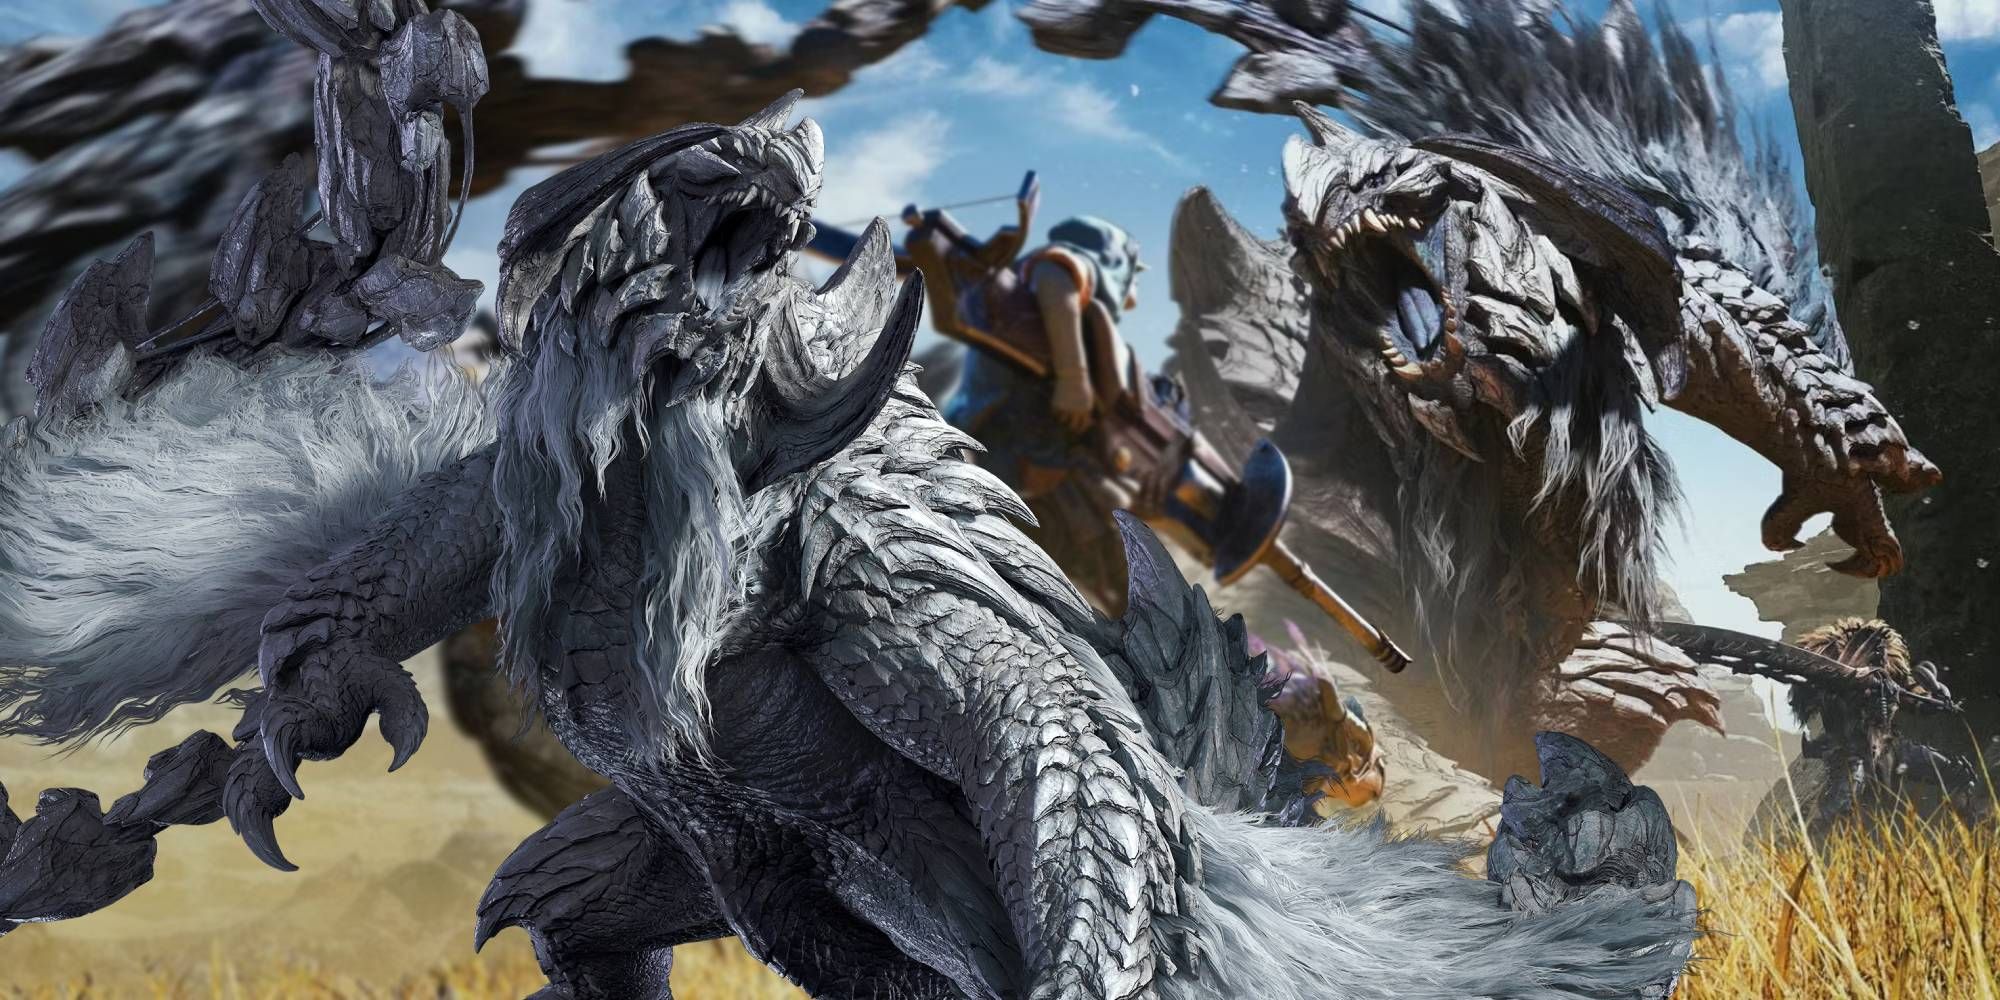
6. Gore Magala Armor β
Intrinsic Synergy With Itself, Giving Free Damage
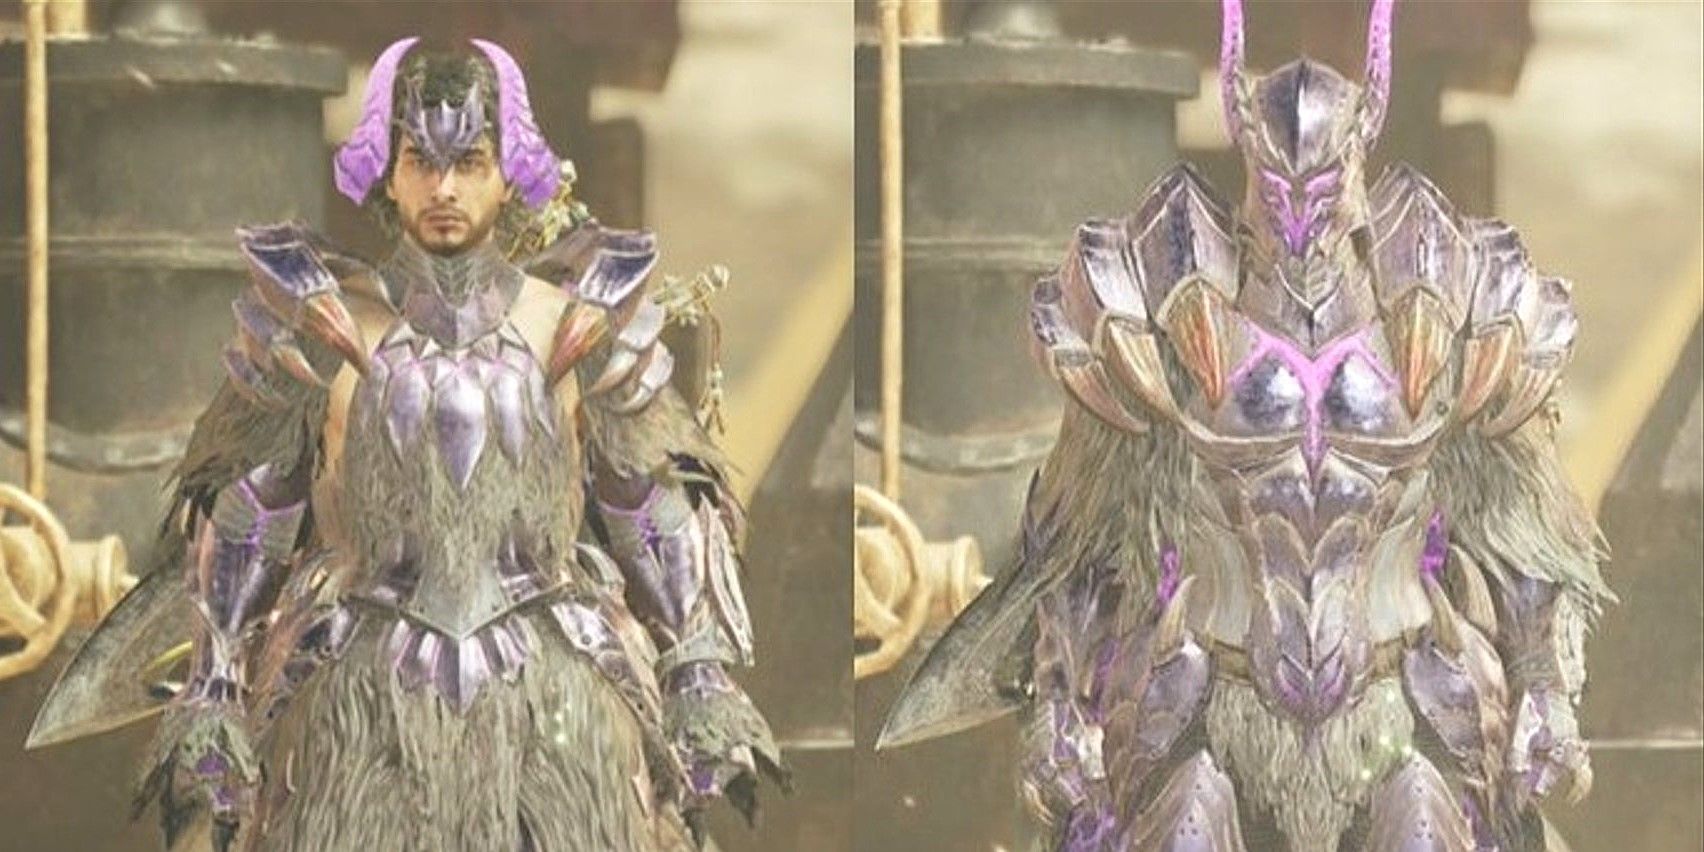
Fighting Gore Magala can be challenging, but its armor is definitely worth the effort. Running the Gore Magala β version set is mostly for its unique set benefit, so try to keep all pieces together if possible. This special advantage, known as Black Eclipse, causes Frenzy when battling large monsters. In addition to this set bonus, you’ll also have Antivirus and Coalescence abilities. Antivirus removes the Frenzy status, providing extra recovery and affinity when cured, while Coalescence enhances your elemental attack power and increases the chance of causing status effects.
With this blend of abilities, you can almost certainly inflict extra damage on big creatures. Additionally, the enhanced status construction offered by Coalescence makes this armor suite ideal for quicker weapons, as more attacks lead to increased application and activation of the status effect. It’s worth mentioning that Coalescence is currently experiencing a bug, only providing 10% affinity at Level 3 instead of the listed 15%. However, this doesn’t diminish the joy of using it.
5. Arkveld Armor β
Near-Full Decoration Slots Mean Extra Customization


Among many armor sets, the Arkveld β set stands out as one you can quickly equip without much deliberation. It boasts Weakness Exploit, a perk that increases affinity when striking three and four-star weak spots. Furthermore, it offers Convert Element, a property that momentarily bestows dragon element effects upon sustaining elemental damage.
The Arkveld β set boasts a significant advantage beyond its pre-installed abilities: it offers an impressive number of high-level customization slots. Specifically, there are three level three, four level two, and five level one slots. This versatility lets you equip various items, making the armor compatible with numerous gameplay styles. This is particularly beneficial for new players or those undecided about their preferred game setup.
4. Xu Wu Armor β
If You’ve Got The Skills, Xu Wu Rewards Excellence
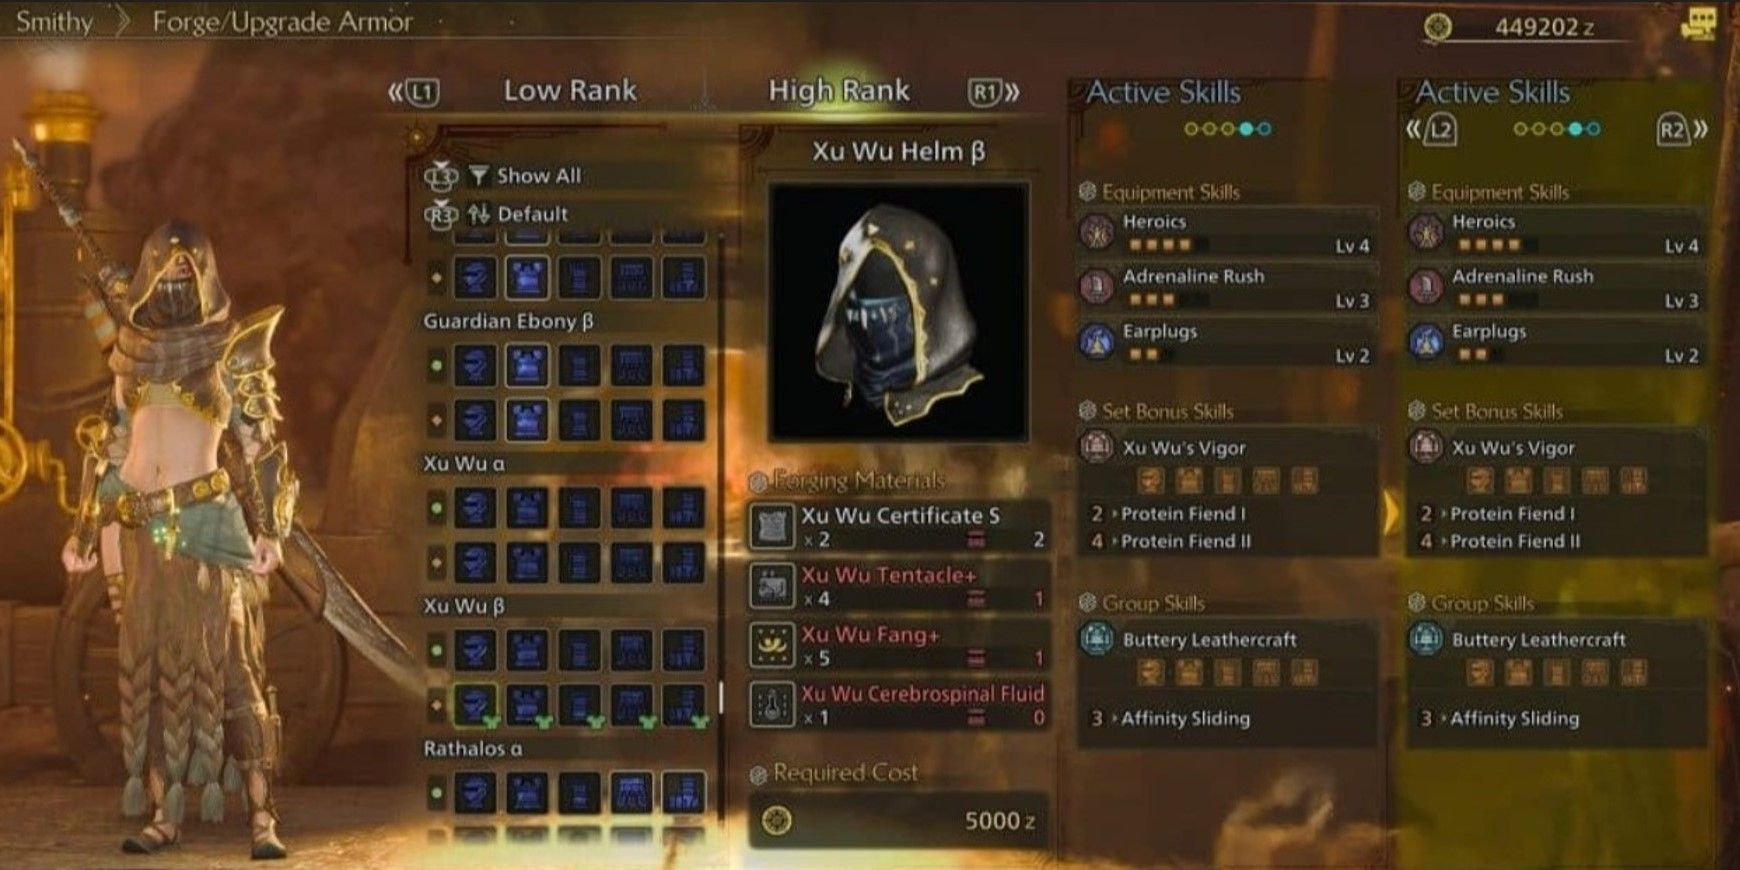
As a thrill-seeking gamer, I can’t help but be captivated by the Xu Wu β version armor set. This gear is perfect for those who crave the adrenaline rush that comes from skirting danger and outsmarting opponents.
The Adrenaline Rush skill offers an exhilarating payoff for timing my dodges to perfection, escalating my attacks for maximum impact. It’s a testament to the mastery I’ve developed over understanding my enemies’ patterns and behaviors.
On the other hand, Heroics steps in when the going gets tough. When my health dips below 35%, this skill kicks in with a powerful boost to both my attacks and defenses. It’s like having an extra lifeline that keeps me in the game even when I’m on the brink of defeat.
I don’t think Xu Wu β armor is suitable for my dodging skills, but players who trust their ability to avoid getting hit can deal some incredibly surprising damage when playing correctly. To enhance your attacks, utilize the armor’s set bonus, which temporarily increases attack power after consuming a meat item. It might seem odd, but stacking these damage boosts together, along with the rest of your build, can lead to a lot of enjoyable damage output.
3. Guardian Fulgur Anjanath Armor β
Agitator And Coalescence Make A Solid All-Around Set
The β set of the Guardian Fulgur Anjanath armor might not be ideal for solo use, but it truly excels at enhancing other sets. The Agitator trait boosts your attack and affinity when monsters get enraged, making it easier to handle them in their more fearsome forms. Coalescence increases your elemental attack power and the occurrence of status effects during recovery from blights or abnormal conditions. This means that even when you’re hit, you can quickly retaliate and continue fighting effectively.
In addition to the abilities included in the set, it comes with an added benefit: a second stamina meter. This means you can perform all necessary actions uninterrupted by recovery periods. Although additional stamina won’t increase your damage output like Burst or other skills do, the set offers a decent number of customization slots. This enables you to tailor your armor set specifically to your requirements.
2. Guardian Arkveld Armor
If You’re Looking For Flayer Armor, Look No Further
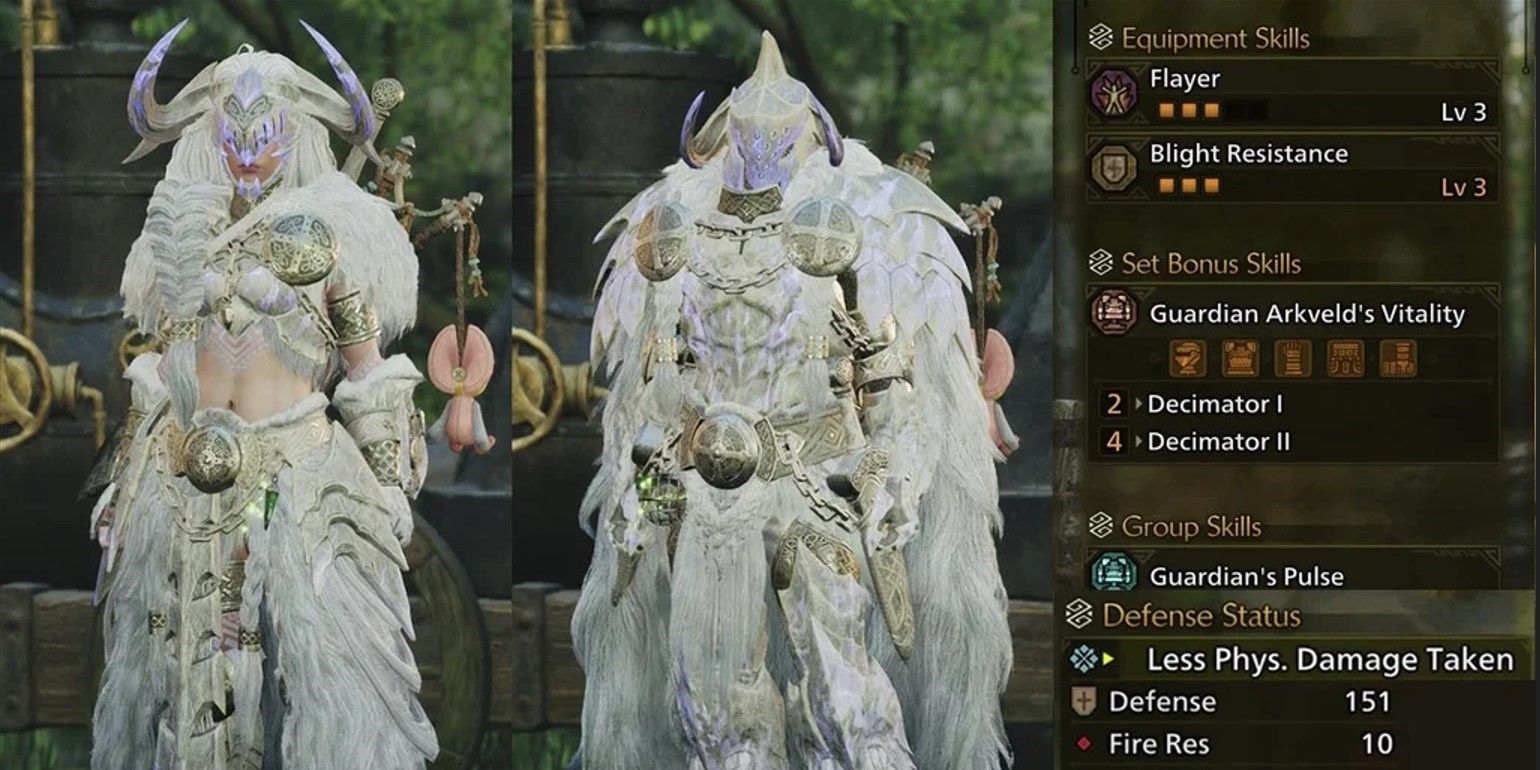
The Arkveld β Guardian kit boasts one of the game’s top skills, Flayer. This skill facilitates inflicting Wounds on enemies and adds an additional bonus to non-elemental damage once you’ve dealt sufficient damage. To sweeten the deal, its set ability is Decimator, enabling health restoration whenever you destroy Wounds on a monster. Cause damage, create vulnerabilities, eliminate those vulnerabilities, reap the rewards.
Three out of five pieces in this armor collection feature Flayer – go ahead and put on the entire set since it functions quite well even without a specific build. It’s an armor set that can perform effectively regardless, but optimizing it with the right Flayer setup will make it truly formidable. Whether you’re fine-tuning your character or require top-notch endgame armor, the Guardian Arkveld set is a reliable choice.
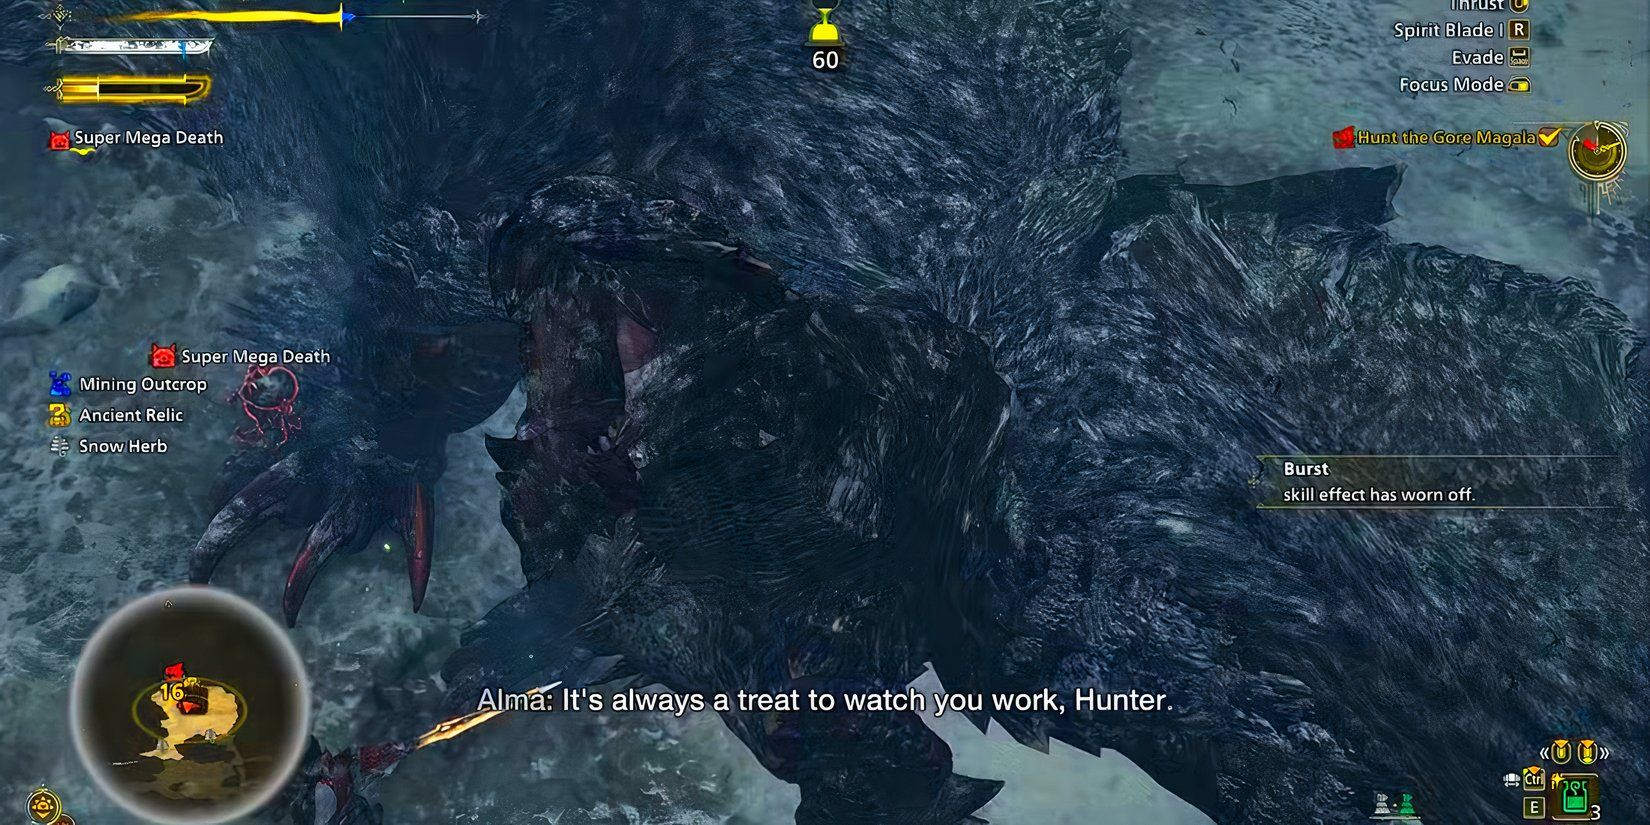
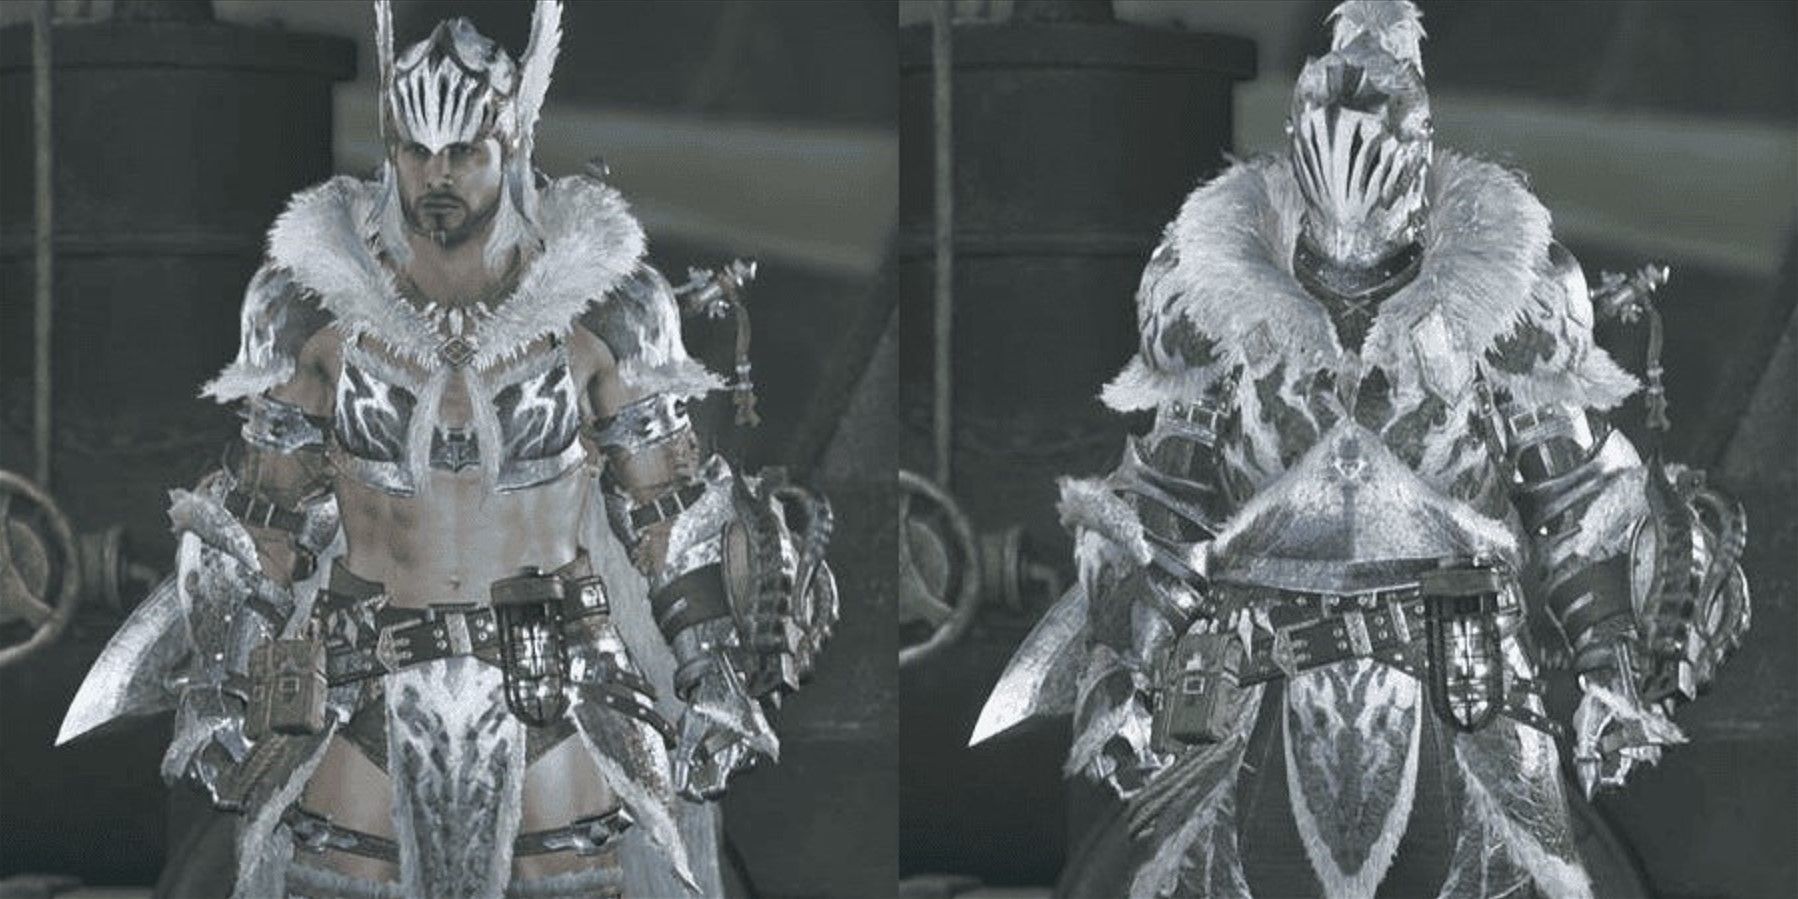
1. Guardian Ebony Armor β
Burst Is Just Too Good Right Now
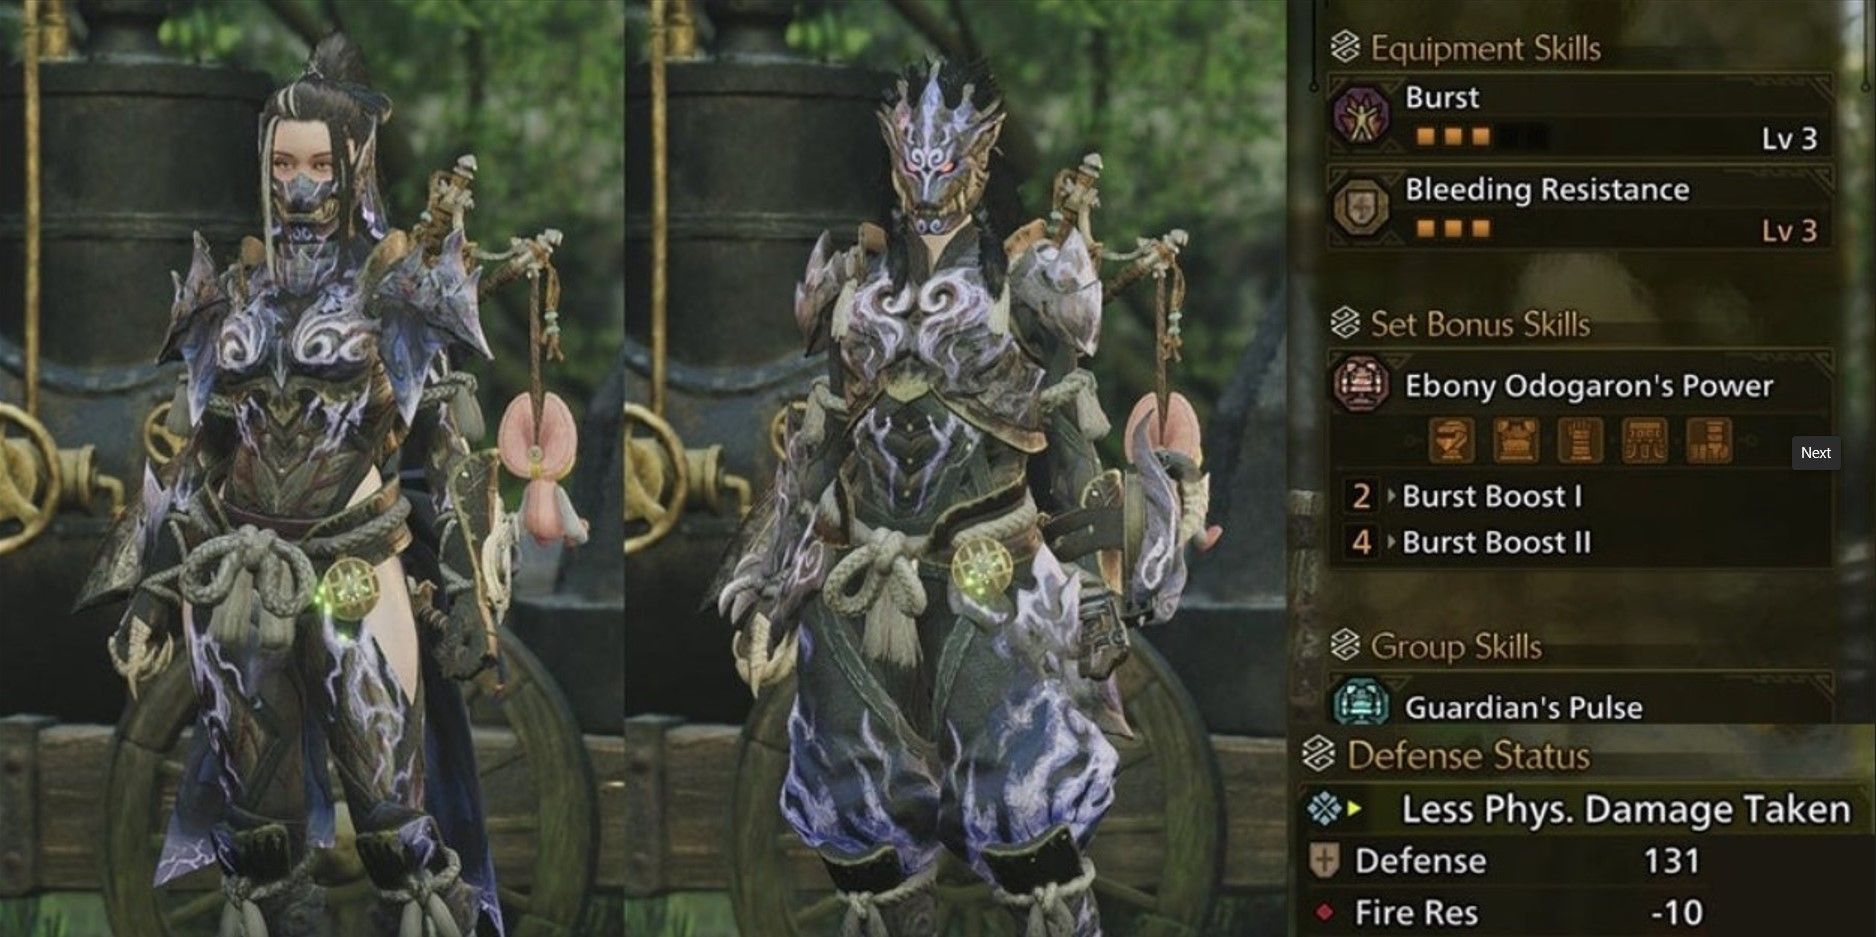
The Ebony Odogaron armor set from The Guardian has several advantages that revolve around its Burst skill. This skill enhances both regular attacks and elemental attacks as you land consecutive blows. The degree of enhancement depends on the weapon you’re using, with quick-attacking weapons benefiting more frequently but slower ones scaling better with each upgrade. You receive a minor temporary boost after your initial strike, followed by another boost every five continuous hits.
The Burst ability becomes quite effective when combined with the right weapon, and its companion skill, Burst Boost, further enhances this. When you don the complete Guardian Ebonxy Odogaron armor set, your Burst skill will grow even stronger, offering you increased Boost for each Boost. This armor set is useful on its own, and individual pieces are particularly beneficial for creating versatile mixed sets.
Just like many games with diverse weapons and character builds, there isn’t a single “optimal” armor set in this game. Therefore, choosing one that aligns with your playstyle would be the most beneficial for those gearing up for the upcoming Monster Hunter Wilds DLC. Keep in mind that high-level armor requires significant effort to craft; avoid investing time in items you may not need based on someone else’s recommendation. Instead, opt for what’s enjoyable to you and then select armor that complements your chosen playstyle.
Read More
- Clash Royale Best Boss Bandit Champion decks
- Mobile Legends: Bang Bang (MLBB) Sora Guide: Best Build, Emblem and Gameplay Tips
- Vampire’s Fall 2 redeem codes and how to use them (June 2025)
- Best Hero Card Decks in Clash Royale
- Best Arena 9 Decks in Clast Royale
- Dawn Watch: Survival gift codes and how to use them (October 2025)
- Clash Royale Furnace Evolution best decks guide
- Wuthering Waves Mornye Build Guide
- Clash Royale Witch Evolution best decks guide
- ATHENA: Blood Twins Hero Tier List
2025-03-12 04:38