In every Soulslike RPG, healing plays a crucial role, and that’s exactly what you’ll find in Wuchang: Fallen Feathers. This game is brimming with healing items designed to keep players engaged in battles for extended periods. One of the primary methods of healing within the game involves the Manna Vase, which recharges every time you return to a Shrine and enter the dream, providing a steady flow of recovery.
As the game advances, it becomes essential to enhance the power of the Manna Vase. This guide provides details about the whereabouts of every single Lost Remain found in the game Wuchang: Fallen Feathers.
All Lost Remains in Wuchang: Fallen Feathers

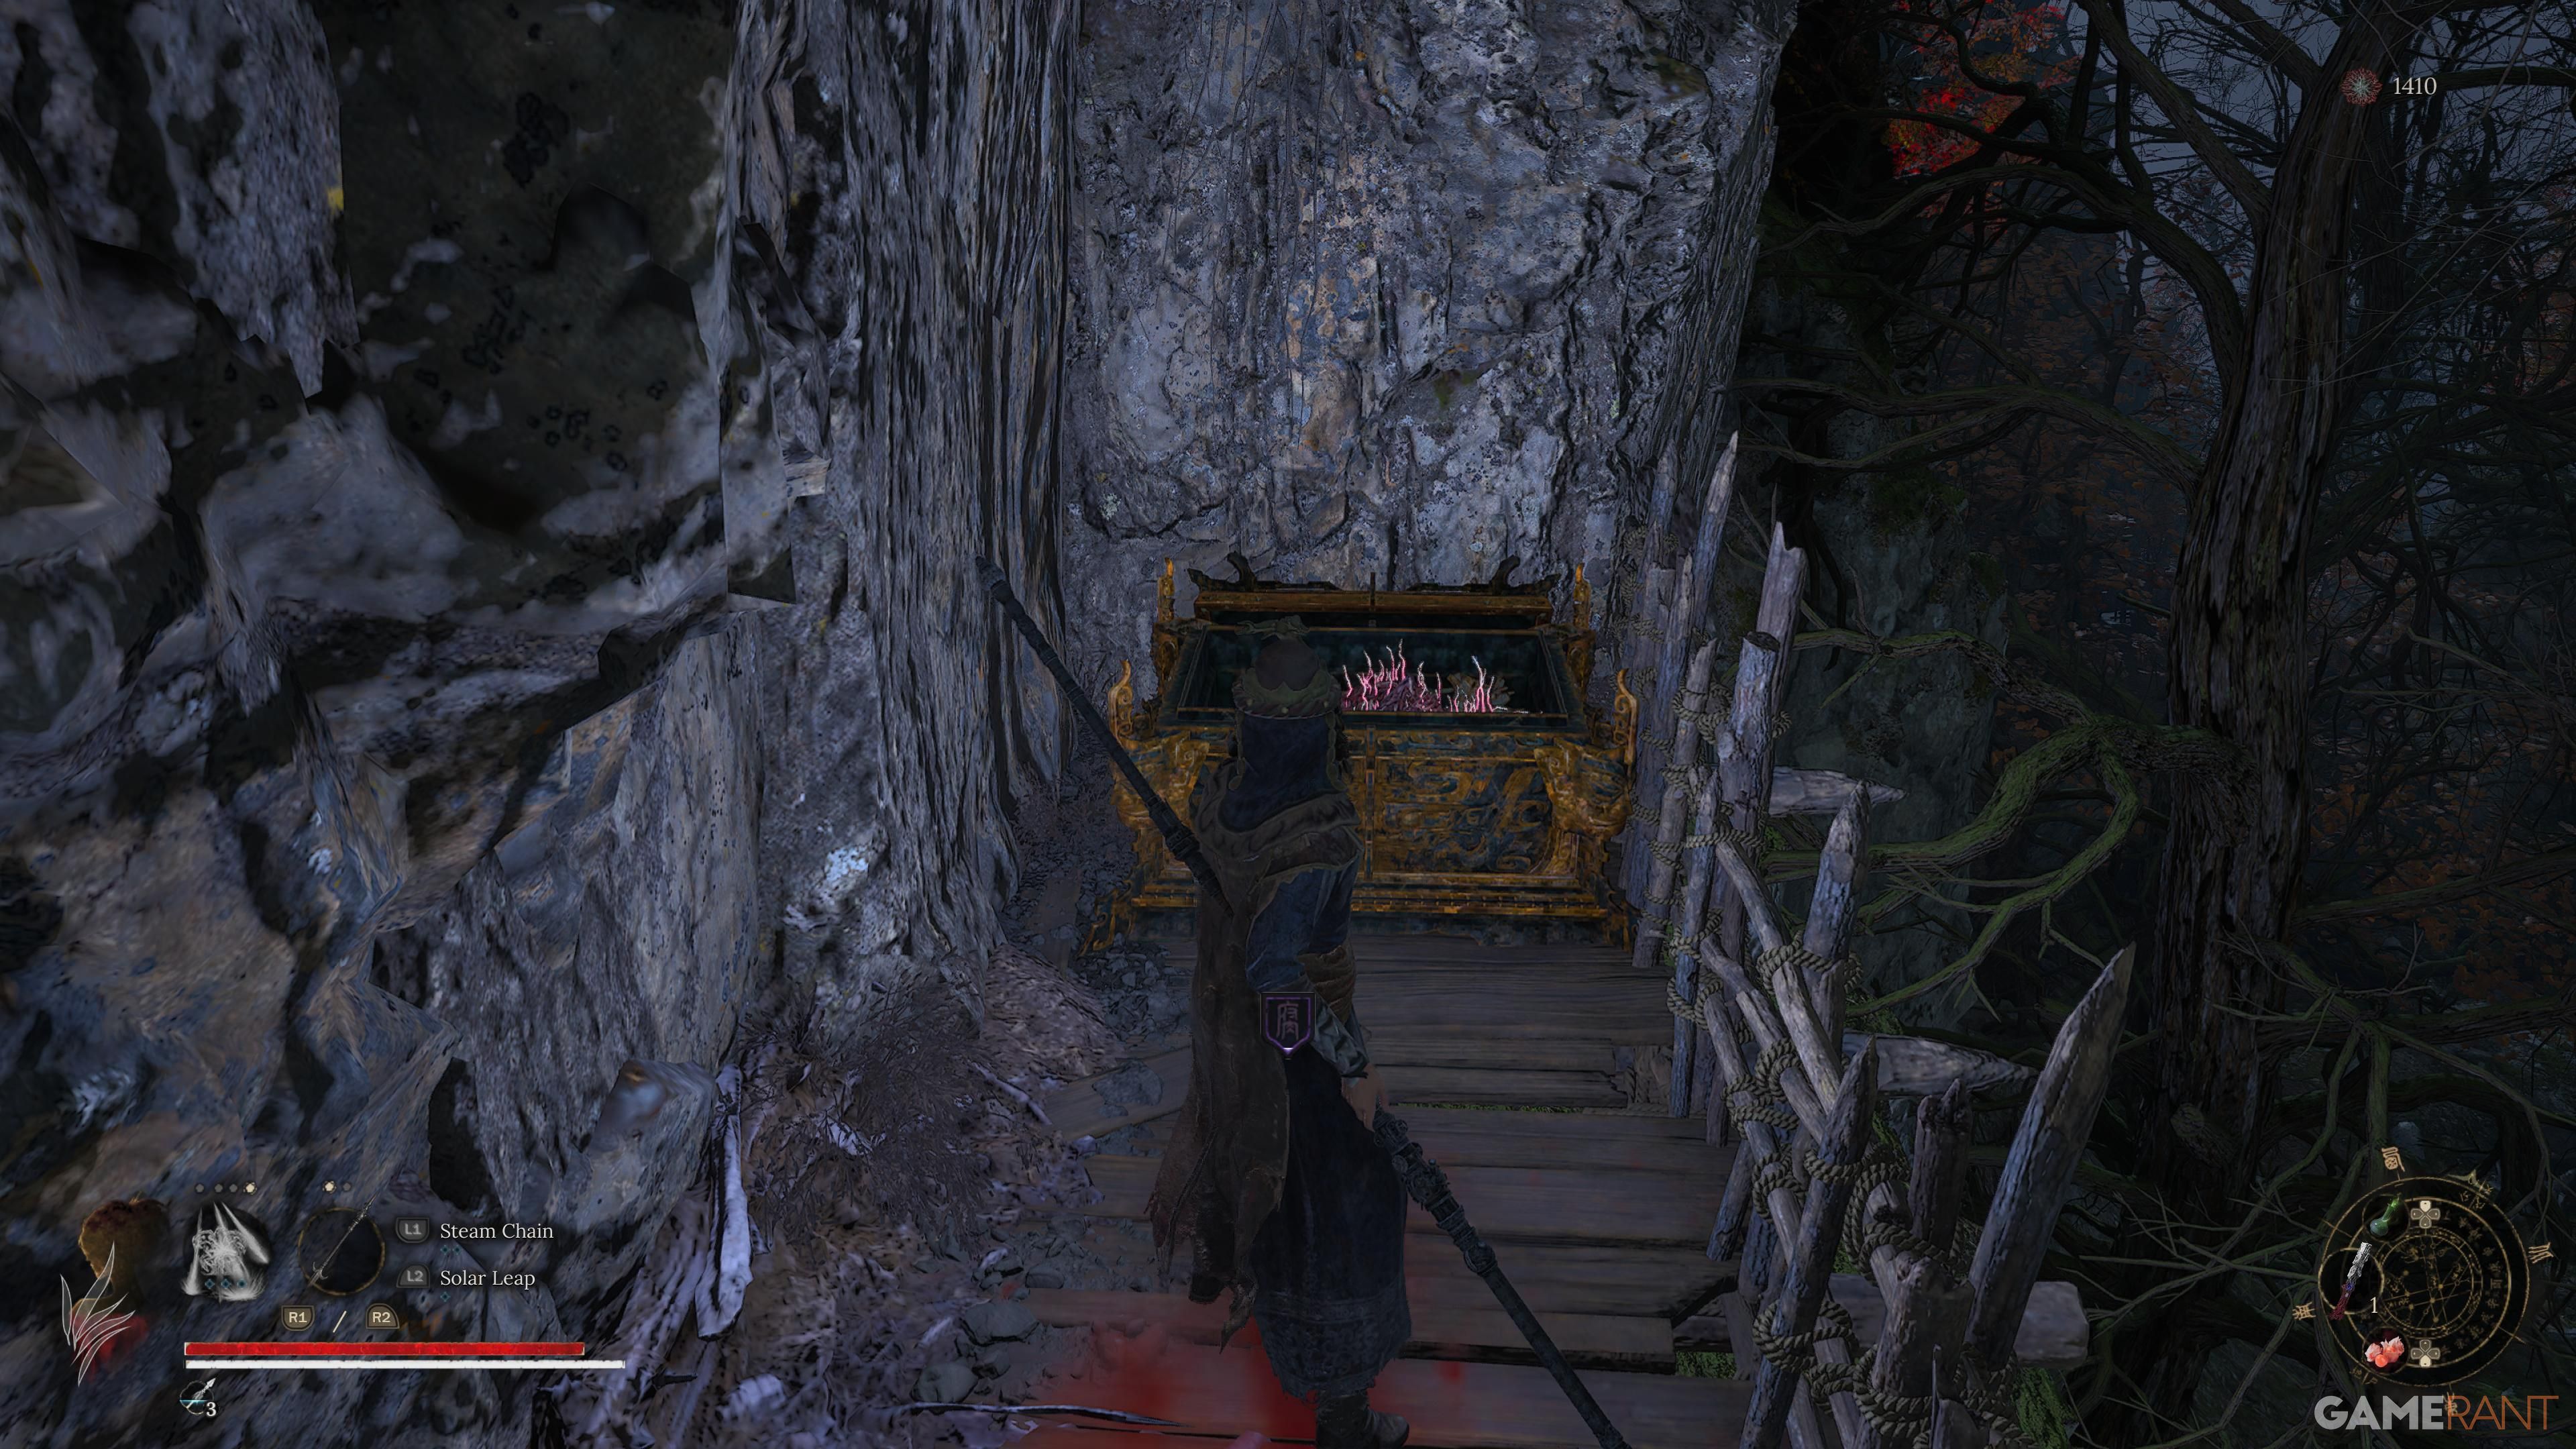
In the game, you’ll come across ten hidden artifacts known as Lost Relics, scattered across different areas. These power-ups are often concealed within big treasure chests and are relatively easy to locate, especially if you choose to venture off the main path and explore side routes. Unlike the Forgotten Souvenirs that boost your charges, the Lost Relics enhance the effectiveness of the Manna Vessel.
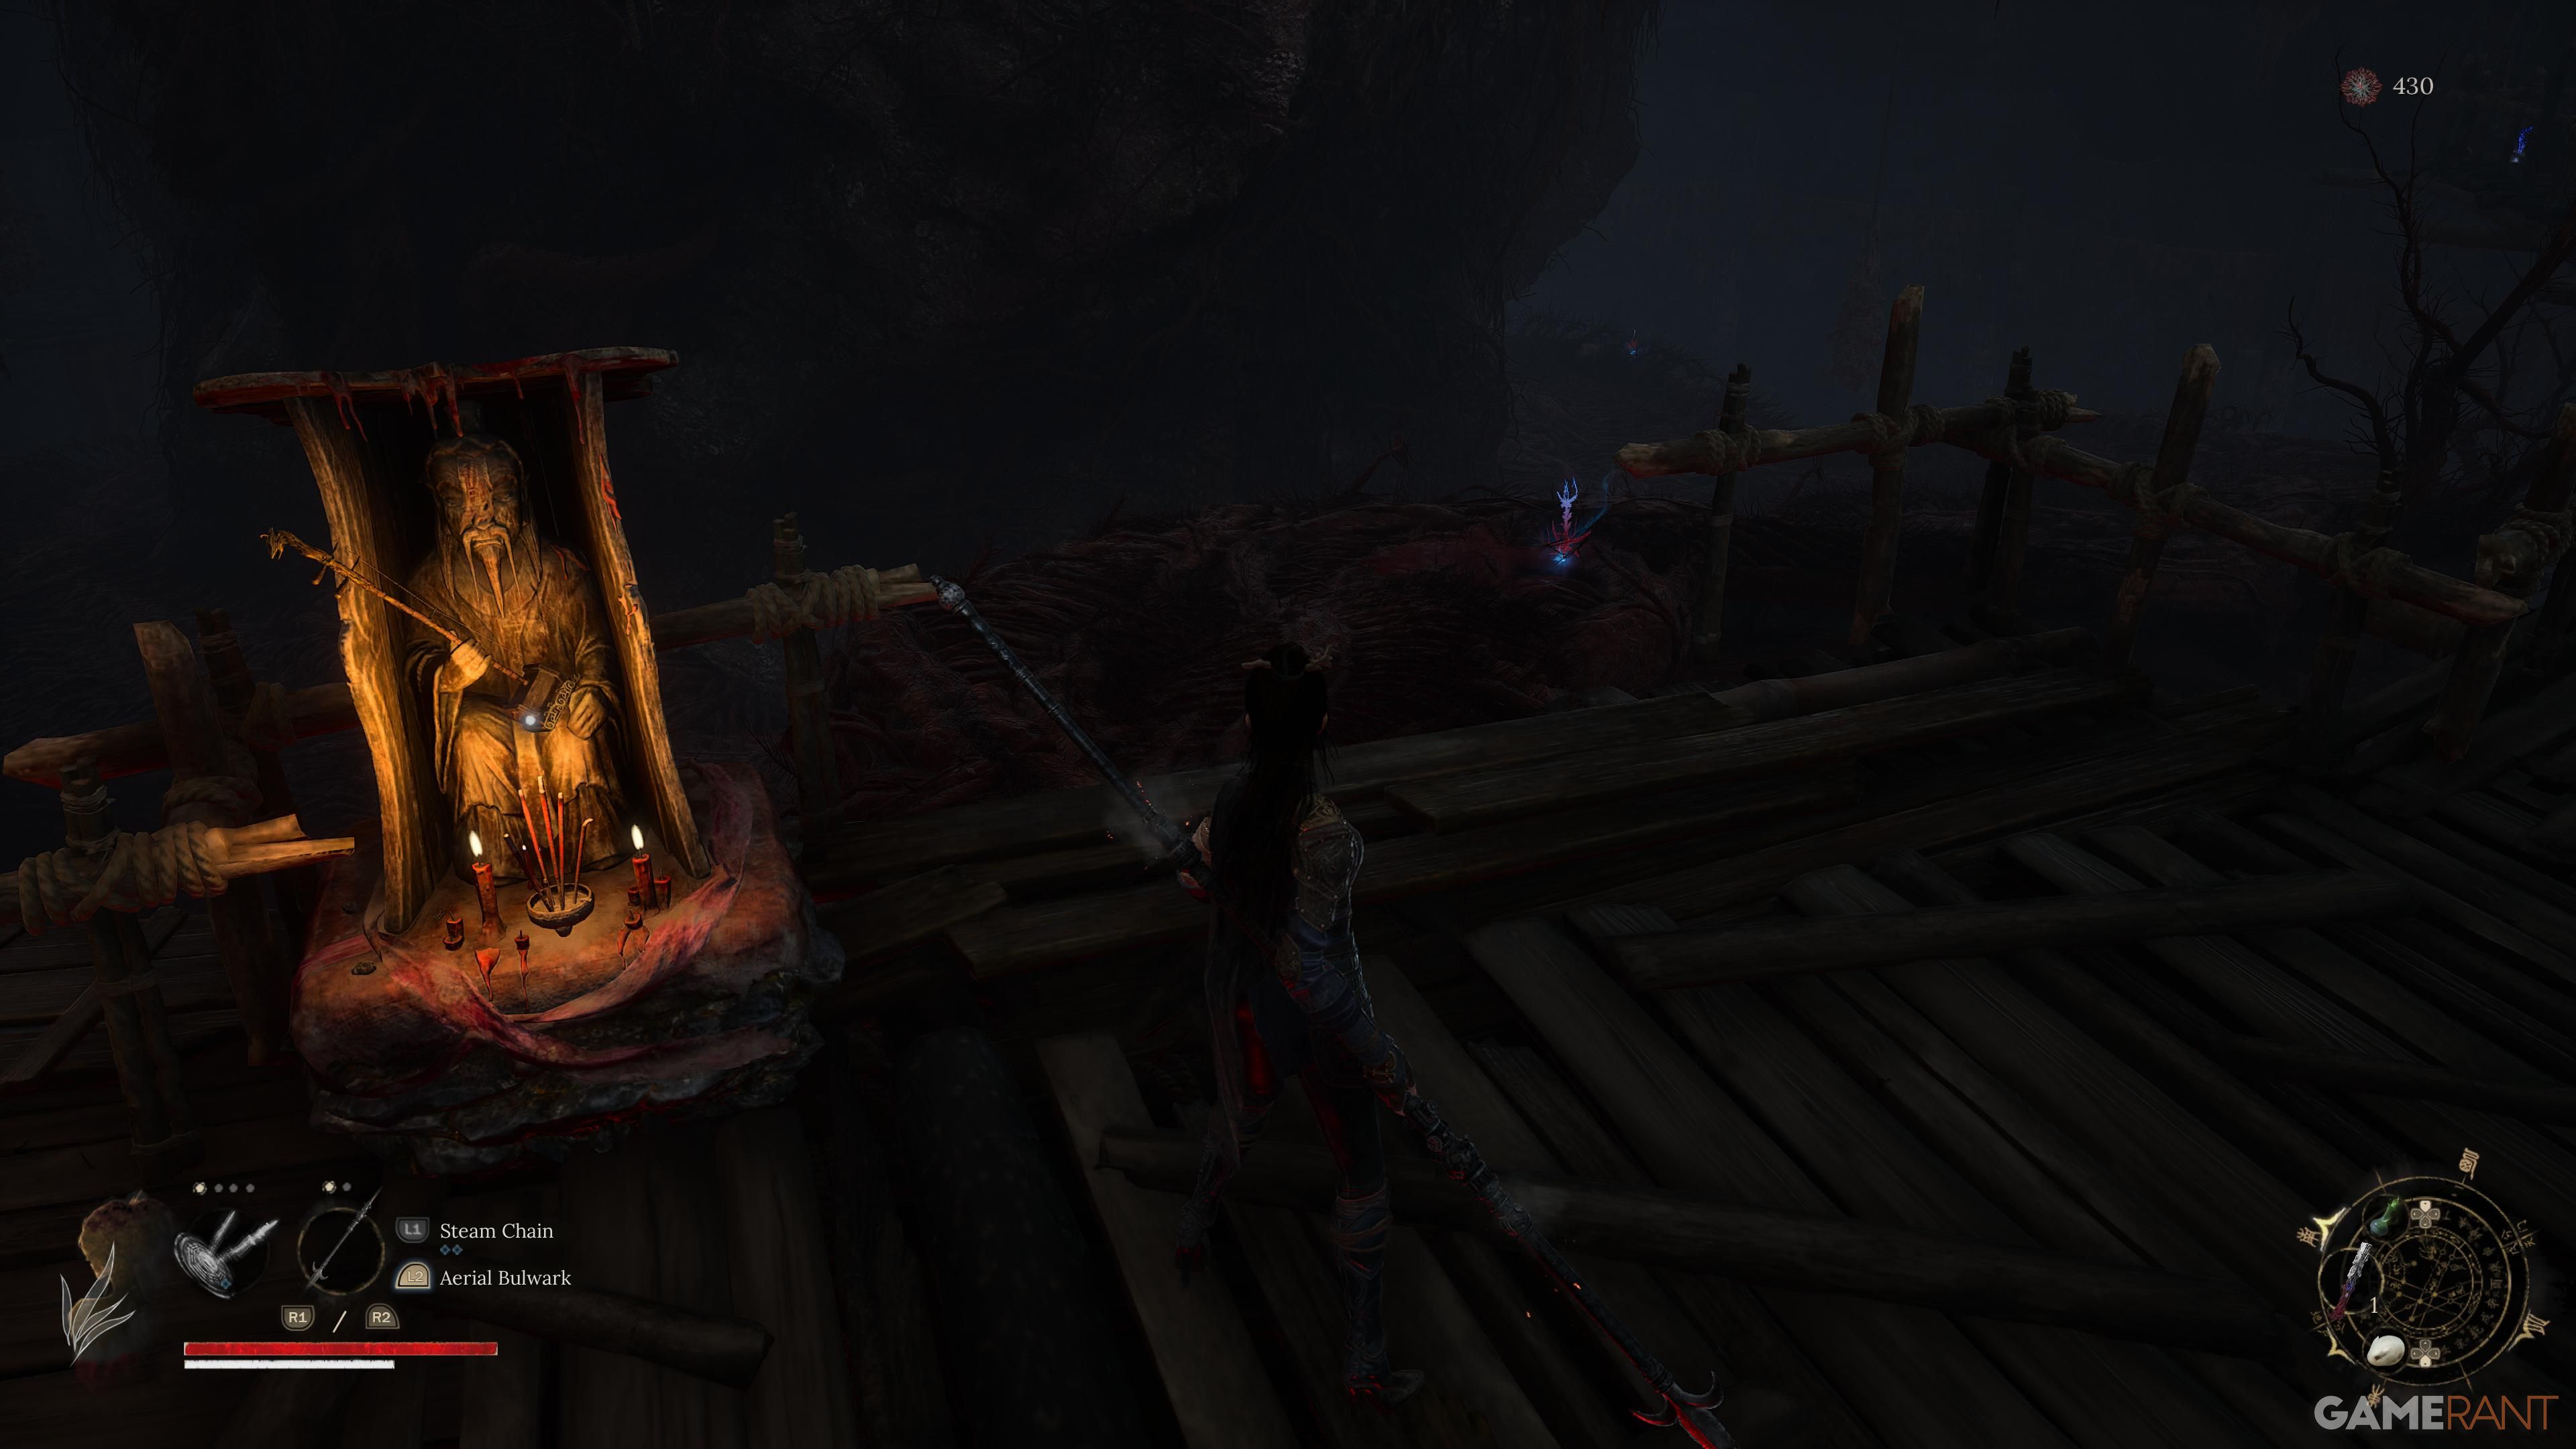
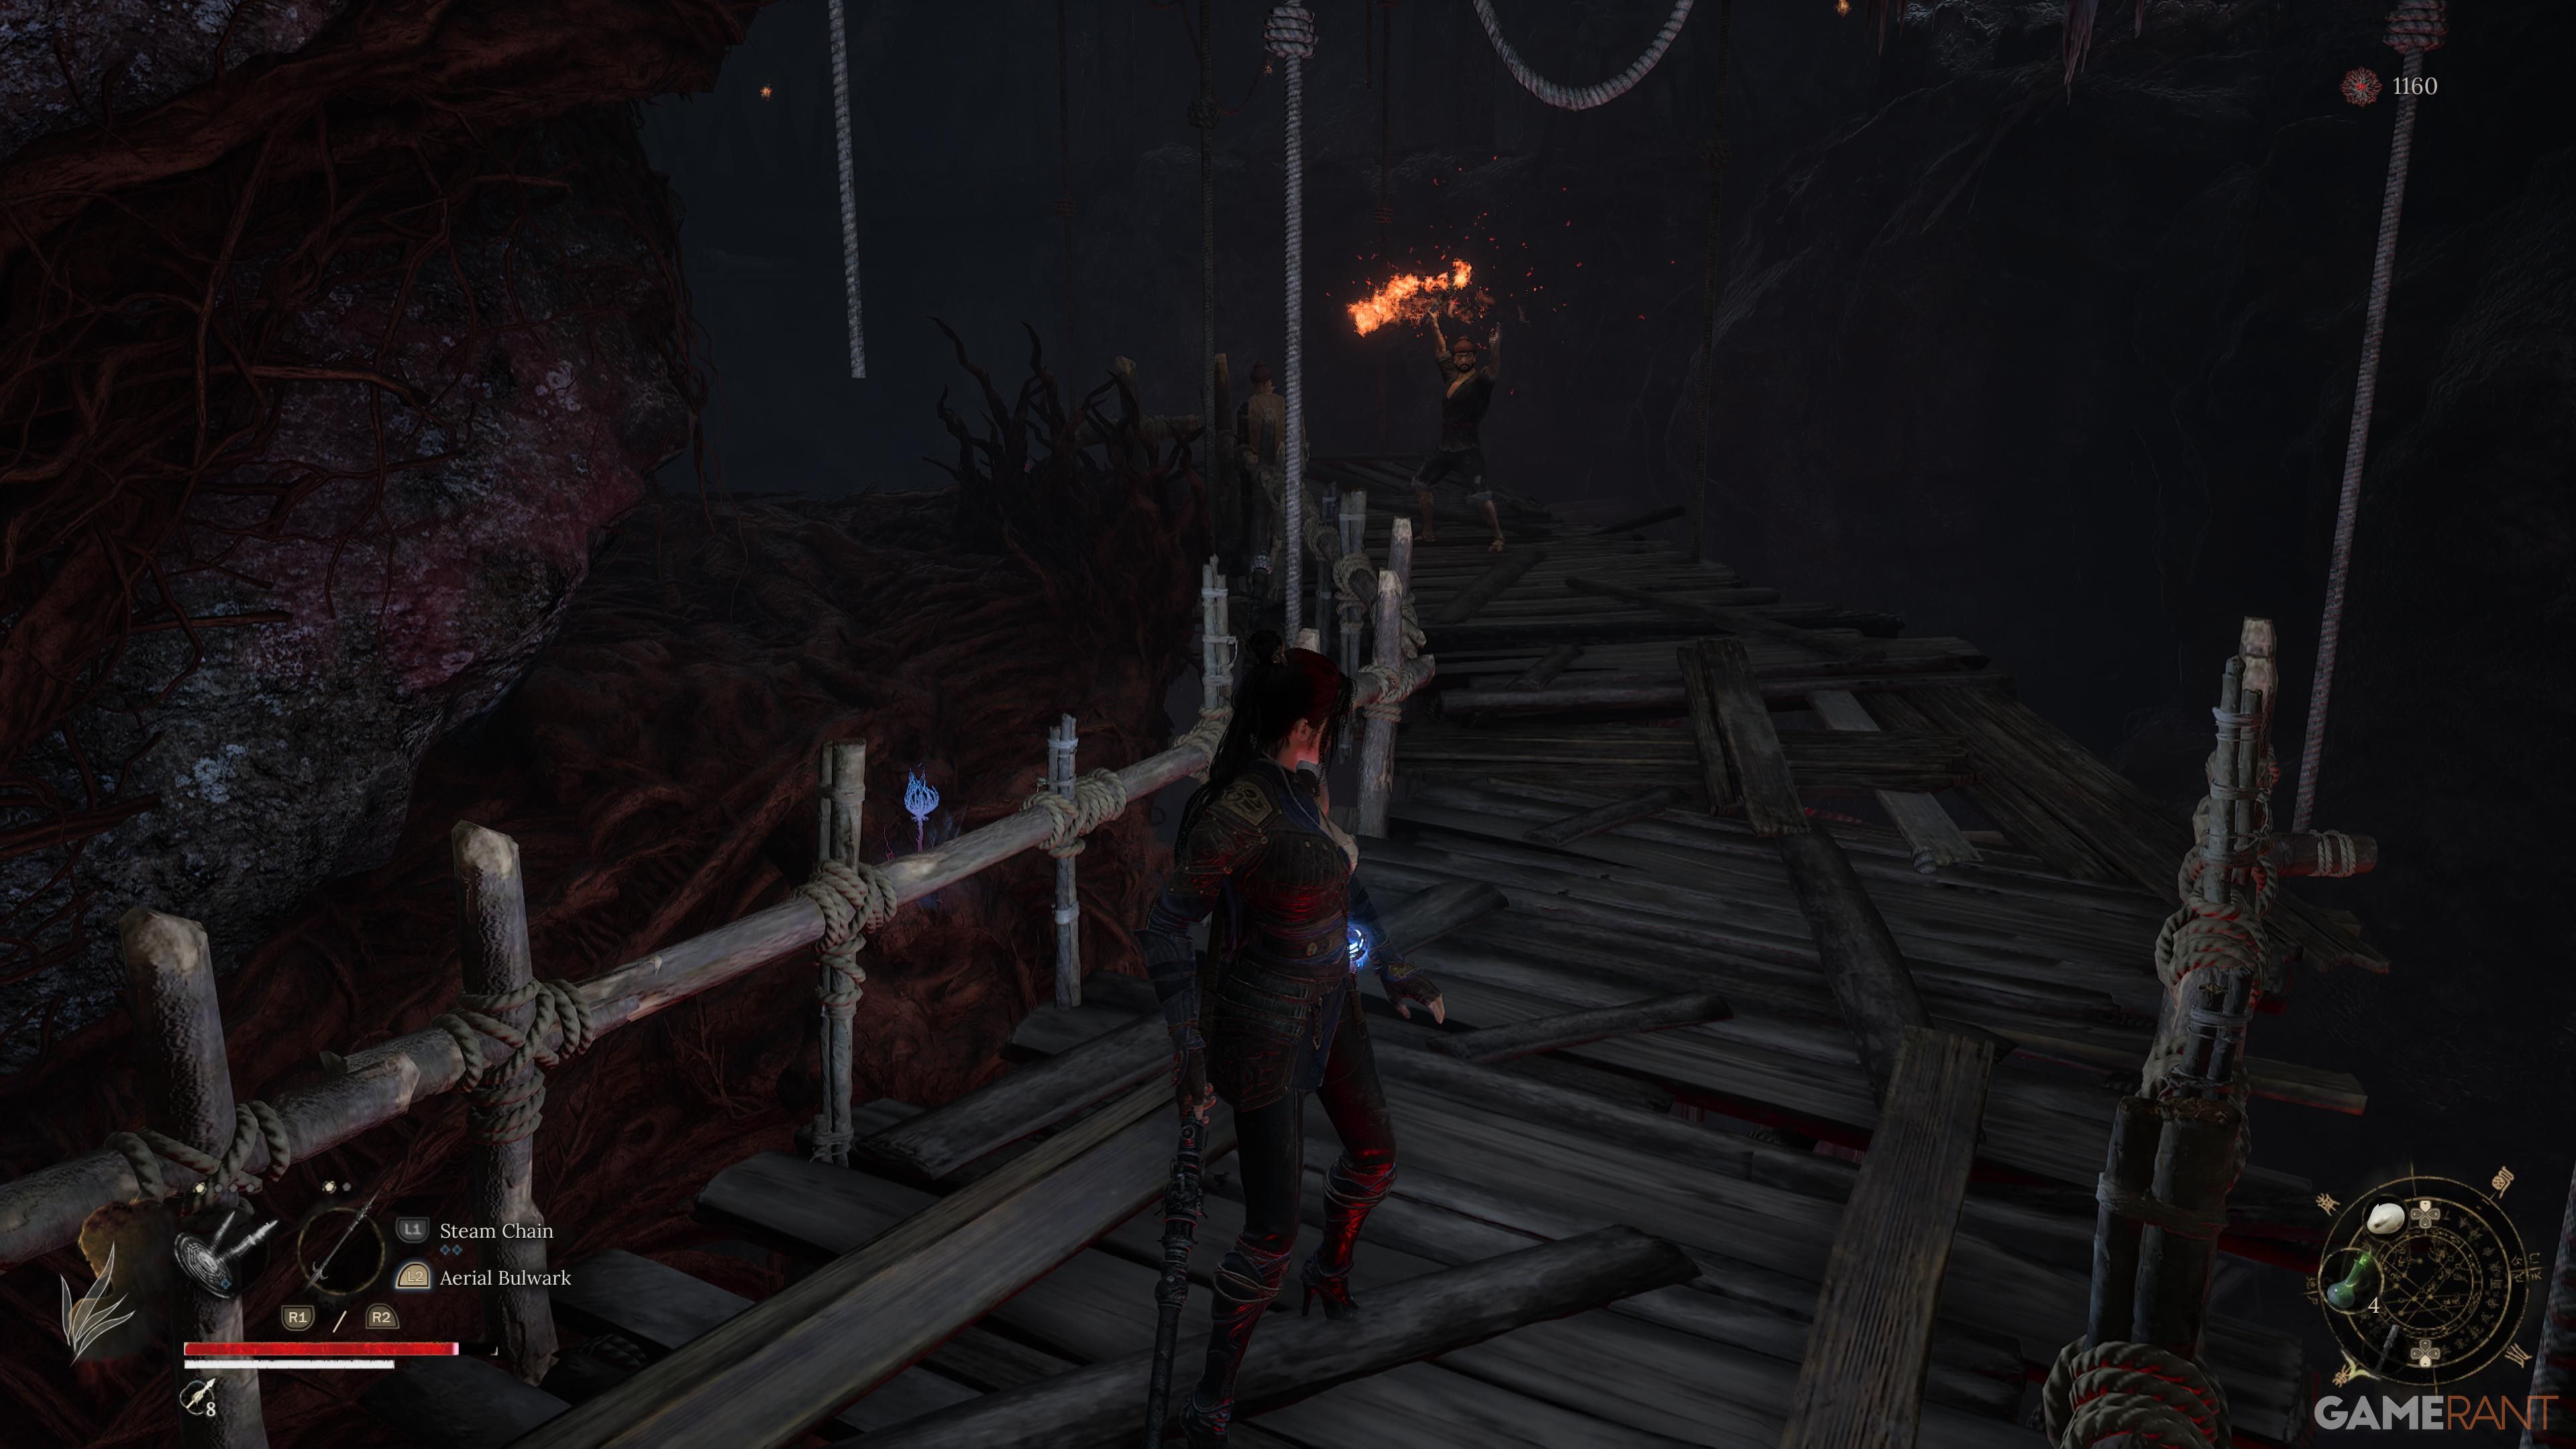
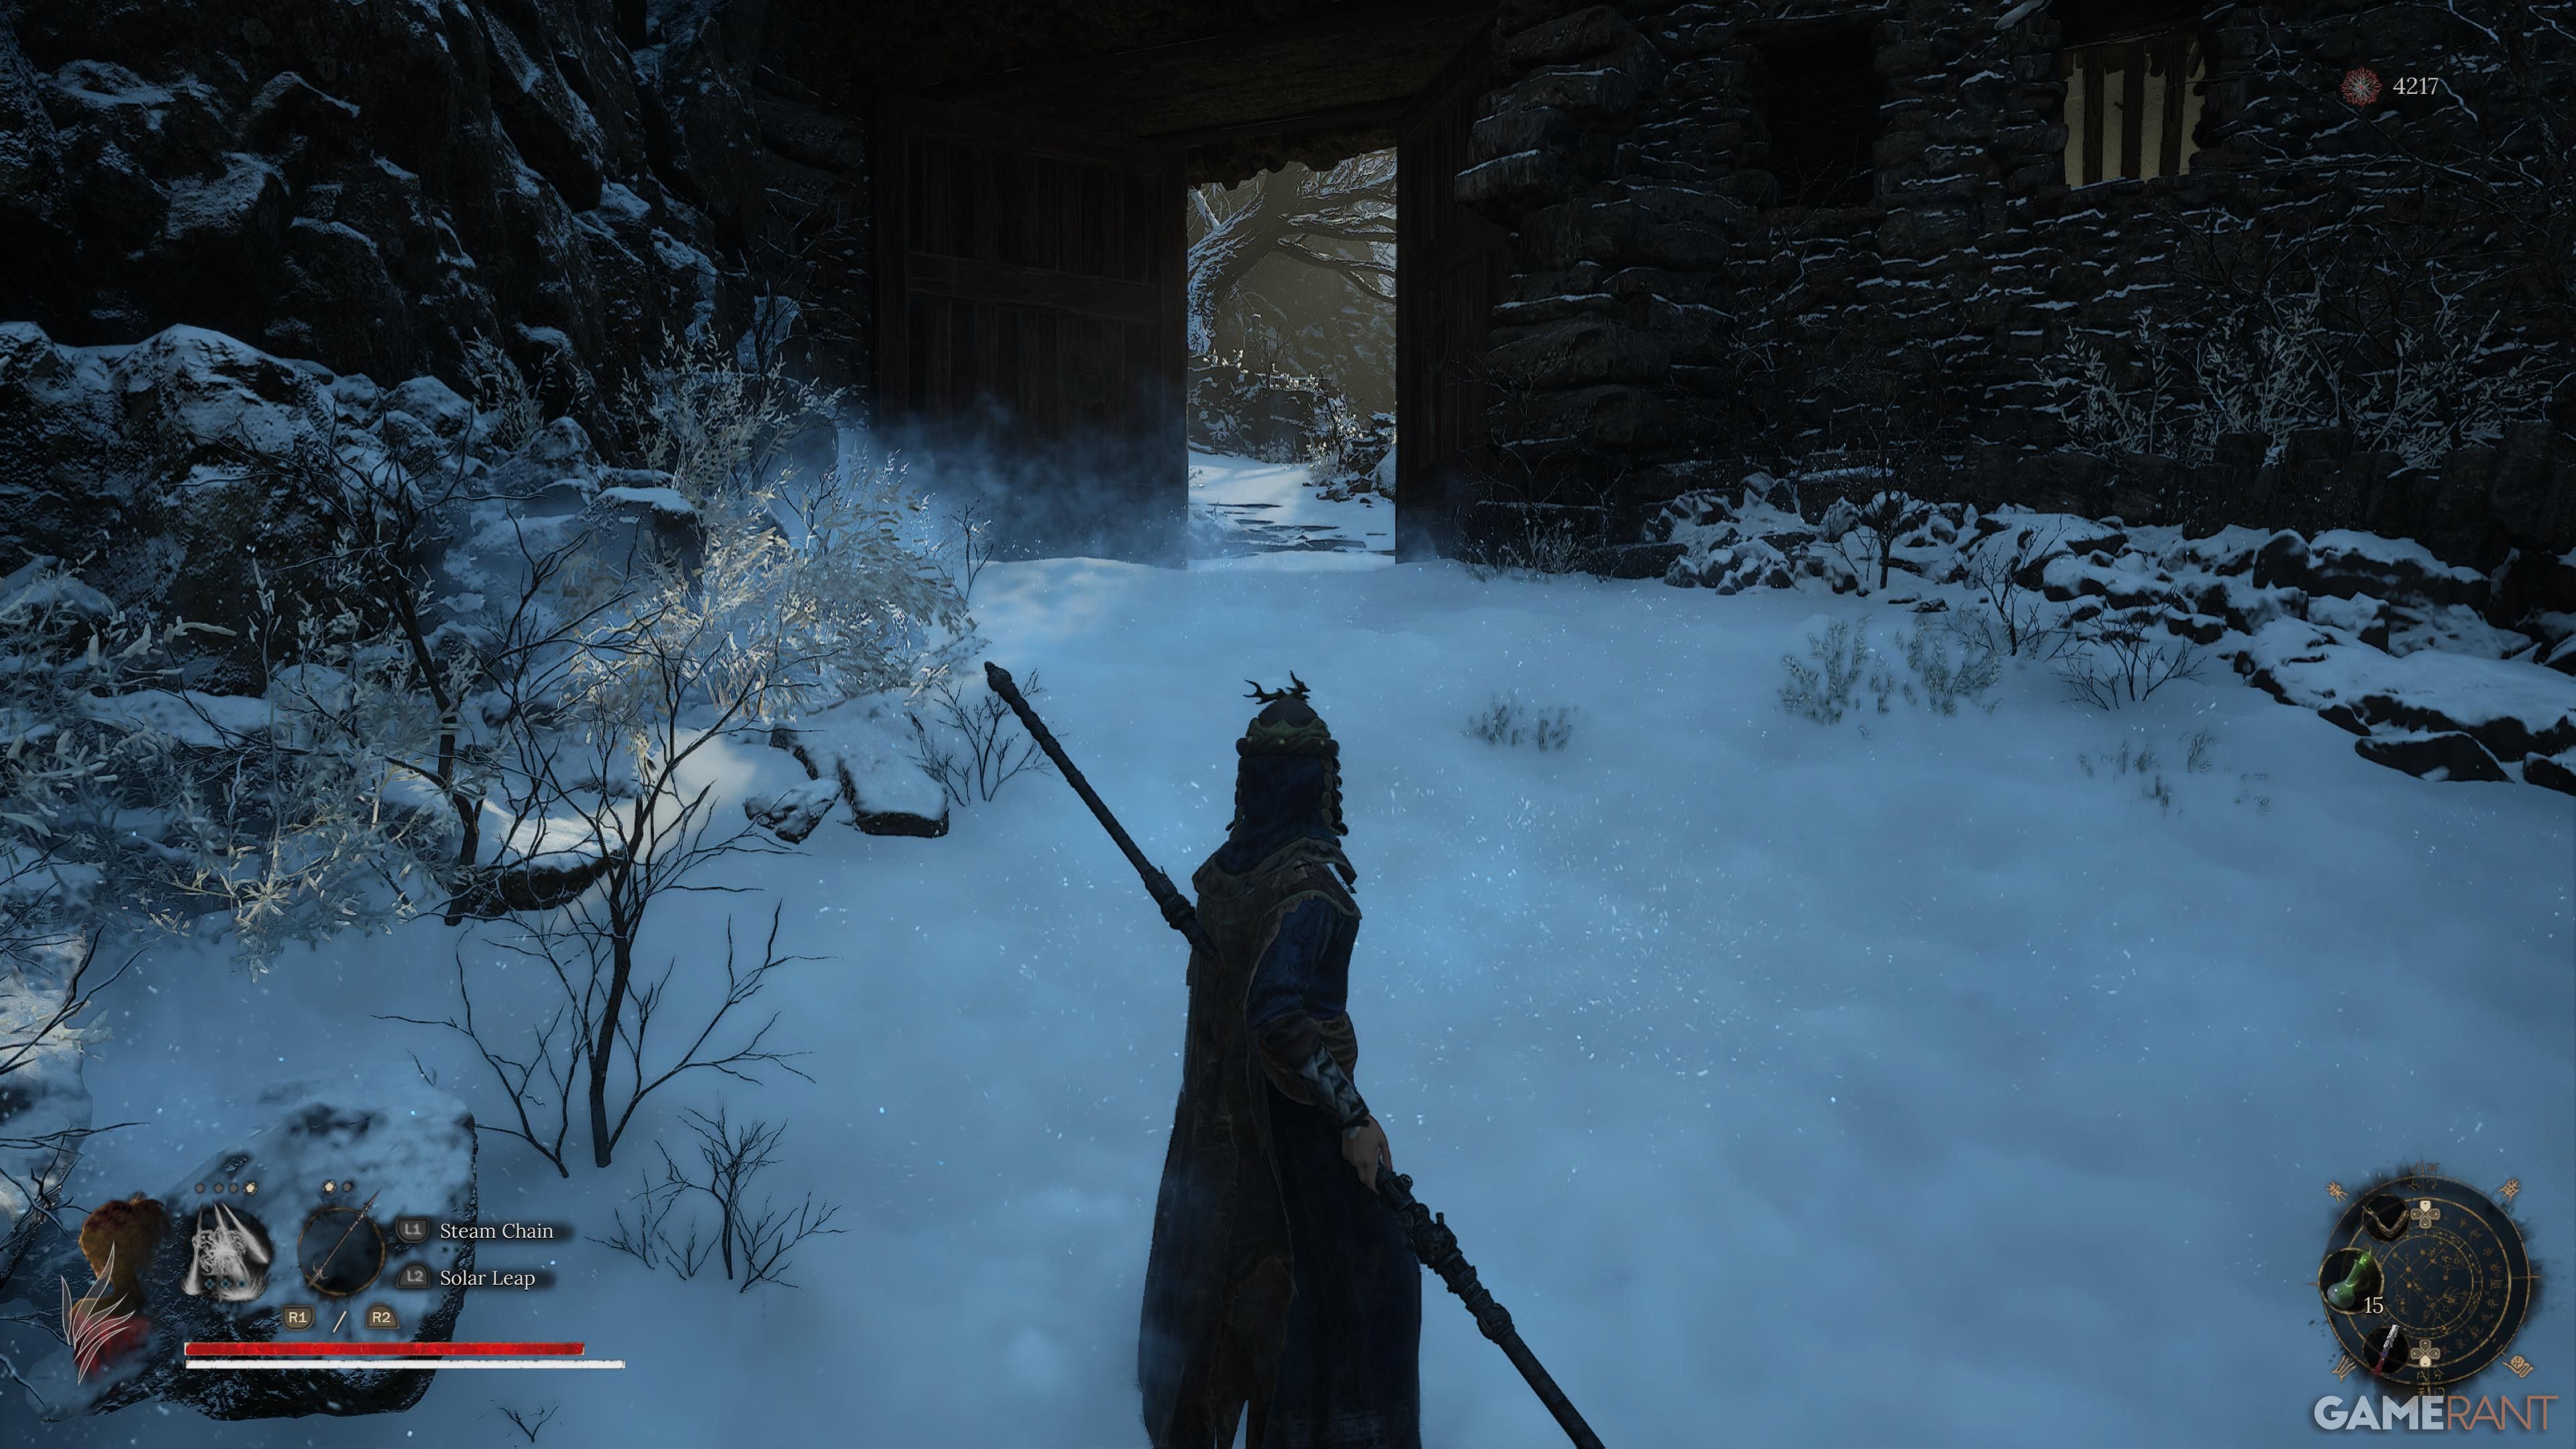
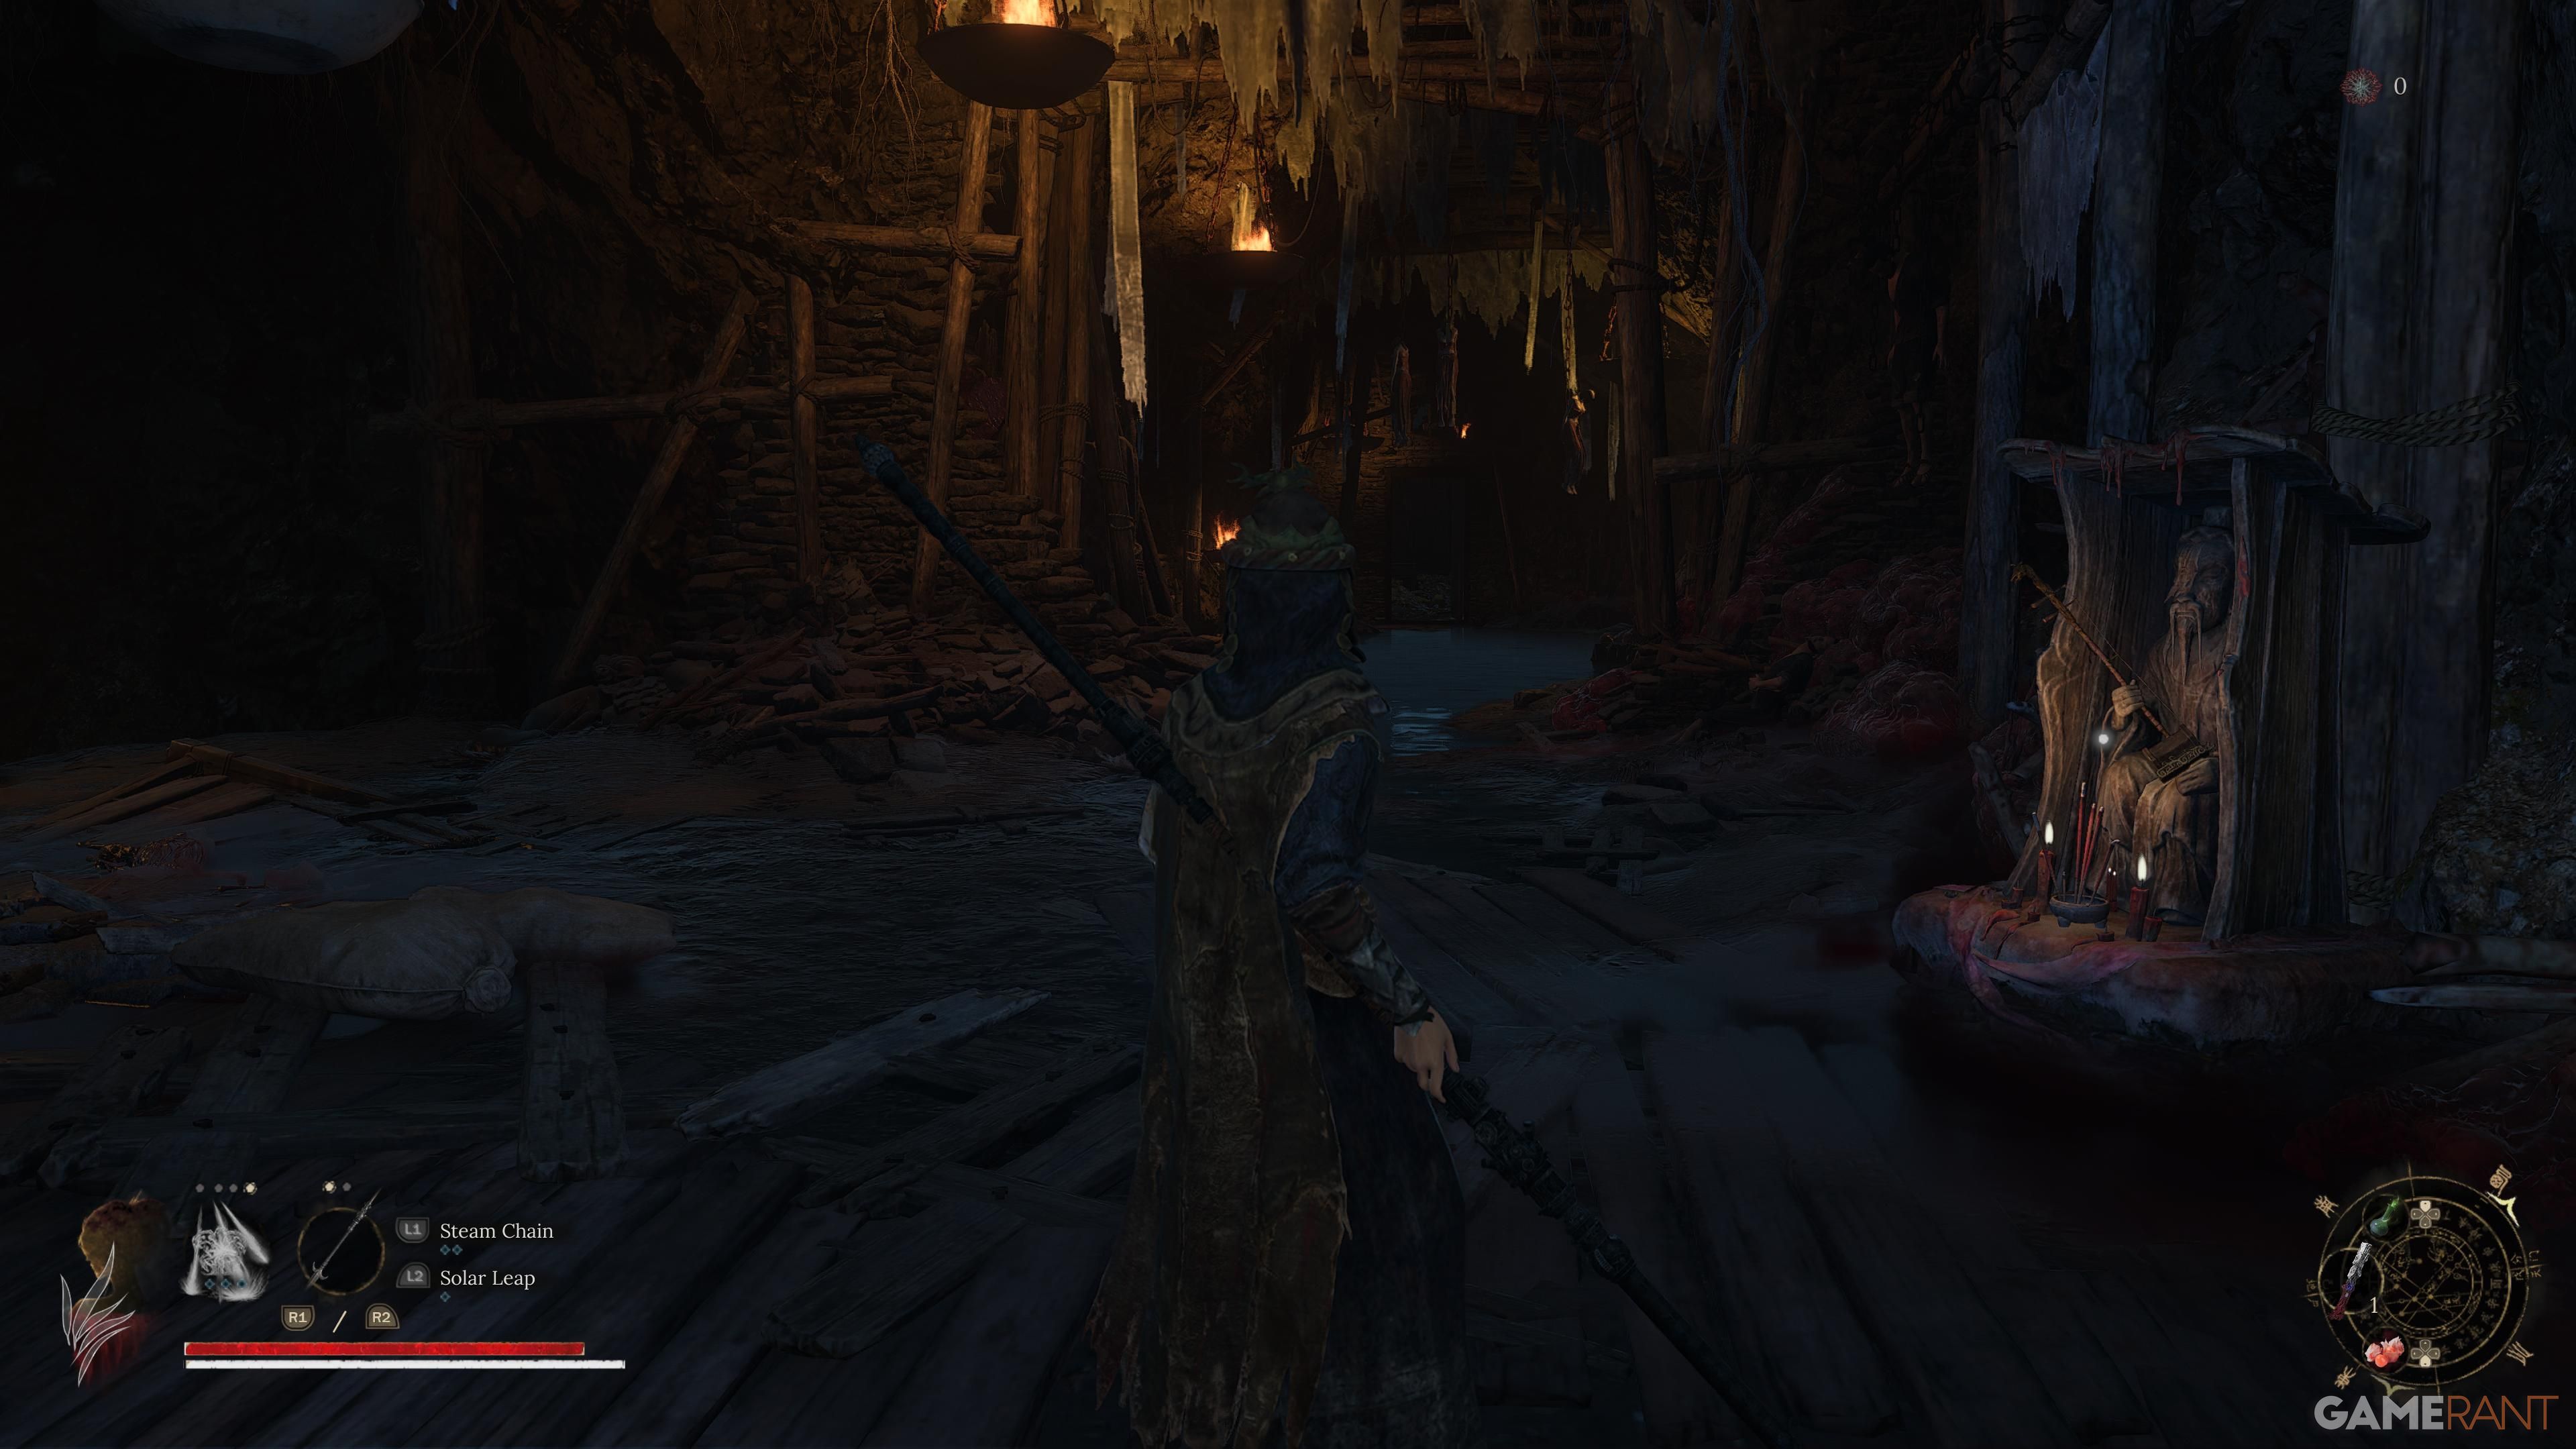
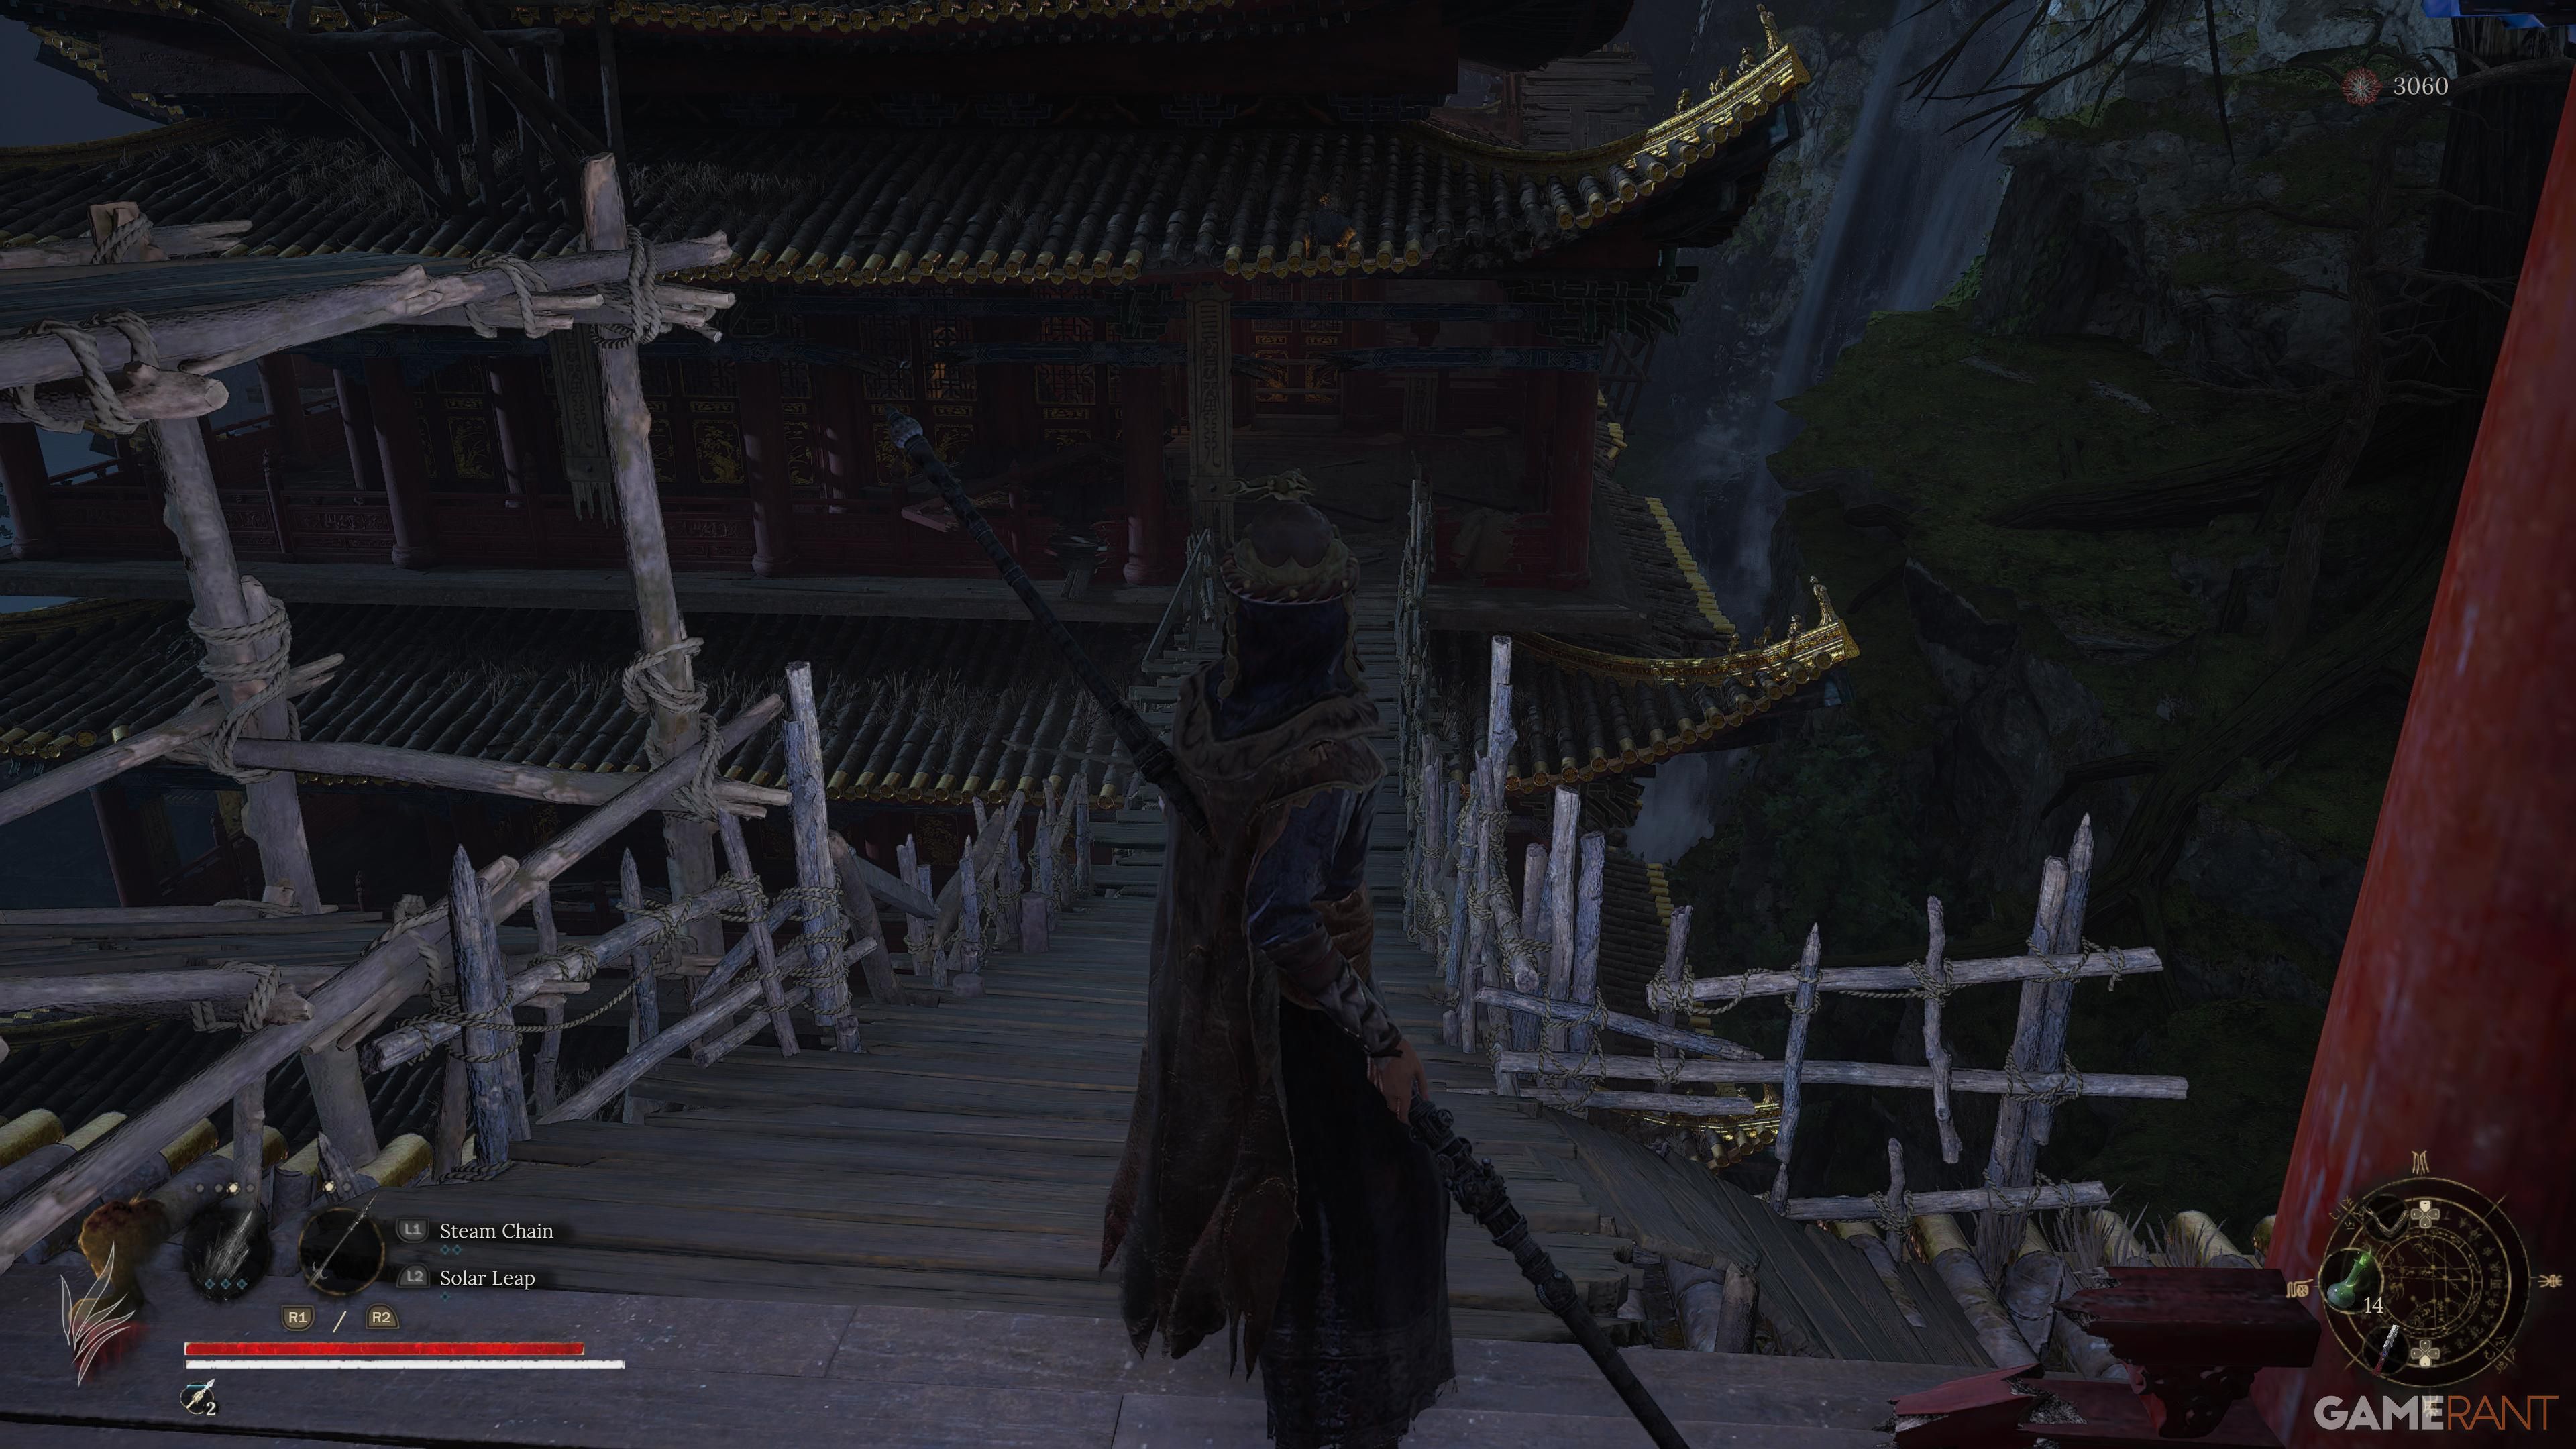
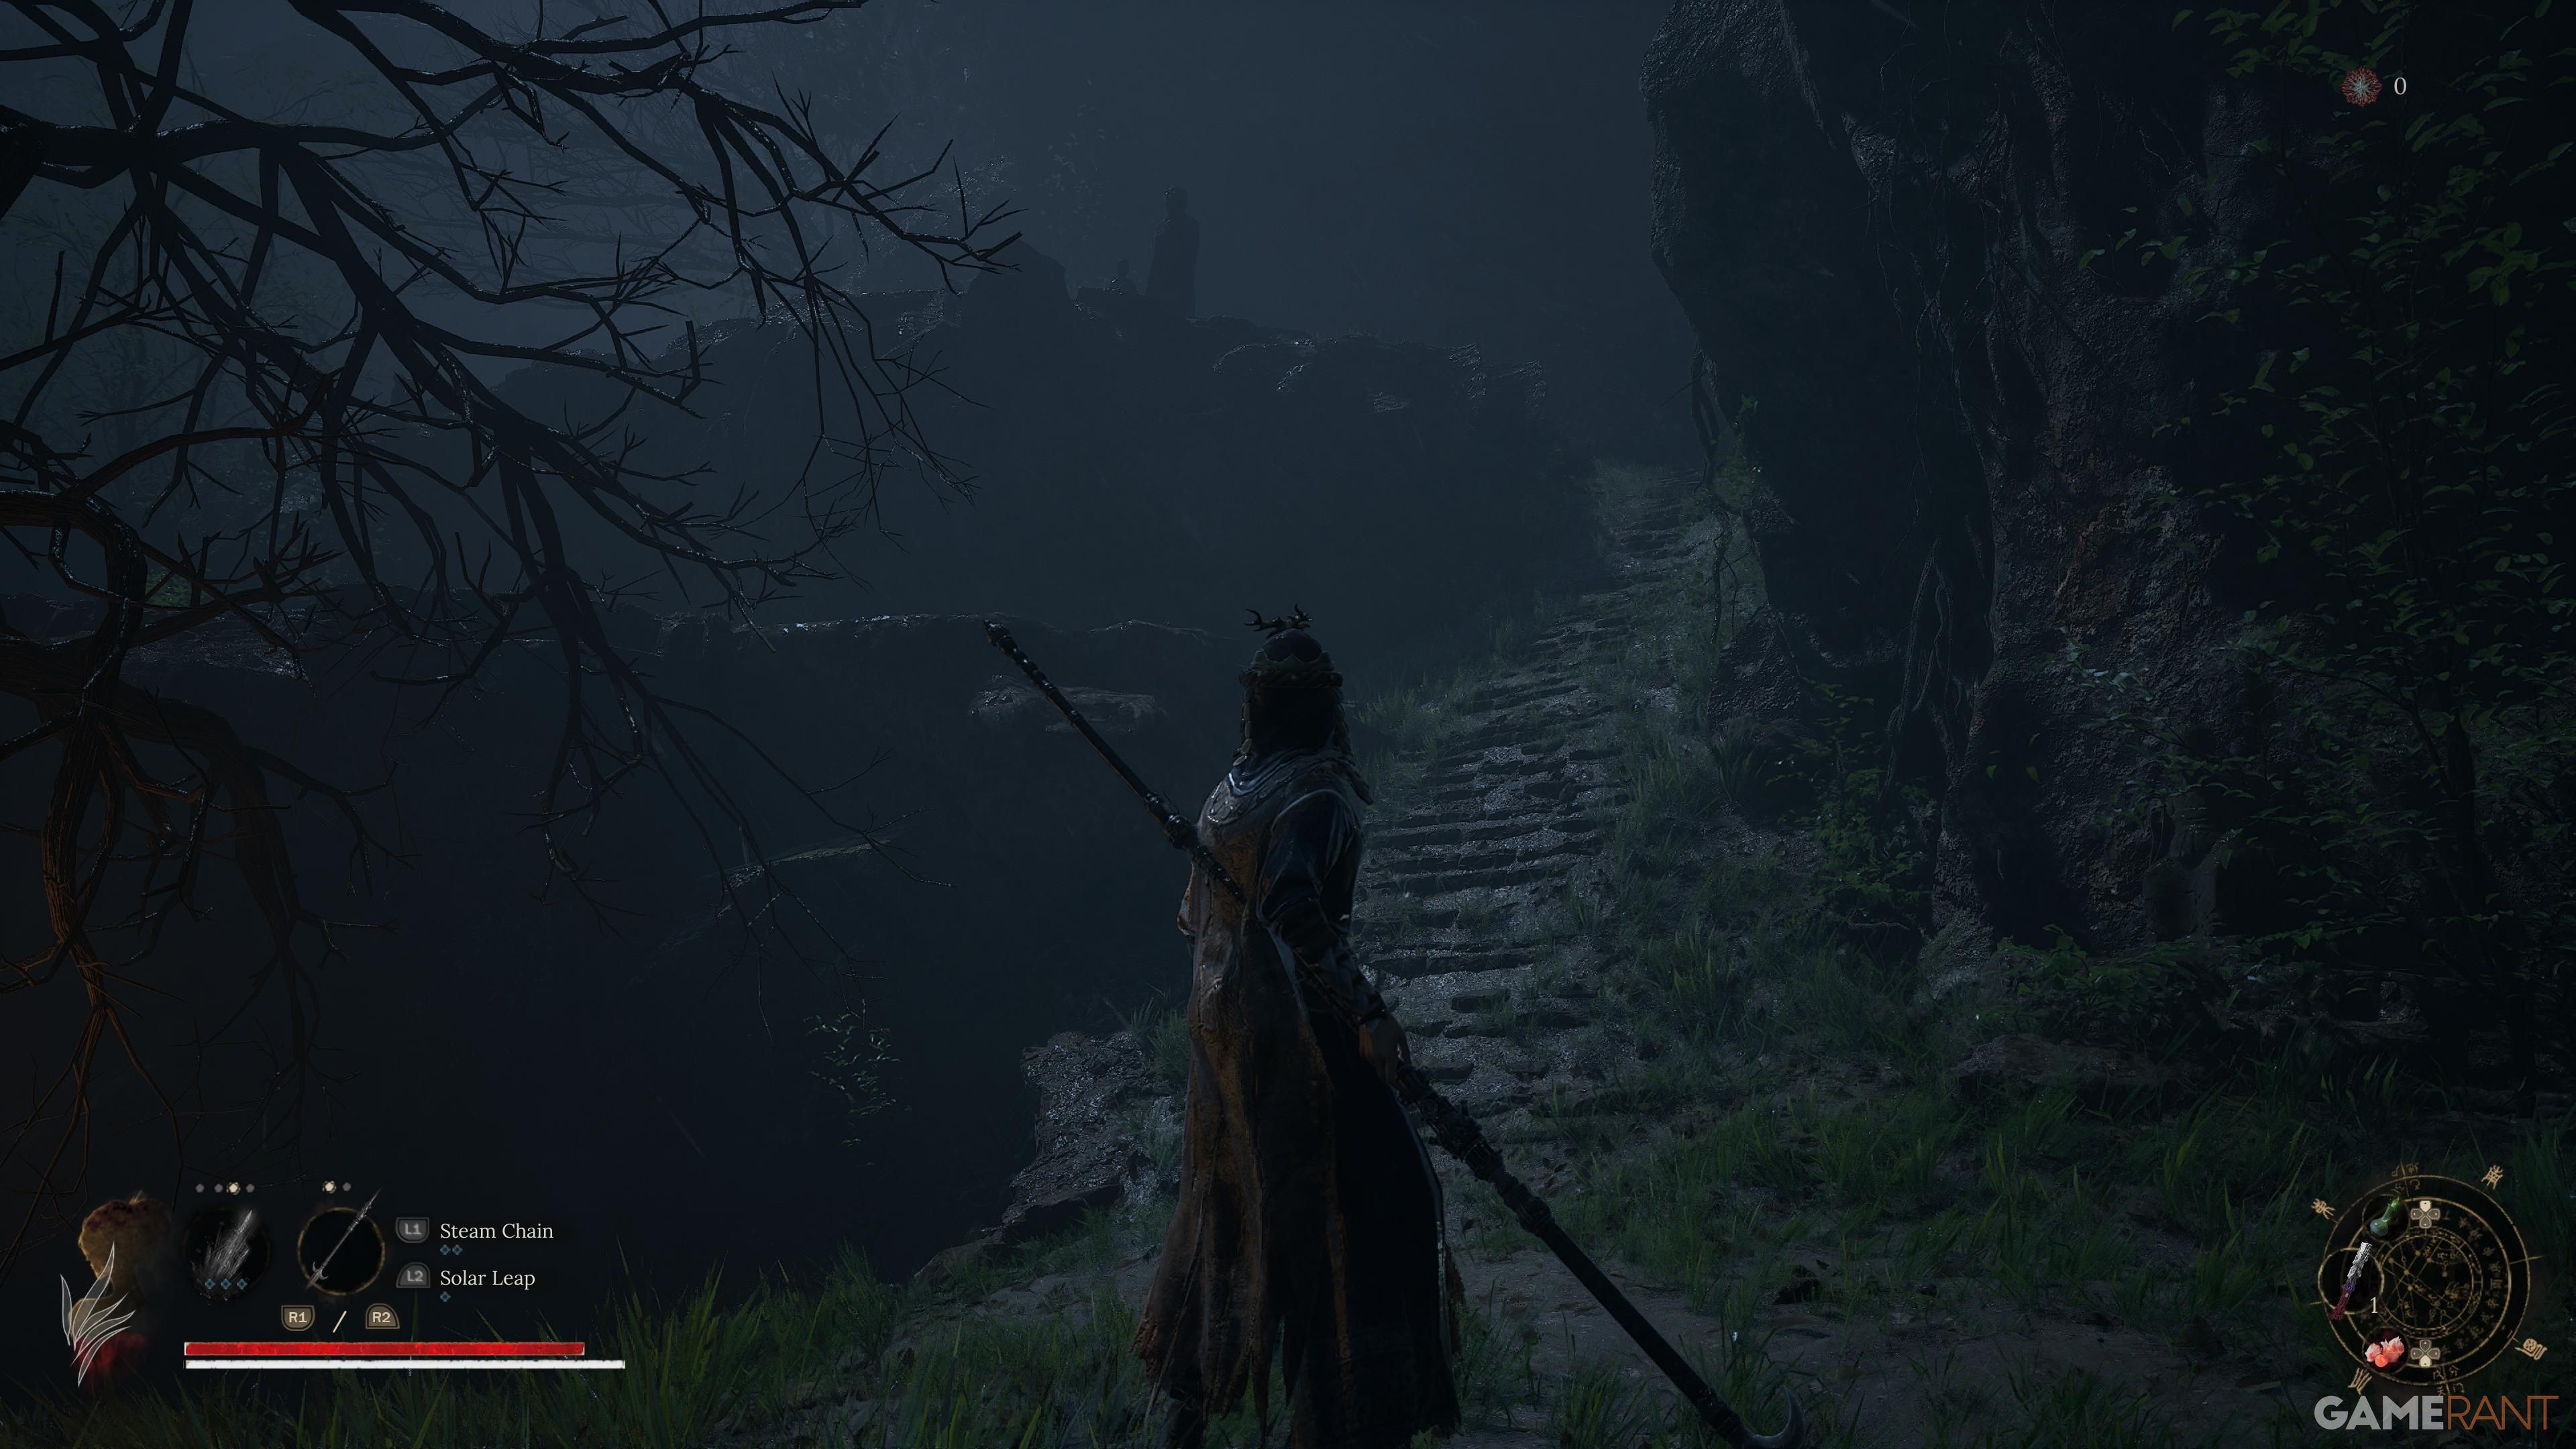
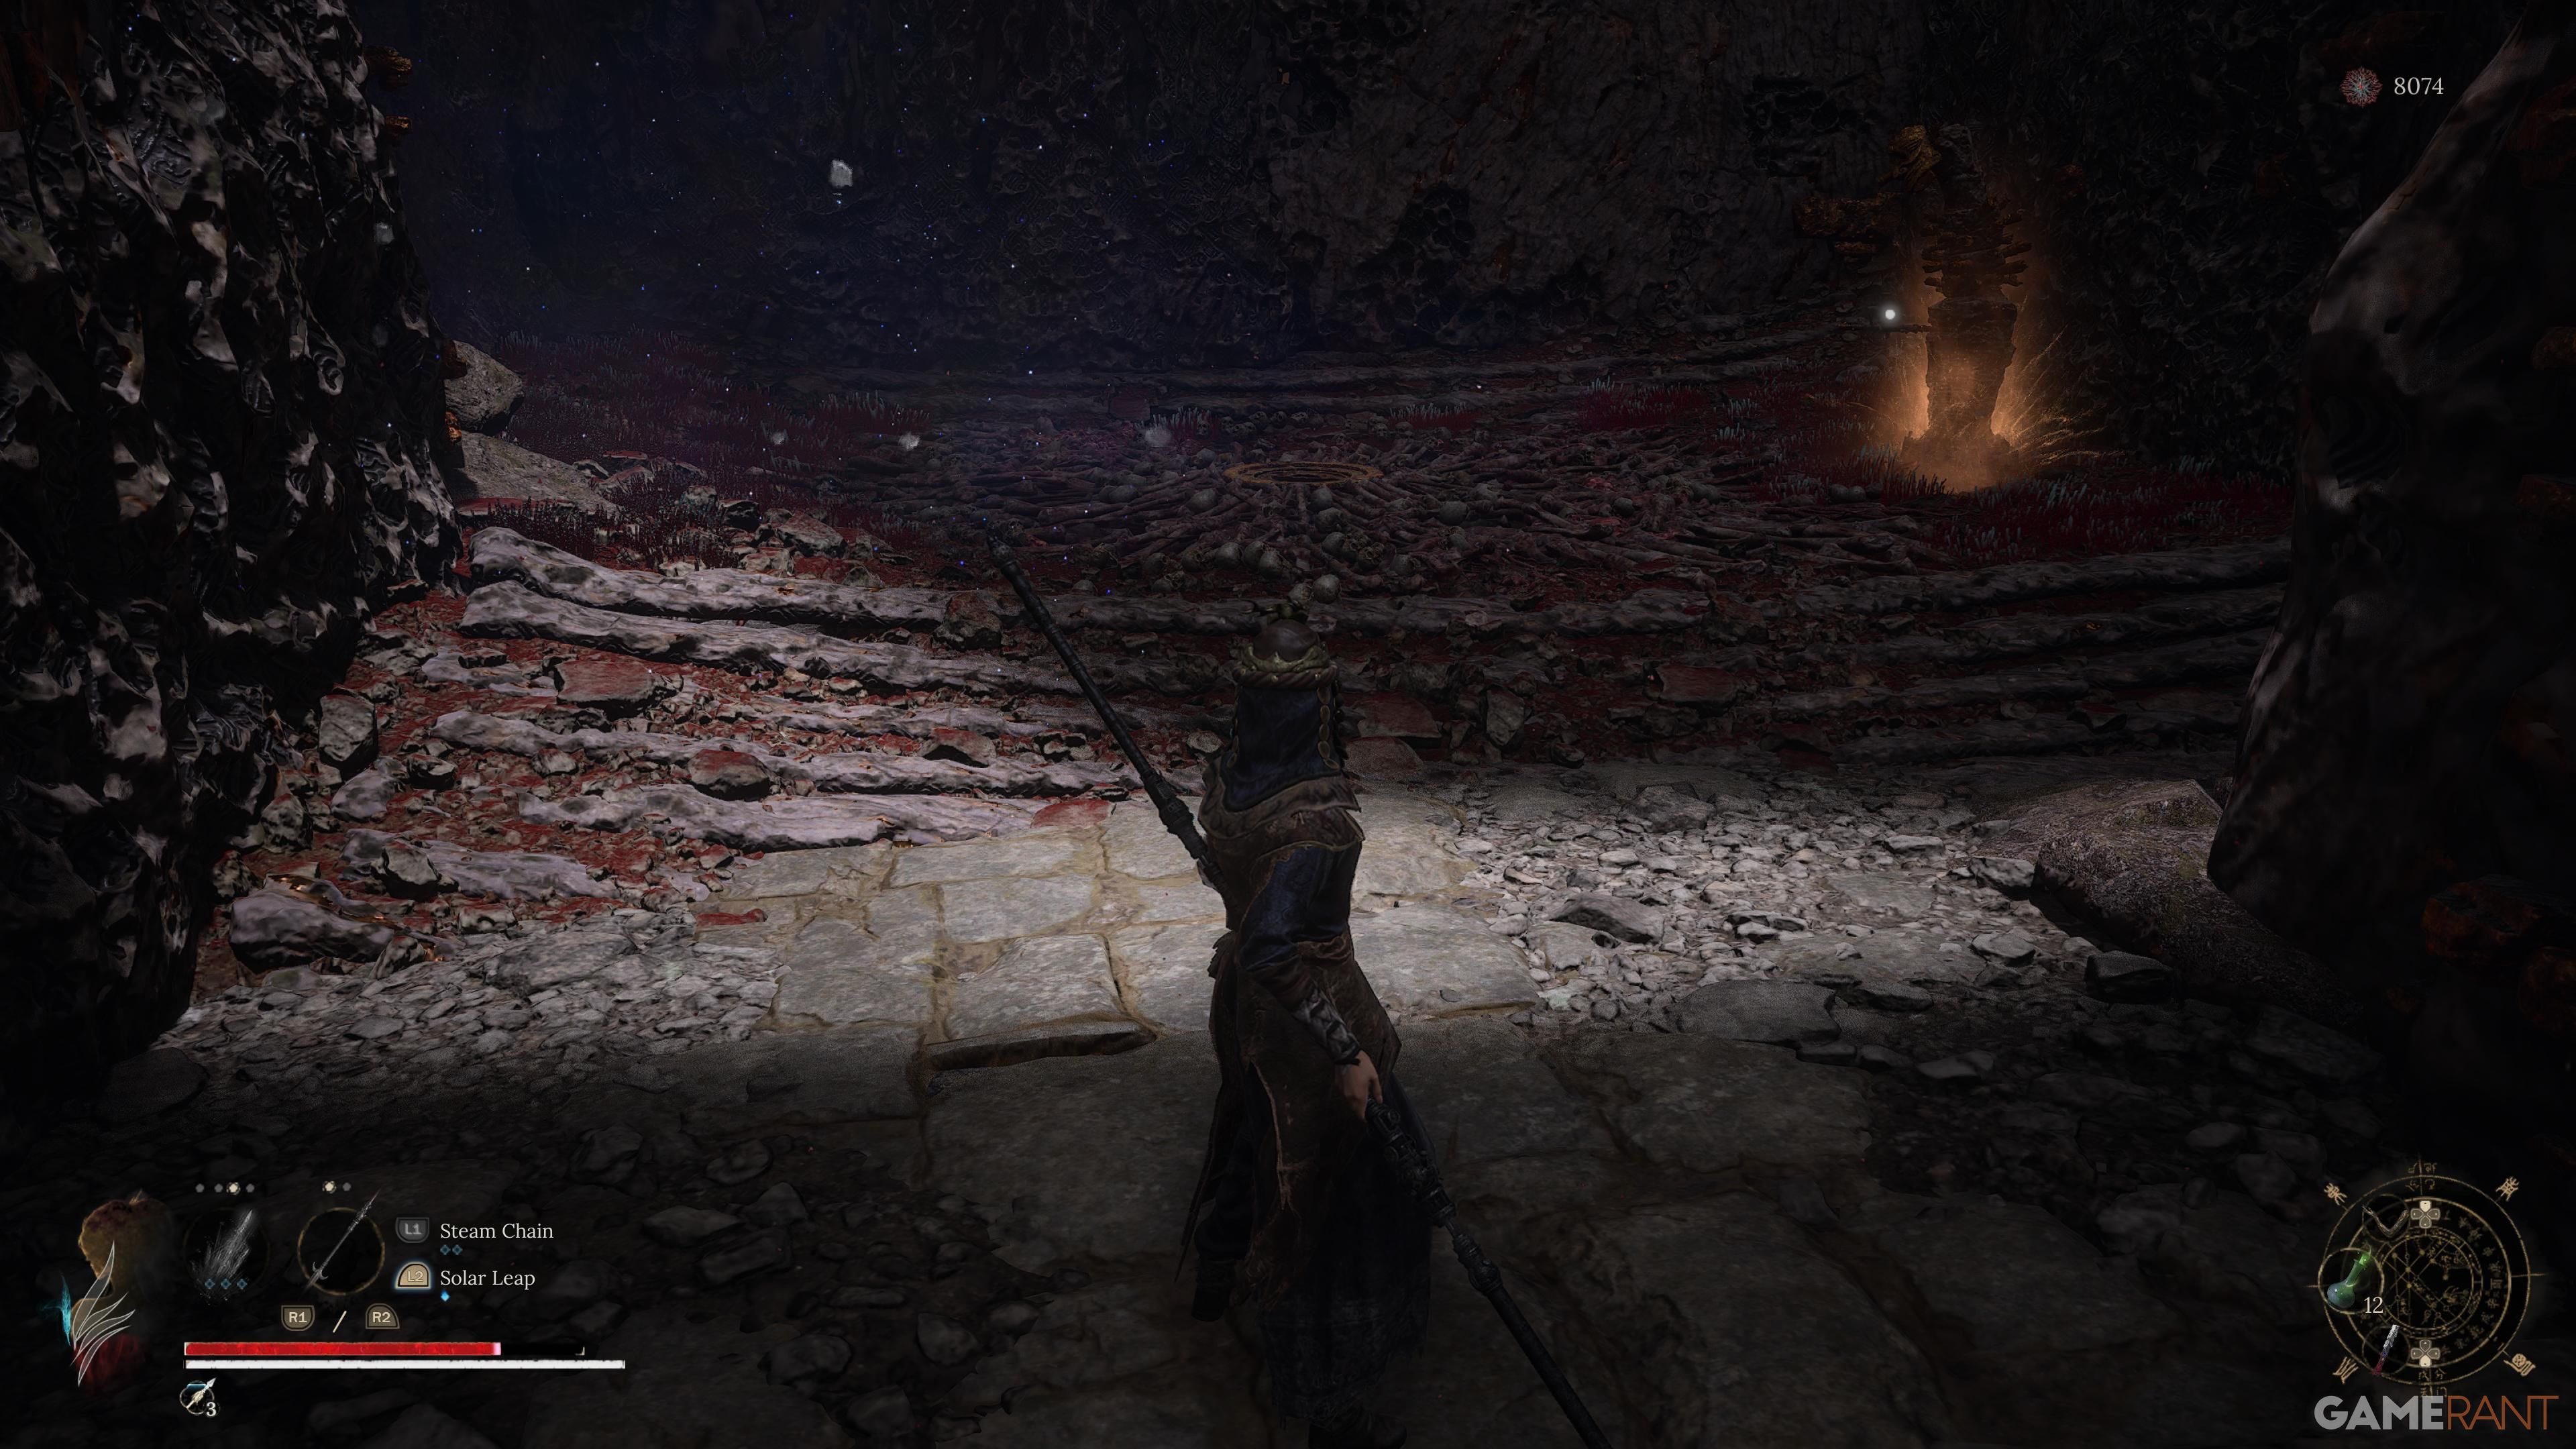
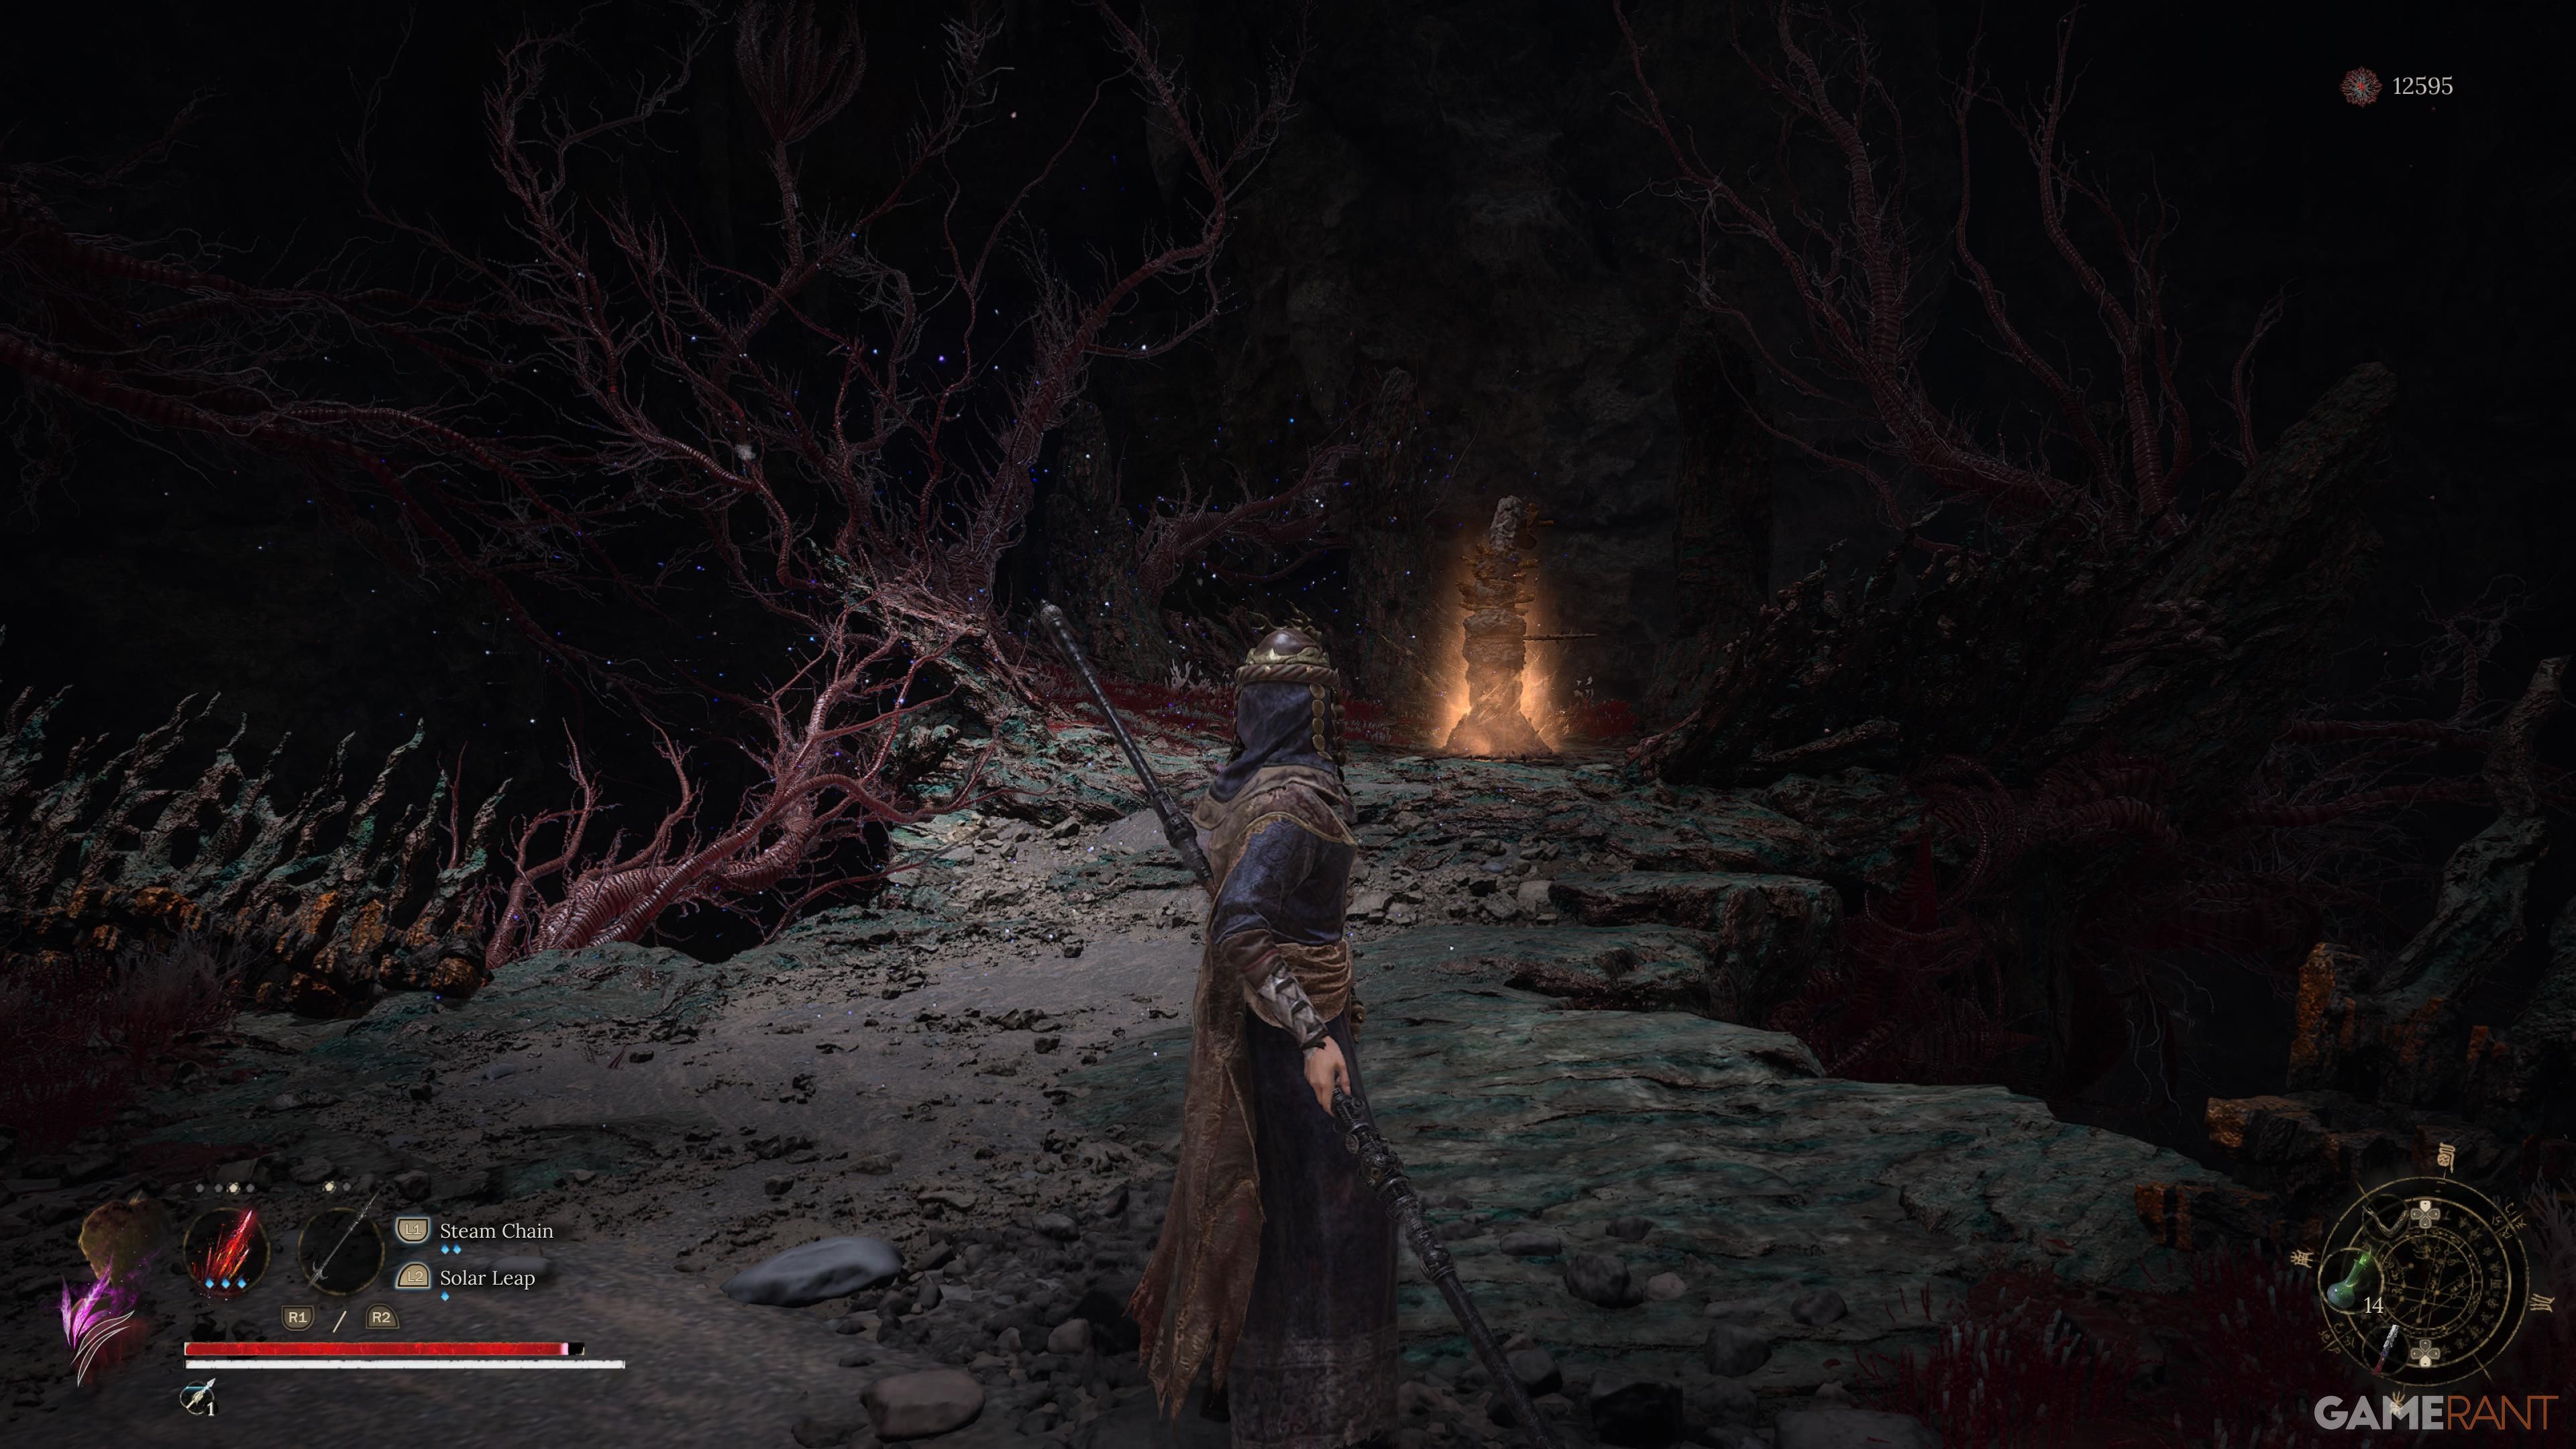
Lightzen Temple (Worship’s Rise)
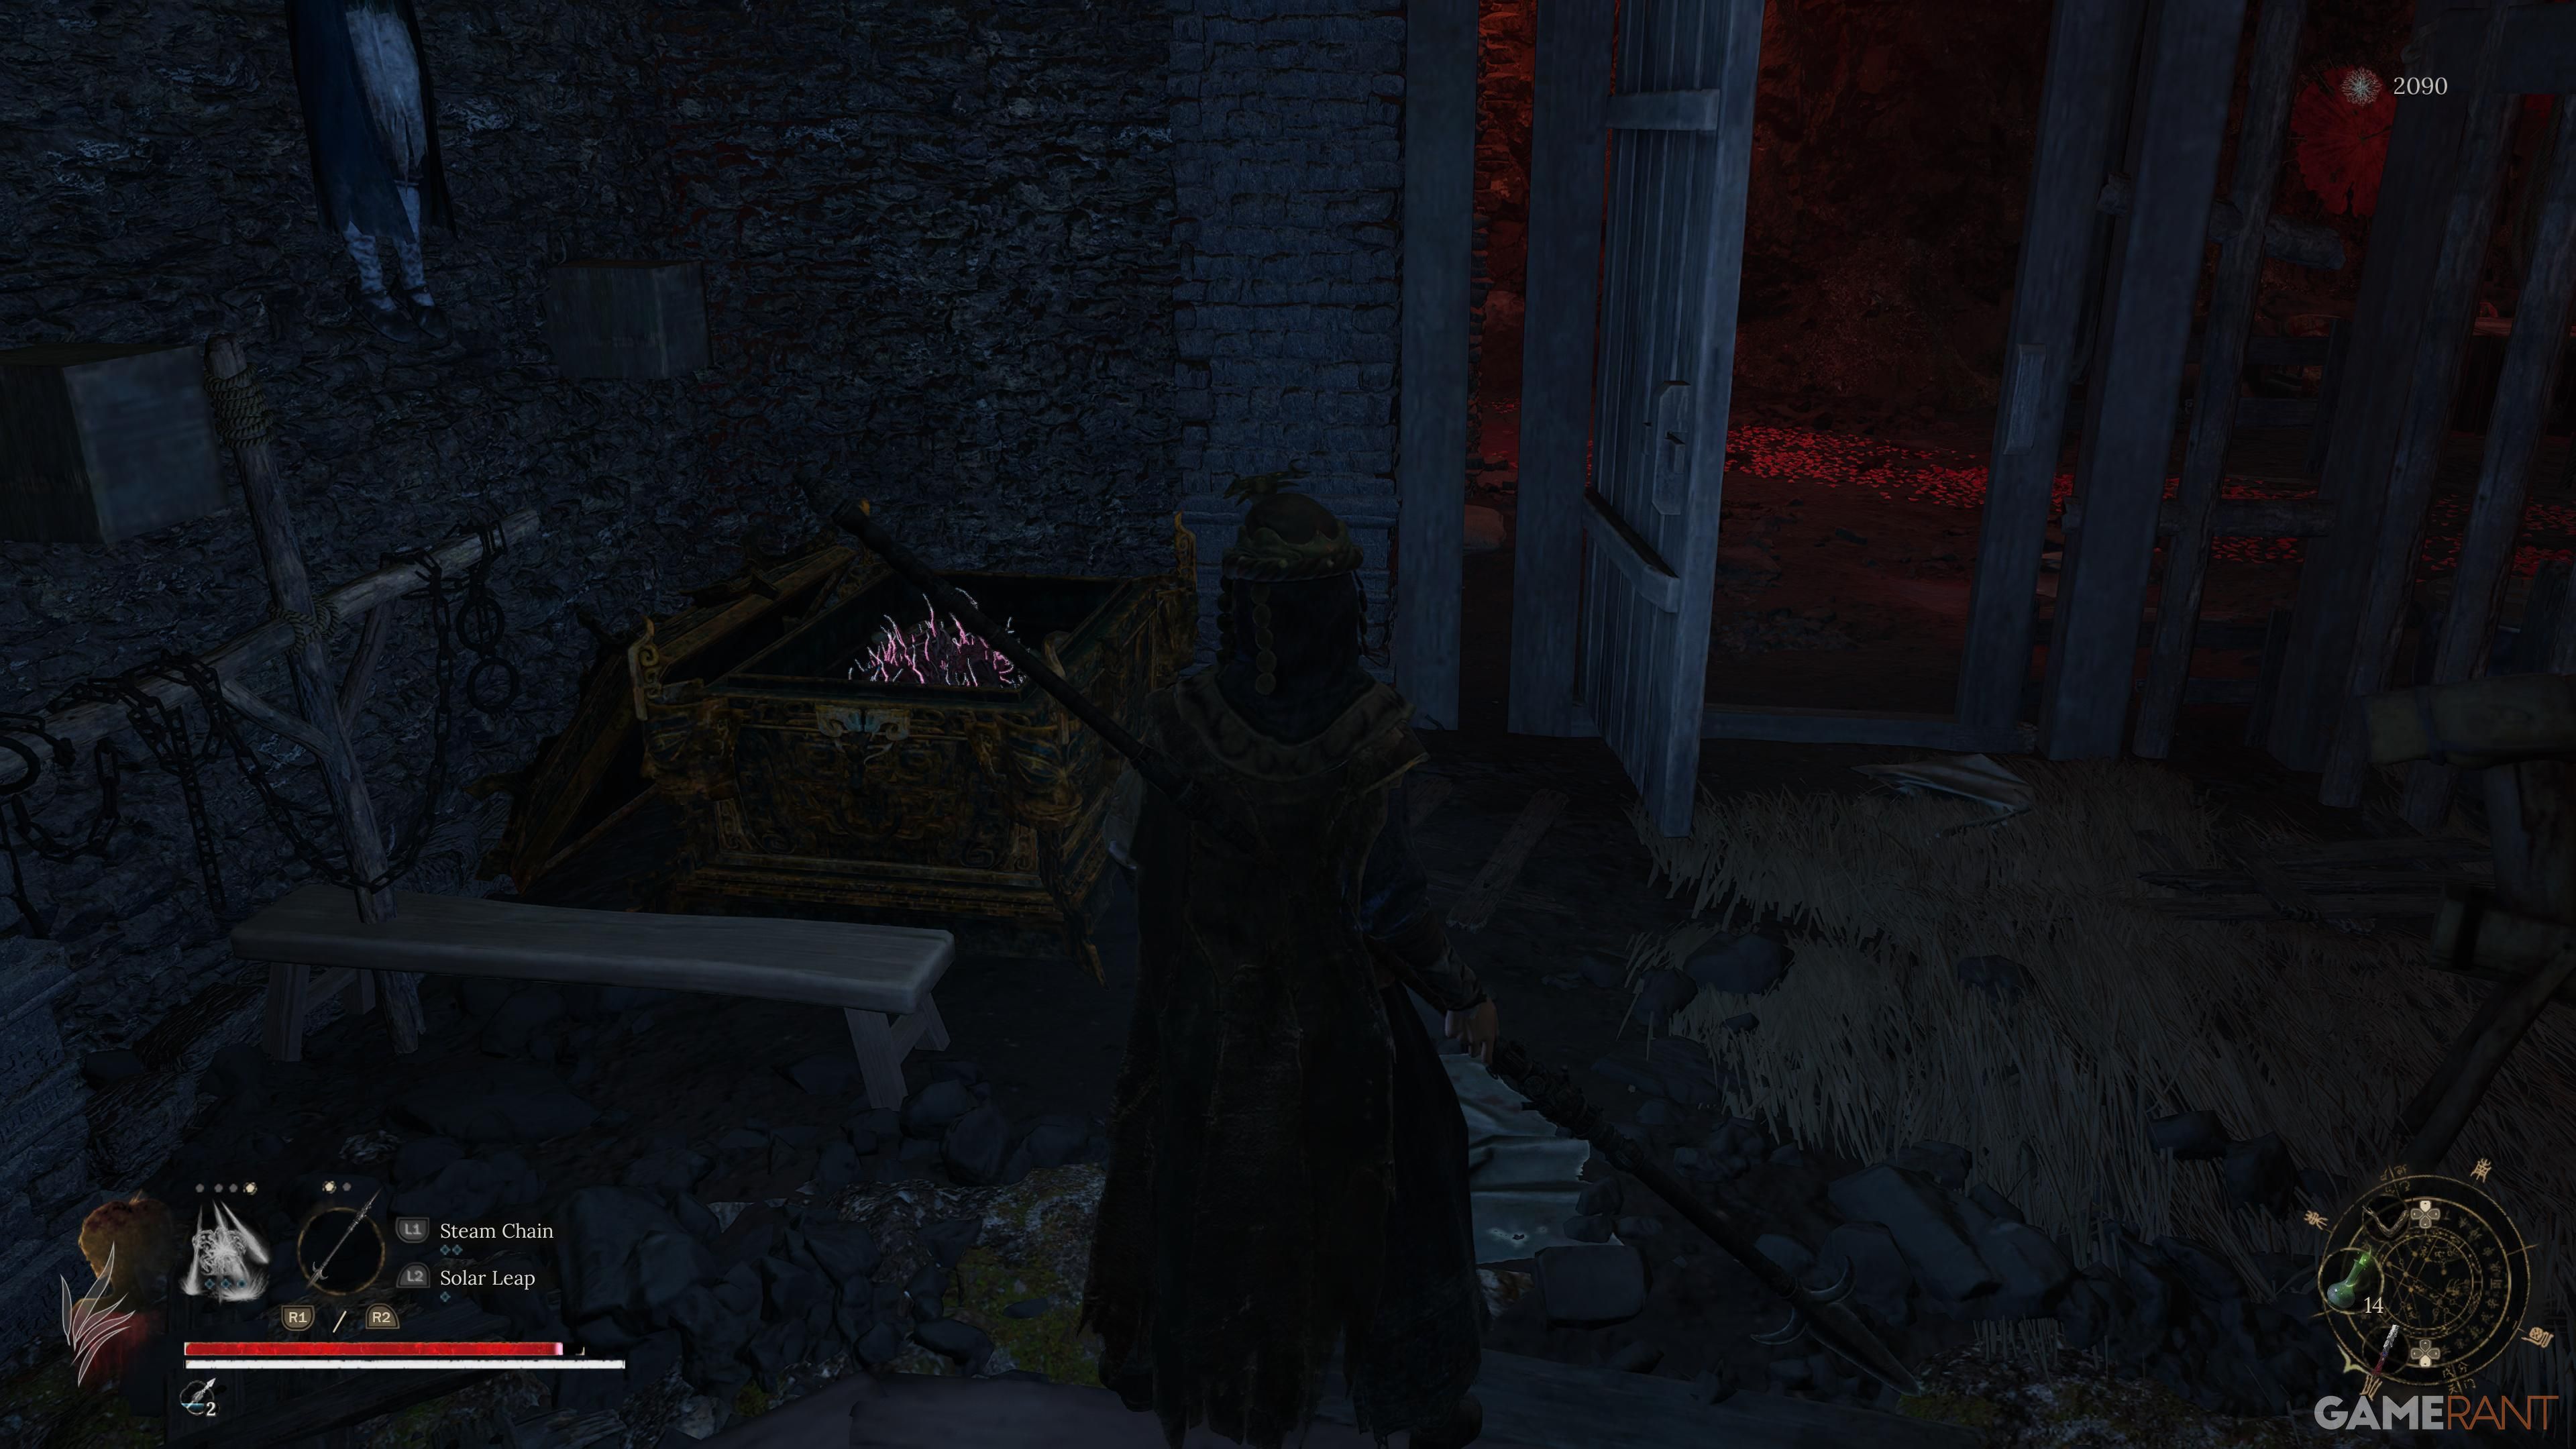
Leaving the Shrine, climb the stairs, and there are two adversaries in the central courtyard ahead. Instead of charging straight toward the initial game boss to engage in combat, glance to your right to spot a modest dwelling with an open entrance and a visible treasure chest. As you move towards the chest to unlock it, keep a keen eye on your surroundings, as an adversary lies in wait who will try to seize you.
Mercury Workshop (Worship’s Rise)
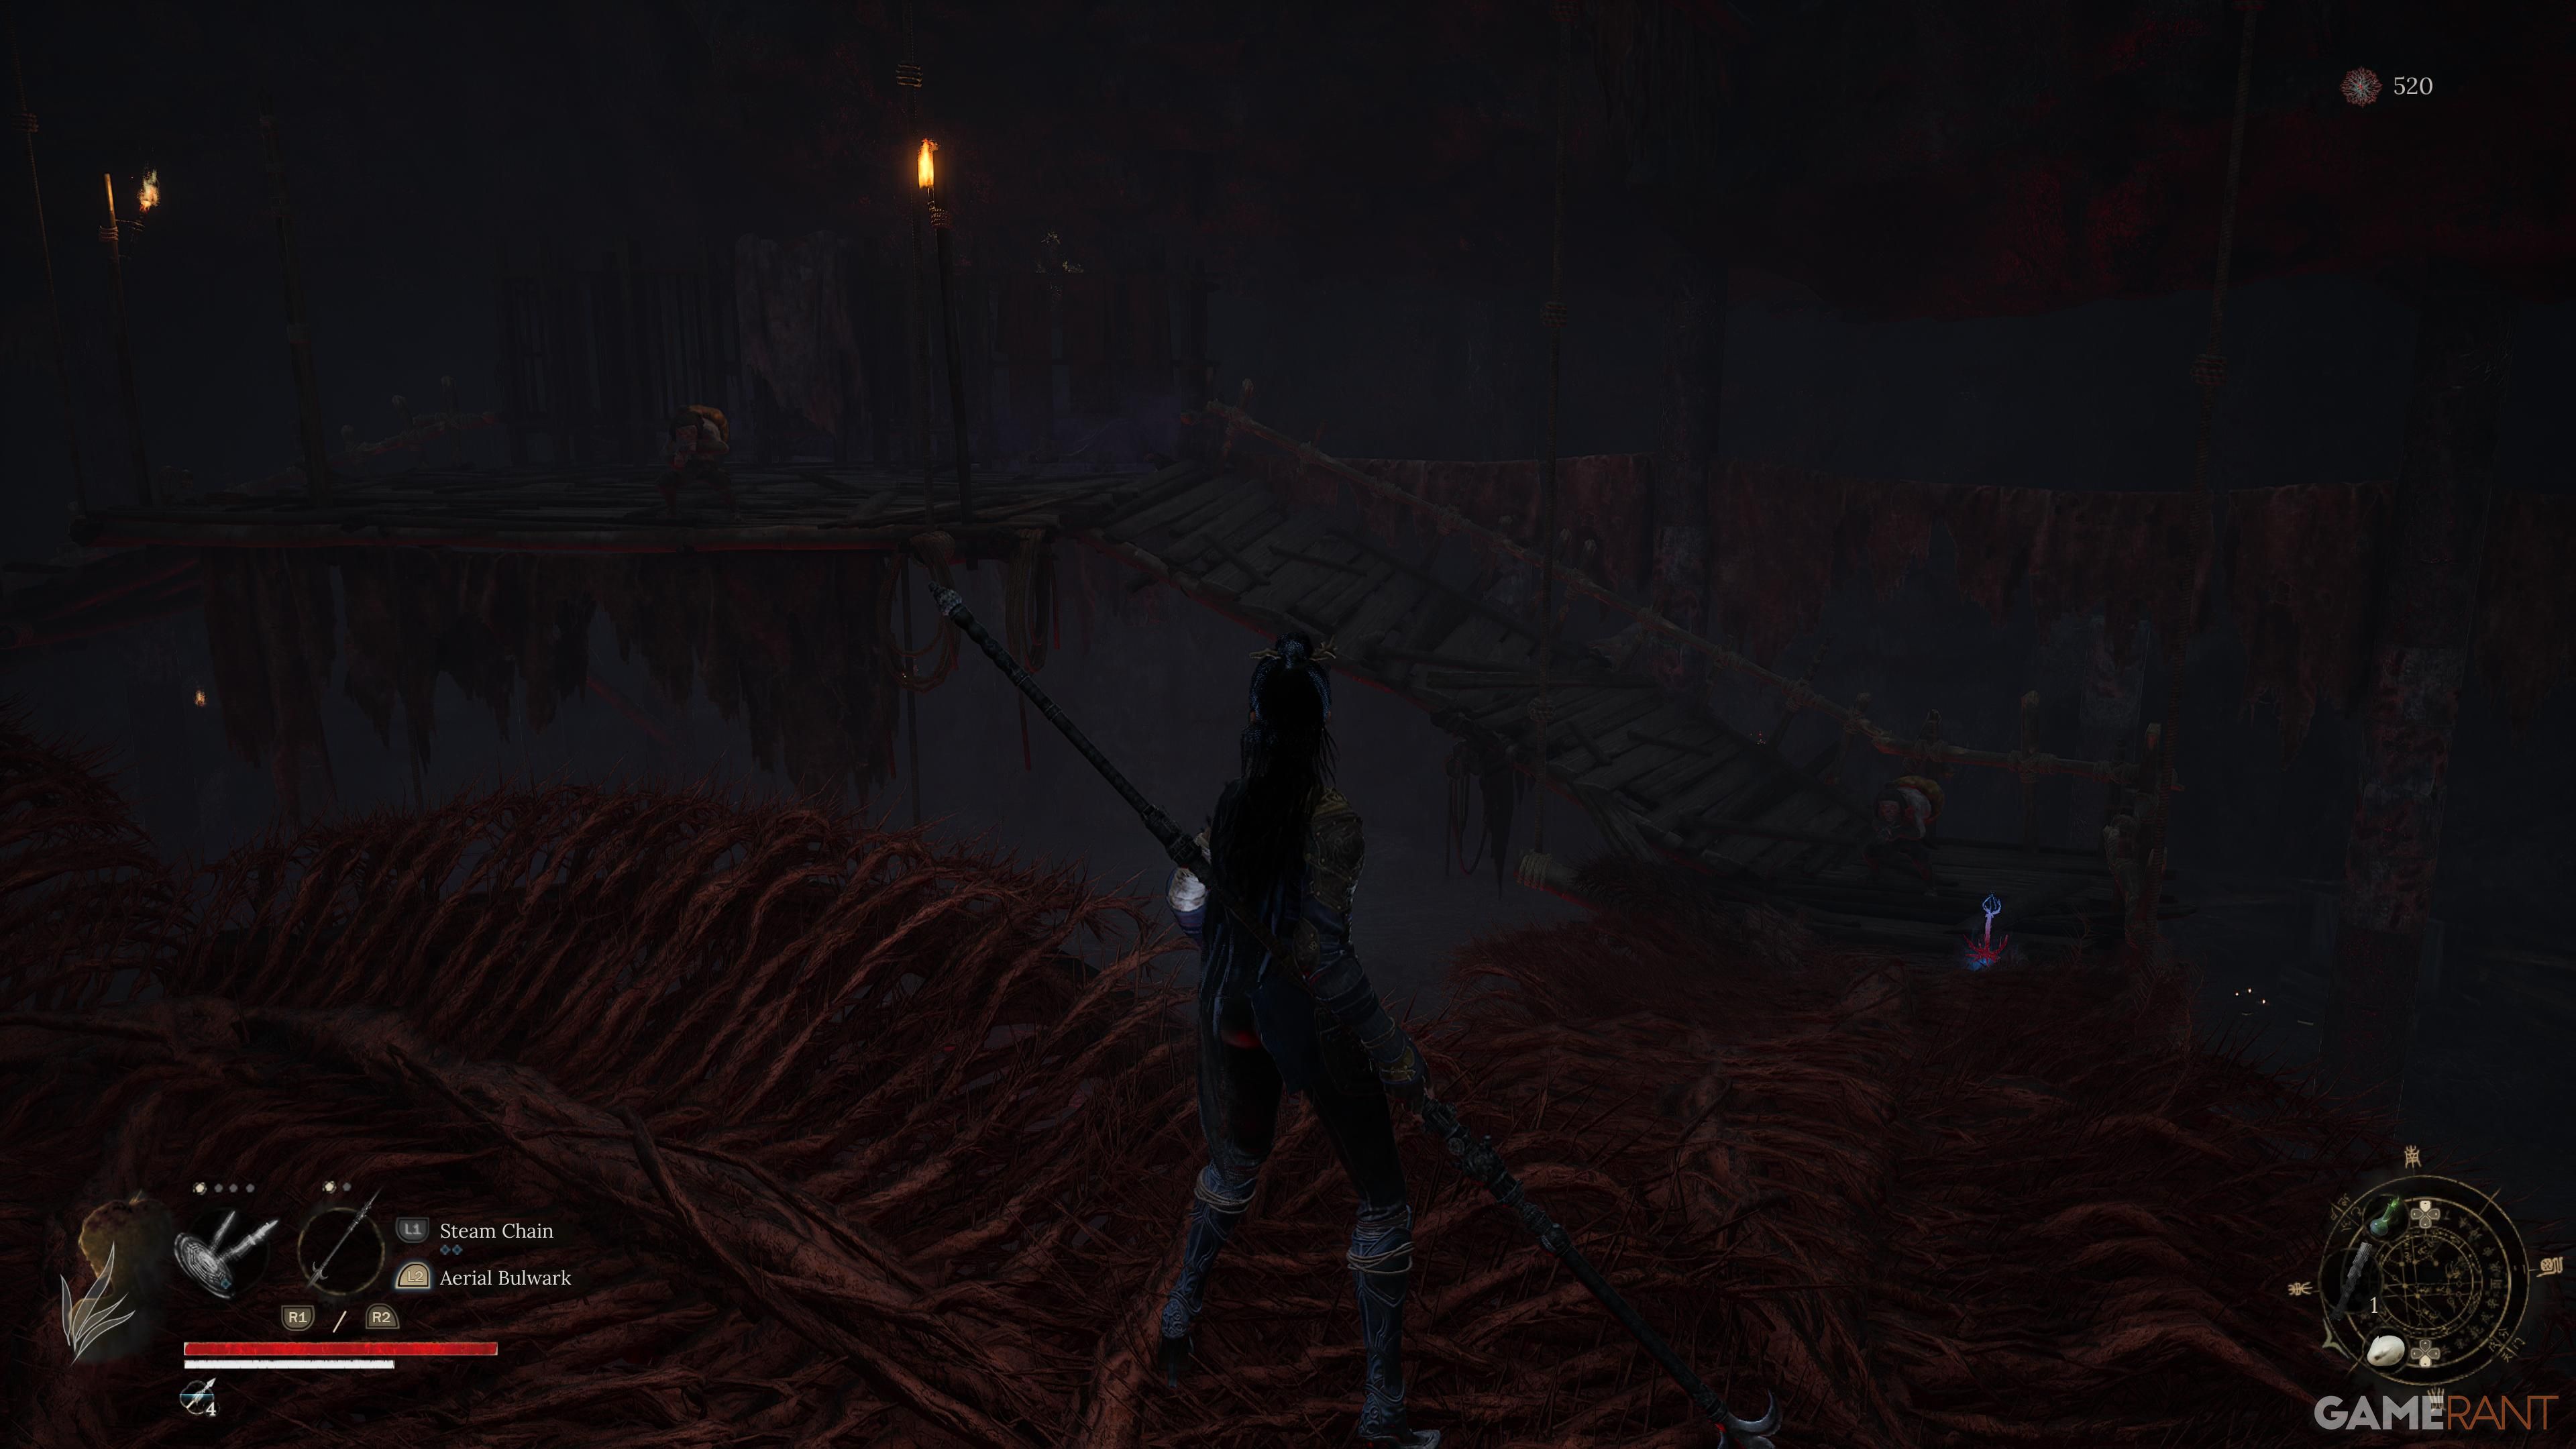
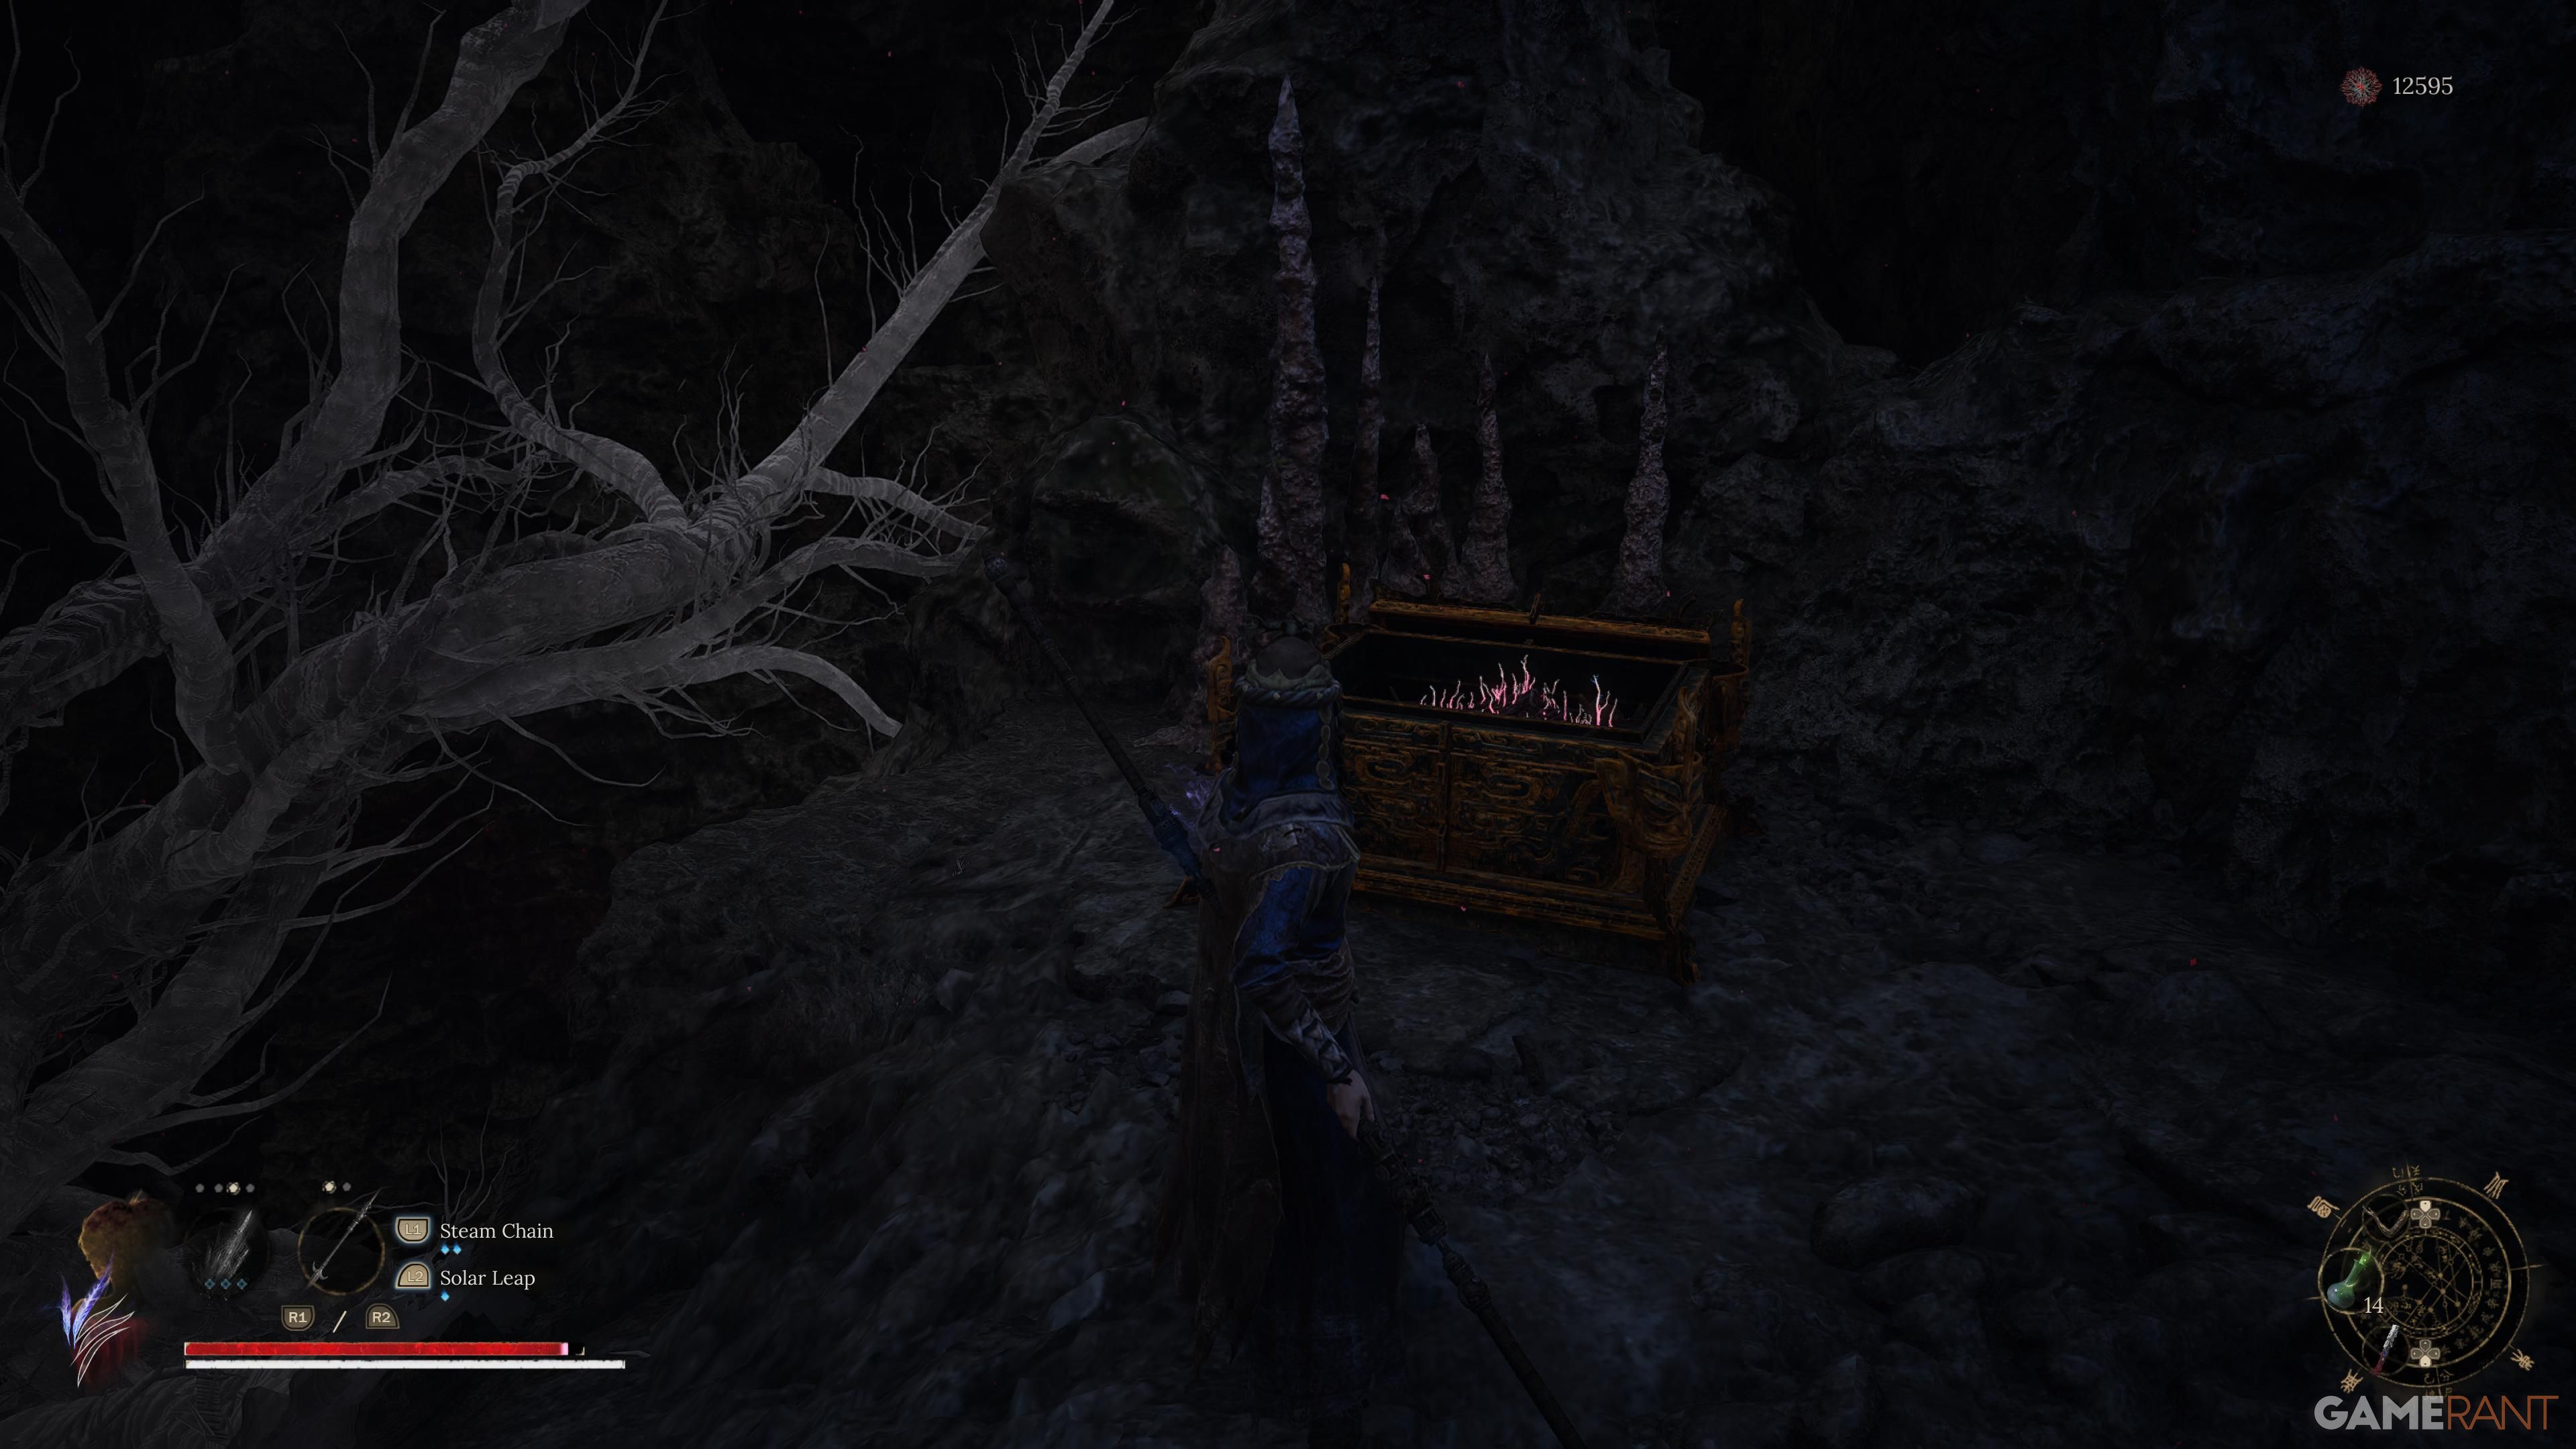
To complete this upgrade, you’ll need to navigate to the lowest point of the area. The fastest route is to follow the red path leading from the Shrine and continue on until you come across two riflemen standing on a wooden platform. After passing them, go downhill and turn right. Keep moving forward until you notice an entrance on your left. Ascend the ladder, then drop down ahead when you find it and turn right to encounter enemies on both sides who will attempt to seize you. Overcome these adversaries, then descend the ladder again to discover an elevator ascending to the Shrine.
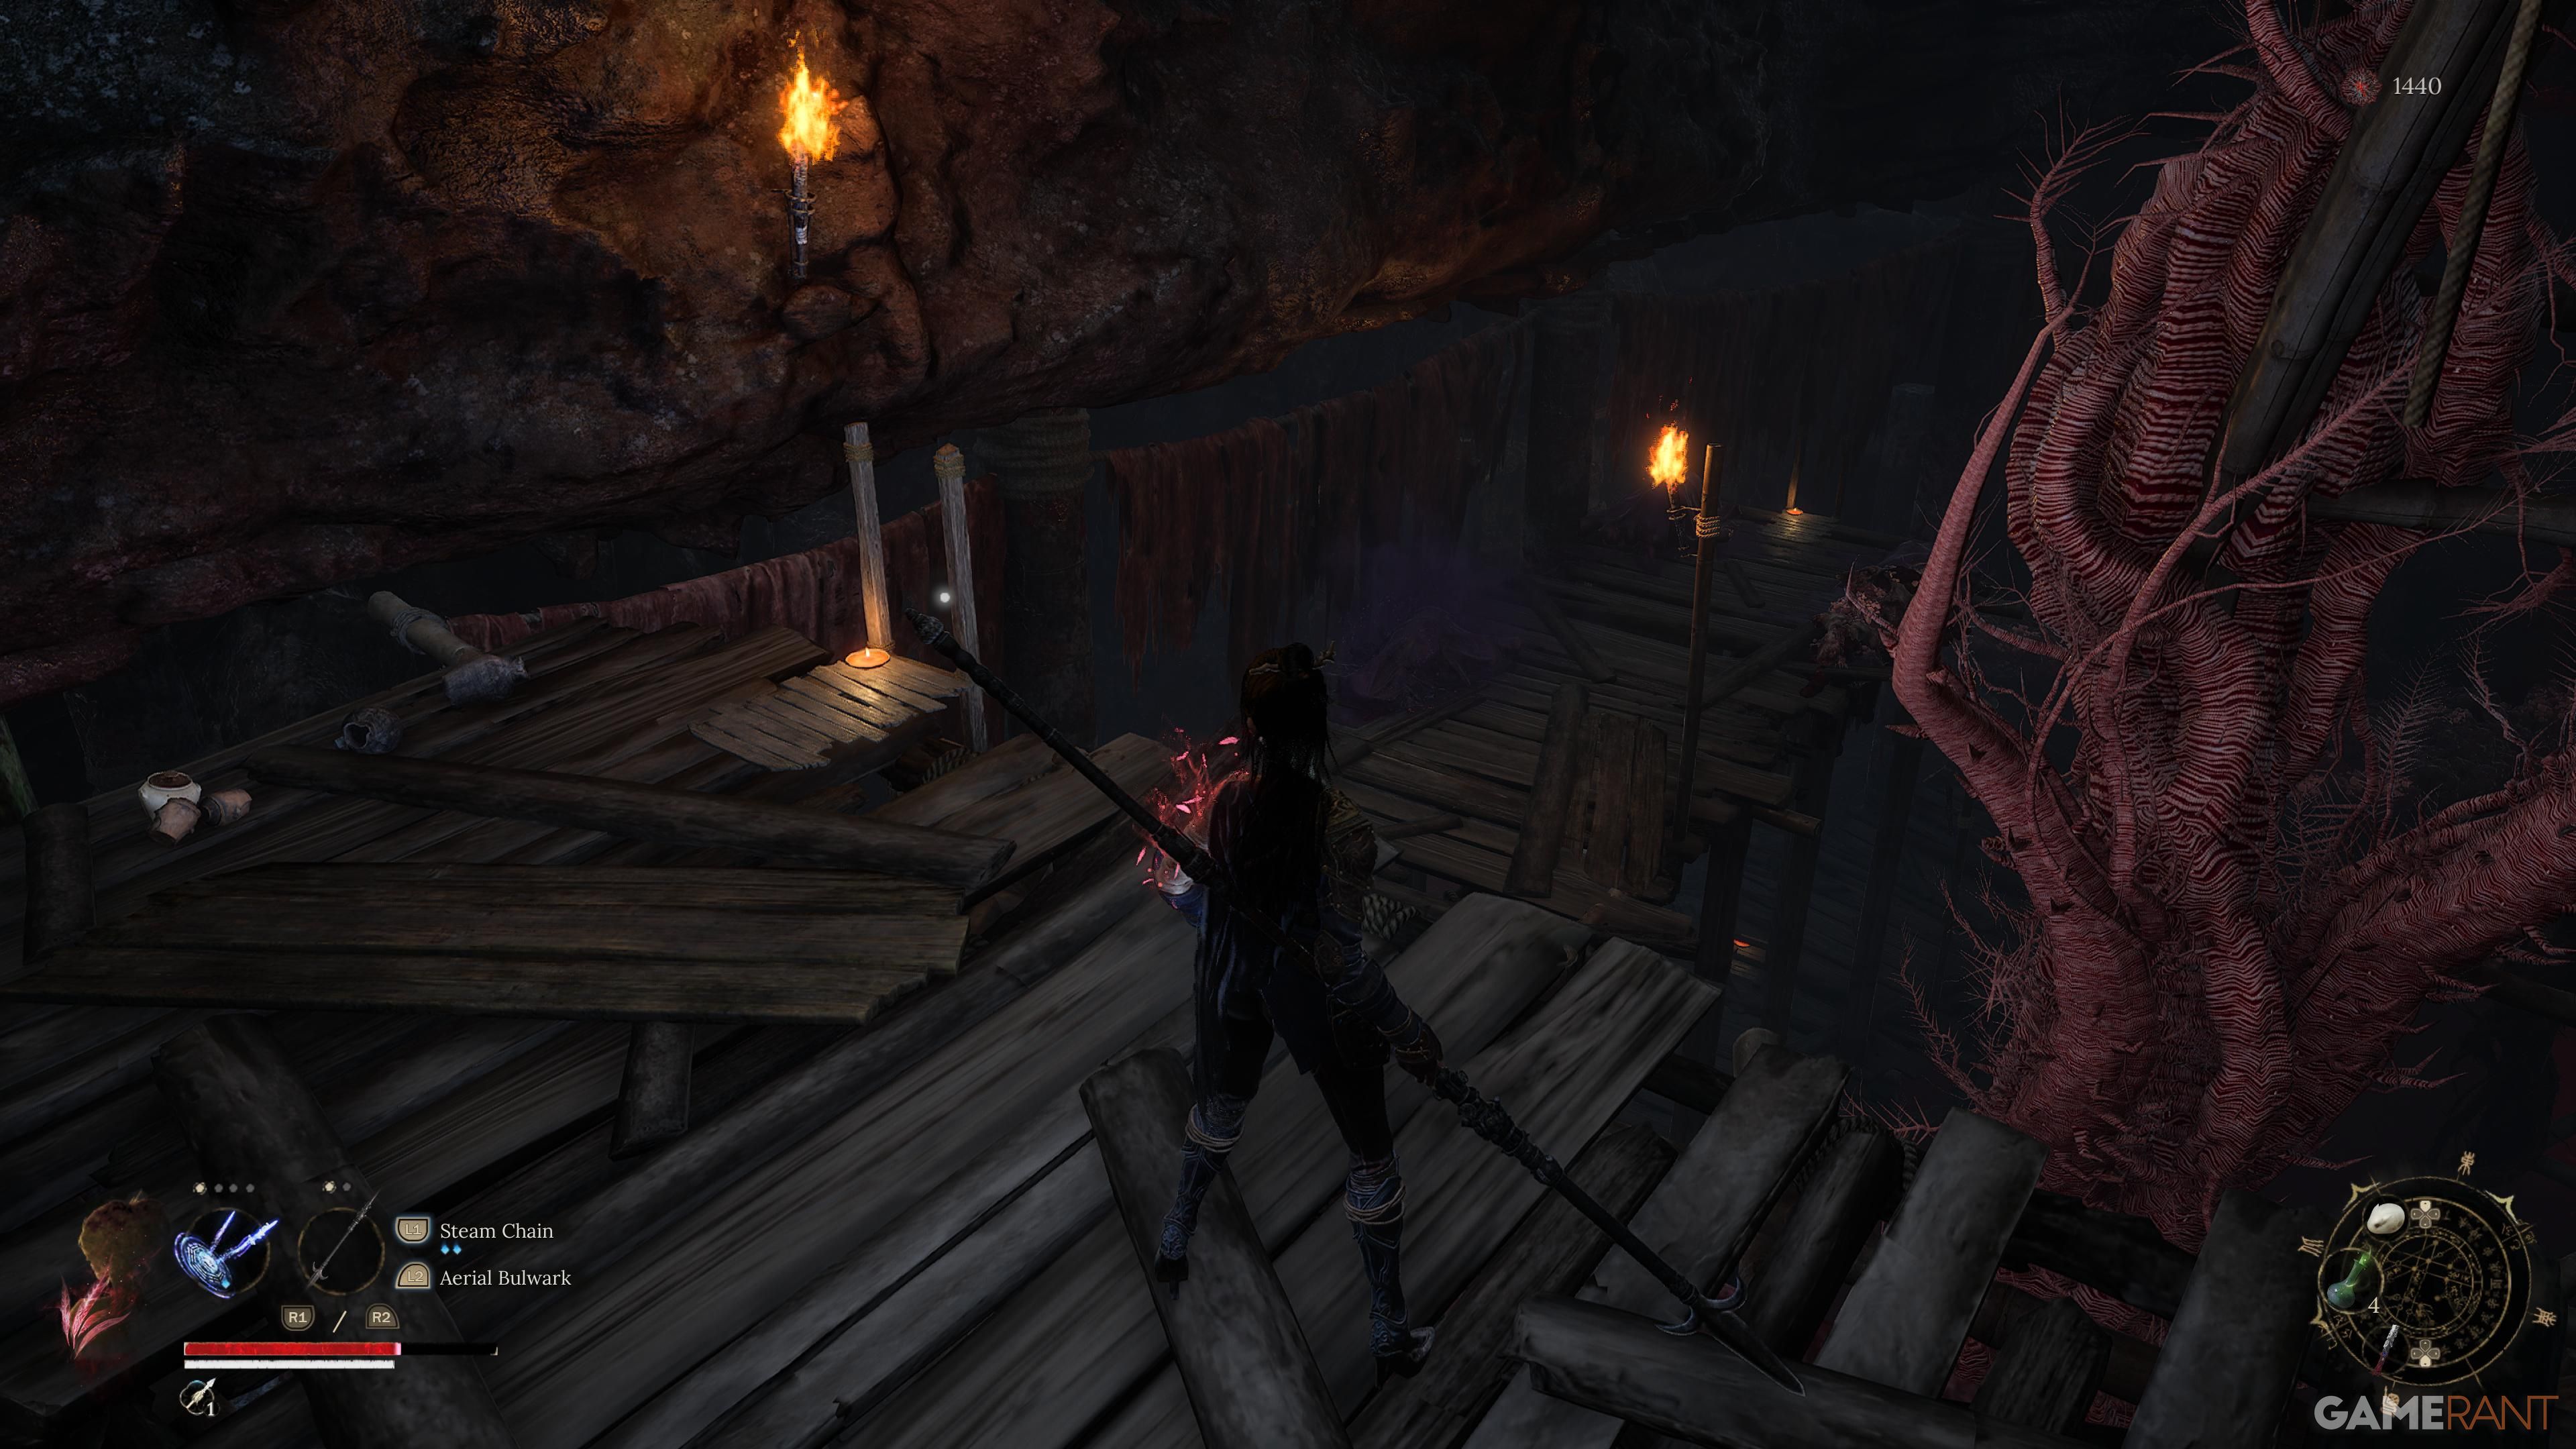
Once you’ve reached the red path, take a left and continue moving down until you notice some ladders that lead to a lower level. As you stand in front of the ladder, proceed straight and turn left after encountering the grotesque, shrieking creatures. The Lost Remains are located next to the Twin Infant Pendant on the altar further ahead.
Palace Hill (Worship’s Rise)

To return to the spot where you started, retrace your steps towards the Shrine. At the end, turn right and venture into the large temple on that side. Prepare yourself as you’ll encounter the Tang Palace Maid once more in a fight. Overcome her and open the chest at the room’s end to obtain the upgrade.
Snowy Passage (Cloudspire)
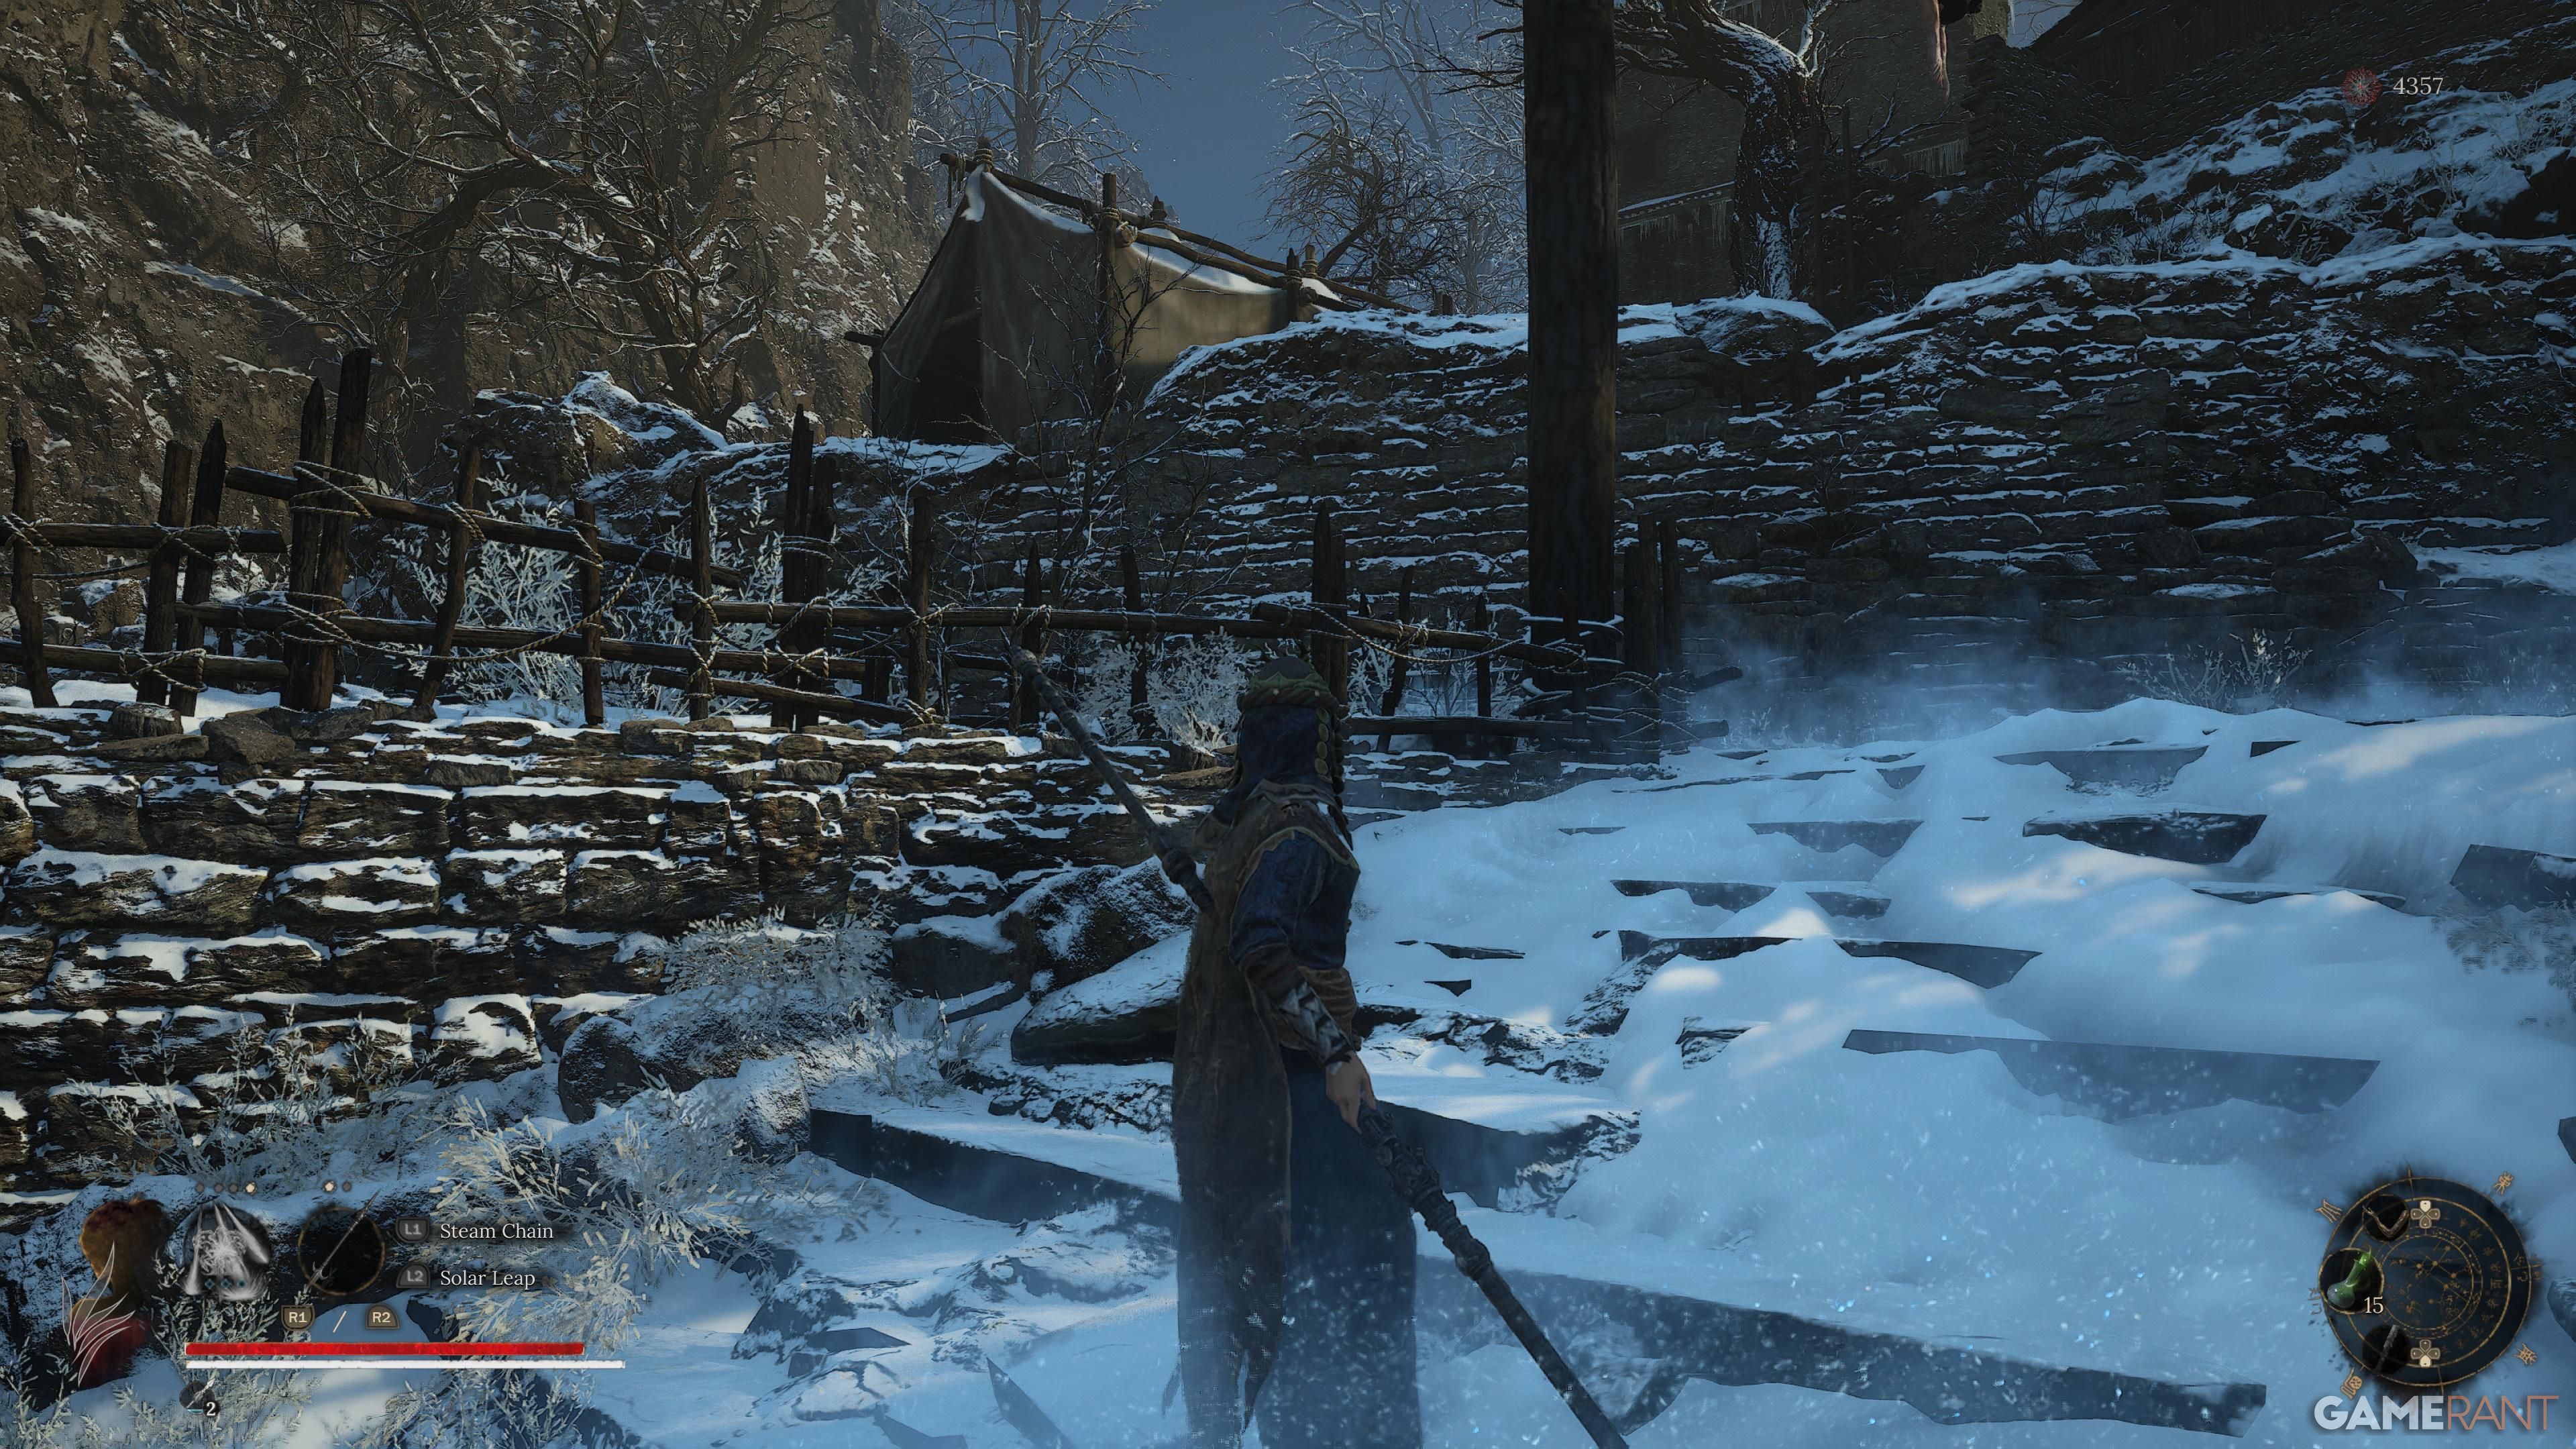
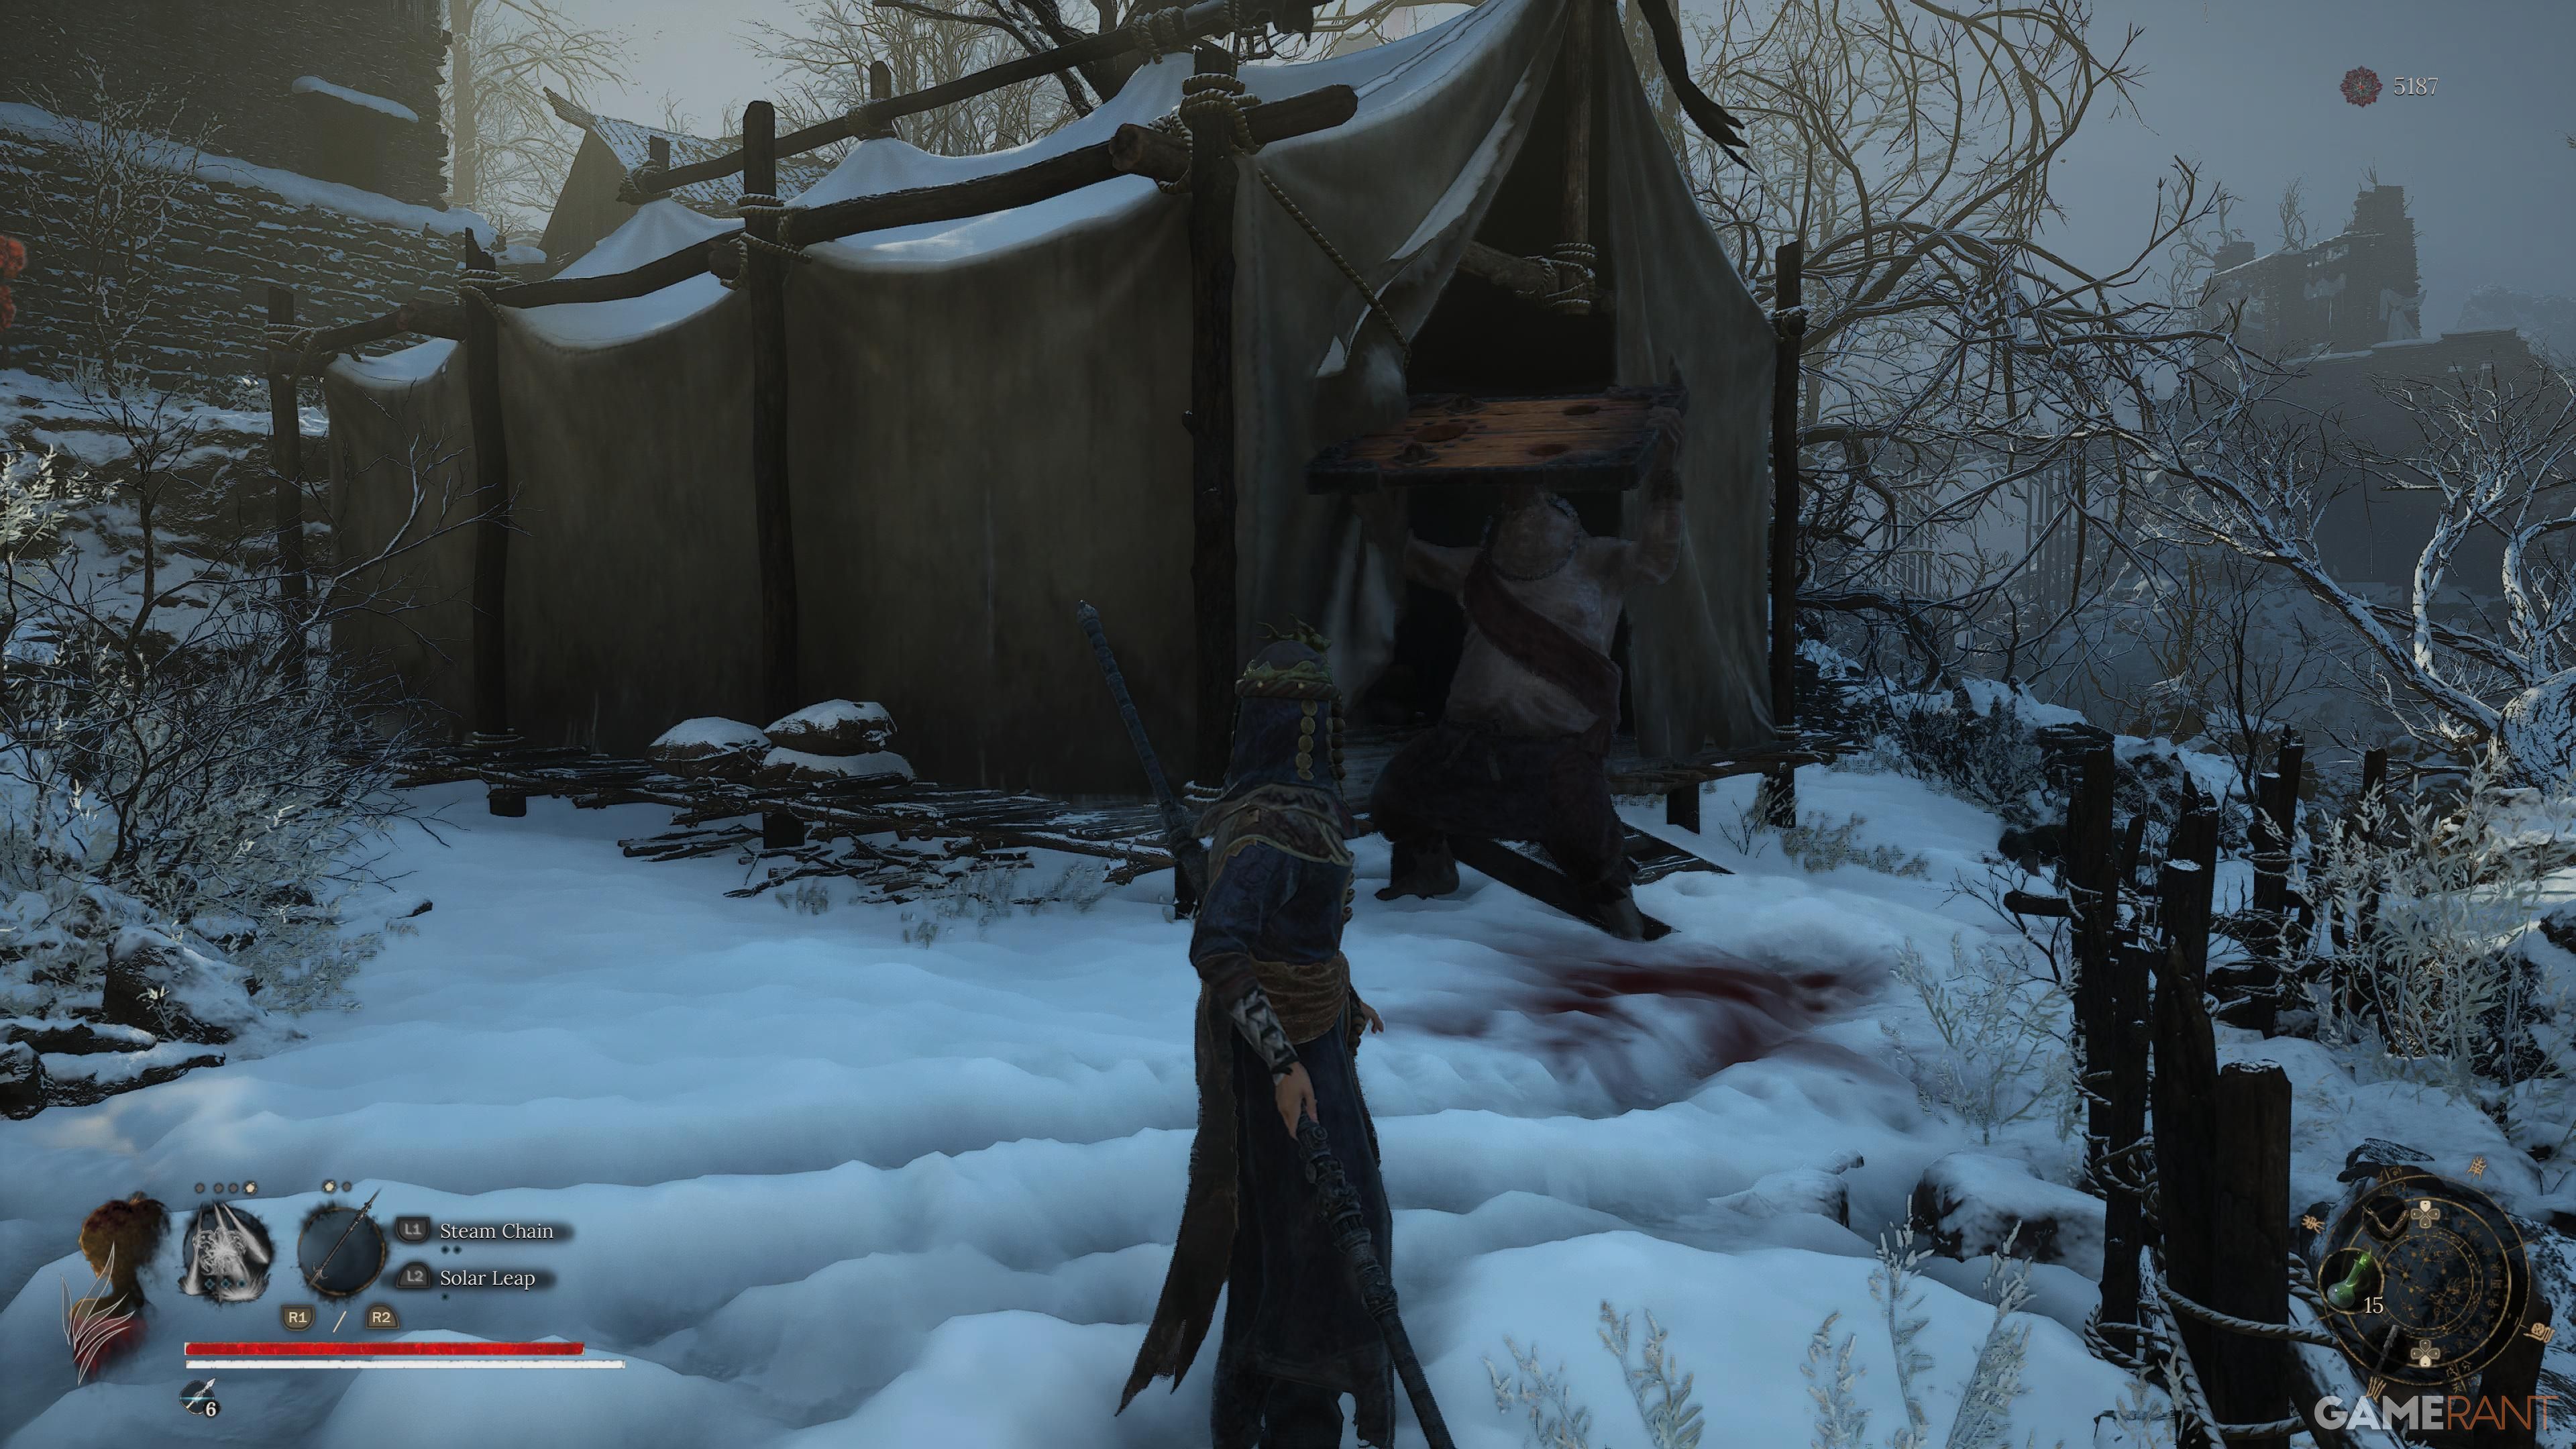
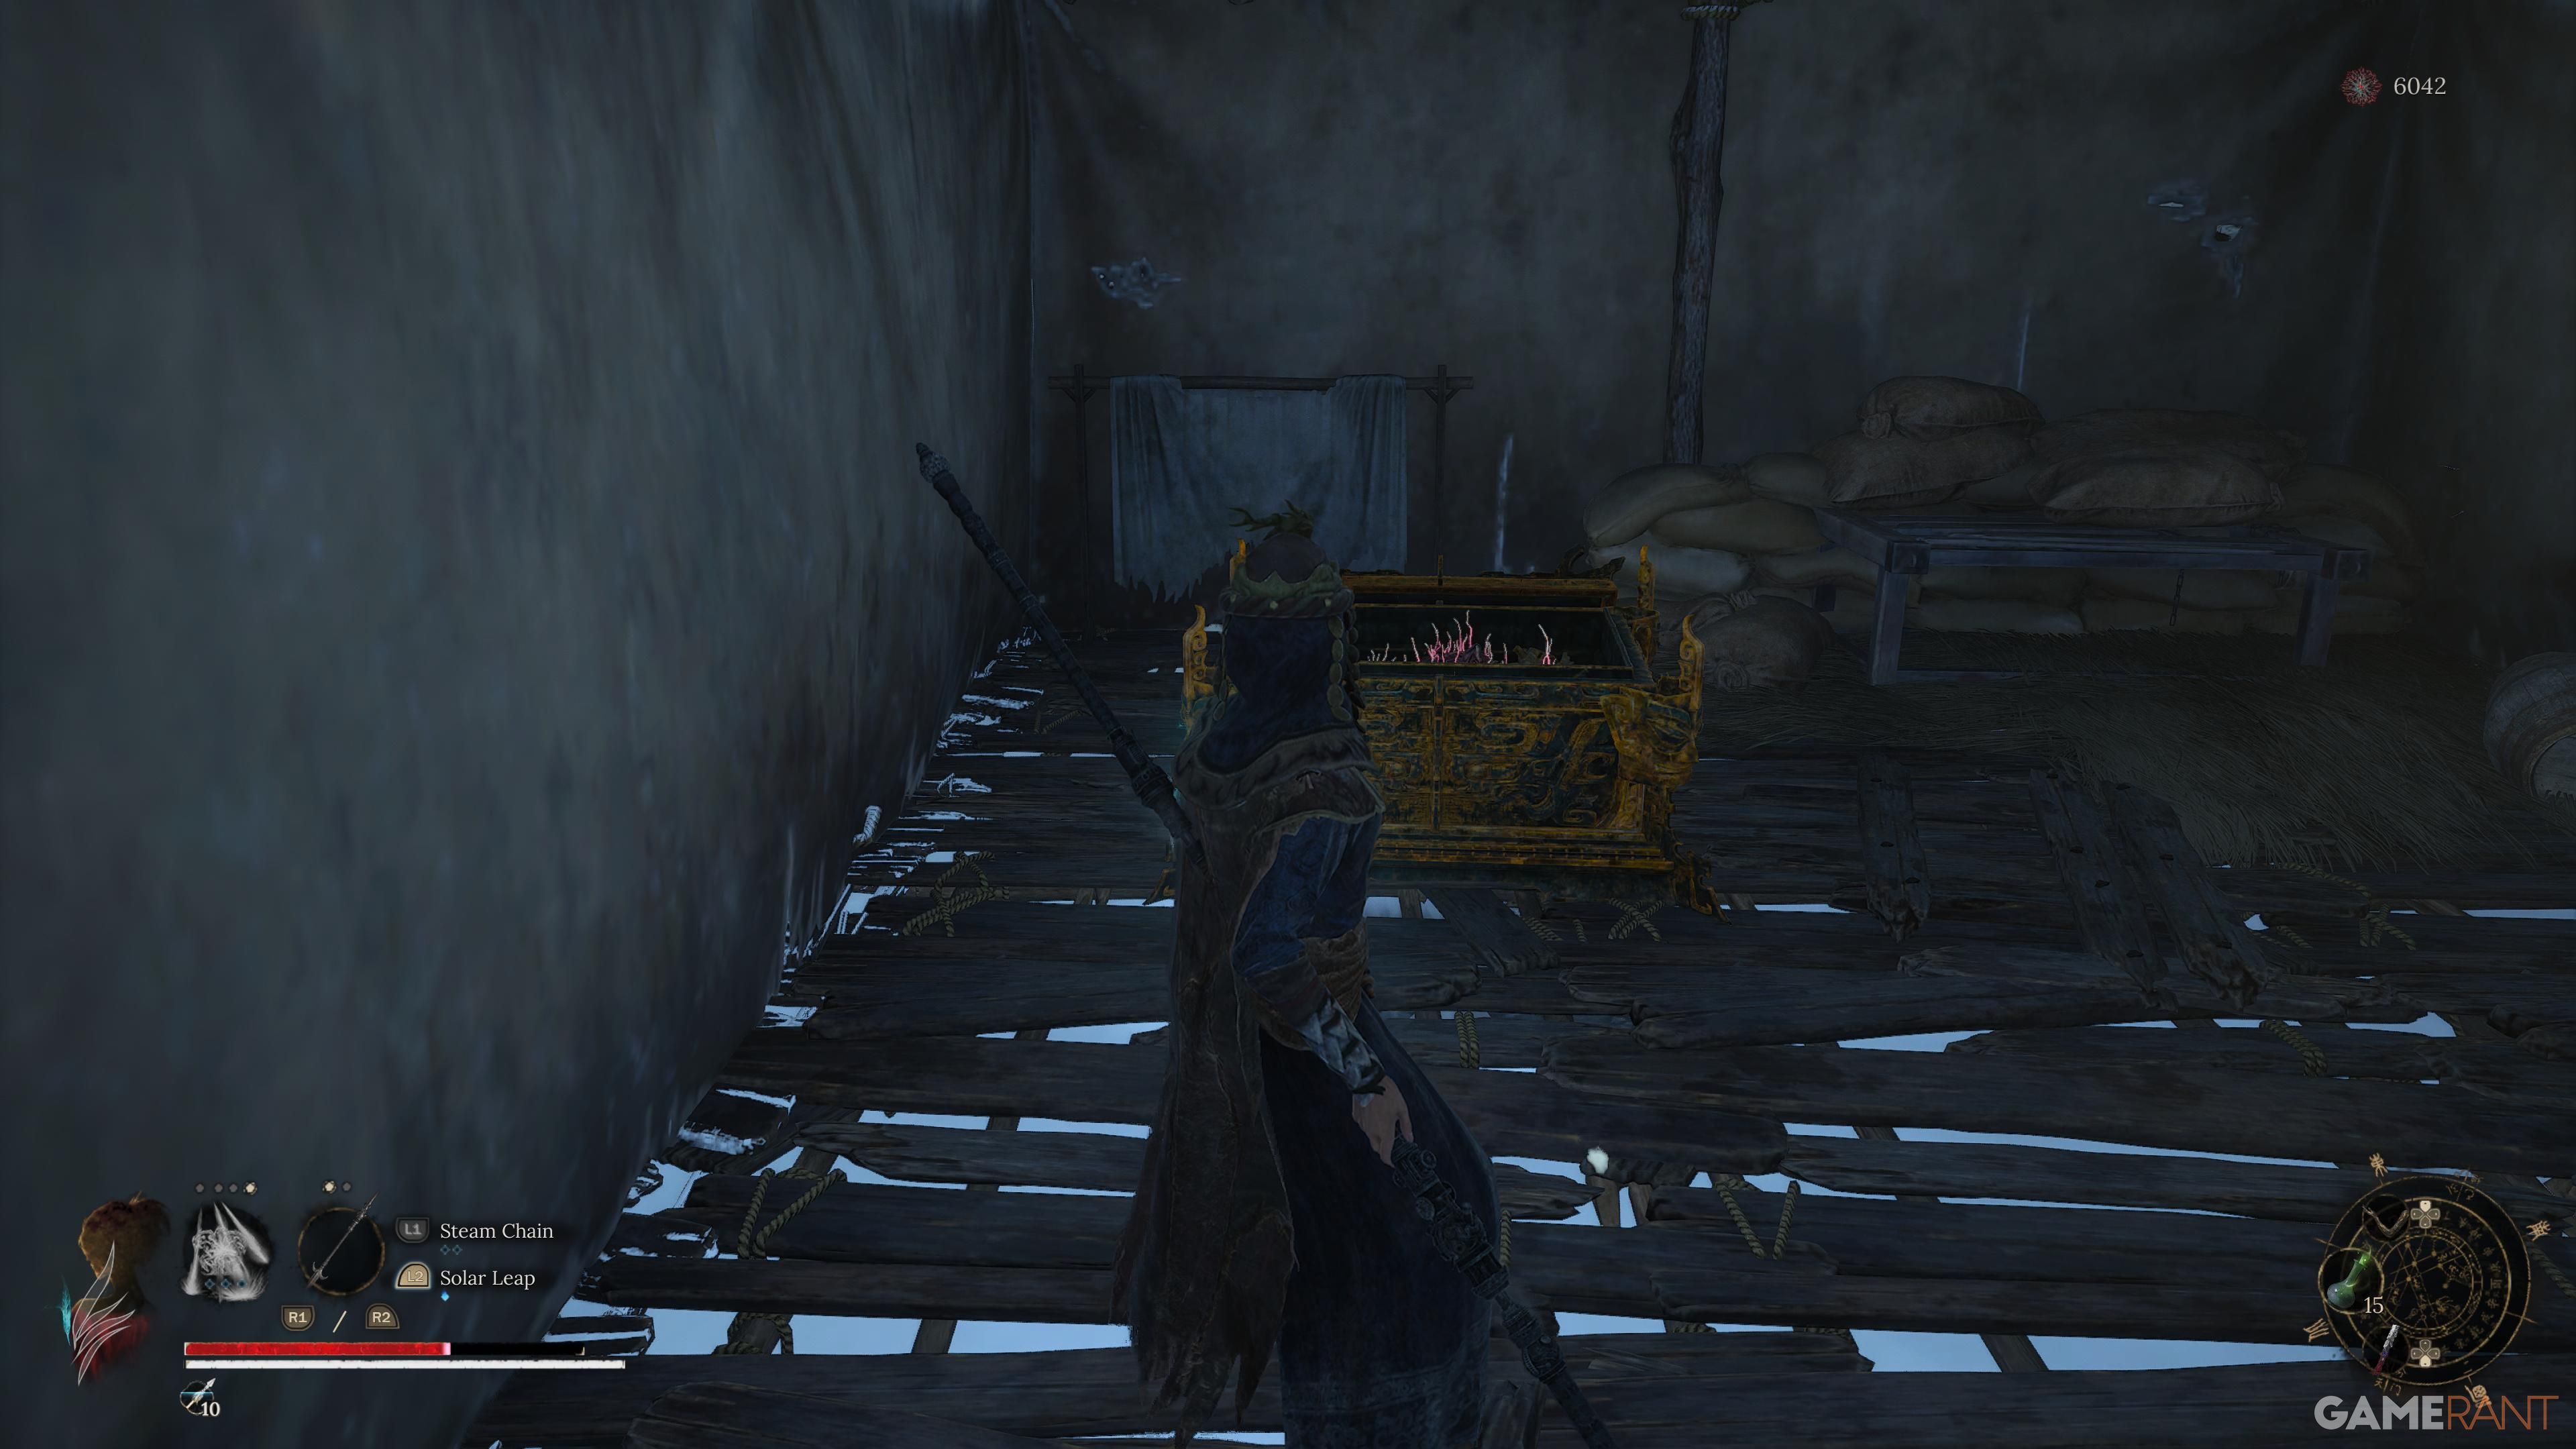
To get to the Shrine, first, proceed along the path and then veer left. You’ll eventually come across a spacious spot with a big tent in the center. There, you’ll encounter a guard shield enemy safeguarding a treasure chest. Overcome him, and unlock the chest to discover the Lost Remains.
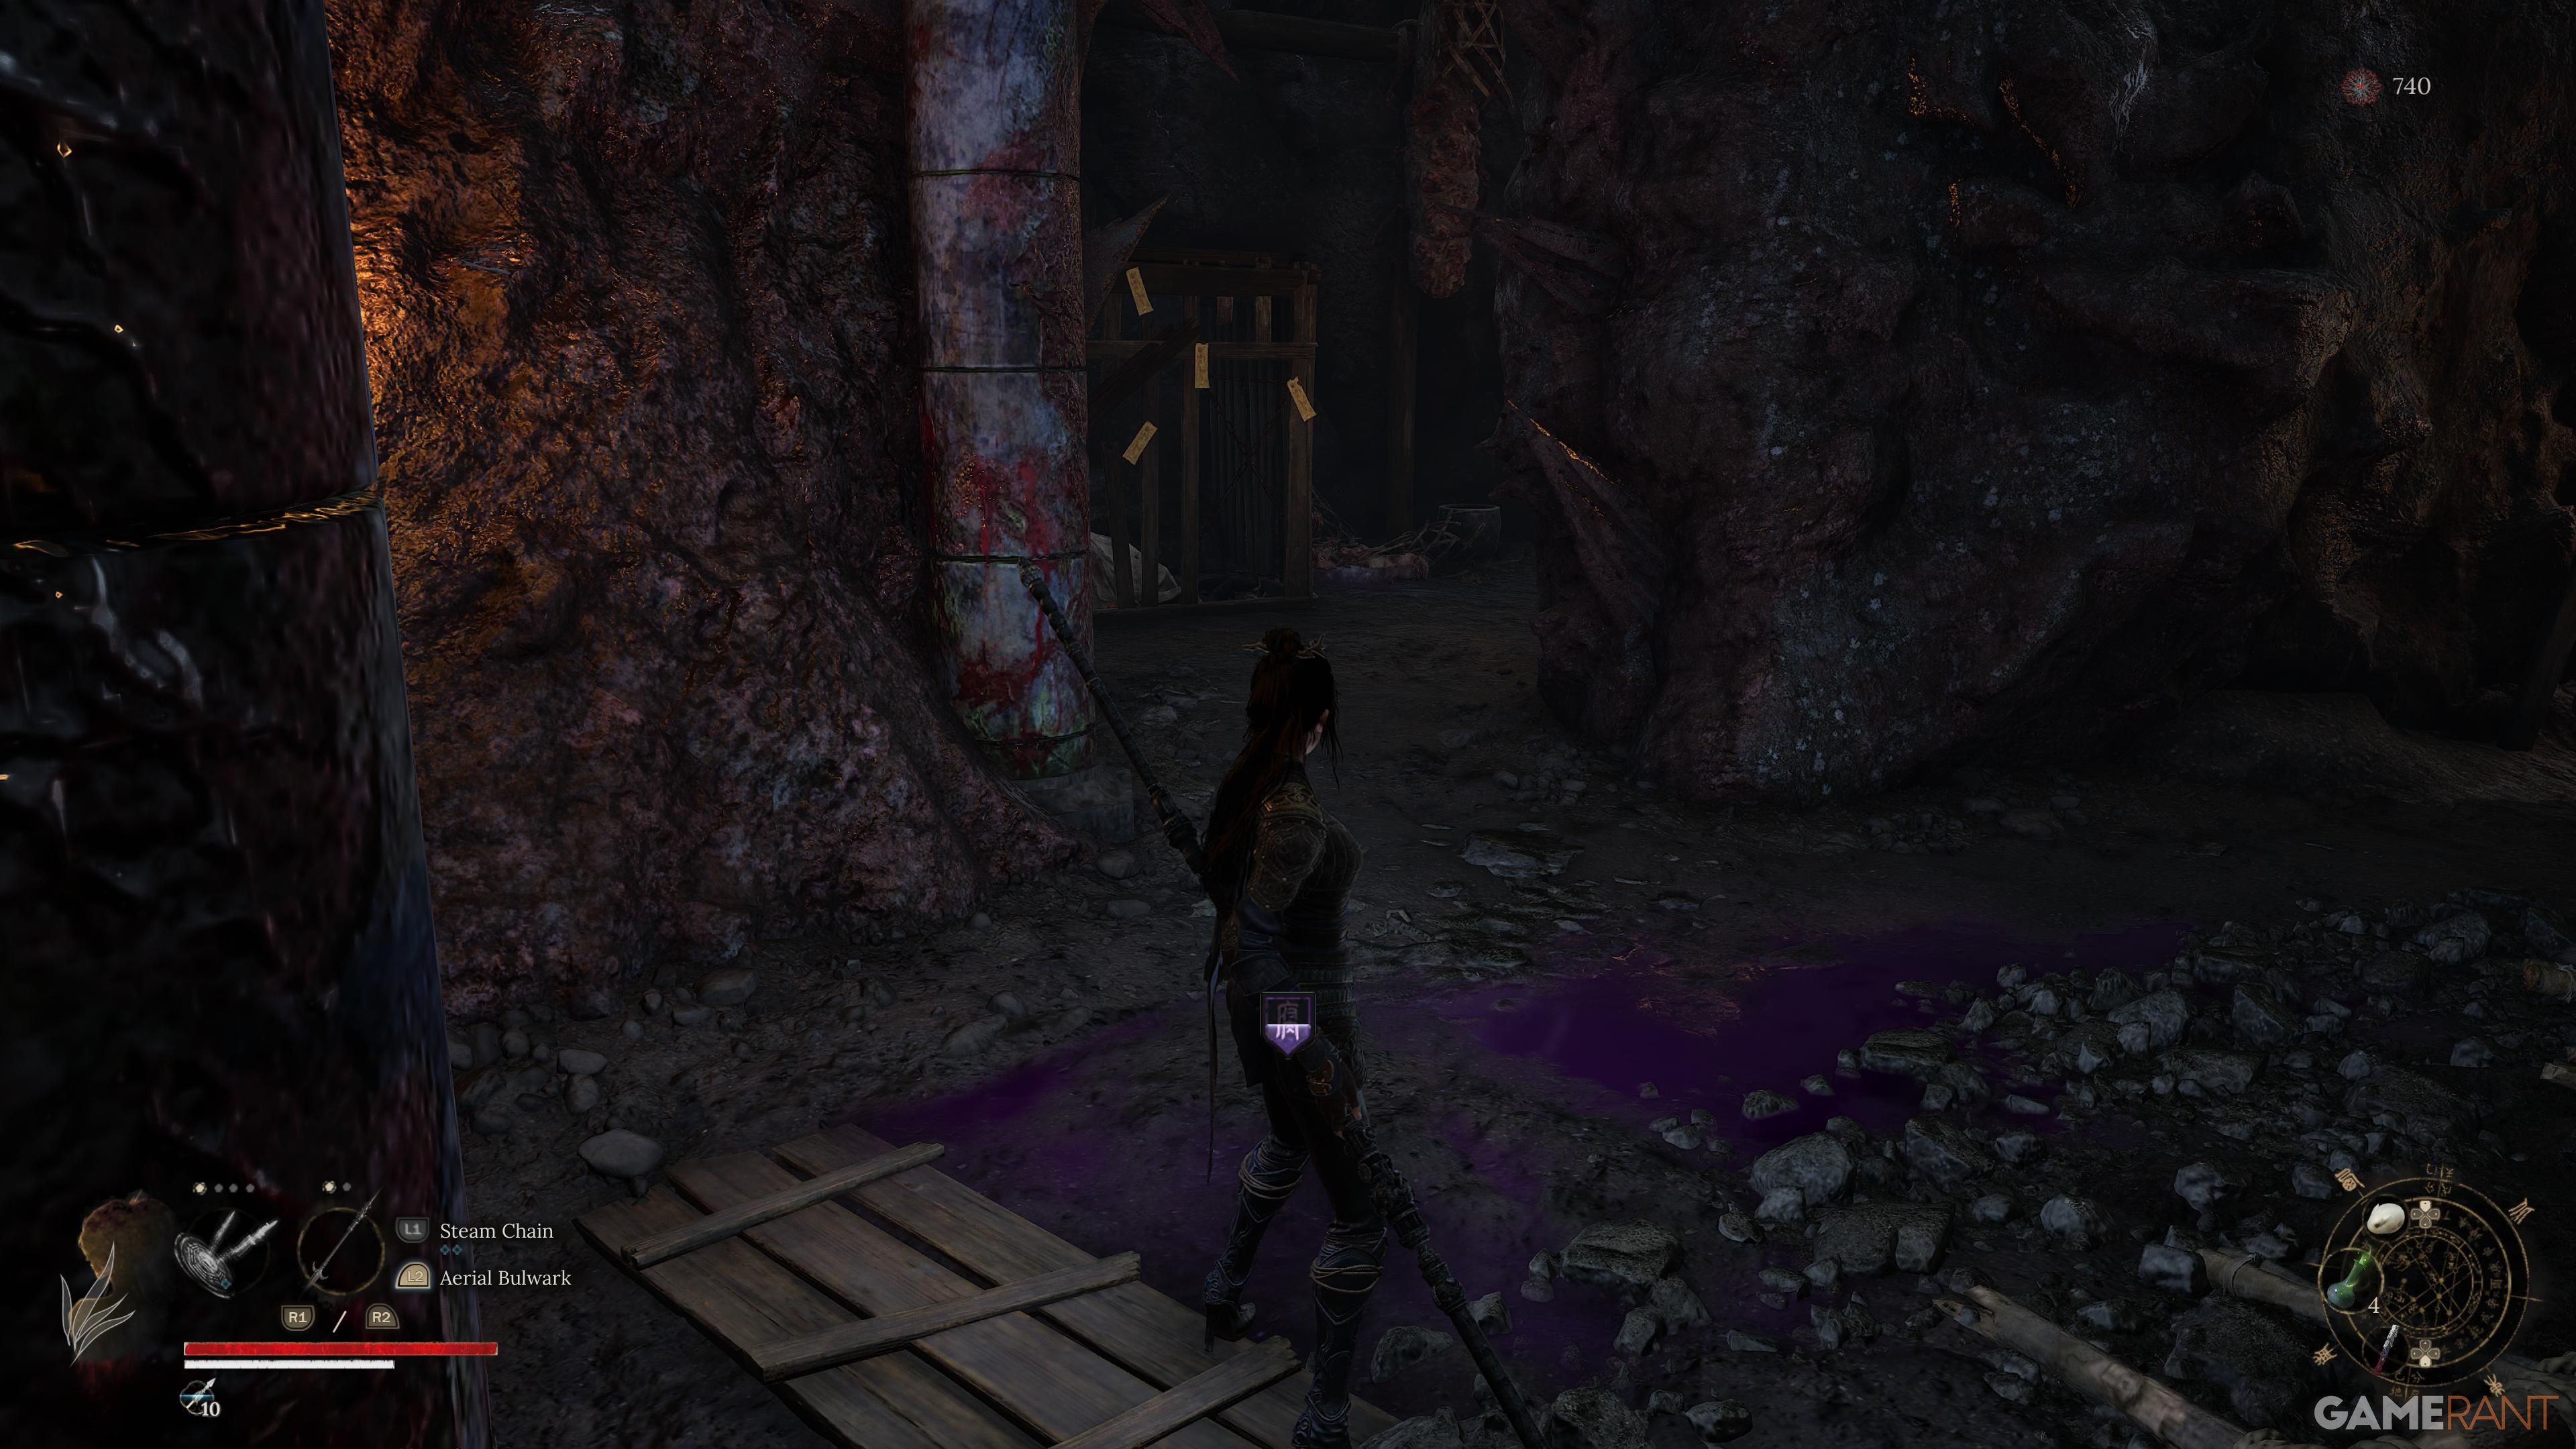
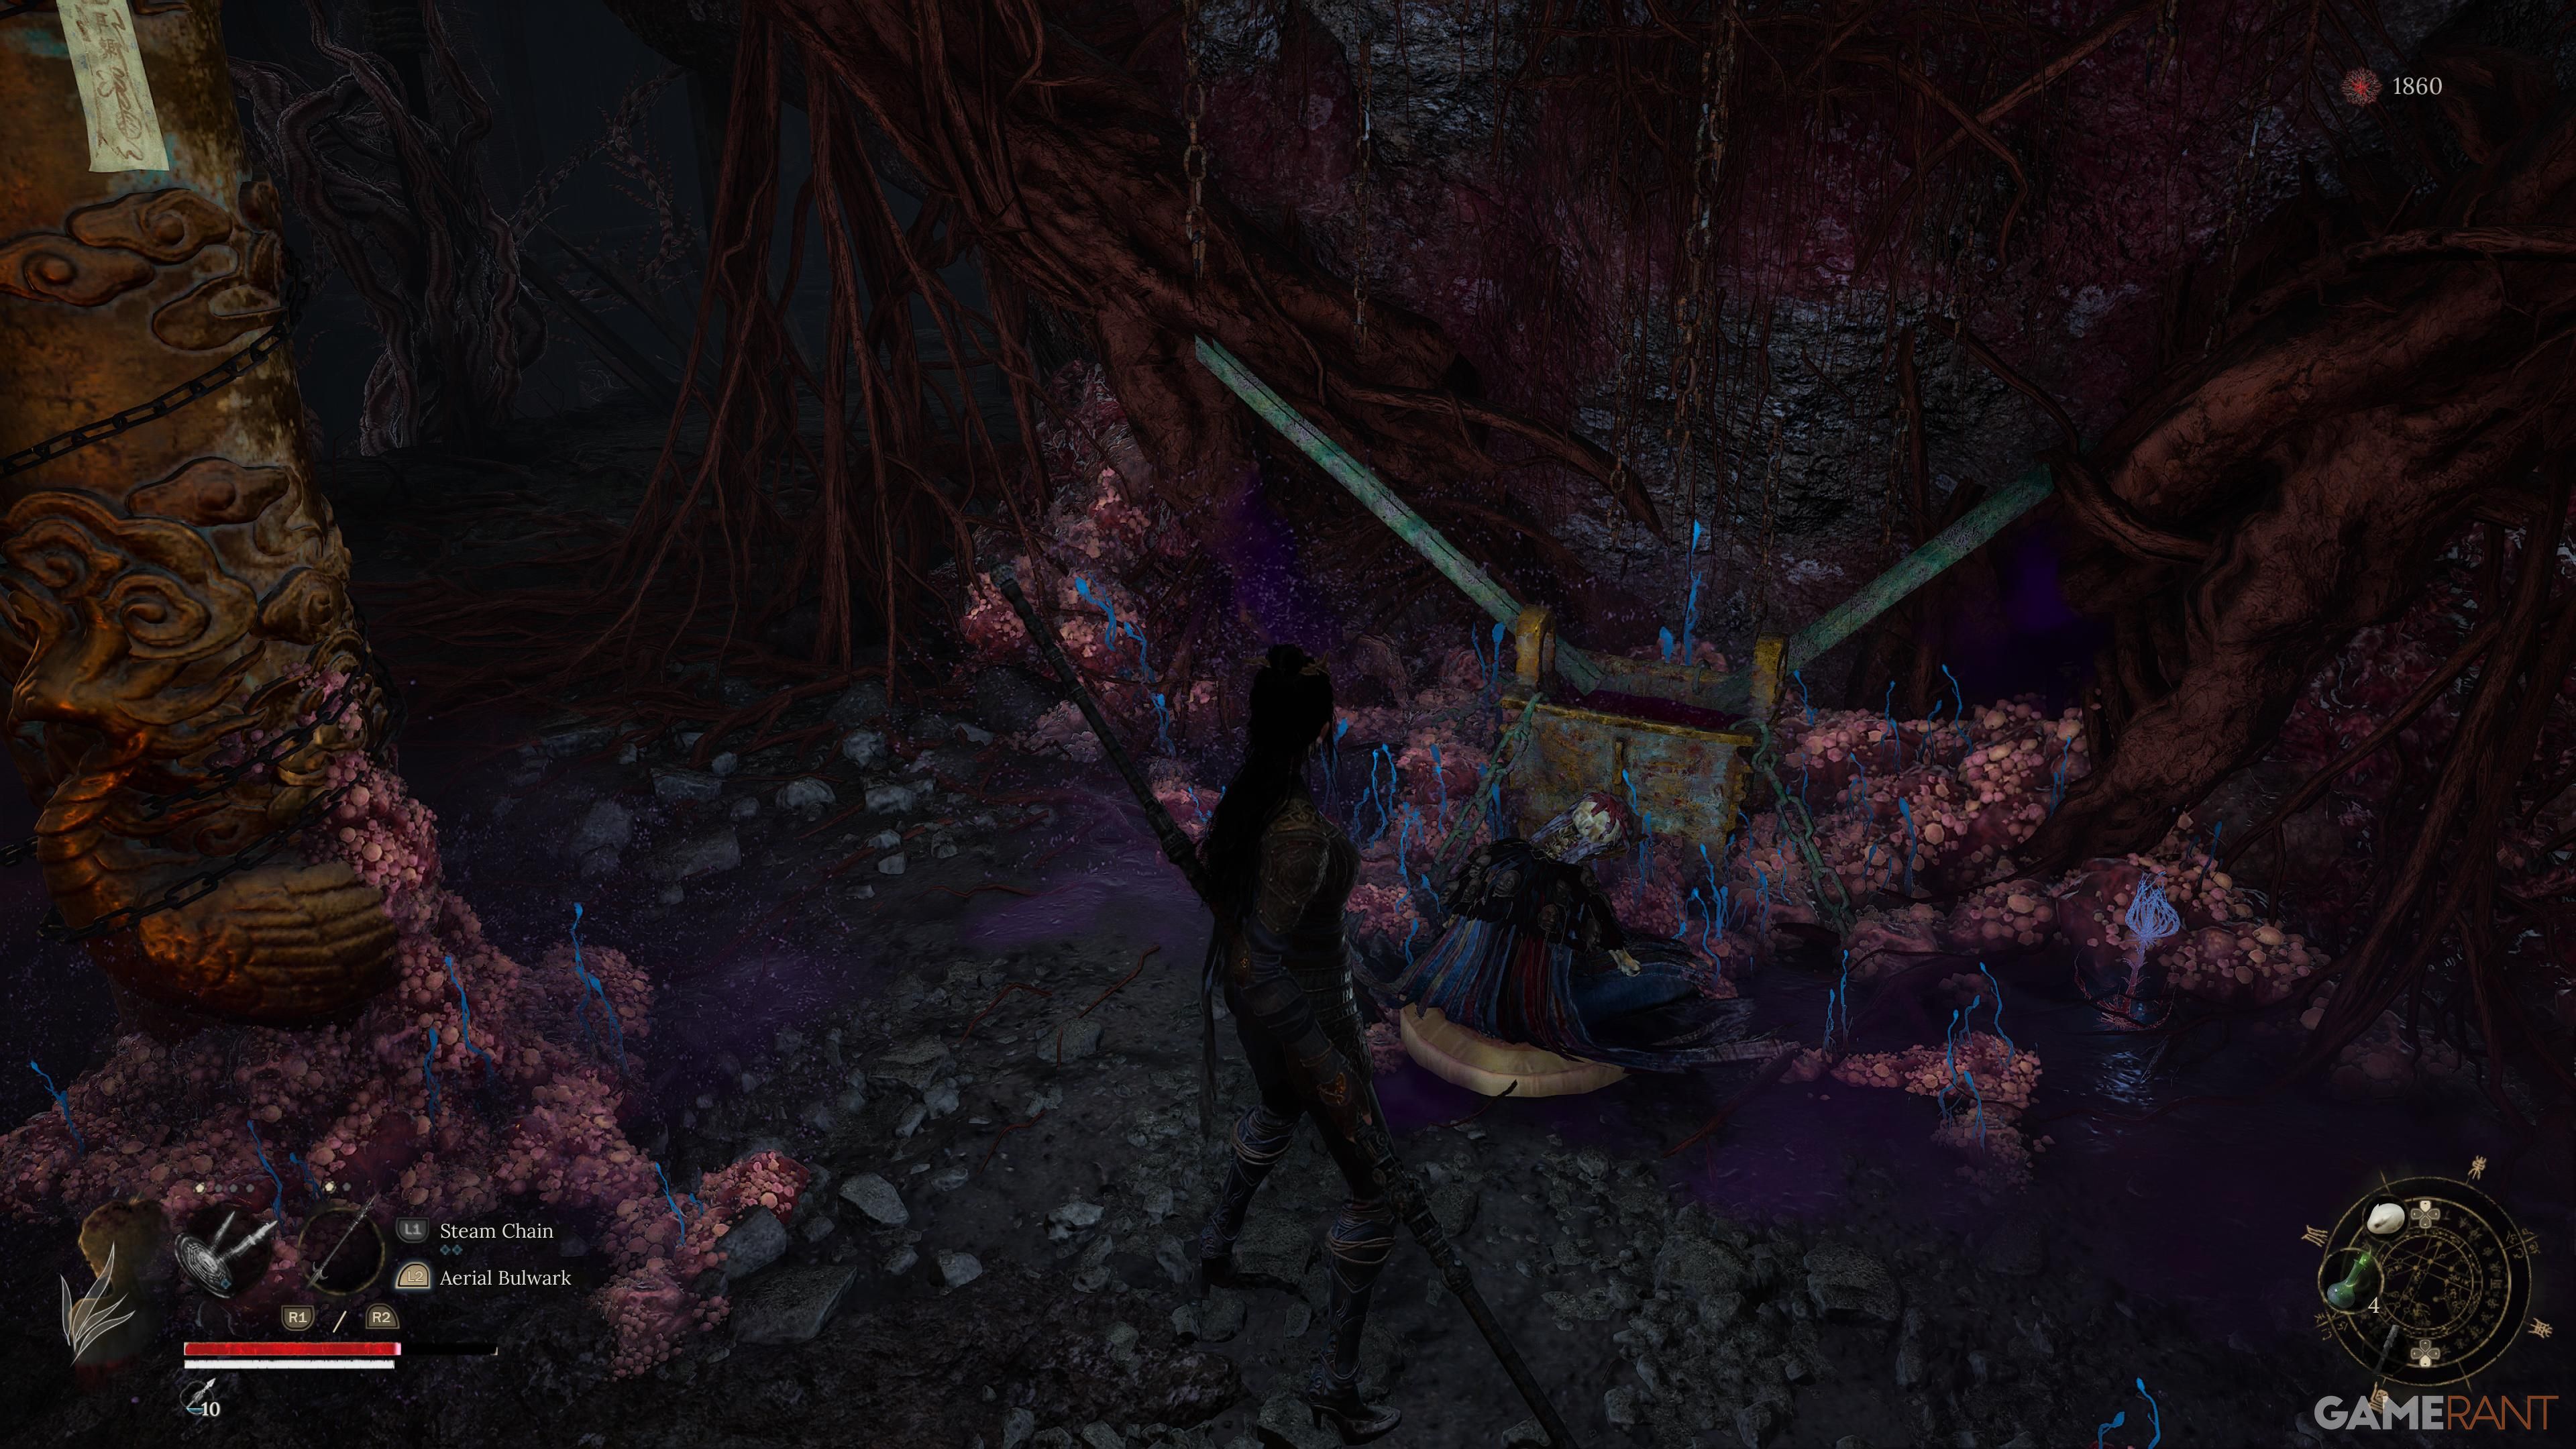
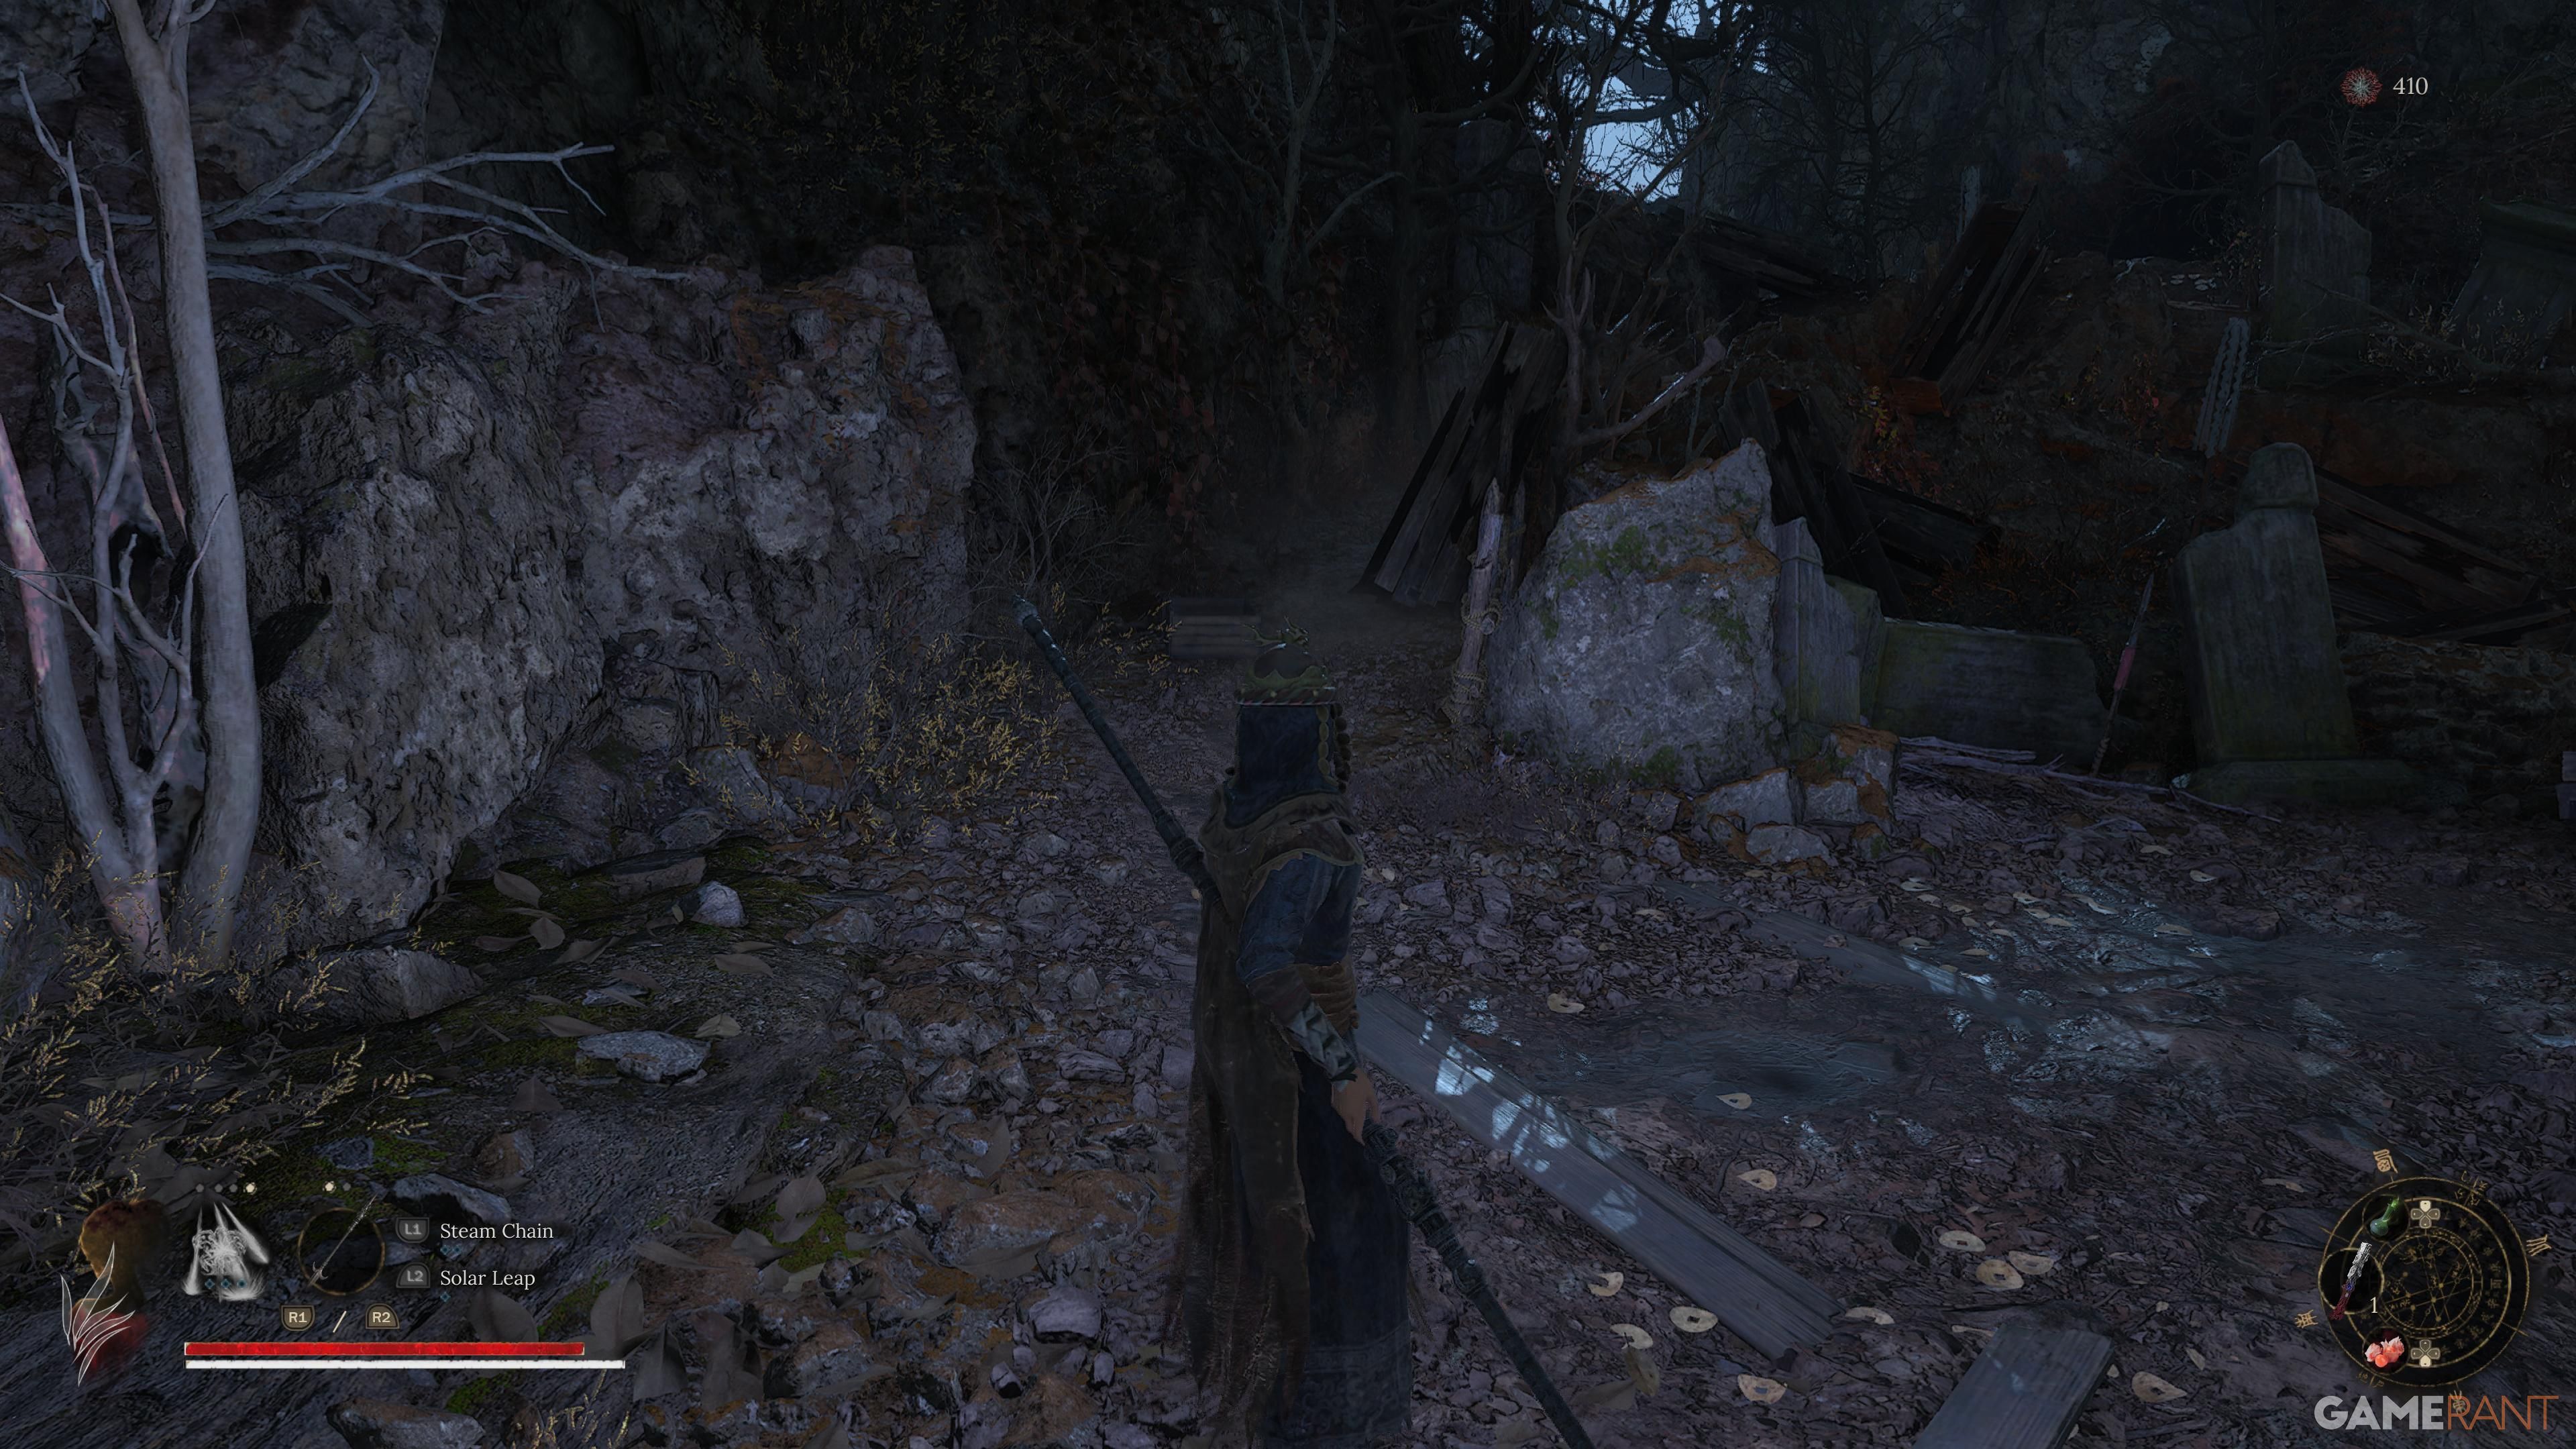
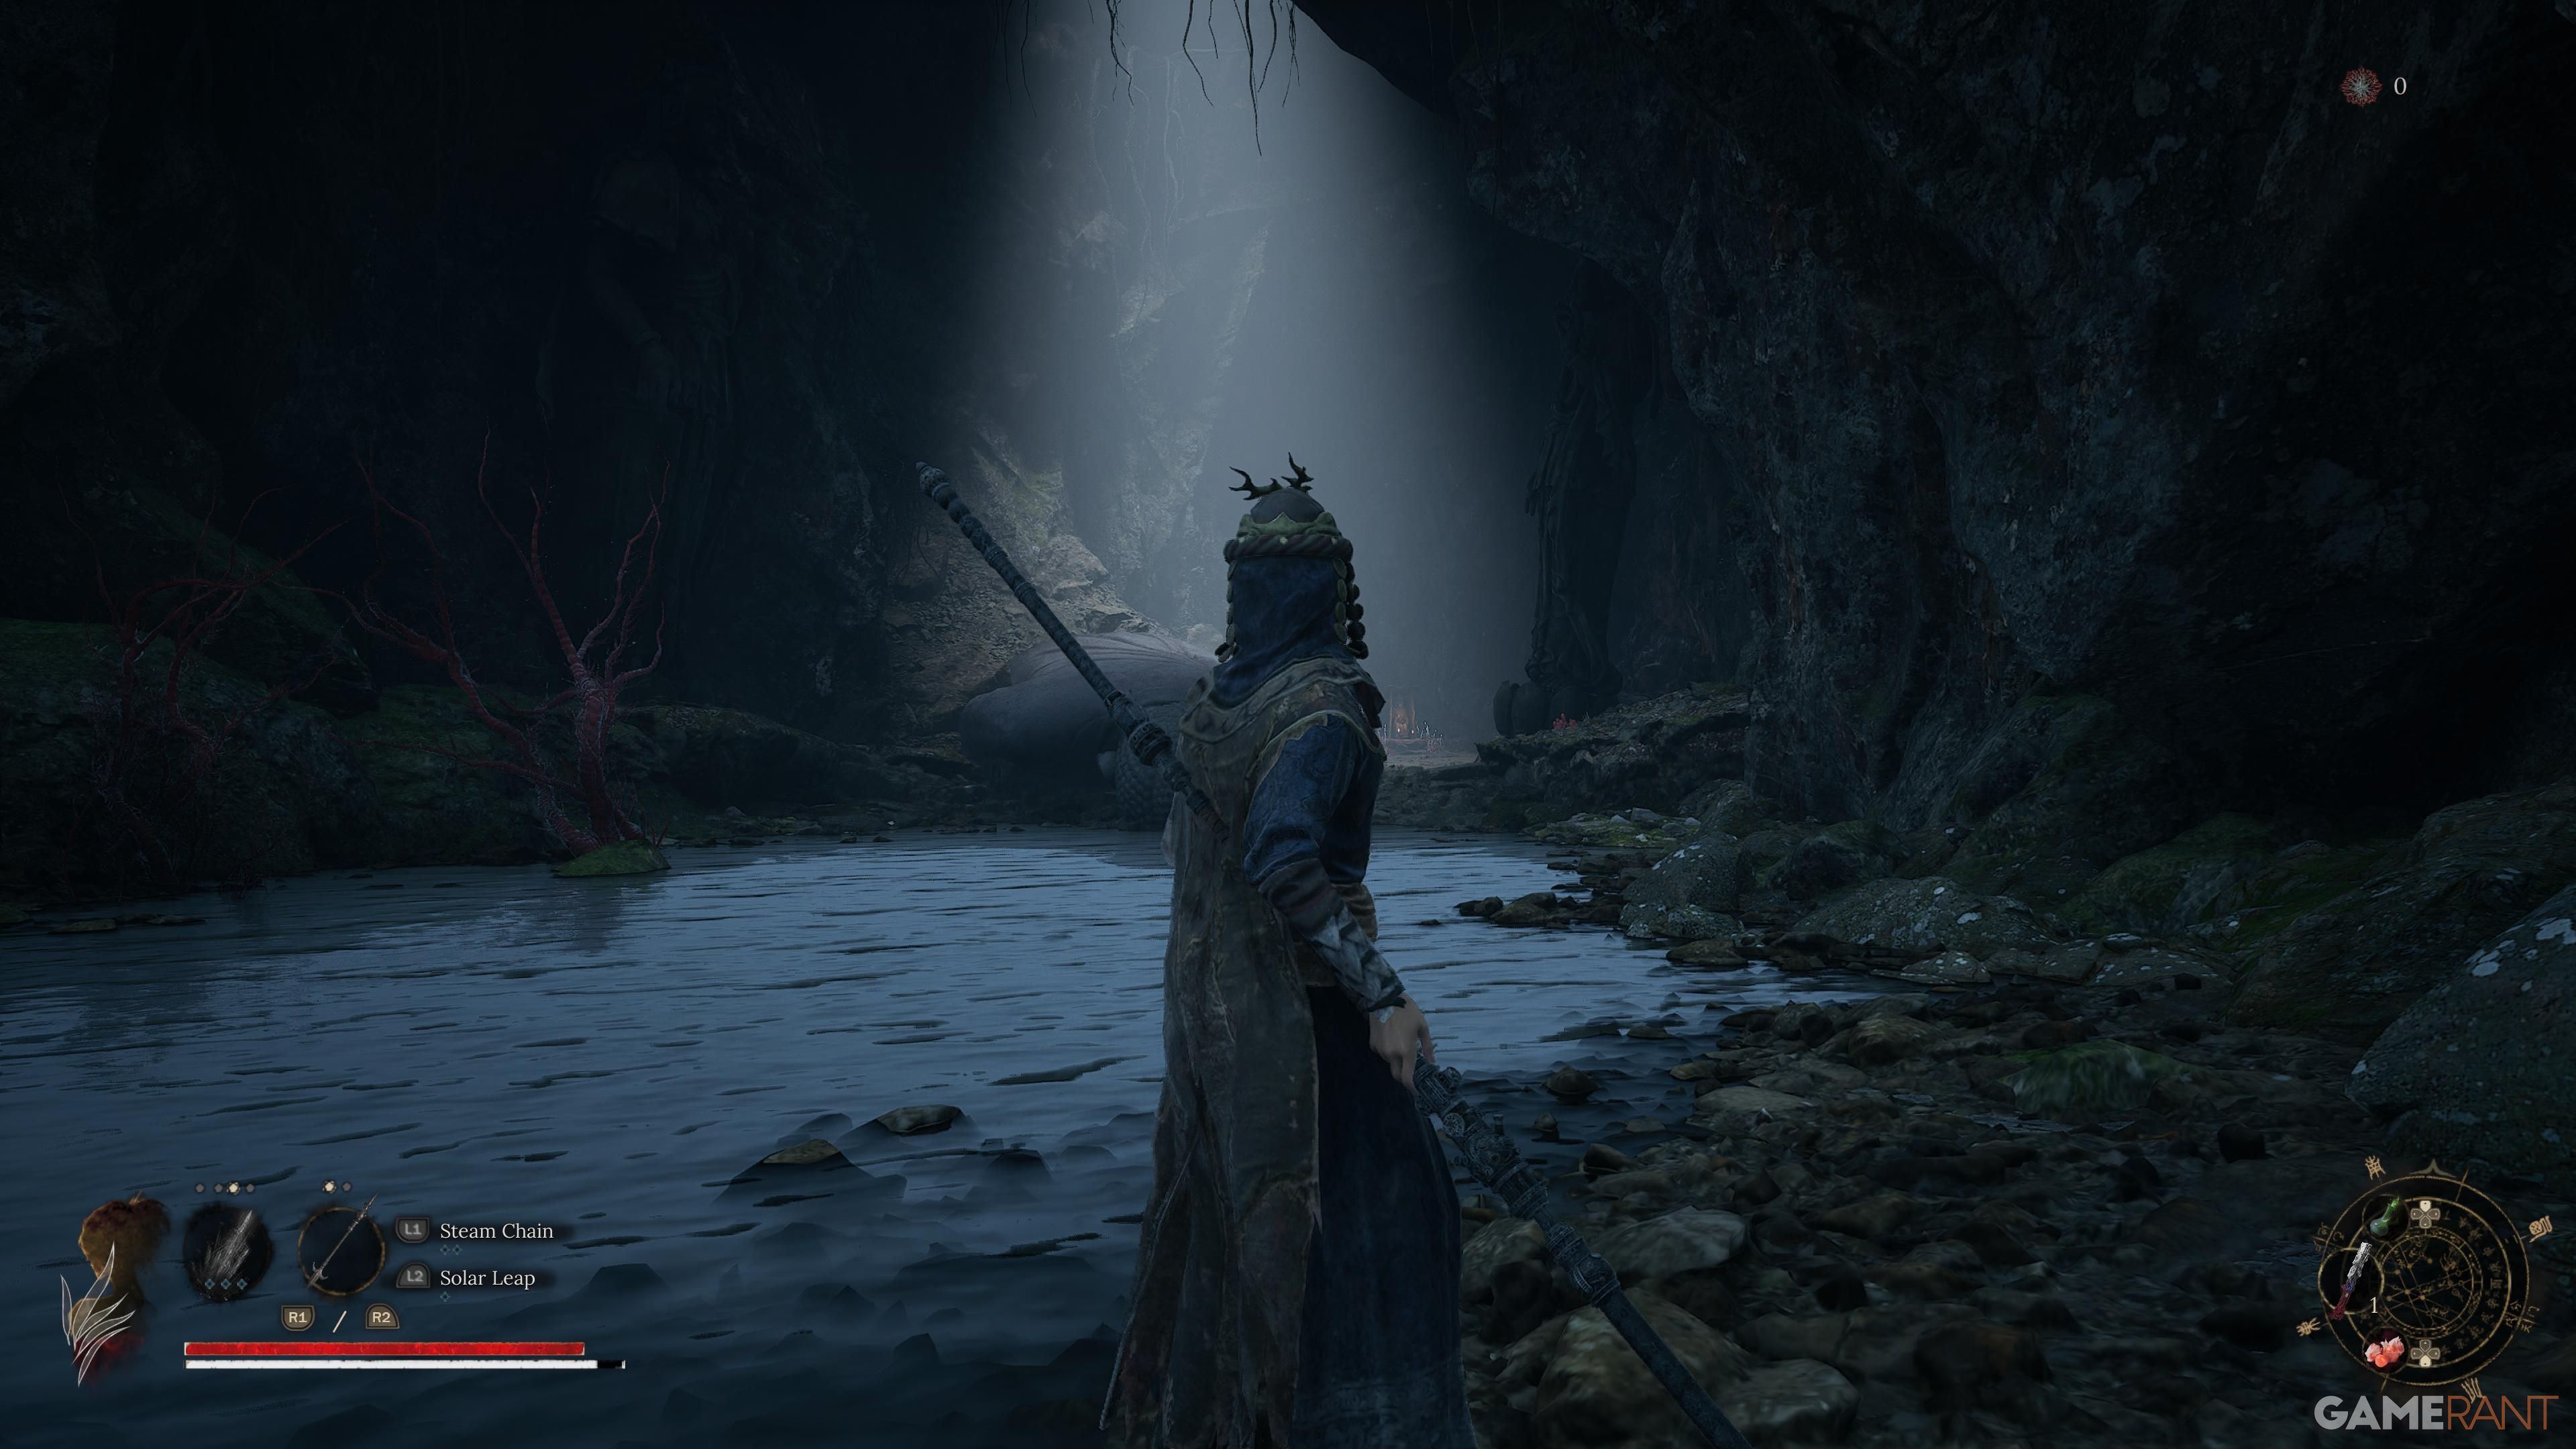
Shaft Entrance (Cloudspire)
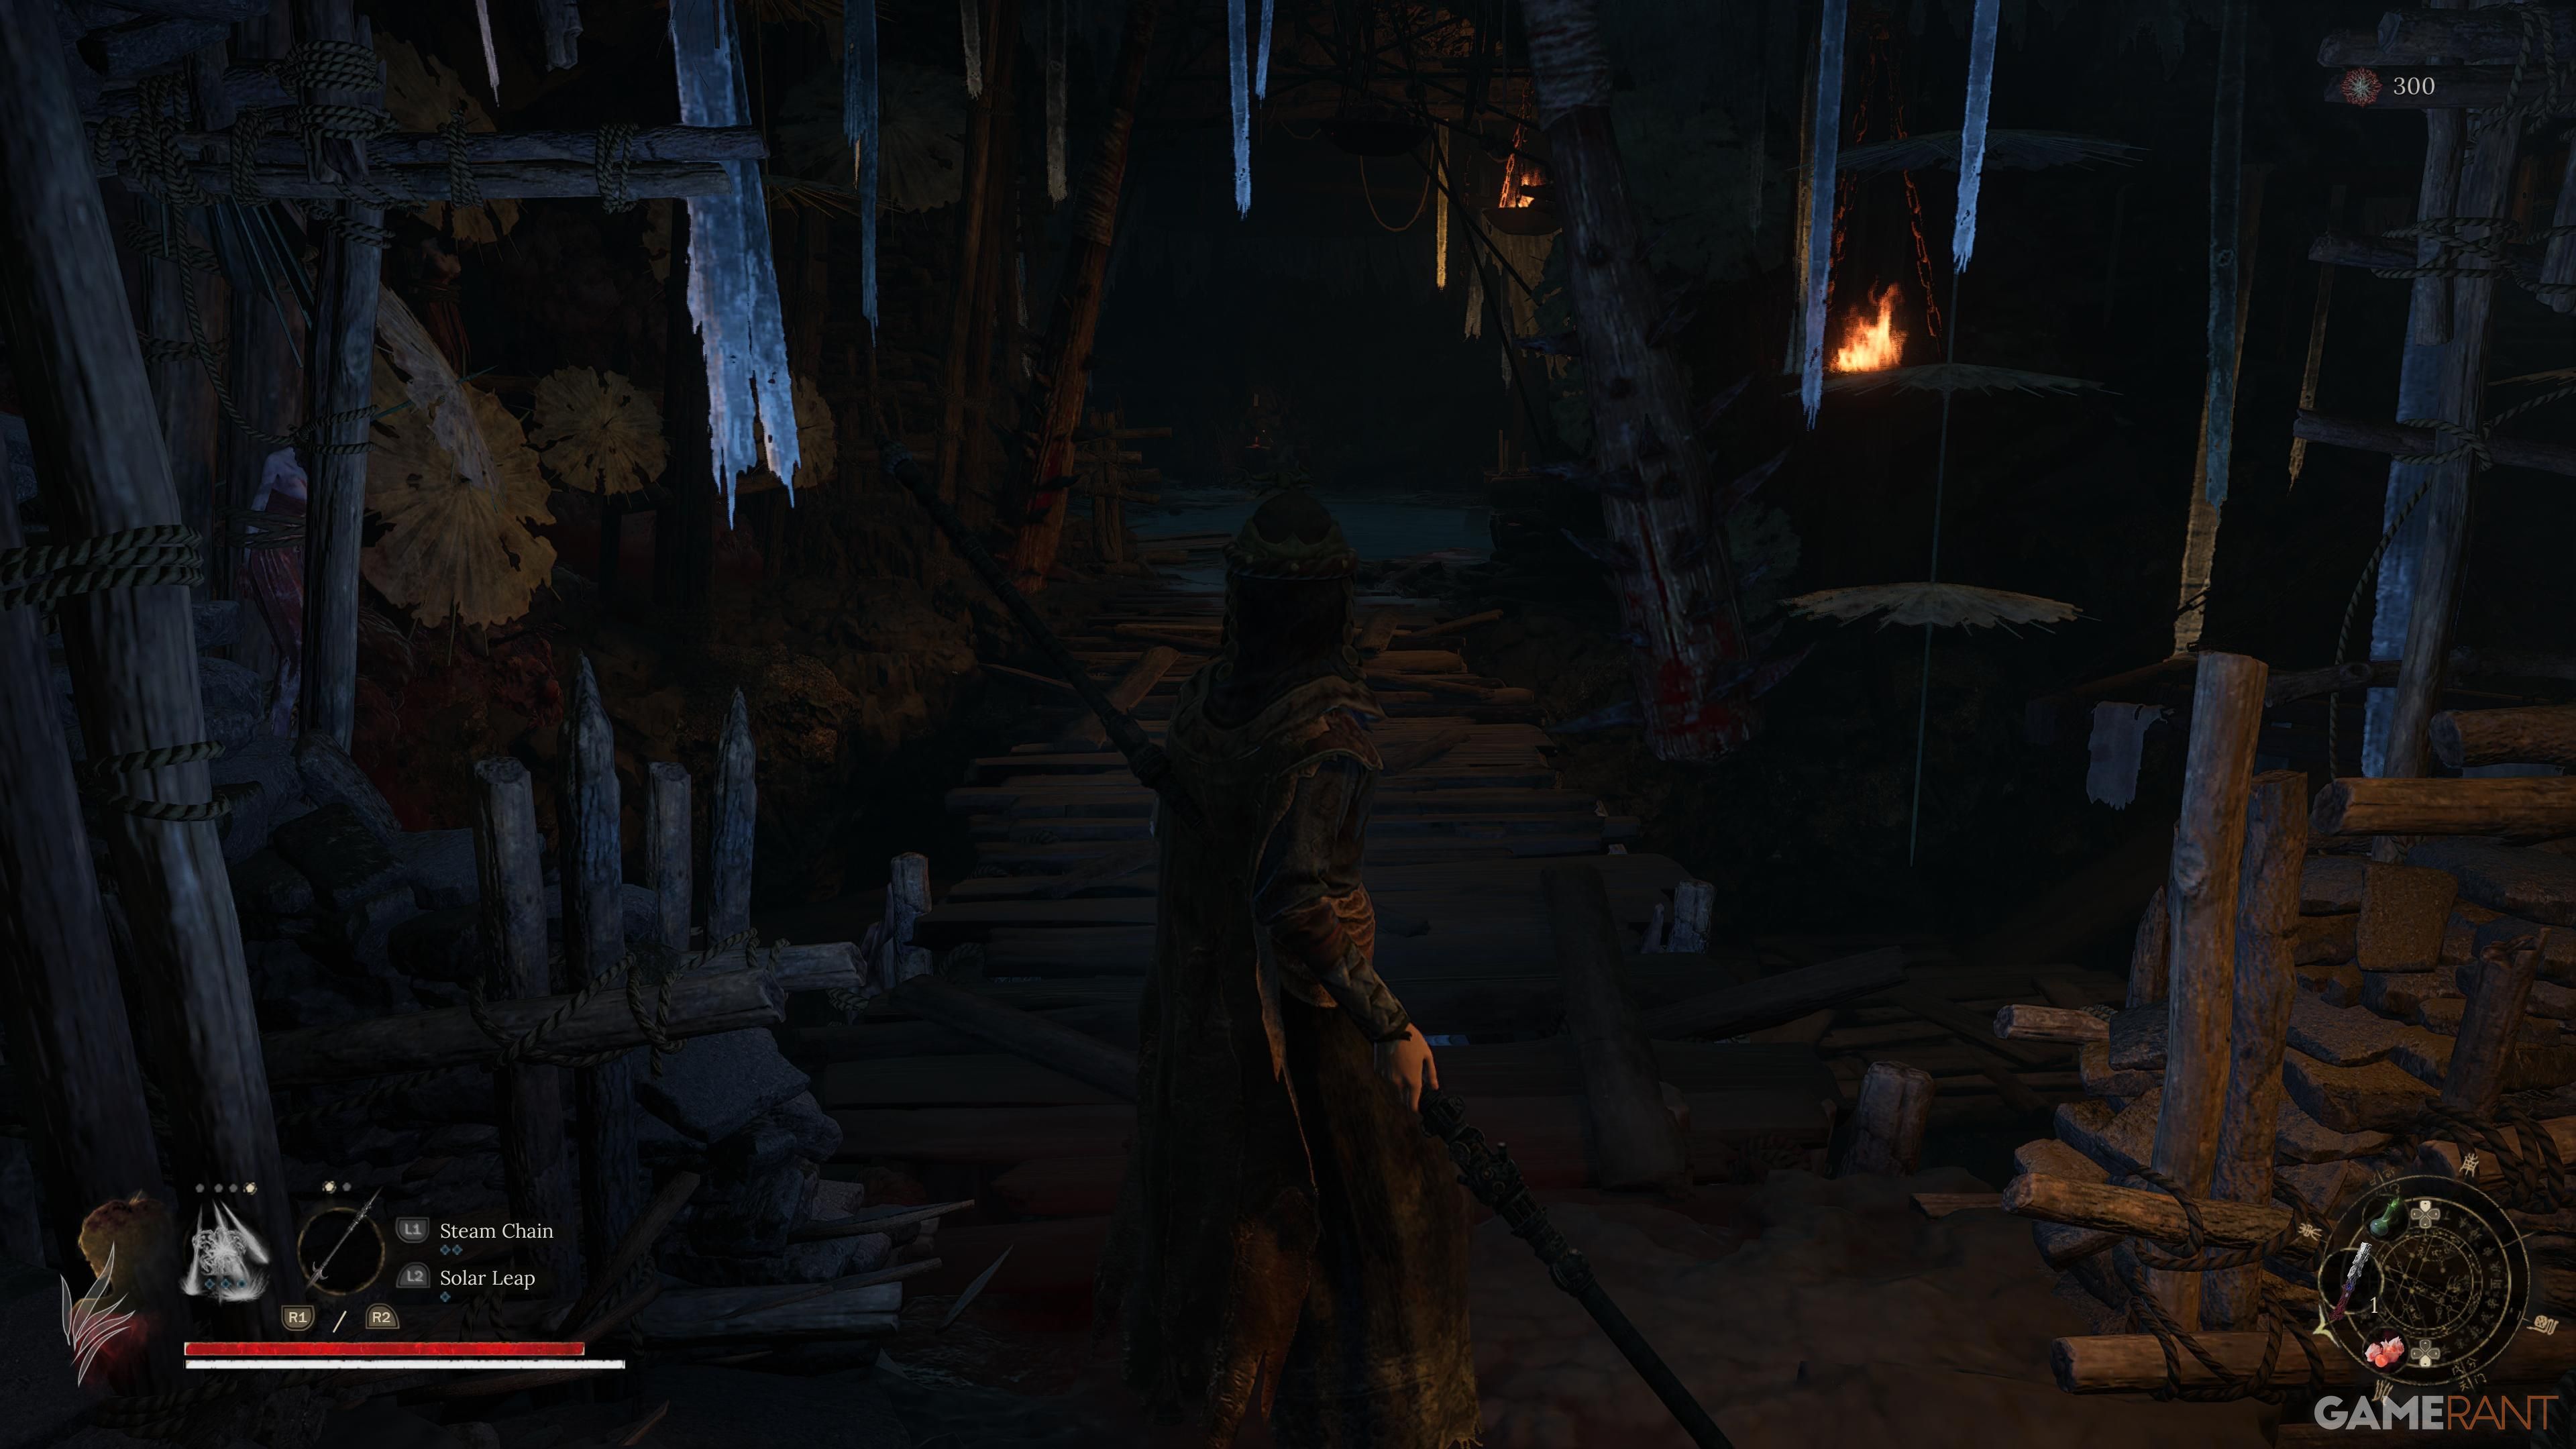
Beginning at the Shrine, proceed straight ahead. When you come across two swinging Pendulum Hammers, continue past them. On your left, you’ll encounter a formidable Jailor enemy engaged in combat with smaller opponents. Overcome all of them and advance along the path until you see two boulders roll downhill. Rather than veering to the left, keep going straight. When the boulders have descended, lower yourself into the pit where they landed. Inside this small chamber, you’ll find a large treasure chest and a door that leads to the Bride’s Boudoir Shrine, located on your right.
Battlefield Pass (Mt. Zhenwu)

Instead of turning left at the first shrine and continuing straight ahead while disregarding the two cave entrances on both sides, just keep moving forward on your current path. Soon, you’ll encounter another entrance where an enemy awaits, which will slowly increase your Despair gauge. It’s wise to eliminate this foe promptly. To locate a large chest, take a detour by jumping into the polluted water and proceeding rightward. This route should lead you to a wooden ramp.
Avian Marsh (Mt. Zhenwu)
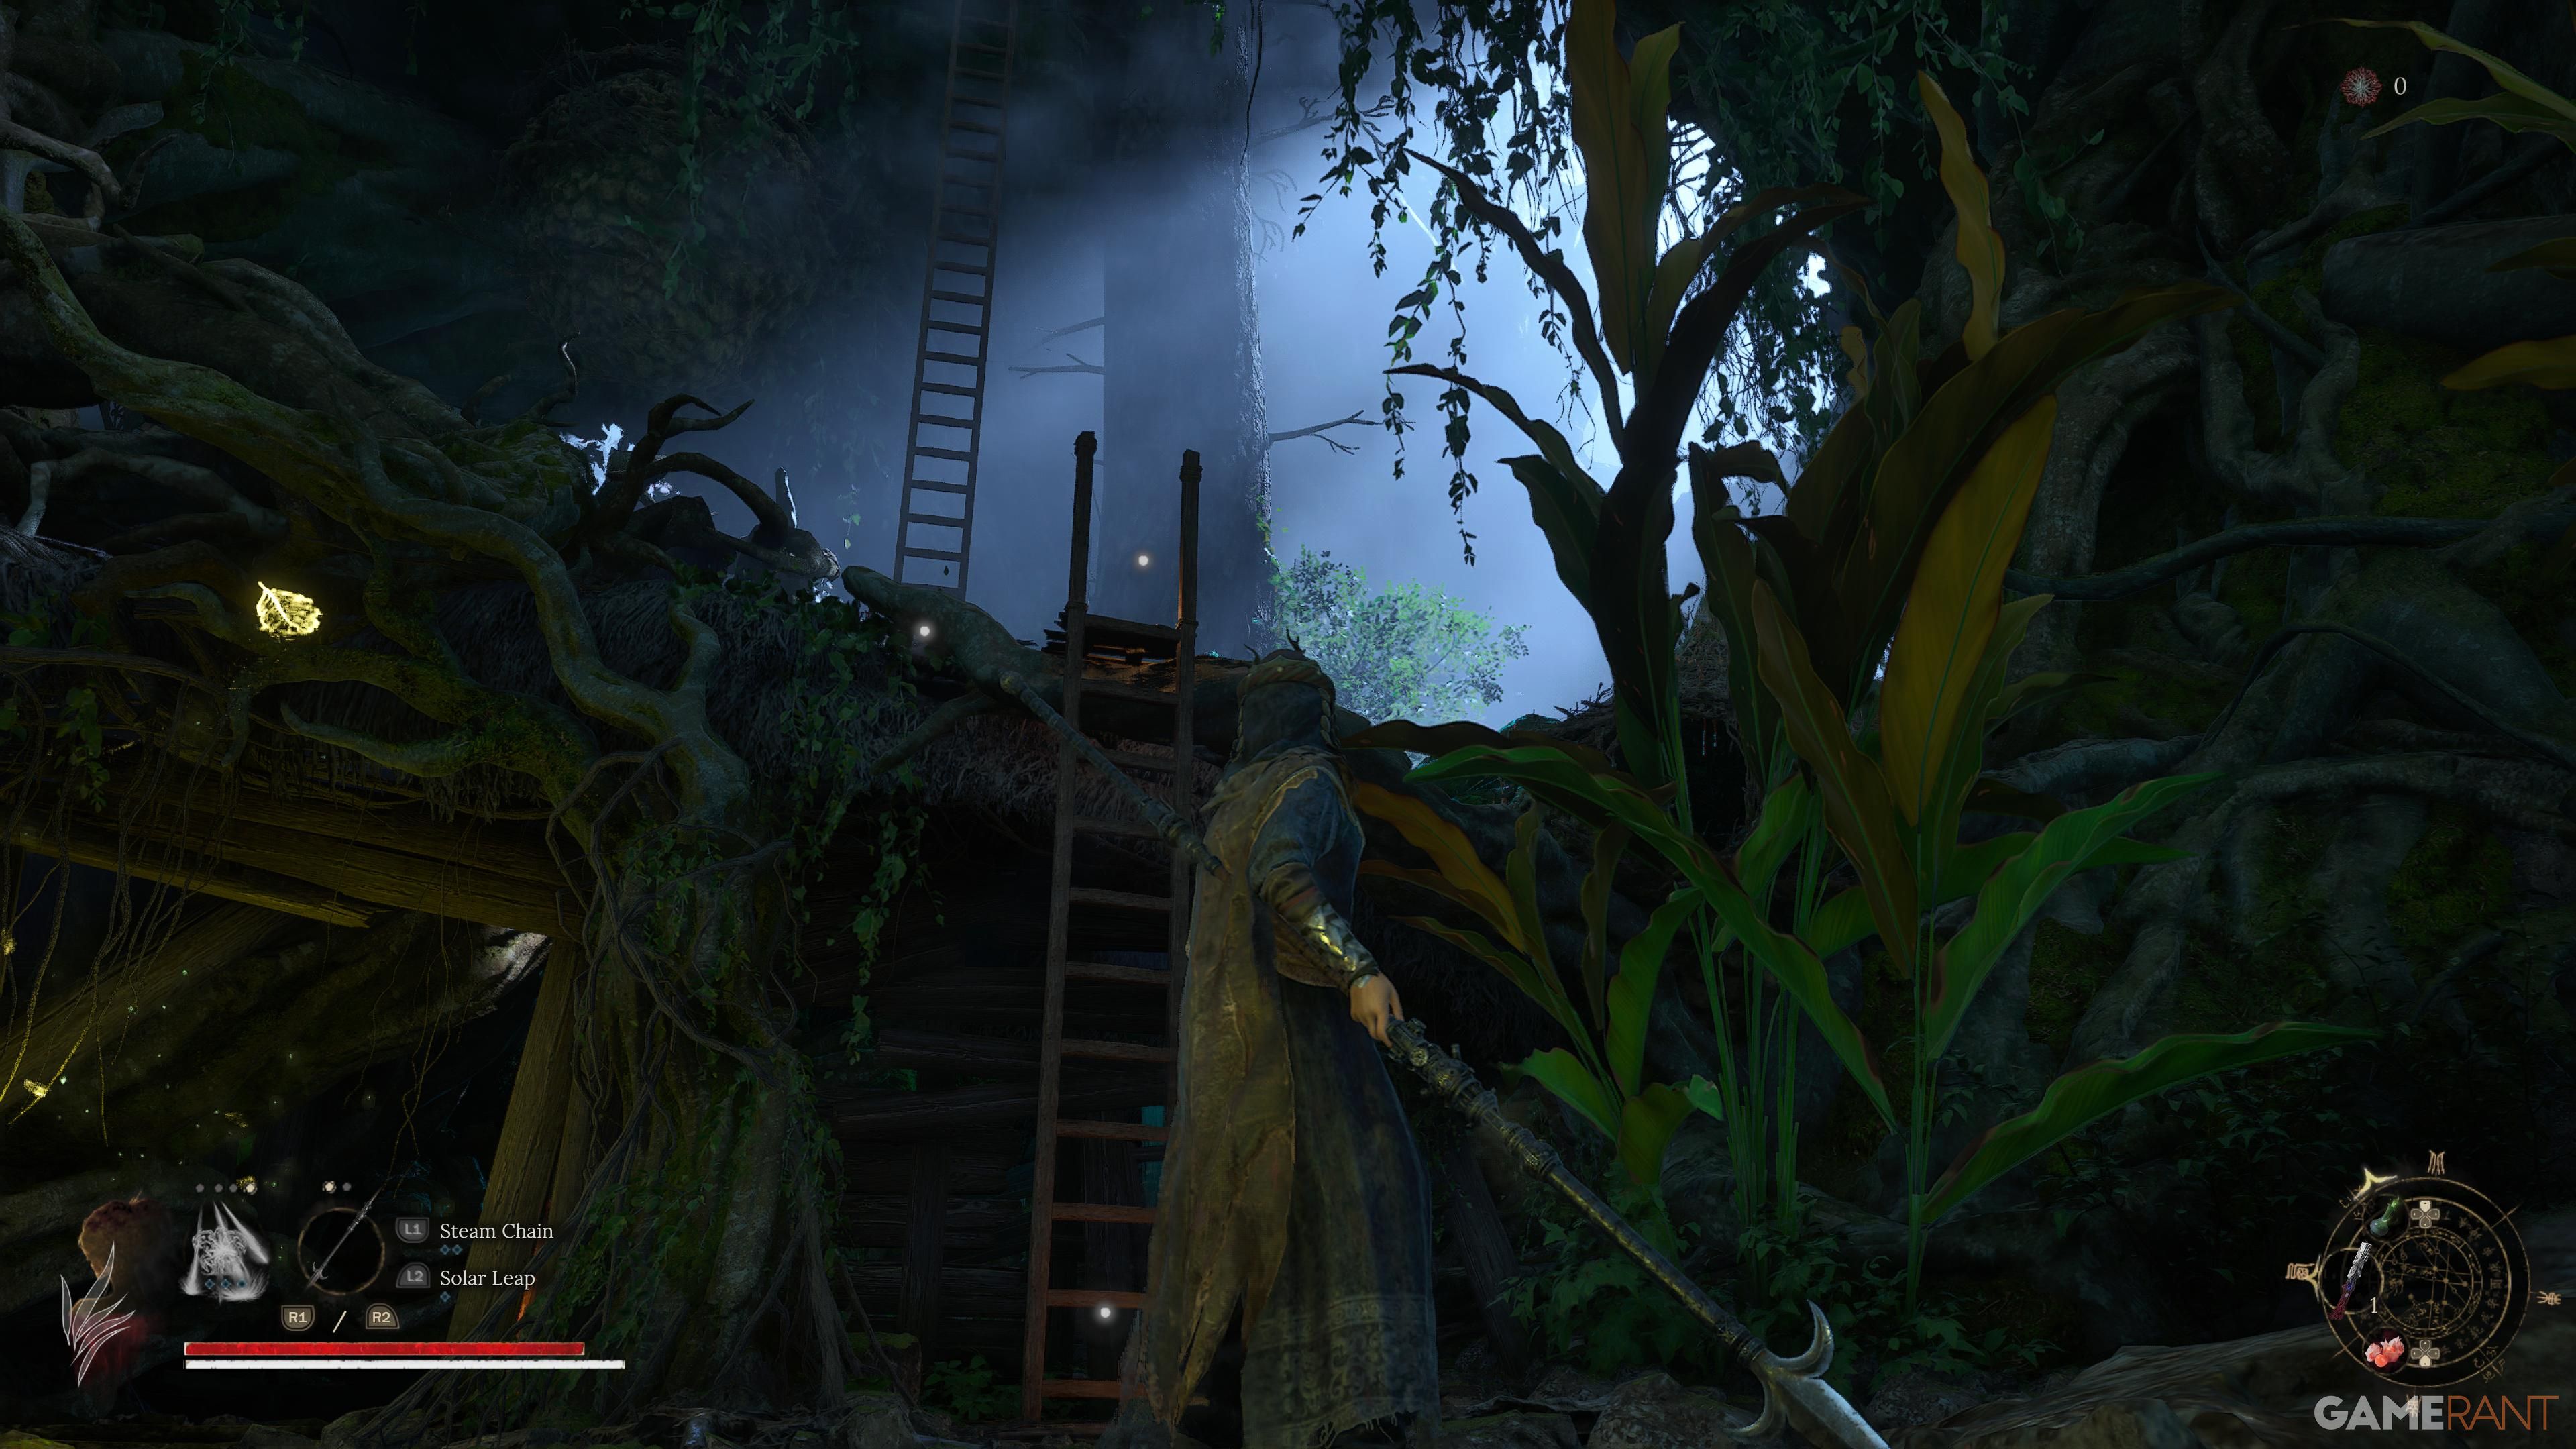
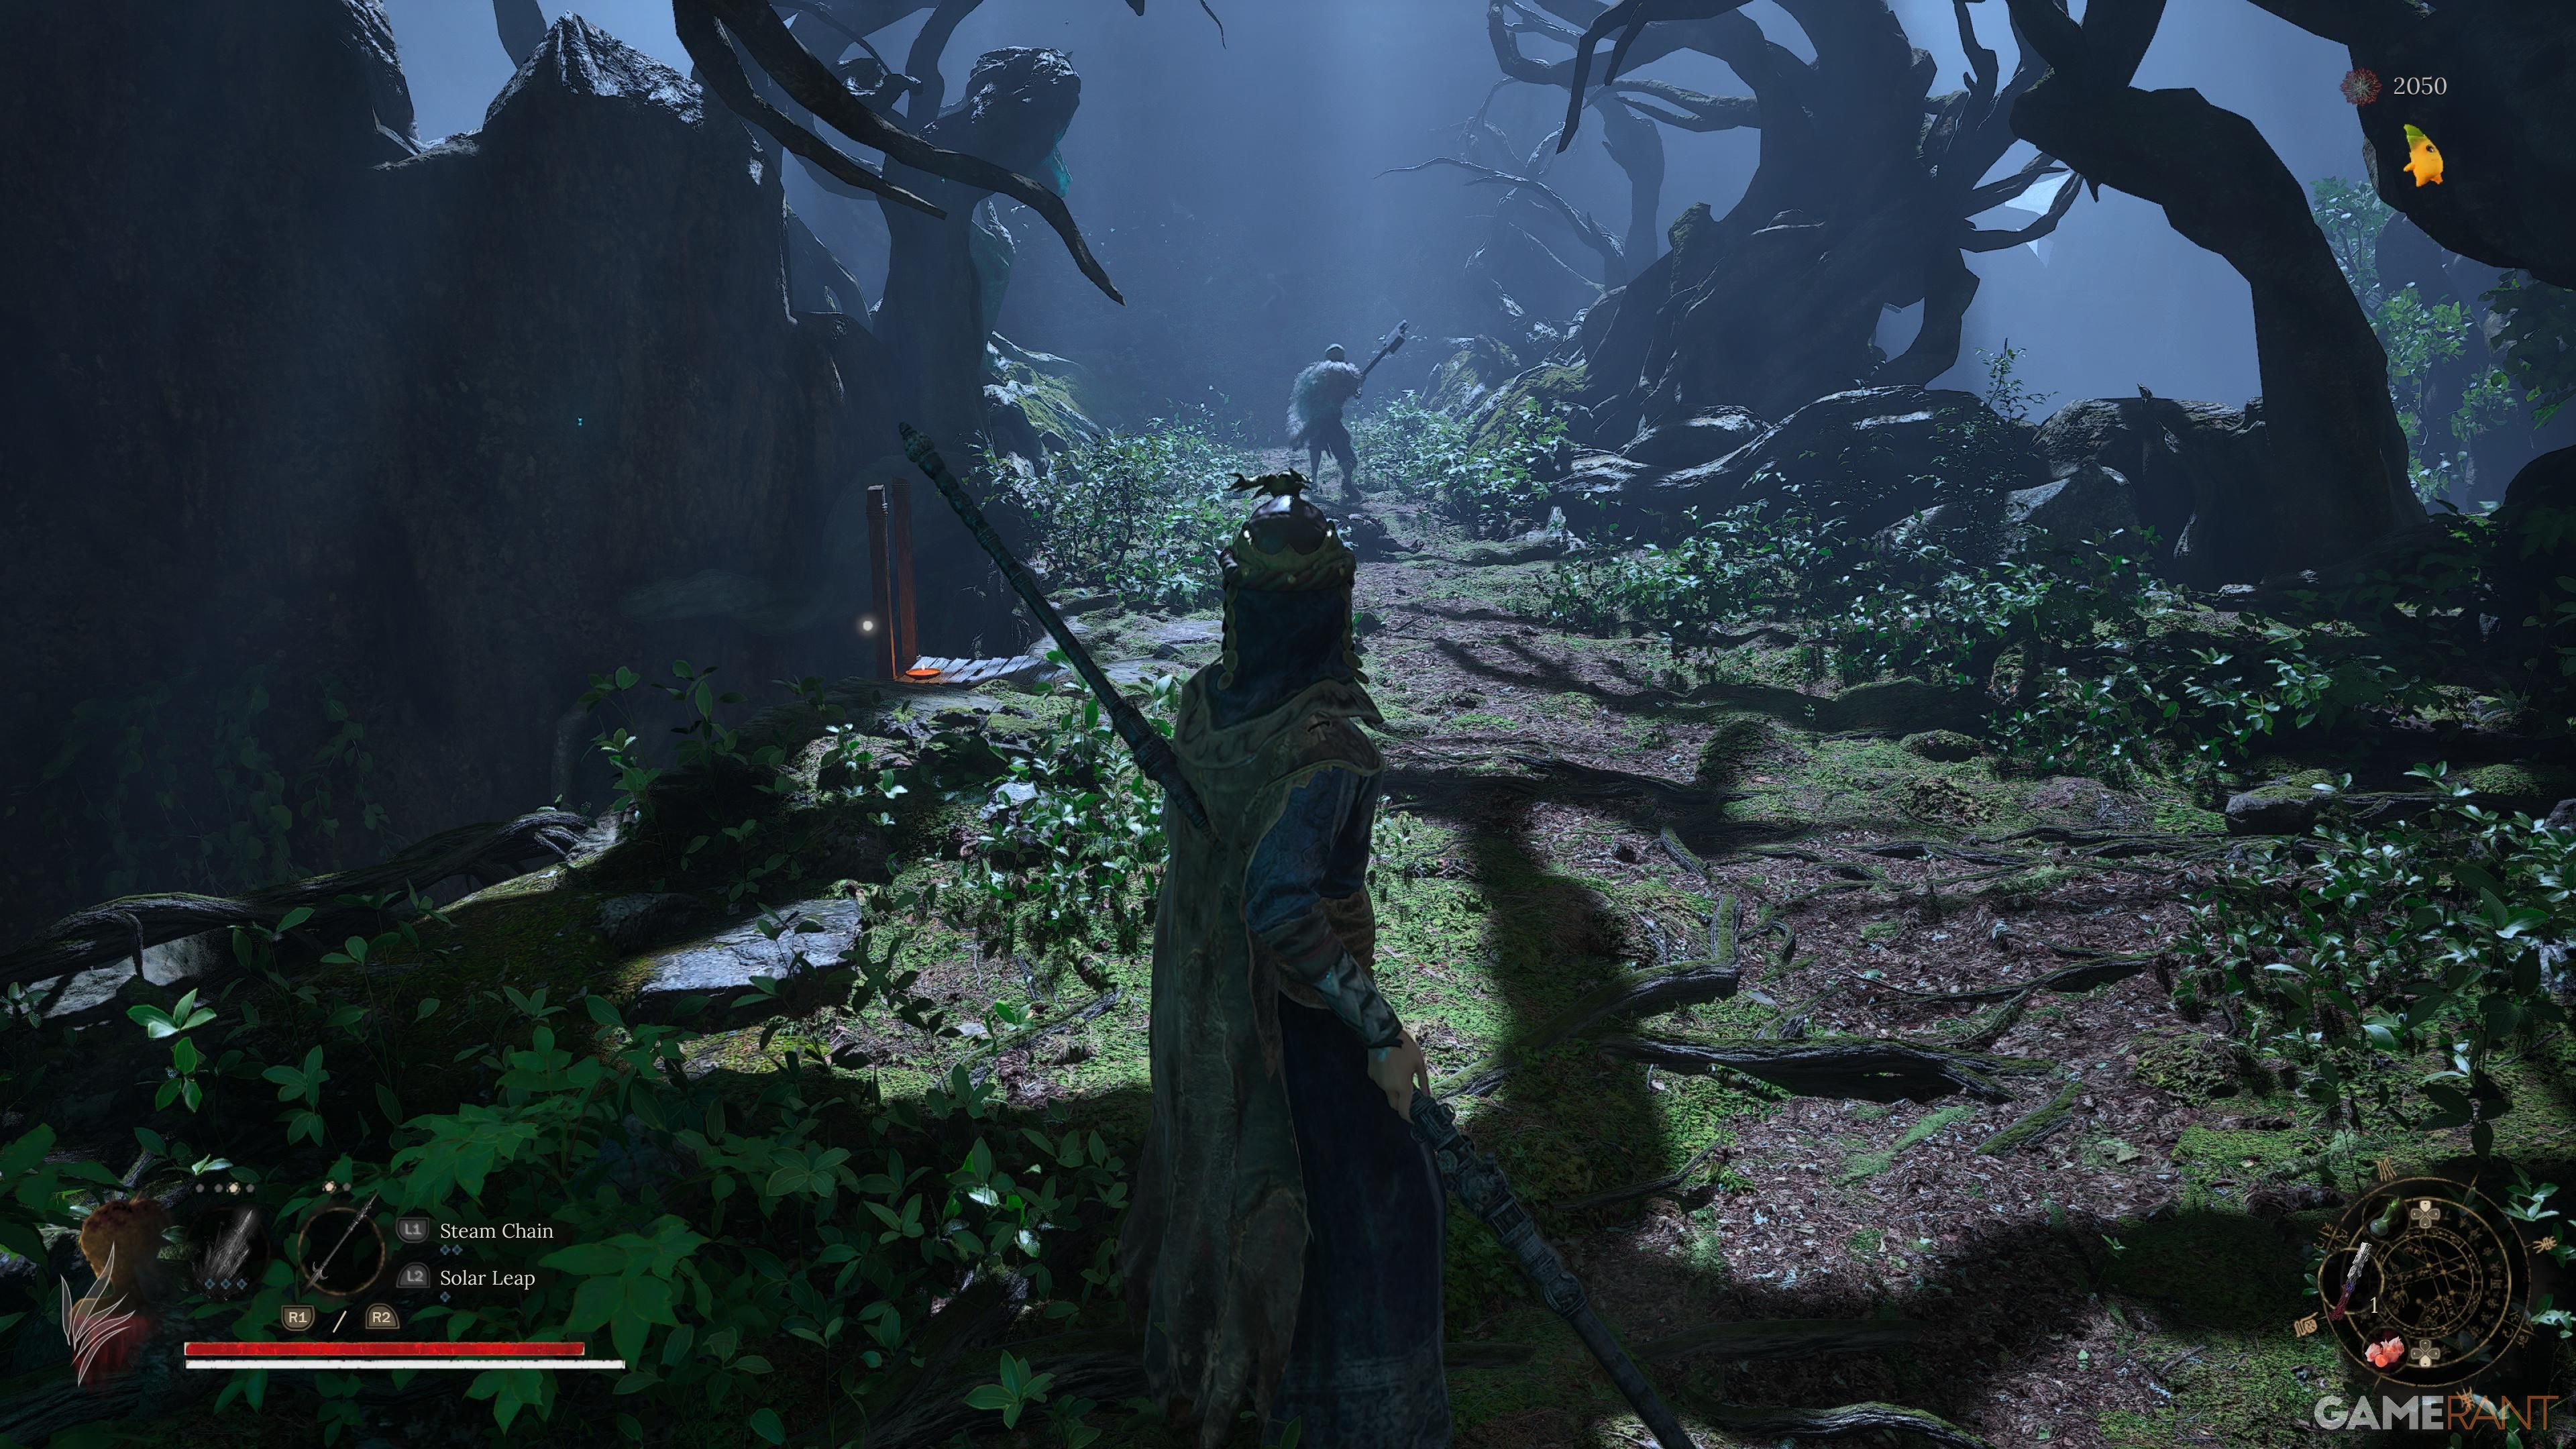

From the humble abode with its sacred shrine, I step out and ascend a short runged ladder. Following that, I scale a taller one. Instead of going higher, I take a detour down a path and then up another ladder to reach an elevated area where a pair of friendly adversaries reside on my right side.
You can knock down the tree on your right to make a shortcut for the Avian Dwelling shrine.
Make a beeline towards the location where the adversaries are clashing, then descend the ladder to encounter a powerful foe. Behind this foe, you’ll discover a big treasure chest.
Rush directly to the battlefield where enemies are engaged in combat, then look for a strong enemy by going down the ladder. The large treasure chest will be found behind this empowered adversary.
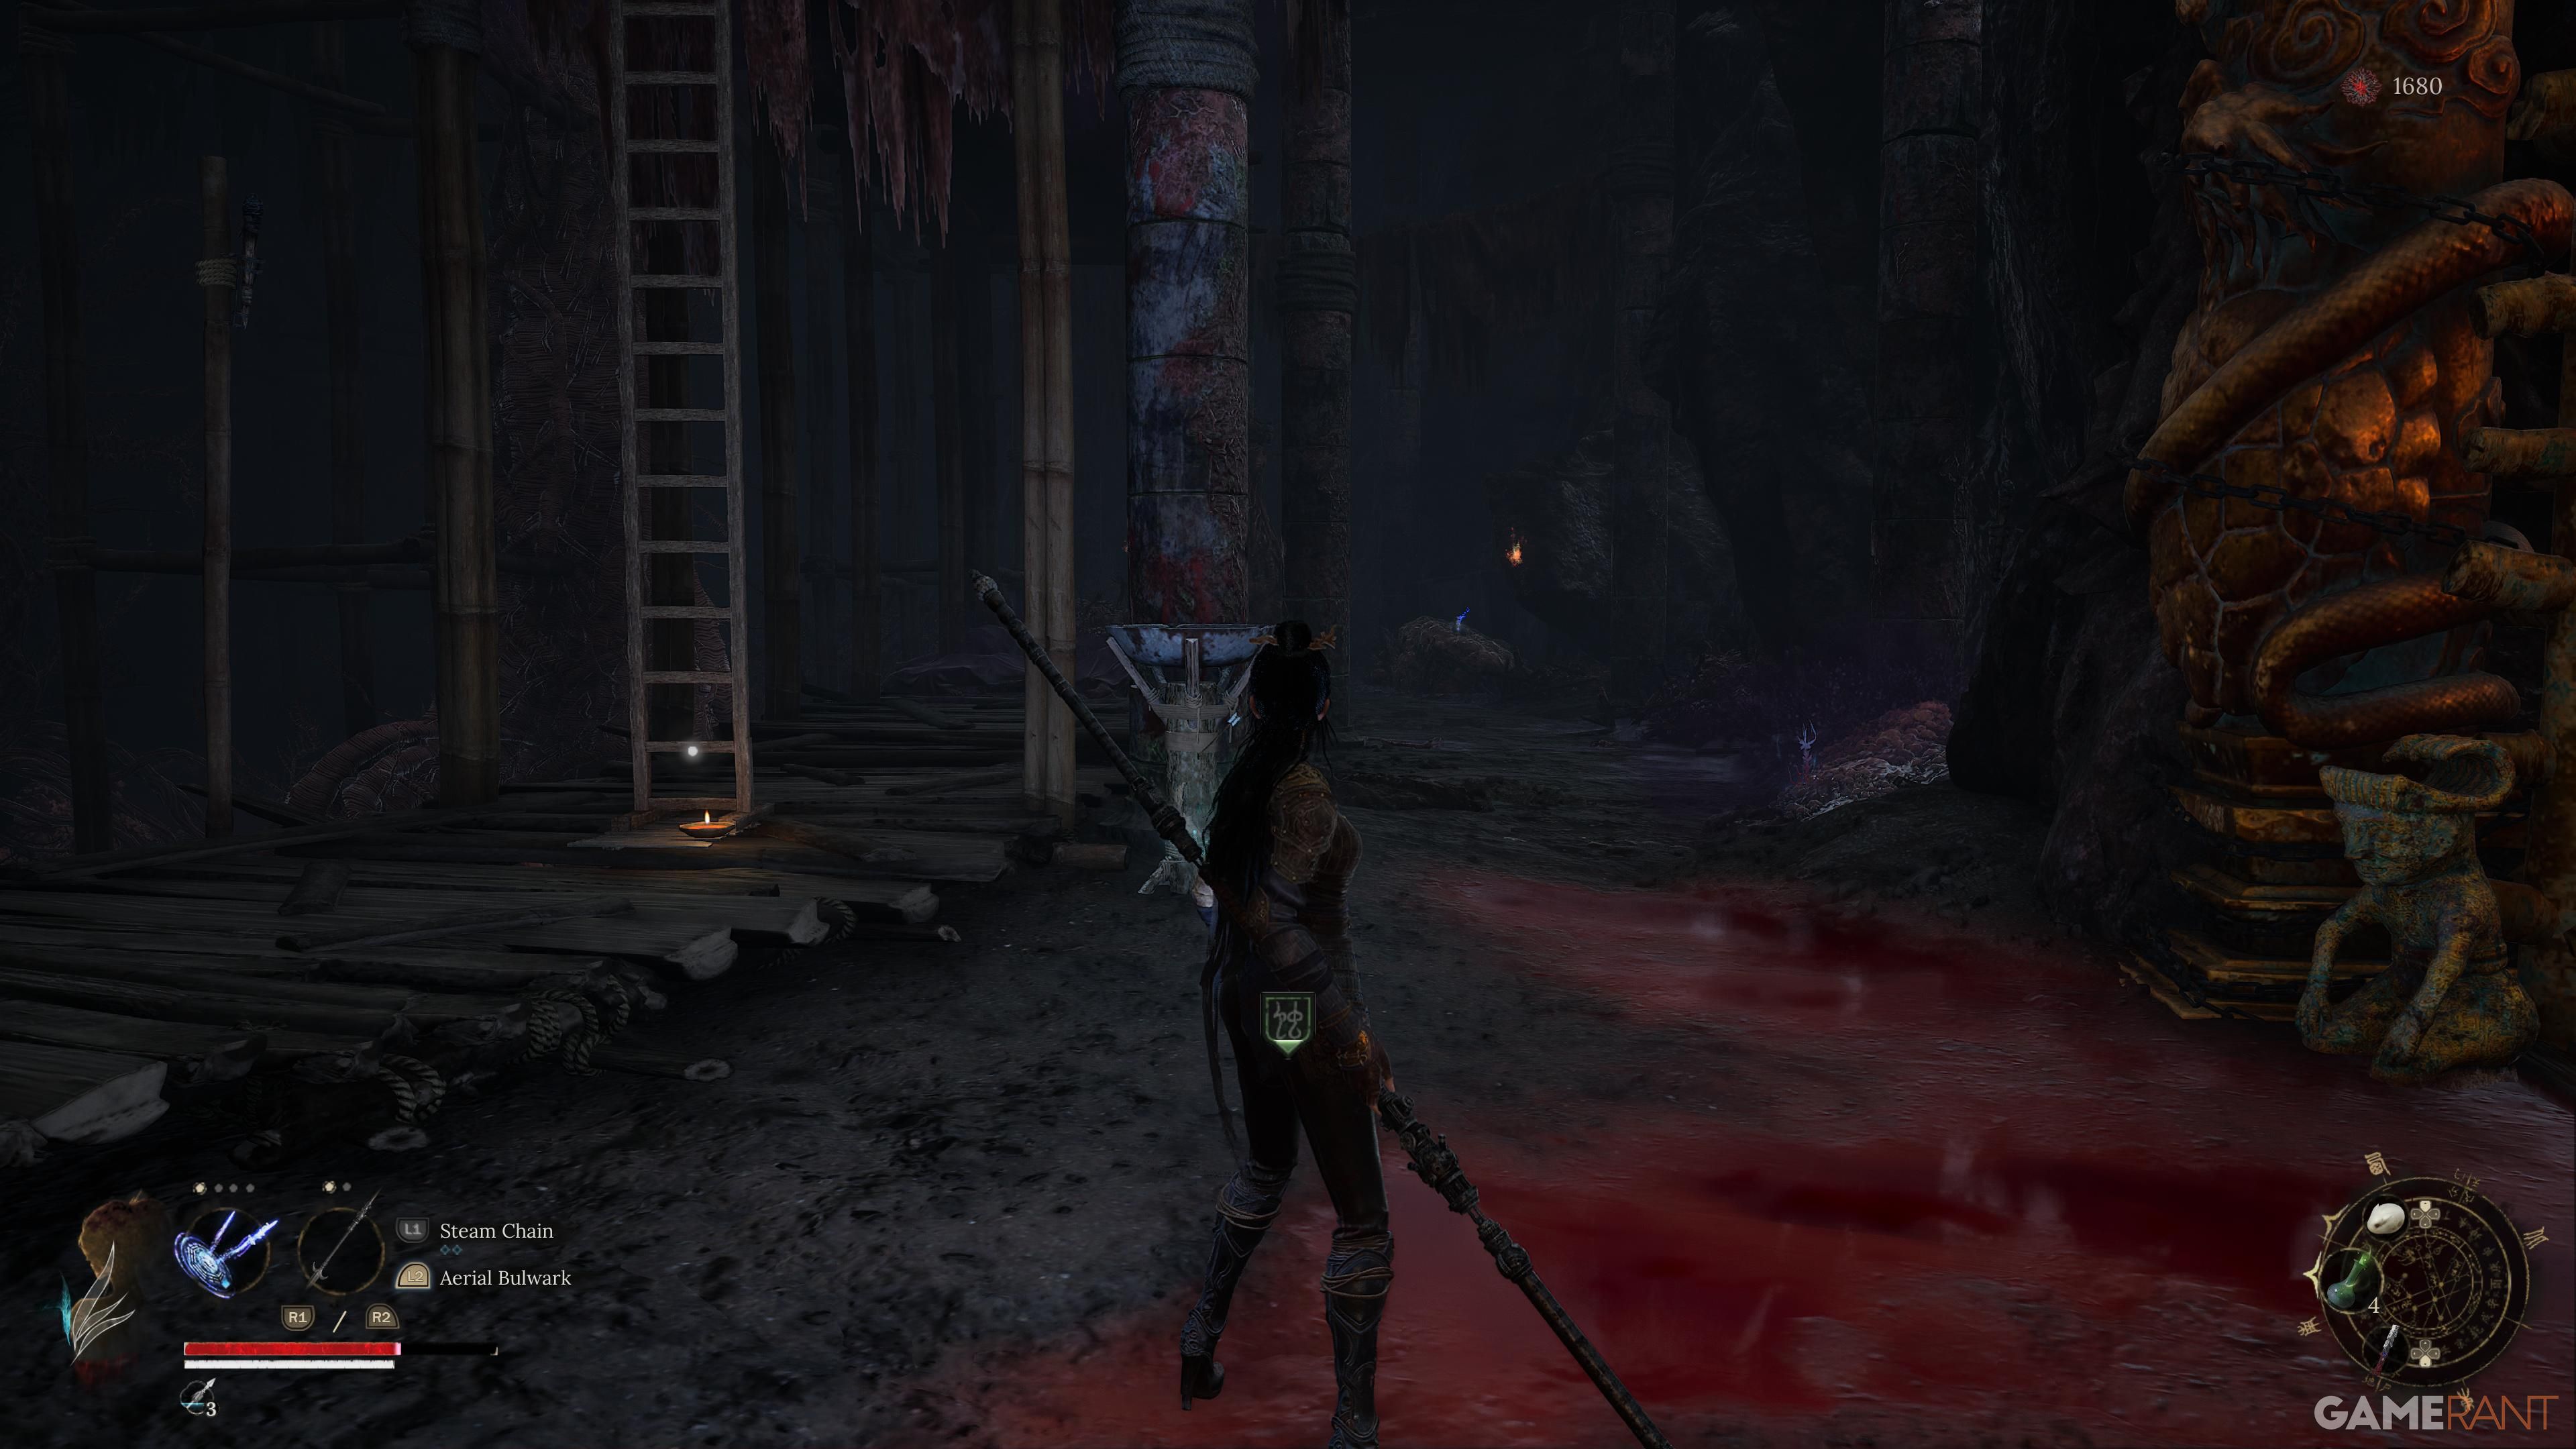
Zhenwu Antechamber (Mt. Zhenwu)
As I journey through this game world, I continue my path until I reach an elevator that descends into a hidden room offering a quick route to the Zhenwu Antechamber shrine. After returning to the surface via the elevator, I follow a straight path to encounter a fiery adversary, a fire dancer. Overcoming this challenge, I proceed down the stairs and find a sturdy ladder that leads me to the location of a large chest, which I had previously noticed during my initial exploration but was inaccessible due to bars.
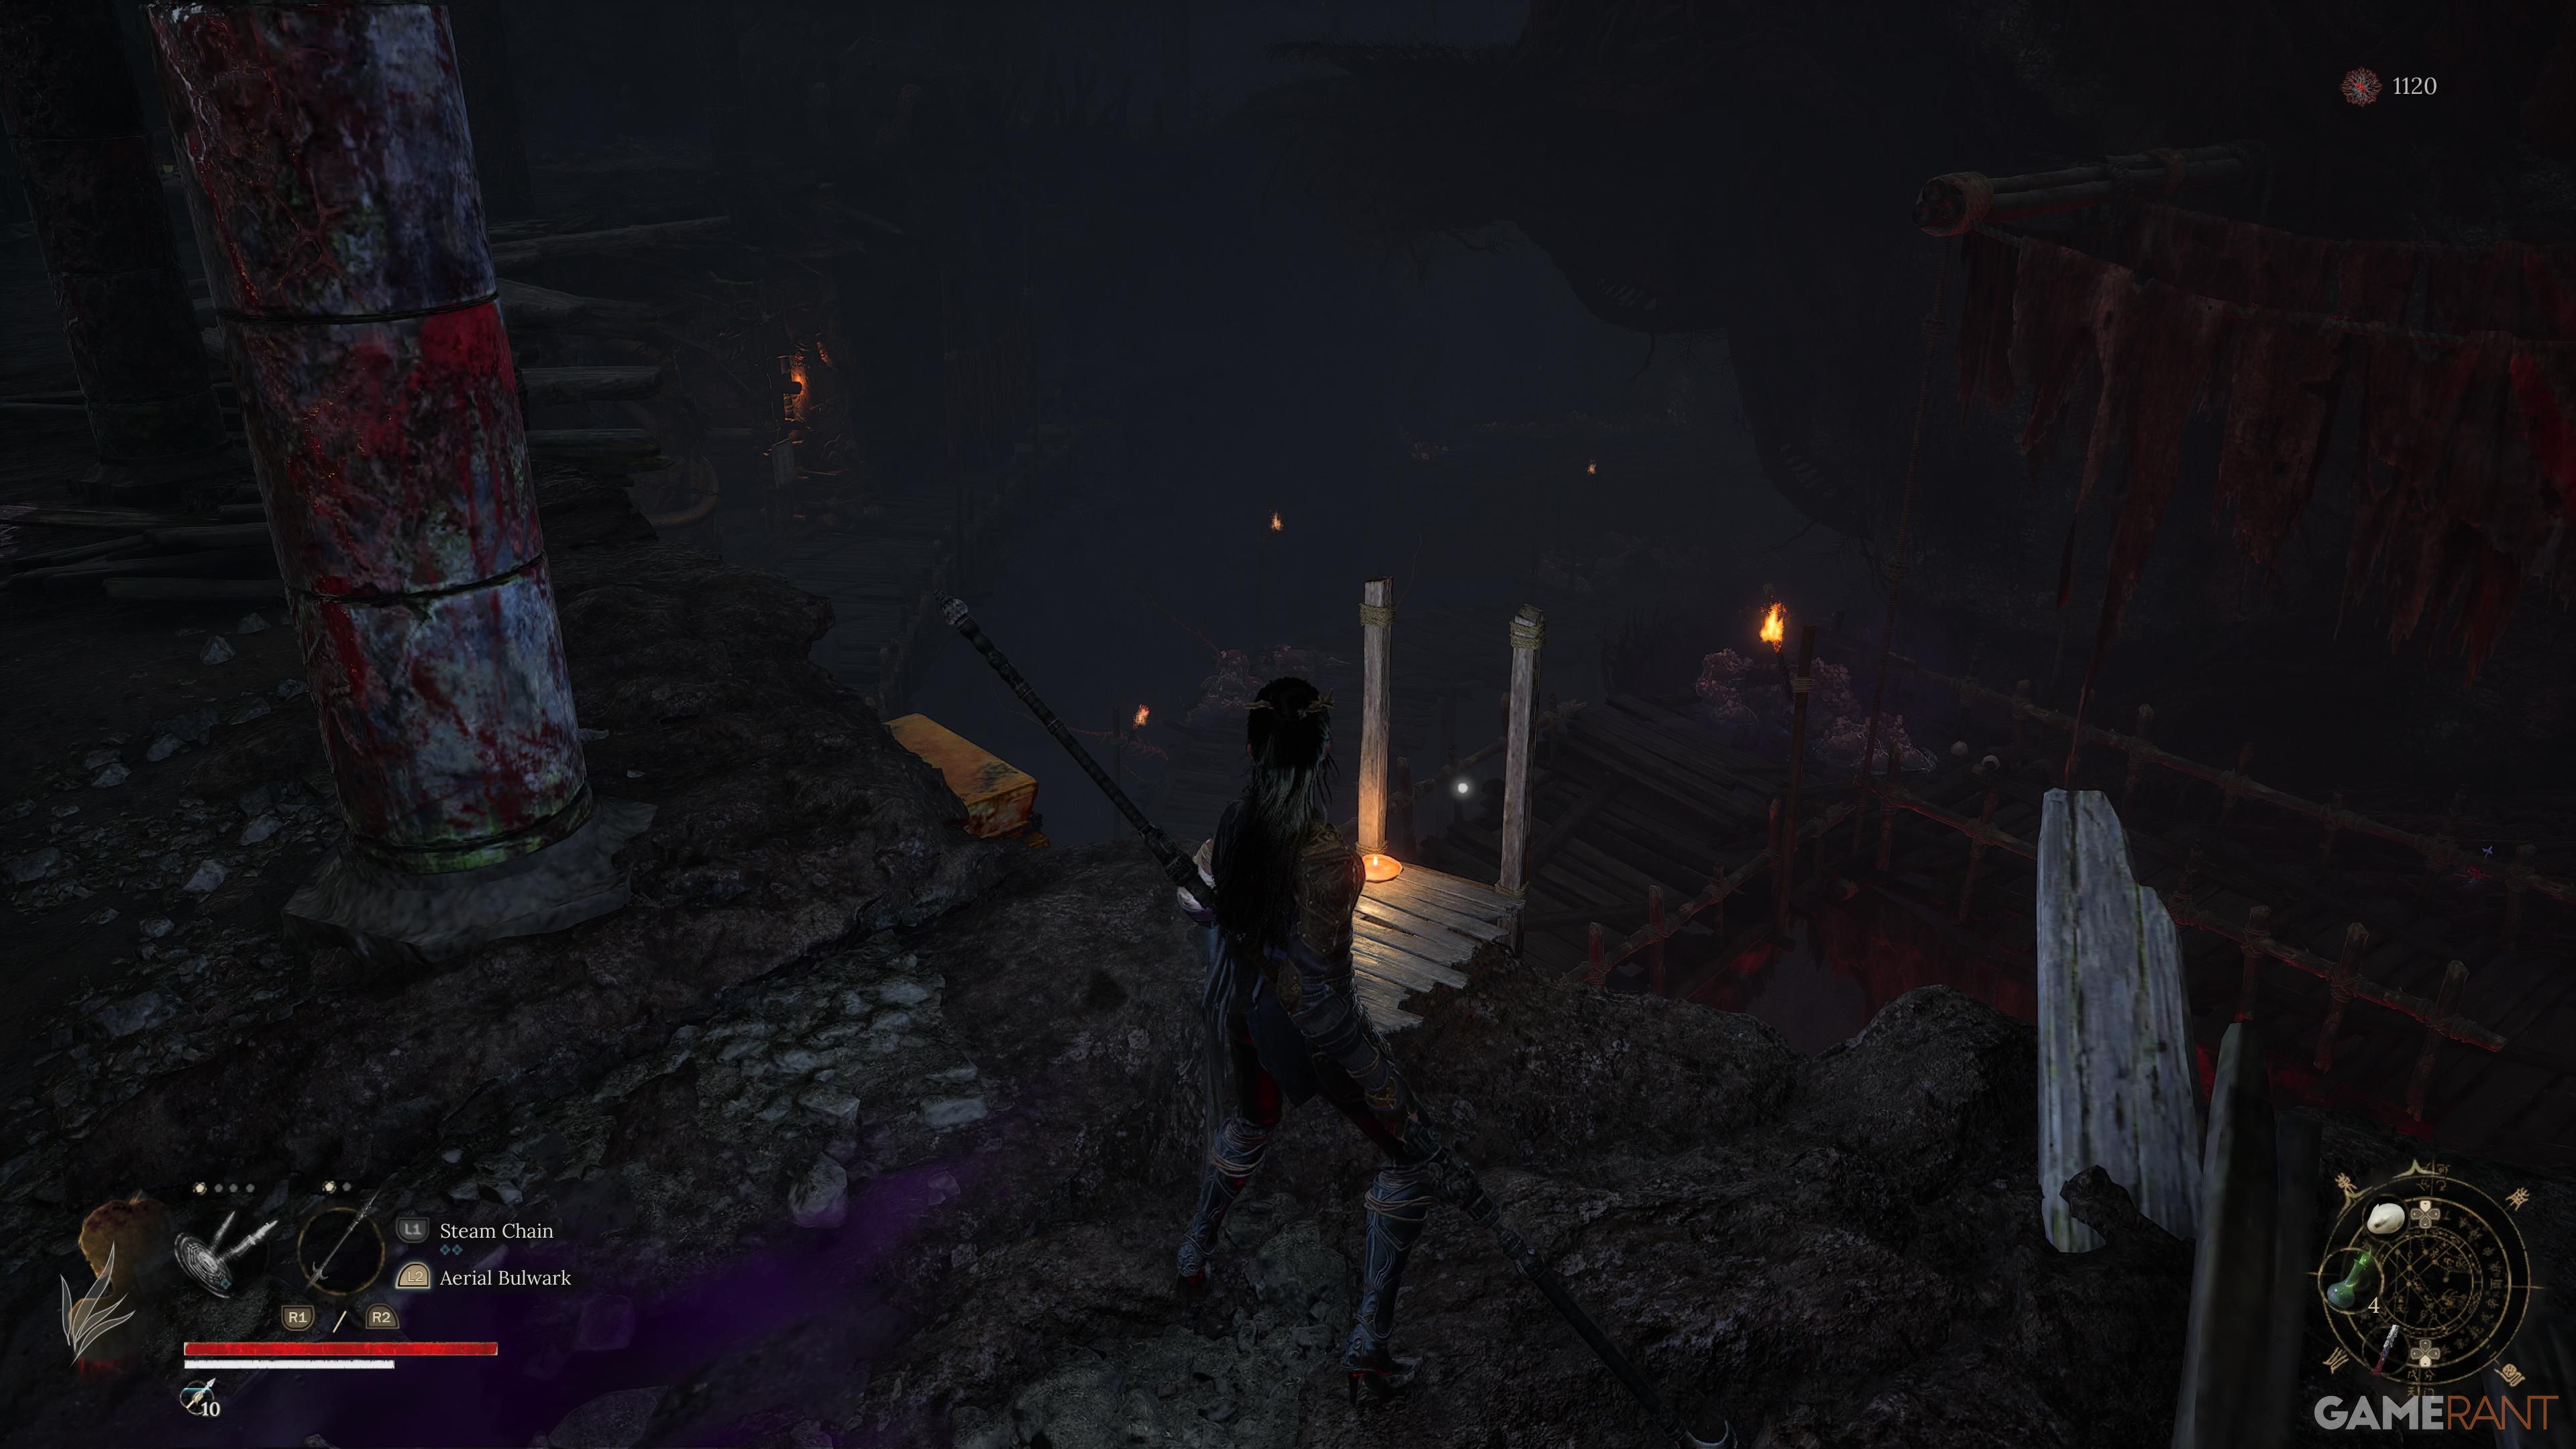
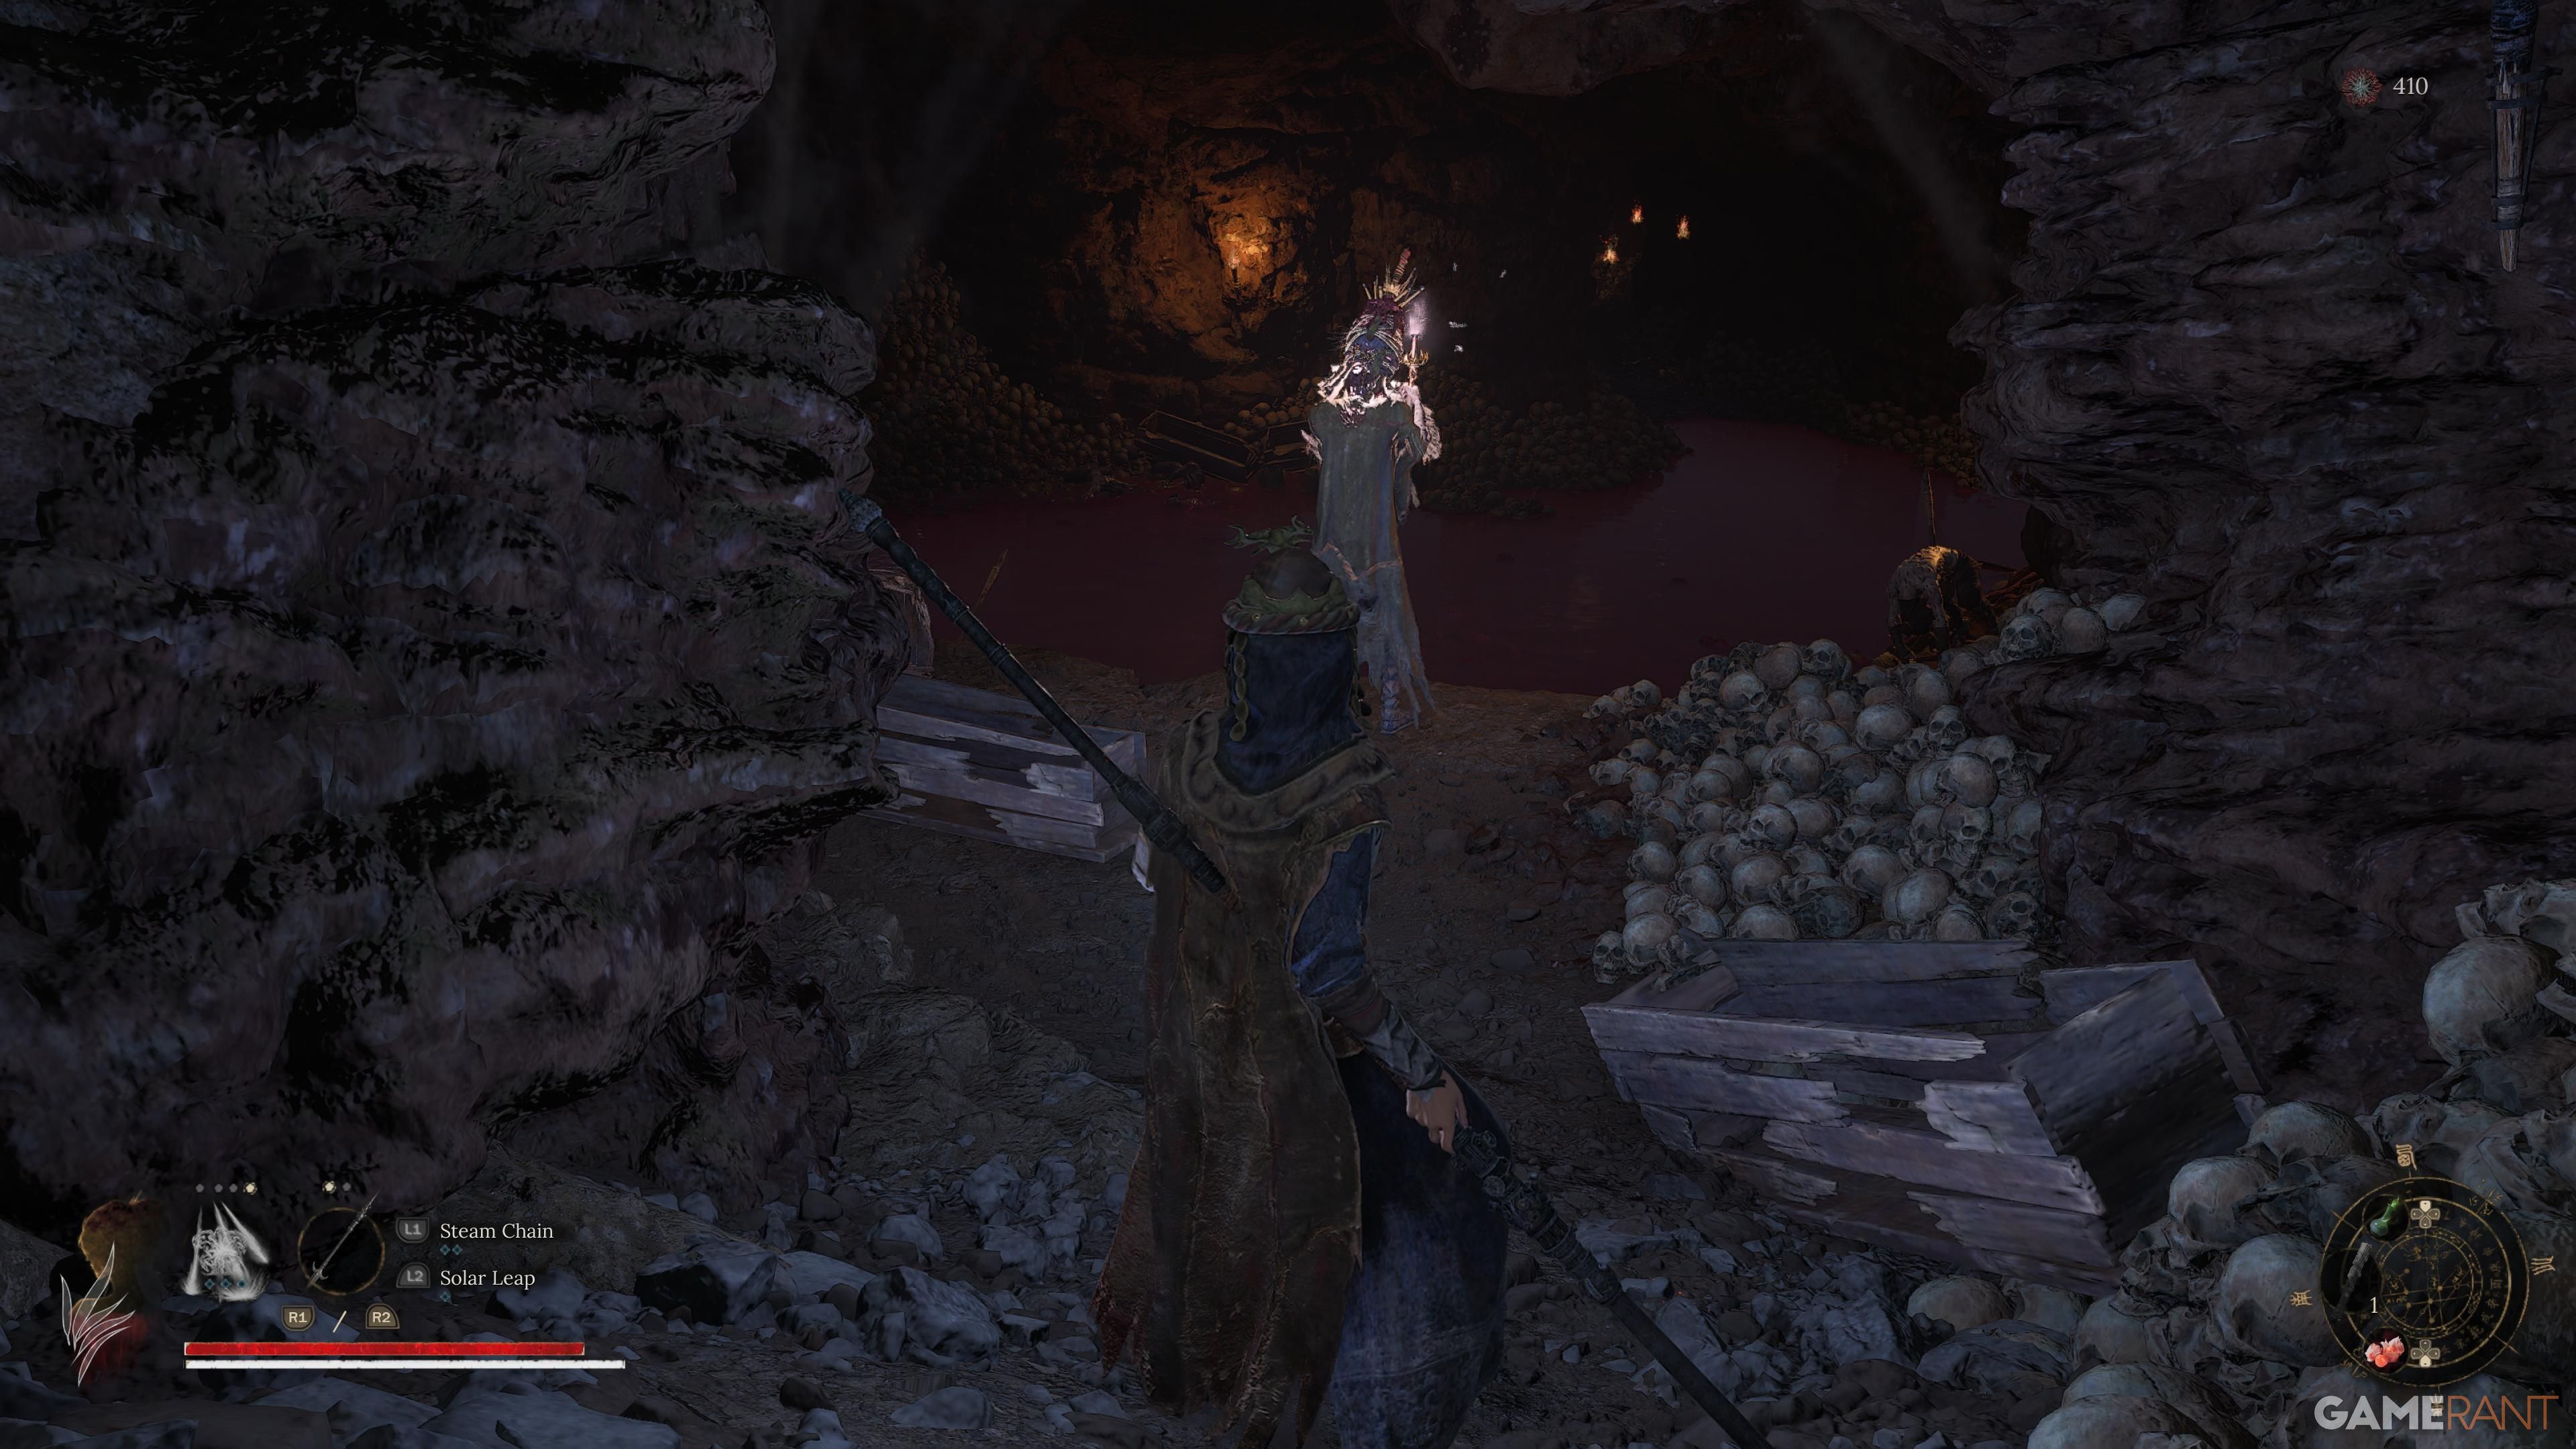
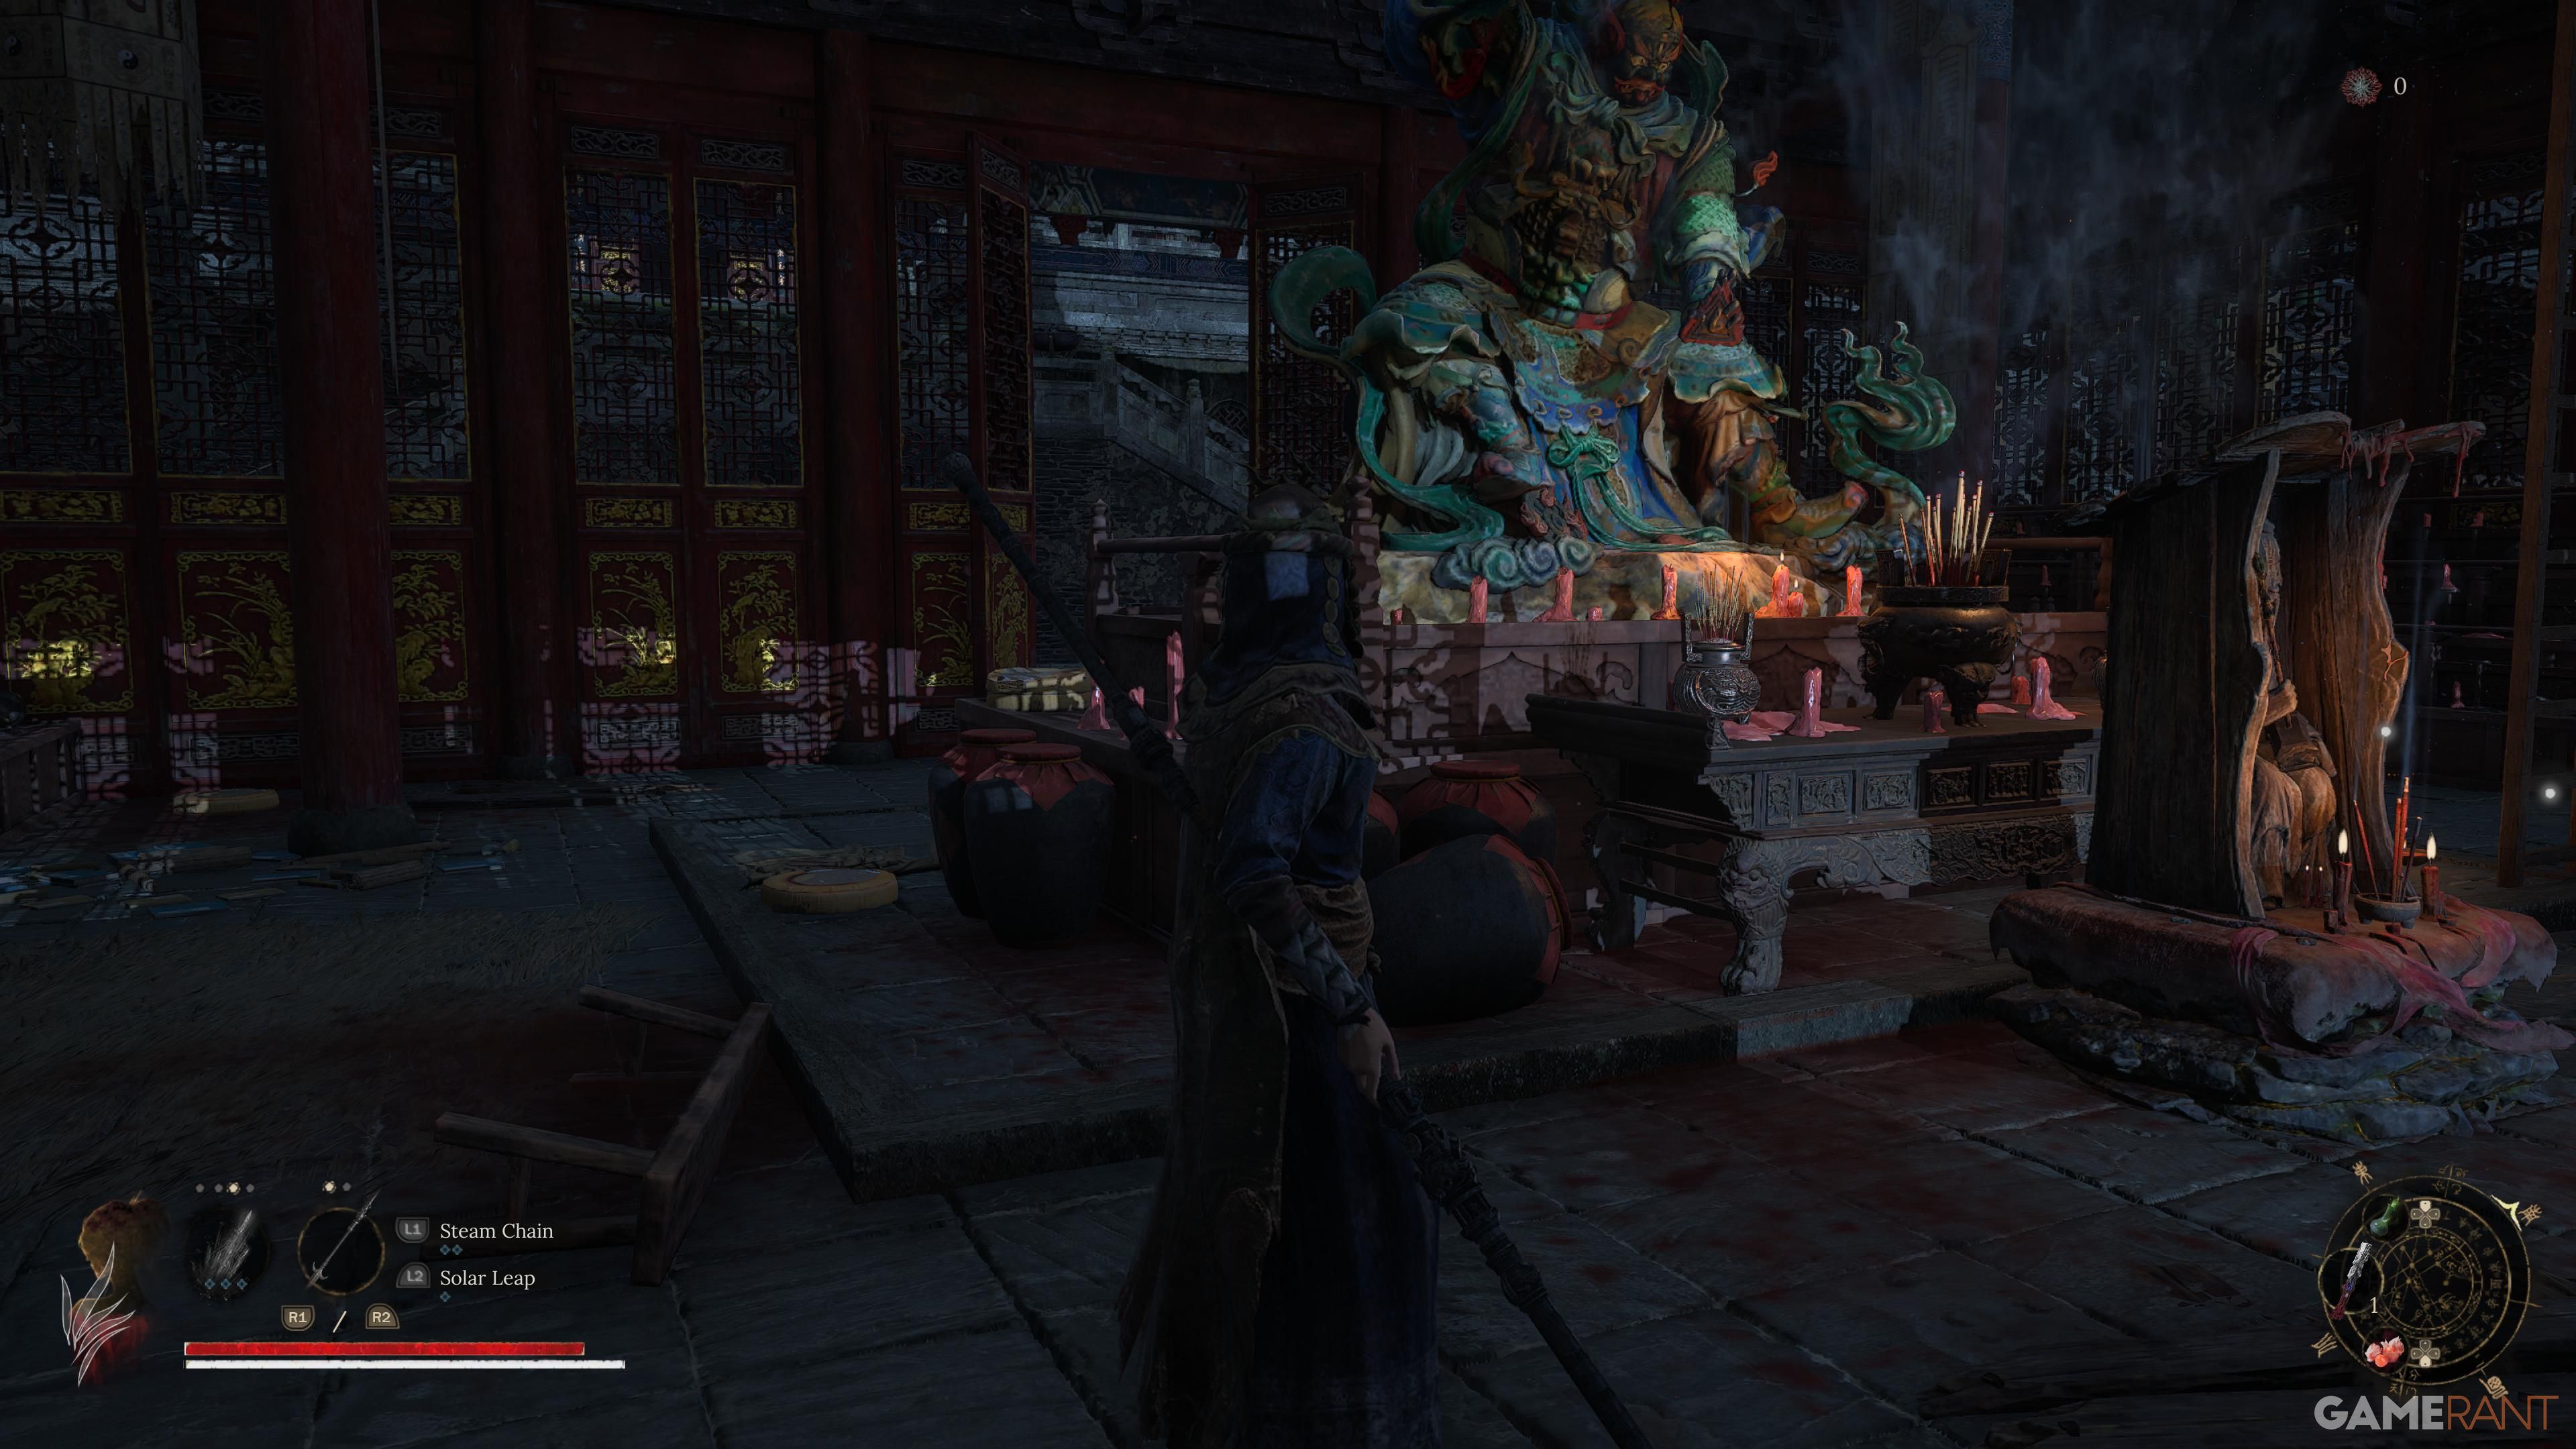
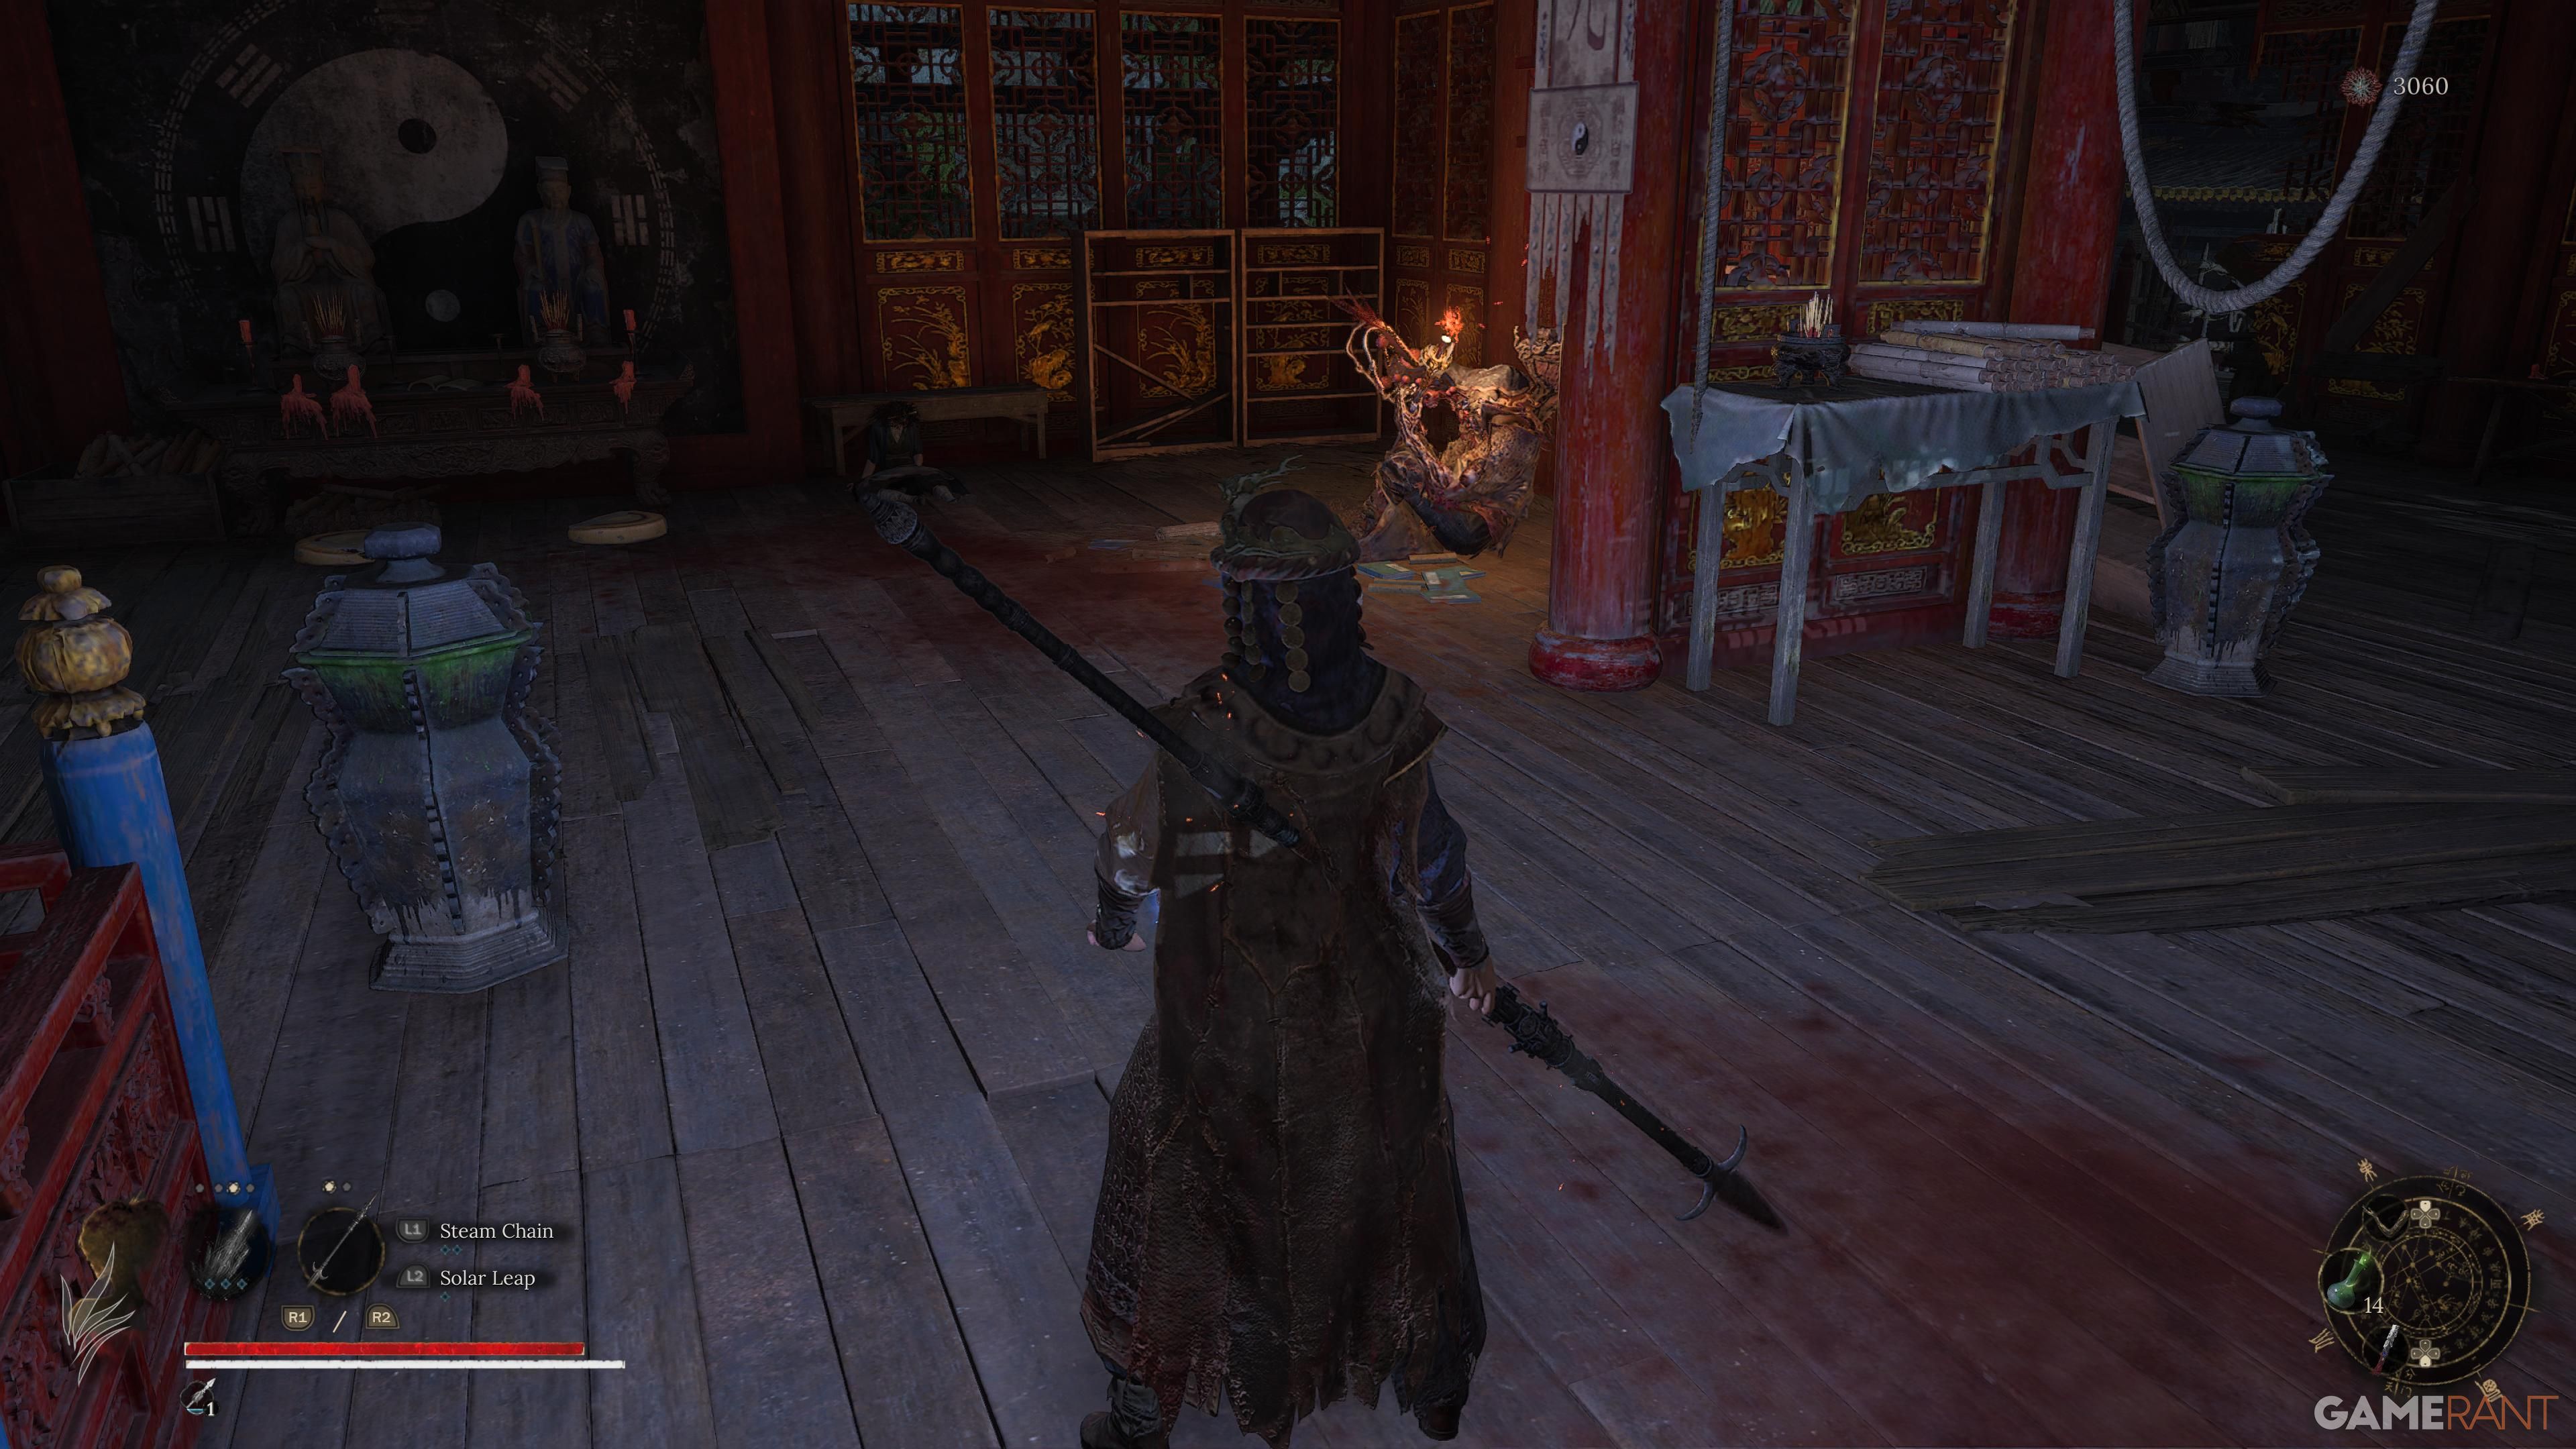
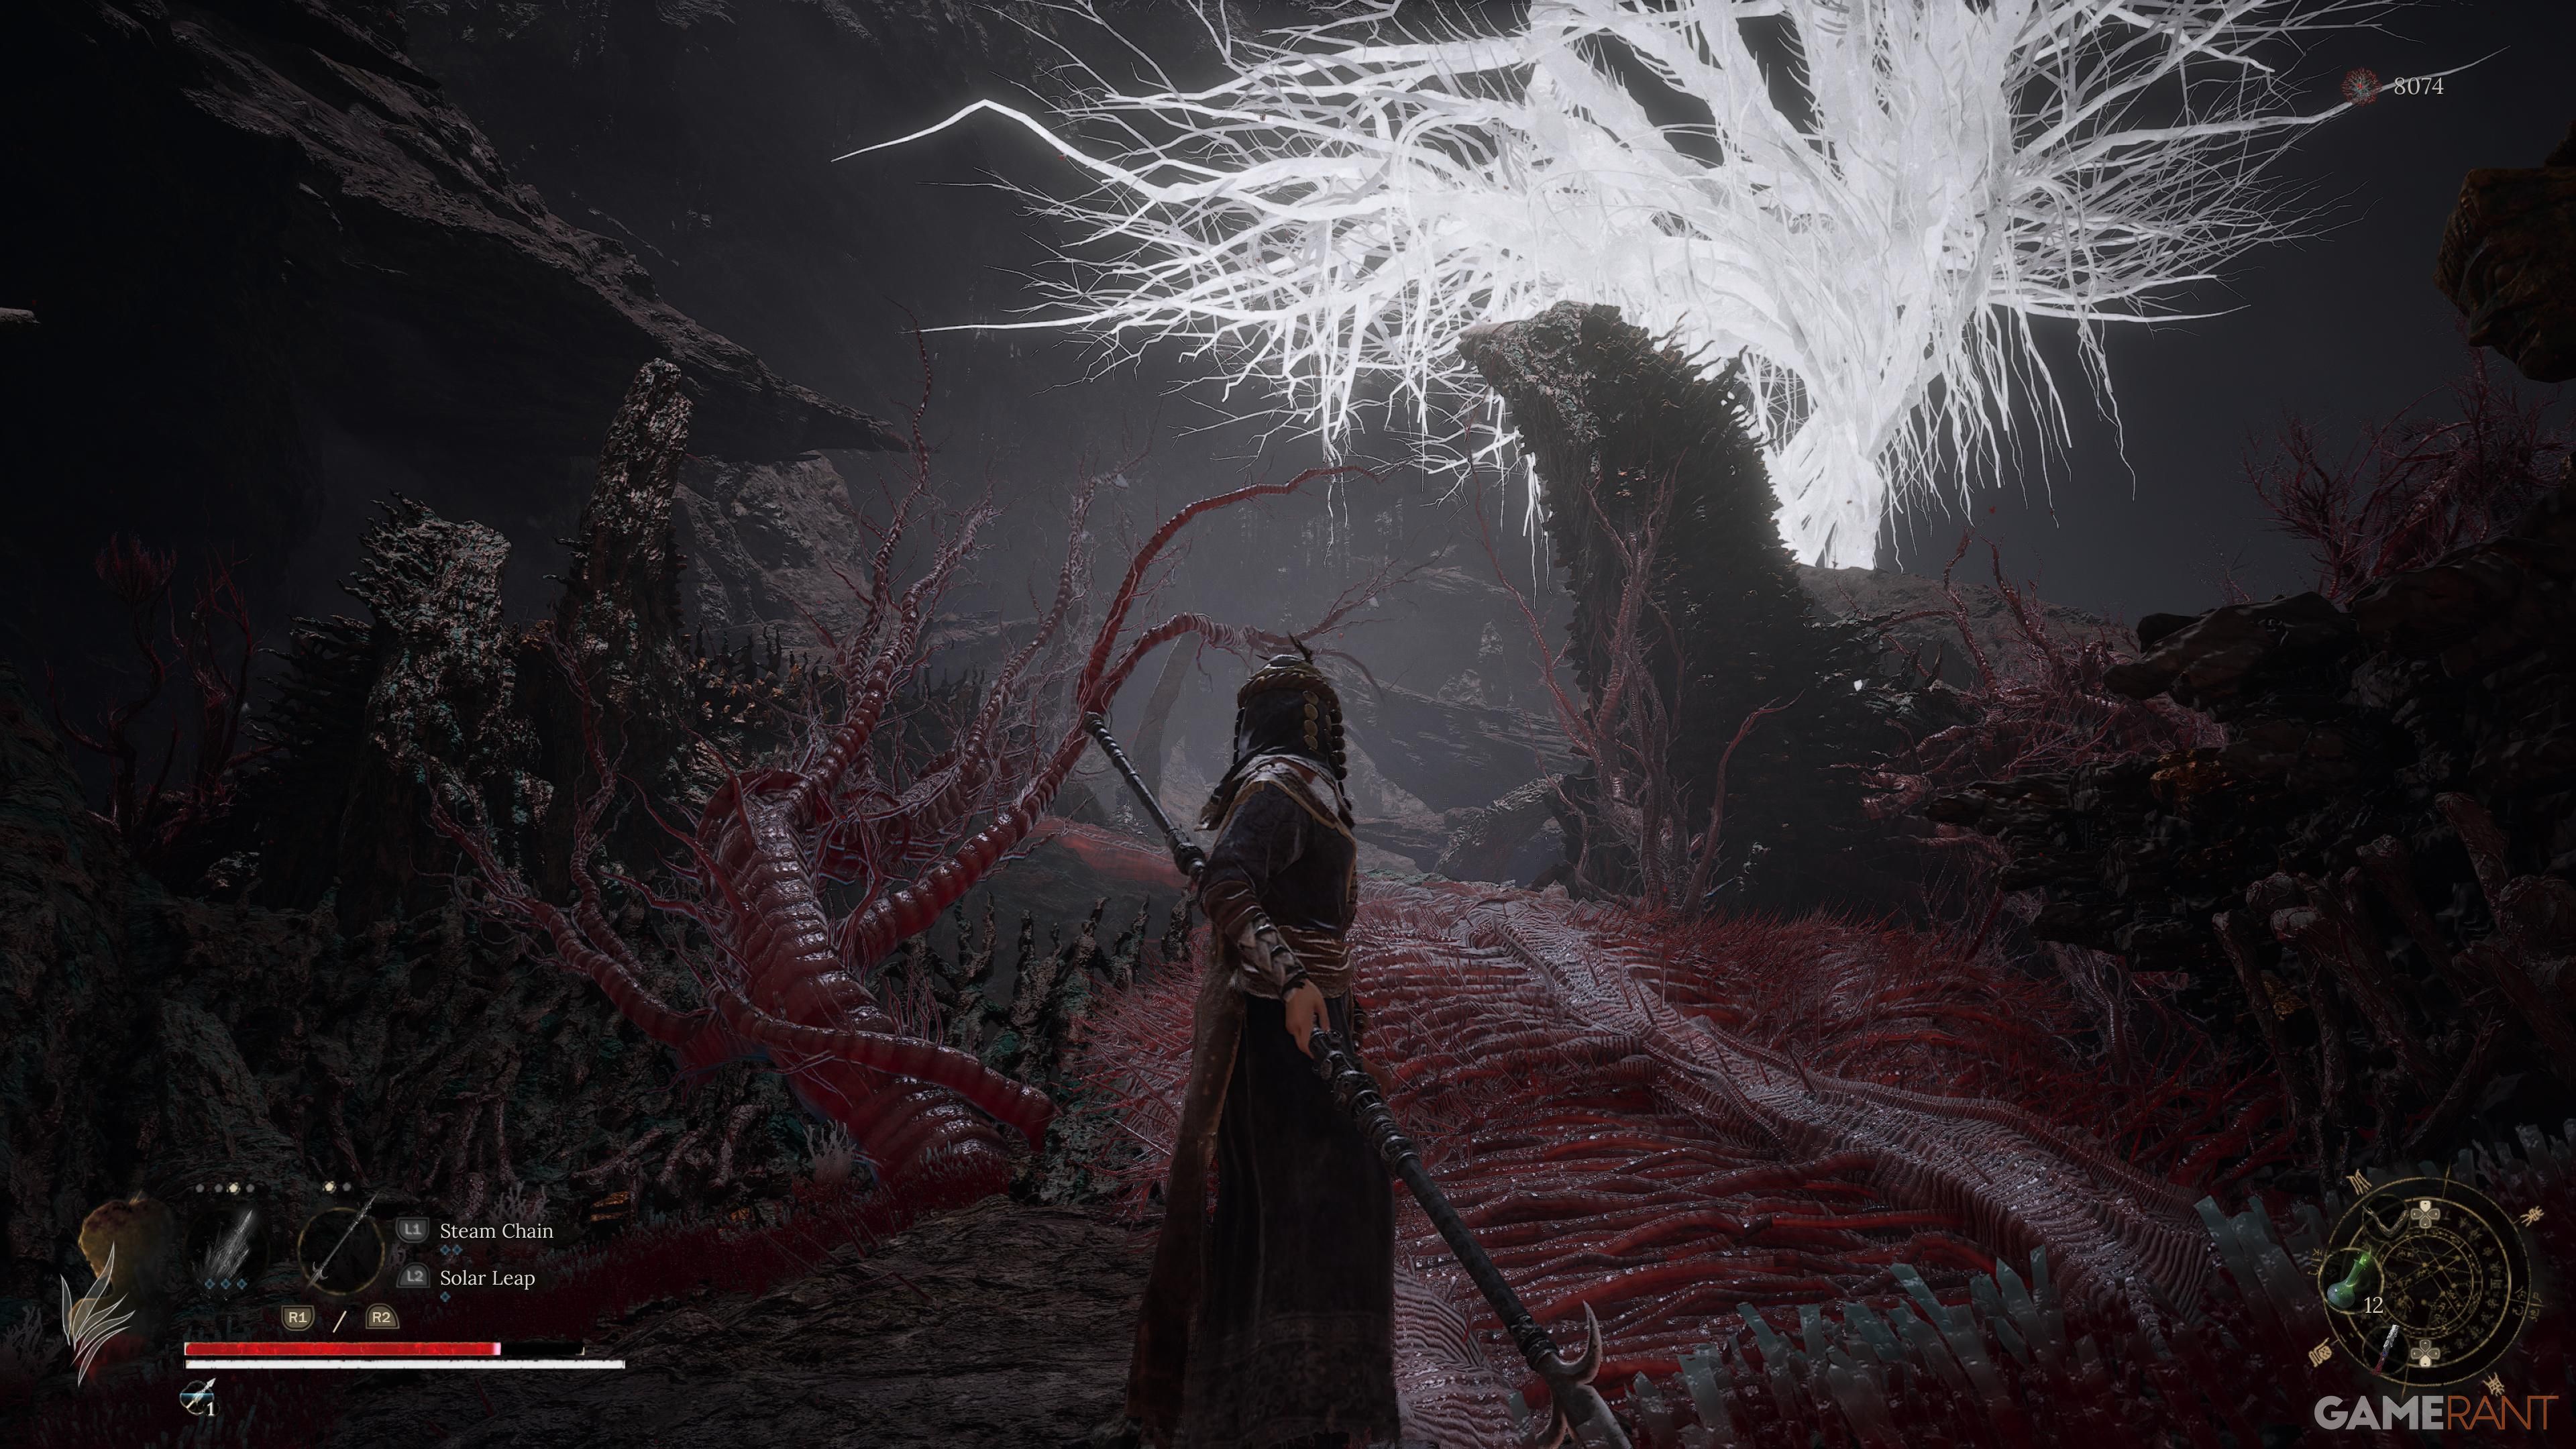
Burning Cavern (Worship’s Rise in Ruins)
Beginning at the sanctuary, ascend the stairs and venture into the fiery cavern ahead. Move to your right as you approach the area that spawns adversaries. In the farthest corner on the right side, you’ll see a substantial chest, which contains the second-to-last set of Lost Remains.
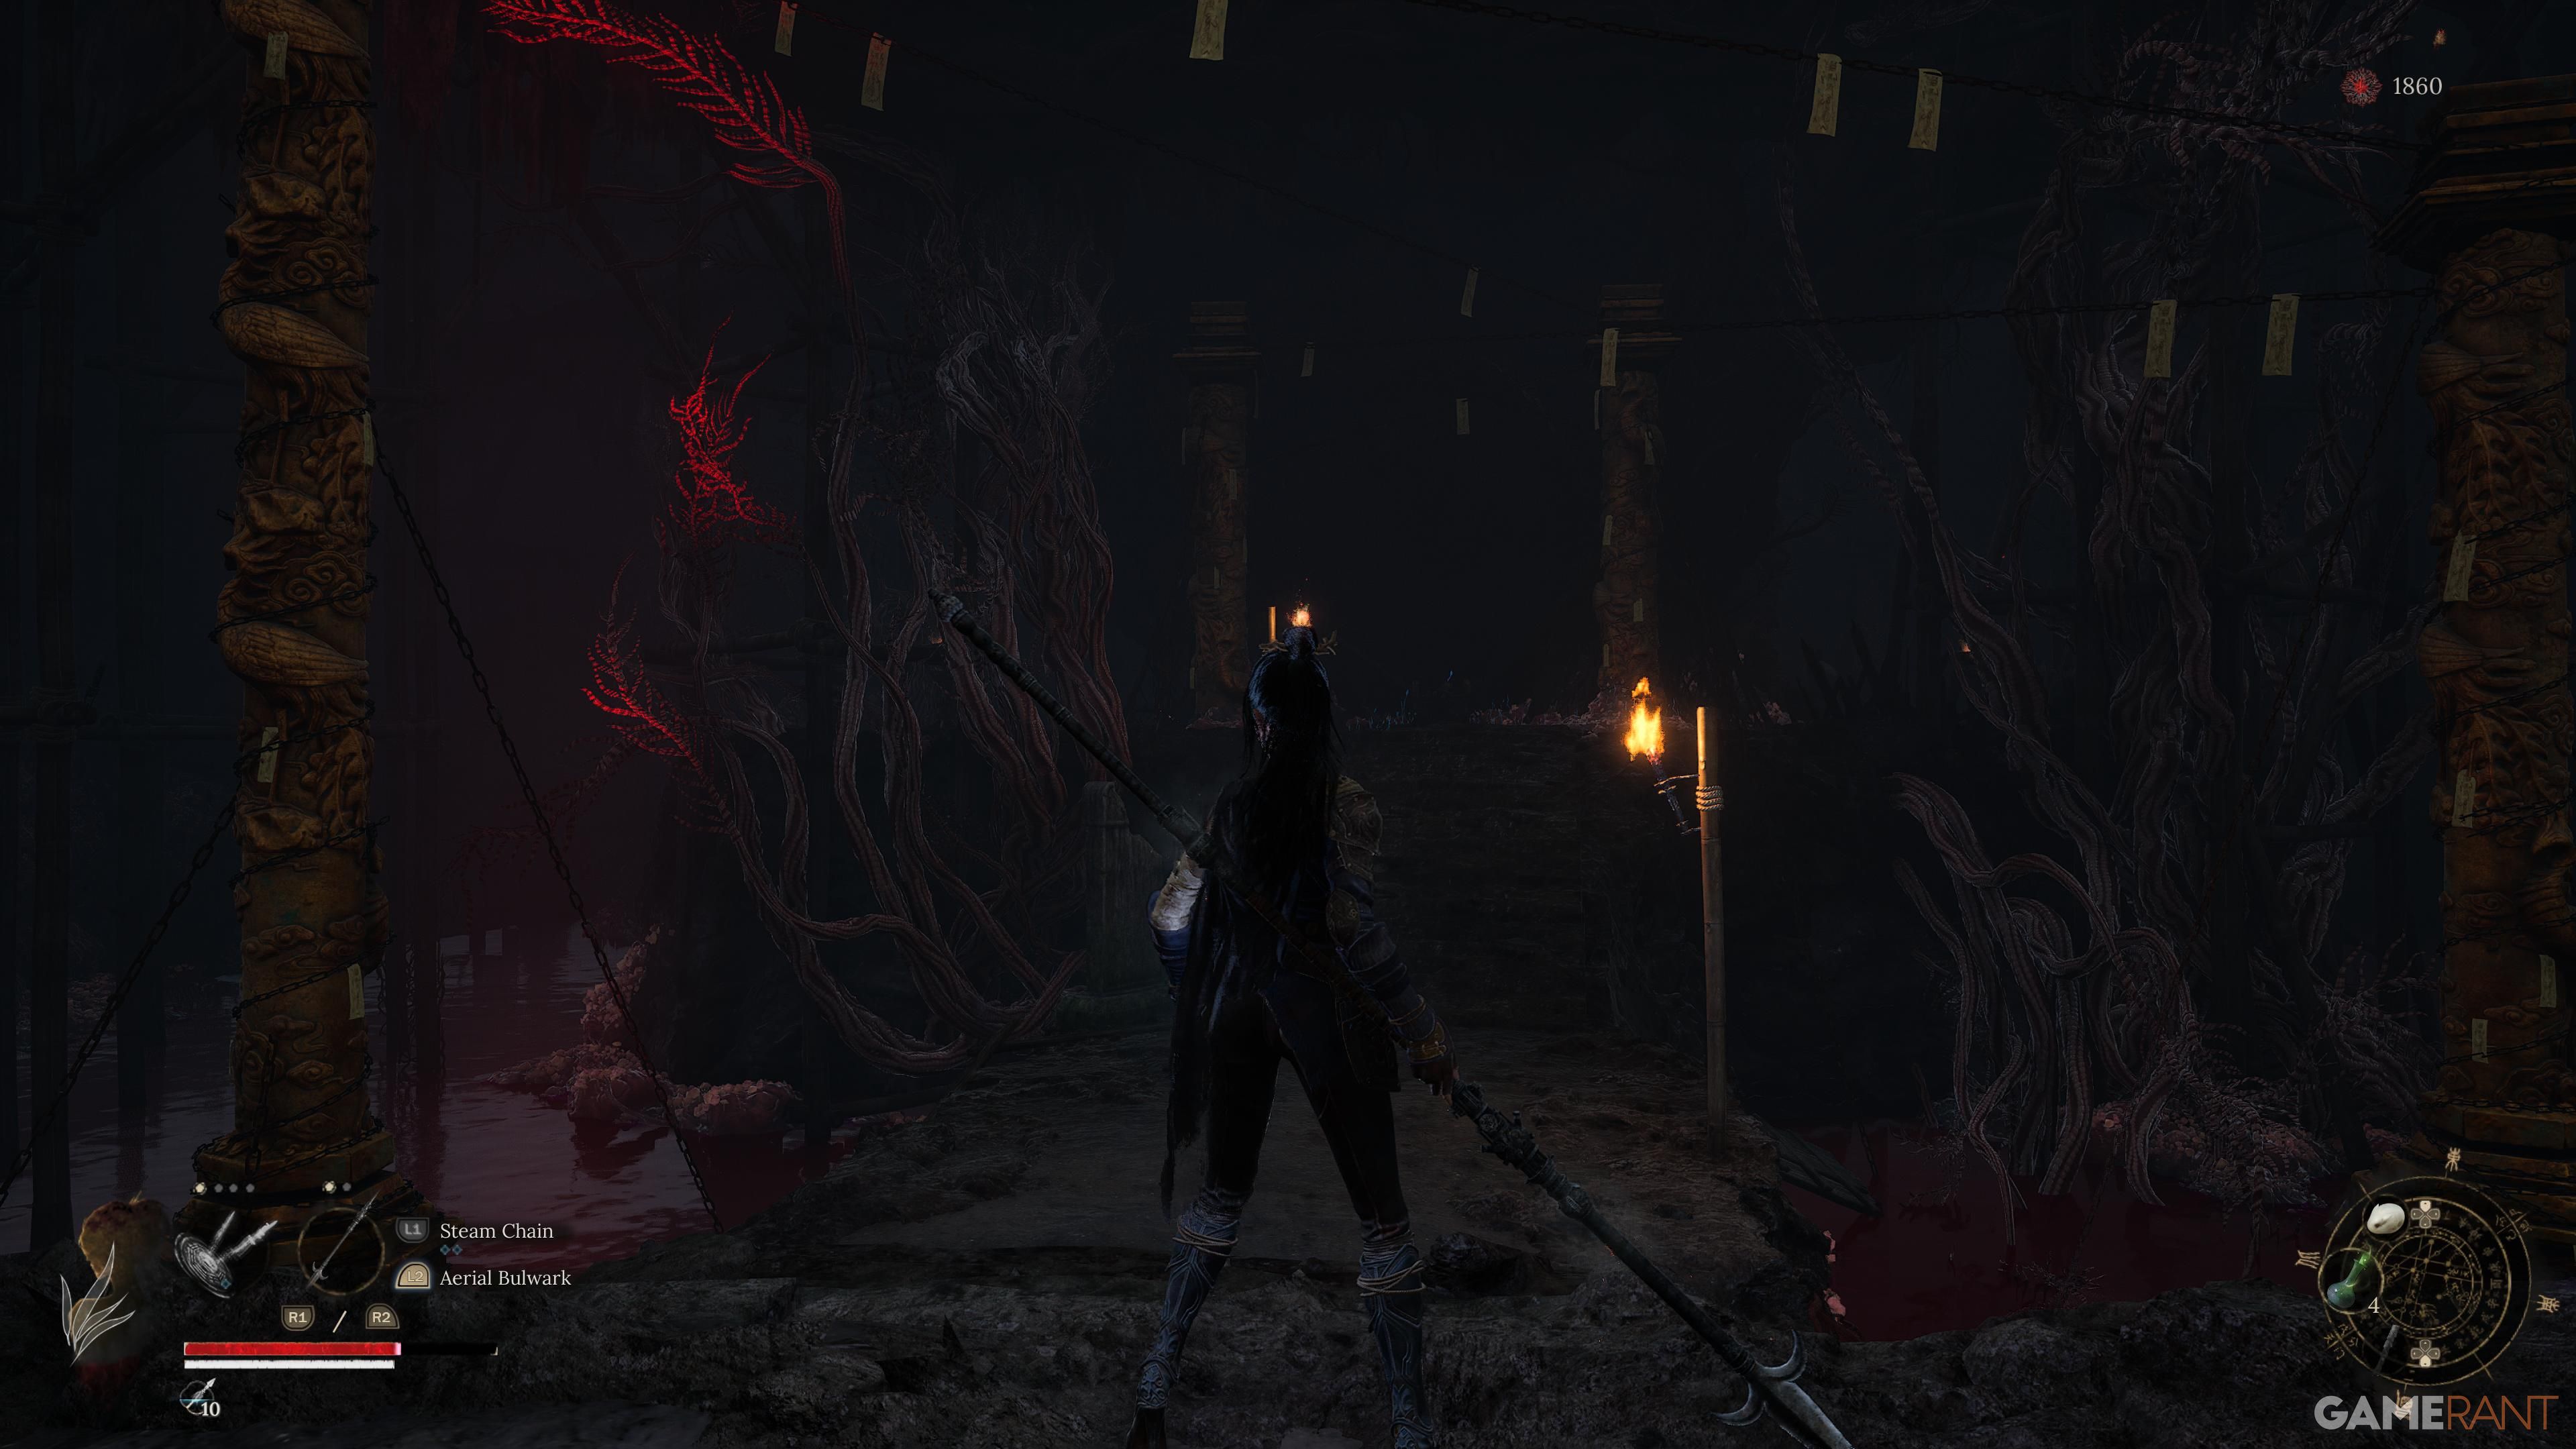
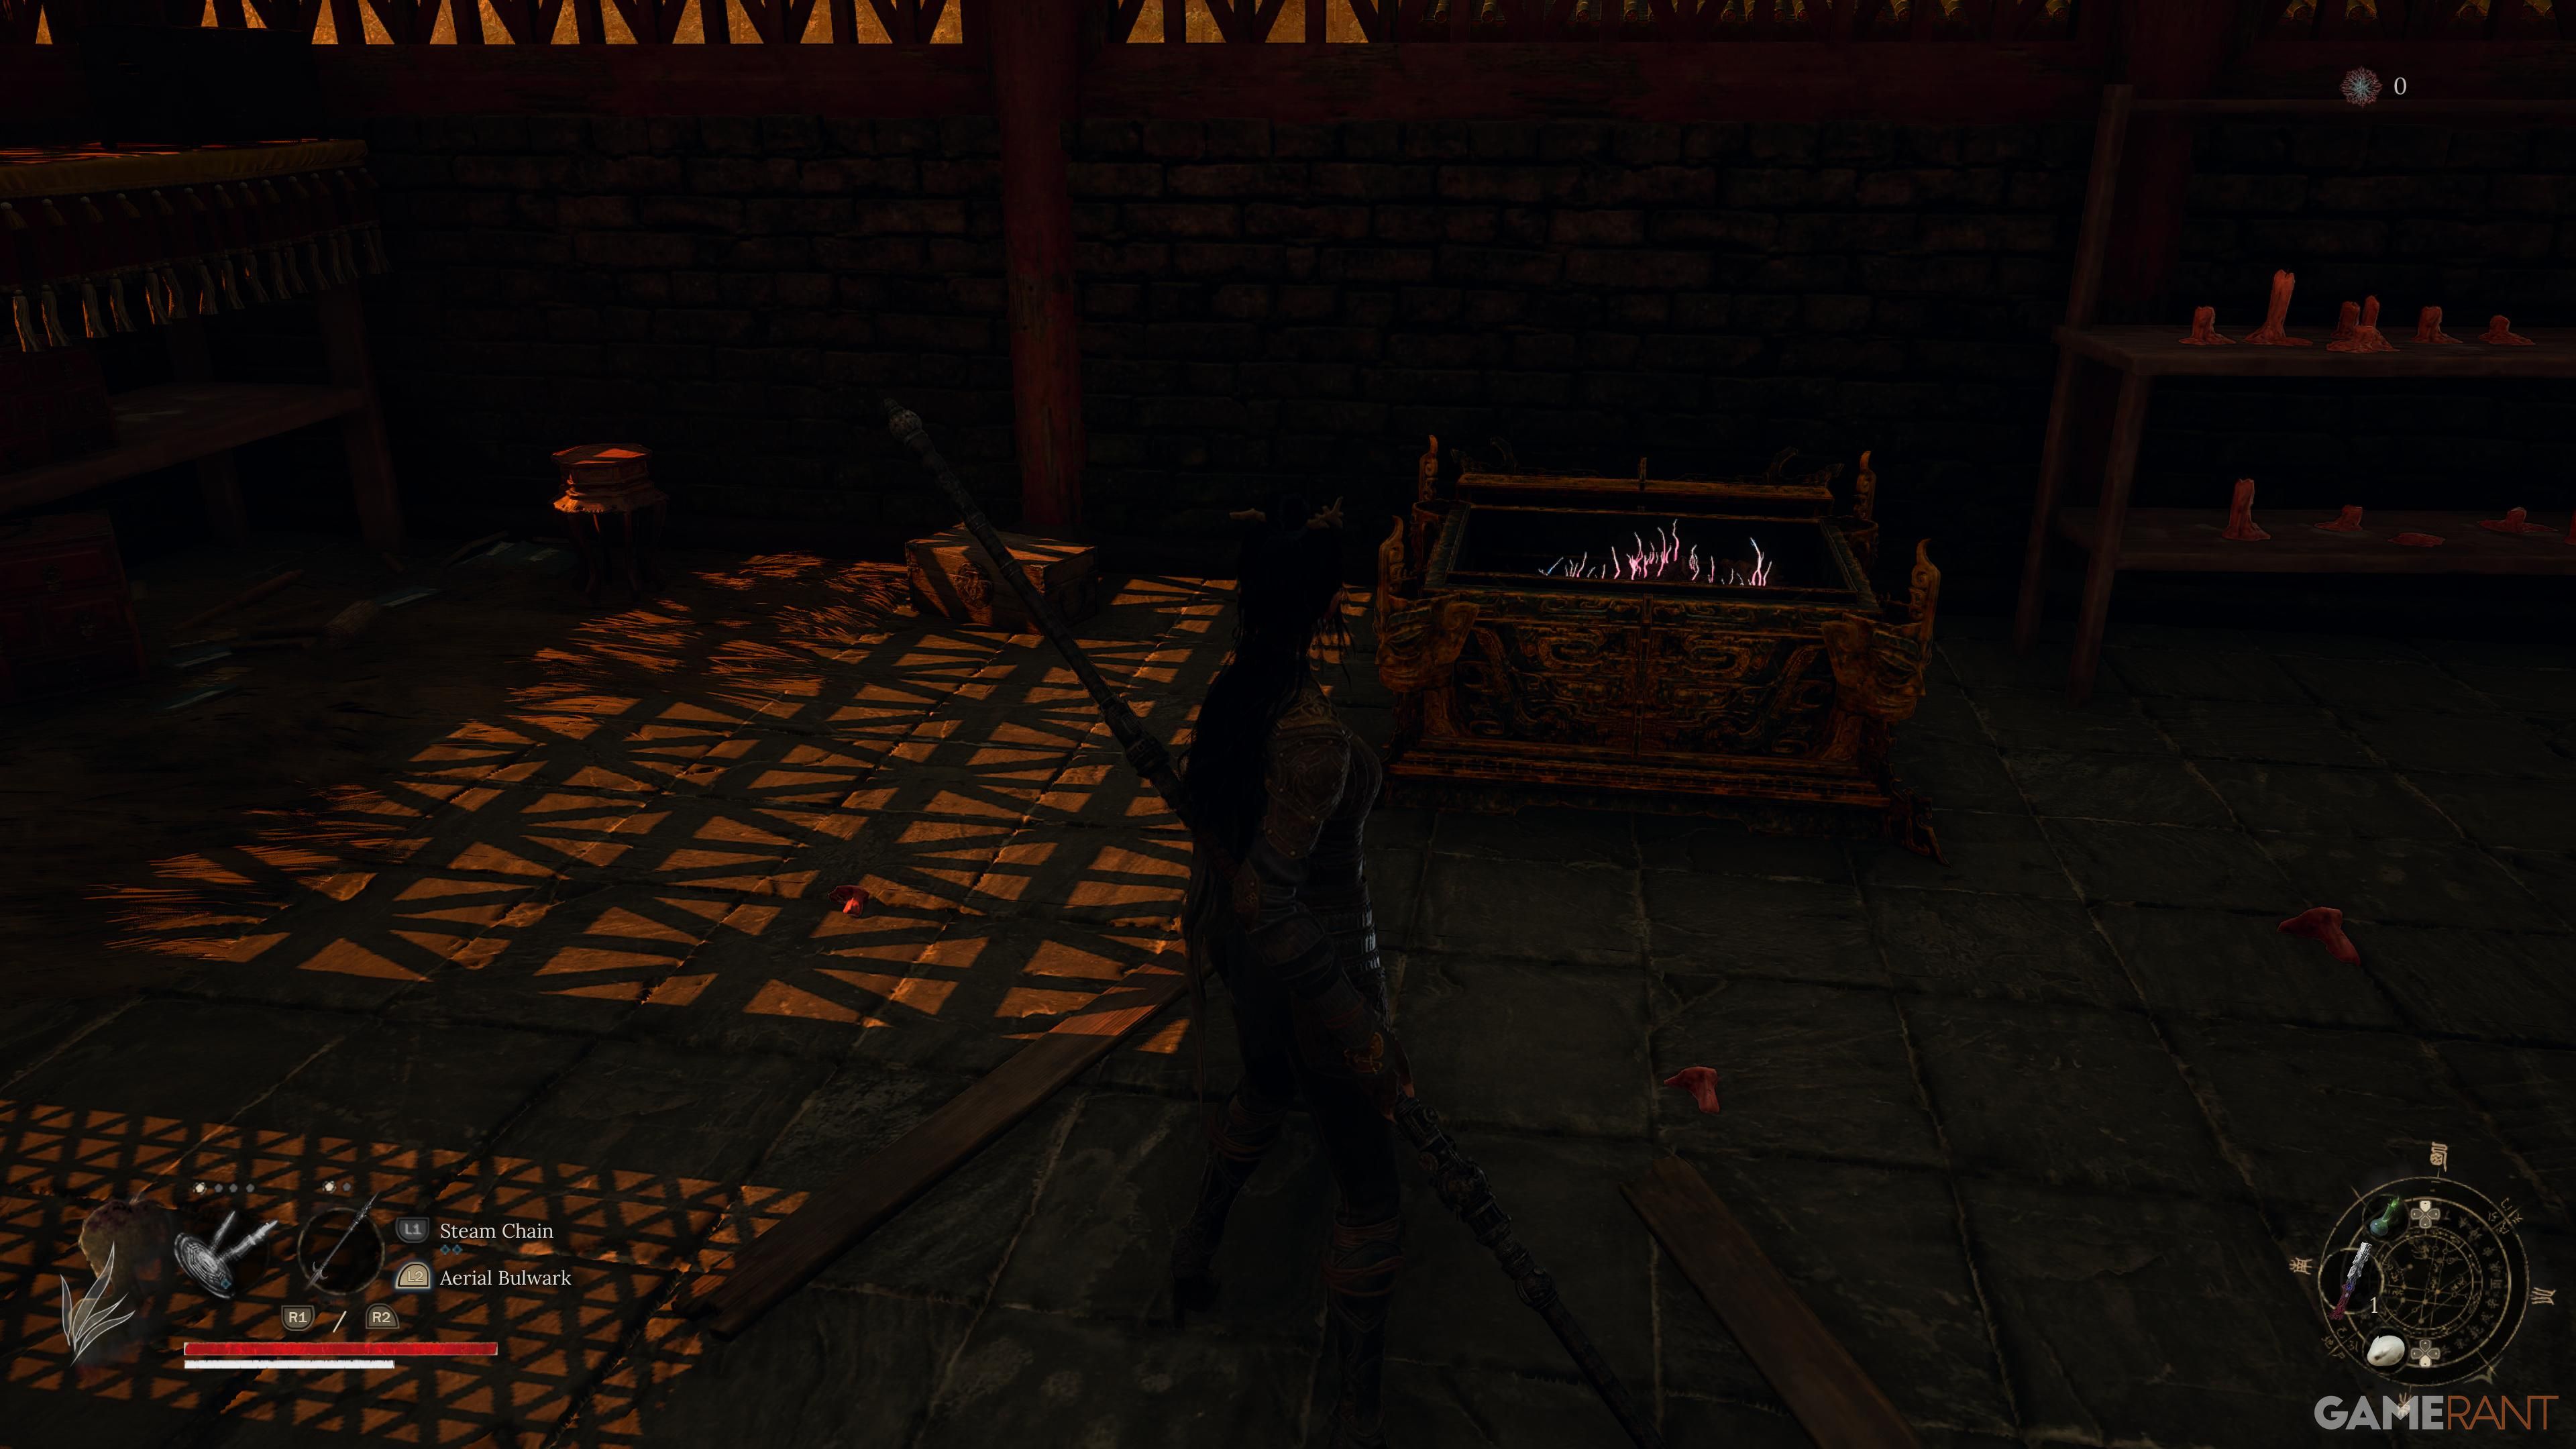
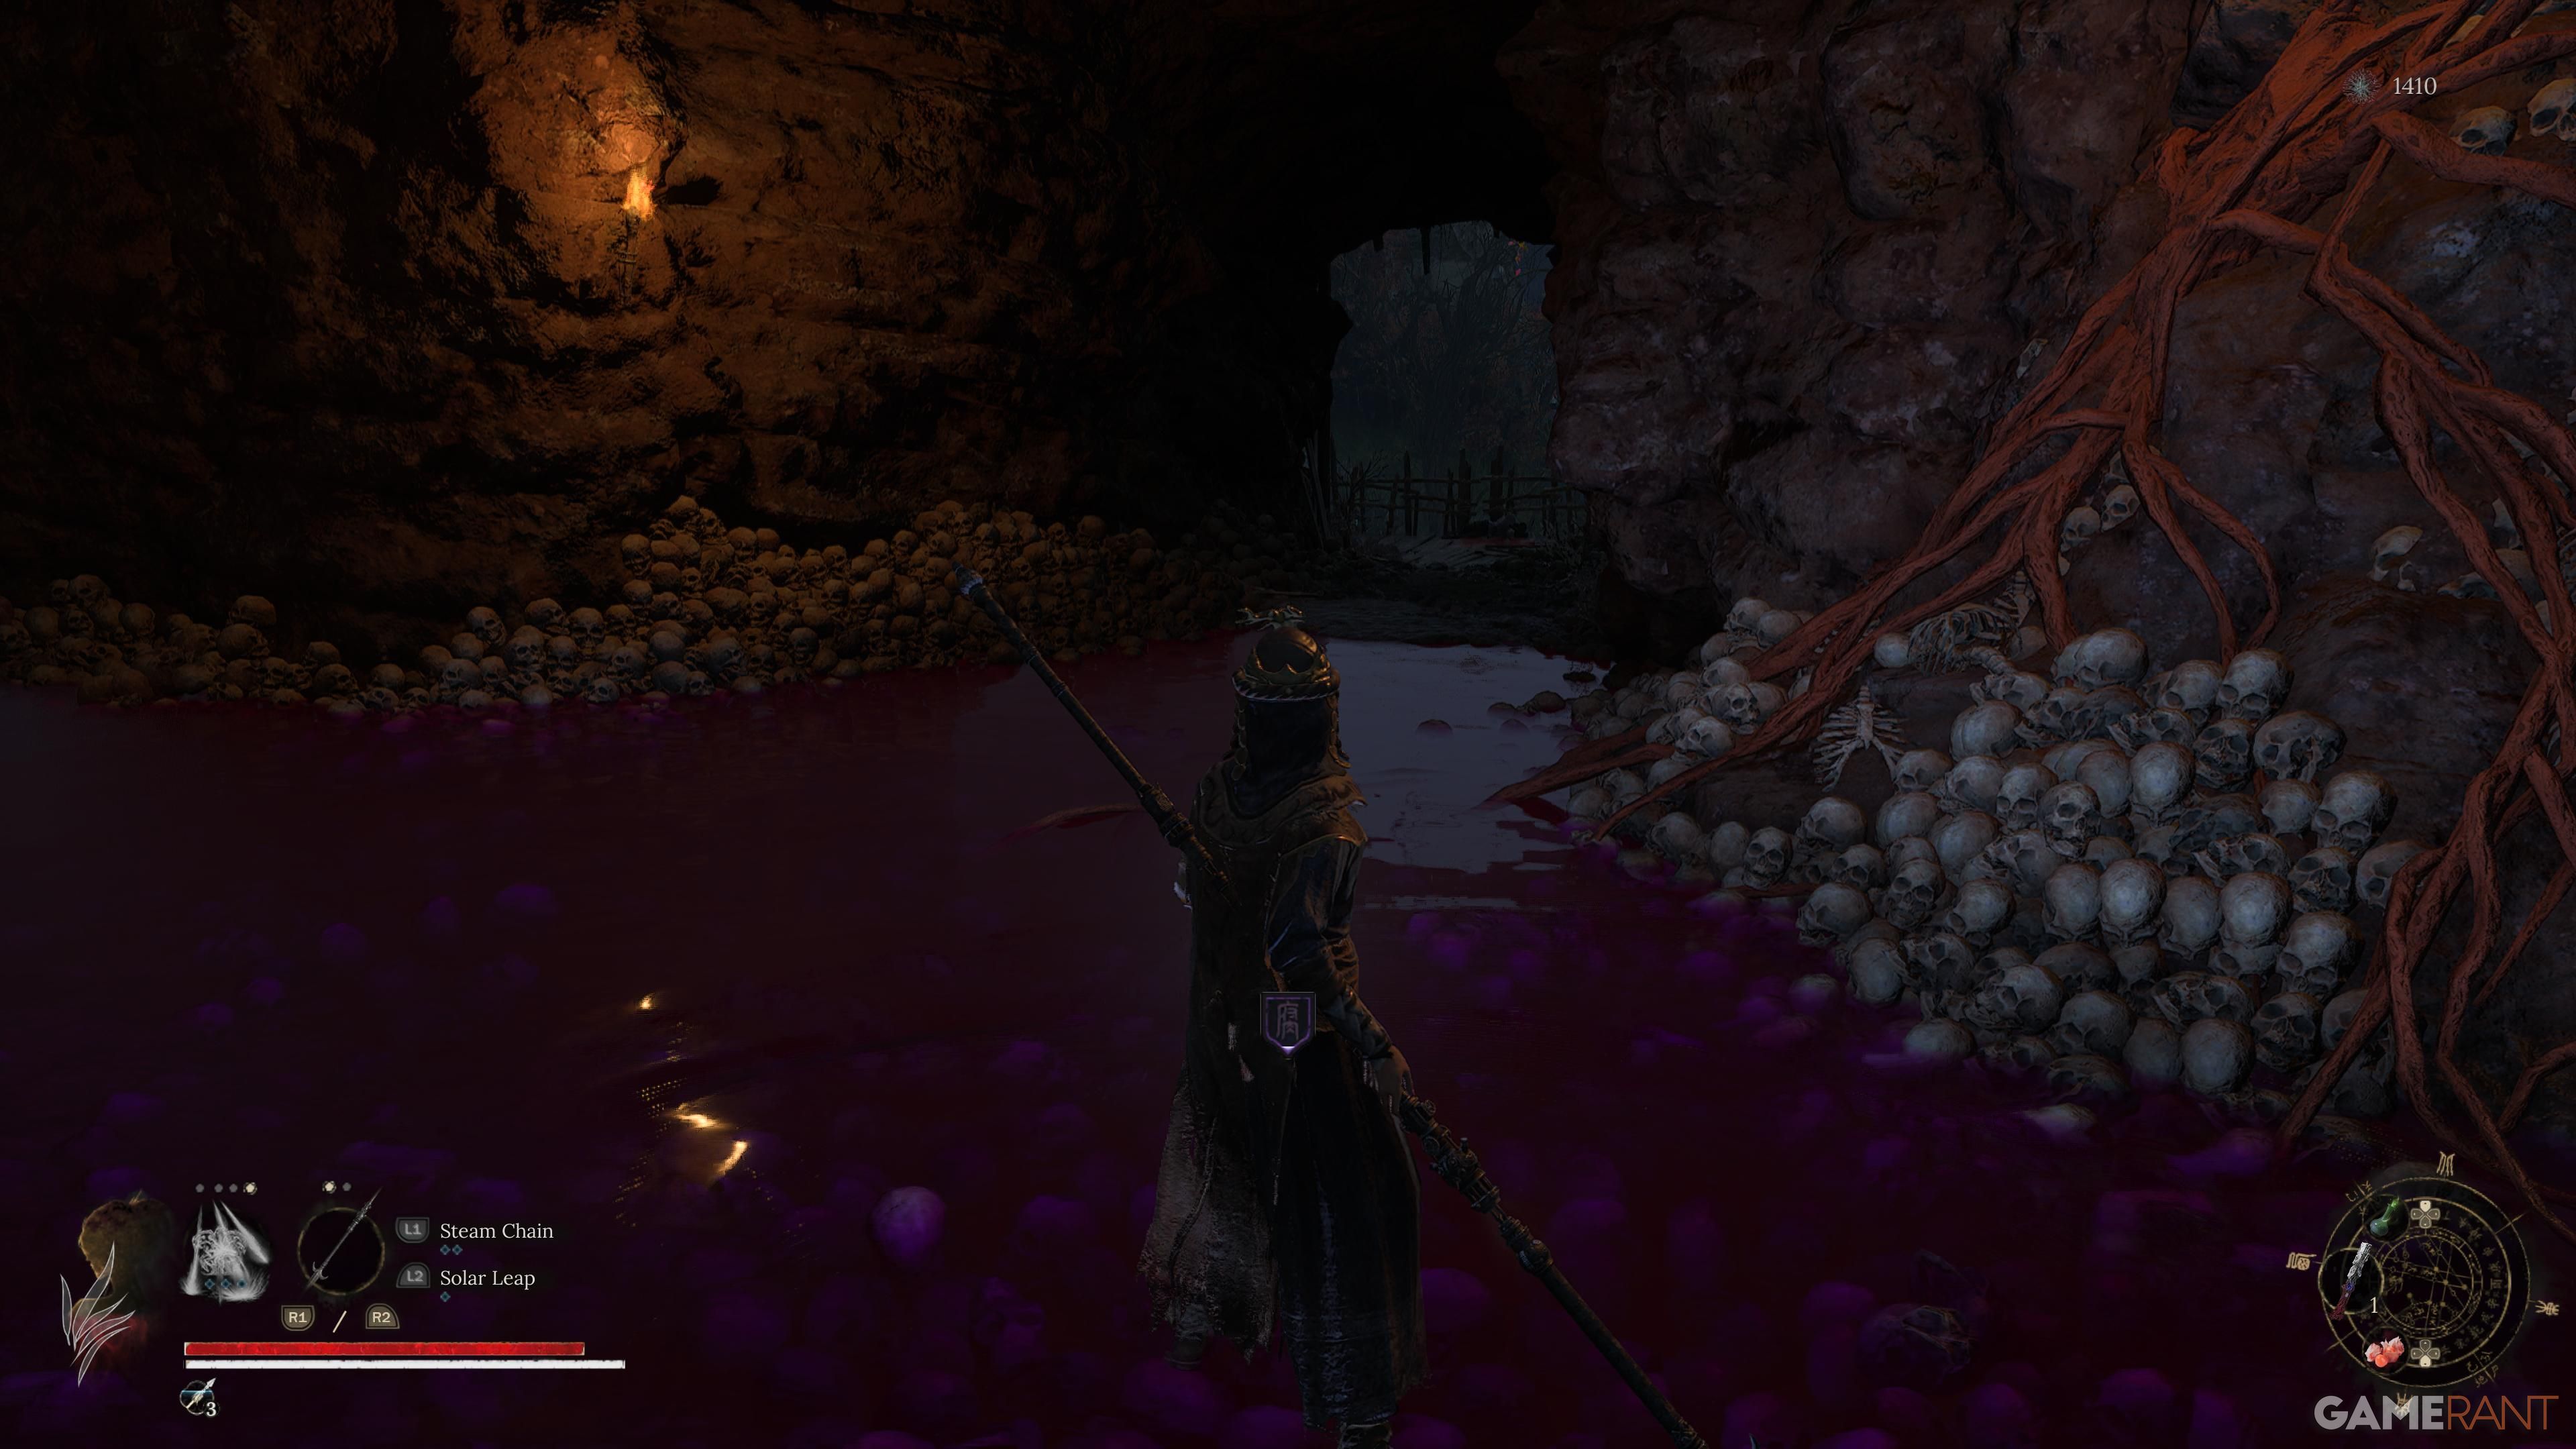
Depths of the Capital (Bo Capital)

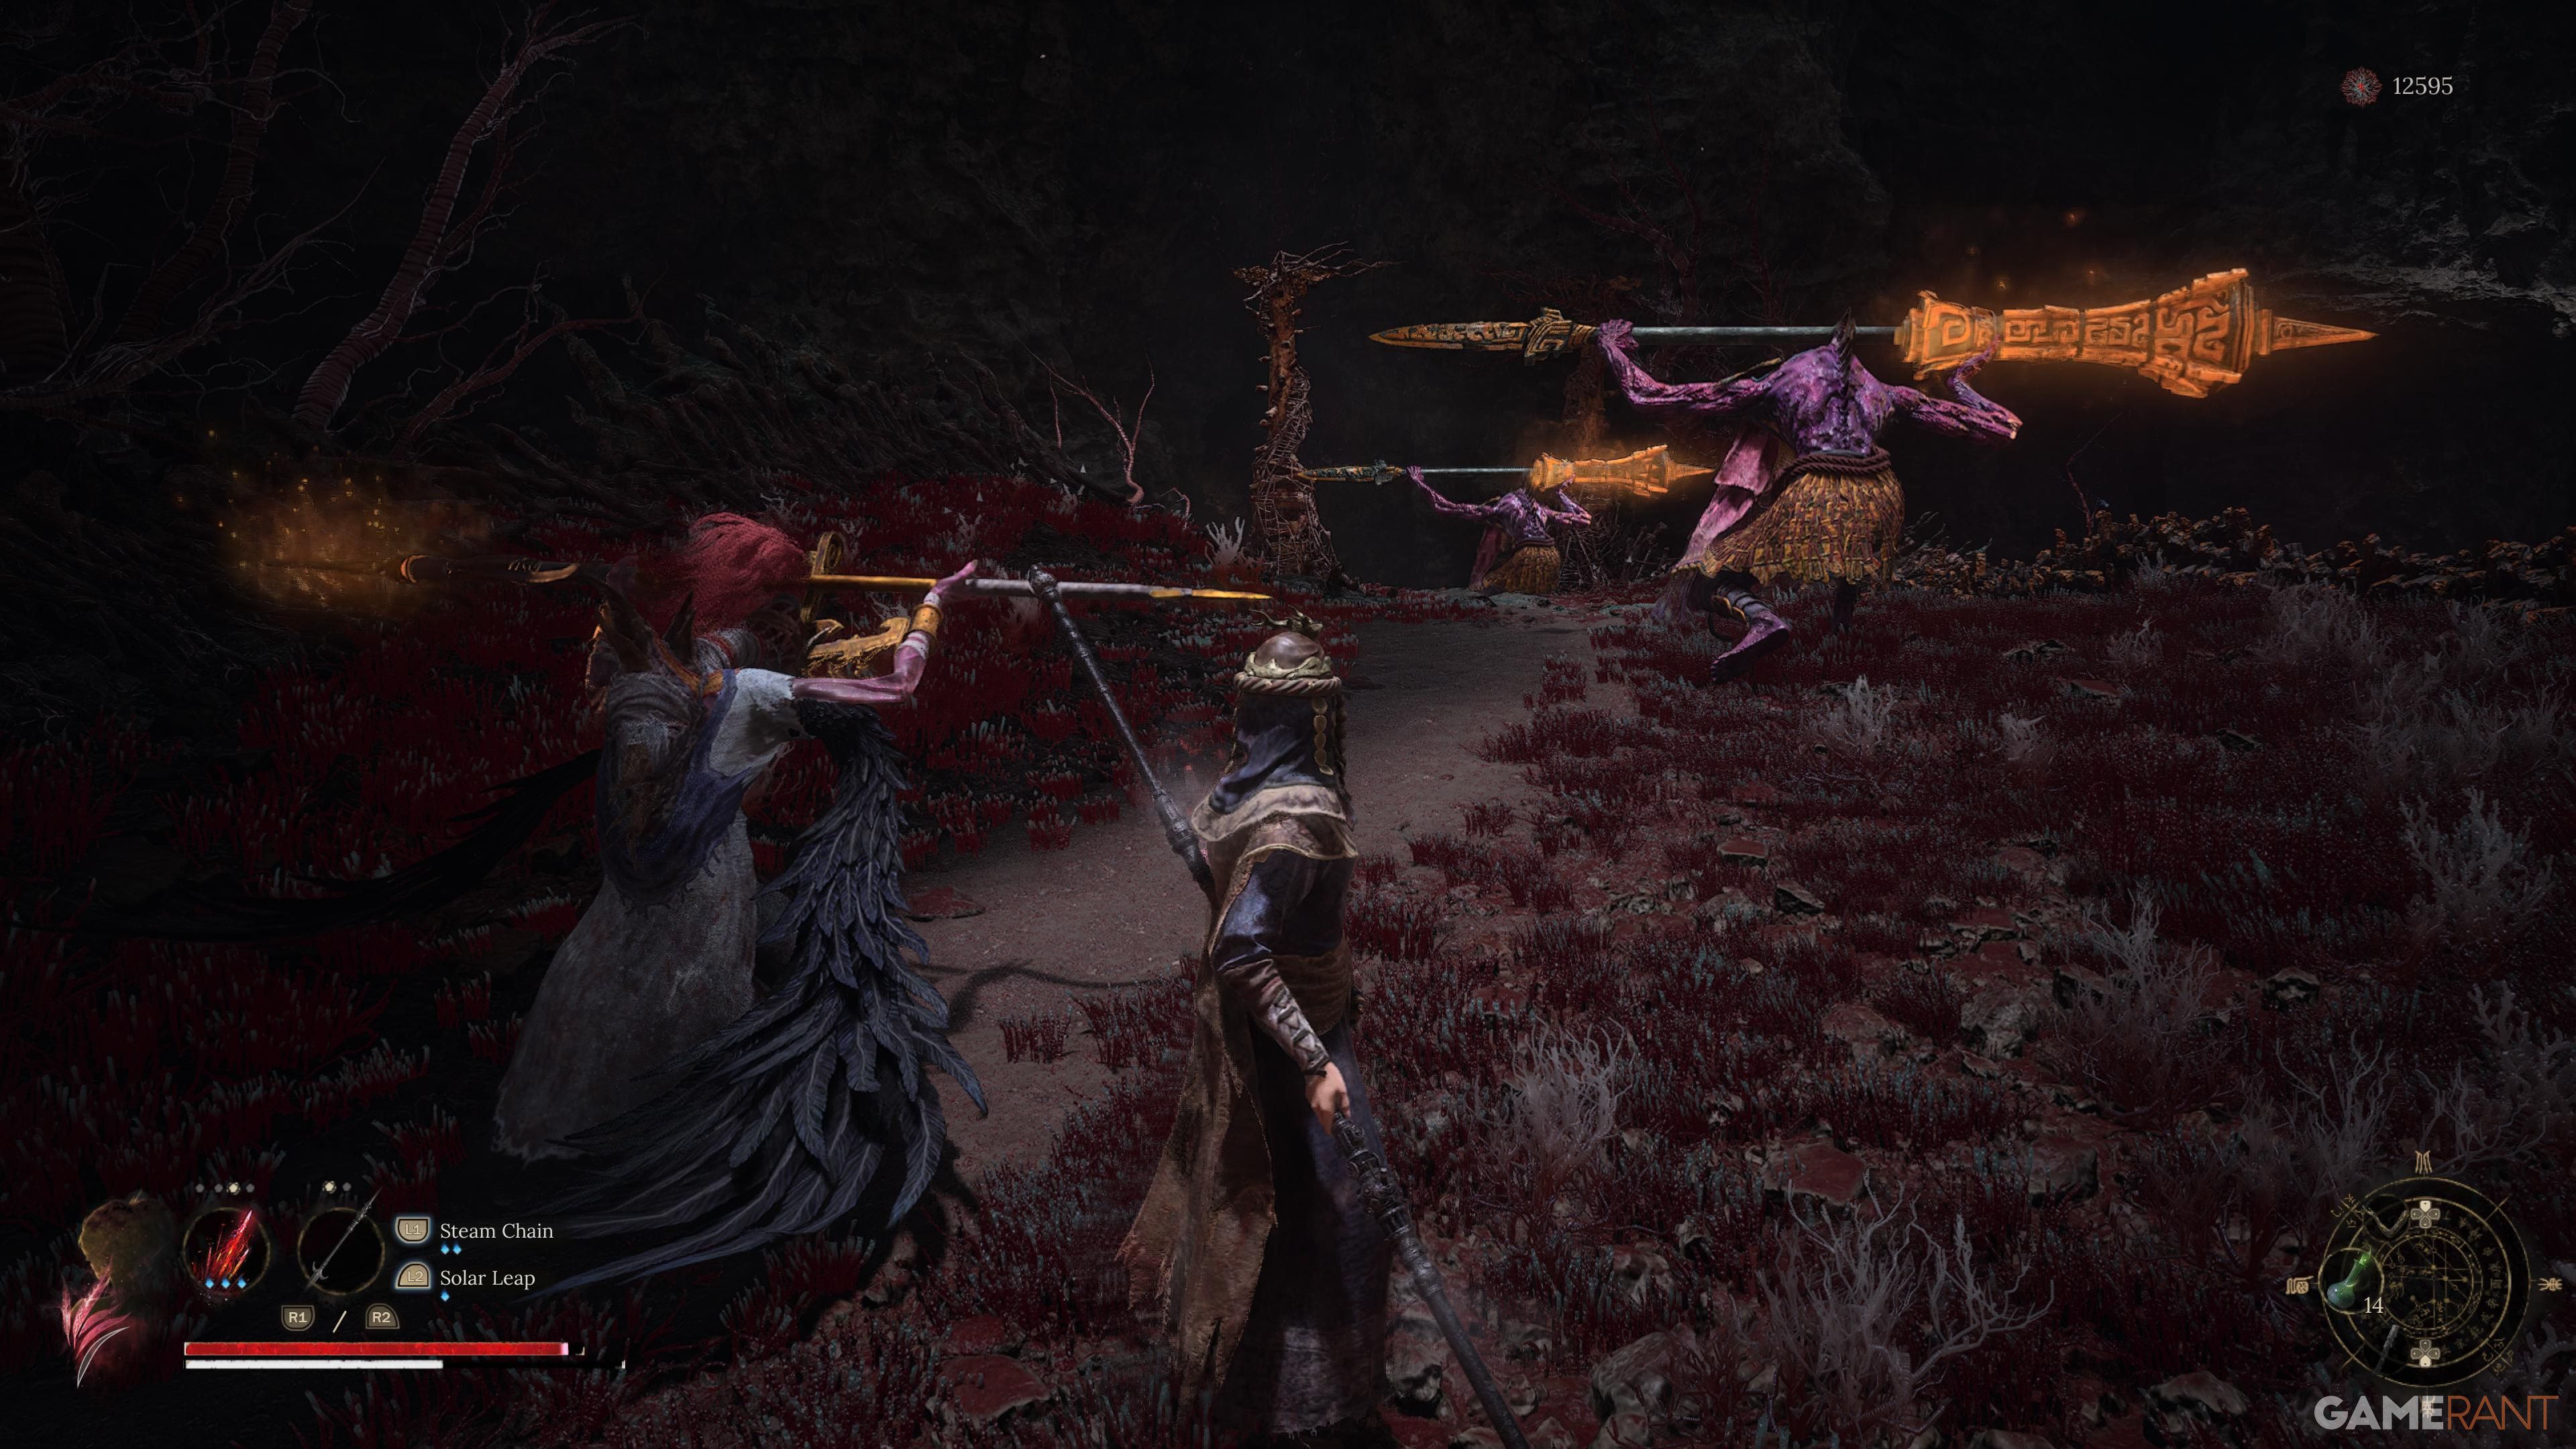
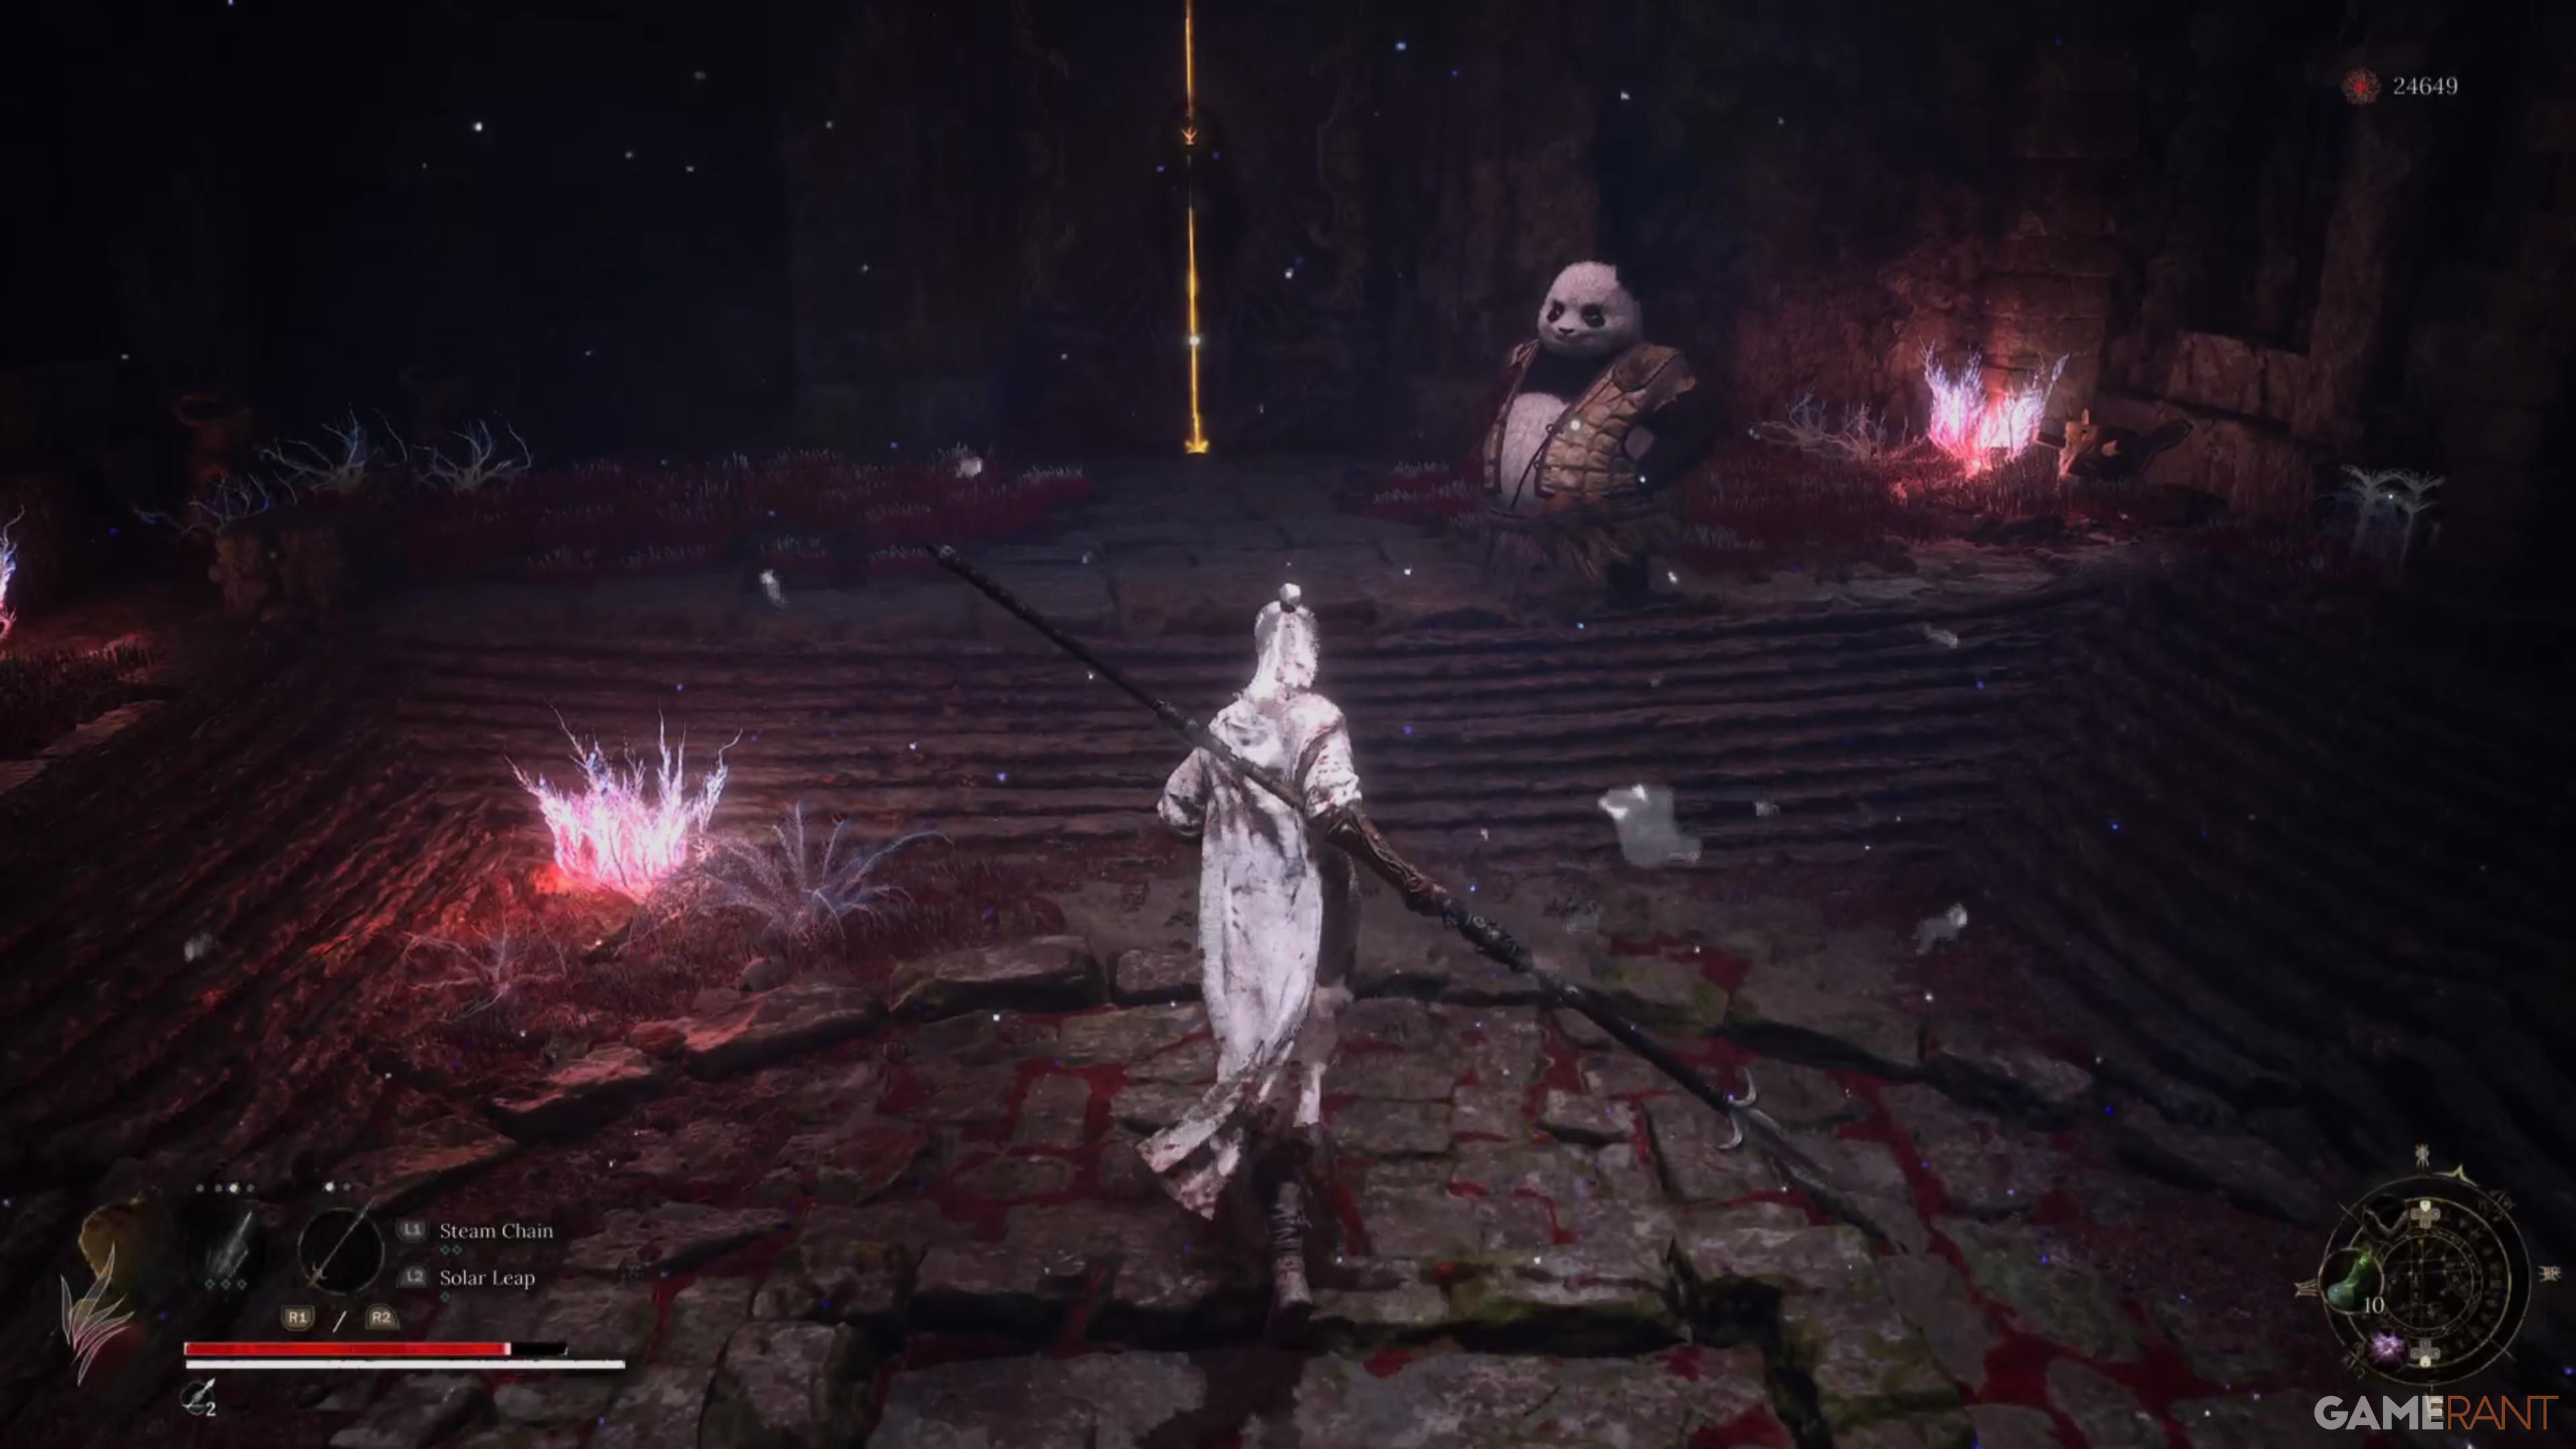
After leaving the shrine, veer left and steer clear of the big, feathered adversary with red plumage that suddenly appears close to a large chest directly ahead. Instead, proceed right to discover a Bronze Pillar you can interact with. Two doorways will appear – opt for the one leading to an elevator, which is your destination. On your way up, consider exploring a path left via the red tree branches (if available). As you get closer to the bronze enemies, maneuver left, then right. Soon, you’ll come across a drop-off where another Bronze Pillar awaits in one corner. This action will create a passage near three formidable adversaries, enabling you to advance and pass through the yellow Benediction Gate, which is next to the Panda figure.
As a gamer,
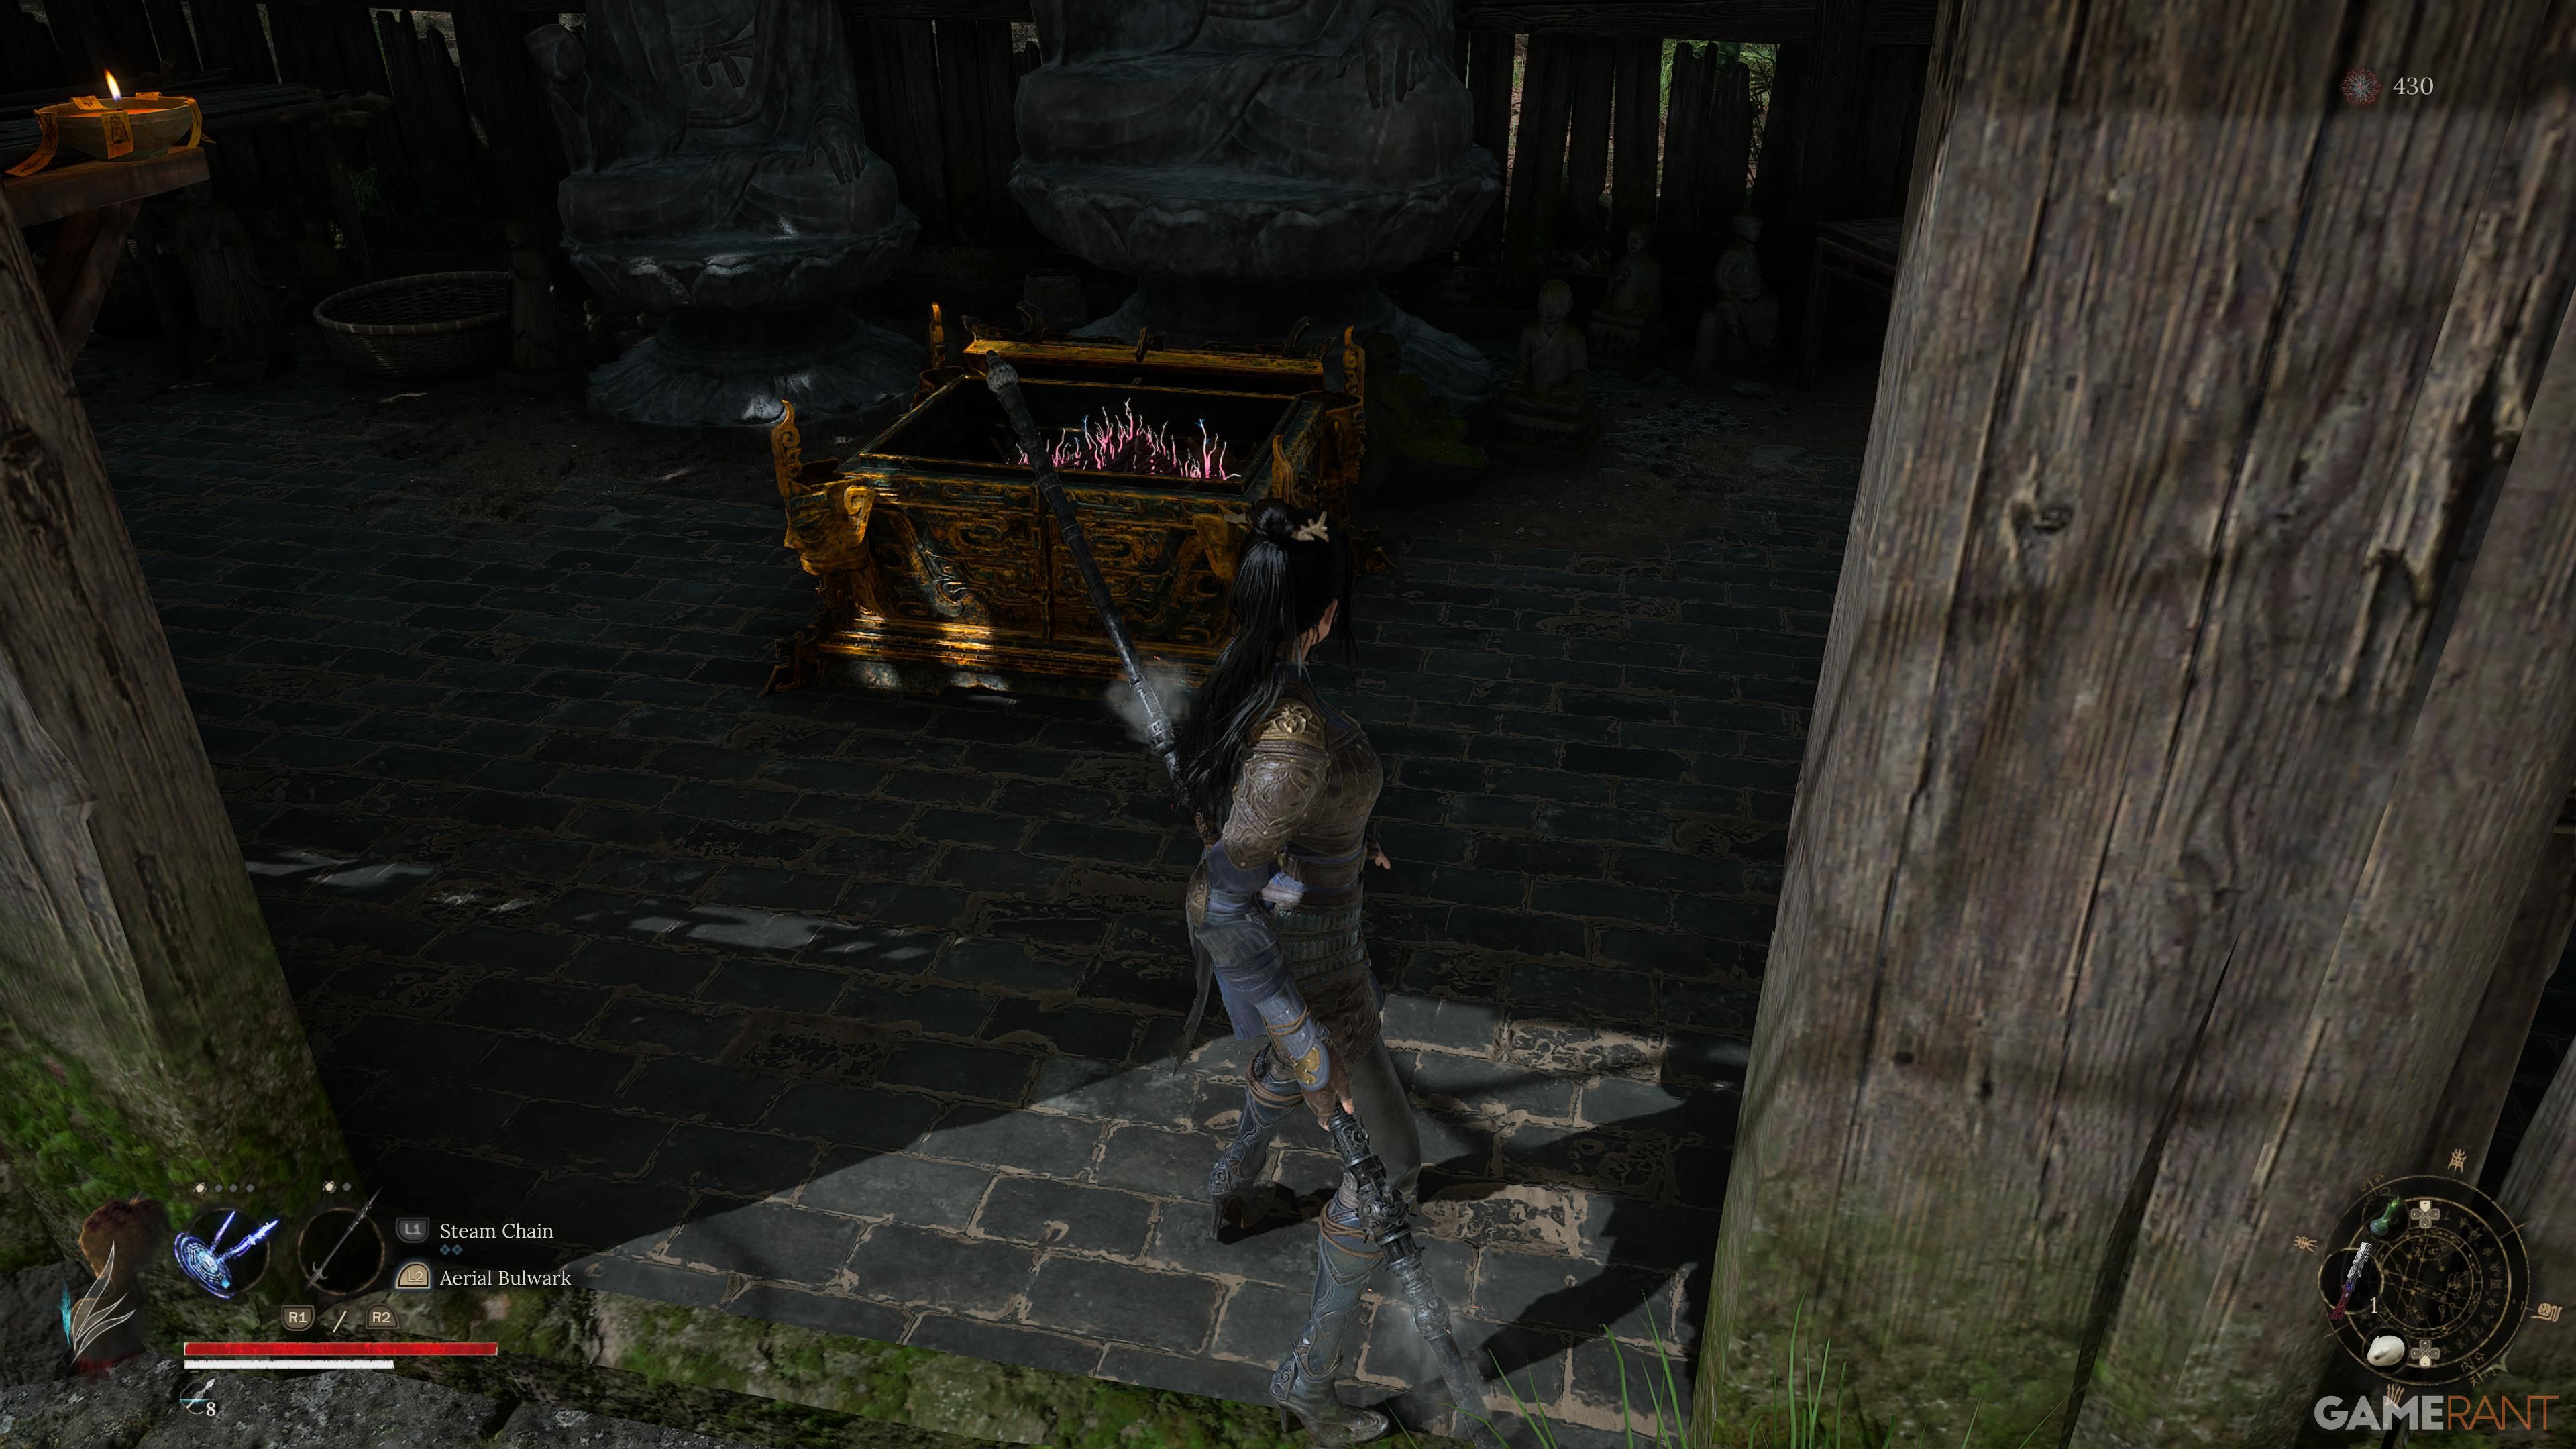
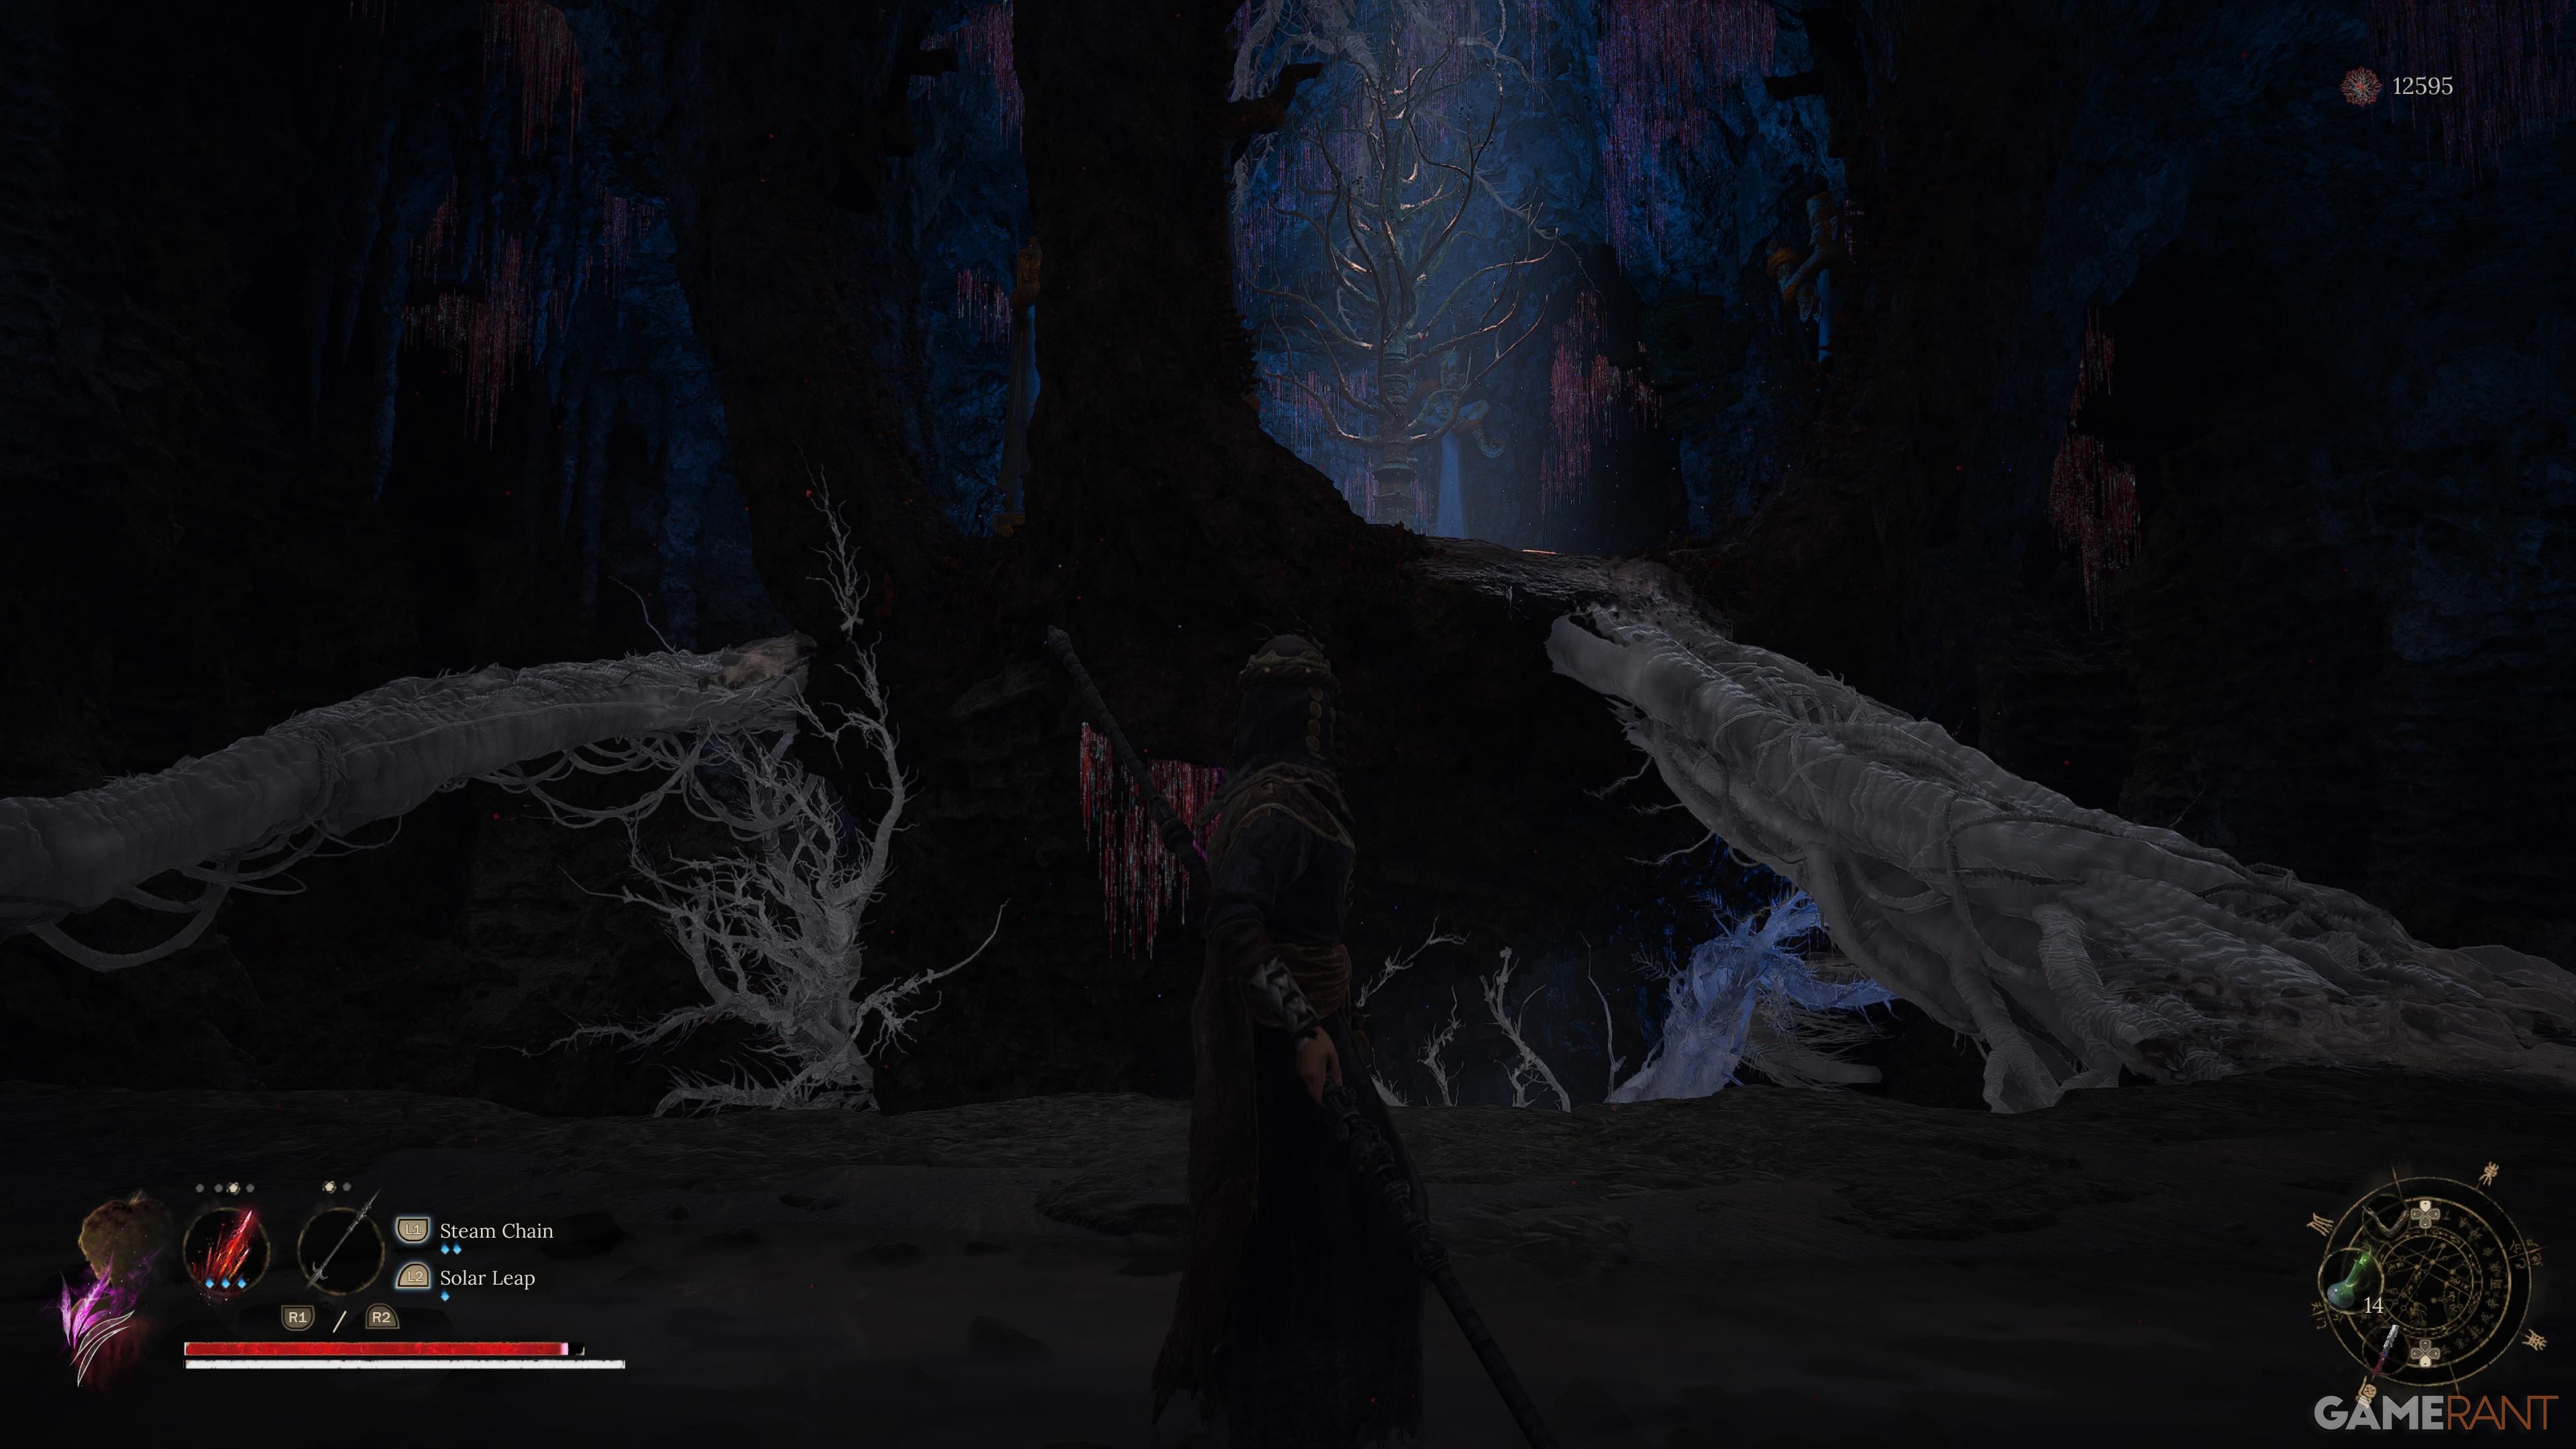
In my game, I’ll come across two white branches reaching towards the Storyteller up ahead. To the far right, there’s another branch leading down to a substantial chest. Inside this chest lies the final boost for my Manna Vase’s power. Once I’ve maxed out my Manna Vase at the Impetus Repository, I’ll earn the “Surging Manna” trophy/achievement.
Read More
- Clash Royale Best Boss Bandit Champion decks
- Vampire’s Fall 2 redeem codes and how to use them (June 2025)
- Mobile Legends January 2026 Leaks: Upcoming new skins, heroes, events and more
- World Eternal Online promo codes and how to use them (September 2025)
- Clash Royale Season 79 “Fire and Ice” January 2026 Update and Balance Changes
- Best Arena 9 Decks in Clast Royale
- Best Hero Card Decks in Clash Royale
- Clash Royale Furnace Evolution best decks guide
- FC Mobile 26: EA opens voting for its official Team of the Year (TOTY)
- Clash Royale Witch Evolution best decks guide
2025-07-28 04:34