Quick Links
- Starting the Quest
- Looting Options
- Townspeople’s Supplies
- The Wounded Villager
- Completing the Quest
In the sequel to the immersive open-world RPG “Kingdom Come: Deliverance 2“, you’ll find yourself in a vividly alive medieval era teeming with diverse characters, tasks, and intriguing locales to discover.
This side quest, called “Spoils of War,” tends to lean towards a deceitful orchestration rather than a heroic endeavor.
This journey provides a variety of possible endings depending on your loyalty and ethical compass, giving you the freedom to complete tasks as you deem appropriate.
This tutorial breaks down the process for successfully finishing the mission “Spoils of War” within the game, “Kingdom Come: Deliverance 2.”
In this new version, I have simplified some of the language and made it more conversational to make it easier to read and understand.
Starting the Quest
If you’re intrigued by the military might of Sigismund’s Encampment, packed with numerous lords and troops, this side mission provides a glimpse into the character of their military strength, and it’s a force that should not be underestimated.
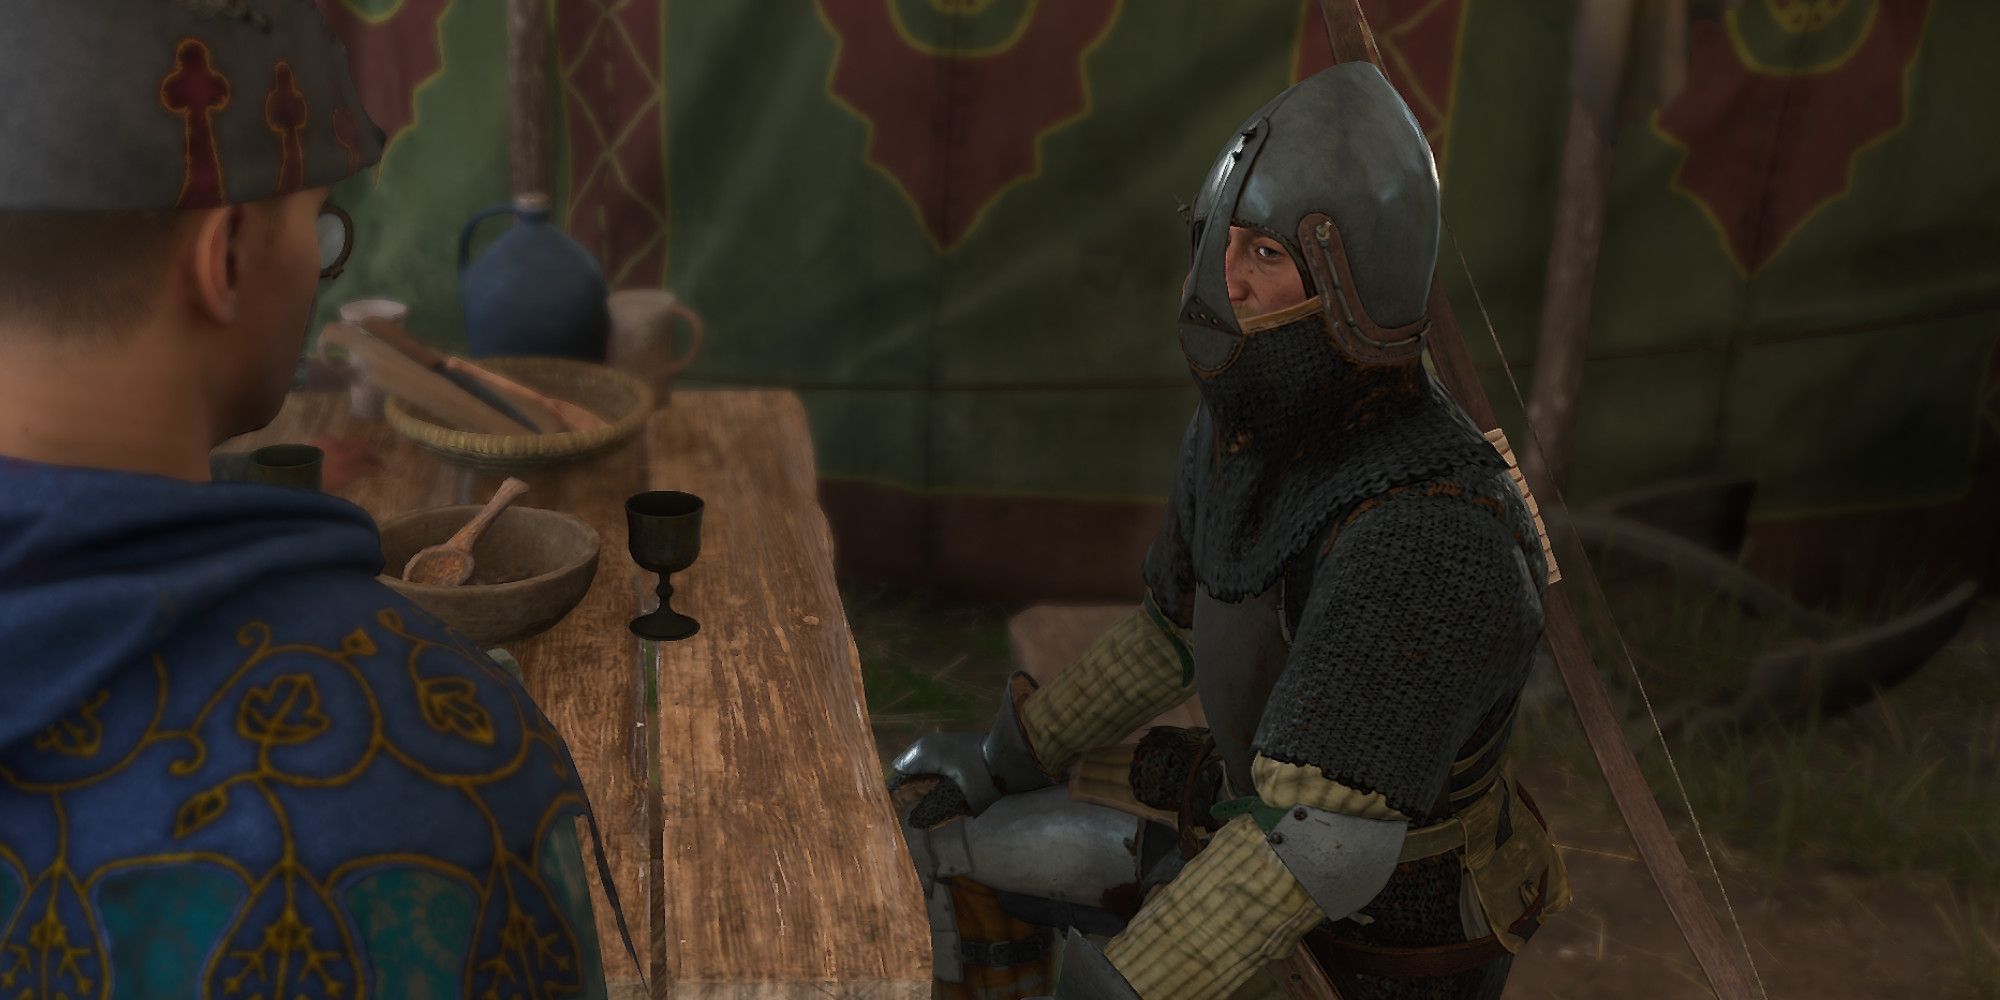
Regardless, finding myself within the confines of the camp, the wisest course of action to ensure my survival seemed to be staying active. Just then, our very own Captain Puta offered me a task that could prove beneficial – perhaps it involves procuring supplies from a nearby village. Whether I’m game for this or not remains to be seen.
As a keen adventurer, embarking on this new journey requires that you’ve successfully accomplished Main Quest 14: The Speech About the Demon first. Only then can I converse with Captain Puta, nestled in Sigismund’s camp, just south of Opatowitz.
Captain Puta is often seen roaming around the military camp. However, the marker for starting this quest may not show up unless you’ve been guided into the camp or entered independently.
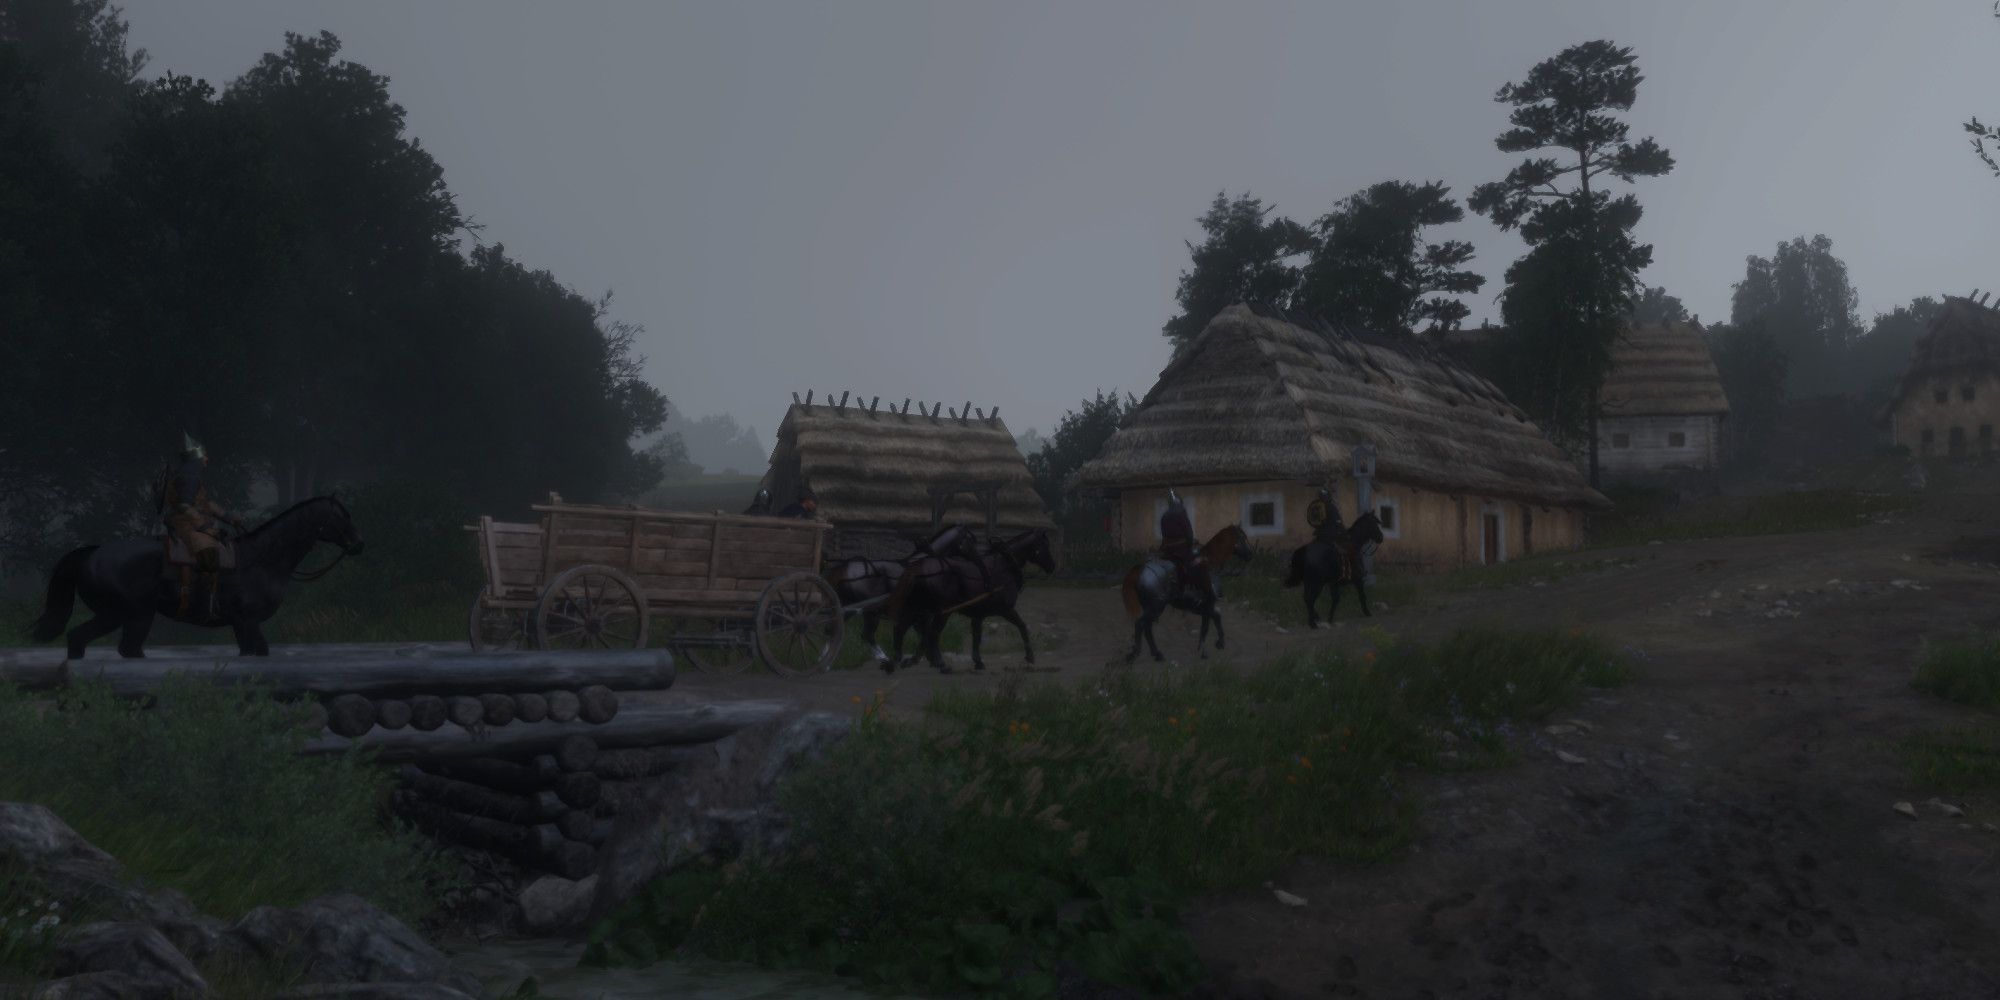
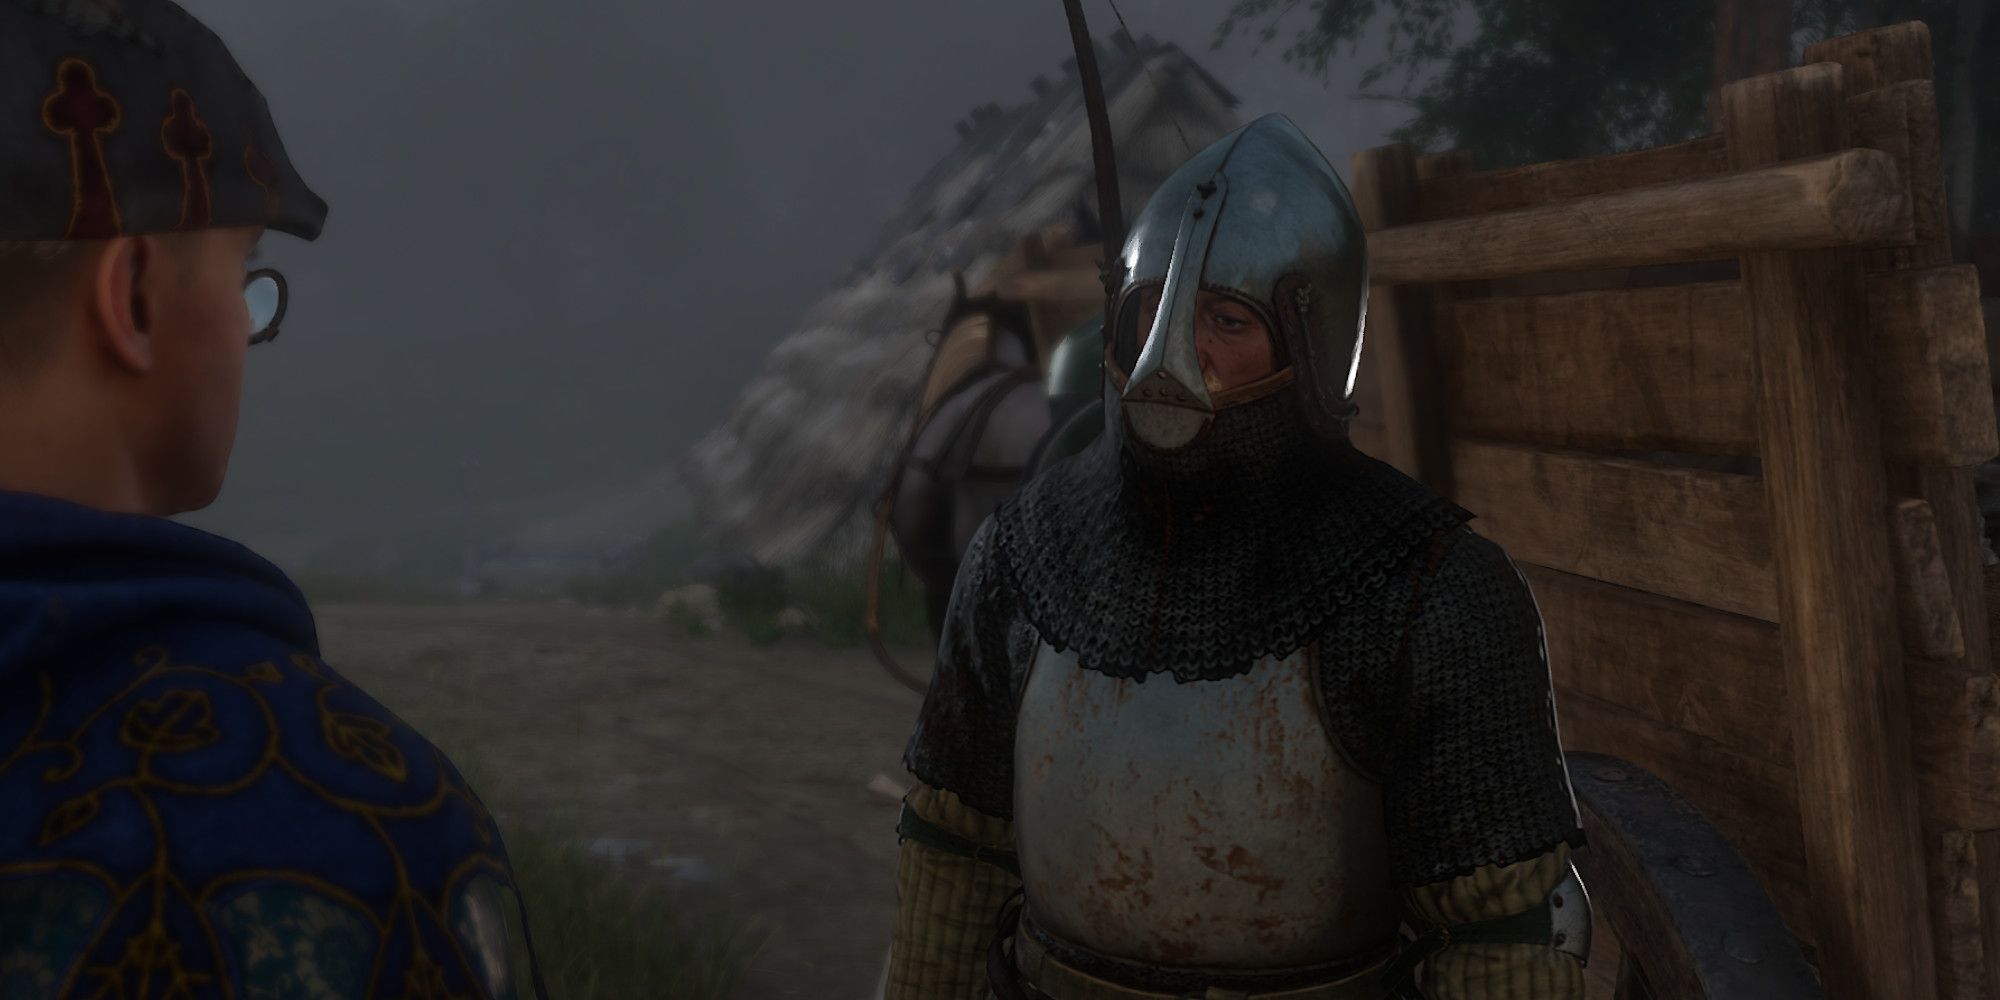
Chatting with Captain Puta within Sigismund’s encampment, followed by your agreement to accompany him, will initiate a cinematic sequence, transporting you to Bohunowitz.
In the town of Bohunowitz, it seems the army is confiscating resources from the locals. Your task involves visiting four different spots within the town to look for supplies and valuable items that can be taken. The decision on whether to comply with this act of looting or to resist lies entirely with you.
You could communicate with Bynyek and inform him that you hope no one gets hurt during the encounter, and he will guide you to a few additional places where you can search for the town’s supplies.
Looting Options
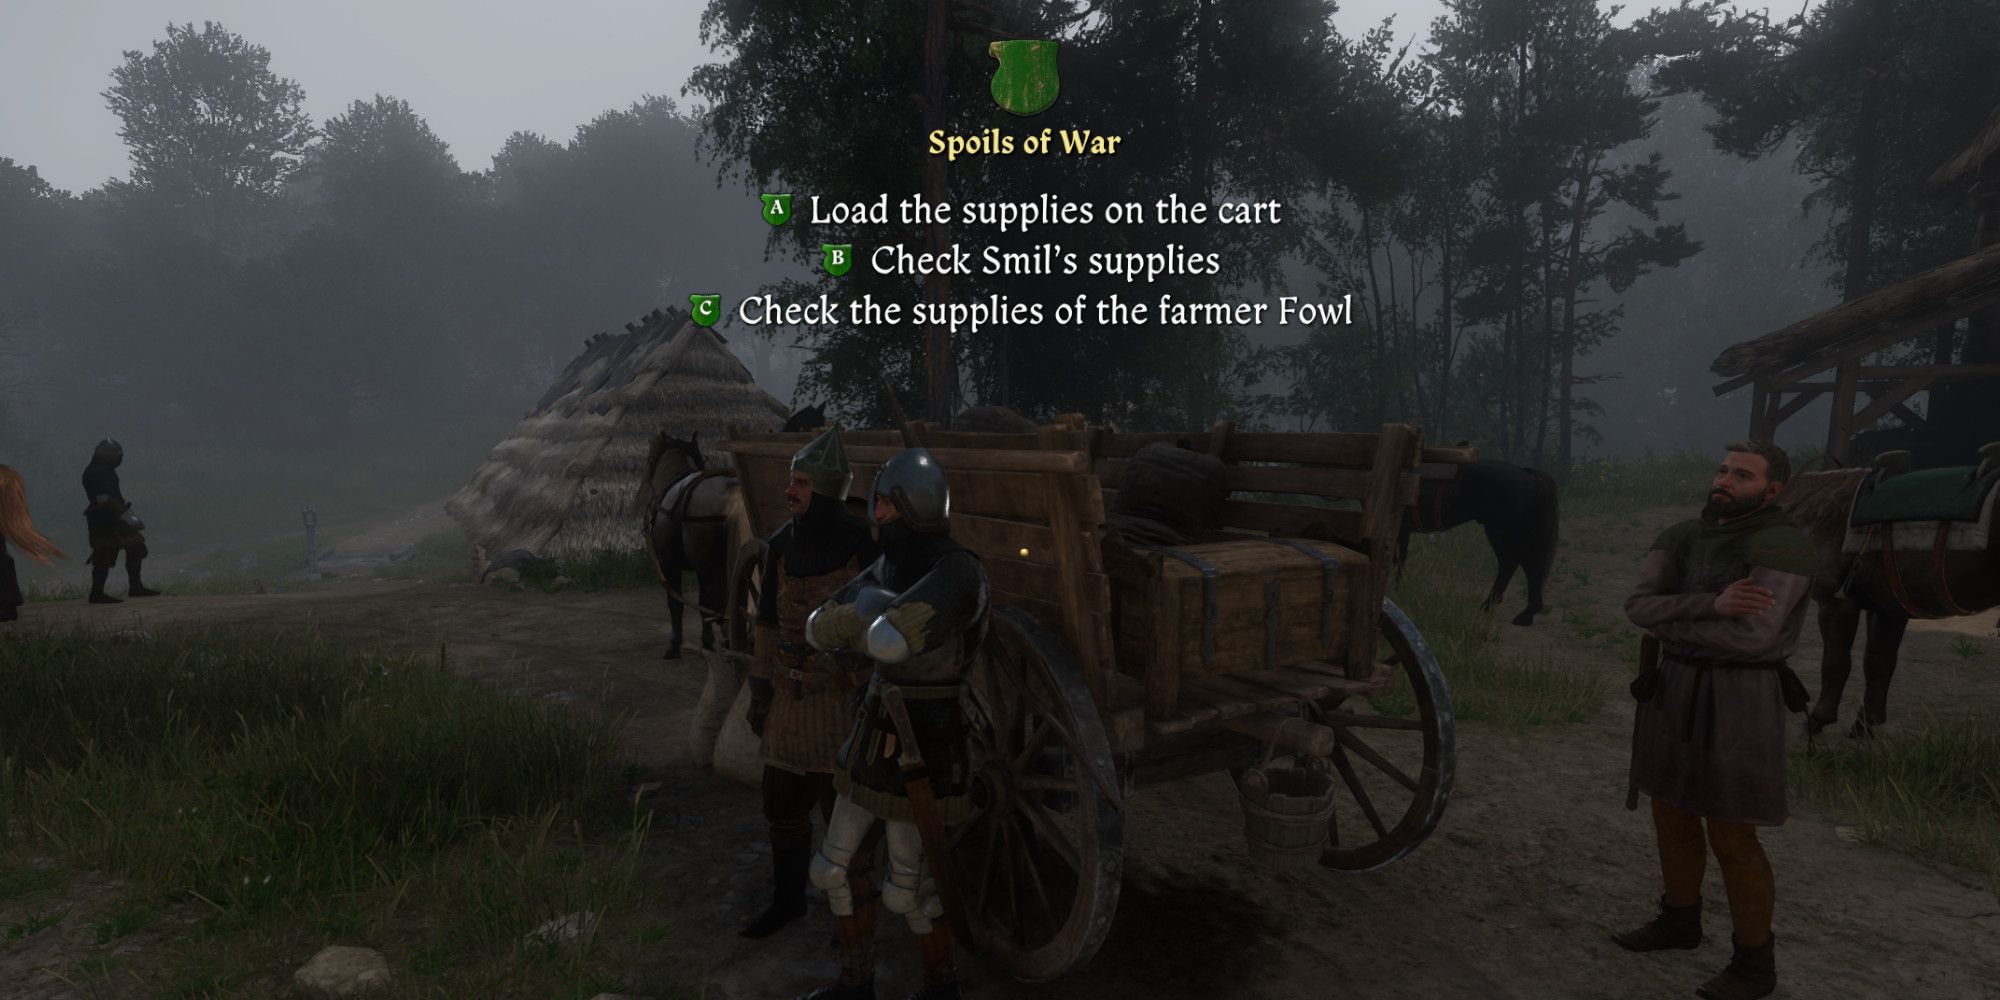
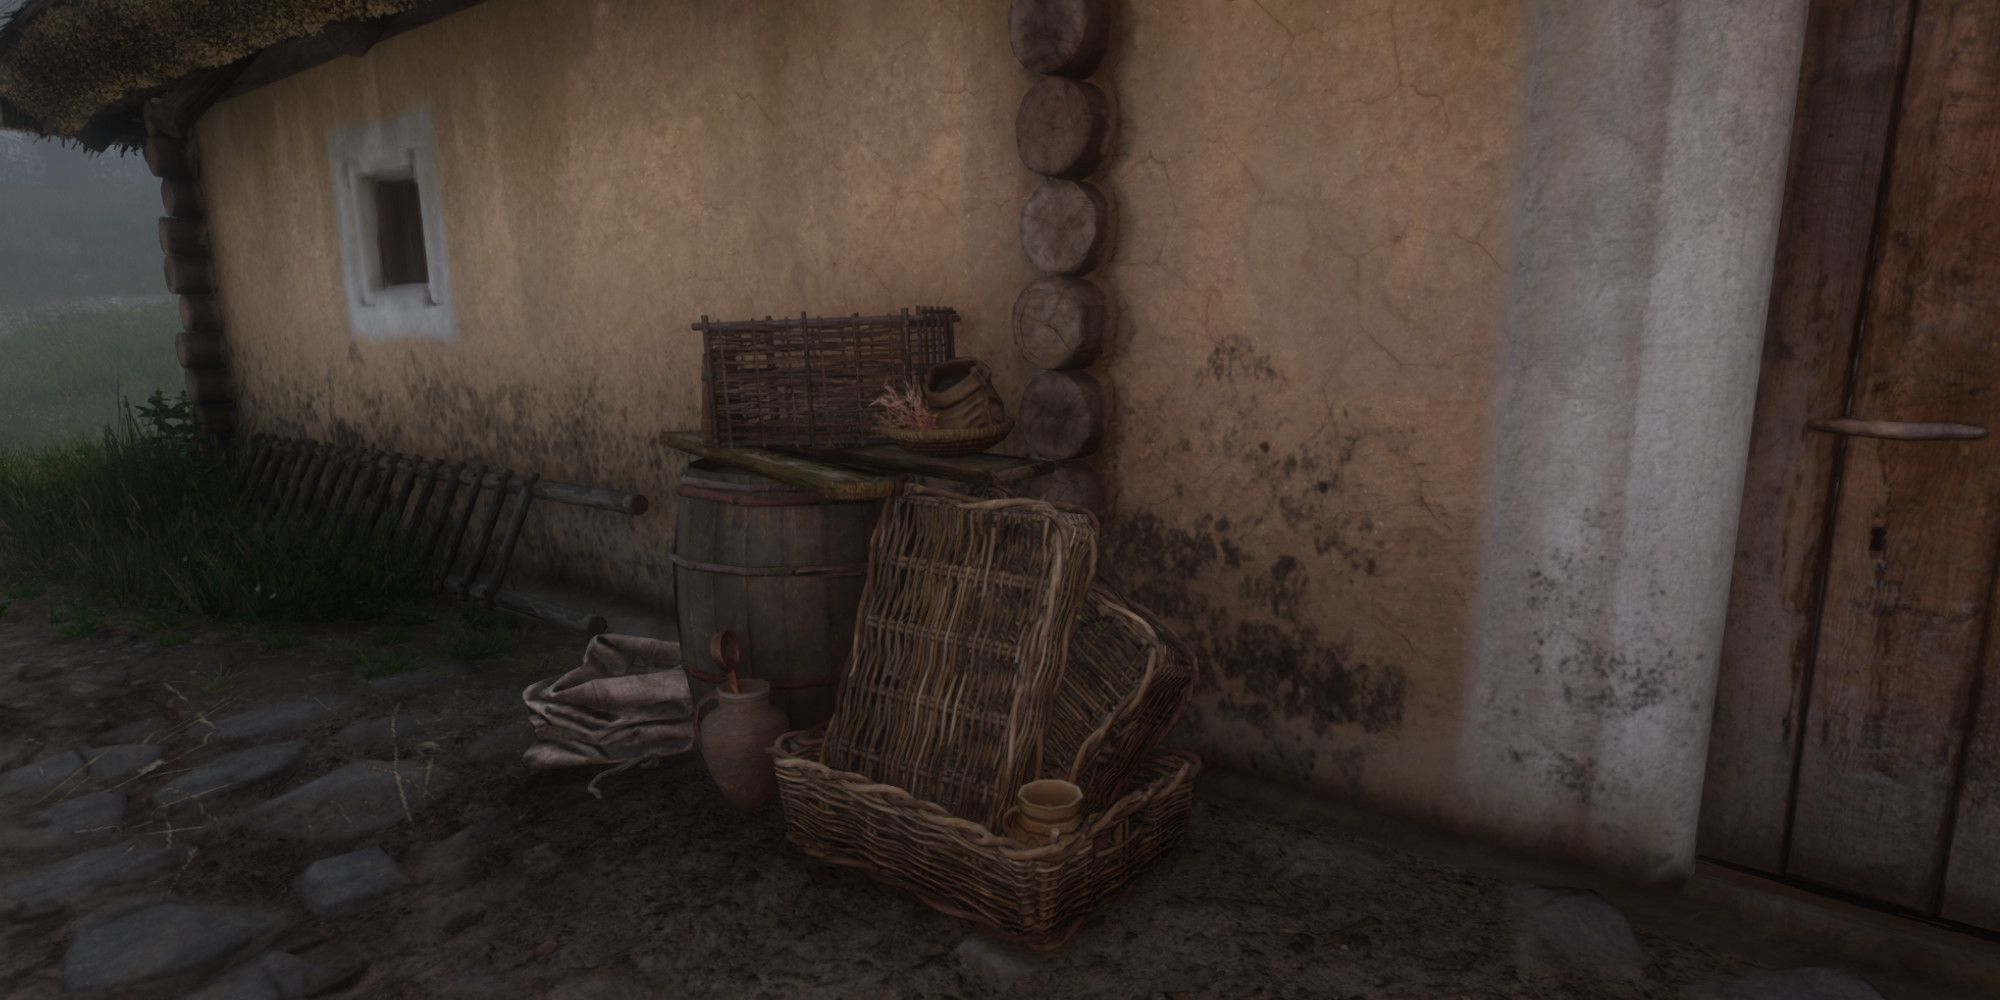
1) You should hide the treasure you’ve discovered at the rear of the wagon your group has brought into town. If you can’t meet Captain Puta’s required amount of loot, you might end up engaging in a hostile confrontation with the town residents.
An effective method for stocking the box on the cart could be arranging personal belongings inside it, particularly unused tools, outdated clothes, or spoiled food.
When it comes to your valuable possessions, feel free to discuss this matter with Puta. Mention that you’ve discovered some costly items and are considering gifting either jewelry or cash that you have on hand. However, remember not to offer excessive amounts of money directly from your wallet, as this might make him suspicious. You may need to pass a persuasion check for him to accept the transaction smoothly.
Providing Puta between 1000 and 1500 silver coins should cover the necessary supplies, but it’s important not to give him over 2000, or else his response might be influenced.
To achieve the most favorable results amidst these circumstances, it’s advisable to gather only the food that the villagers have provisioned for you, and afterwards, settle any payment due to Captain Puta directly.
Completing the quest might initially appear to offer little tangible benefit, but if you prioritize status over cold, hard cash, then this is your sole opportunity to win everyone’s approval.
Townspeople’s Supplies
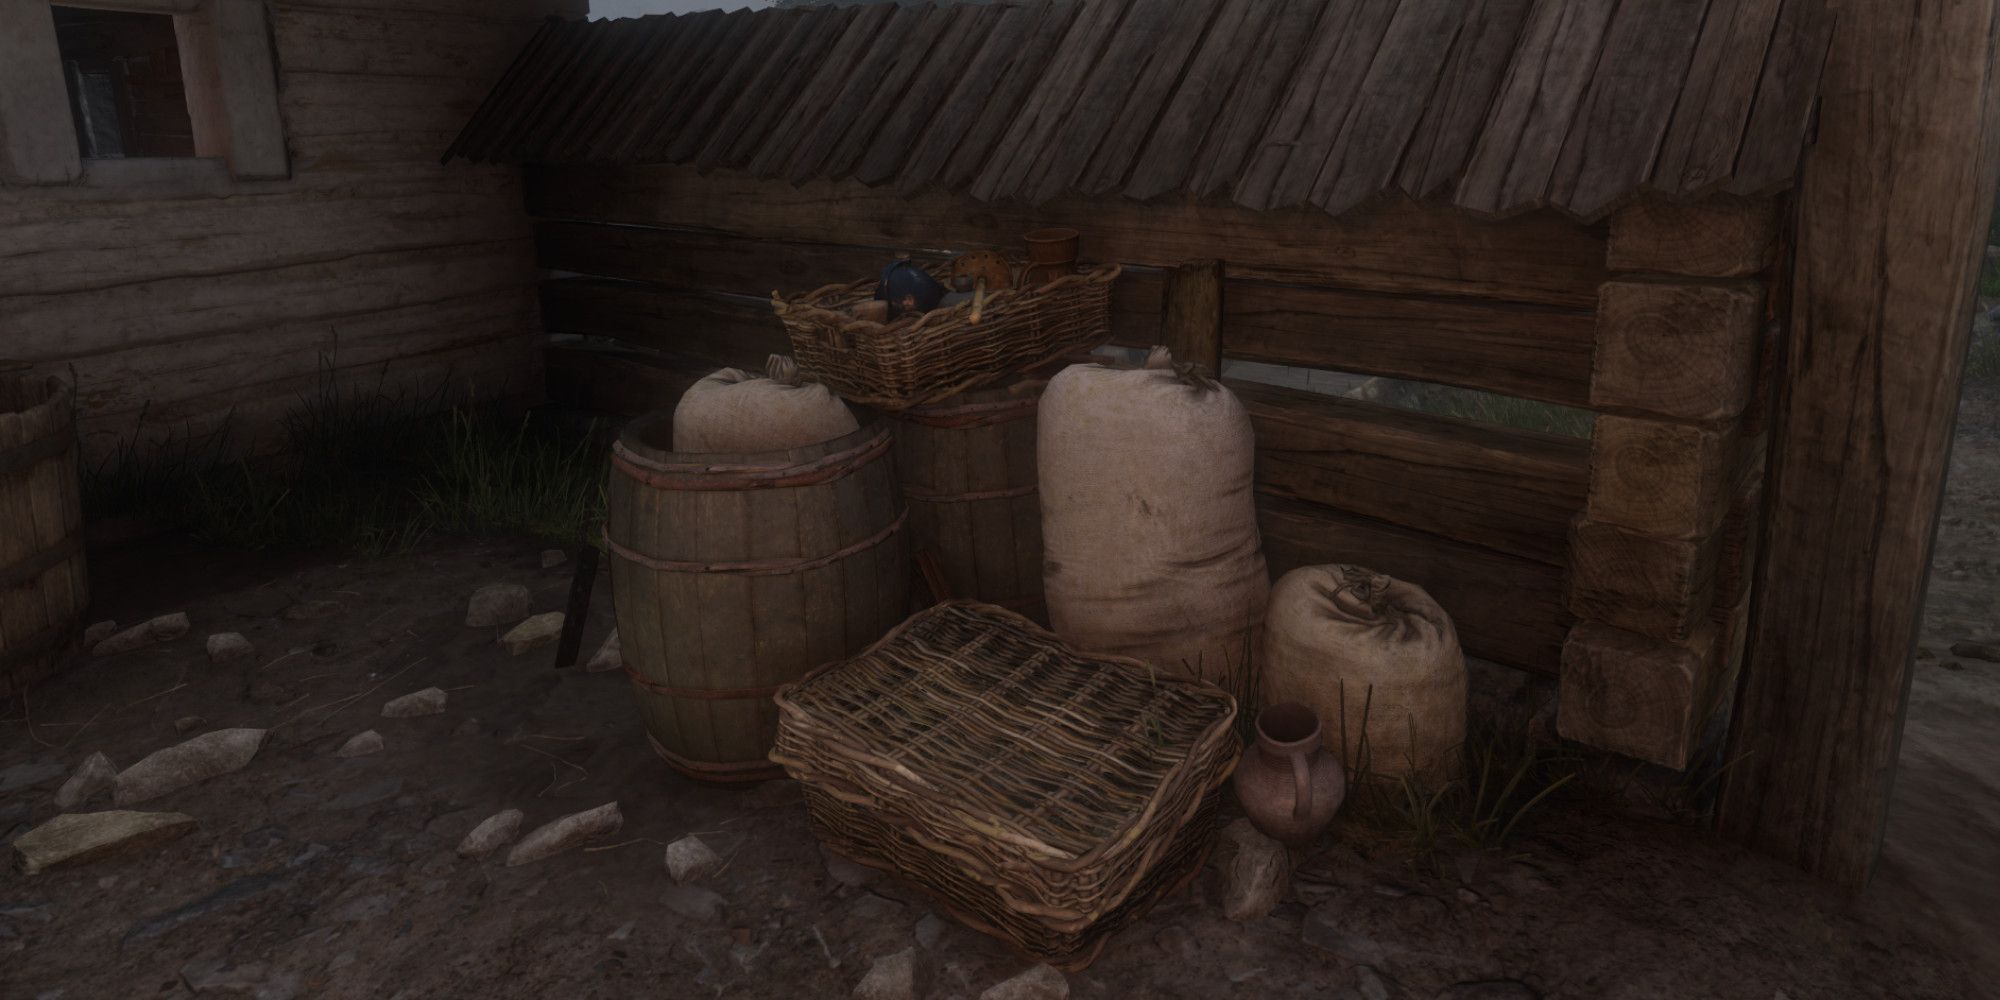
Situated on the eastern part of Bohunowitz, Smil’s residence serves as one of the spots for finding looted goods. When conversing with Smil, he’ll guide you towards a pile of collected items near the entrance of his house.
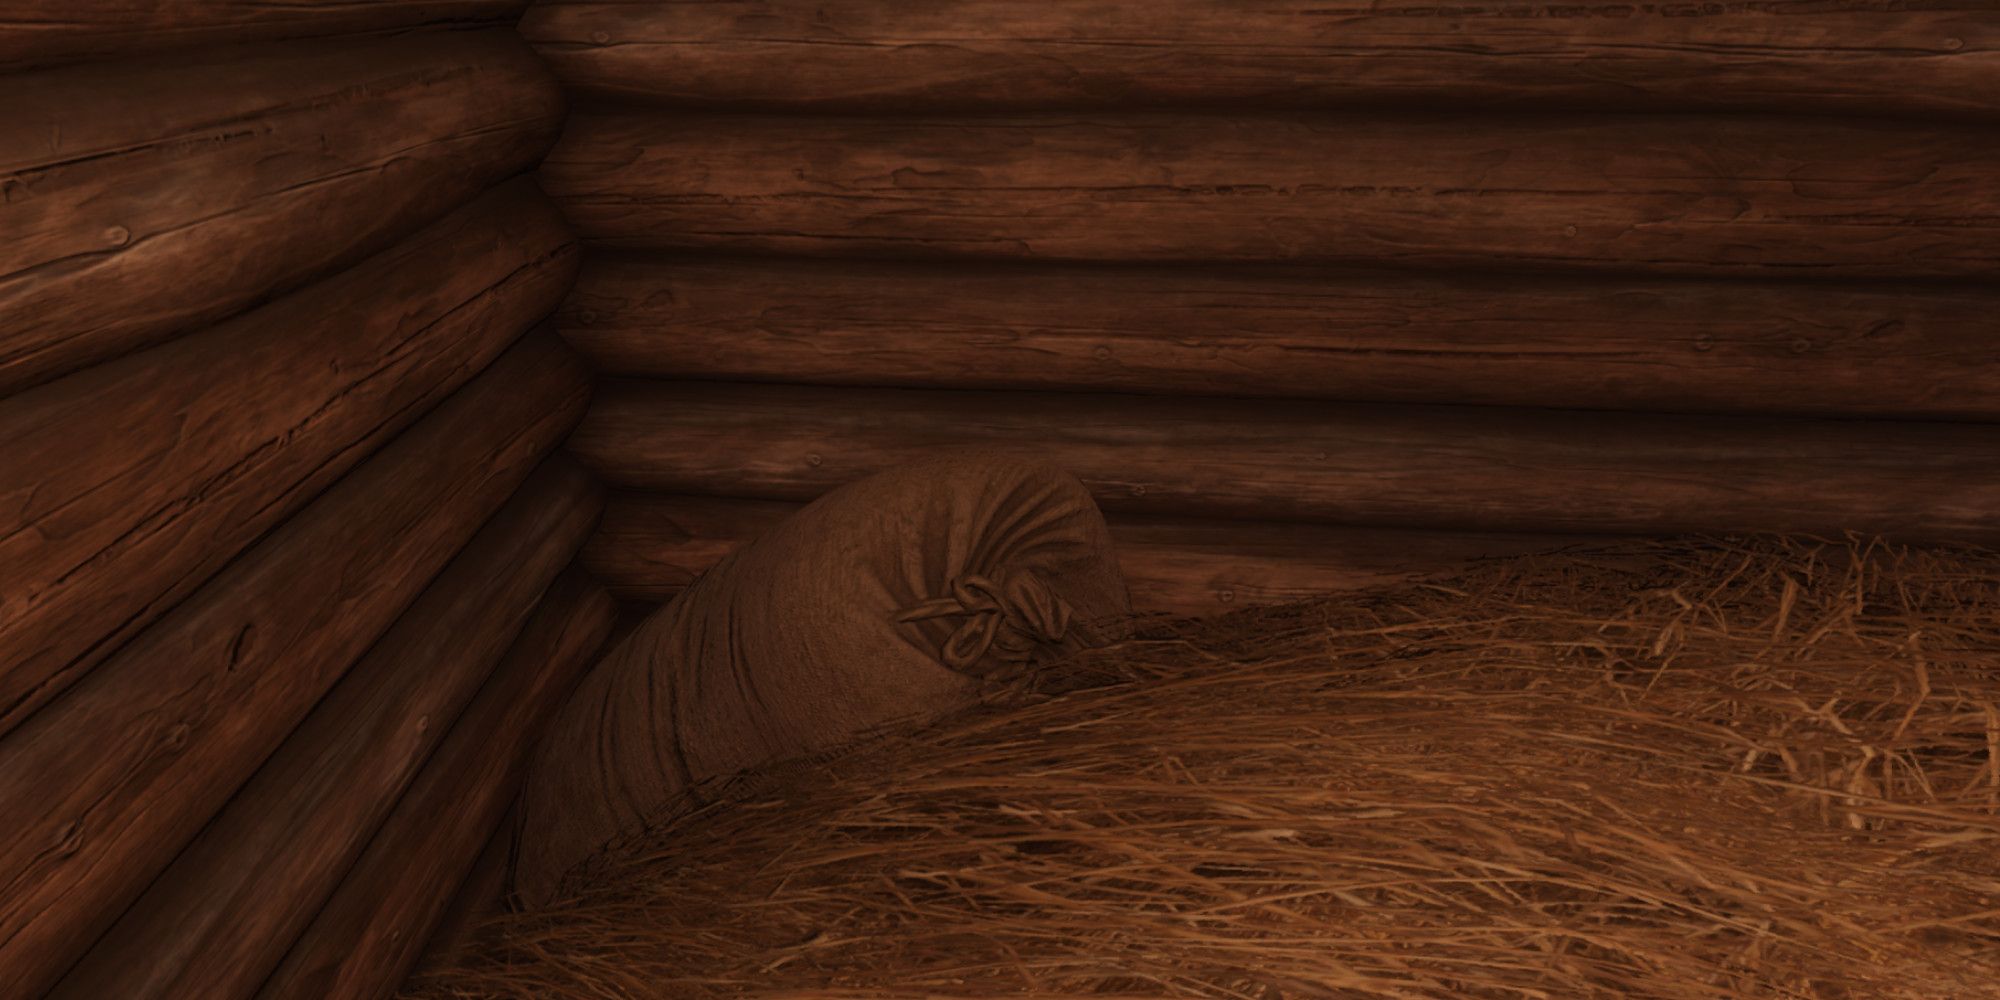
If you’d like to get additional provisions from him, go around to the rear of his house and enter the barn. At the back of the barn, there’s another provision-filled sack that you can grab for your mission objective.
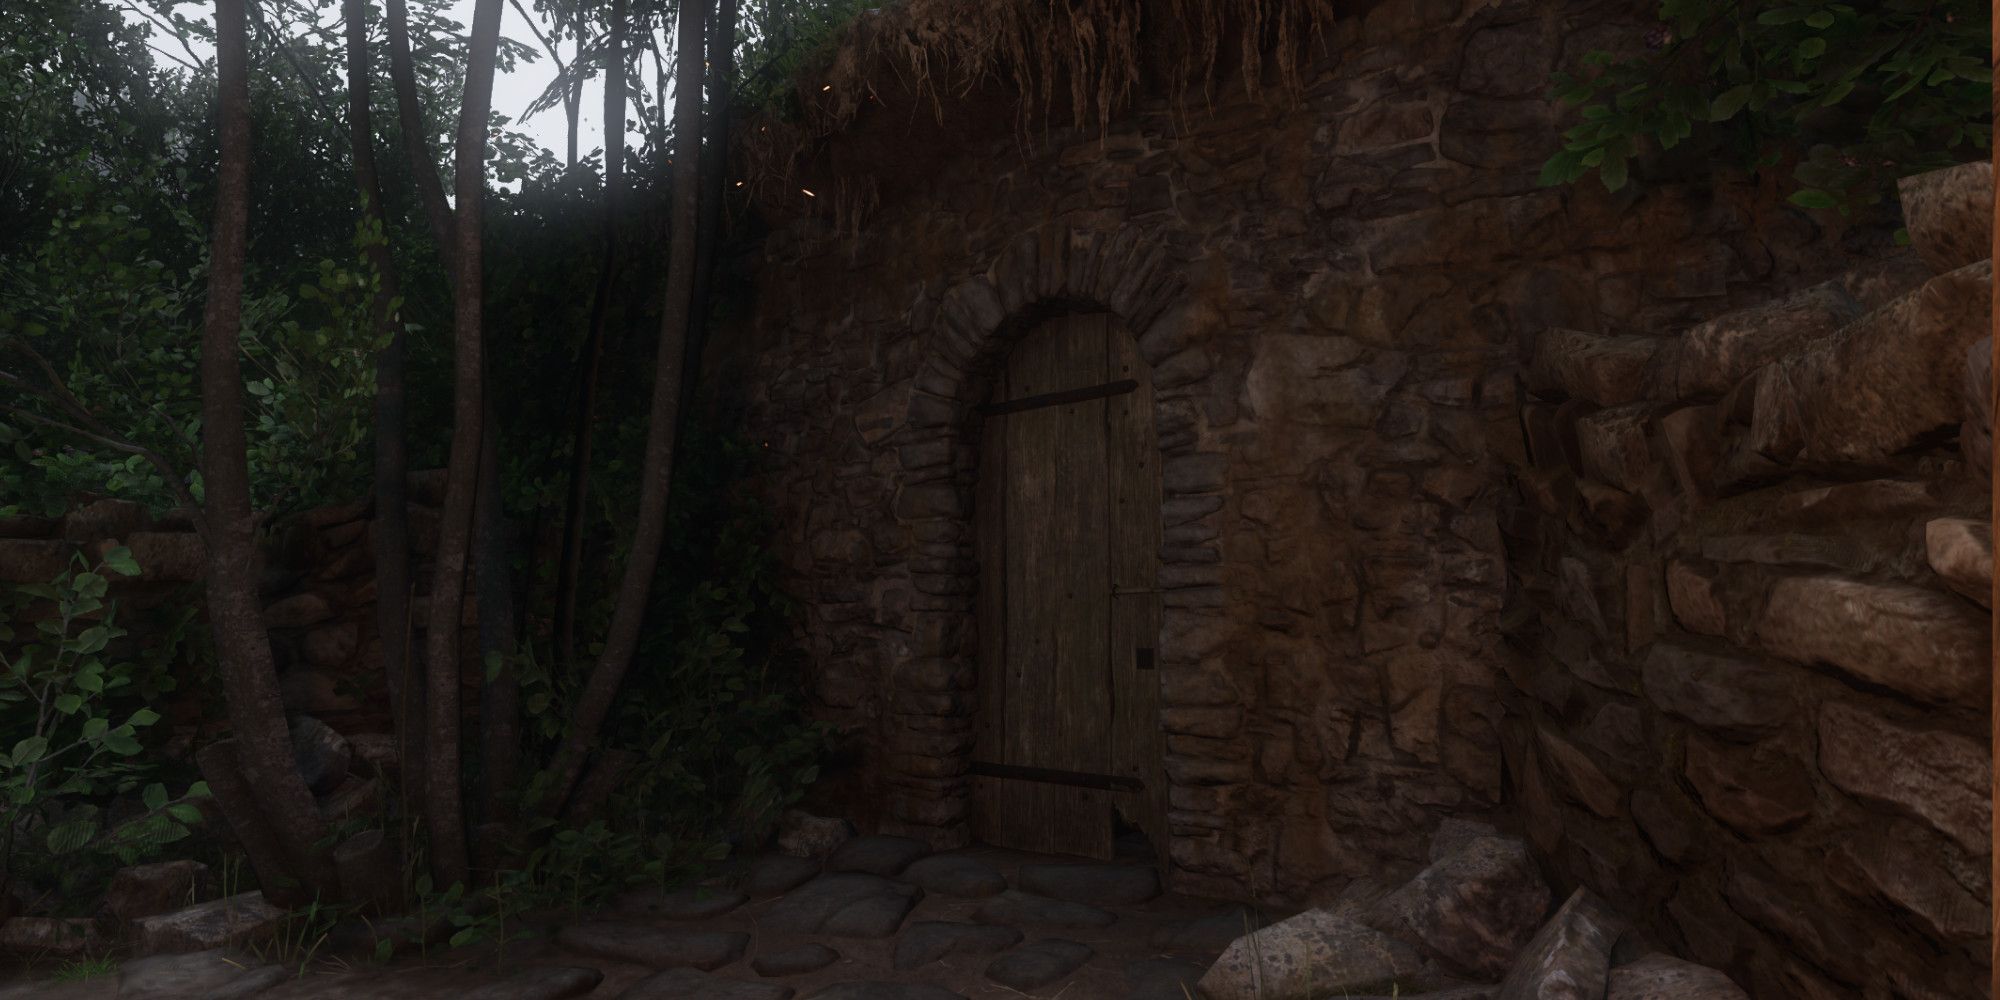
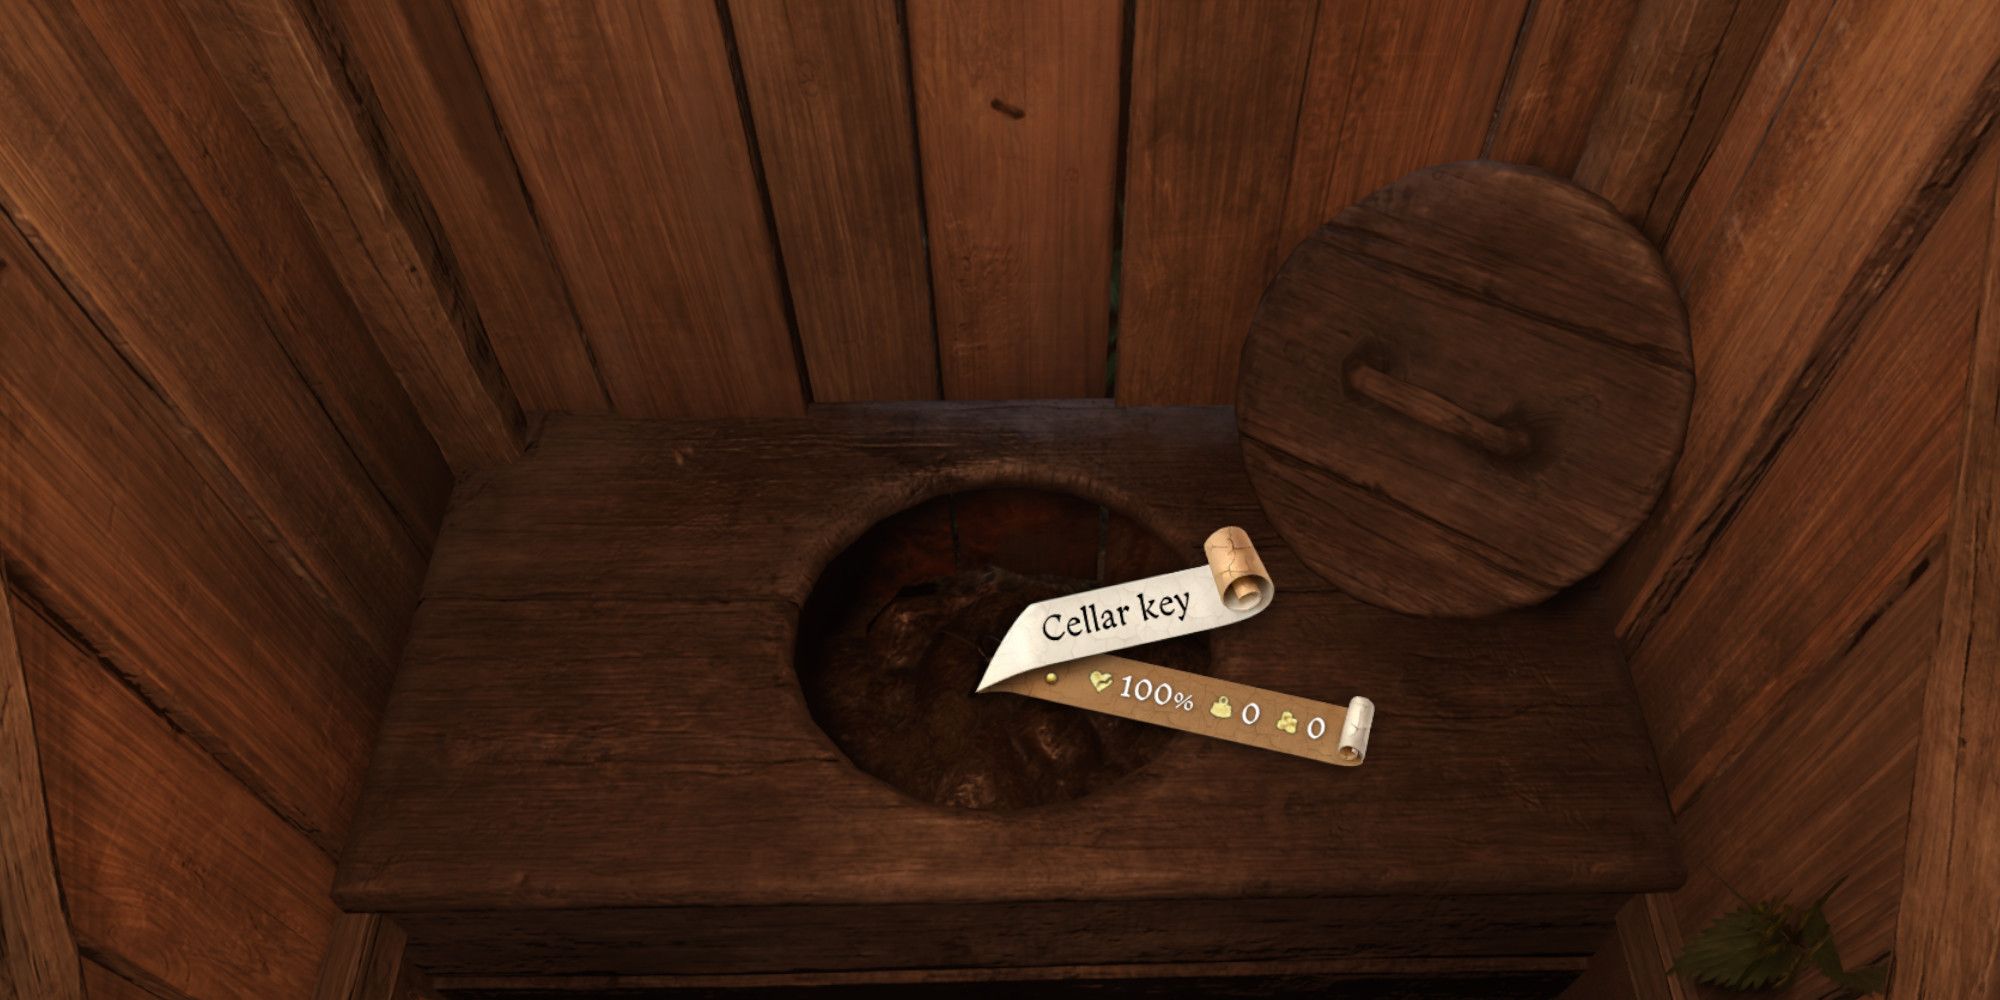
As a gamer, I stumbled upon a cellar door on Smil’s place that seemed to be locked. I could either try my hand at lockpicking (quite a challenge) or hunt for the key hidden somewhere in his bathroom. Inside the cellar, there was a stash of beer, but Smil swore up and down it wasn’t his. If I managed to get my hands on that beer, Puta would take care of it for me.
On the northern part of the city stands the spacious home of Farmer Fowl, a place you’re welcome to search for items. Fowl will guide you towards a stack of supplies next to the garden gate, and feel free to gather as much as you need from there.
In the northern section of town, Farmer Fowl resides in a big house that’s open for your exploration. Fowl will show you a collection of supplies stacked near the yard entrance, and you’re welcome to take whatever quantity you desire from it.
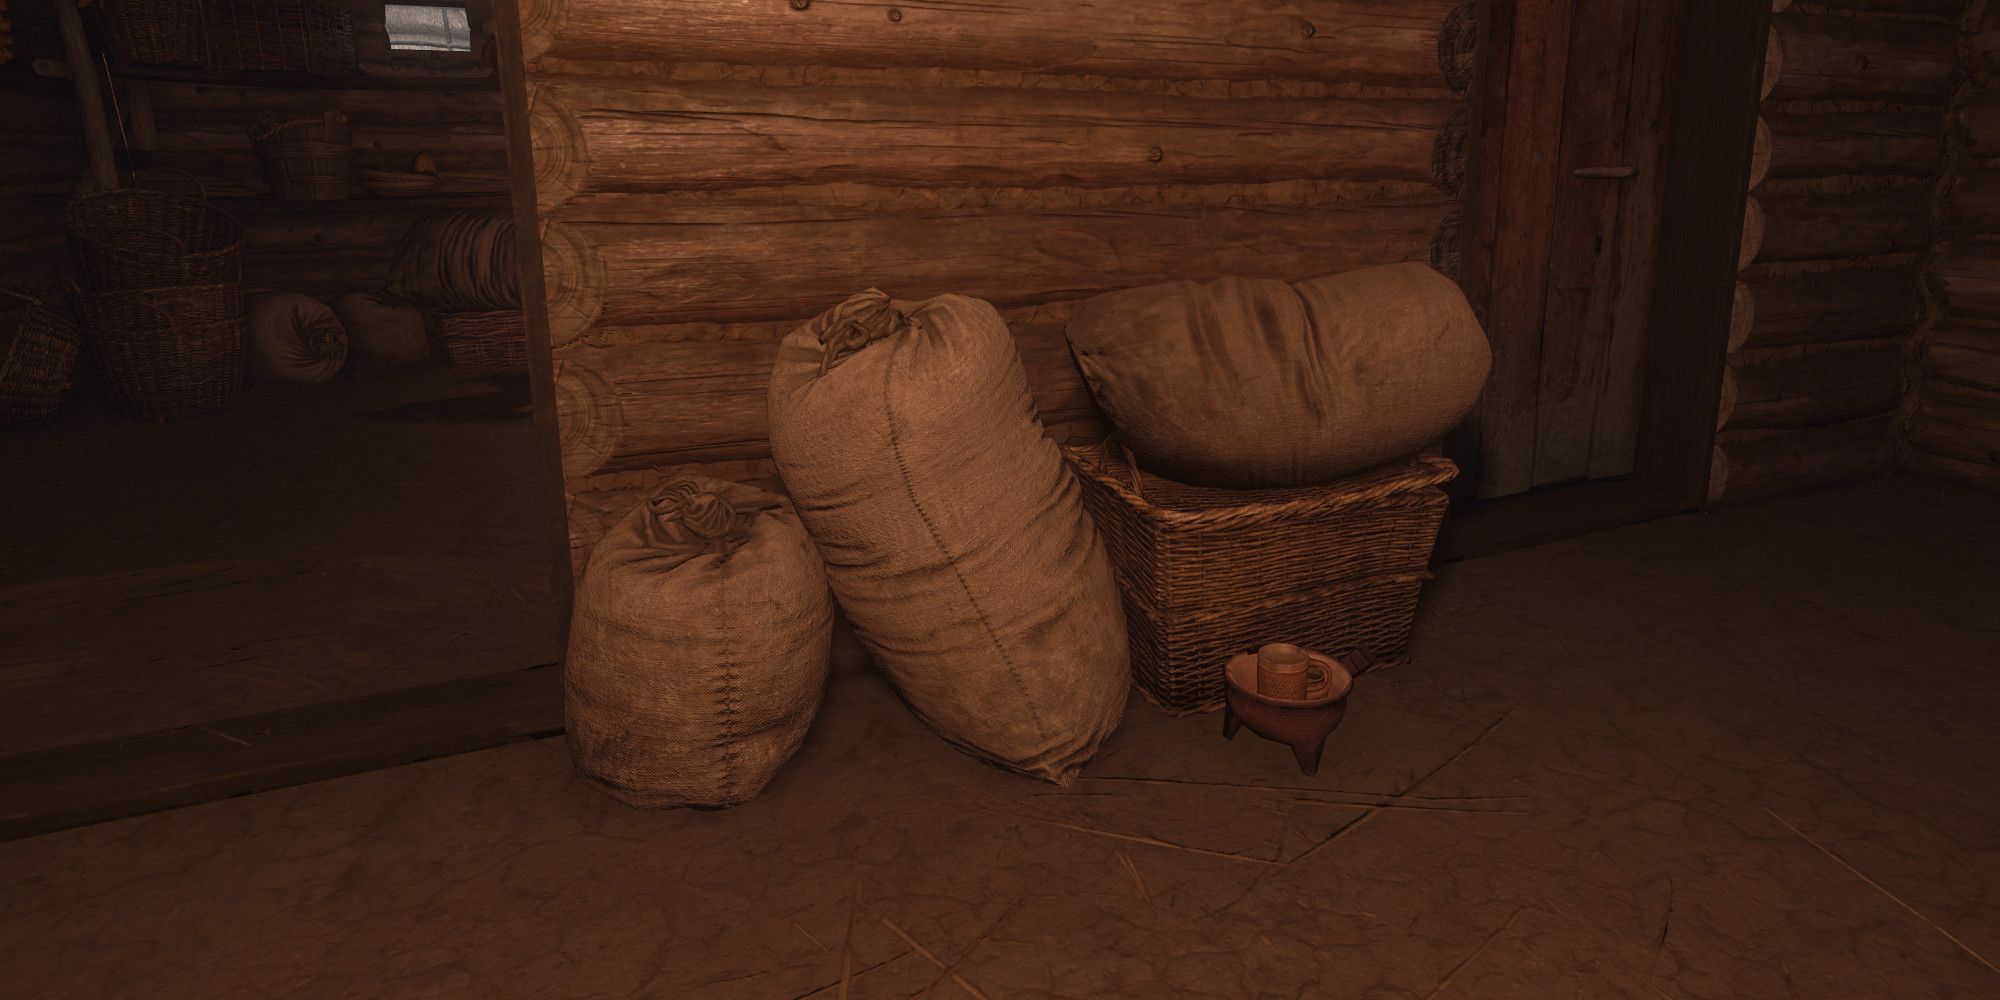
As a fan in need of additional provisions, I’d recommend venturing up to the attic space tucked away in the barn. It’s stocked with plenty more bags filled with essential food supplies. But remember, rummaging through here might upset the townsfolk, and Bynkey may caution you for taking more than necessary.
willow’s house, situated in the northeastern part of Bohunowitz, also serves as a spot to gather supplies. Interestingly, Willow’s looted items are found right at the entrance of his home, behind the doorway leading inside.
The Wounded Villager
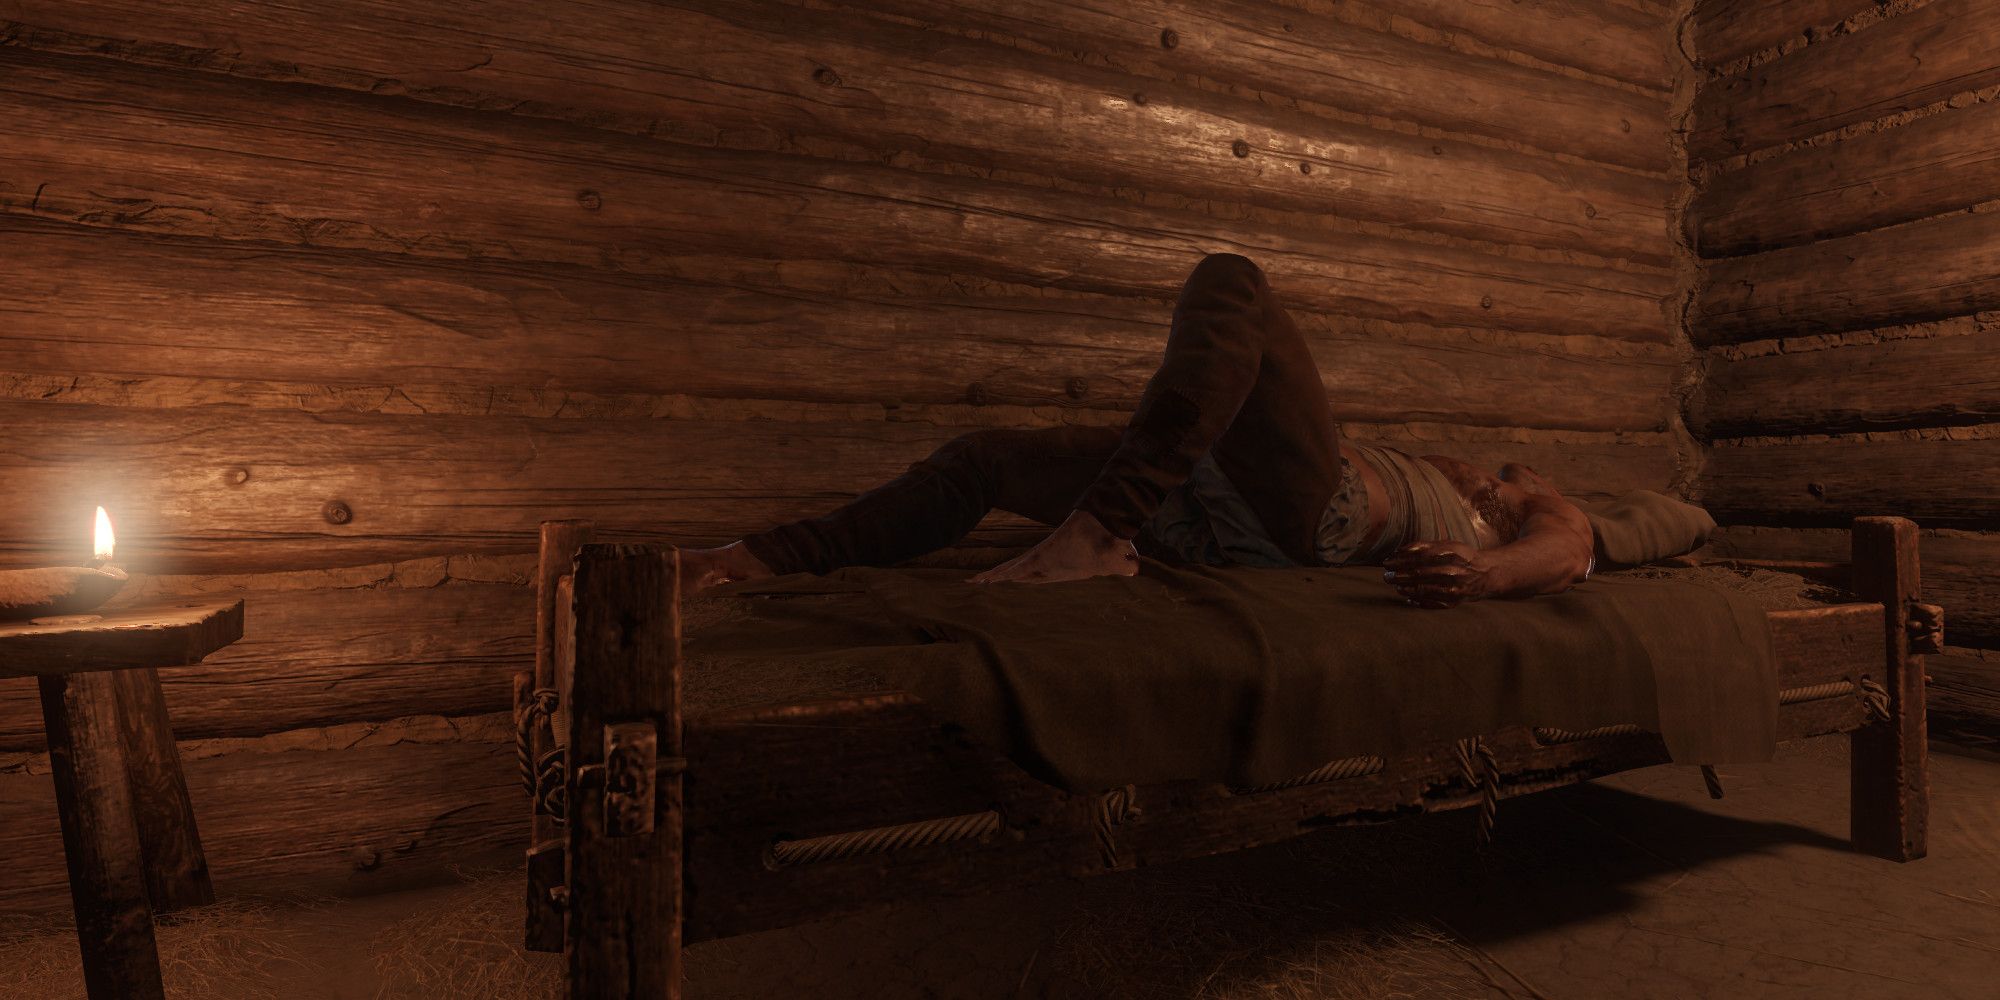
In Willow’s residence, there lies a person who has been injured severely, unable to speak. You have the option to engage with this individual and inspect their injuries, which will necessitate a few ability checks on your part.
To properly nurse the injured villager, administer either alcohol or Painkiller Brew, then clean and dress his wound. Afterward, you may converse with him, at which point he’ll reveal that some of the soldiers perished as he fought back, miraculously managing to flee alive.
In appreciation for your kindness, here are your choices: You could bully the injured villager, reveal to Puta about the fallen soldiers, or simply let him be. However, if Puta discovers this, it may lead to the tragic end of the entire village population.
Completing the Quest
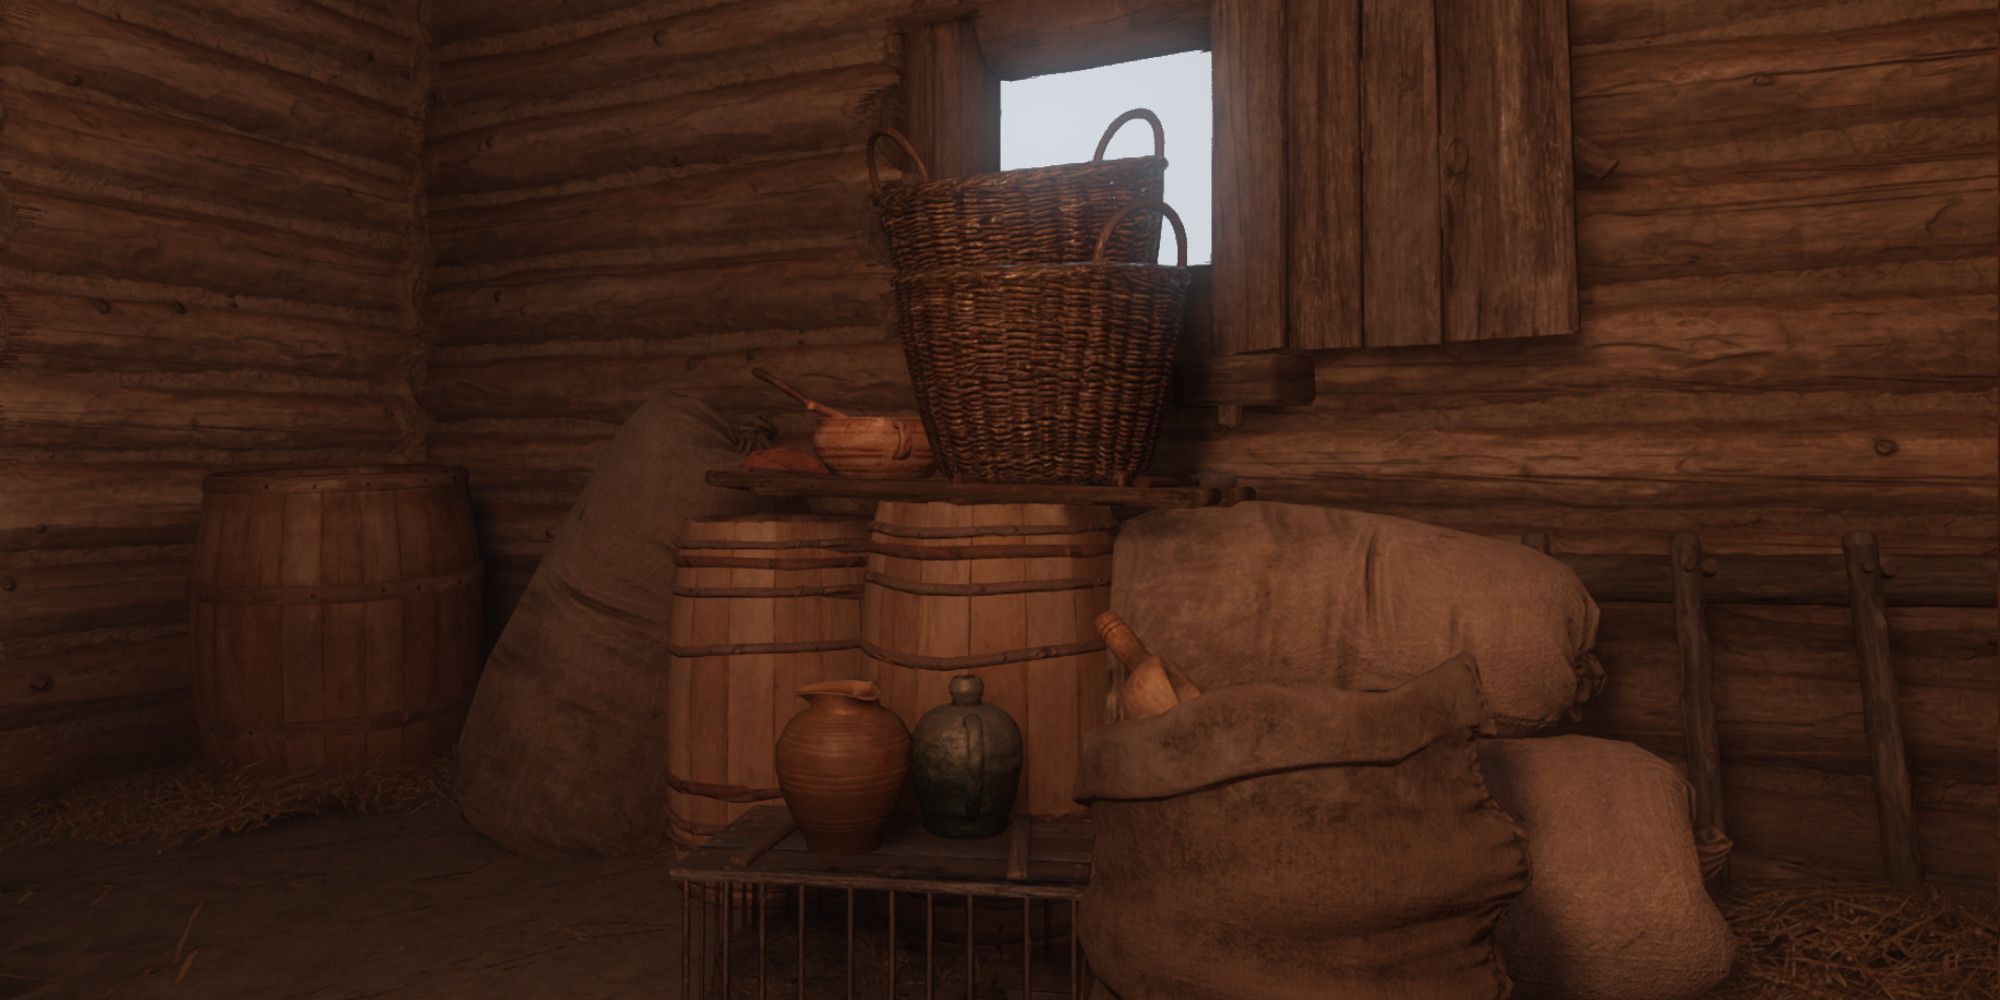
In the end, make your way to Bynyek’s residence, which is situated at the southern tip of Bohunowitz. If you chat with Sovka outside, she’ll guide you to the provisions hidden inside the house near the window. If you require additional supplies to finish the task, a potential backup plan is to explore the forest and search around for graves in the area, where you might find some leftover supplies.
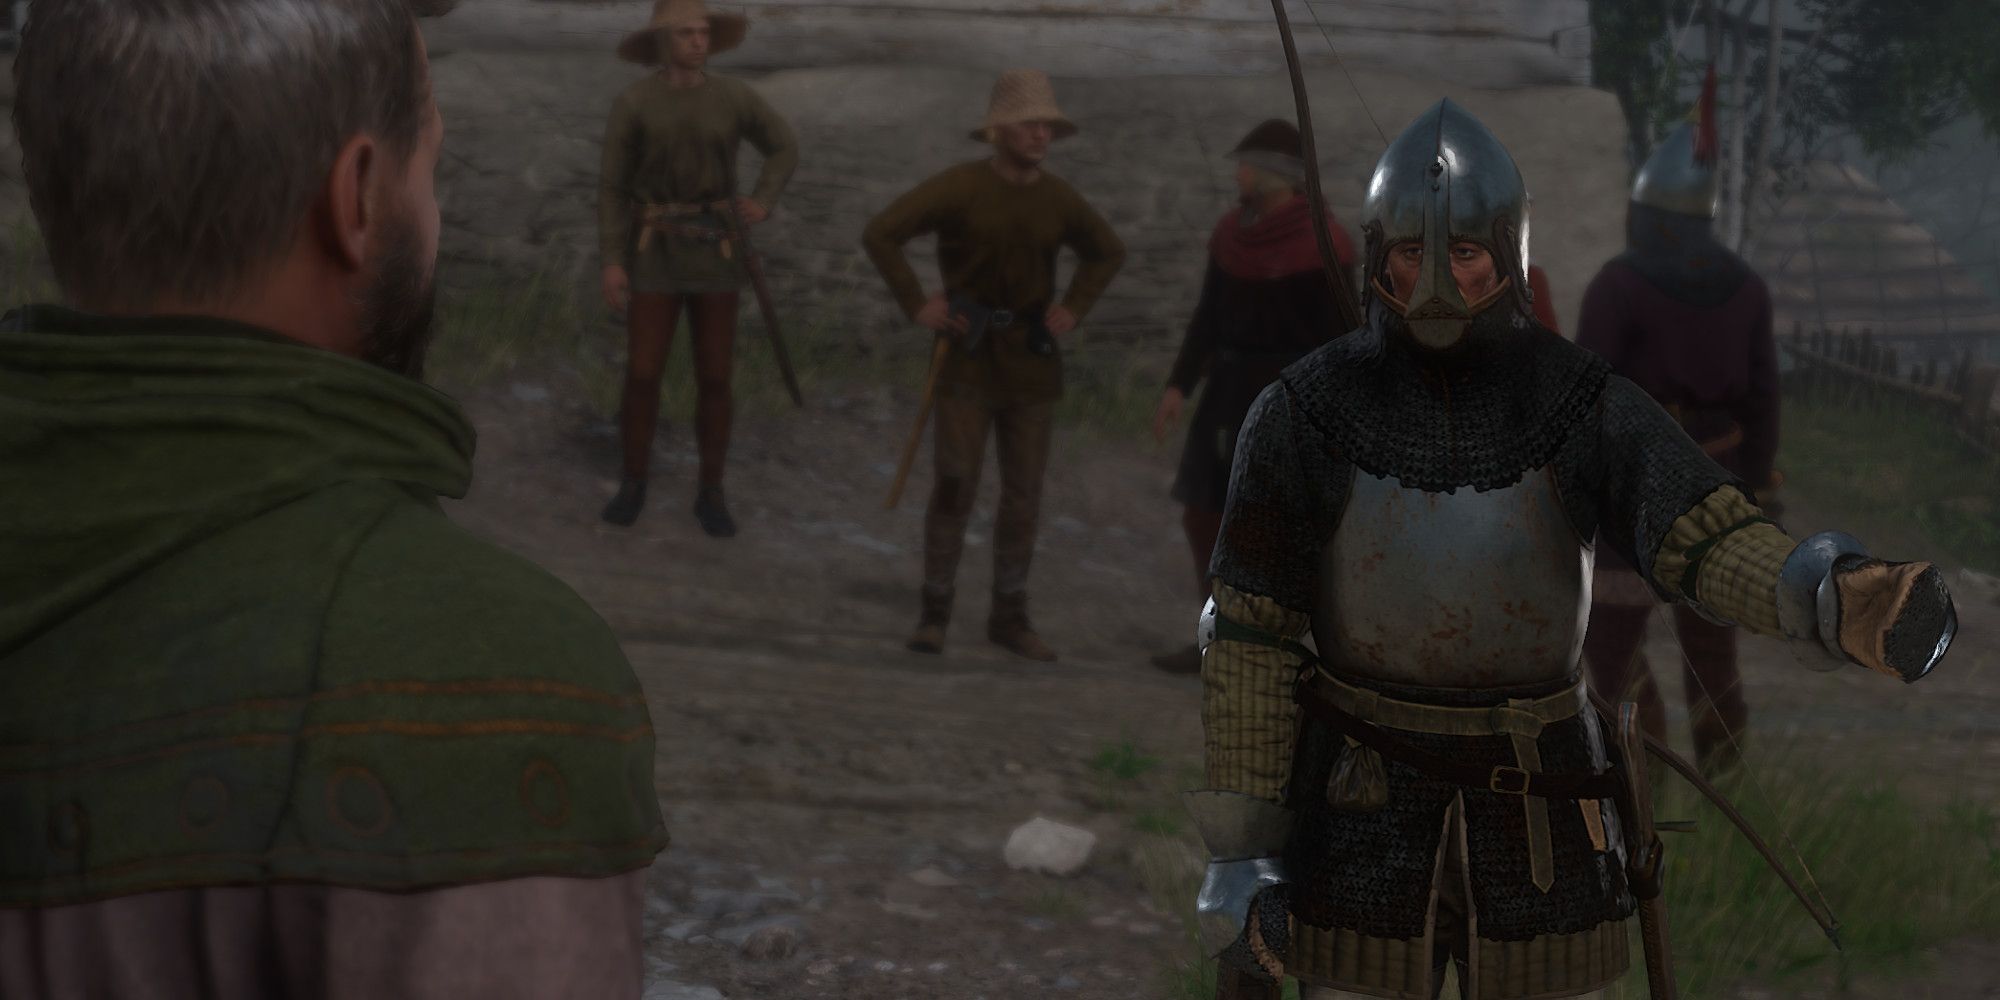
Throughout the entirety of this journey, at any given moment, you have the freedom to engage either the soldiers or the villagers in combat. This decision will influence your standing and the rewards you receive. If a conflict occurs and the soldiers turn on the villagers, you still possess the courageous choice of joining forces with the villagers to defend against the marauding troops.
Should everything run as planned, I’ll make my way back to Captain Puta to hand over the remaining supplies and hopefully collect my reward. If I manage to gather sufficient supplies or take down the villagers, I stand to receive up to 175 Groschen!
Read More
- Clash Royale Best Boss Bandit Champion decks
- Vampire’s Fall 2 redeem codes and how to use them (June 2025)
- Mobile Legends January 2026 Leaks: Upcoming new skins, heroes, events and more
- World Eternal Online promo codes and how to use them (September 2025)
- How to find the Roaming Oak Tree in Heartopia
- Best Arena 9 Decks in Clast Royale
- Clash Royale Season 79 “Fire and Ice” January 2026 Update and Balance Changes
- Clash Royale Furnace Evolution best decks guide
- Clash Royale Witch Evolution best decks guide
- Best Hero Card Decks in Clash Royale
2025-03-30 06:13