In Elden Ring Nightreign, it’s not only about battling formidable bosses with accuracy akin to a sniper and the rage of Zeus, but occasionally, even the game’s map can pose a lethal challenge—and I’m not just referring to the storm.
On certain occasions, you may encounter Earth Shifts. These phenomena become noticeable post-defeat of the first Nightlord, Gladius, Beast of Night (Tricephalos). During these occurrences, sections of the map undergo various transformations, which could impact the outcome of your gameplay, as you adapt to this fresh predicament.

As a devoted admirer of the Elden Ring realm, here’s my take on your headlines:
1. Kickstart your adventure with the right moves in “My Personal Guide to Mastering Nightreign”
2. Discover the crème de la crème of nightfarers in “Ranking the Top Nightreign Lords”
3. Boost your power rapidly with “The Most Efficient Route for Farming Nightreign Runes”
4. Build an unstoppable team with “My Ideal Combinations for Nightreign Squads”
5. Equip the best relics to enhance your abilities in “The Must-Have Relics for Nightreign Masters”
6. Track down every fearsome boss in “My Encounter with All the Nightlords”
7. Unravel the mysteries of each character’s quests in “A Comprehensive Look at Nightreign Remembrances”
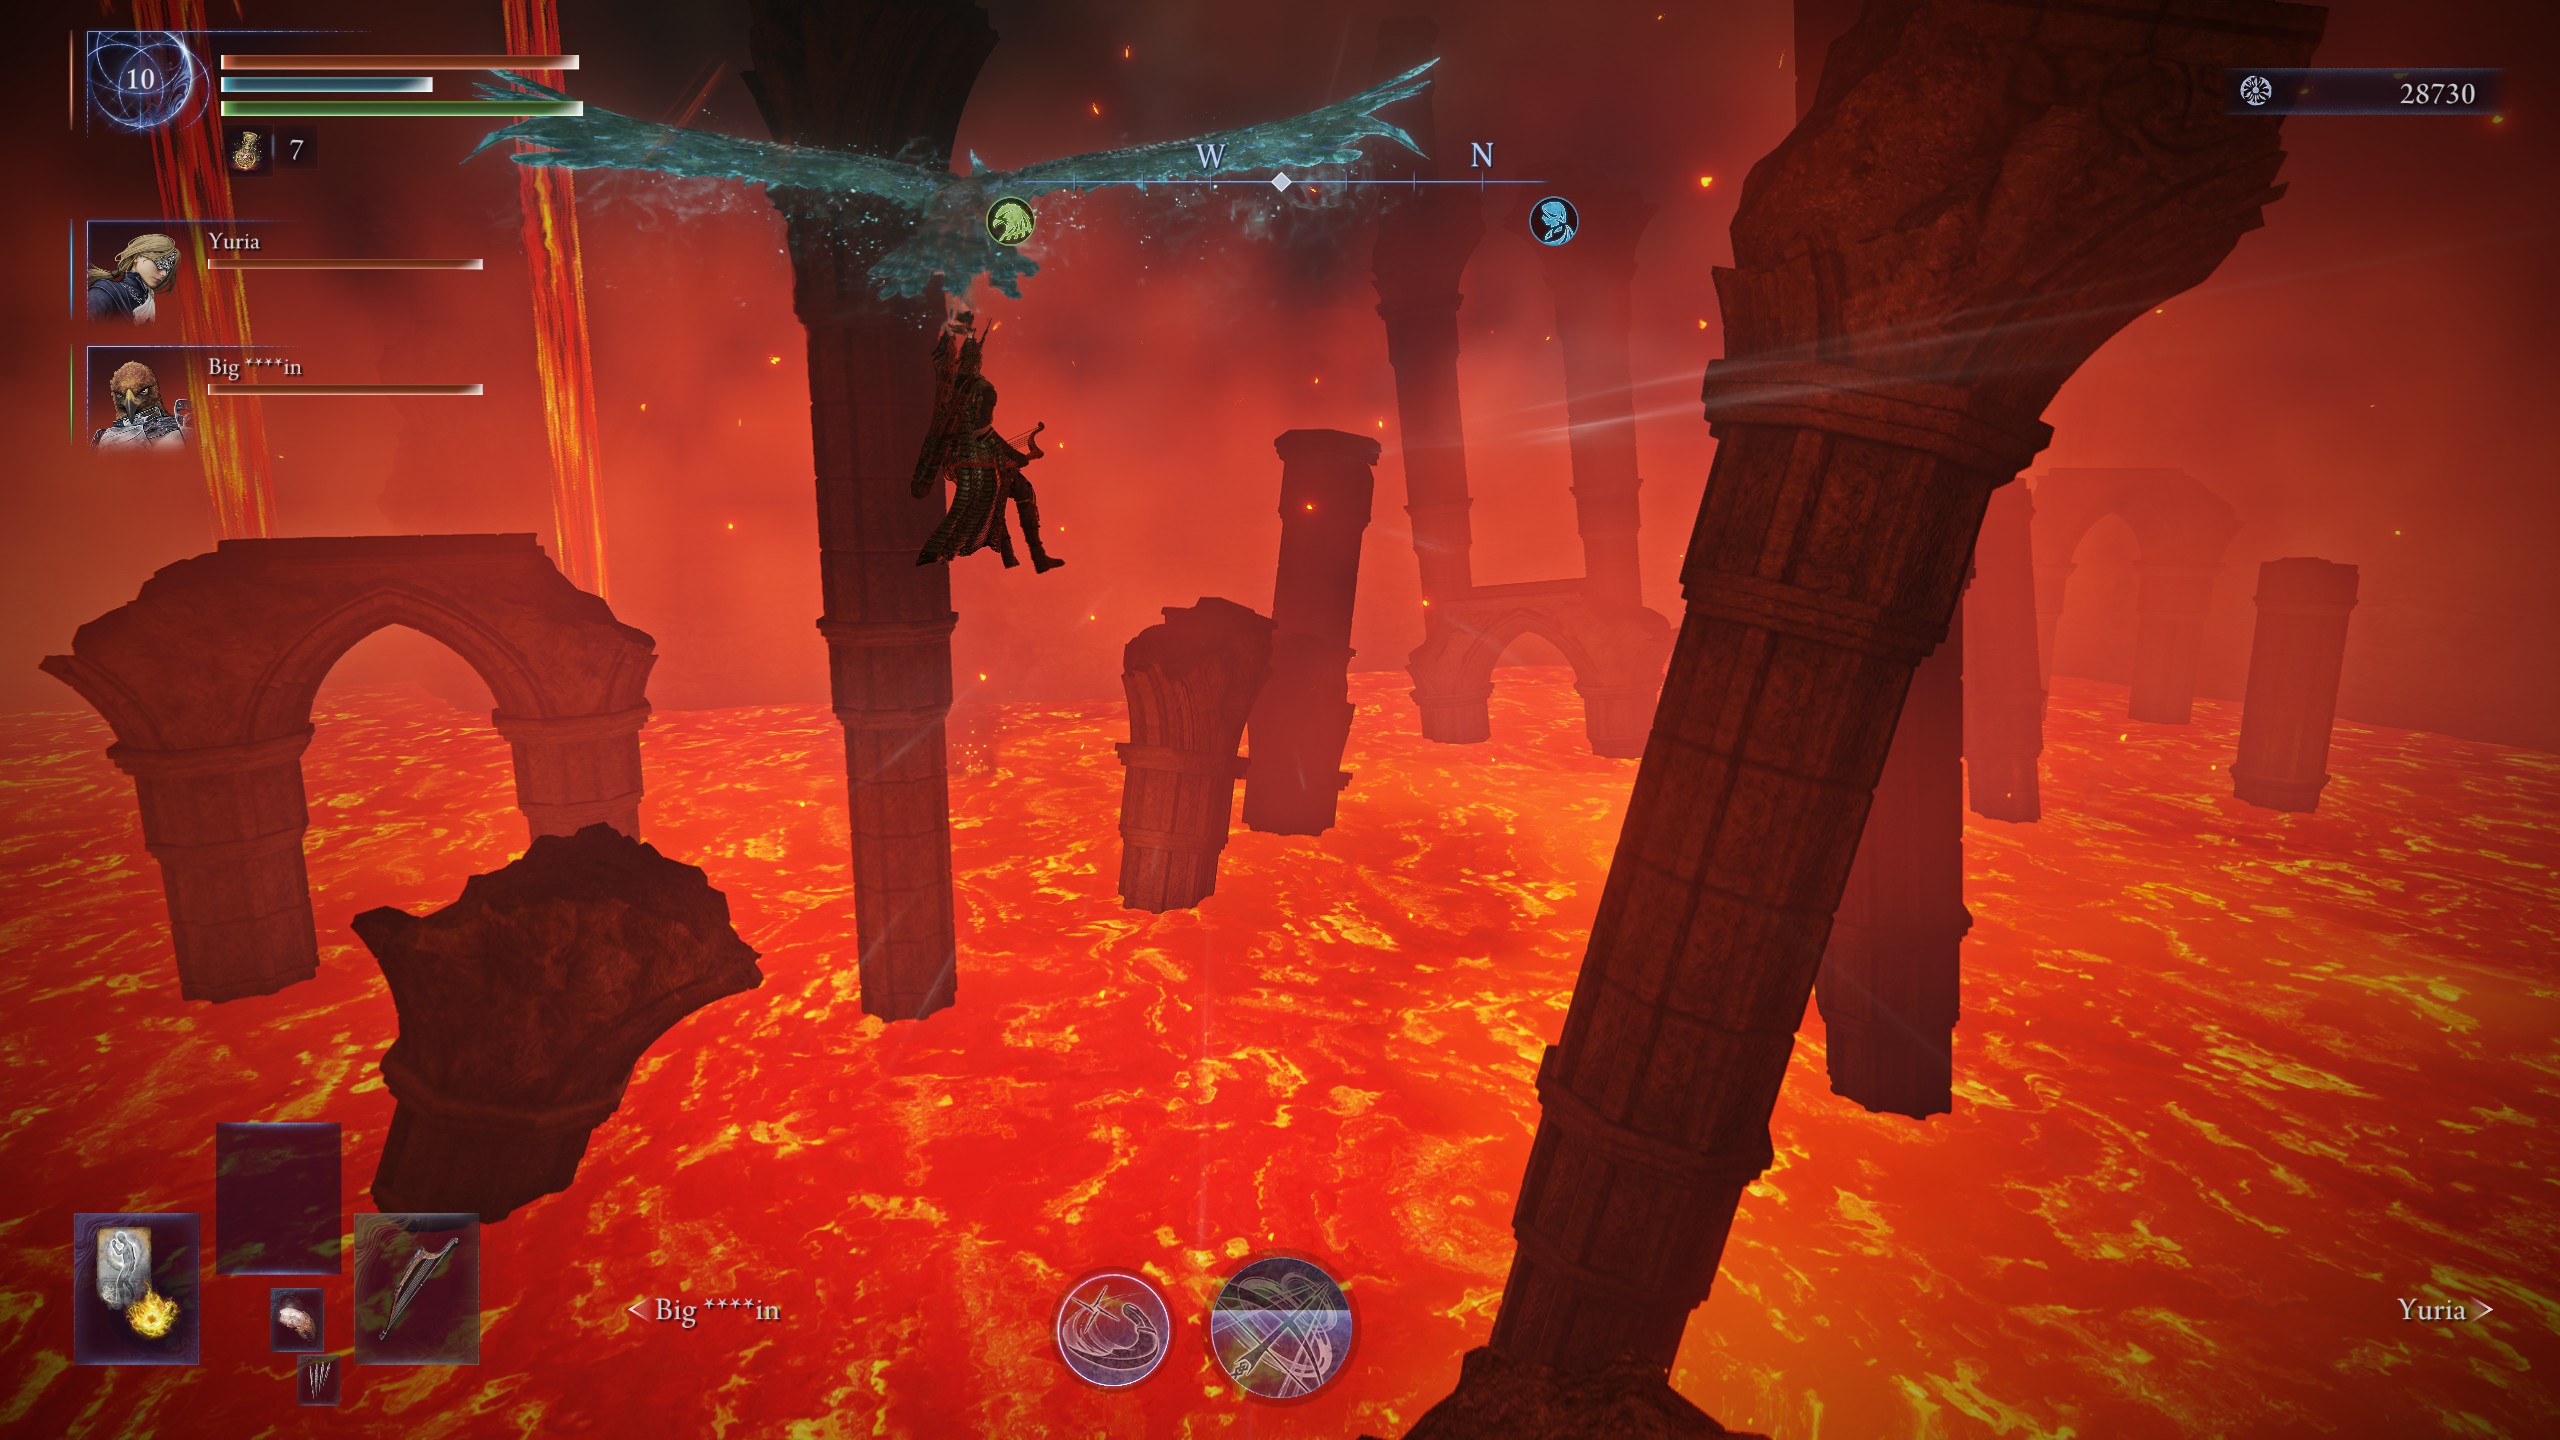
In my viewpoint, the most remarkable geological phenomenon is the Crater Event. It’s when a colossal fissure splits the center of the map wide open, revealing molten lava beneath and causing earth-shattering explosions that reverberate through Limgrave.
Players who successfully navigate their way to the bottom will find an exclusive forge, capable of transforming any ordinary weapon into a legendary one. However, with a tight deadline, formidable foes lurking along the descent, and a colossal Magma Wyrm poised to split you in two, completing this endeavor can prove quite challenging.
The answer to this predicament might seem extreme, but consider leaping from a close-by precipice with the hope that you hit a large stone and not submerge in the streams of molten rock instead.
For Ironyeye players, his ability to leap forward is advantageous, and YouTuber eldencafor has suggested an efficient method: simply jump from the church’s cliffside where two Thorn Sorcerers reside. However, this requires a swift skill cooldown or a relic that offers an extra skill use, as you must leap twice to reach firm ground. For those lacking both a lunge and a bow, there’s an alternative, more dangerous approach to reaching the bottom.
Heading toward the “flight tree” situated north of the crater, where often the second-day boss emerges, fly an eagle over the lava abyss, then leap off as it nears land. If you maintain your descent forward, you should reach the Magma Wyrm boss.
Allow me to caution anyone considering this action: My companions and I resorted to it out of desperation and frailty, as we realized our regular path would not allow us enough time to reach the base of the Crater. It’s important to note that many things could potentially go awry in this situation.
If you time your jump incorrectly, you’ll either find yourself on a cliff near the Black Blade Kindred or plummet straight into the lava. Additionally, an unintended press of R3 will cause the eagle to drop you into the abyss. During our first try, one of my friends was dropped by the eagle right in the Crater’s center, despite no apparent contact with anything else. This scared my other teammate so much that he panicked and fell into the lava as well. In turn, his panic caused me to make a mistake, leading me to fall… right into the lava.
Ever since I’ve successfully executed this clever move, it’s been done on a whim with strangers, resulting in an equal dose of confusion as my fellow players struggled to comprehend how I descended from the cliff edge to the base of the Crater’s other side.
Currently, I’m planning to follow only one Crater shortcut, the easier and safer one that That-Communication48 recommended. This path leads you to the misty wall near the Fire Monks and Fire Prelate. It saves a bit of time and offers some experience and a weapon upon defeating them, making it a beneficial choice without wasting too much time. I could also work on managing my time more efficiently, but this strategy serves as a good alternative.
Read More
- Clash Royale Best Boss Bandit Champion decks
- Vampire’s Fall 2 redeem codes and how to use them (June 2025)
- Mobile Legends January 2026 Leaks: Upcoming new skins, heroes, events and more
- World Eternal Online promo codes and how to use them (September 2025)
- Clash Royale Season 79 “Fire and Ice” January 2026 Update and Balance Changes
- Best Arena 9 Decks in Clast Royale
- Best Hero Card Decks in Clash Royale
- Clash Royale Witch Evolution best decks guide
- Clash Royale Furnace Evolution best decks guide
- FC Mobile 26: EA opens voting for its official Team of the Year (TOTY)
2025-06-17 14:18