In the adventure titled “The First Berserker: Khazan“, you journey to the imperial city of Vitalon during the Fall of the Empire mission. Upon arrival, you witness a city consumed by Chaos. Navigating through Vitalon’s streets may prove difficult due to formidable adversaries at every turn, but with a well-thought-out plan and some helpful advice, you will conquer this city effortlessly.
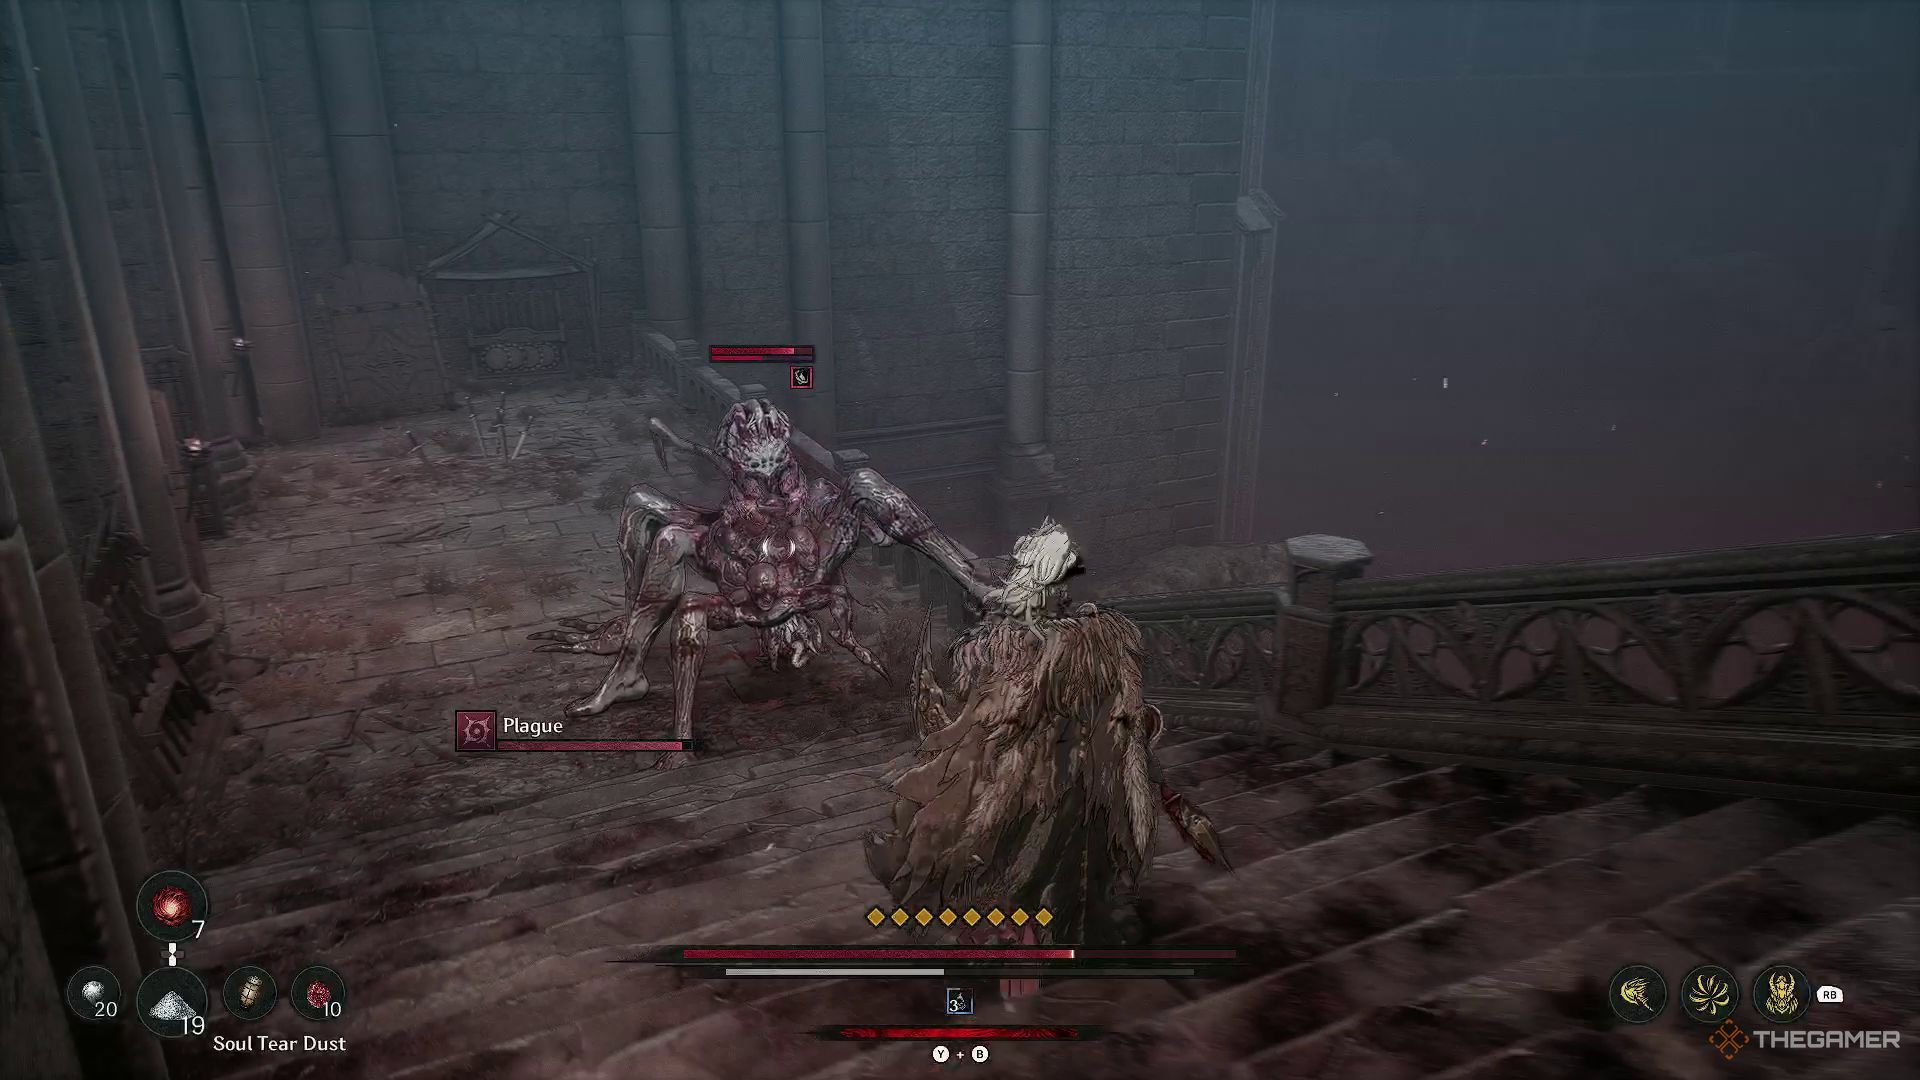
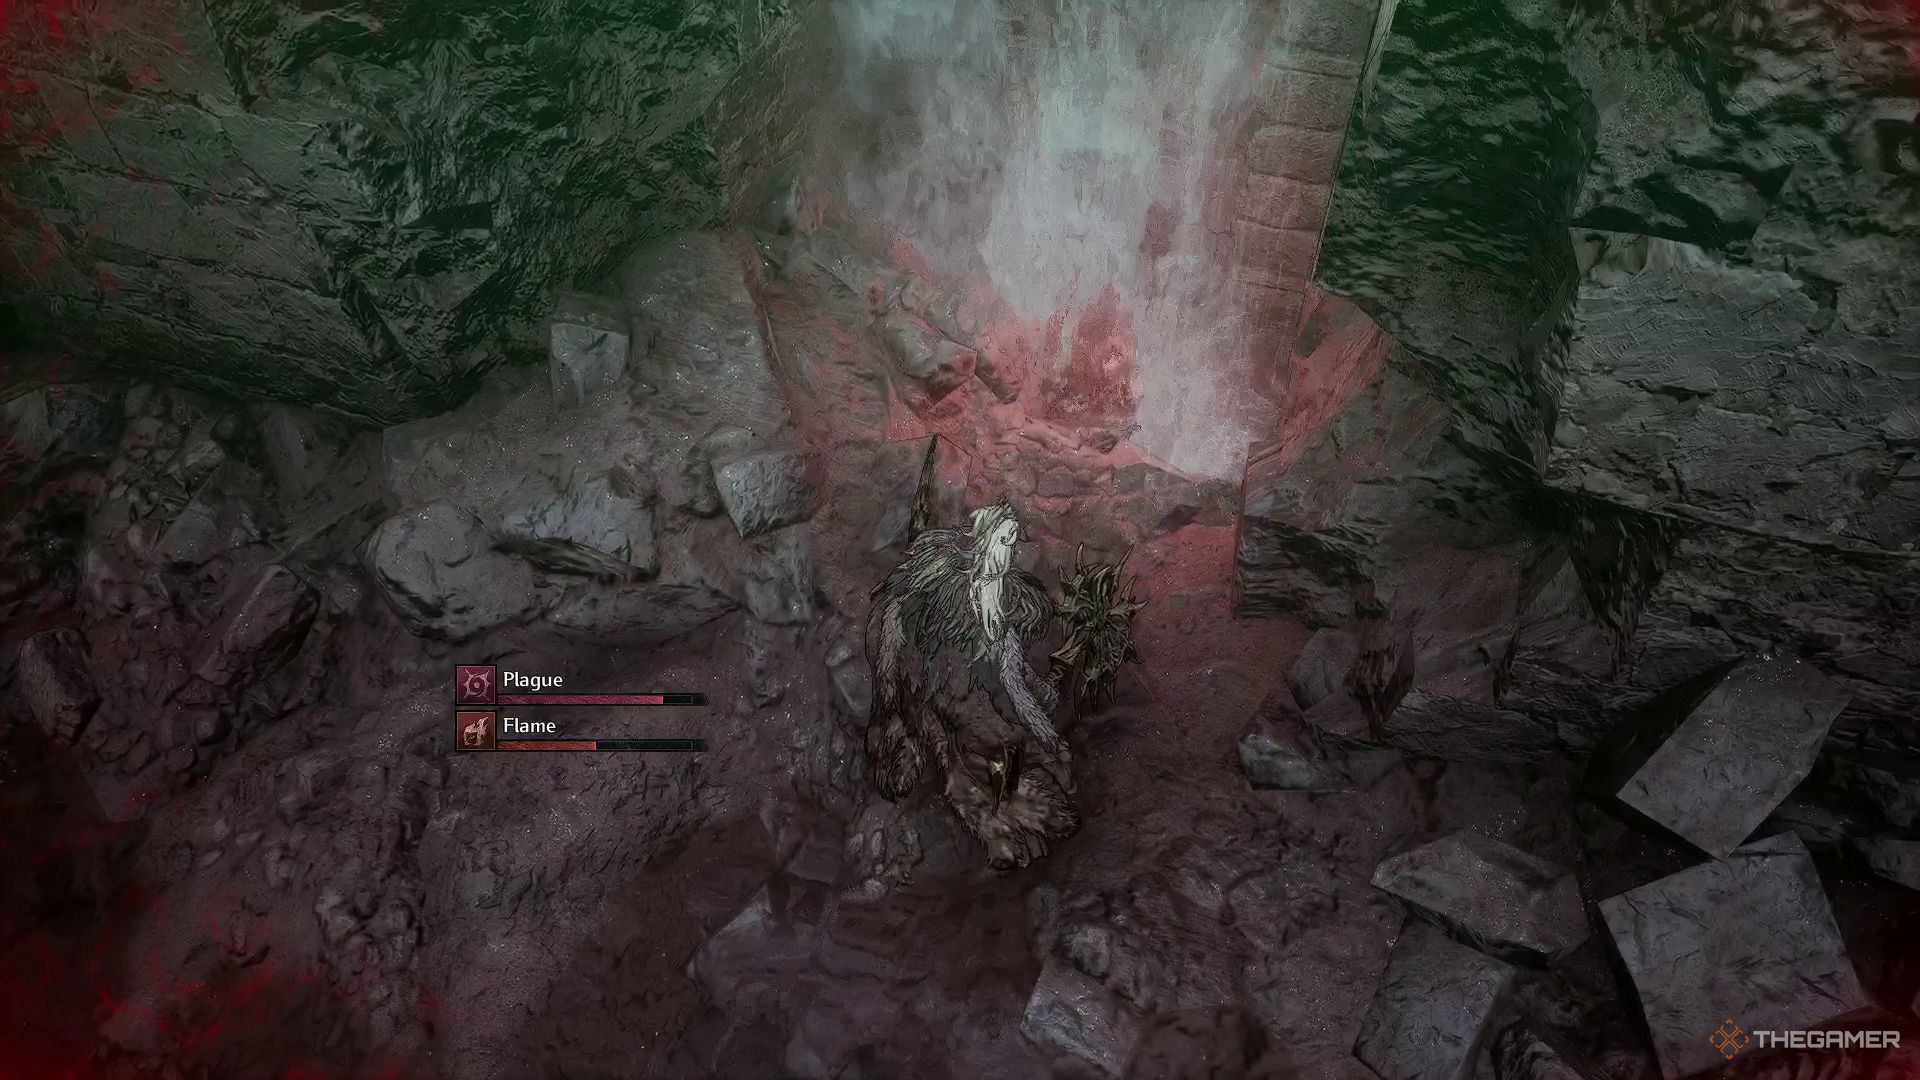
The Fourteenth Main Mission, titled “The Fall of the Empire,” is best approached once you’ve reached at least level 119. Keep in mind that there are specific adversaries capable of inflicting a status effect known as the Plague. To be prepared, remember to carry some Plague Cleansing Potions during your adventure.
Fall Of The Empire Walkthrough

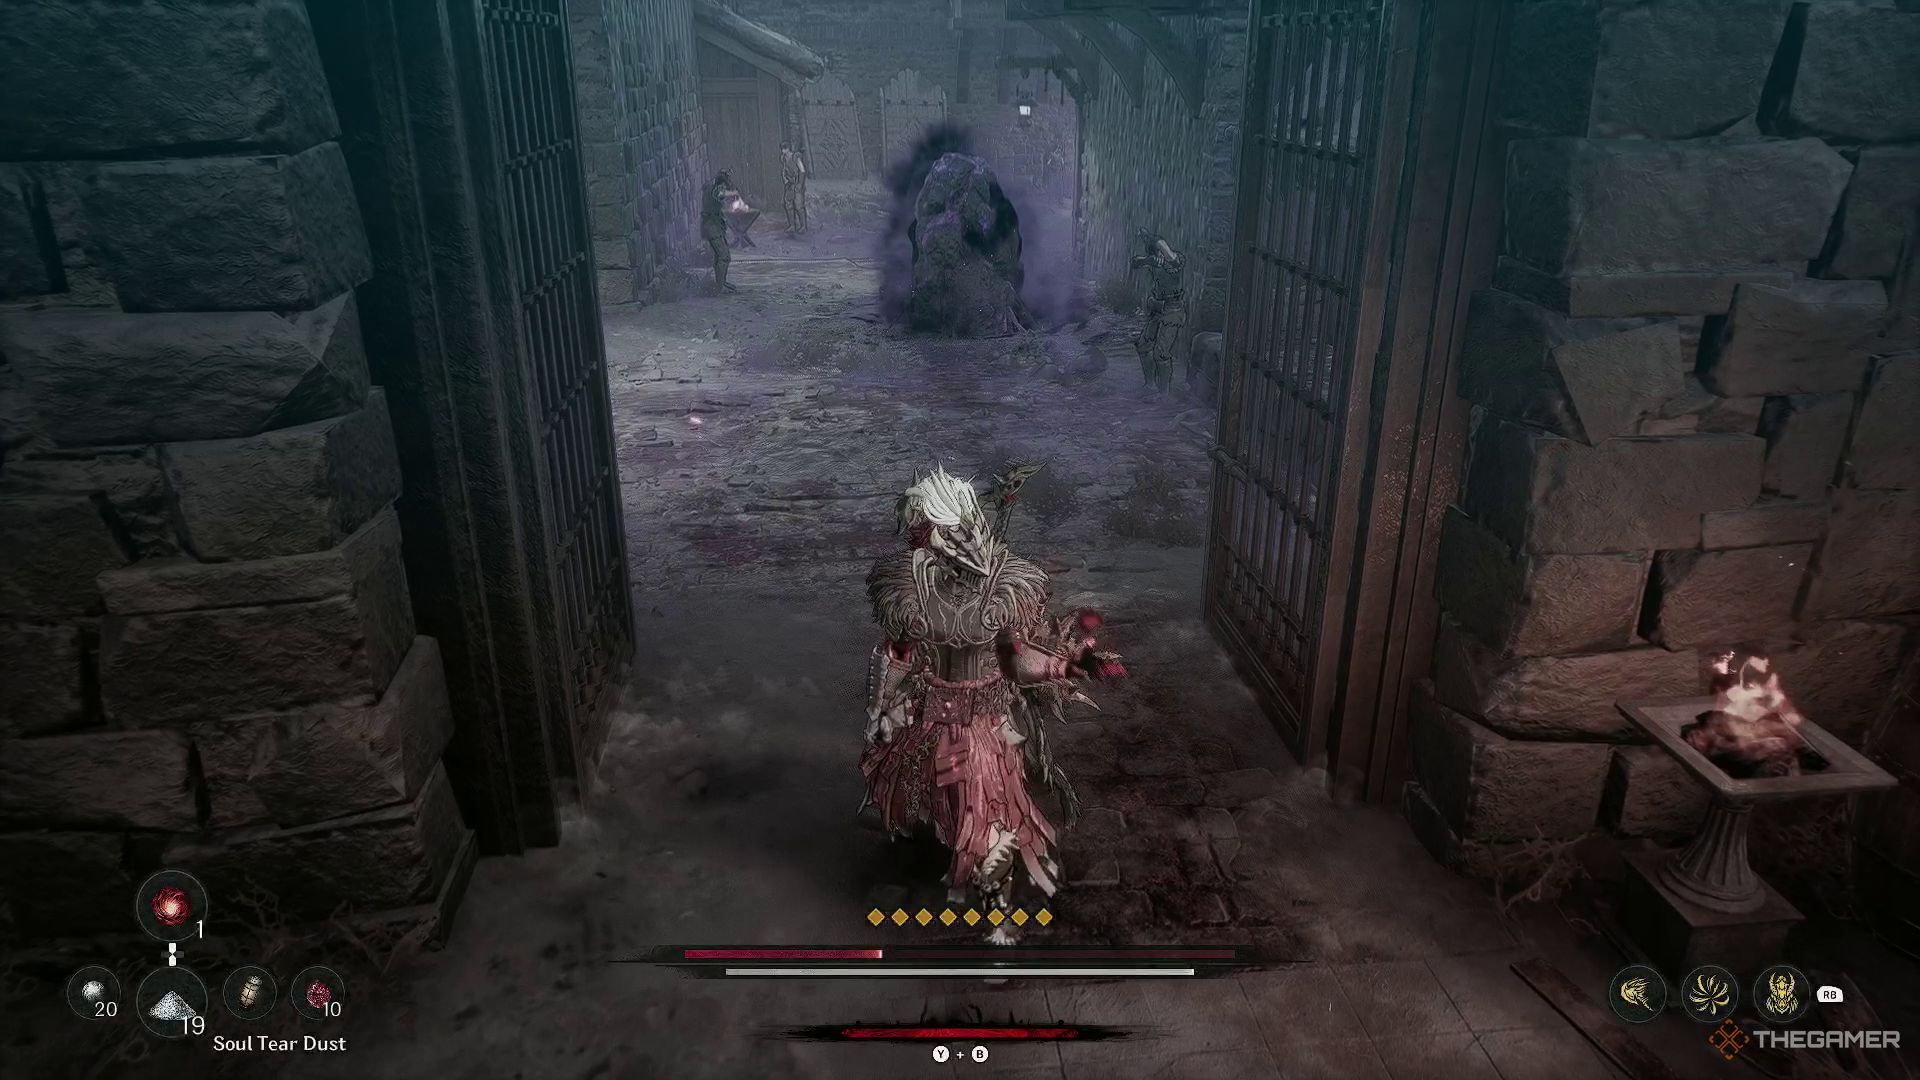
In Vitalon, you’ll encounter Chaos-emitting stones that increase the Chaos Status on you when attacked. However, destroying these stones causes them to explode, stunning any nearby enemies, providing an opportunity for a powerful Brutal Attack.
Additionally, there’s no significant cause for concern in this region, except for deceitful enemies masquerading as civilians who might ambush you with surprise grabs from all sides. Your task here is to locate a total of five Soul Stones and one Jarling within the area.
Path To The First Blade Nexus And The First Soul Stone
Upon entering Vitalon, you’ll encounter some imperial soldiers and a ballista to overcome before getting to the initial Blade Nexus. Following your victory over these adversaries, you’ll soon discover an elevator nearby, along with a deceased body that offers Lacrima absorption and the acquisition of an Unstable Soul Tearstone.
Once you’ve descended using the elevator, you’ll come across the Old Town Blade Nexus up ahead. However, prior to reaching there, you should turn right promptly. You’ll spot a narrow path obstructed by a barrier and a wooden fence. Overcoming this obstacle will guide you towards your first Soul Stone.
Exploring The Old Town
After passing through Old Town Blade Nexus, continue moving forward. A short distance ahead, you’ll come across a handful of corrupt imperial soldiers. Overcome them, and you’ll spot a small staircase to your left where another imperial soldier is seated. You can acquire the Water Spirit’s Fuel from there before resuming your path.
Once you’ve made some headway, you’ll come across a path veering left and some enticing loot on your right-hand side. To keep moving forward, I’d recommend taking the left path, but be prepared to face off against several imperial soldiers and a formidable ballista in this area. Should you choose to ascend the staircase on your right instead, you’ll find a Lightning Enhancer, but it is protected by a civilian in disguise.
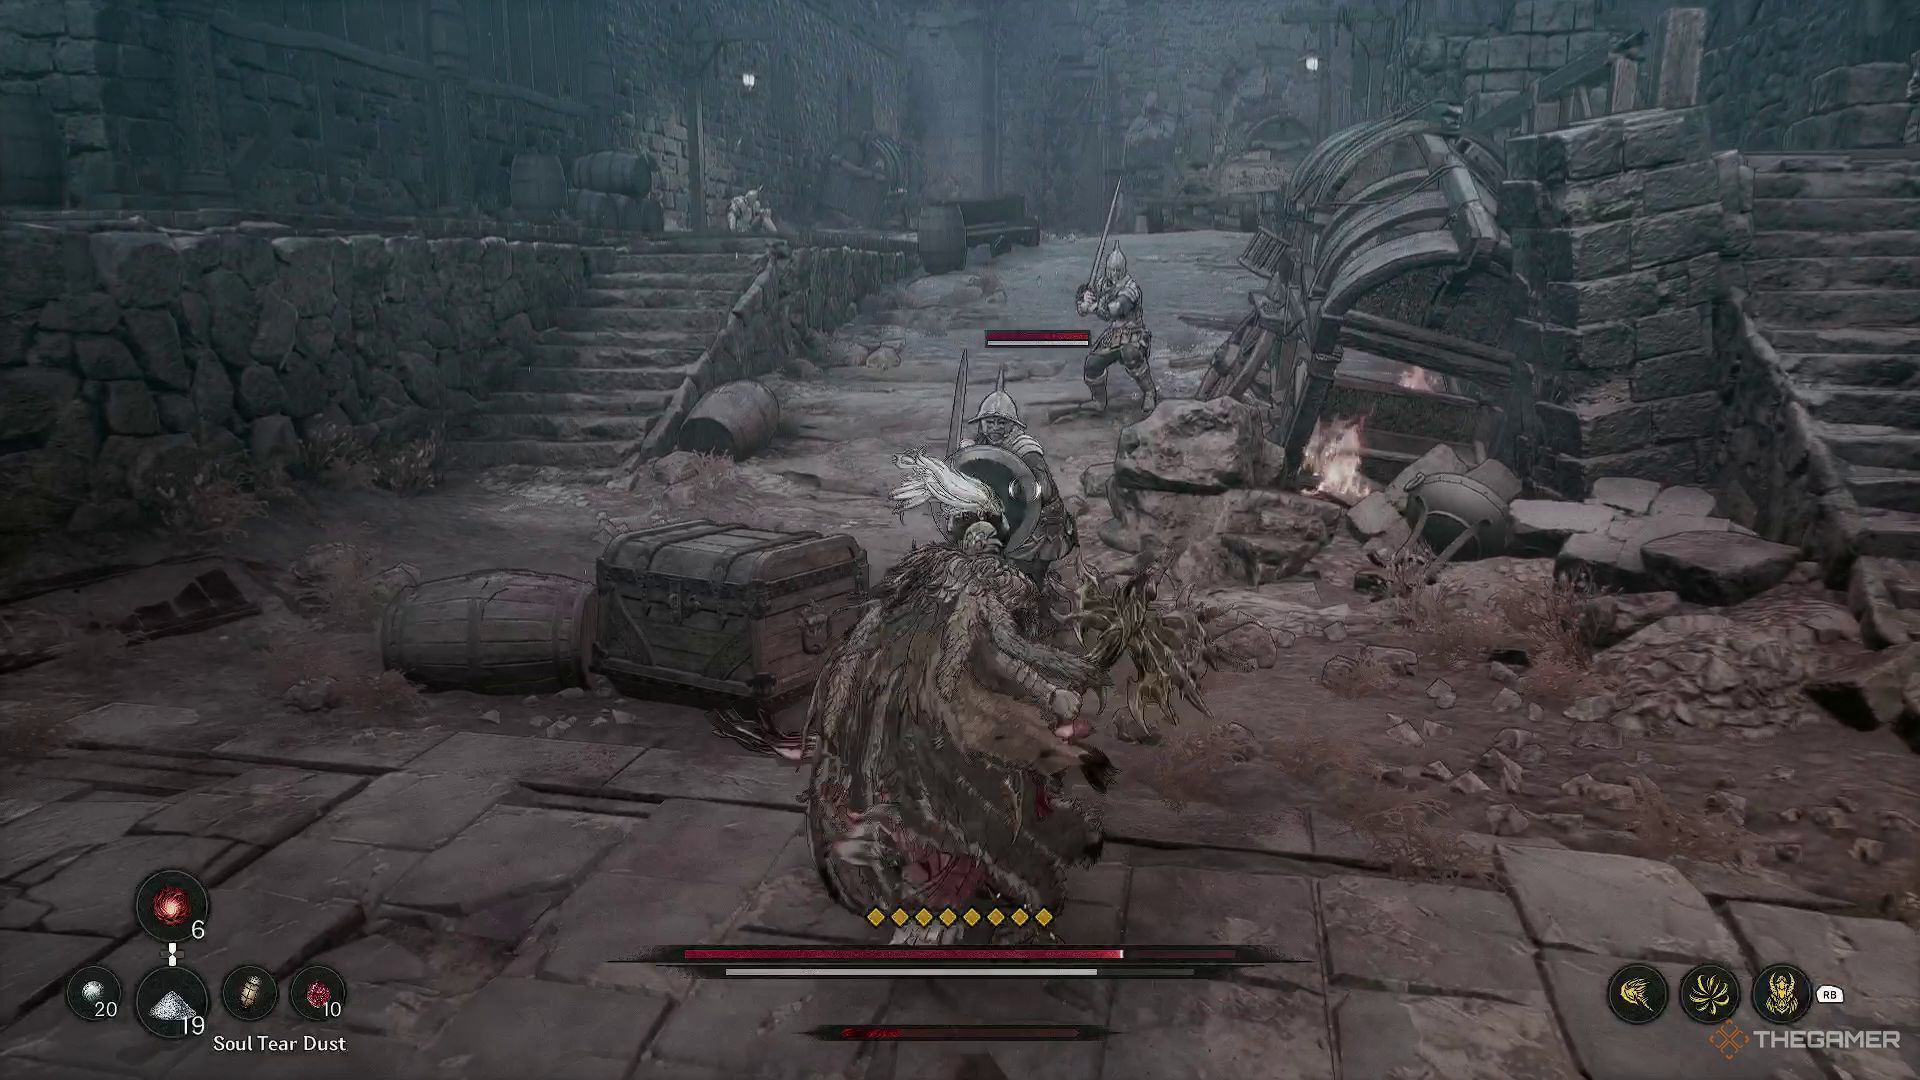
Following the primary route leads you straight to a crossroads. To your right, you’ll find two Roman soldiers. Defeat them, and you’ll discover a narrow passage where you can collect two Flash Stones. To continue, you need to retrace your steps and make your way to the house on the left.
Unlock The Shortcut To Old Town
Within the dwelling, an imperial swordsman and a fire mage reside. If you venture straight into the room ahead, you’ll come across the Reese 1 parchment to collect. Continue deeper inside the house, and you’ll encounter two imperial soldiers guarding a chest. Once you’ve dealt with them, proceed upstairs.
Ahead, you’ll encounter an Imperial Soldier with a spear who needs to be overcome. To advance, exit through the door and traverse the wooden bridge, taking care as you approach the bridge, there’s a disguised individual who appears to be a civilian.
At the other end of this bridge, you’ll find a giant halberd-wielding knight as your adversary. Overcome him here to unlock the barred gate. As you advance forward, you’ll notice a Beast of Madness accompanied by several dogs on your right side. However, before engaging them, move slightly to your left where you’ll find a ladder that you can kick to reveal a shortcut path.
Path To The Plague-Emitting Grounds
Head back to the region where you find the Behemoth of Destruction and its canine companions. Feel free to bypass them if desired, but take note that there are two Chaos-Clearing Elixirs waiting for you there. Along the main trail, you’ll run into more imperial soldiers. Keep in mind that a fire sorcerer is stationed here as well, so exercise caution.
To your left, there’s a trail heading towards a house. Inside this house, you’ll find a chest, but to advance deeper, you should follow the path directly in front of you. Continuing forward will lead you to more imperial soldiers that you’ll need to handle.
Behind the debris, you’ll find a body filled with Lacrima which you can absorb. Once absorbed, move forward by opening the gate. From here on out, expect to come across stones that emit chaos as you proceed.
Traversing Through The Chaos Mist And The Second Soul Stone
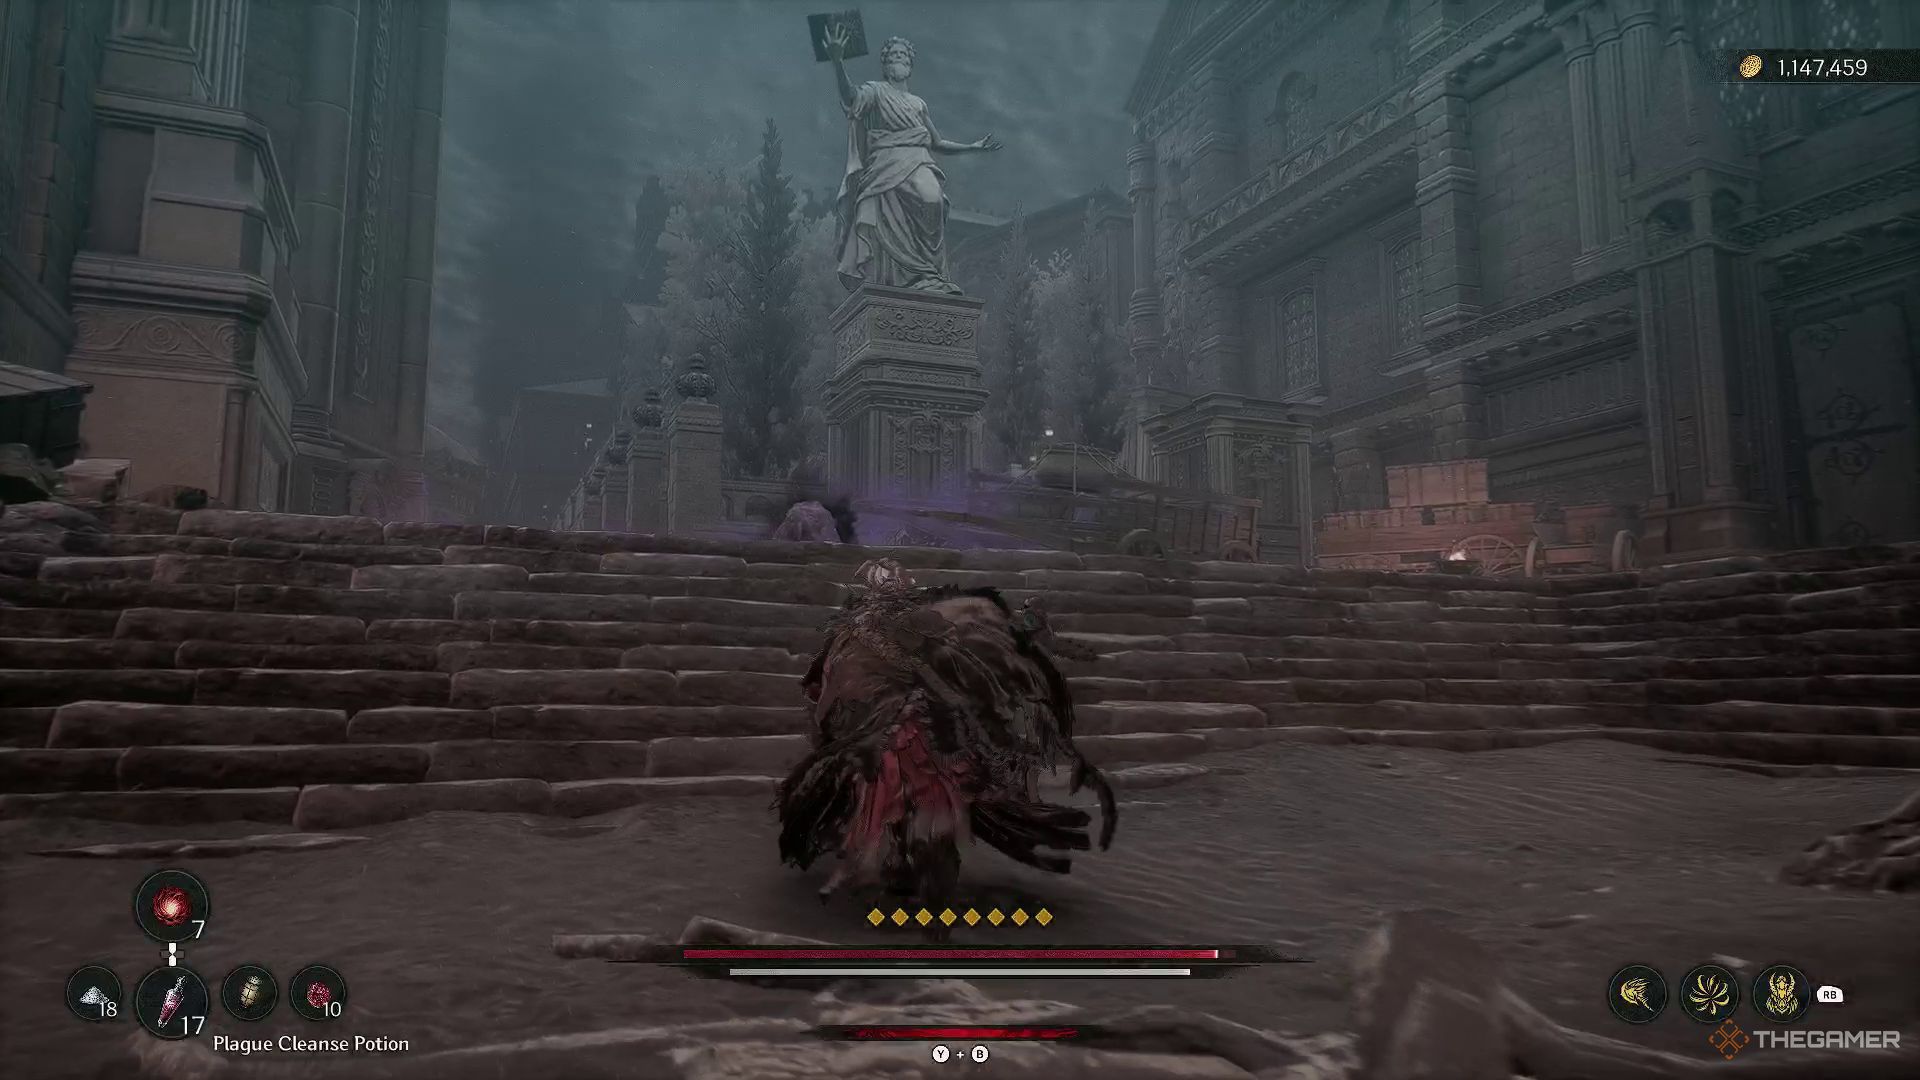
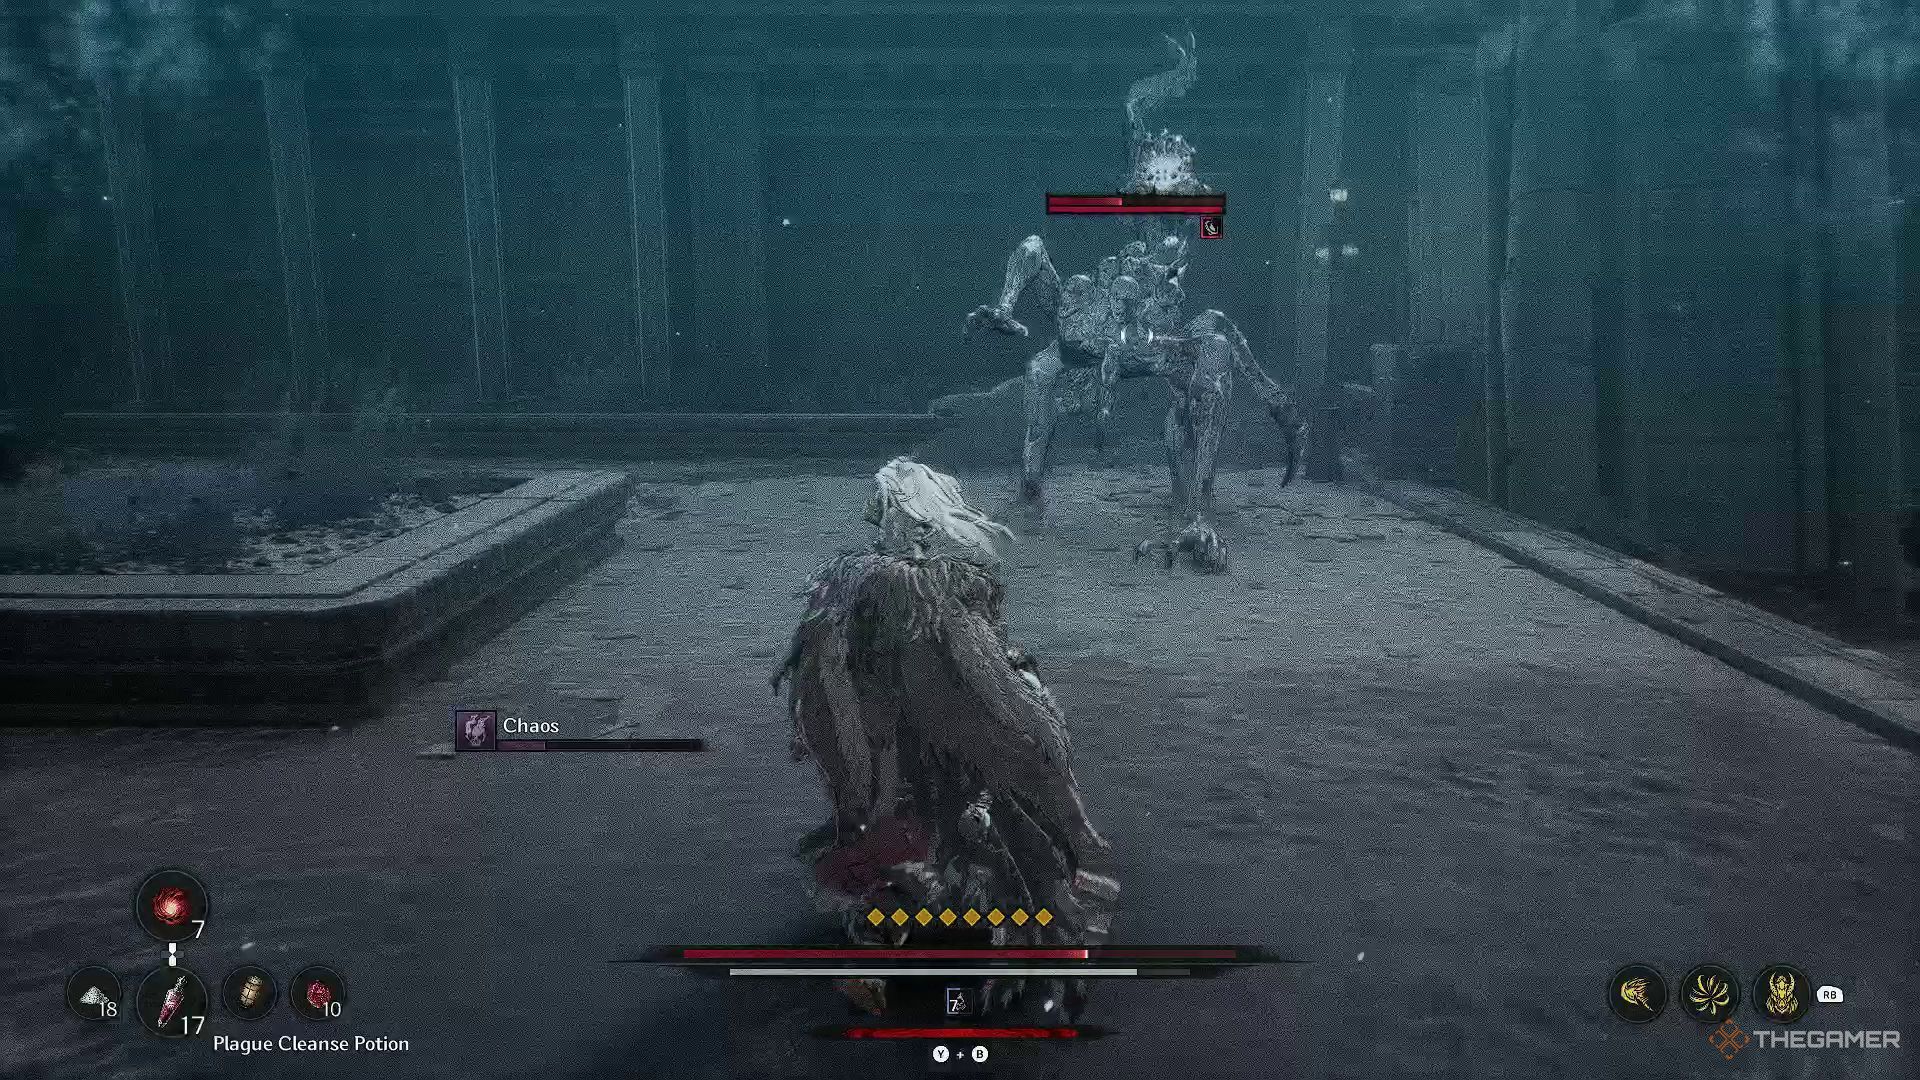
Stepping foot into this zone, I soon find myself among civilians cleverly concealed, and as I traverse through the expansive open space adorned with a towering monument, I’m faced with a ferocious Beast of Madness. Overpowering it swiftly rewards me with the elusive parchment from “The Day the Black Moon Rose 4” nestled at the statue’s base.
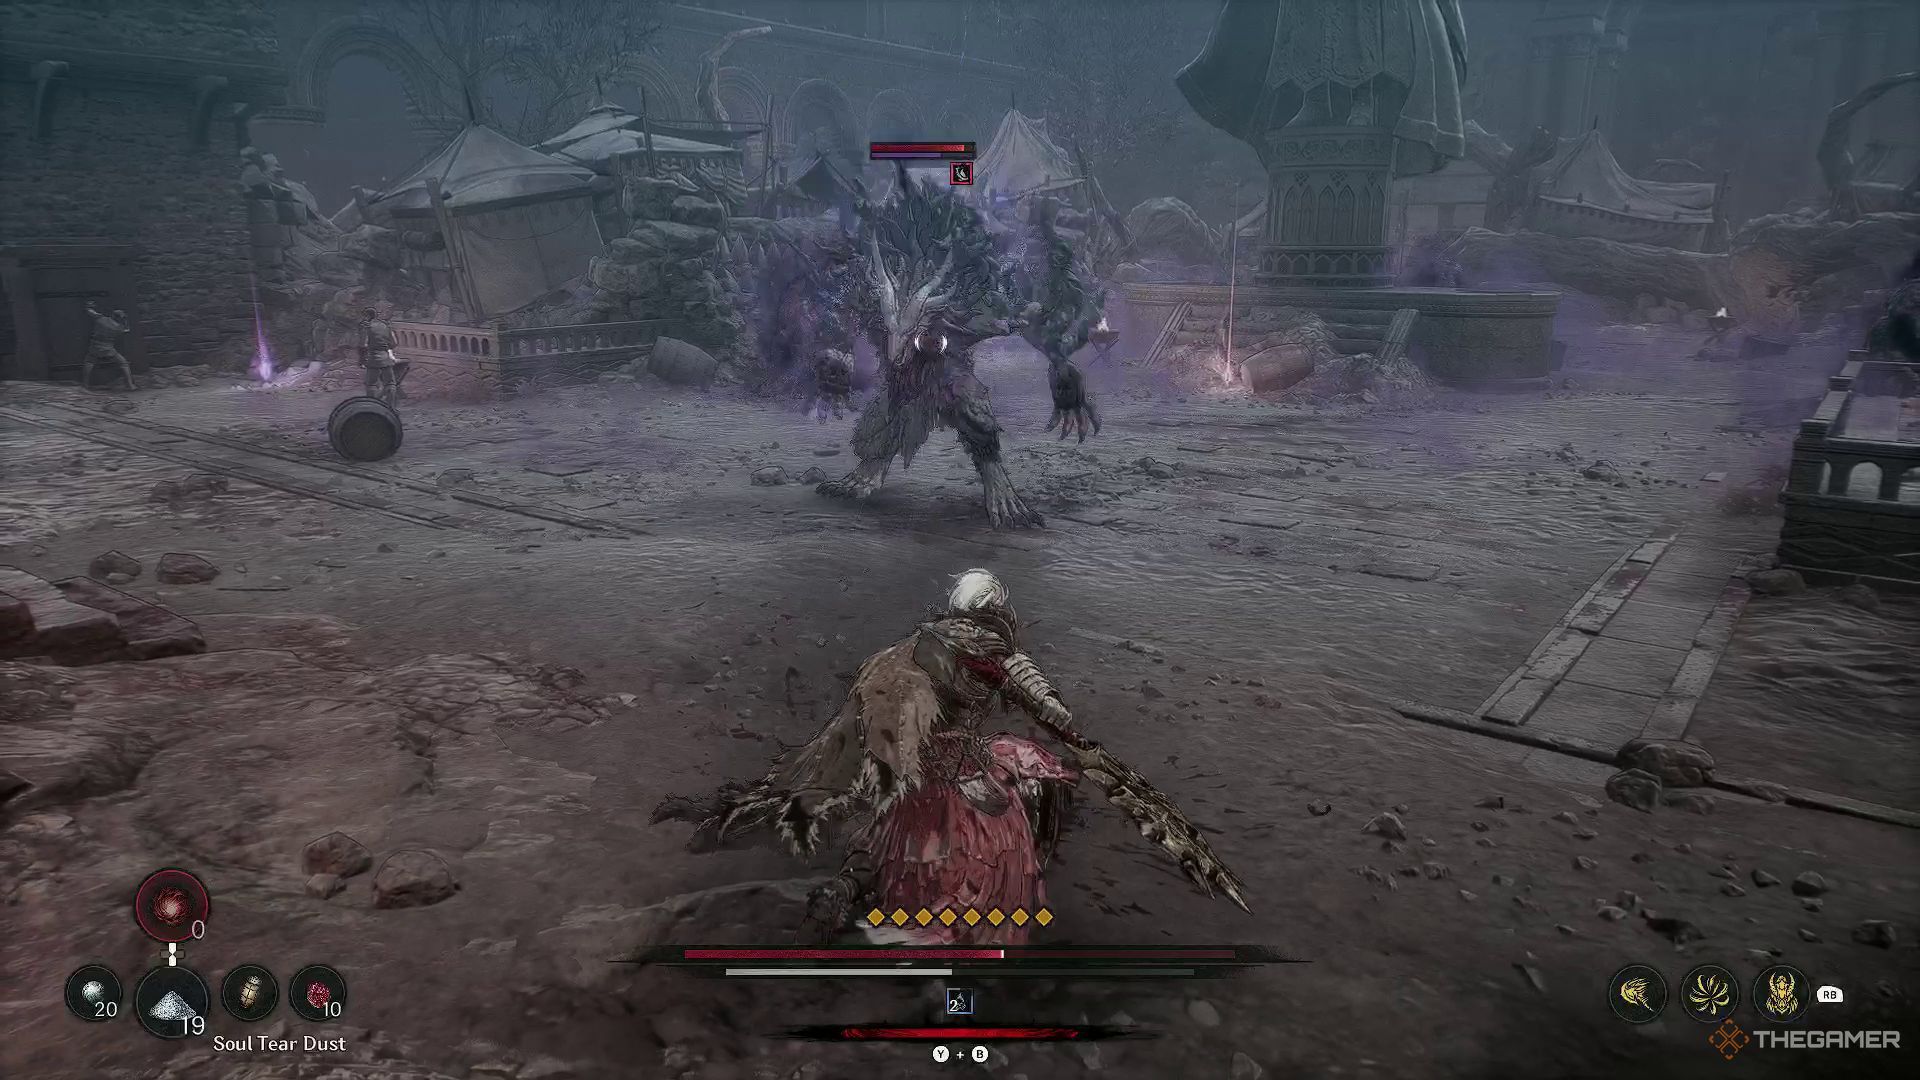
As a gamer, I’m making my way forward, shattering numerous violet crystals along the path. Soon enough, I’ll step into an open space, but beware, there will be two Rampaging Beasts waiting for me simultaneously. On the right, I spot a large violet stone. Peeking ahead, I notice a small entrance leading to where the second Soul Stone in this area is hidden, right smack in front of me.
Once you’ve shattered the Soul Stone, make your way to the expansive entrance nearby and traverse the bridge to find yourself on Main Street Blade Nexus.
Through The Waterways
Following your rest at the Main Street Blade Nexus, you’ll find yourself on a path heading downwards. Along this path, you’re likely to come across a Corrupted Creation that must be overcome before you can access the elevator going down.
As you approach the waterways, you’ll meet Andell. He’ll inform you that he’s searching for Seona and requests that you pass along a message if you happen to run into her during your travels – he’s currently in the capital city. Once you’ve spoken with Andell, proceed down the ladder.
Failed Creations And The Third Soul Stone
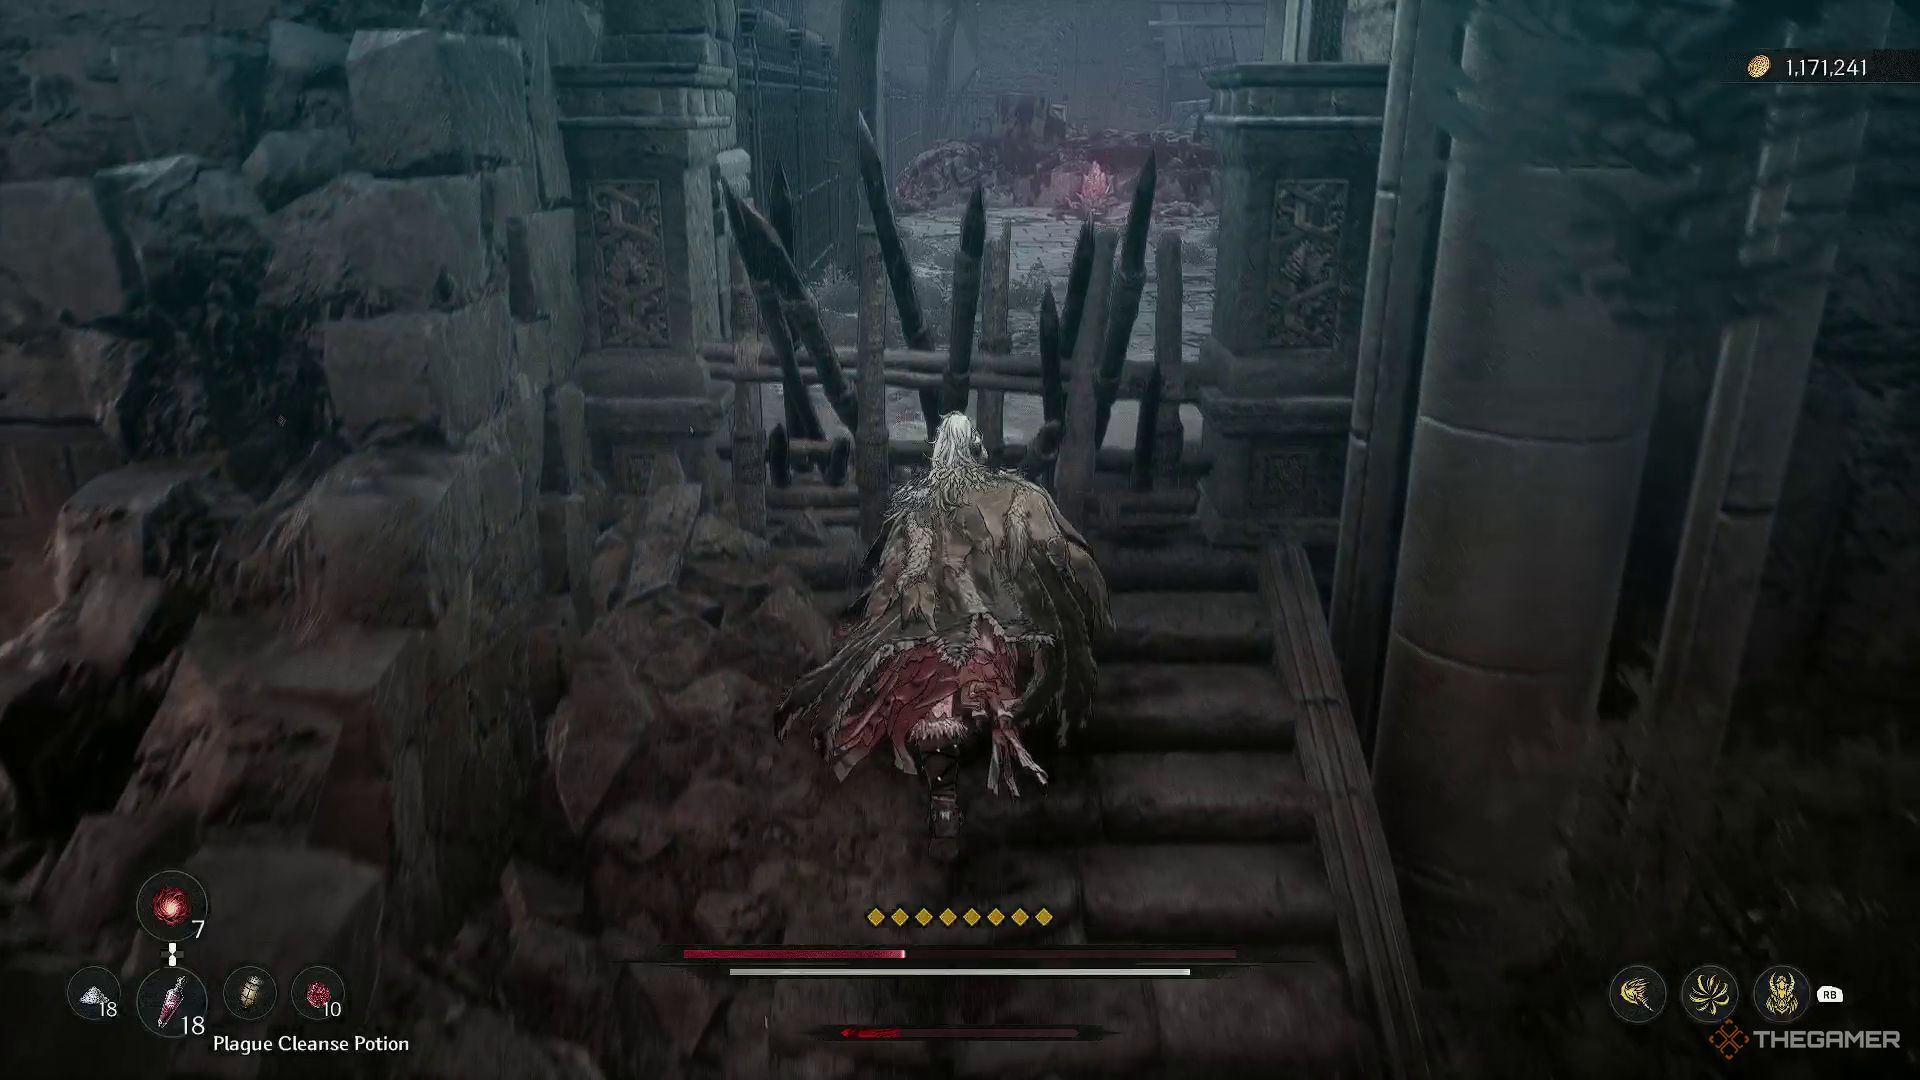
In this area, you’ll find numerous obstacles that will hinder your progress. Continue moving forward until you reach a point where you must leap down to carry on. You’ll notice two spots from which you can jump – one on the left and one on the right – leading to platforms below. If you choose to jump from the right, be prepared to face a corrupted figure who will attempt to grab you.
If you happen to jump off the ledge on the left side, you’ll find the Ghost Hammer there and it’s safe for you to land on the ground below. Keep in mind that there will be two Failed Creations wandering about in this area. To your left, you’ll notice a small opening with water cascading down, and from afar, you can see a red glow emanating from it.
As you draw near, you’ll stumble upon your third Soul Stone. This place is filled with circular buildings, and you can collect several items here. Additionally, there’s a chest tucked away in one of these structures along the path heading forward. Following this area, an elevator will transport you back to the surface once more.
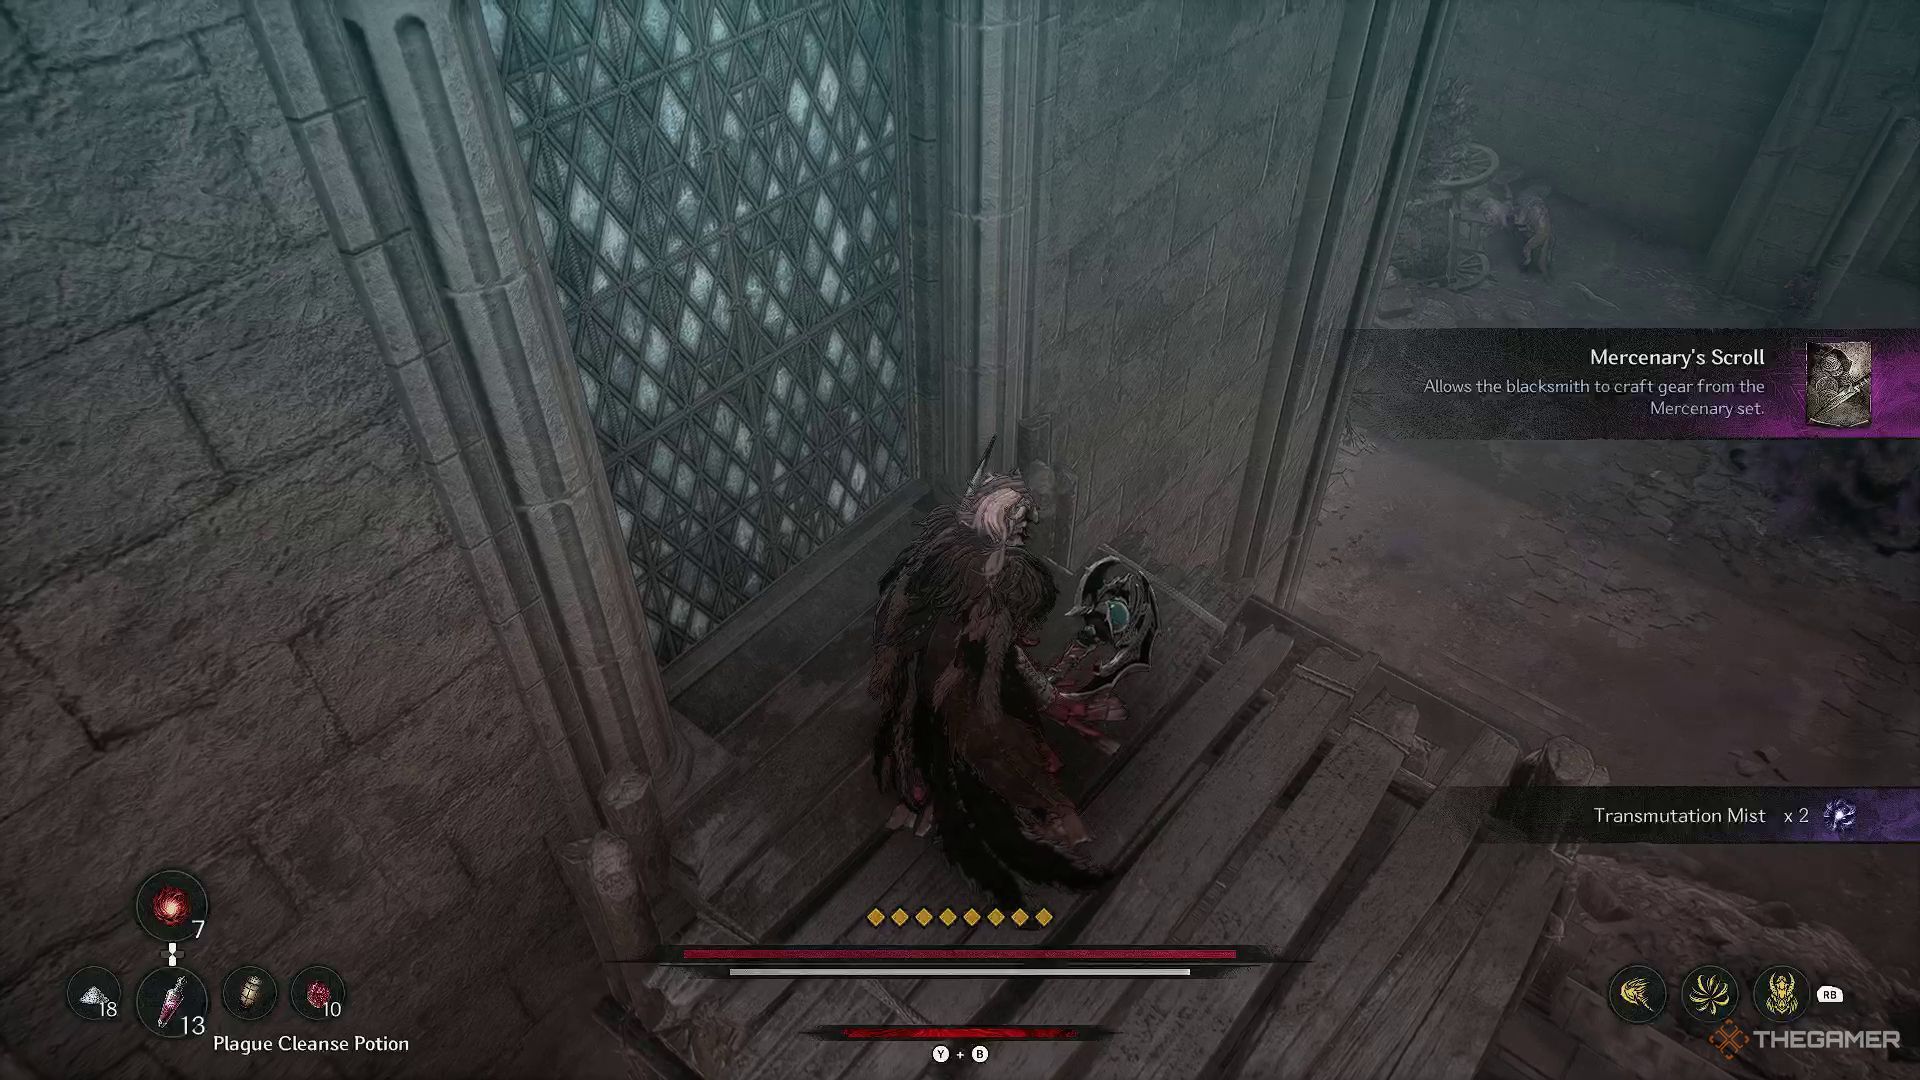
Exploring The New Town
From the New Town Blade Nexus, if you turn around towards the elevator, you’ll discover a path where you can leap off to the platform situated to your left below. You have the opportunity to grab the Mercenary Scroll in this spot, and then descend from the platform to engage in combat with an elite imperial enemy.
After overcoming the powerful adversary, you have the opportunity to extract the Lacrima from a fallen foe. Spin around and continue your journey, navigating through the bustling streets of the New Town where you’ll confront more stones emitting turmoil and encounter two Rampaging Beasts.
As you make your way down the street, you will find three enchanted stones belonging to a hermit at the end. Once you have collected the item, search for a crack in the wall where you can continue your journey further.
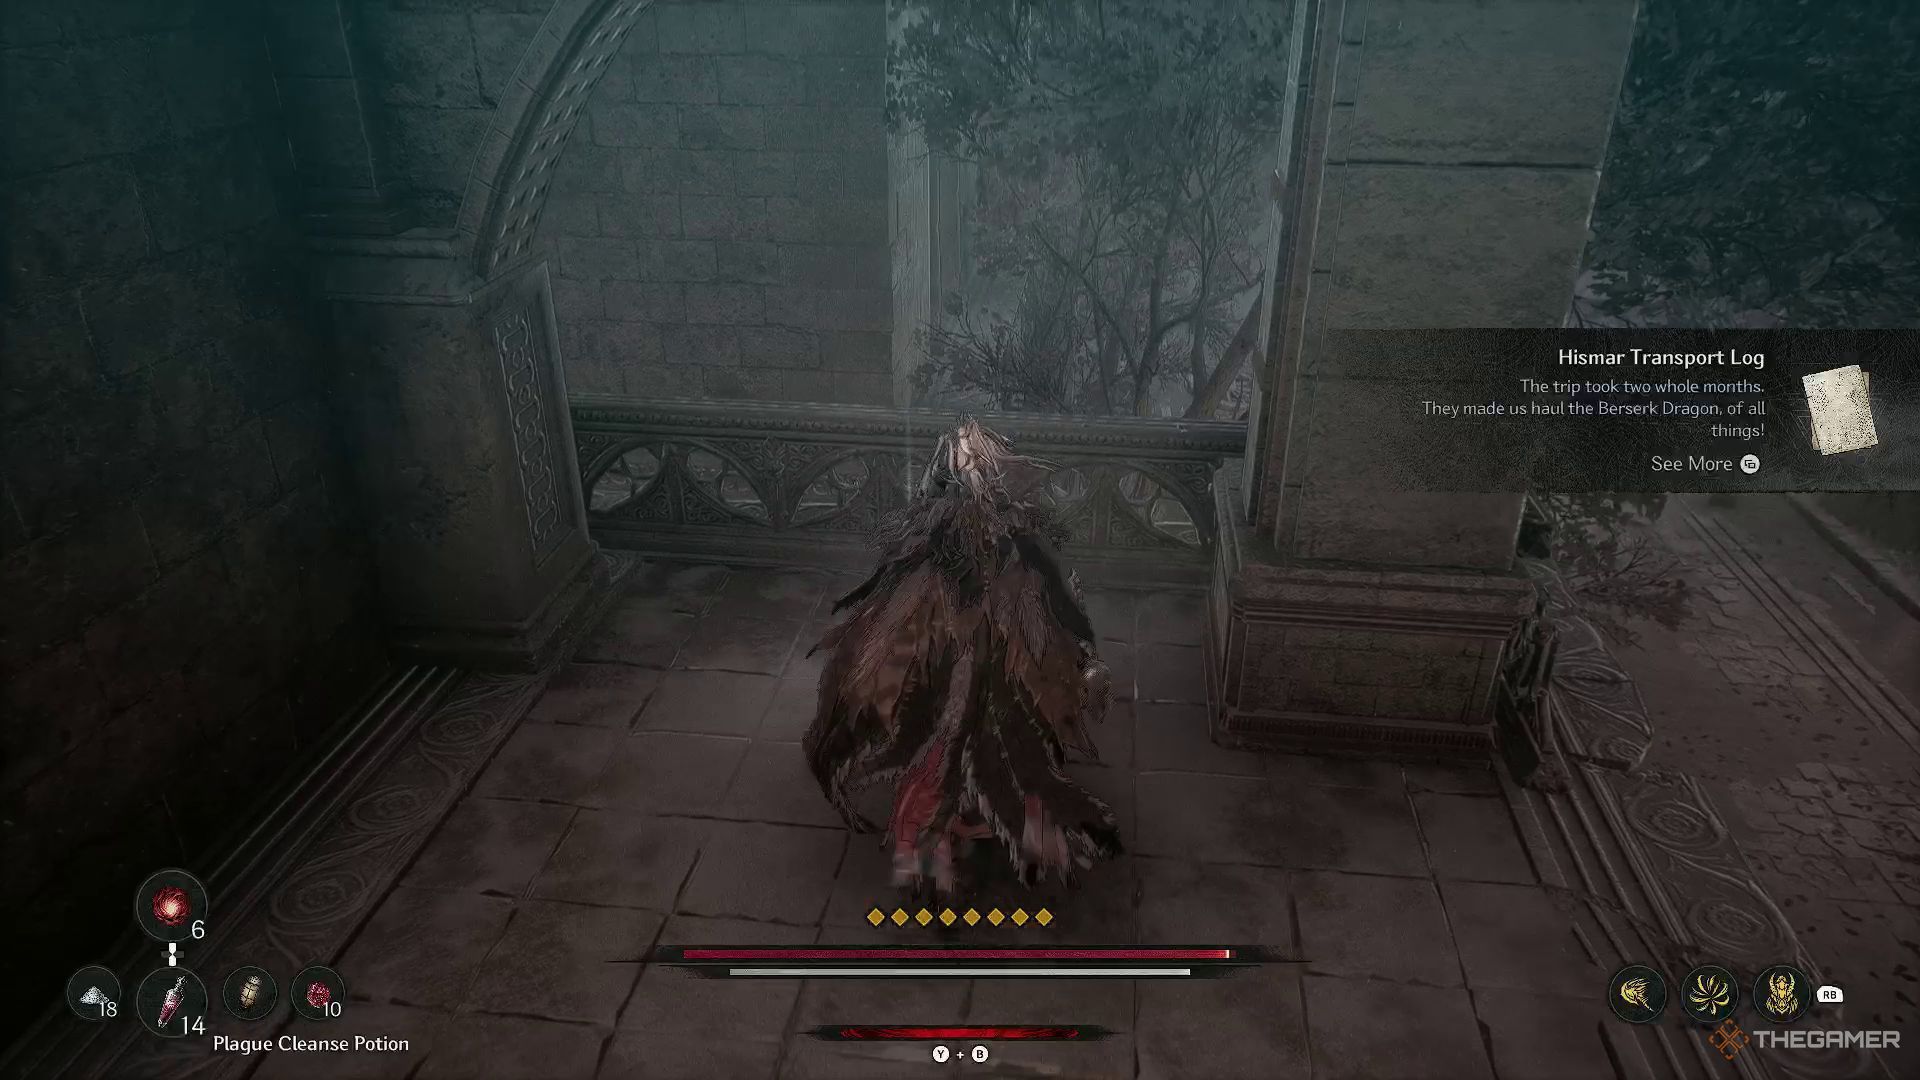
Route To The Church
You’ll find a passageway, or what seems like a breach in the wall, that will guide you to the Hismar Transport Log. Once you’ve obtained the item, make your way back indoors and climb the stairs to reach the second floor.
In this area, there are some adversaries for you to overcome. Once they’re defeated, jump through the second hole in the floor below to return to the initial level. Upon arrival, you’ll find a treasure chest. After collecting all its contents, ascend the ladder and continue your journey forward.
Moving up to the second floor of the house, you can exit and traverse along an edge to get to the next road. There’s a Raging Monster lurking here. Overpower it and stick to the route to arrive at a house teeming with several imperial soldiers.
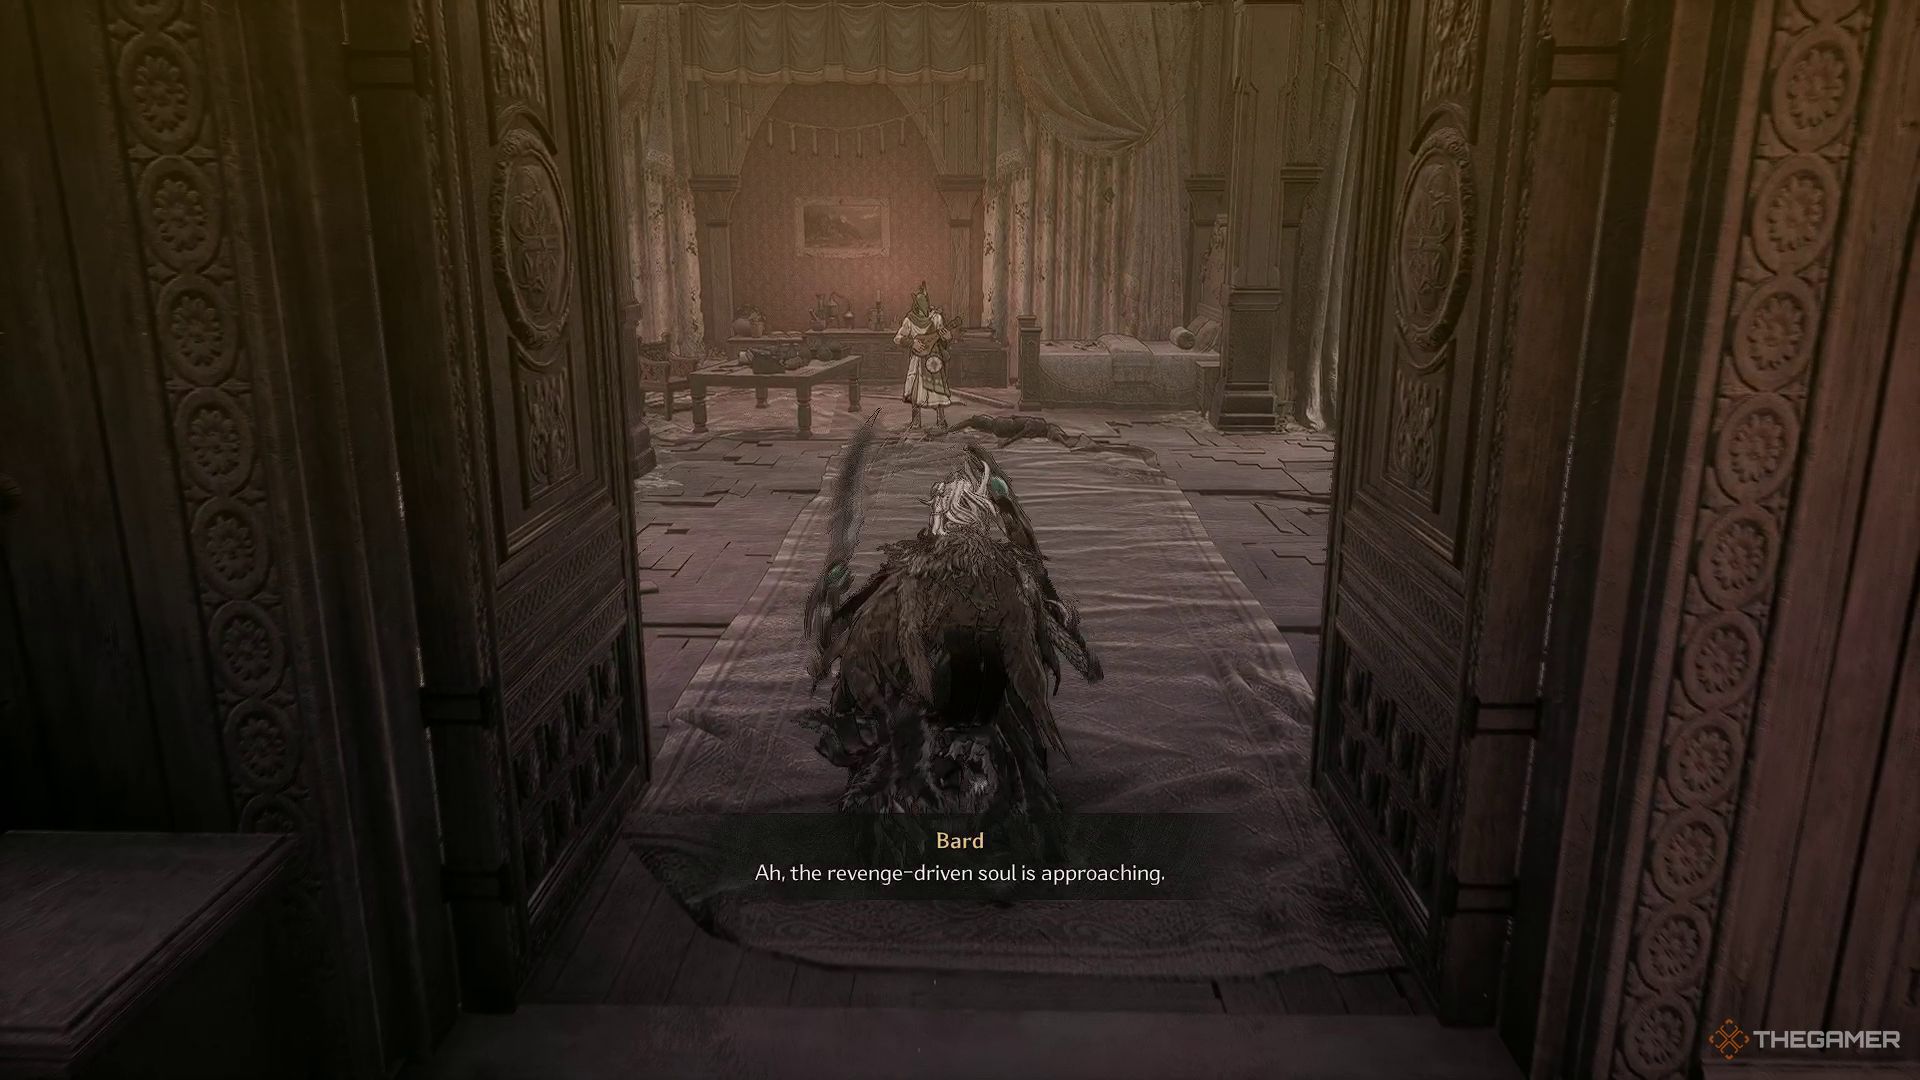
Move up to the highest level of the residence. From there, you’ll notice a route that leads outside the house. Before proceeding, take a moment to turn and unlock the gate behind you. You’ll discover the Bard in this area, and if you’ve located him in all the previous spots, you’ll be able to catch the conclusion of his tale. Soon after exiting the house, you’ll encounter the Church’s Nexus of Blade.
There’s also a chest inside the locked room.
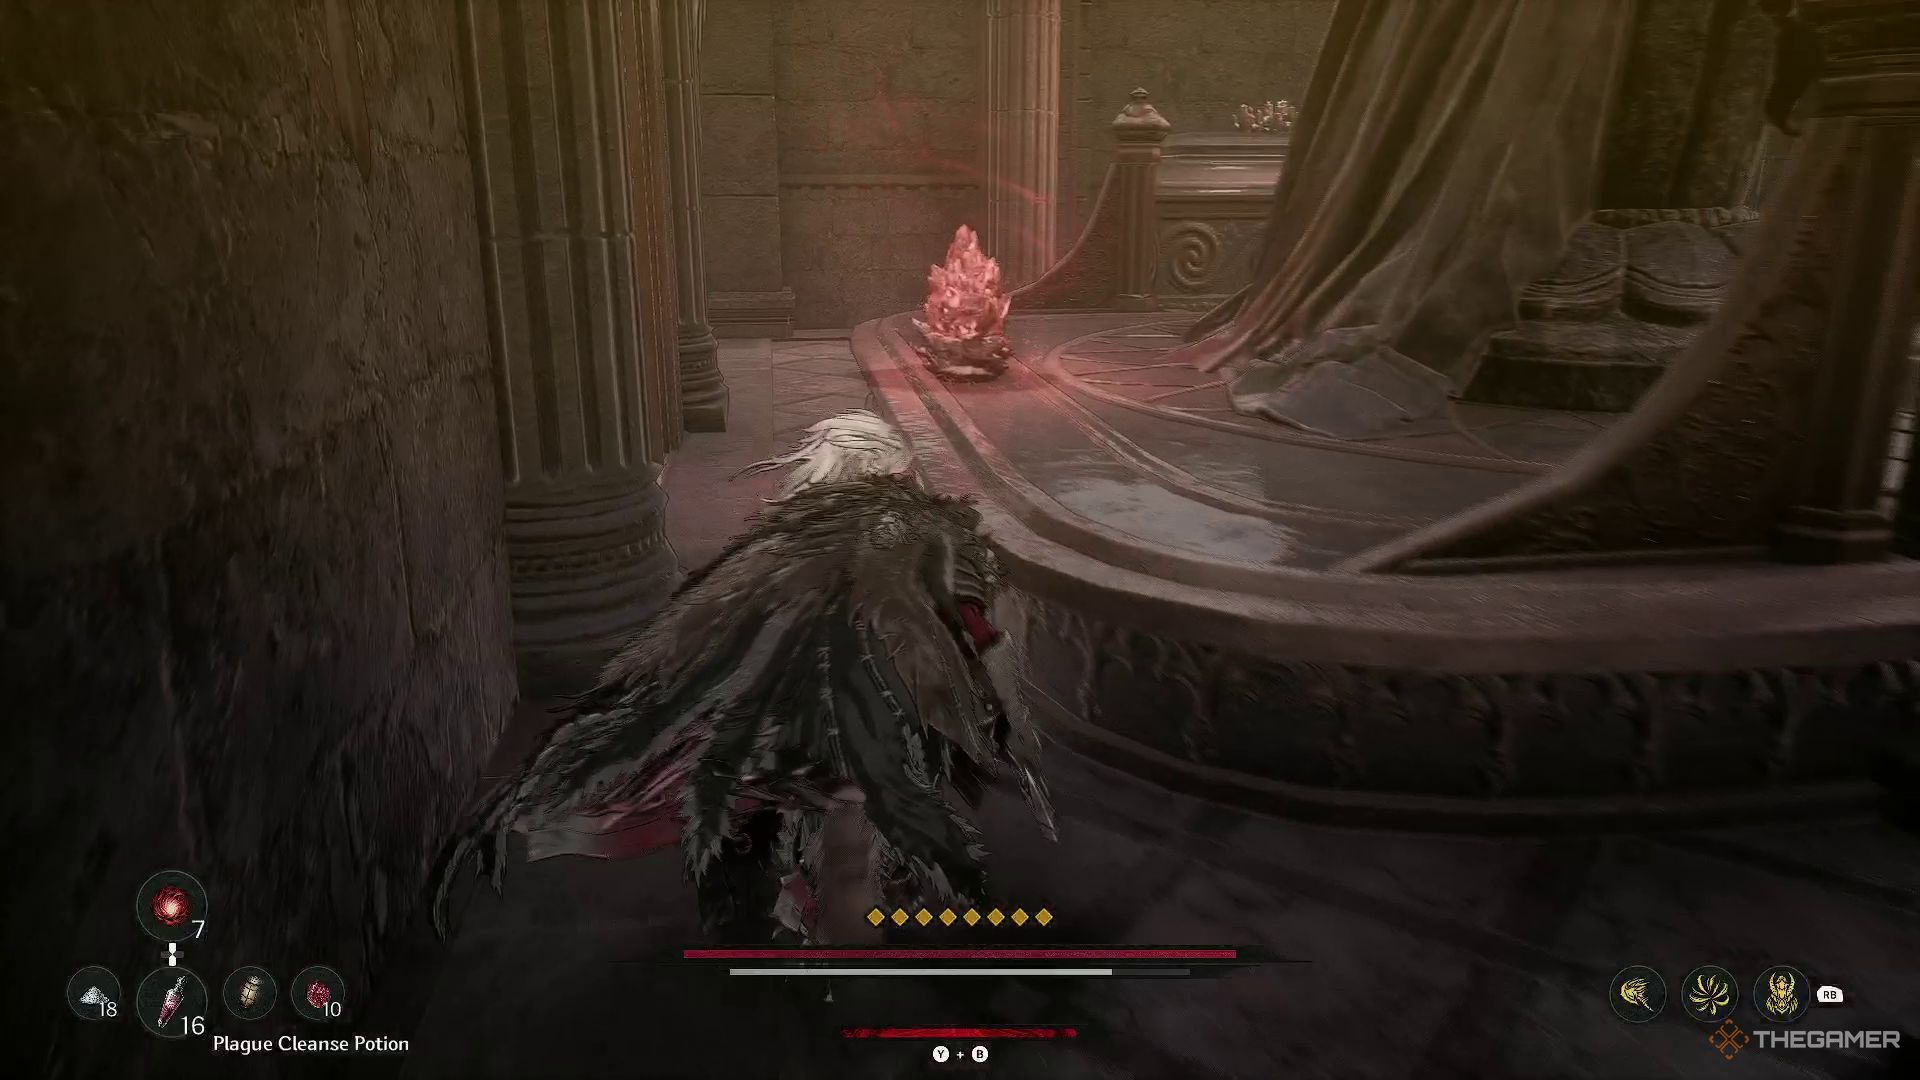
The Church And The Fourth Soul Stone
Rest at the intersection near the Church, then proceed directly towards the church statue. You’ll discover a Soul Stone hidden behind this statue. Following that, continue onto the street where you’ll encounter more of those purple Chaos Stones and formidable opponents like the Corrupted Mage.
Soon, you’ll stumble upon a grand mansion. Brace yourself for another encounter with powerful imperial soldiers. As you ascend the stairs, you’ll meet a Corrupted High Cleric. These mages are formidable, but by persistently attacking them, you can disrupt their actions. Once you’ve vanquished the foe, you’ll discover two doors lying ahead to your right.
Finding Seona And The Jarling
From this location, you have two options: head up or down the staircase. Choosing to go down will guide you to a room with two doors. If you pick the one directly in front of you, it will reveal a way out at the mansion’s entrance. On the other hand, if you choose the door on your right, you’ll meet Seona – the woman Andell has been searching for.
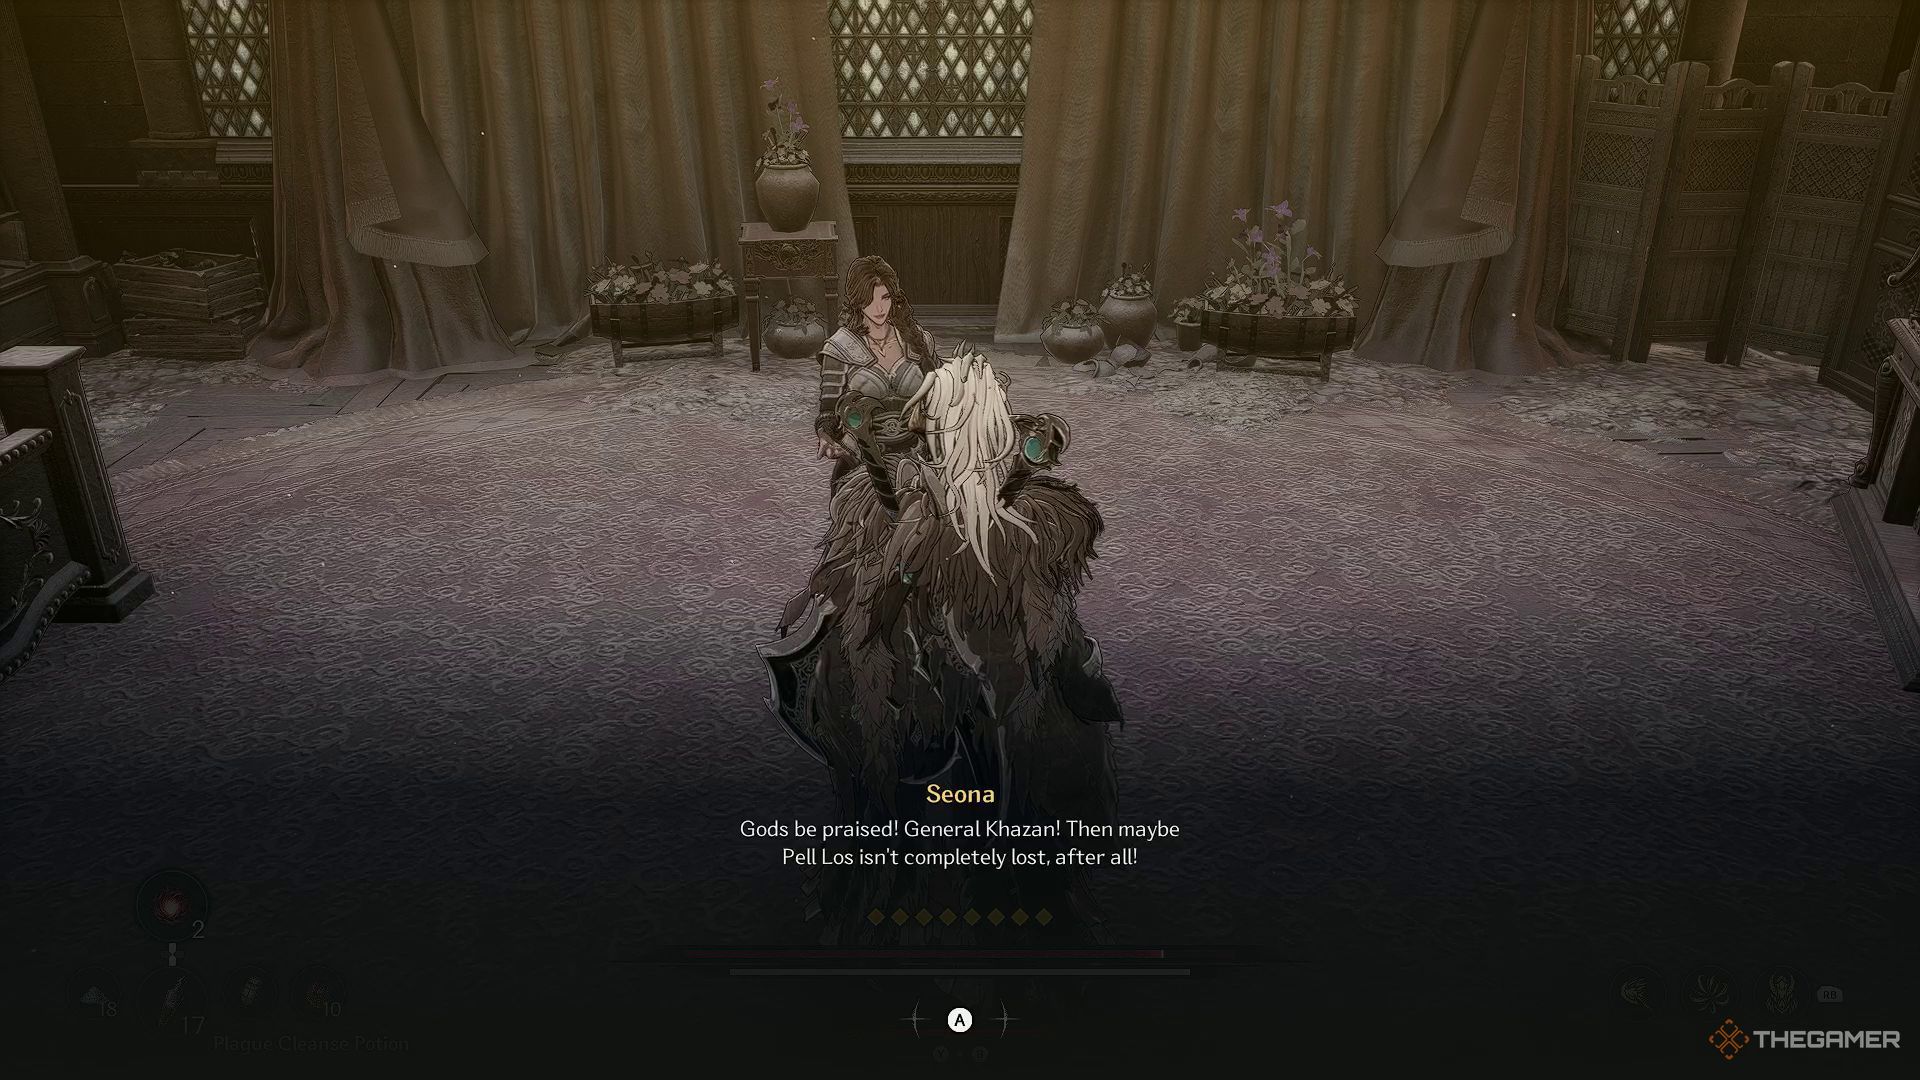
Once you’ve shared the information with Seona about Andell, make your way back to the staircase and ascend. Upon reaching the top, you’ll encounter a ‘Dysfunctional Artifact’ straight ahead, along with a handful of smaller adversaries.
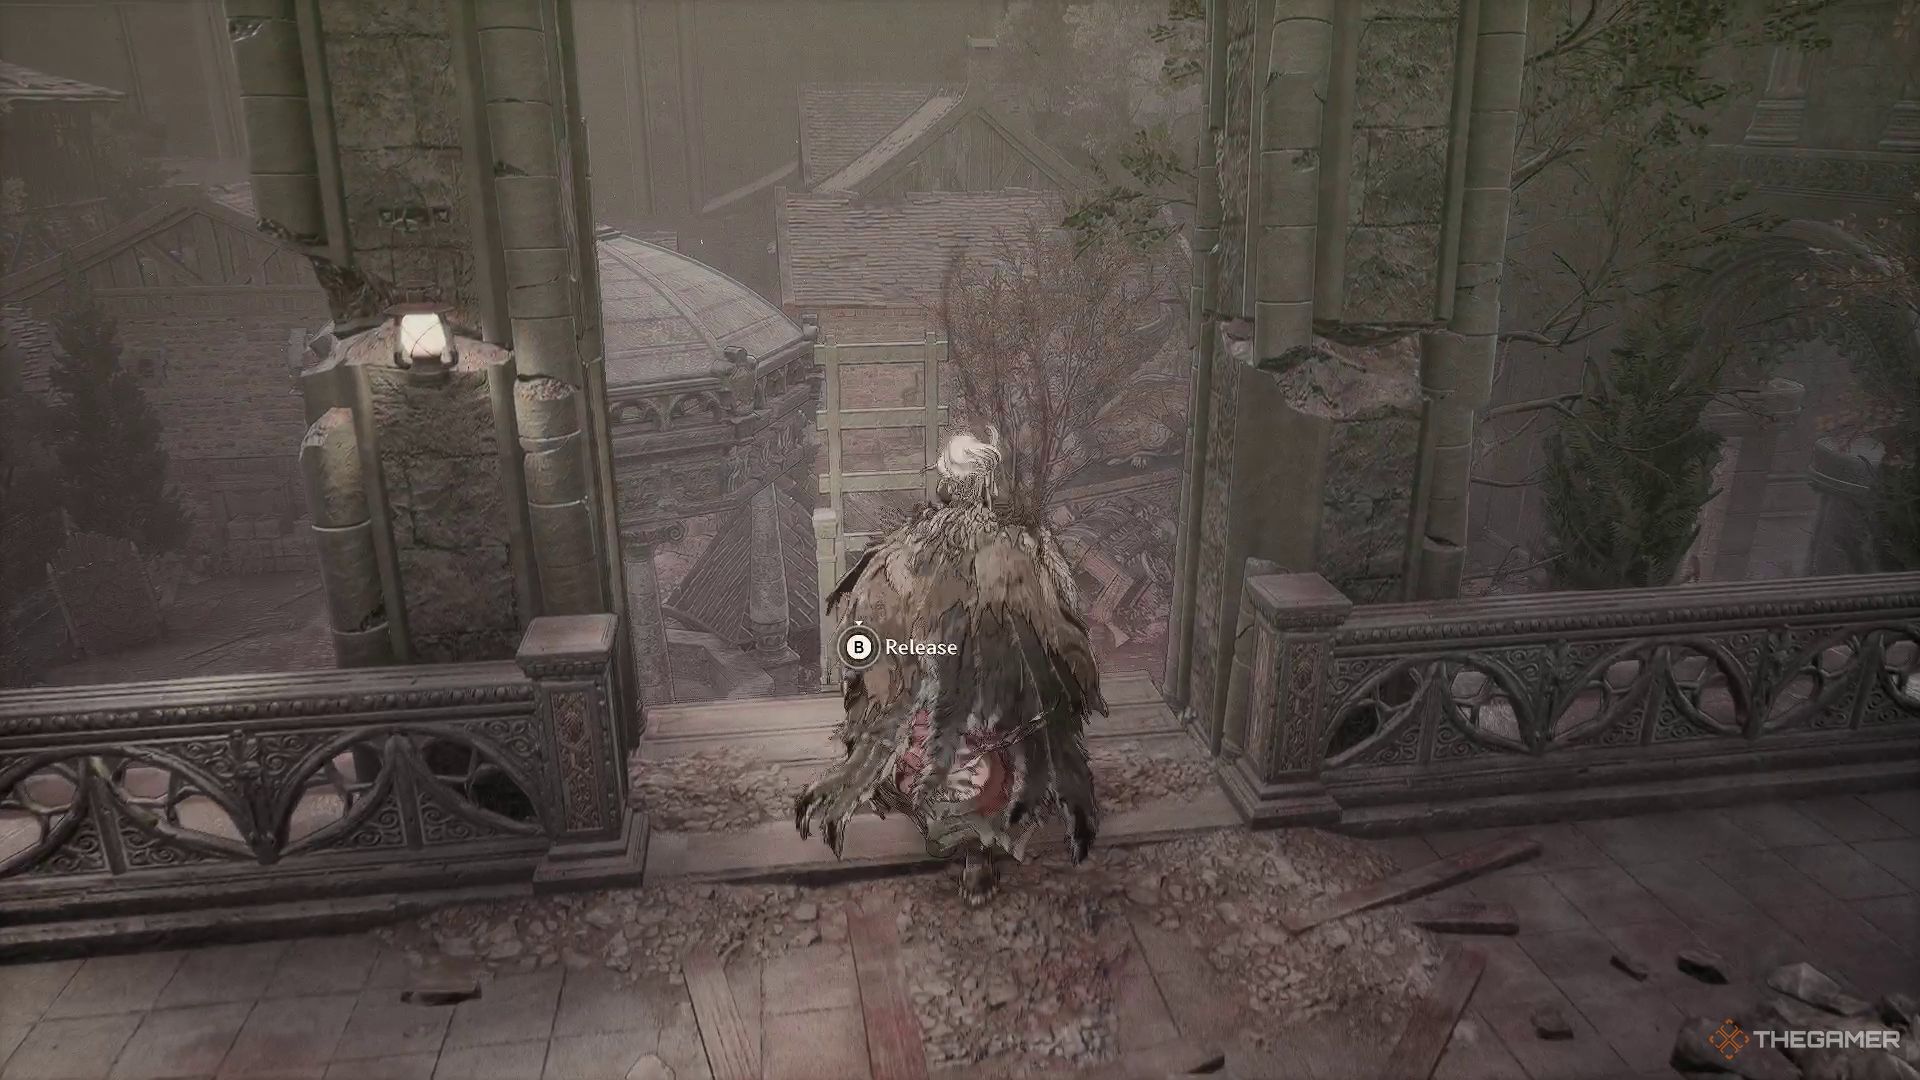
Follow the path across the bridge towards another section of the manor, then ascend the stairs directly in front of you. Along the way, you’ll encounter several humanoid adversaries, but keep moving forward until you come to a room featuring a damaged wall that exits to the outdoors.
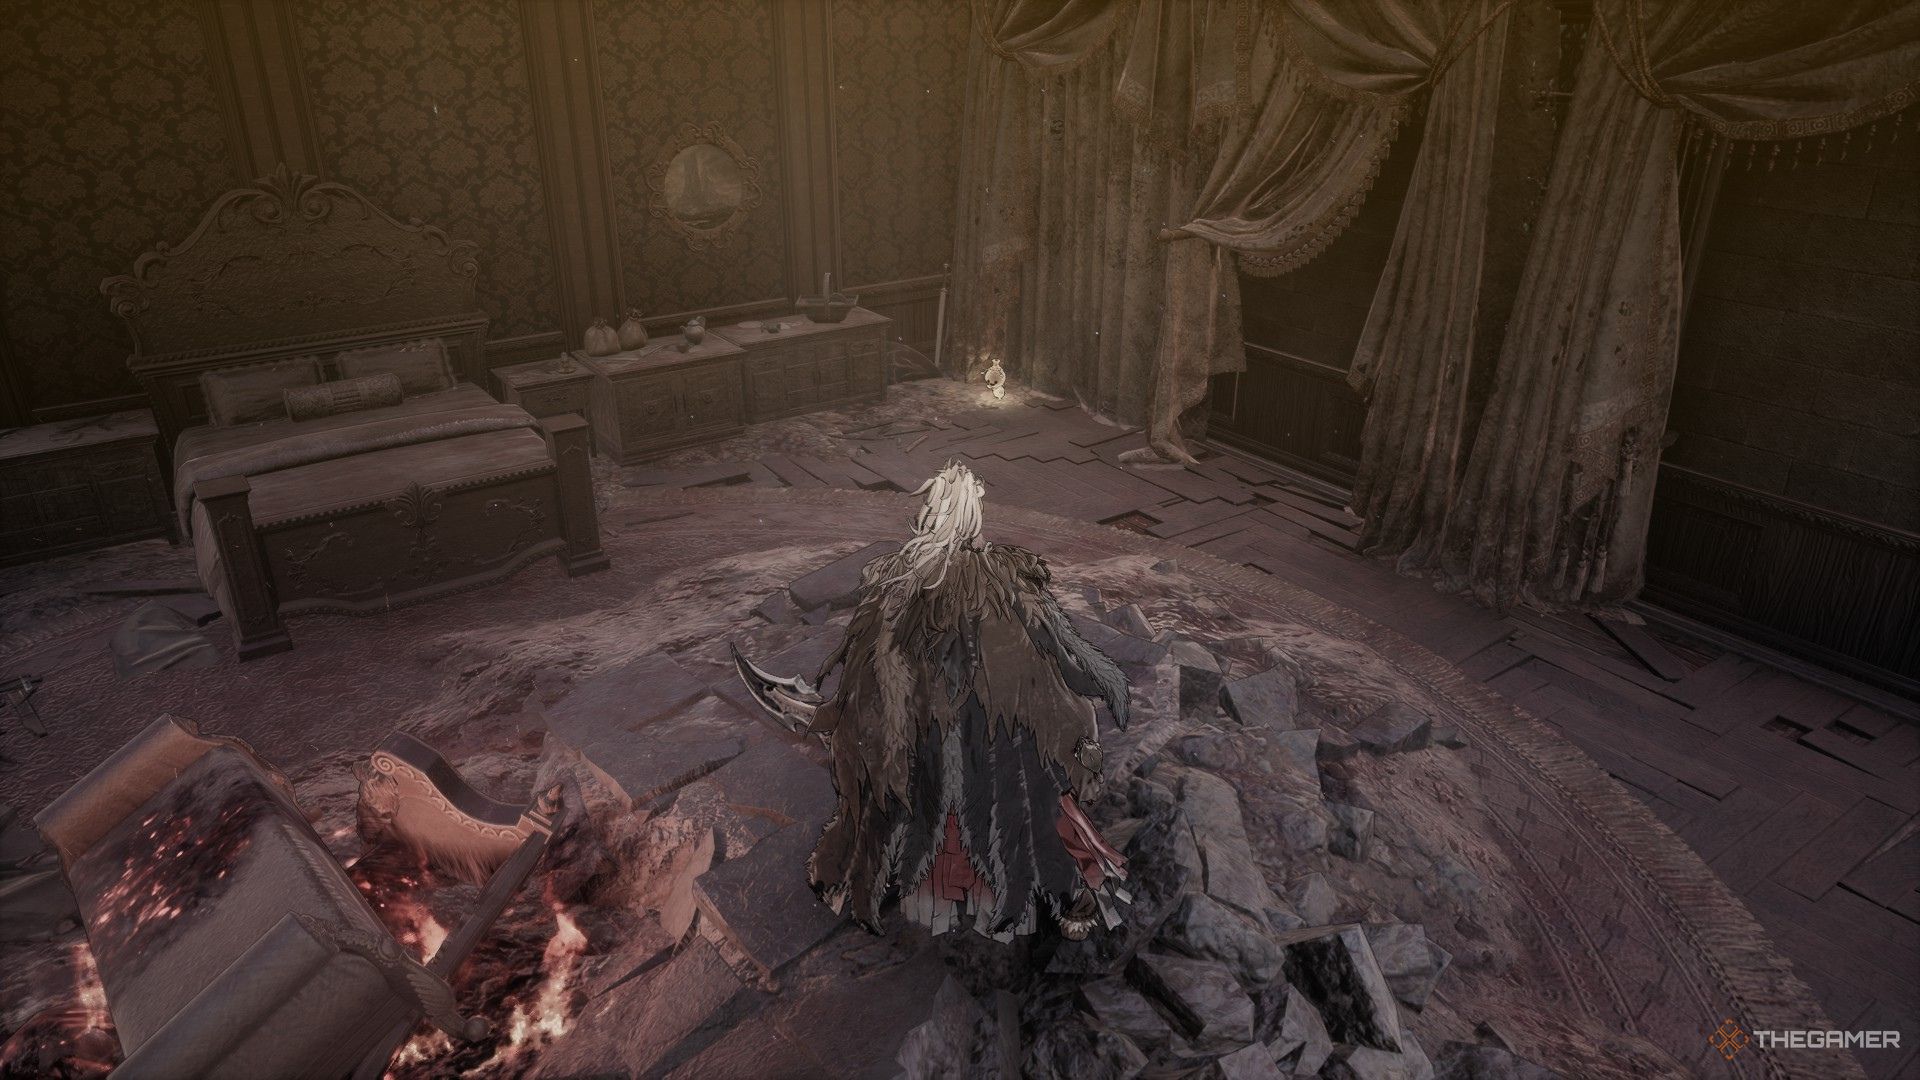
Before leaving the room, please first navigate to the upper left corner and break the jars you’ll find there. This should reveal the only Jarling in the vicinity. Once done, proceed to exit the mansion by following the narrow ledge.
Back To The Church And The Fifth Soul Stone
Standing on the edge, there’s a drop leading to an open space beyond. A handful of purple chaos stones dot this location. However, your objective here is to activate the gates, which will grant you access to a quick route to the Church Blade Nexus.
After taking a break at the Church, return once more to the open area and shatter the stones with a purple hue to clear a path. You’ll encounter a Rampaging Beast and Spirit Ore in this location. Continue your journey until you spot a statue that appears to be holding a book in its grasp.
In this location, you should head up the staircase to your right. This stairway will take you straight to the fifth and last Soul Stone in the region. Once you’ve destroyed the Soul Stone, make your way back down and continue along the alternate path.
Path To The Central Square
Away ahead, you’ll face a Rotten High Priest who must be vanquished for further advancement. As you proceed, imperial soldiers will cross your path, requiring you to engage in combat with each one of them. Not long after, an Elite Adversary, the Mad Corrupted Entity, will appear on your journey.
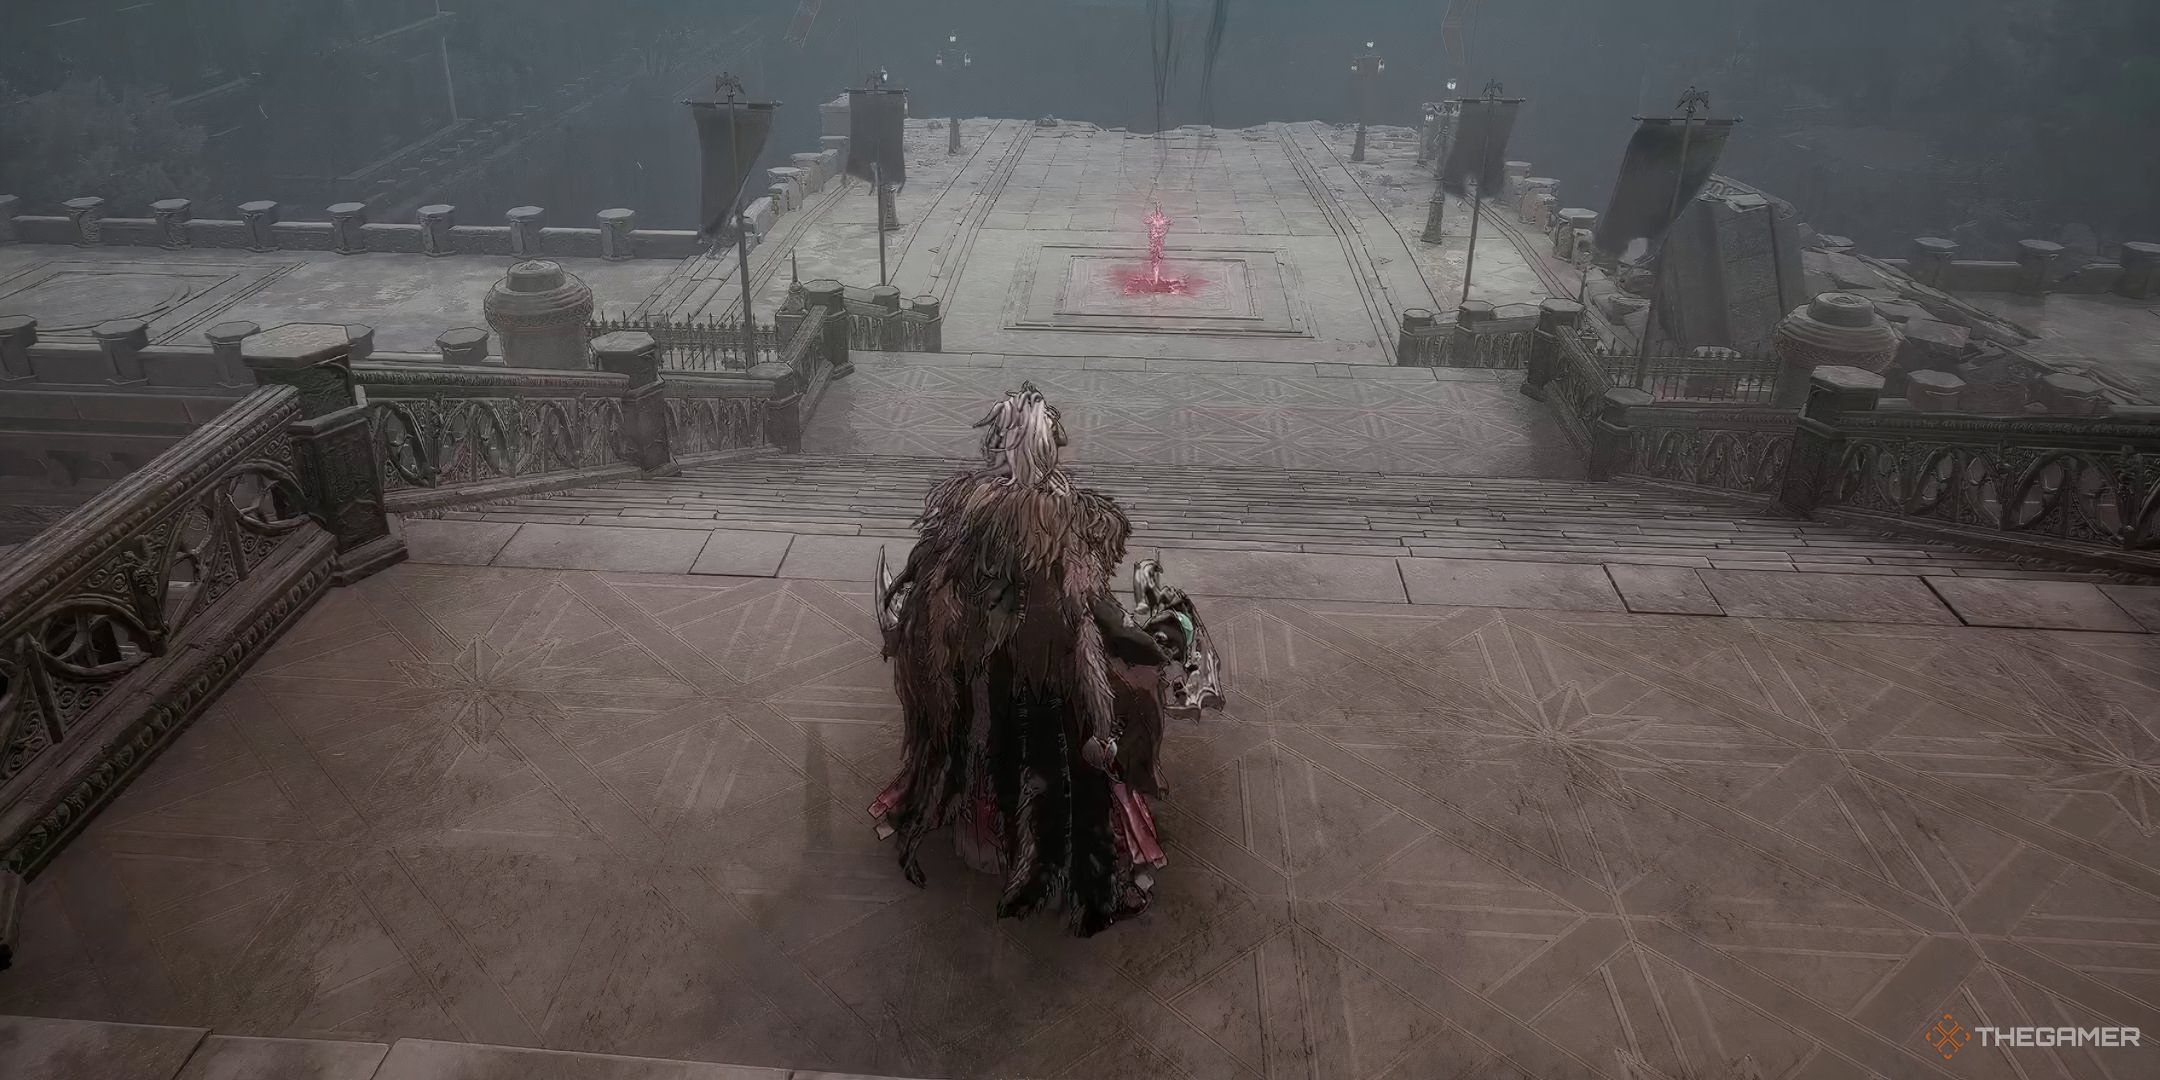
Following your victory against the Elite Foe, don’t forget to grab the Unique Purifying Draught from the floor before moving on. Keep in mind that there are a few Chaotic Gems obstructing your path, but just advance forward as the Nexus of Central Square Blade is close at hand.
At the Central Square Blade Nexus, it’s time for you to make your last-minute preparations as you get set to confront Hismar, the Frenzied Dragon.
Read More
- Clash Royale Best Boss Bandit Champion decks
- Vampire’s Fall 2 redeem codes and how to use them (June 2025)
- Mobile Legends January 2026 Leaks: Upcoming new skins, heroes, events and more
- How to find the Roaming Oak Tree in Heartopia
- World Eternal Online promo codes and how to use them (September 2025)
- Best Arena 9 Decks in Clast Royale
- Clash Royale Season 79 “Fire and Ice” January 2026 Update and Balance Changes
- Clash Royale Furnace Evolution best decks guide
- Clash Royale Witch Evolution best decks guide
- Best Hero Card Decks in Clash Royale
2025-04-07 23:38