In the game Elden Ring Nightreign, the Sentient Pest becomes the third addition to the Everdark Sovereign roster. The typical skirmish for this boss is unique as it’s the sole nightlord fight that involves a two-boss confrontation. Despite being a dual engagement, it’s often considered one of the less challenging encounters because the bosses’ attacks are very clearly signaled in advance.
In the third phase of the Everdark Sovereign version in Elden Ring Nightreign, you’ll face a tougher challenge because there’s an extra boss to handle. Here’s crucial information about their attacks and effective strategies for defeating them.
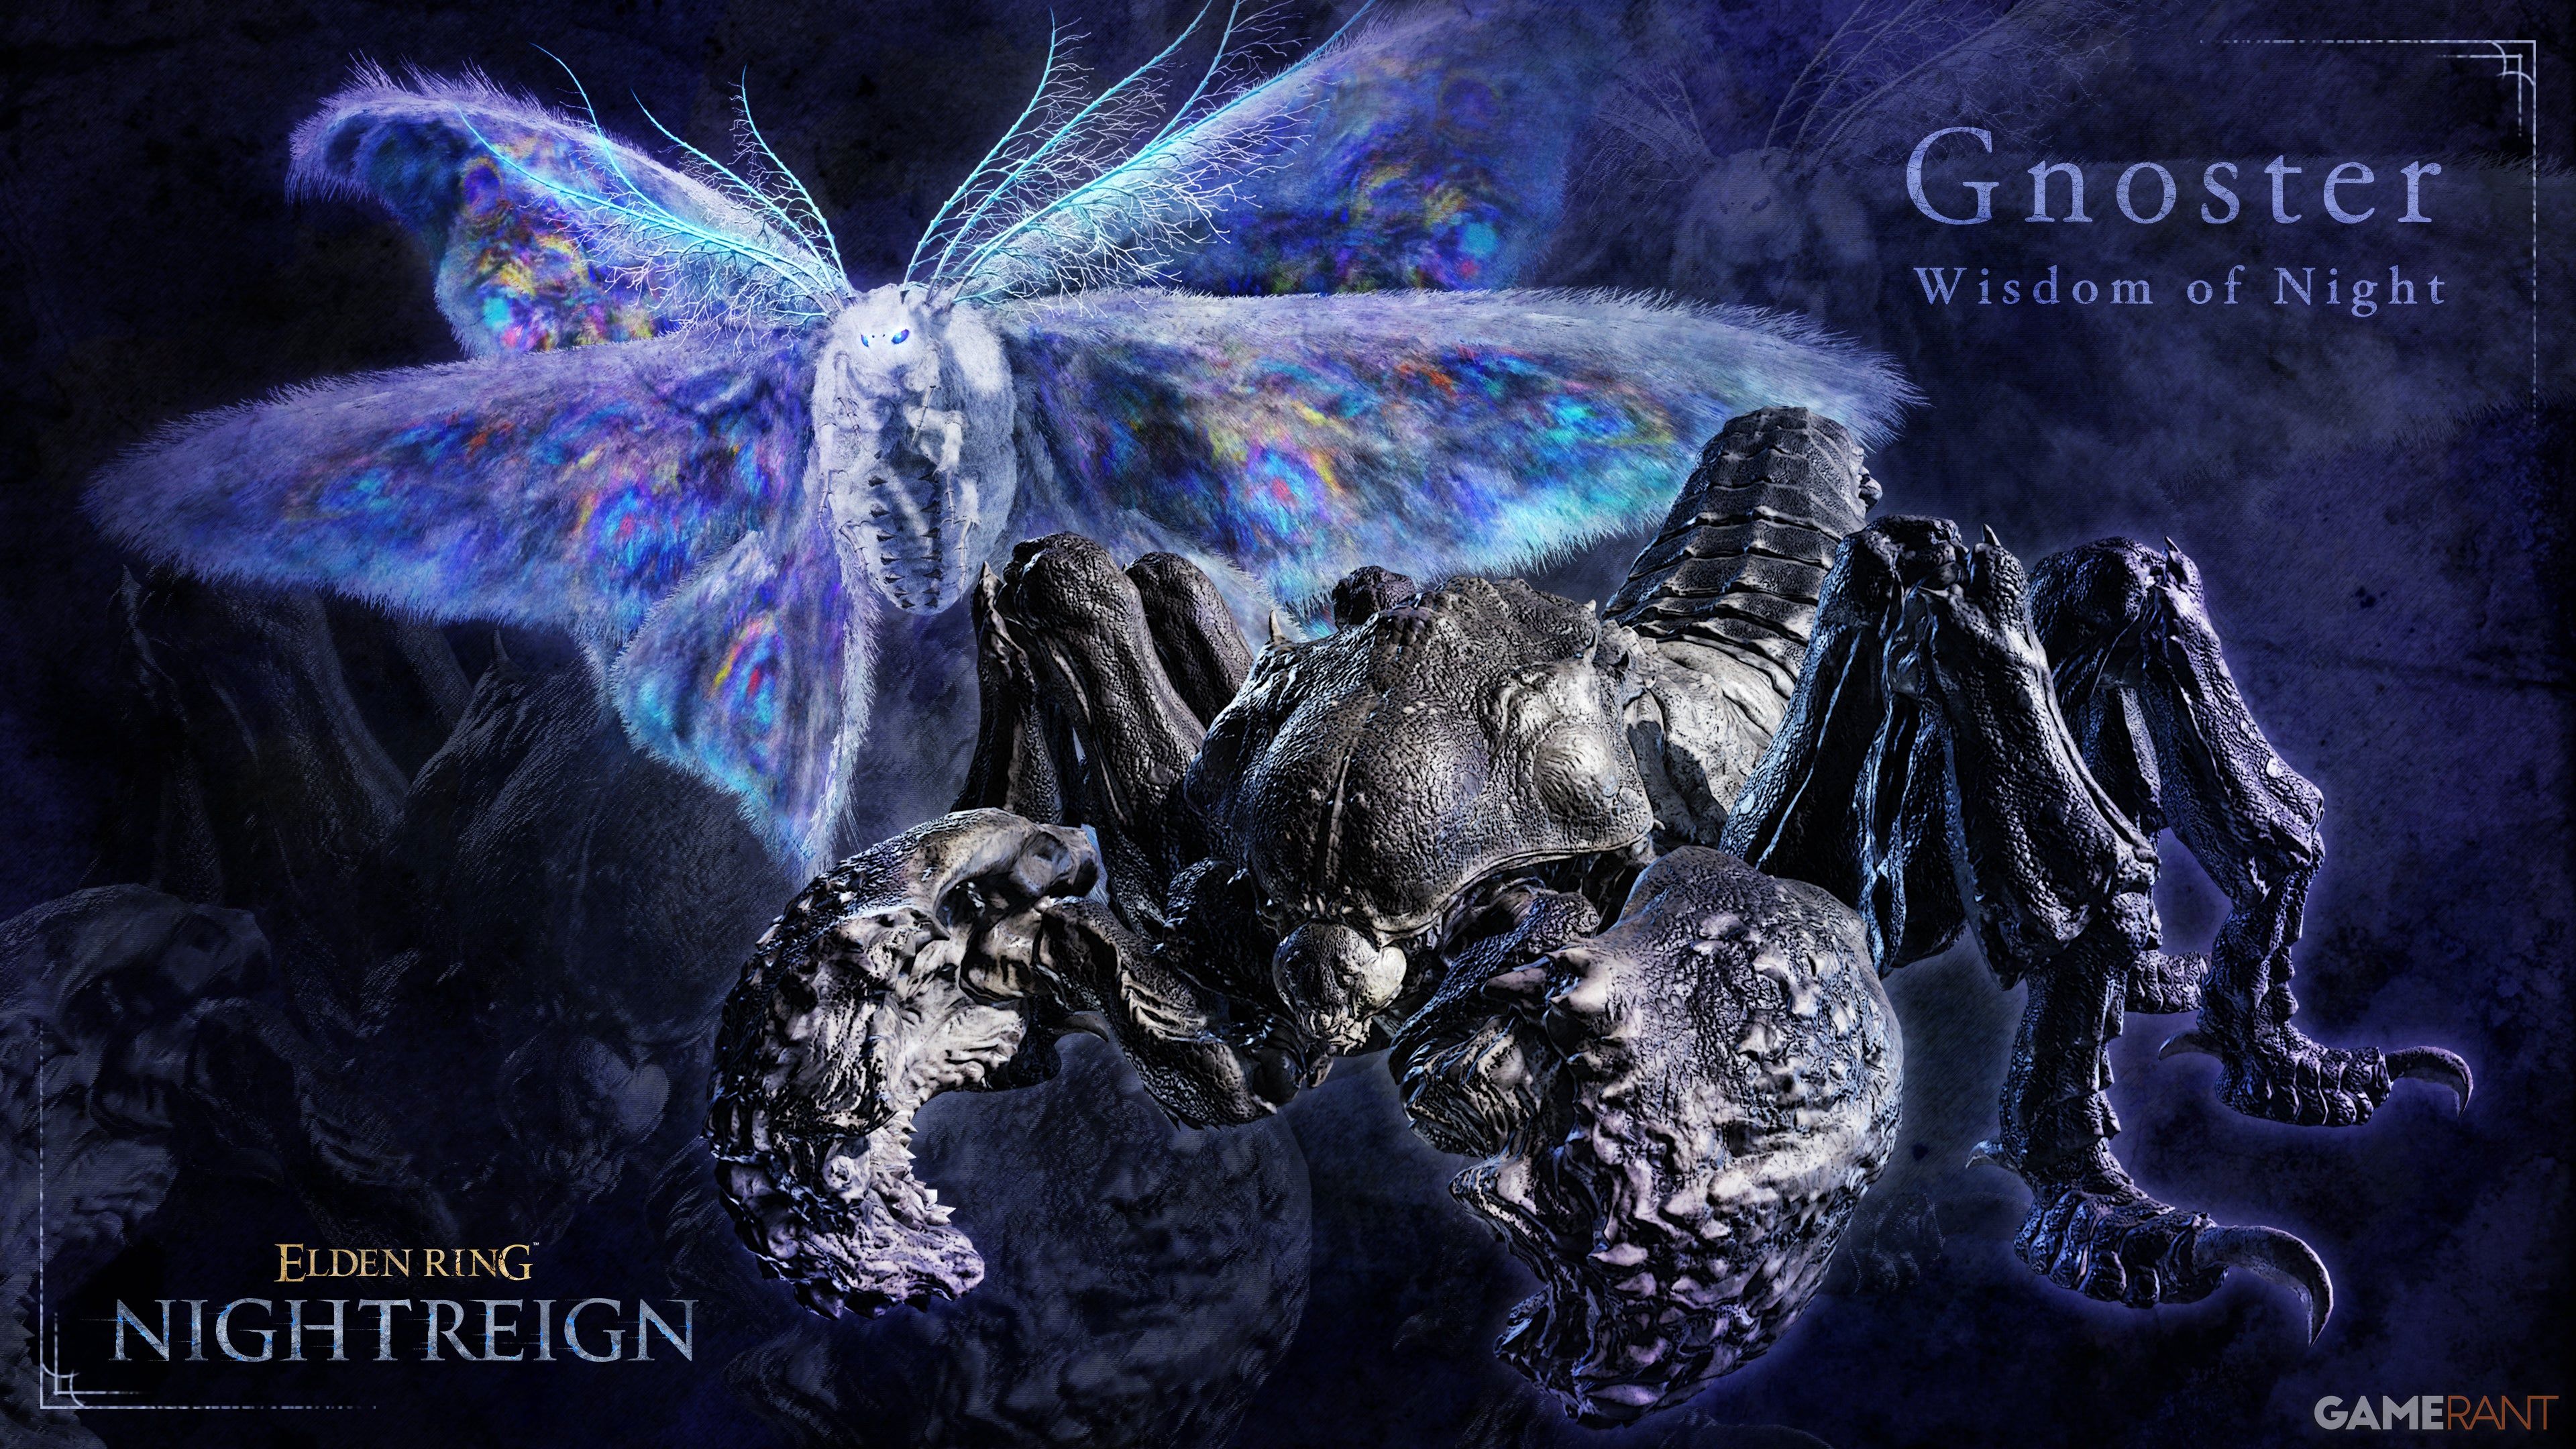
Everdark Sovereign Sentient Pest Overview
A Harder Version Of Gnoster With A New Phase & Moveset
| Attack | Image | Description |
|---|---|---|
| Phase 2 | ||
| Duo Charge | 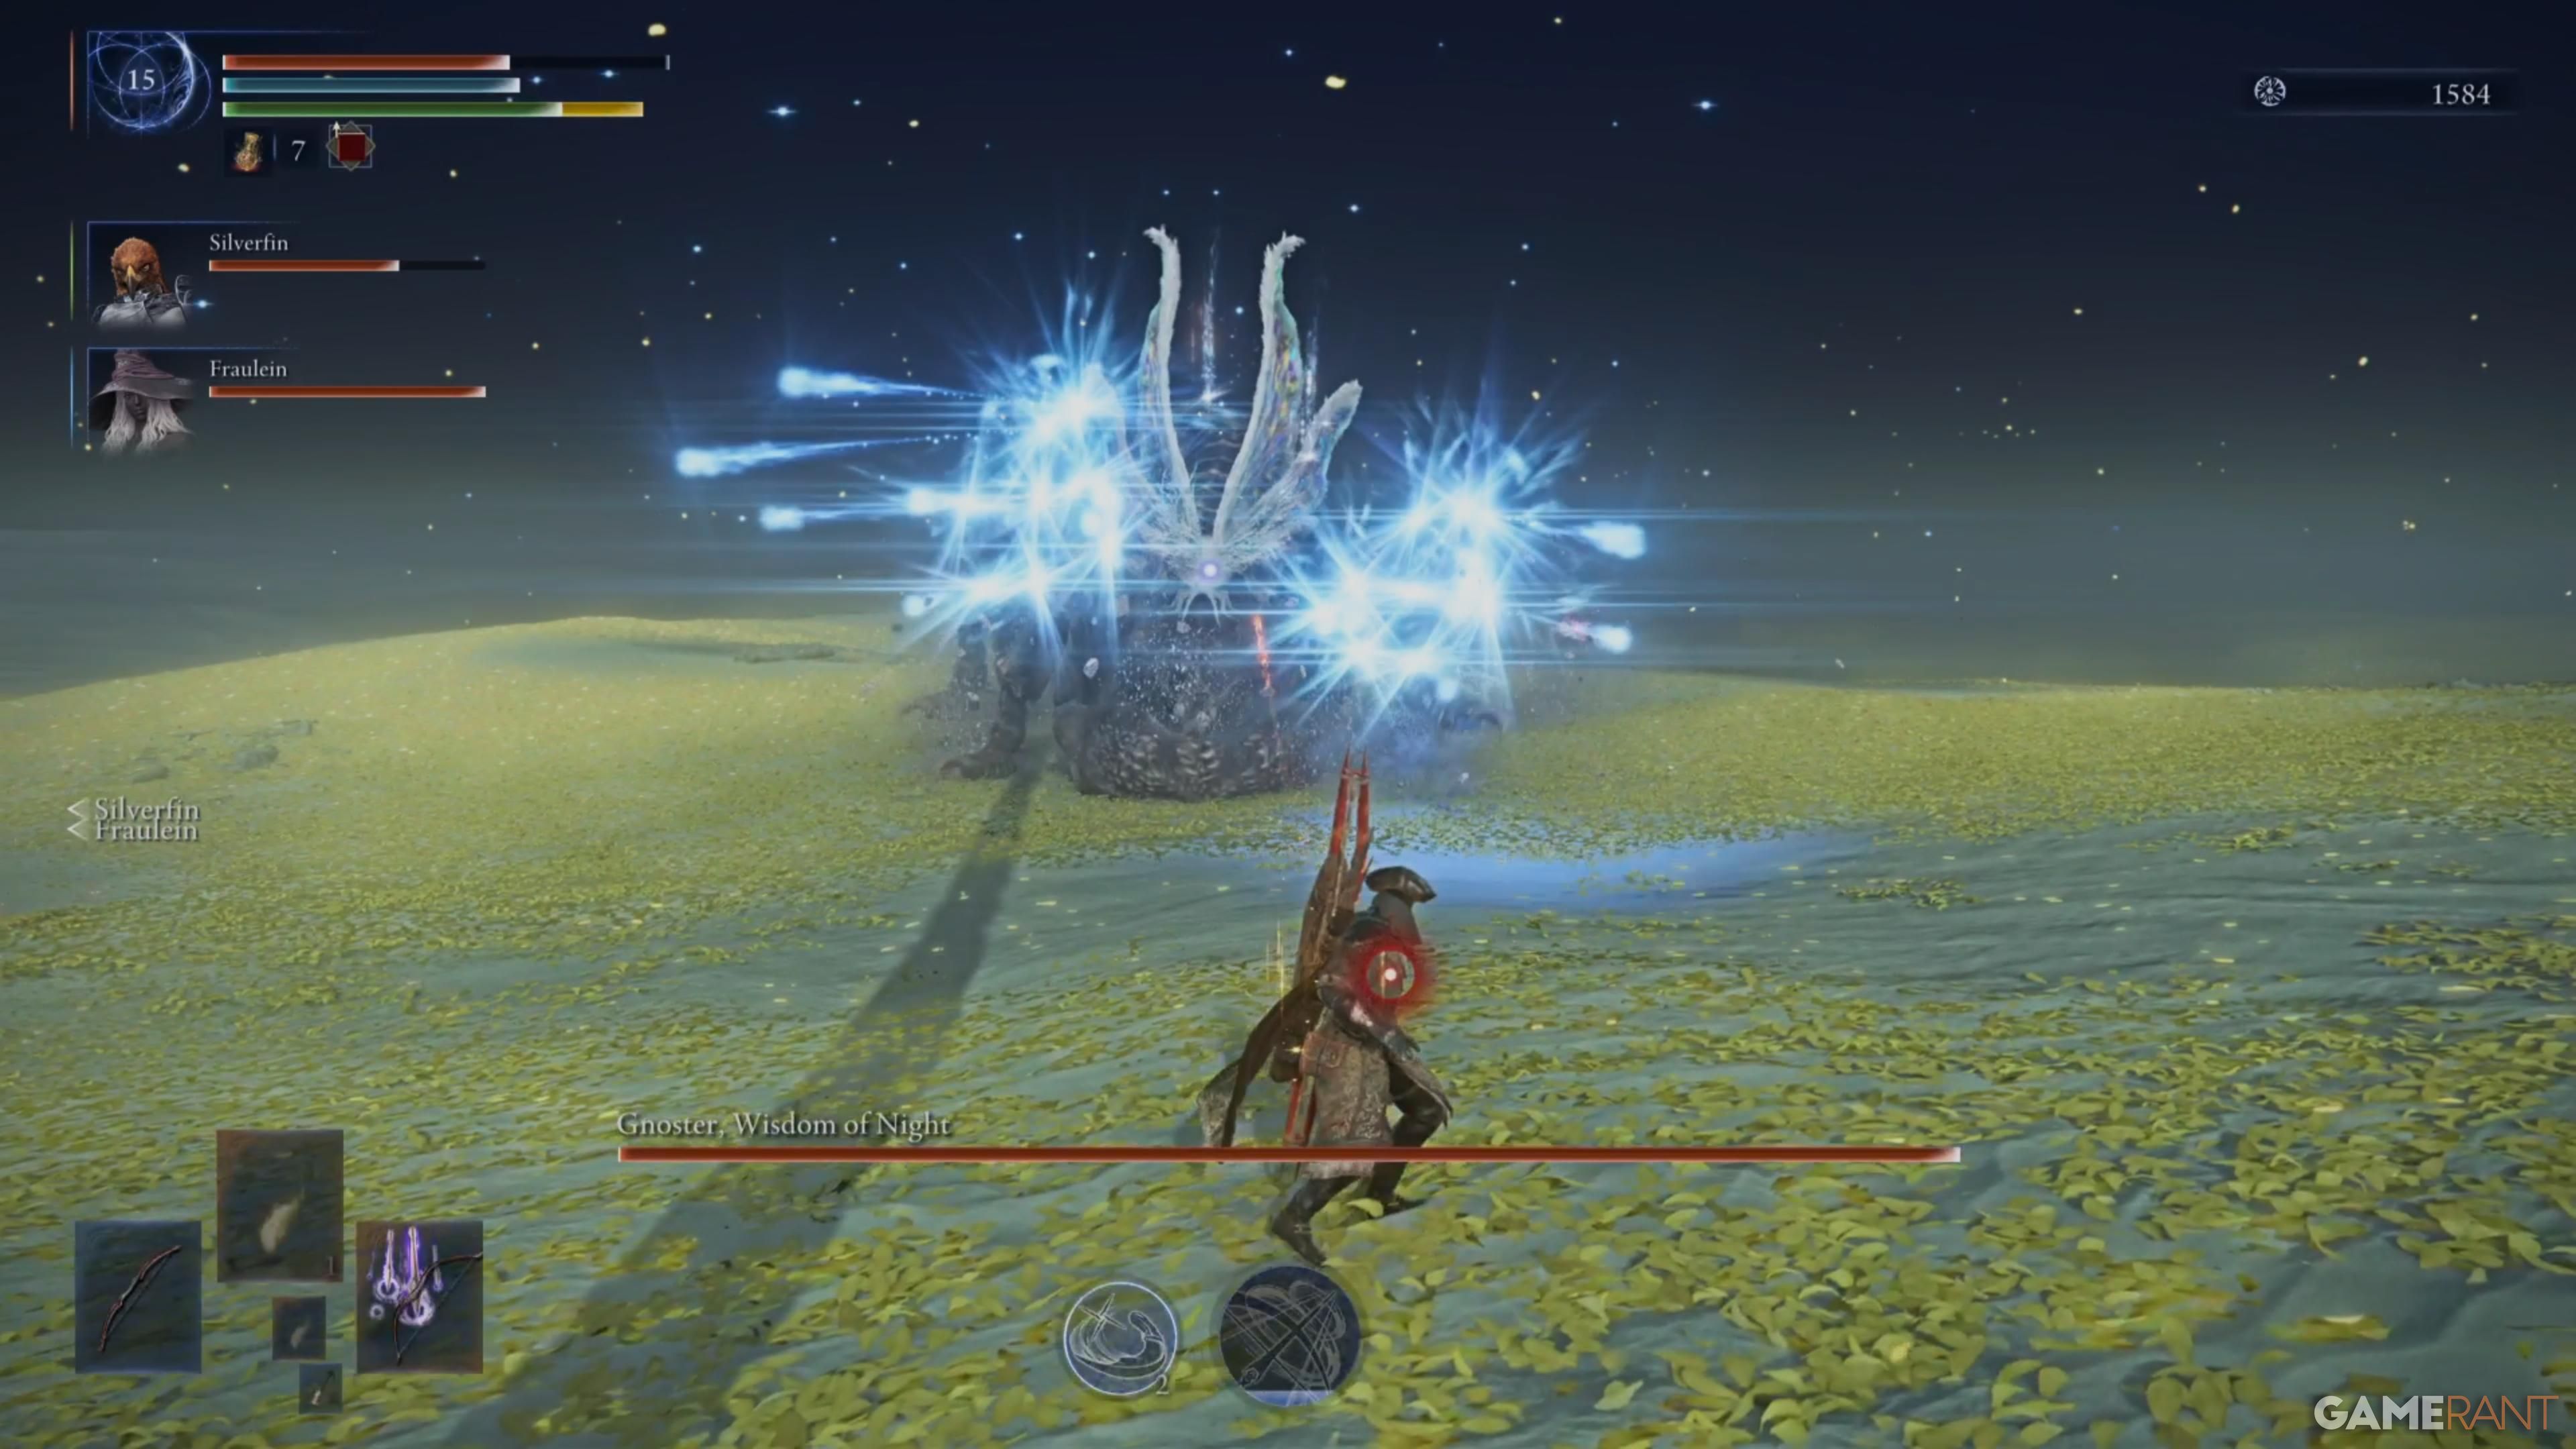 | The boss starts charging at you while the Moth on top fires constant projectiles. After a few charges, the boss plants its arms into the ground, causing rock clusters to erupt. |
| Rock Slam | 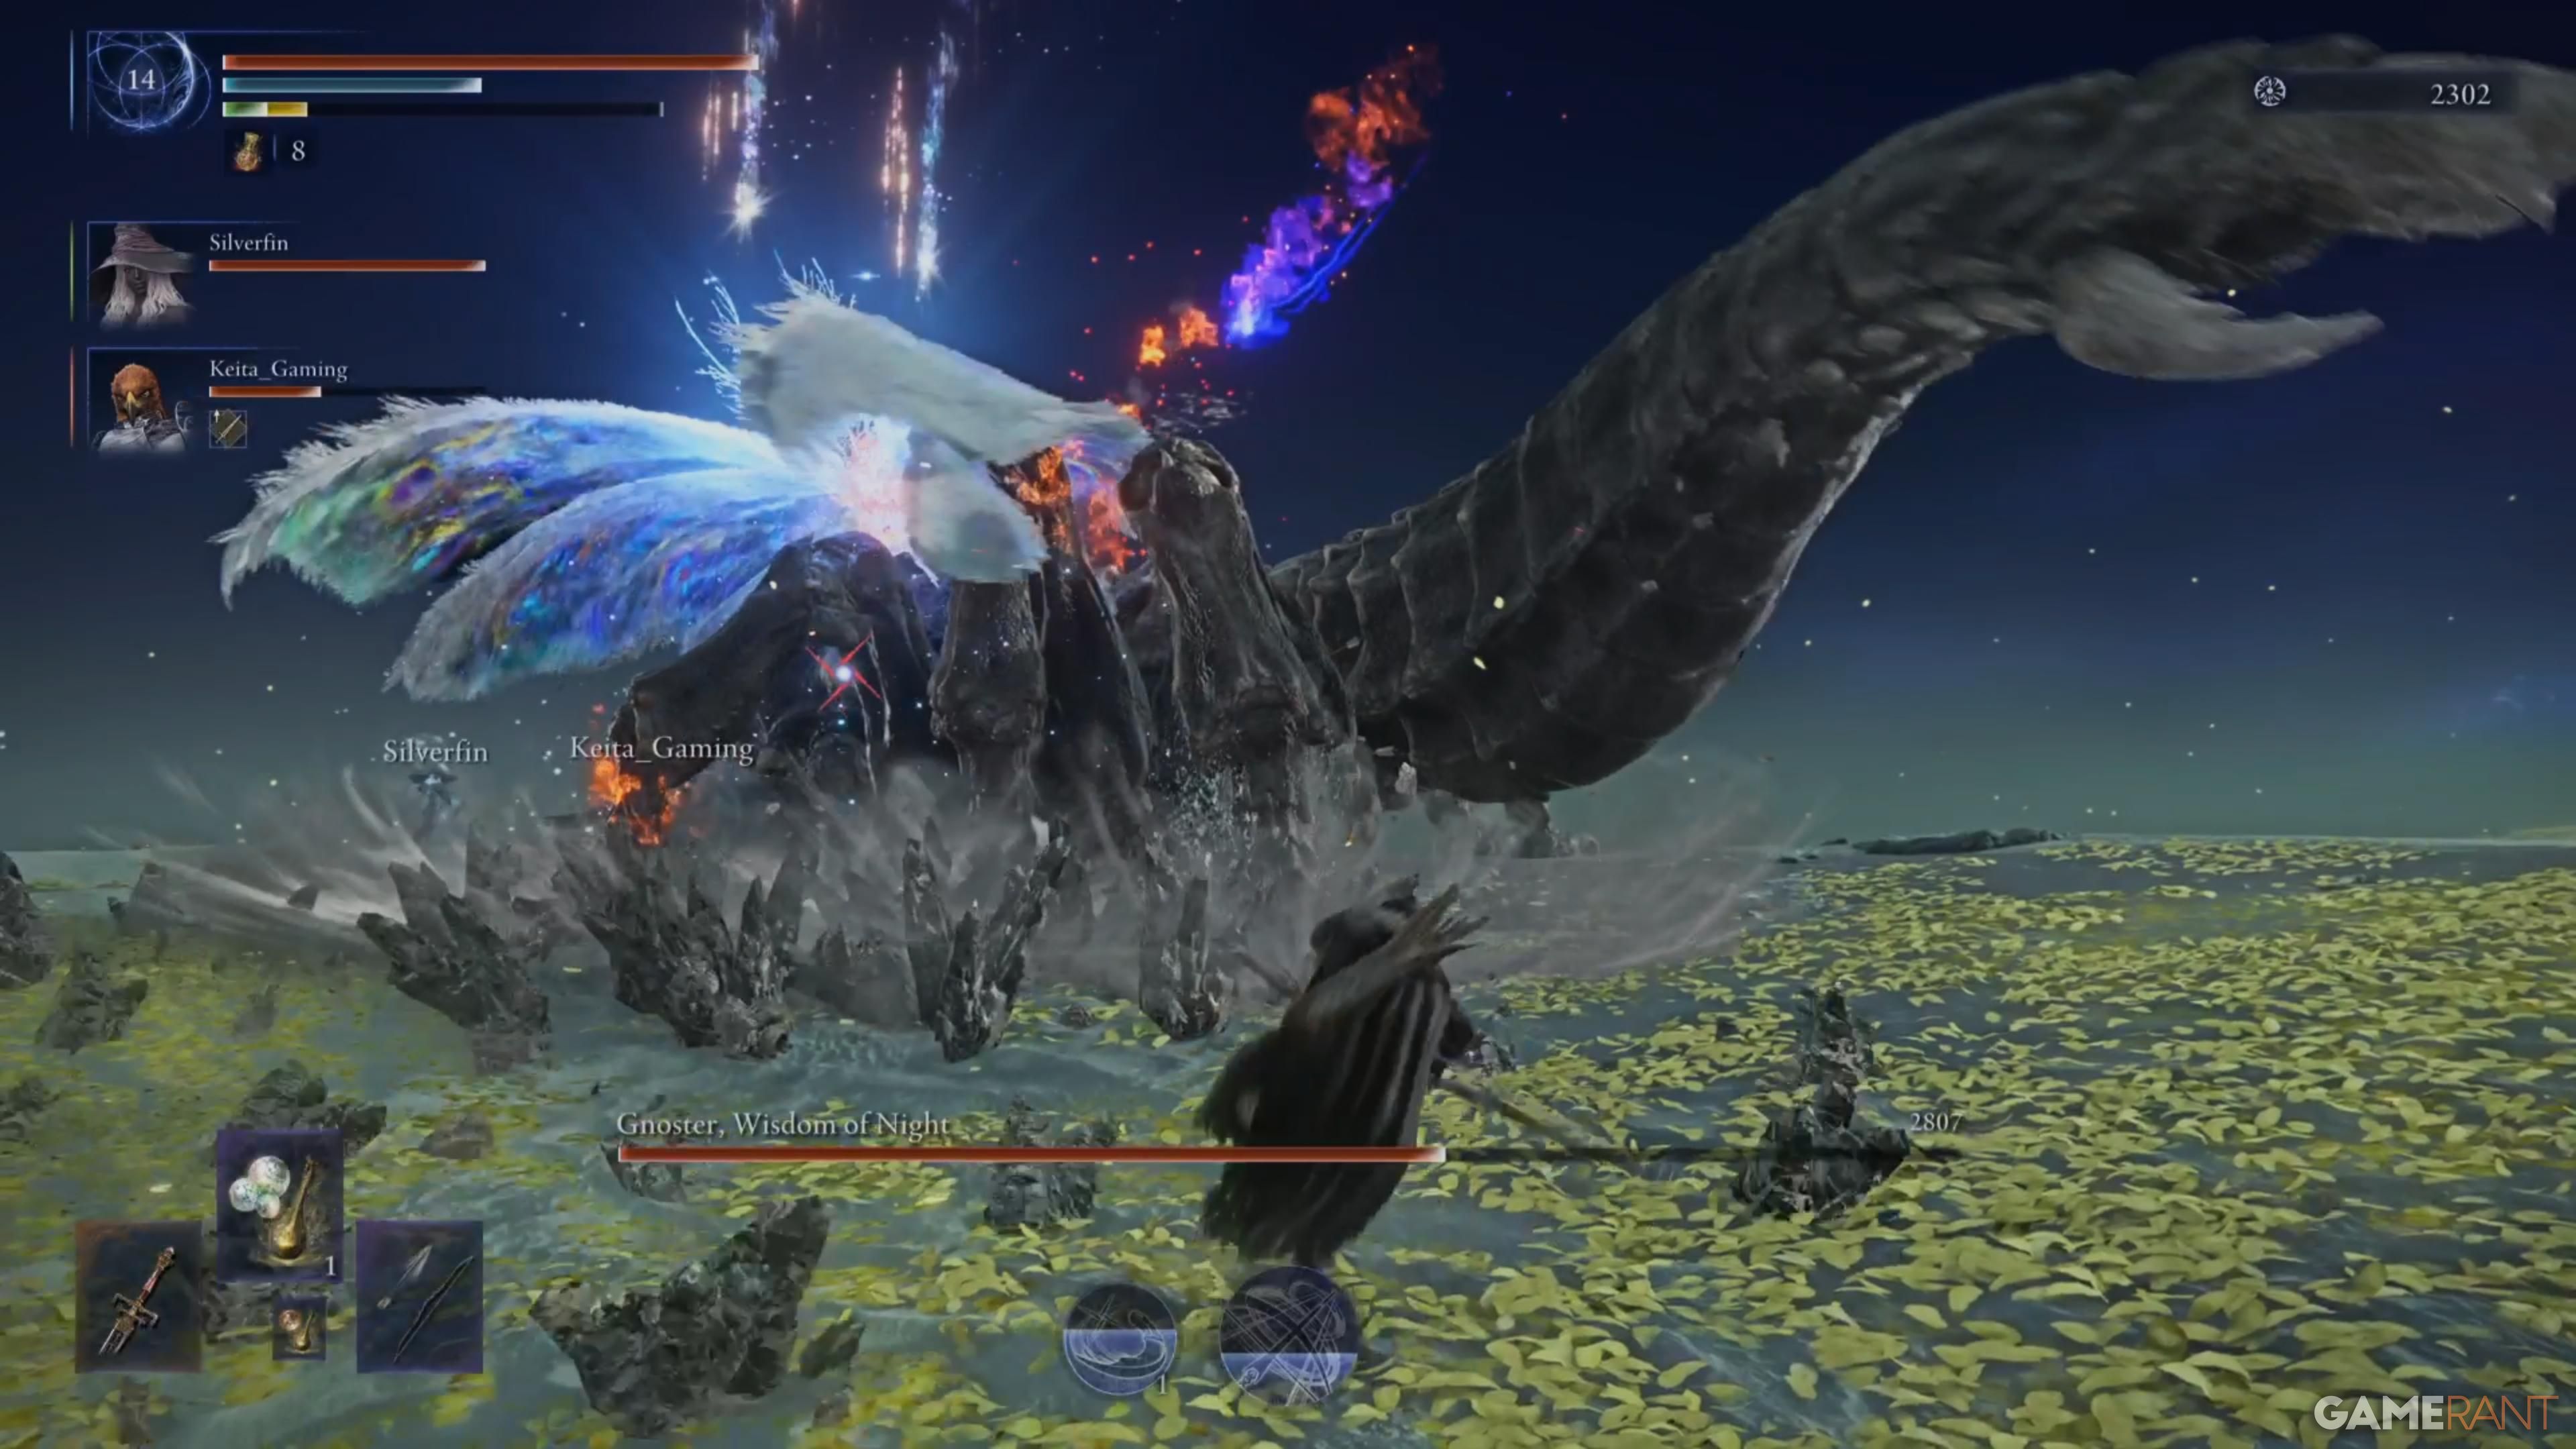 | Gnoster slams to the side, causing rocks to erupt from the ground. |
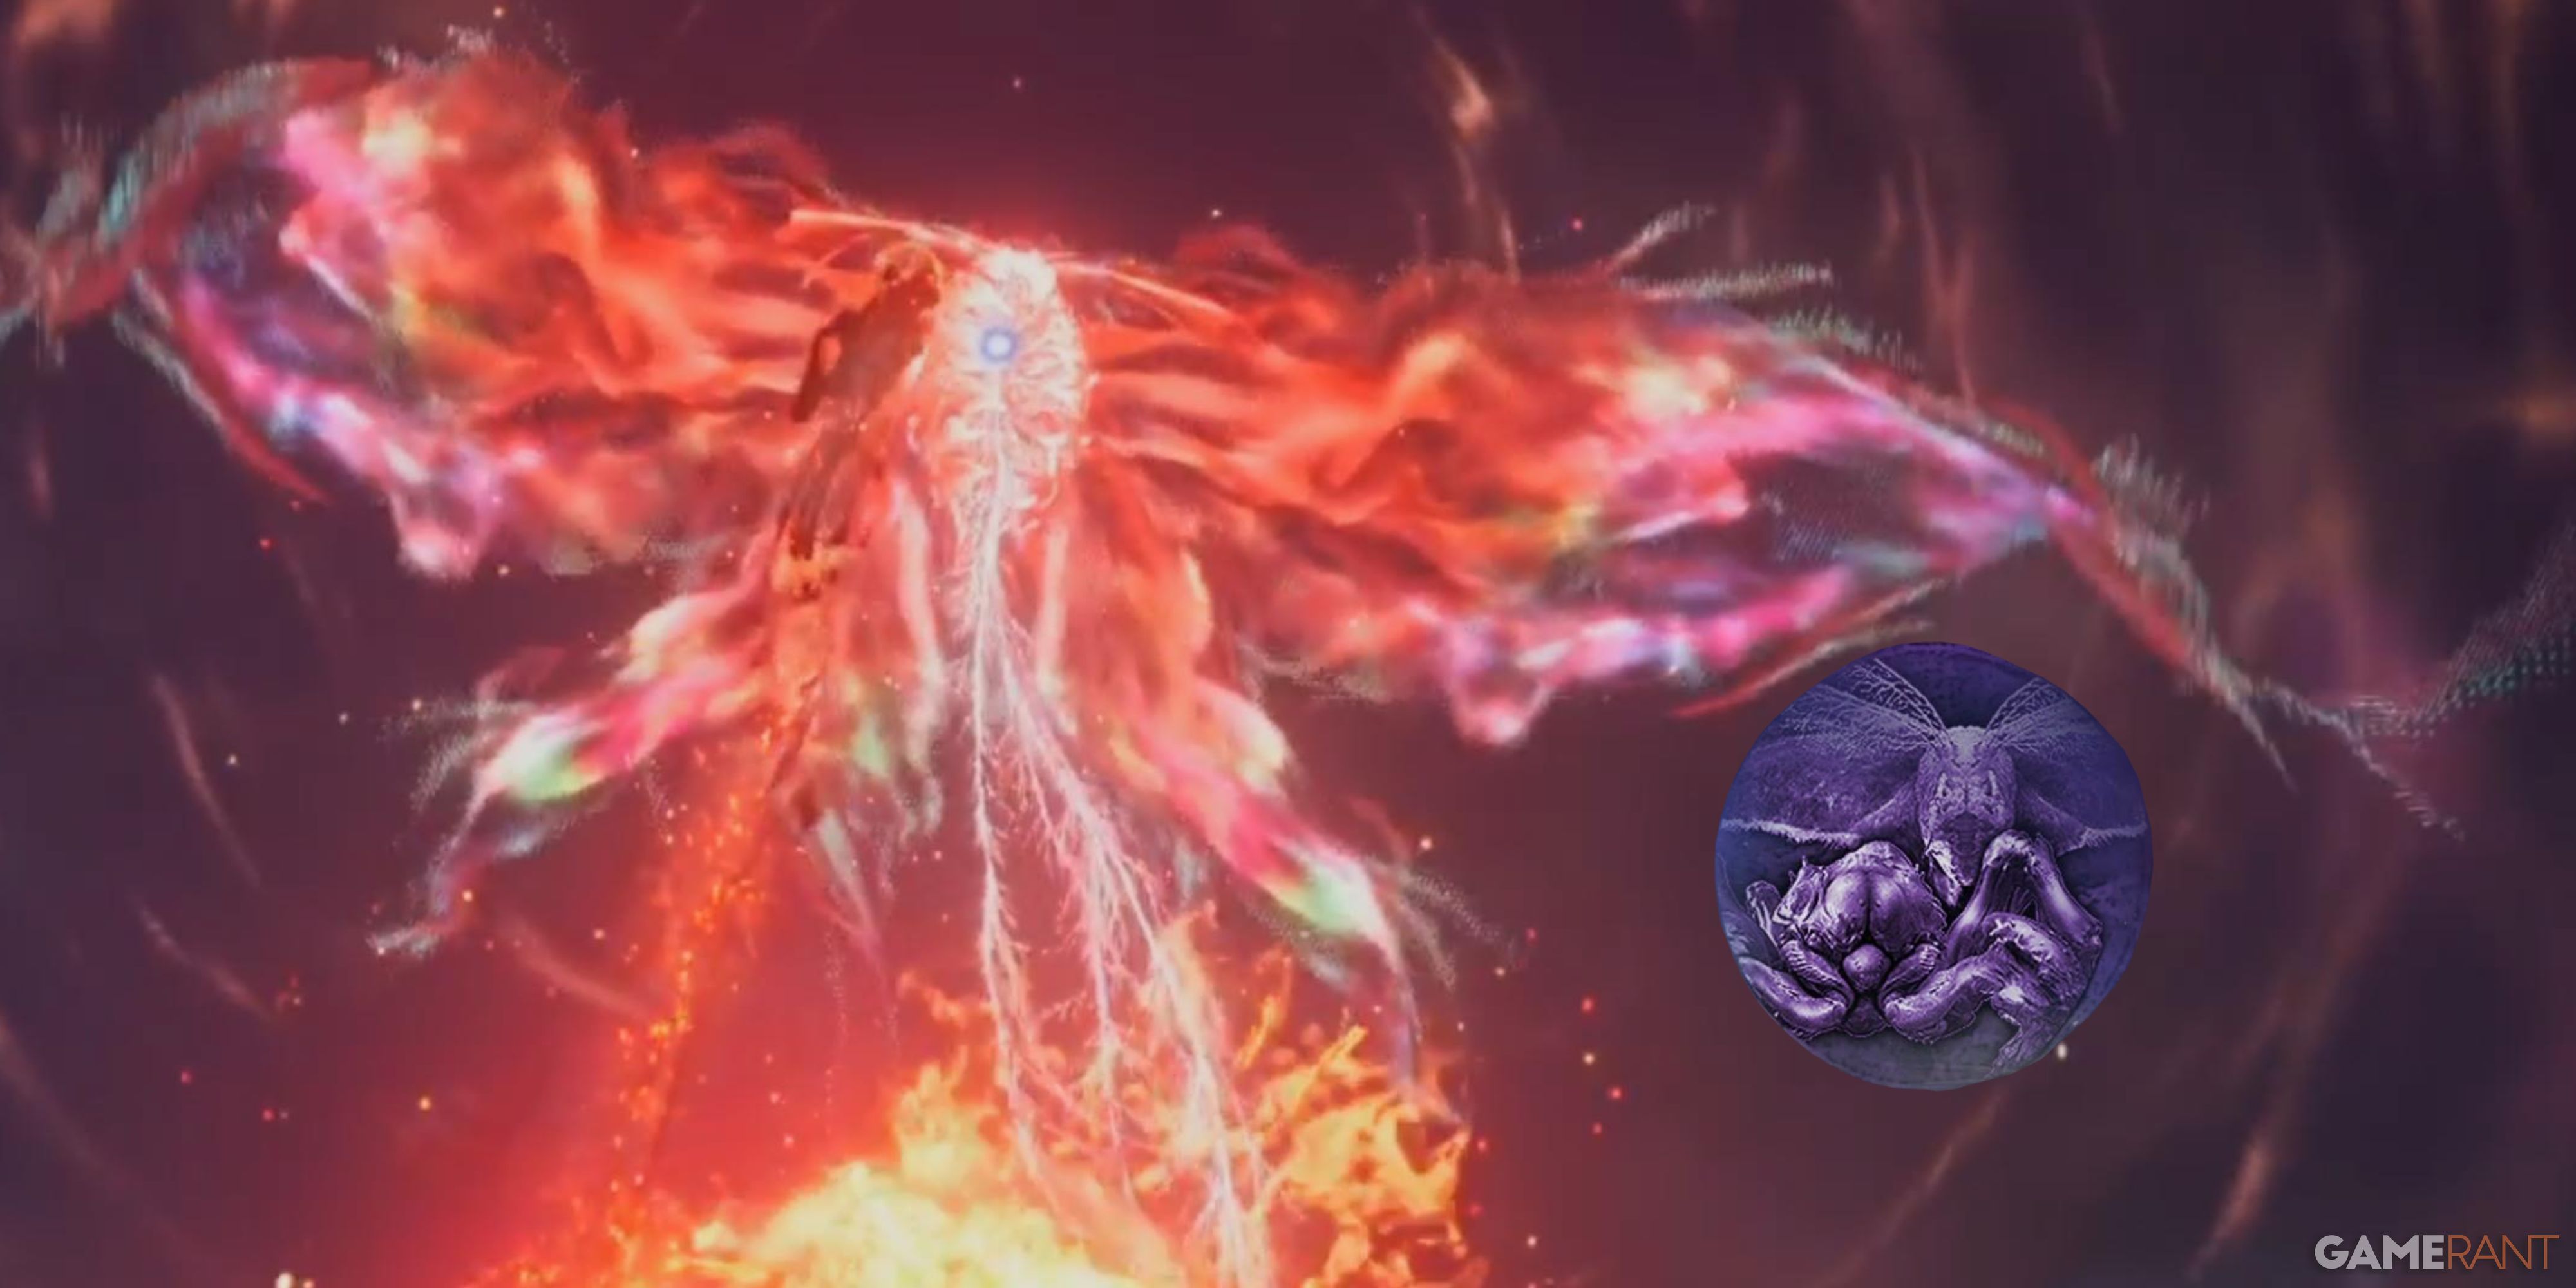
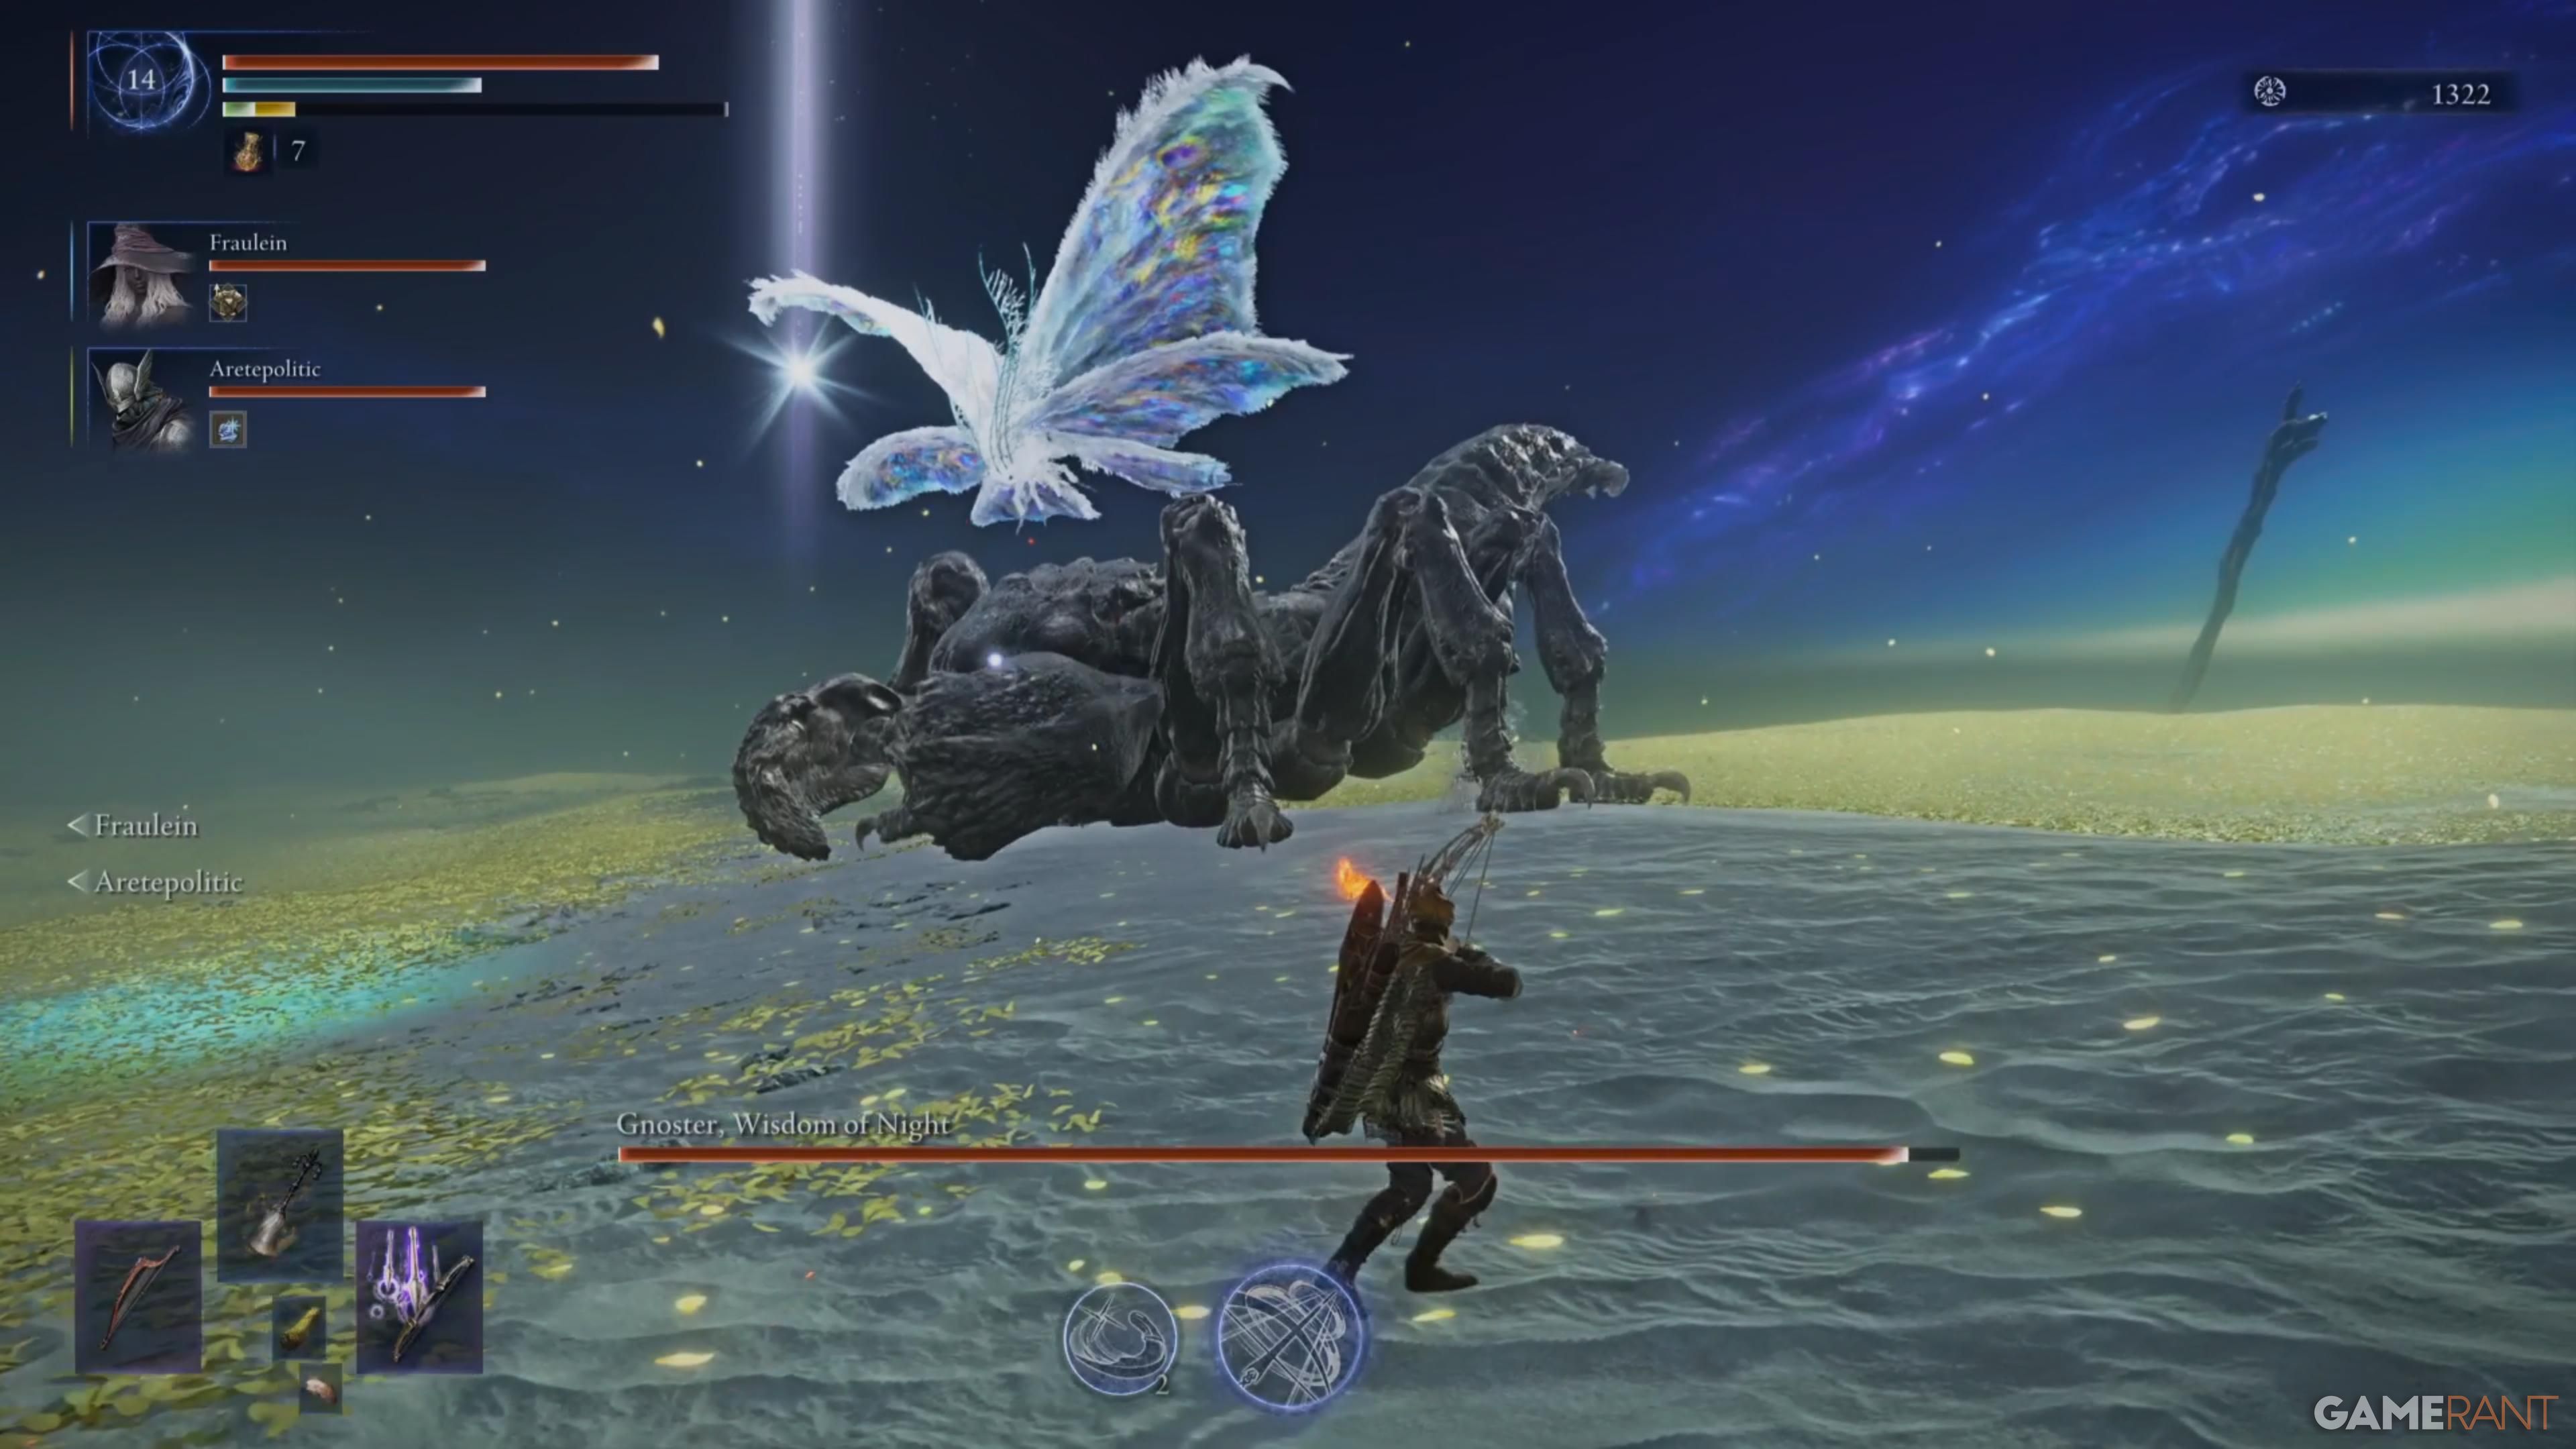
| Orbital Laser | 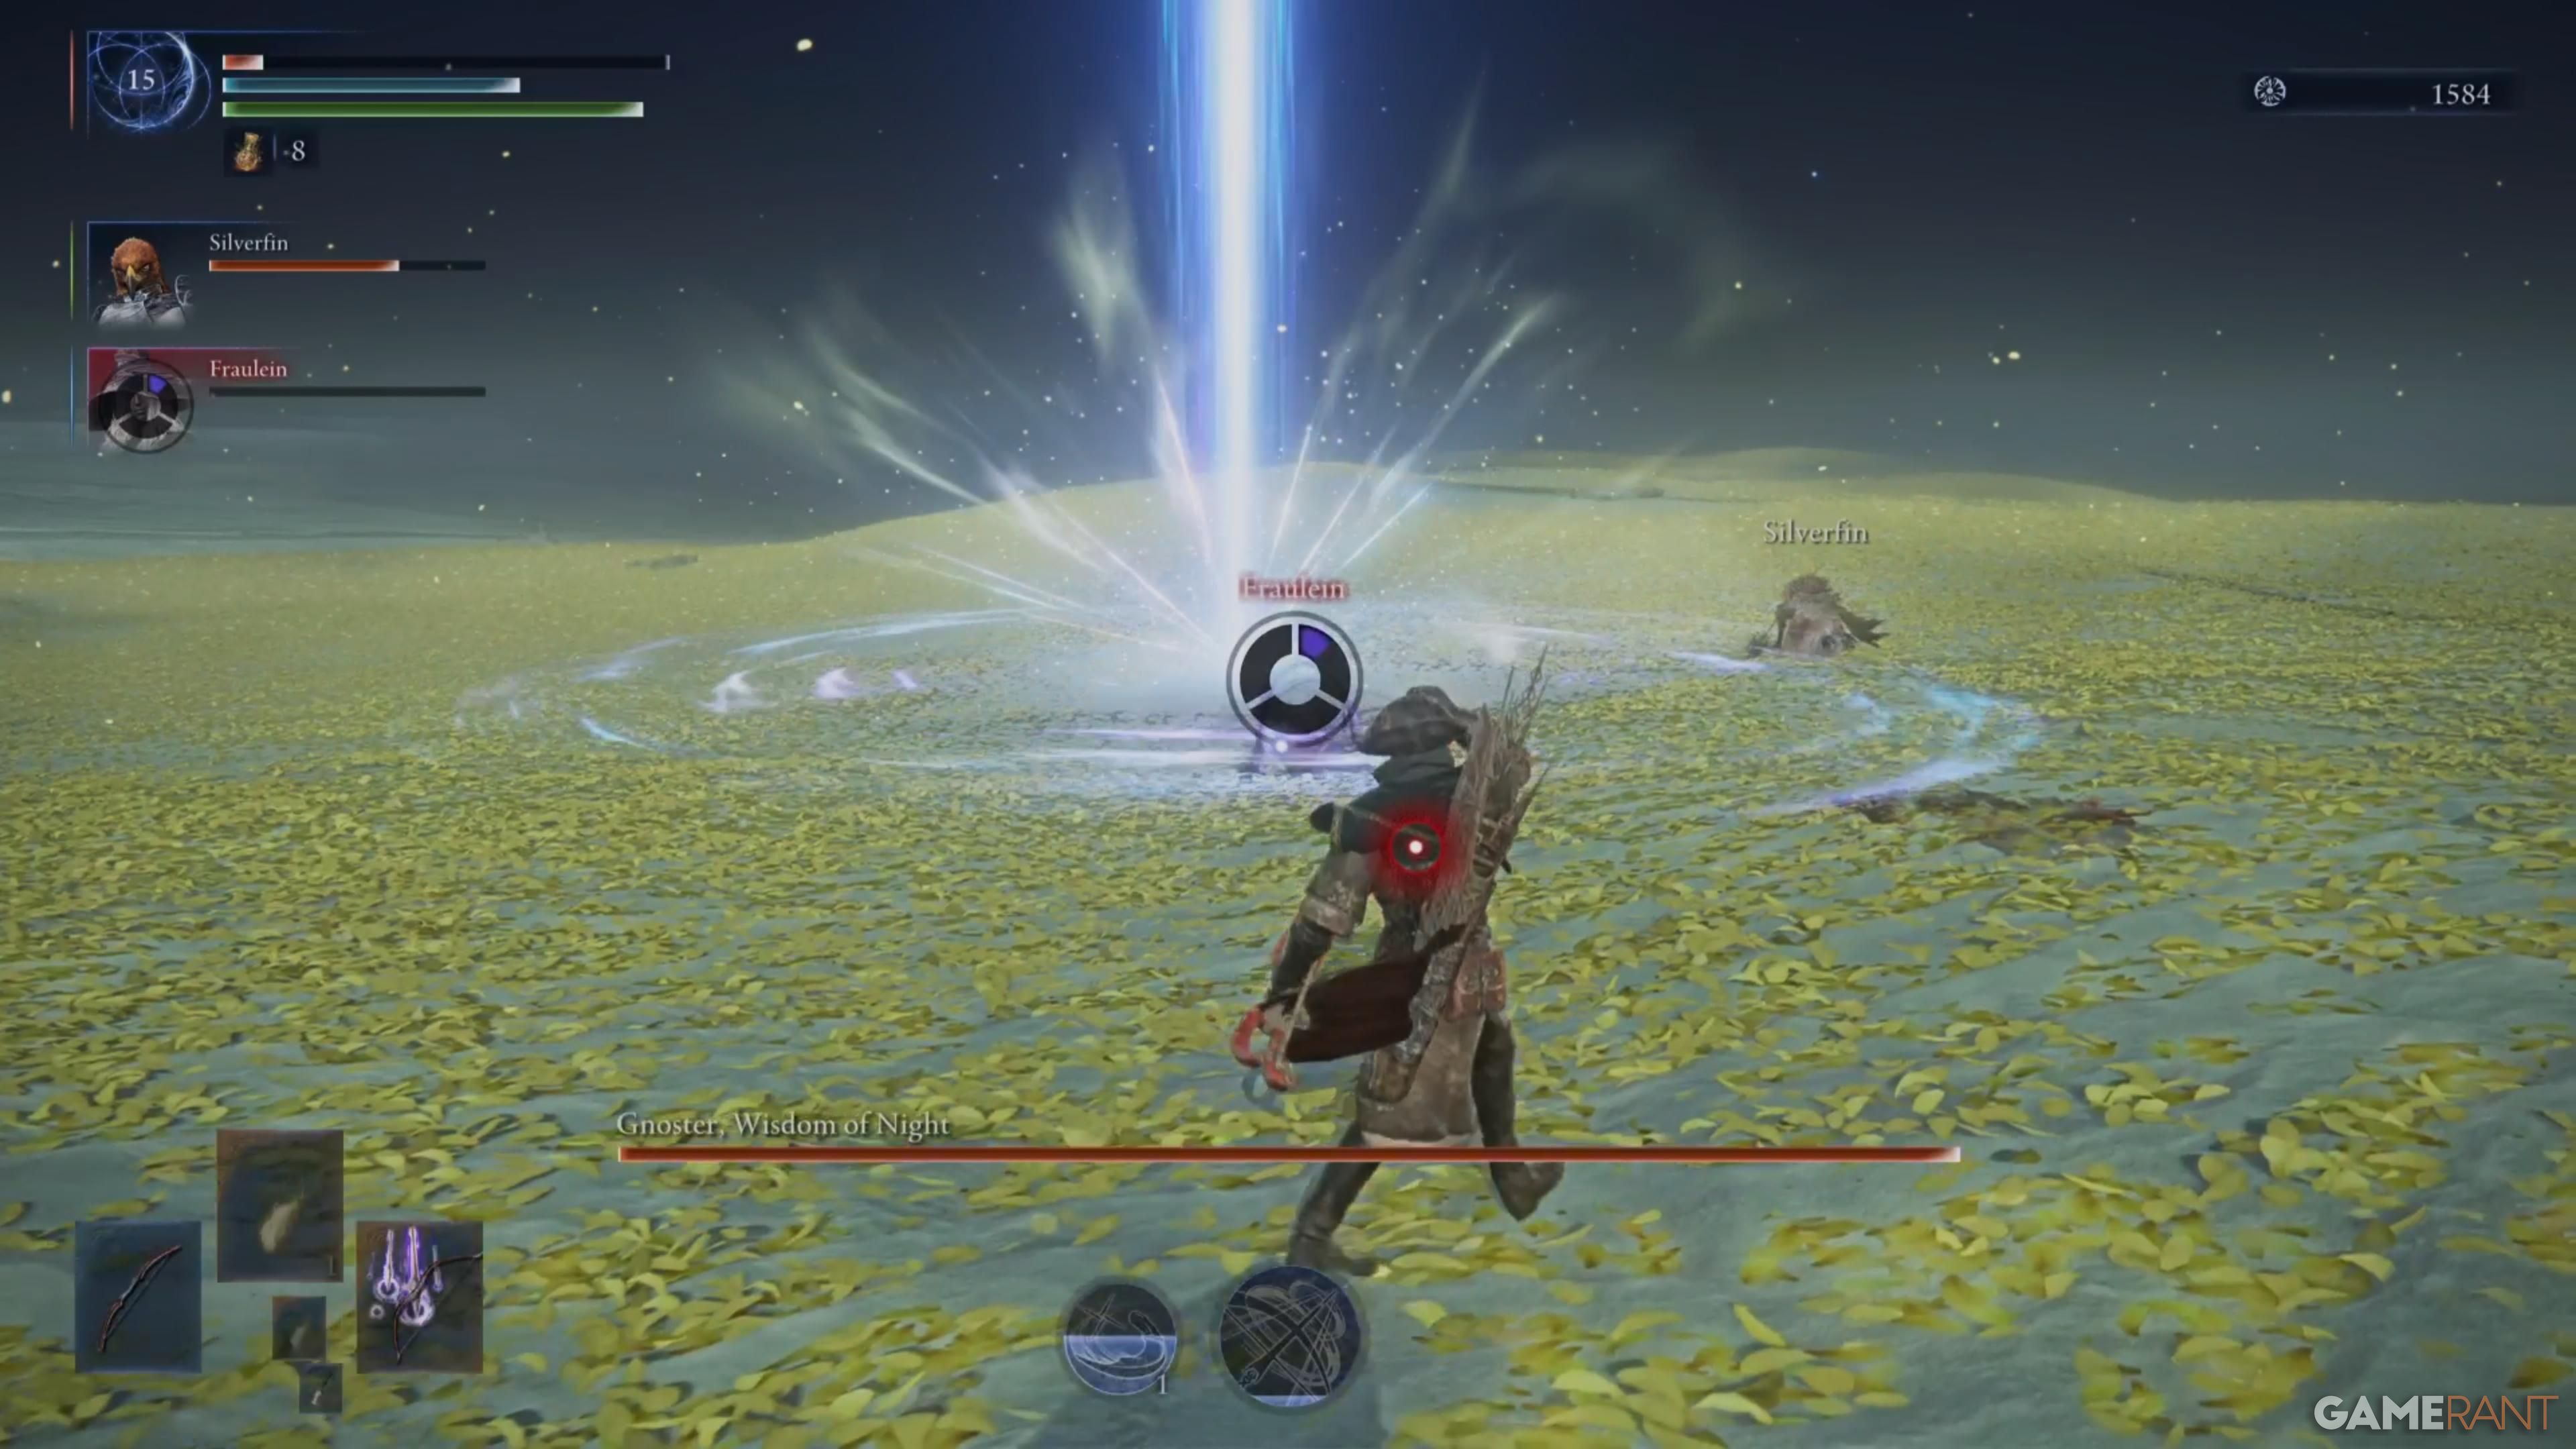 | The boss releases a shining beam that begins to glow at a player’s location before shooting down from the sky. This persists for a few seconds. |
| Overhead Slam | 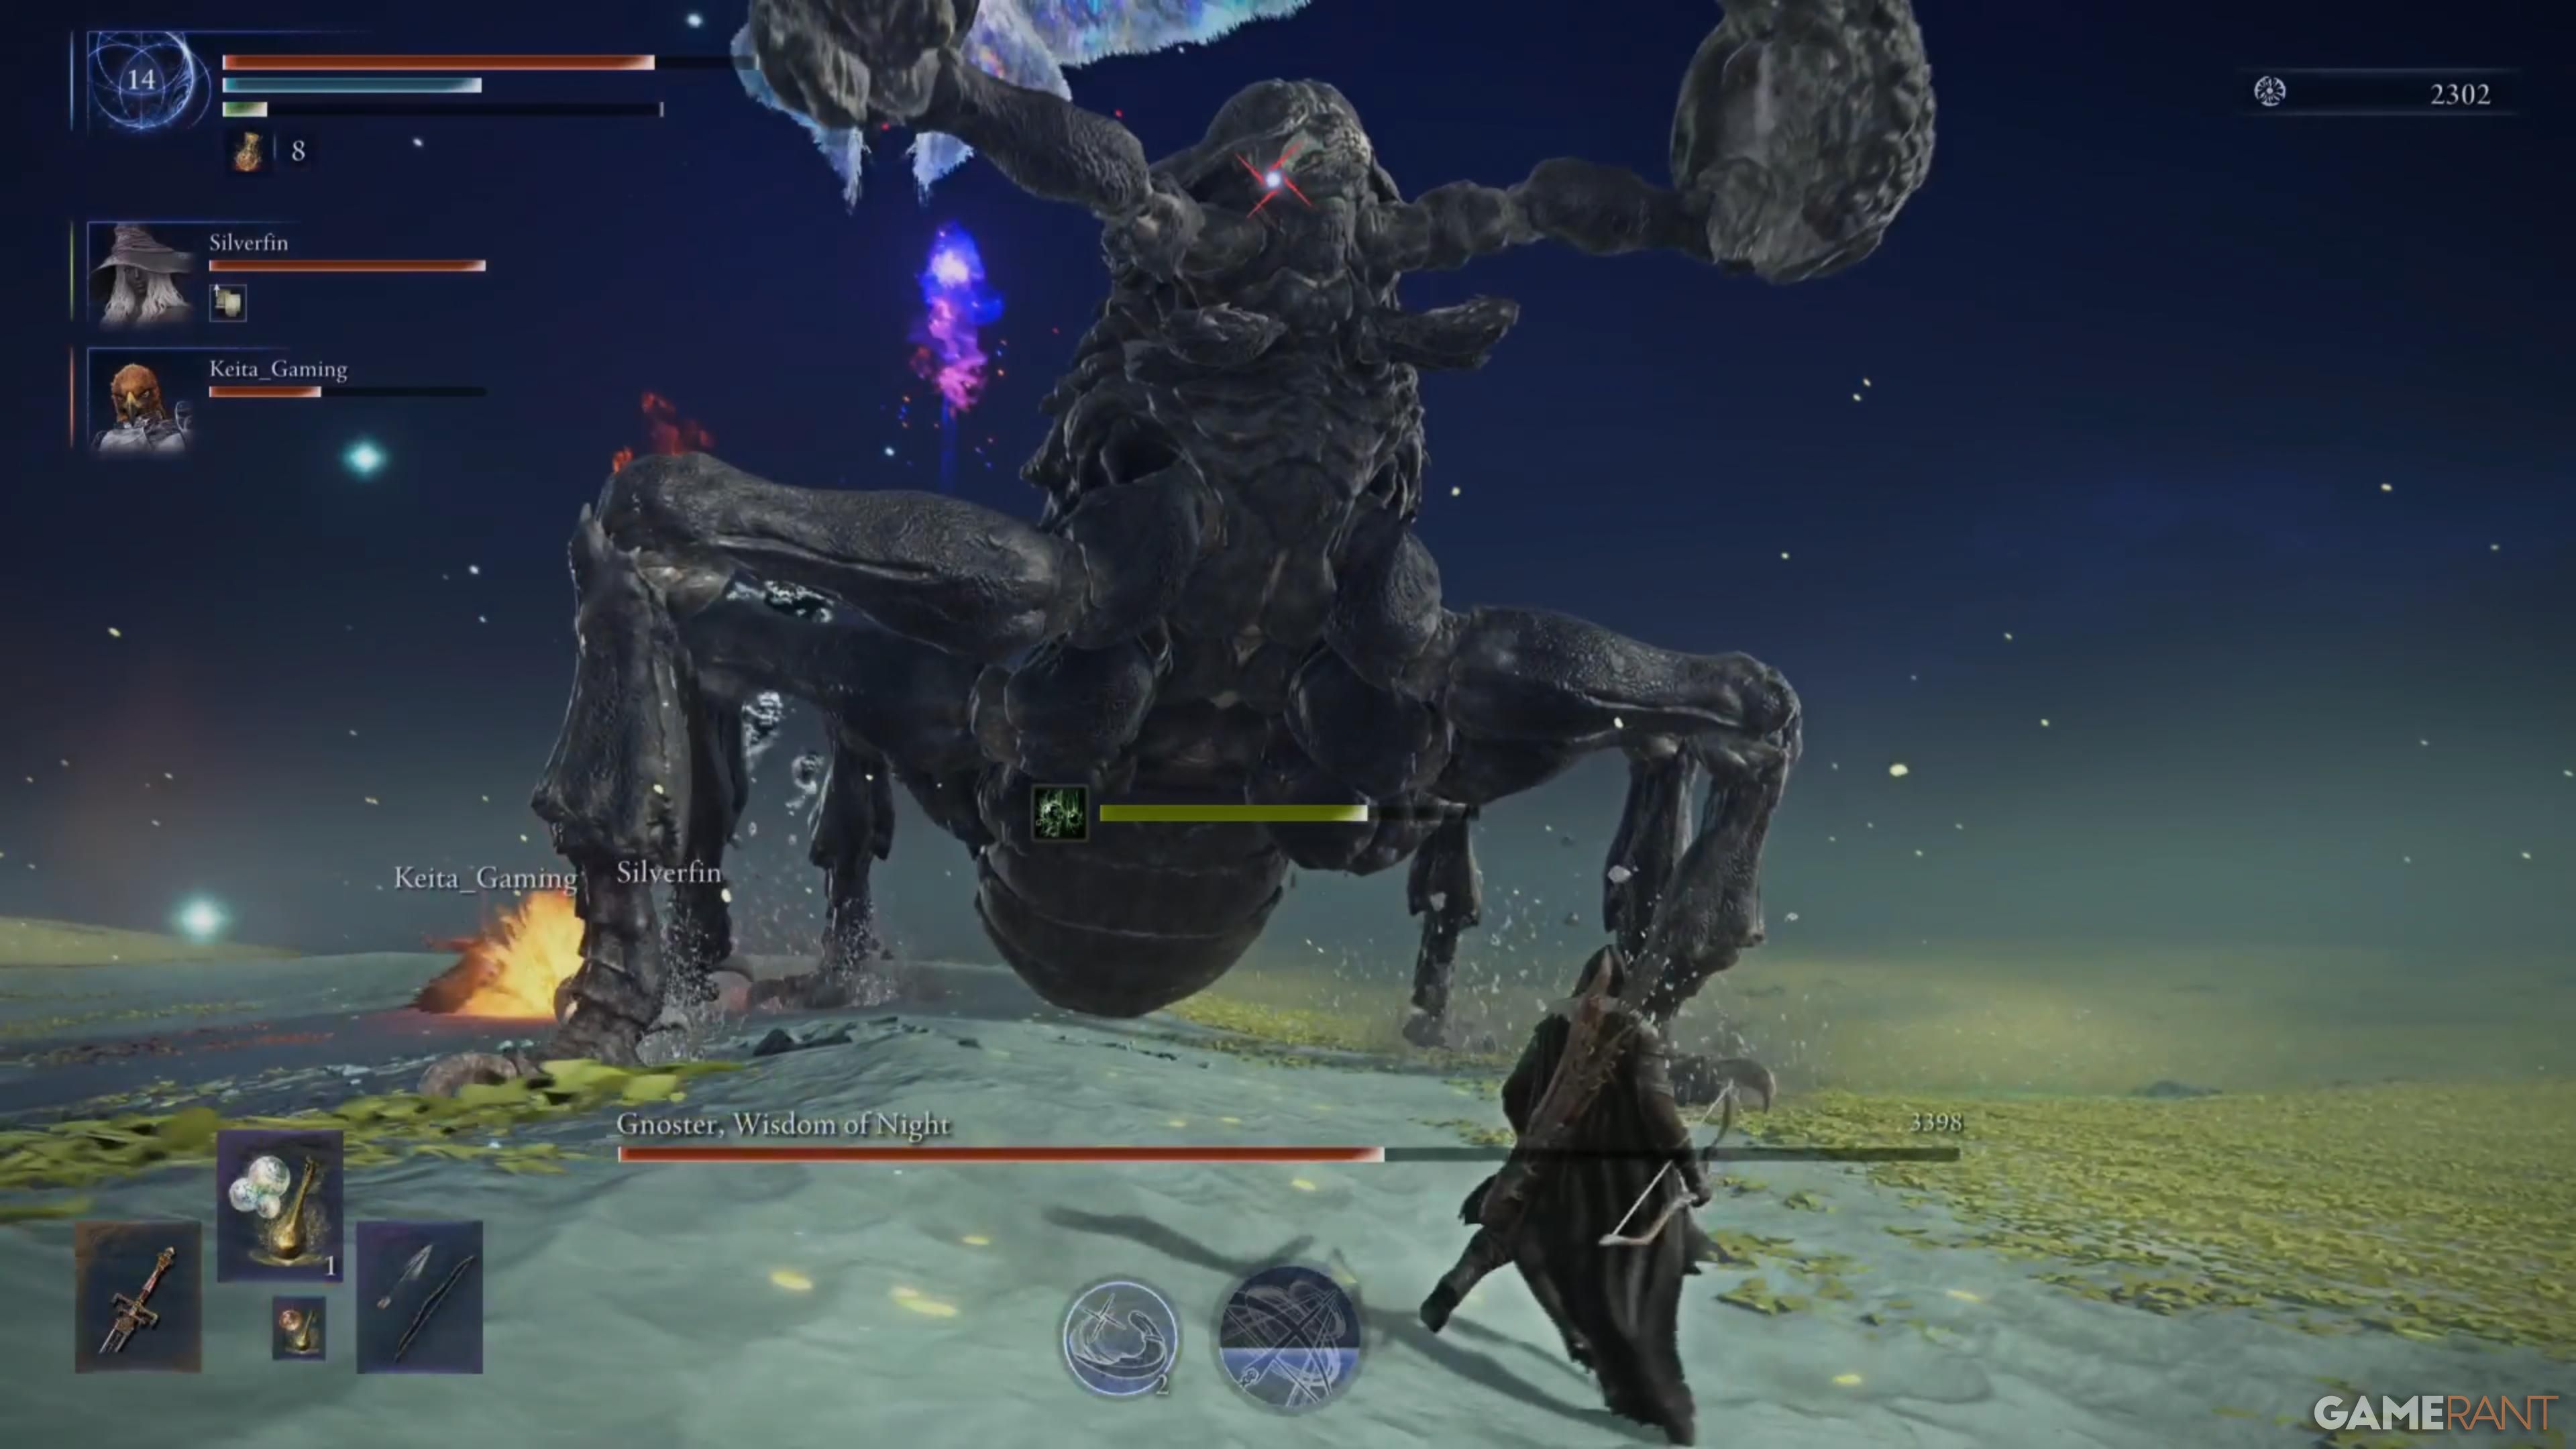 | Gnoster raises its body before slamming the ground, and the Moth on top can follow up with an orbital laser. |
| Poison Trail | 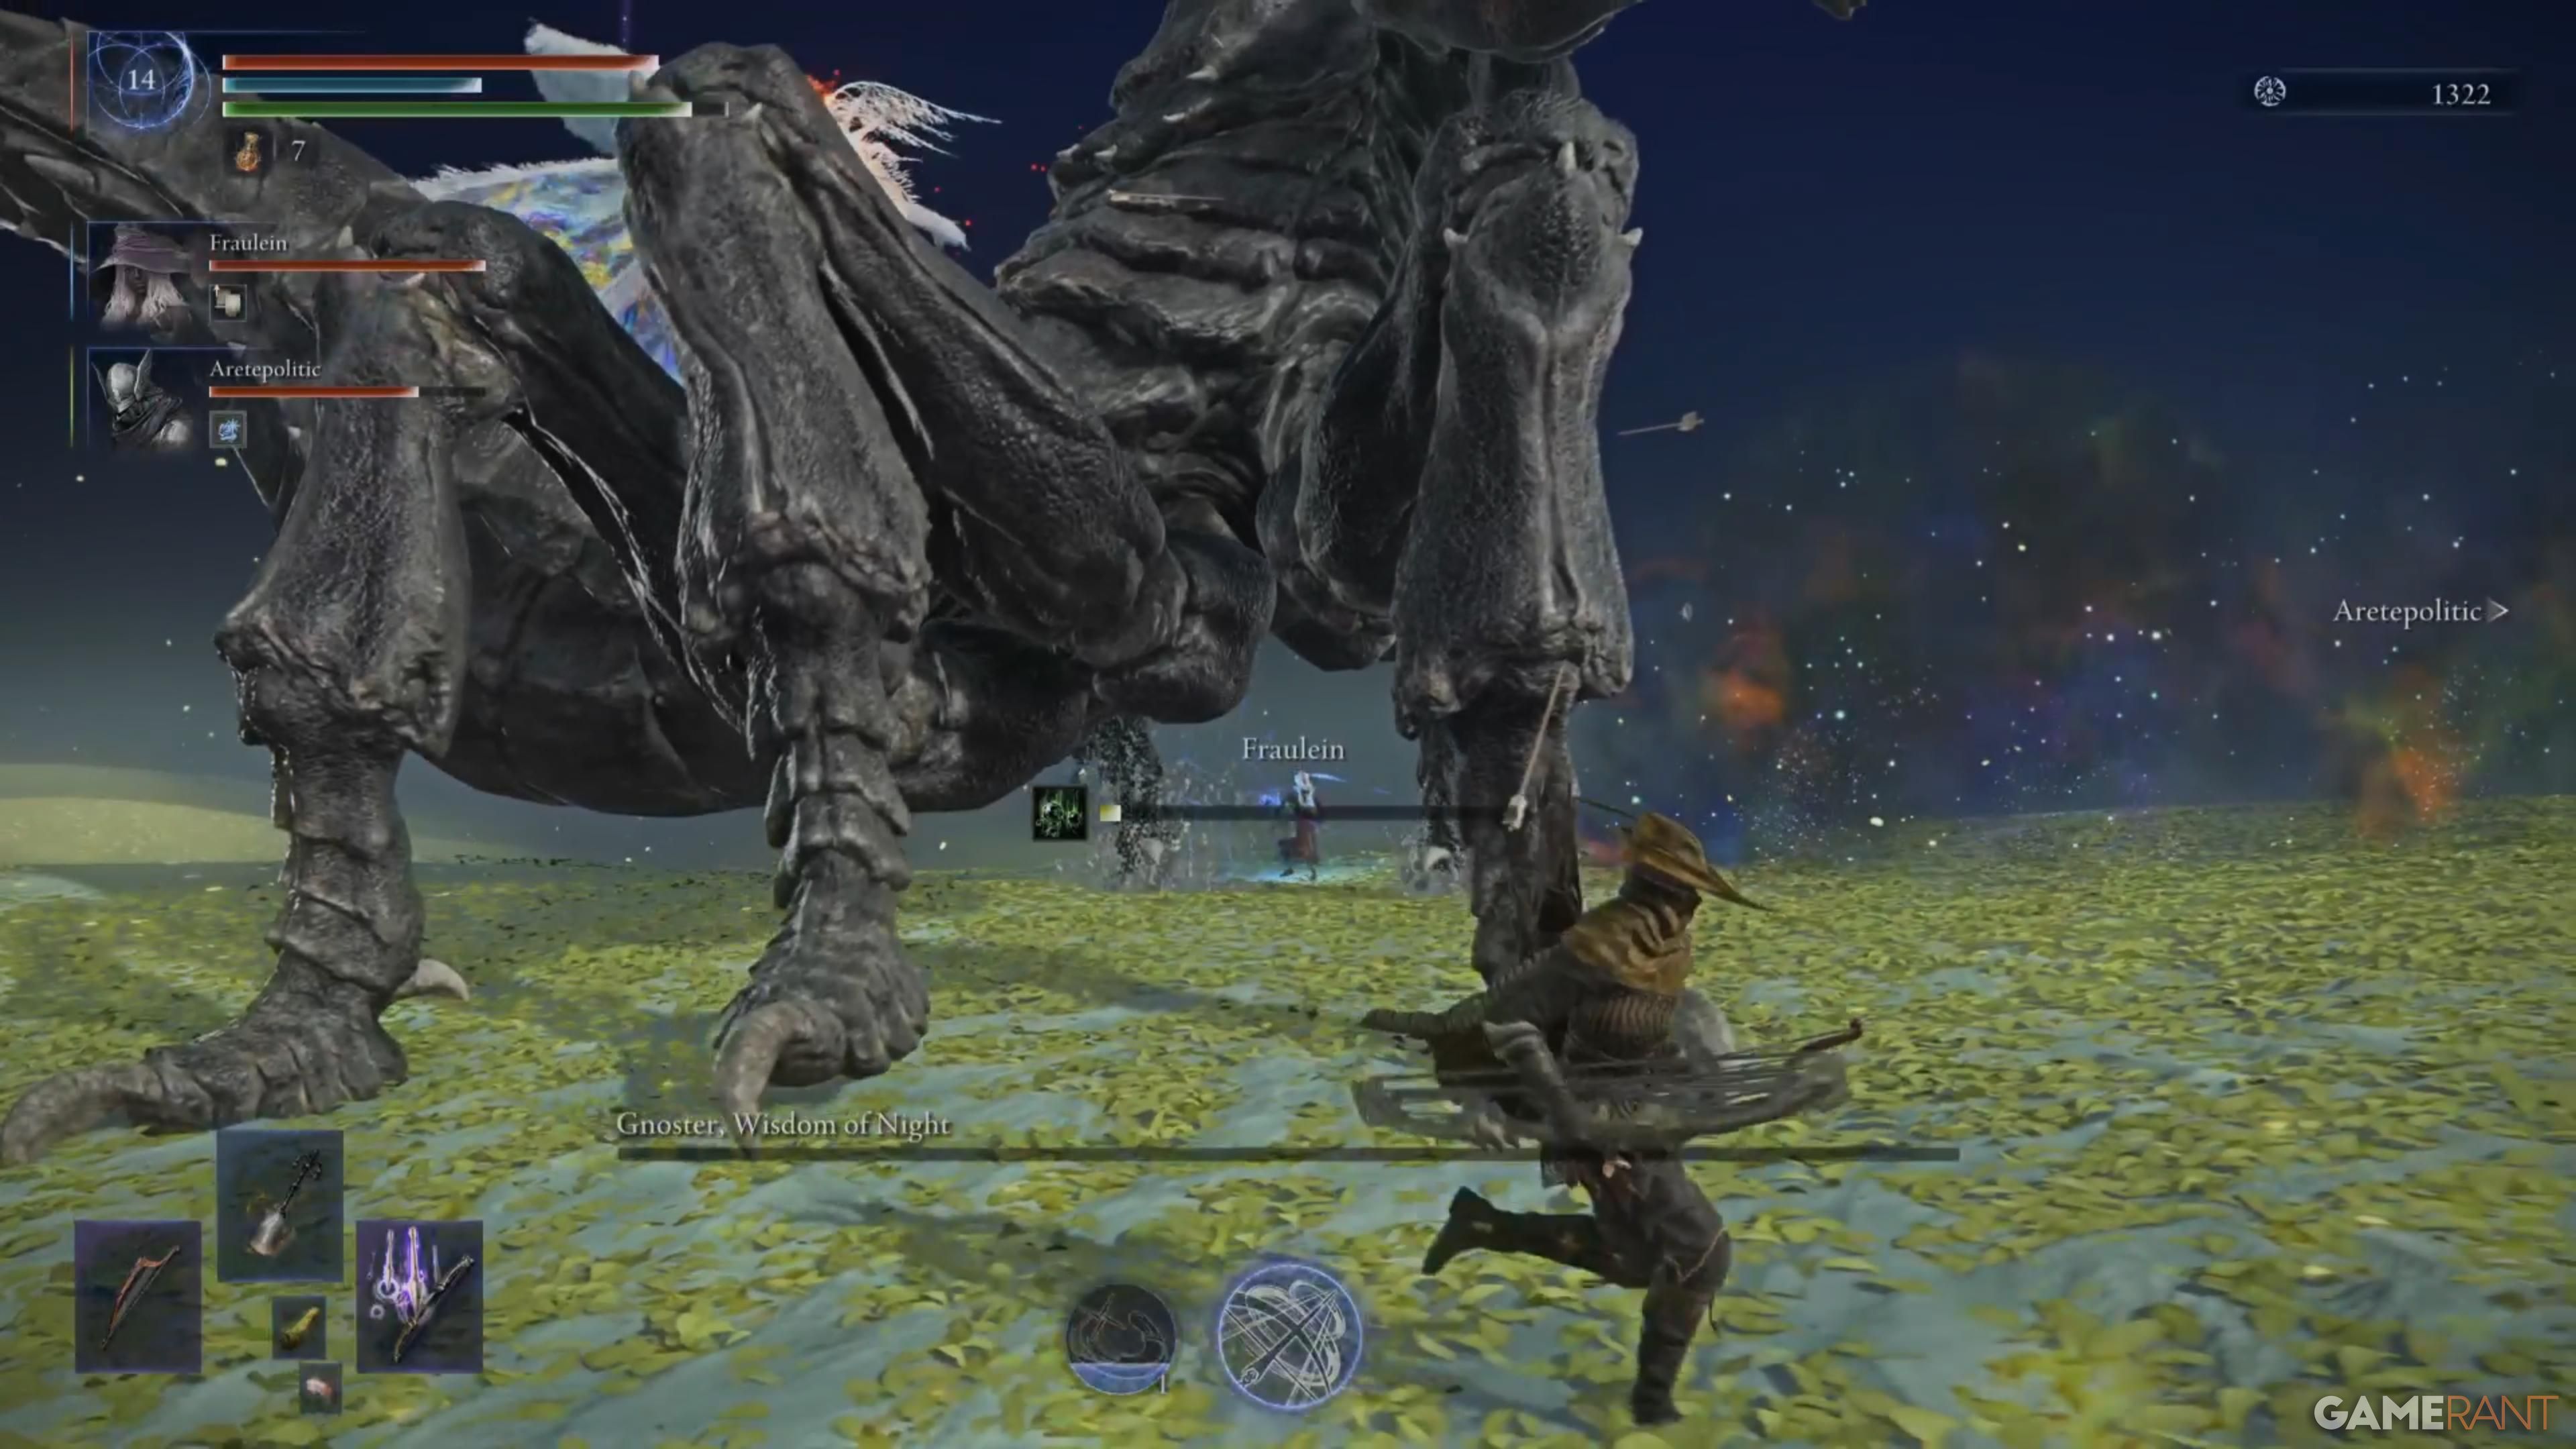 | The Moth creates a poison trail around itself that rapidly increases poison buildup. |
| Phase 3 | ||
| Take Control | 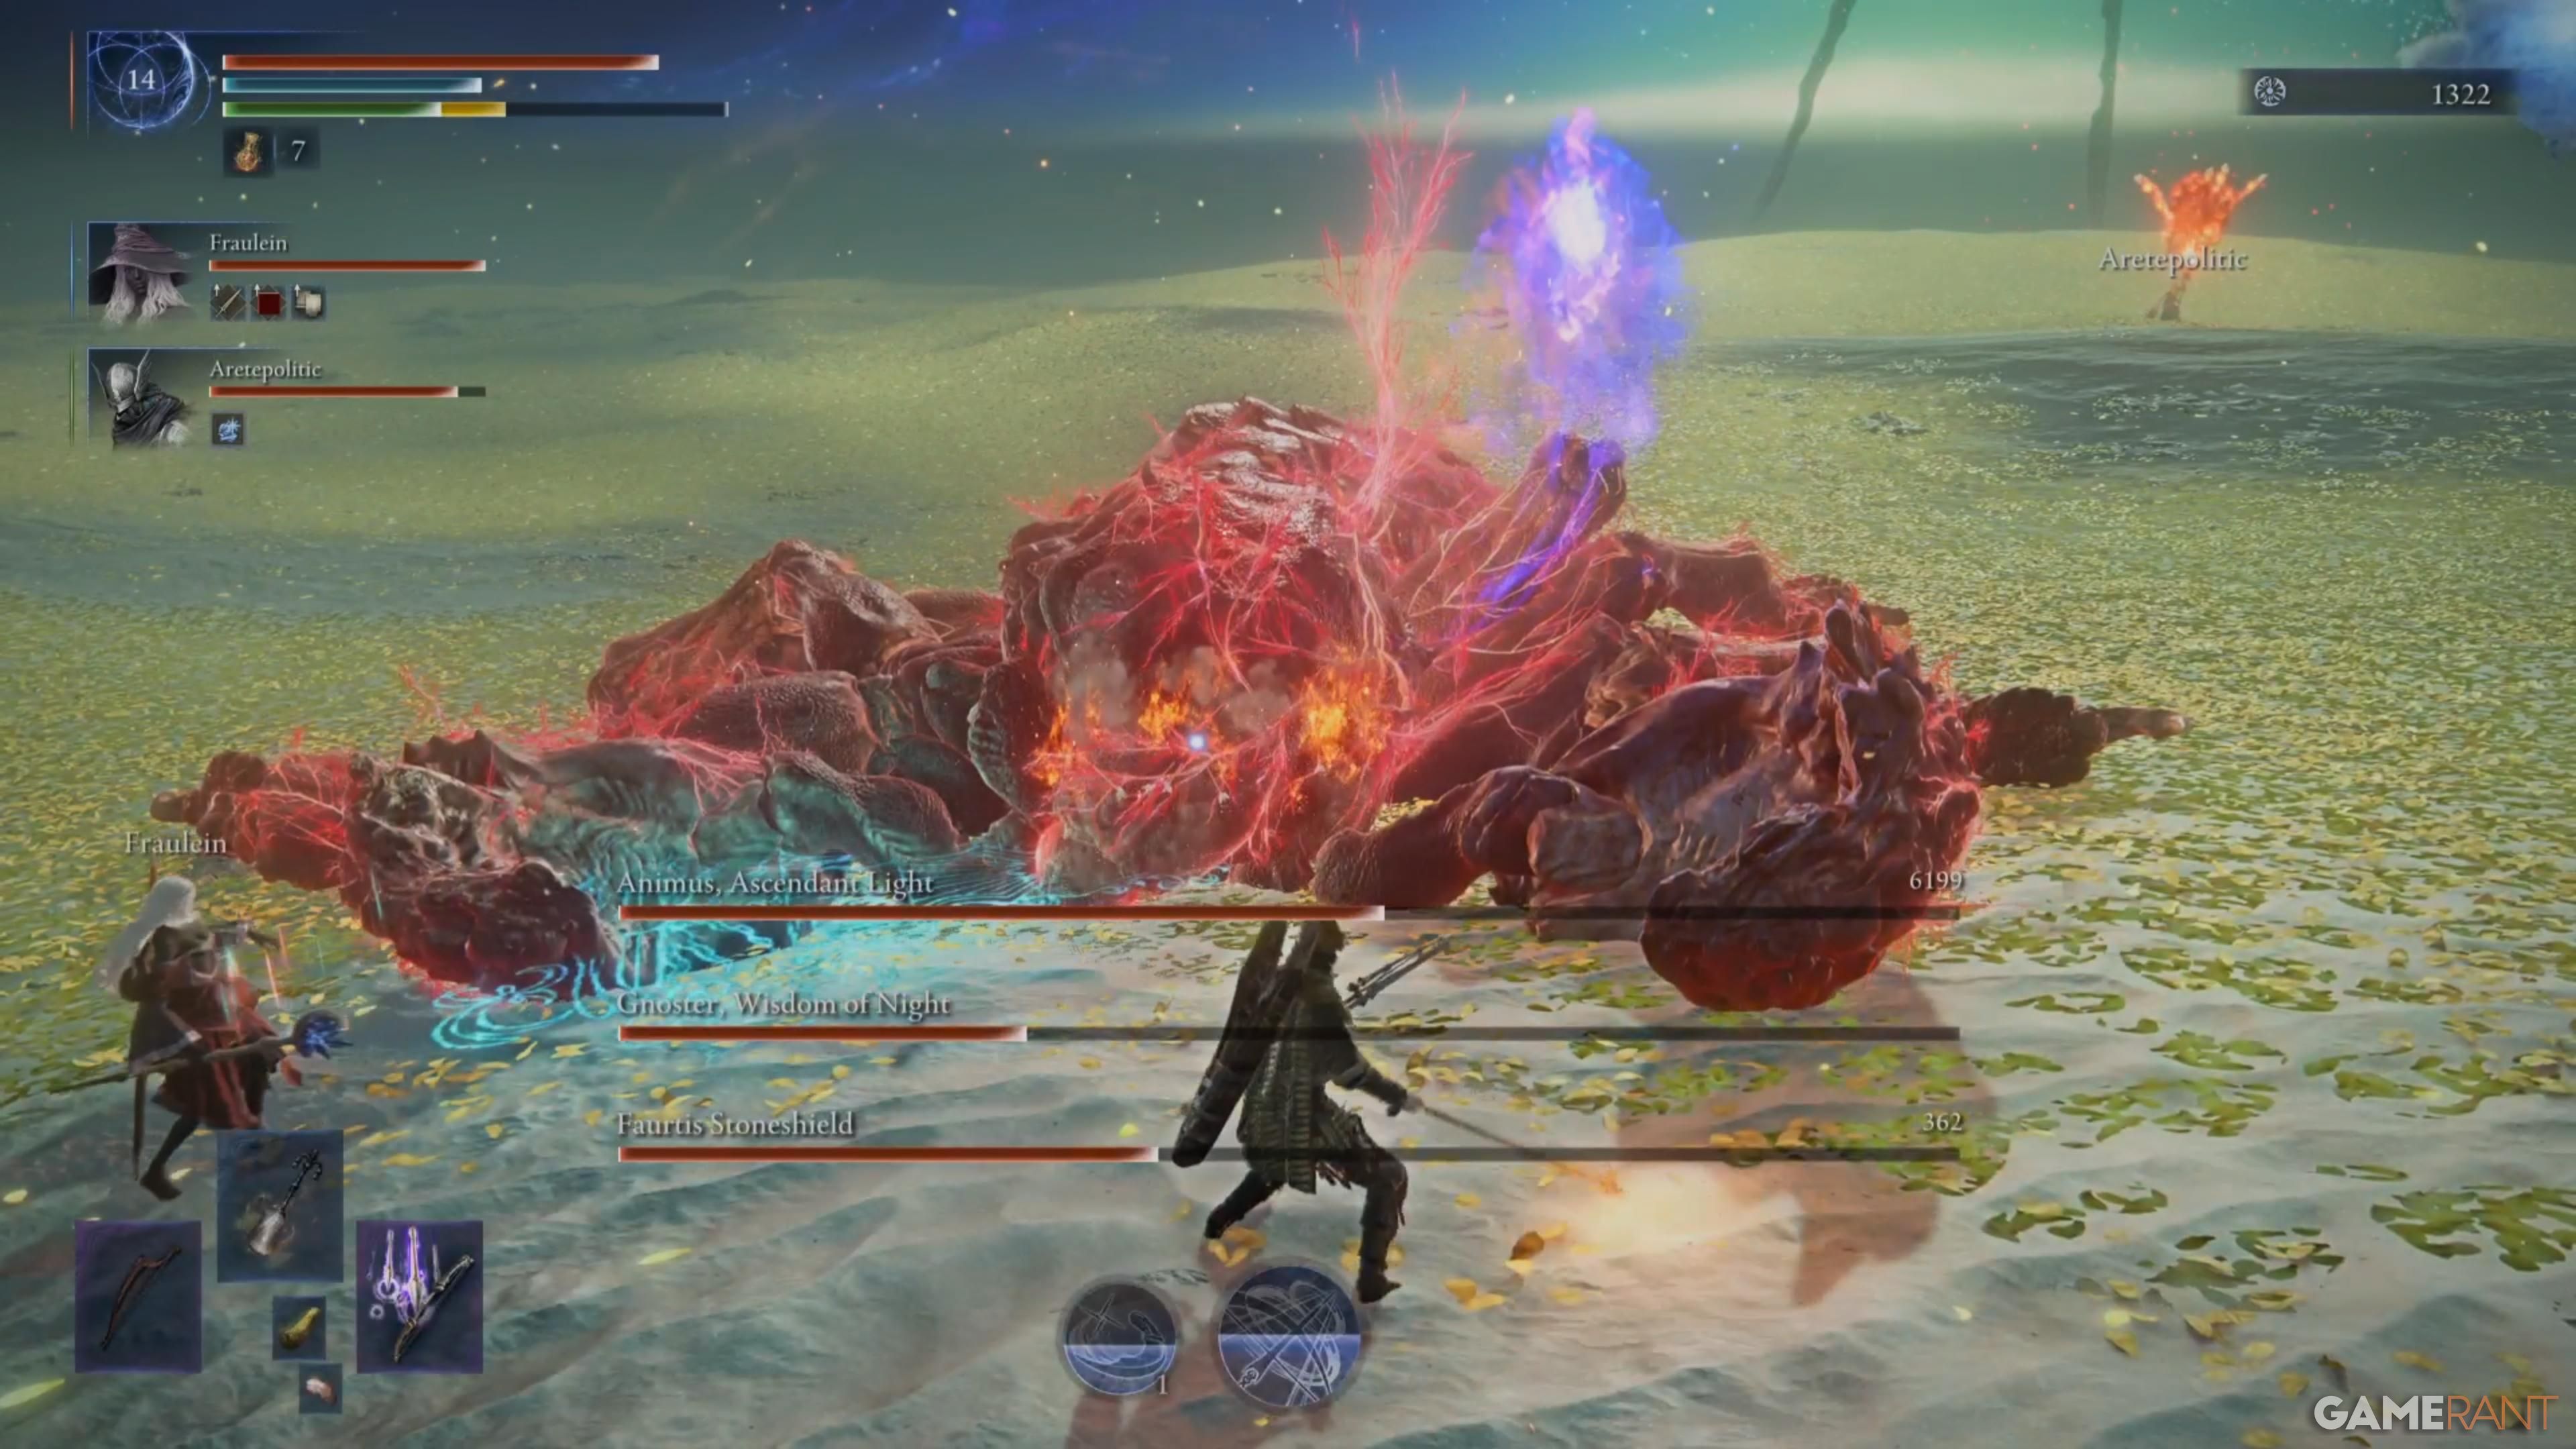 | Animus takes control of whichever boss dies first and revives it with around half its health. |
| Crimson Slam | 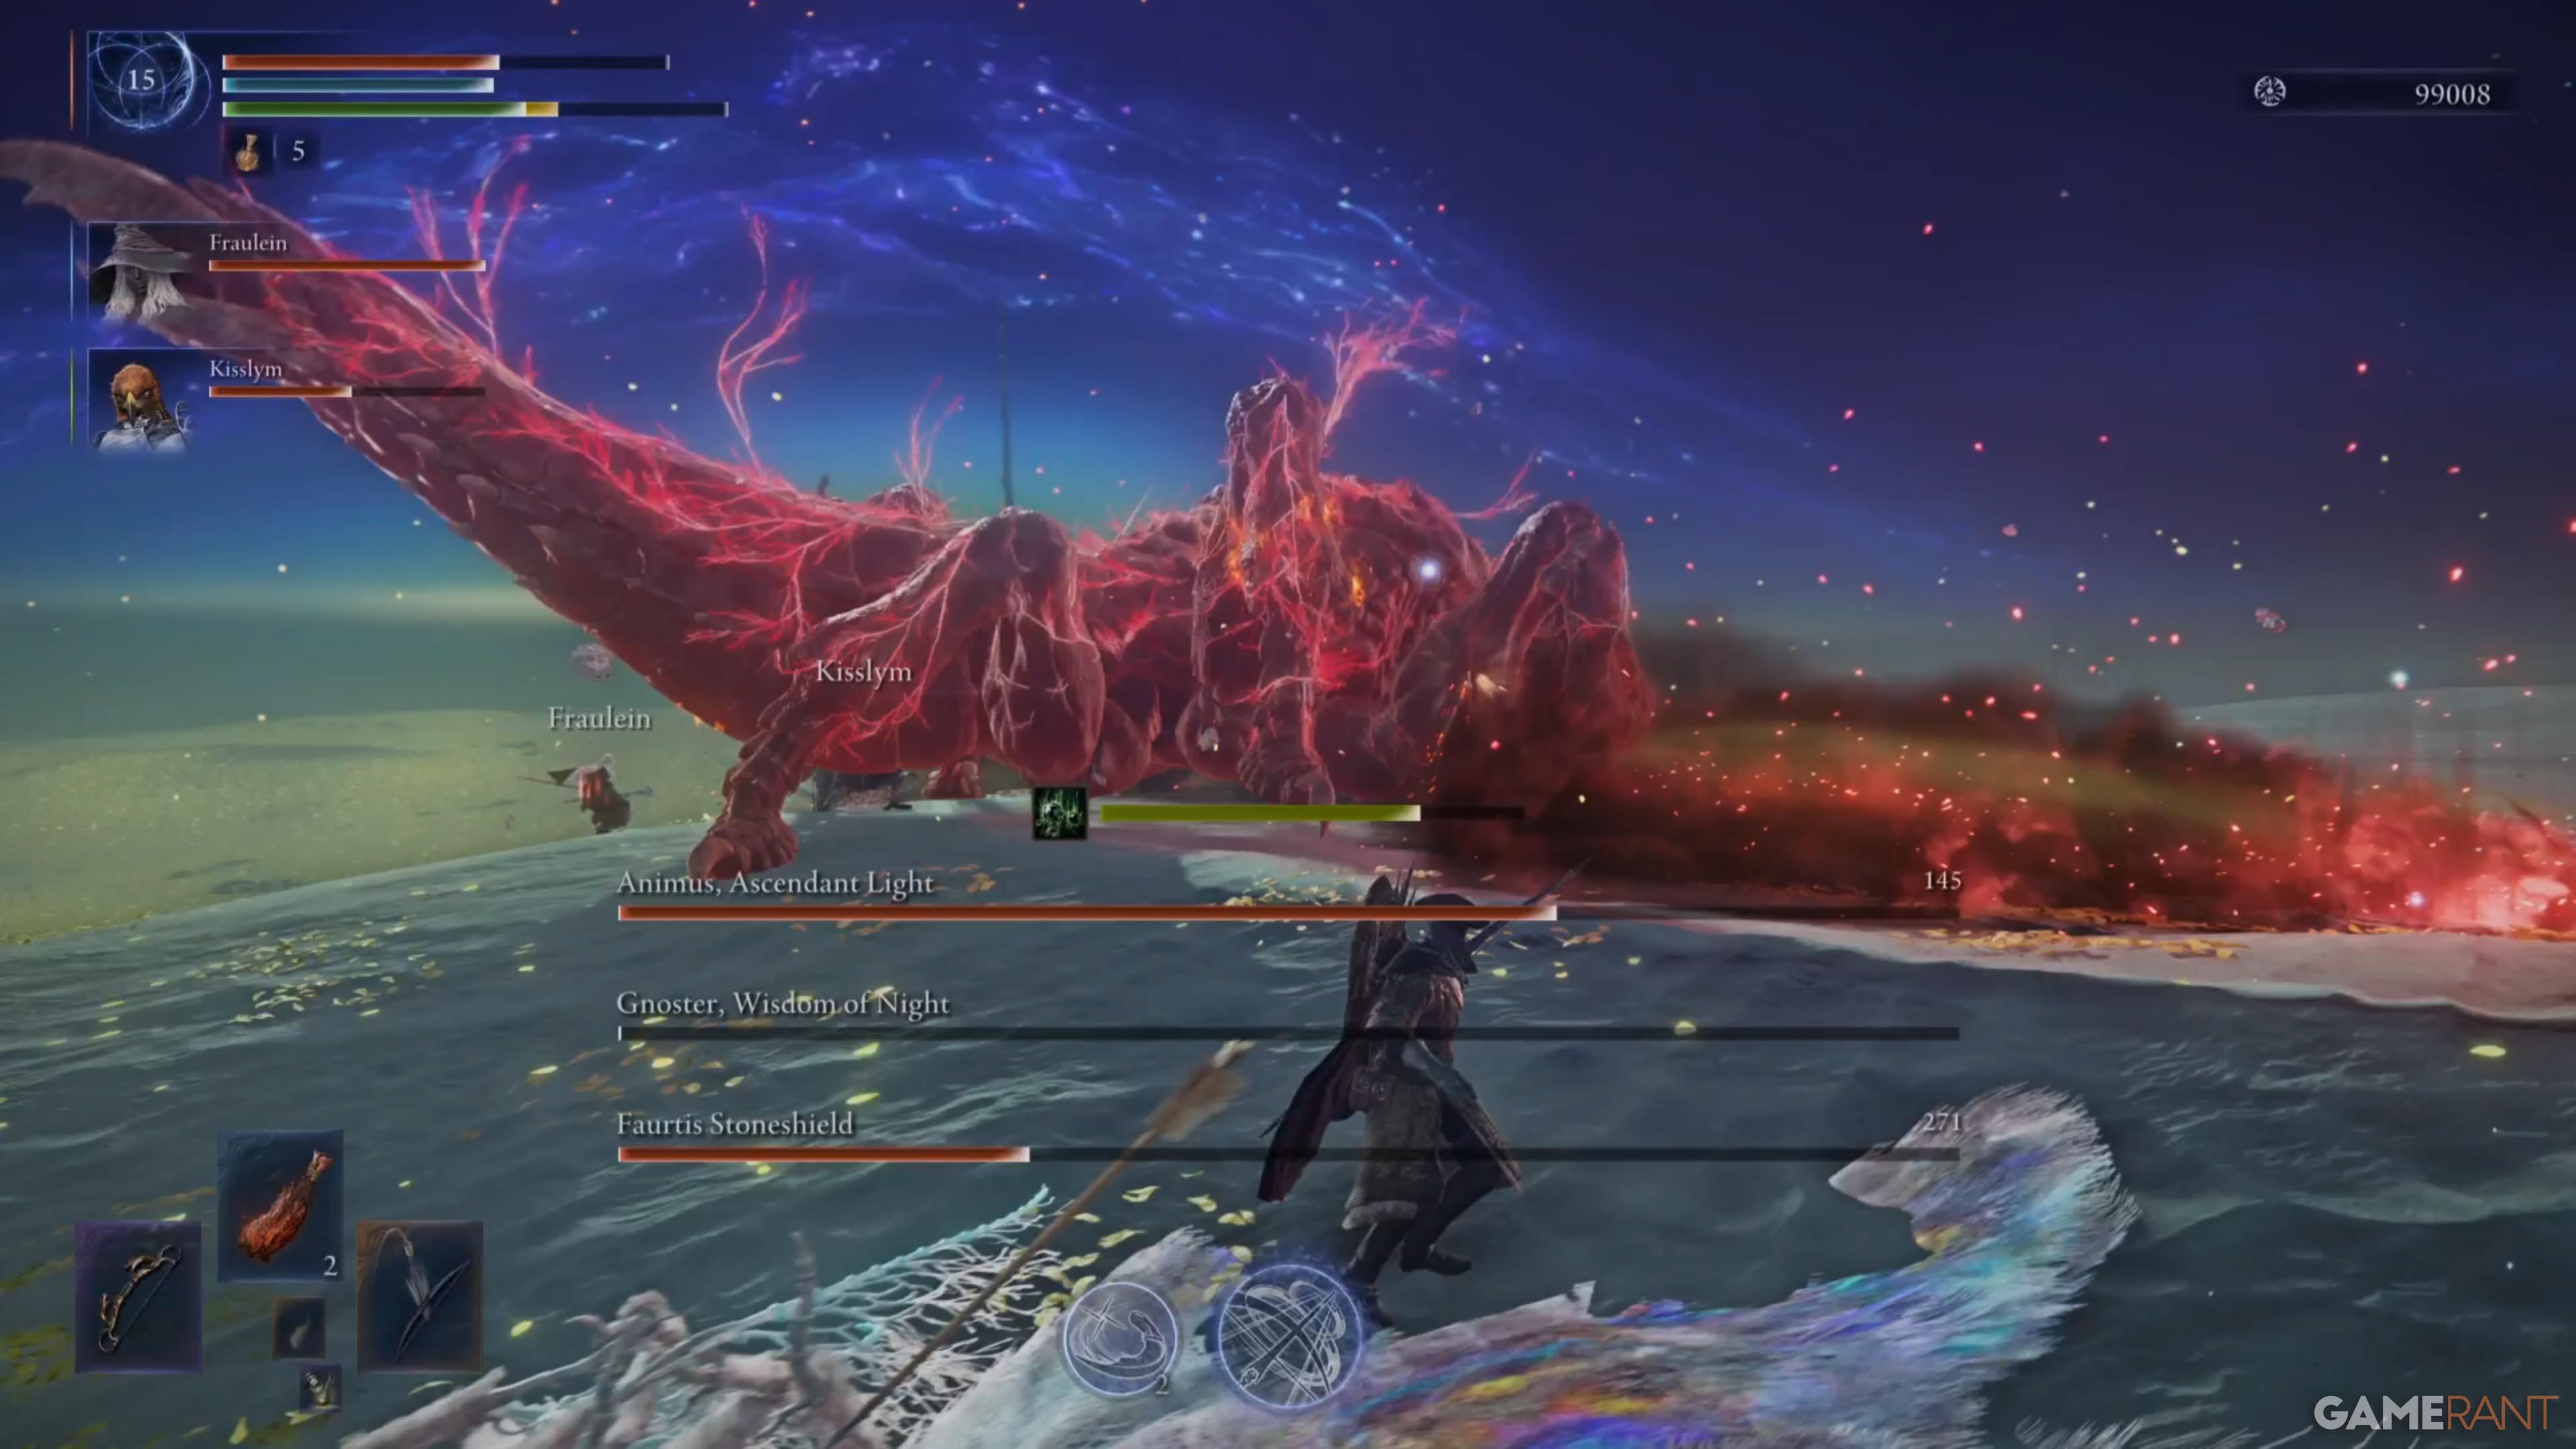 | Possessed Faurtis slams the ground, releasing a red explosion. |
| Crimson Rage | 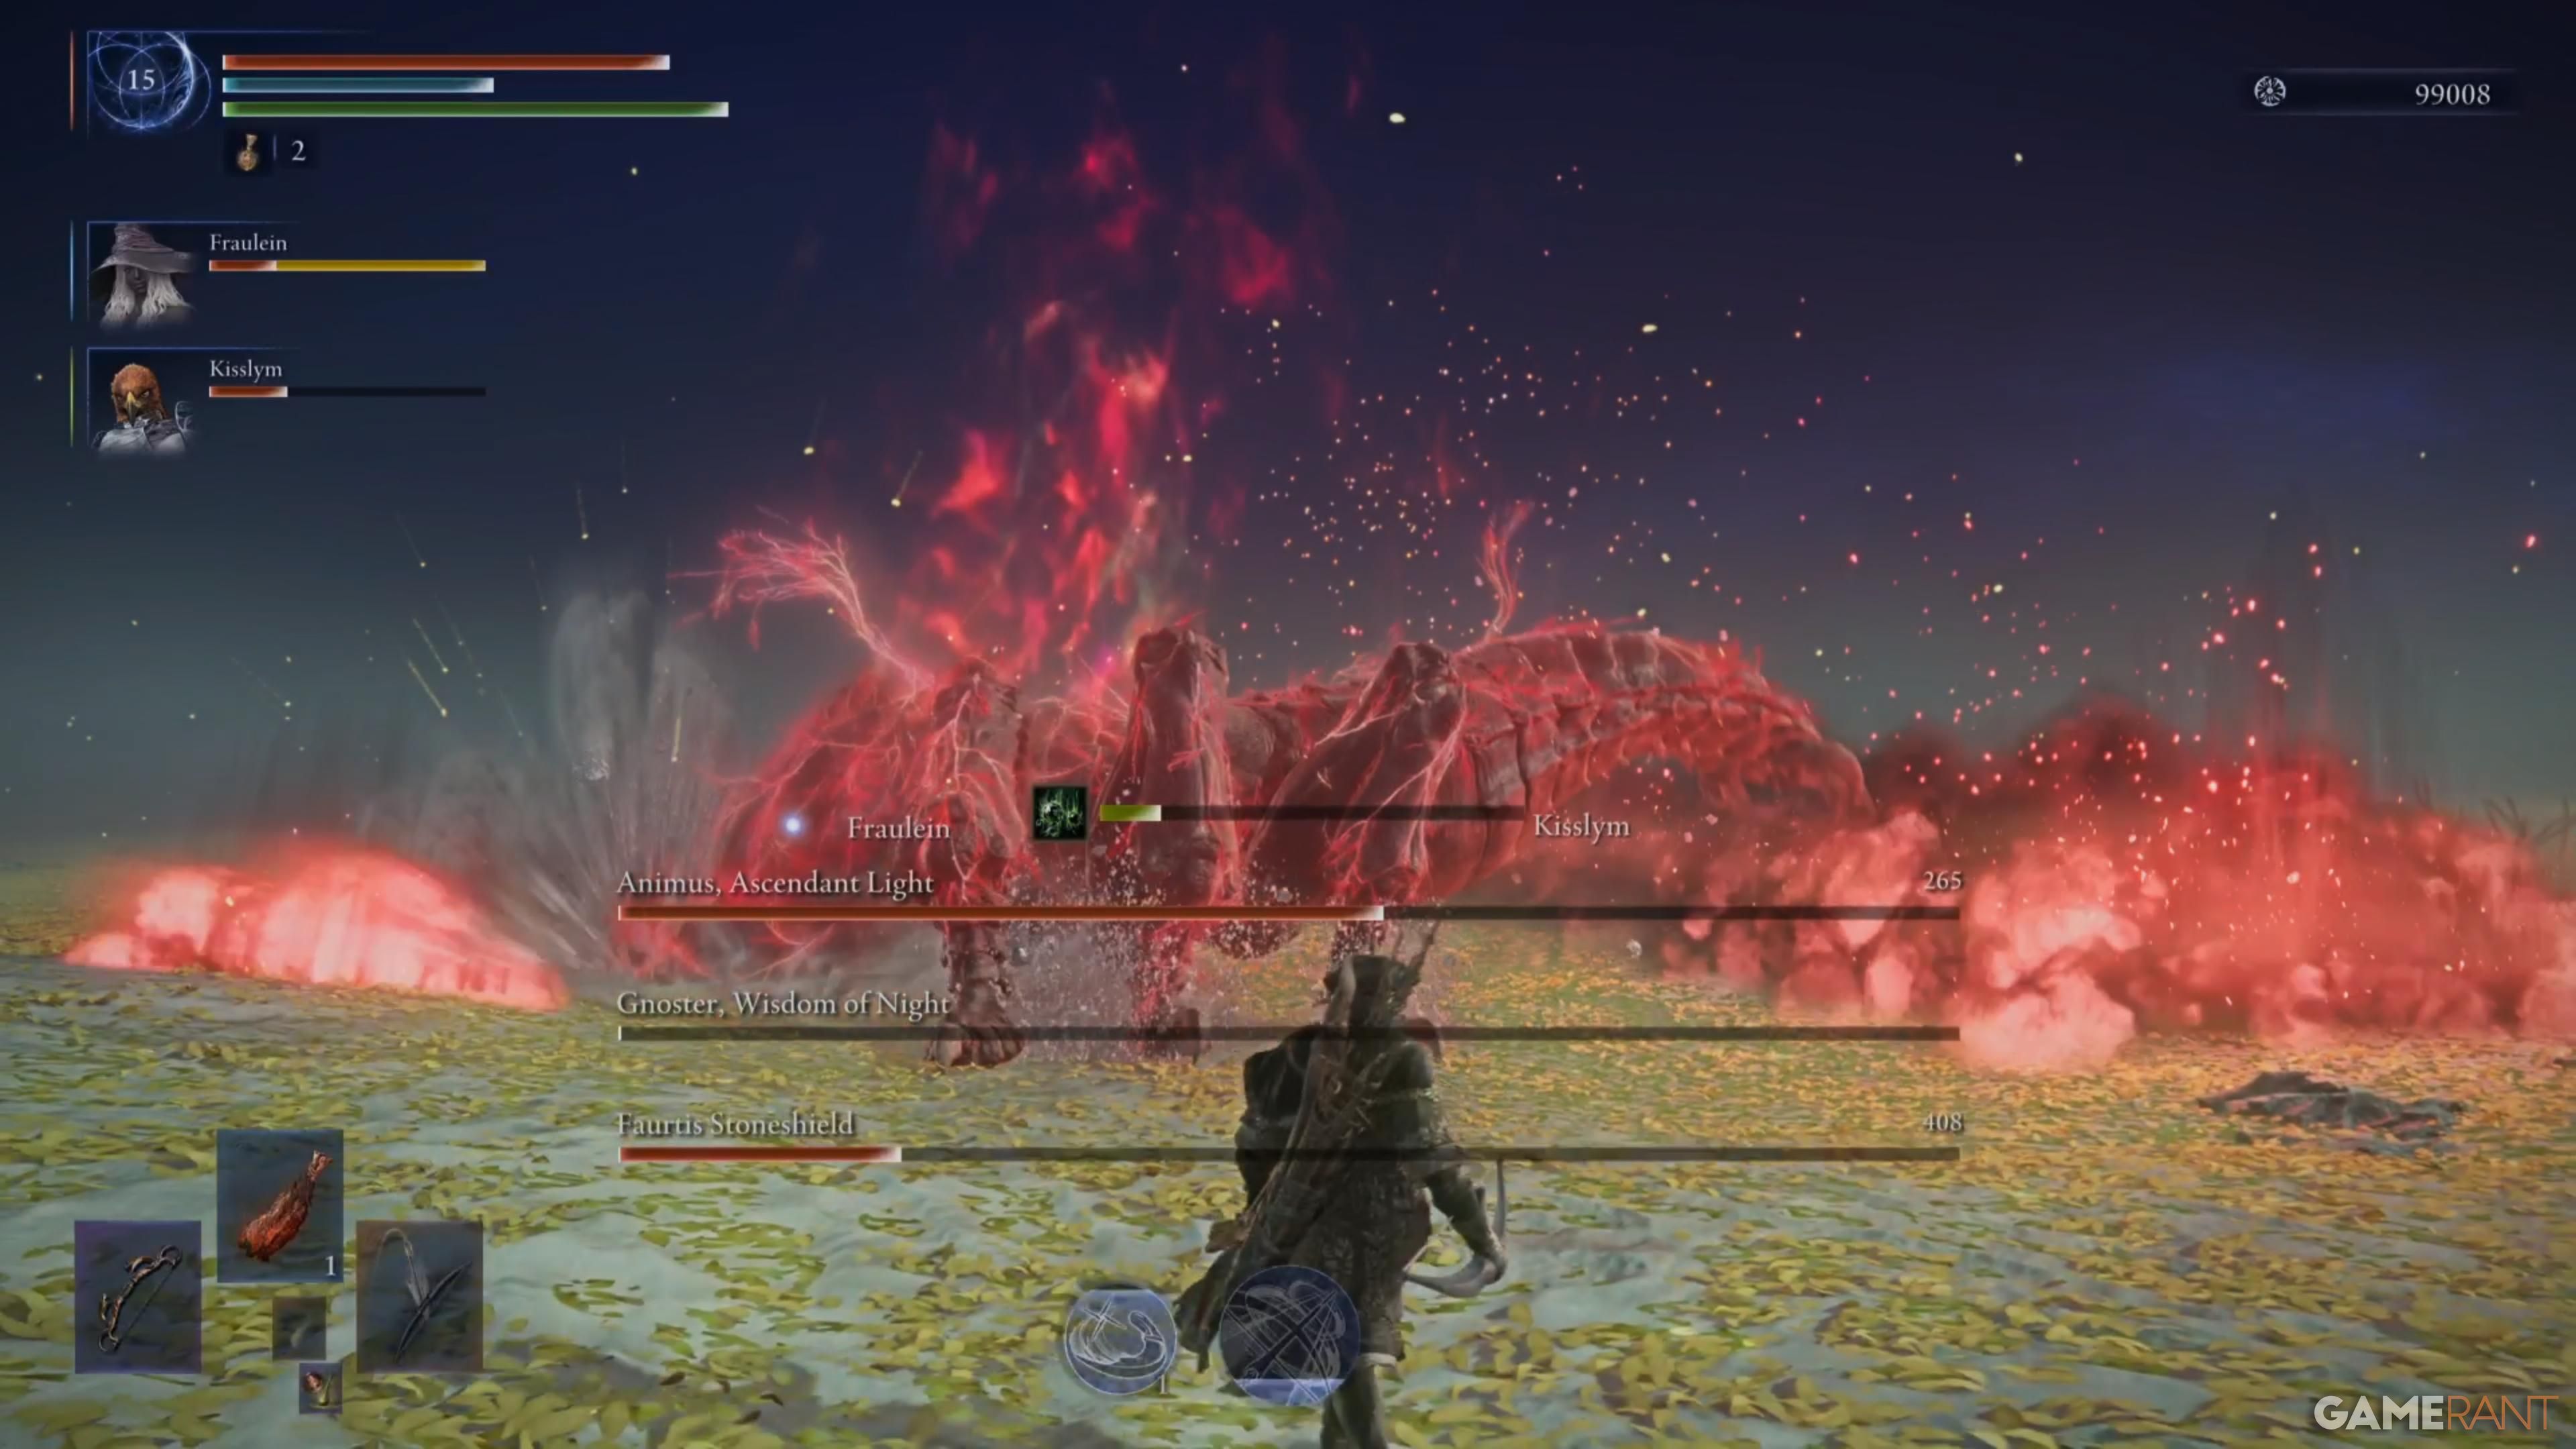 | The boss lets out a shriek, then begins violently slamming the ground, causing explosions to erupt forward. It repeats this a couple of times, lets out another shriek, and follows up with a final slam. |
| Crimson Projectiles | 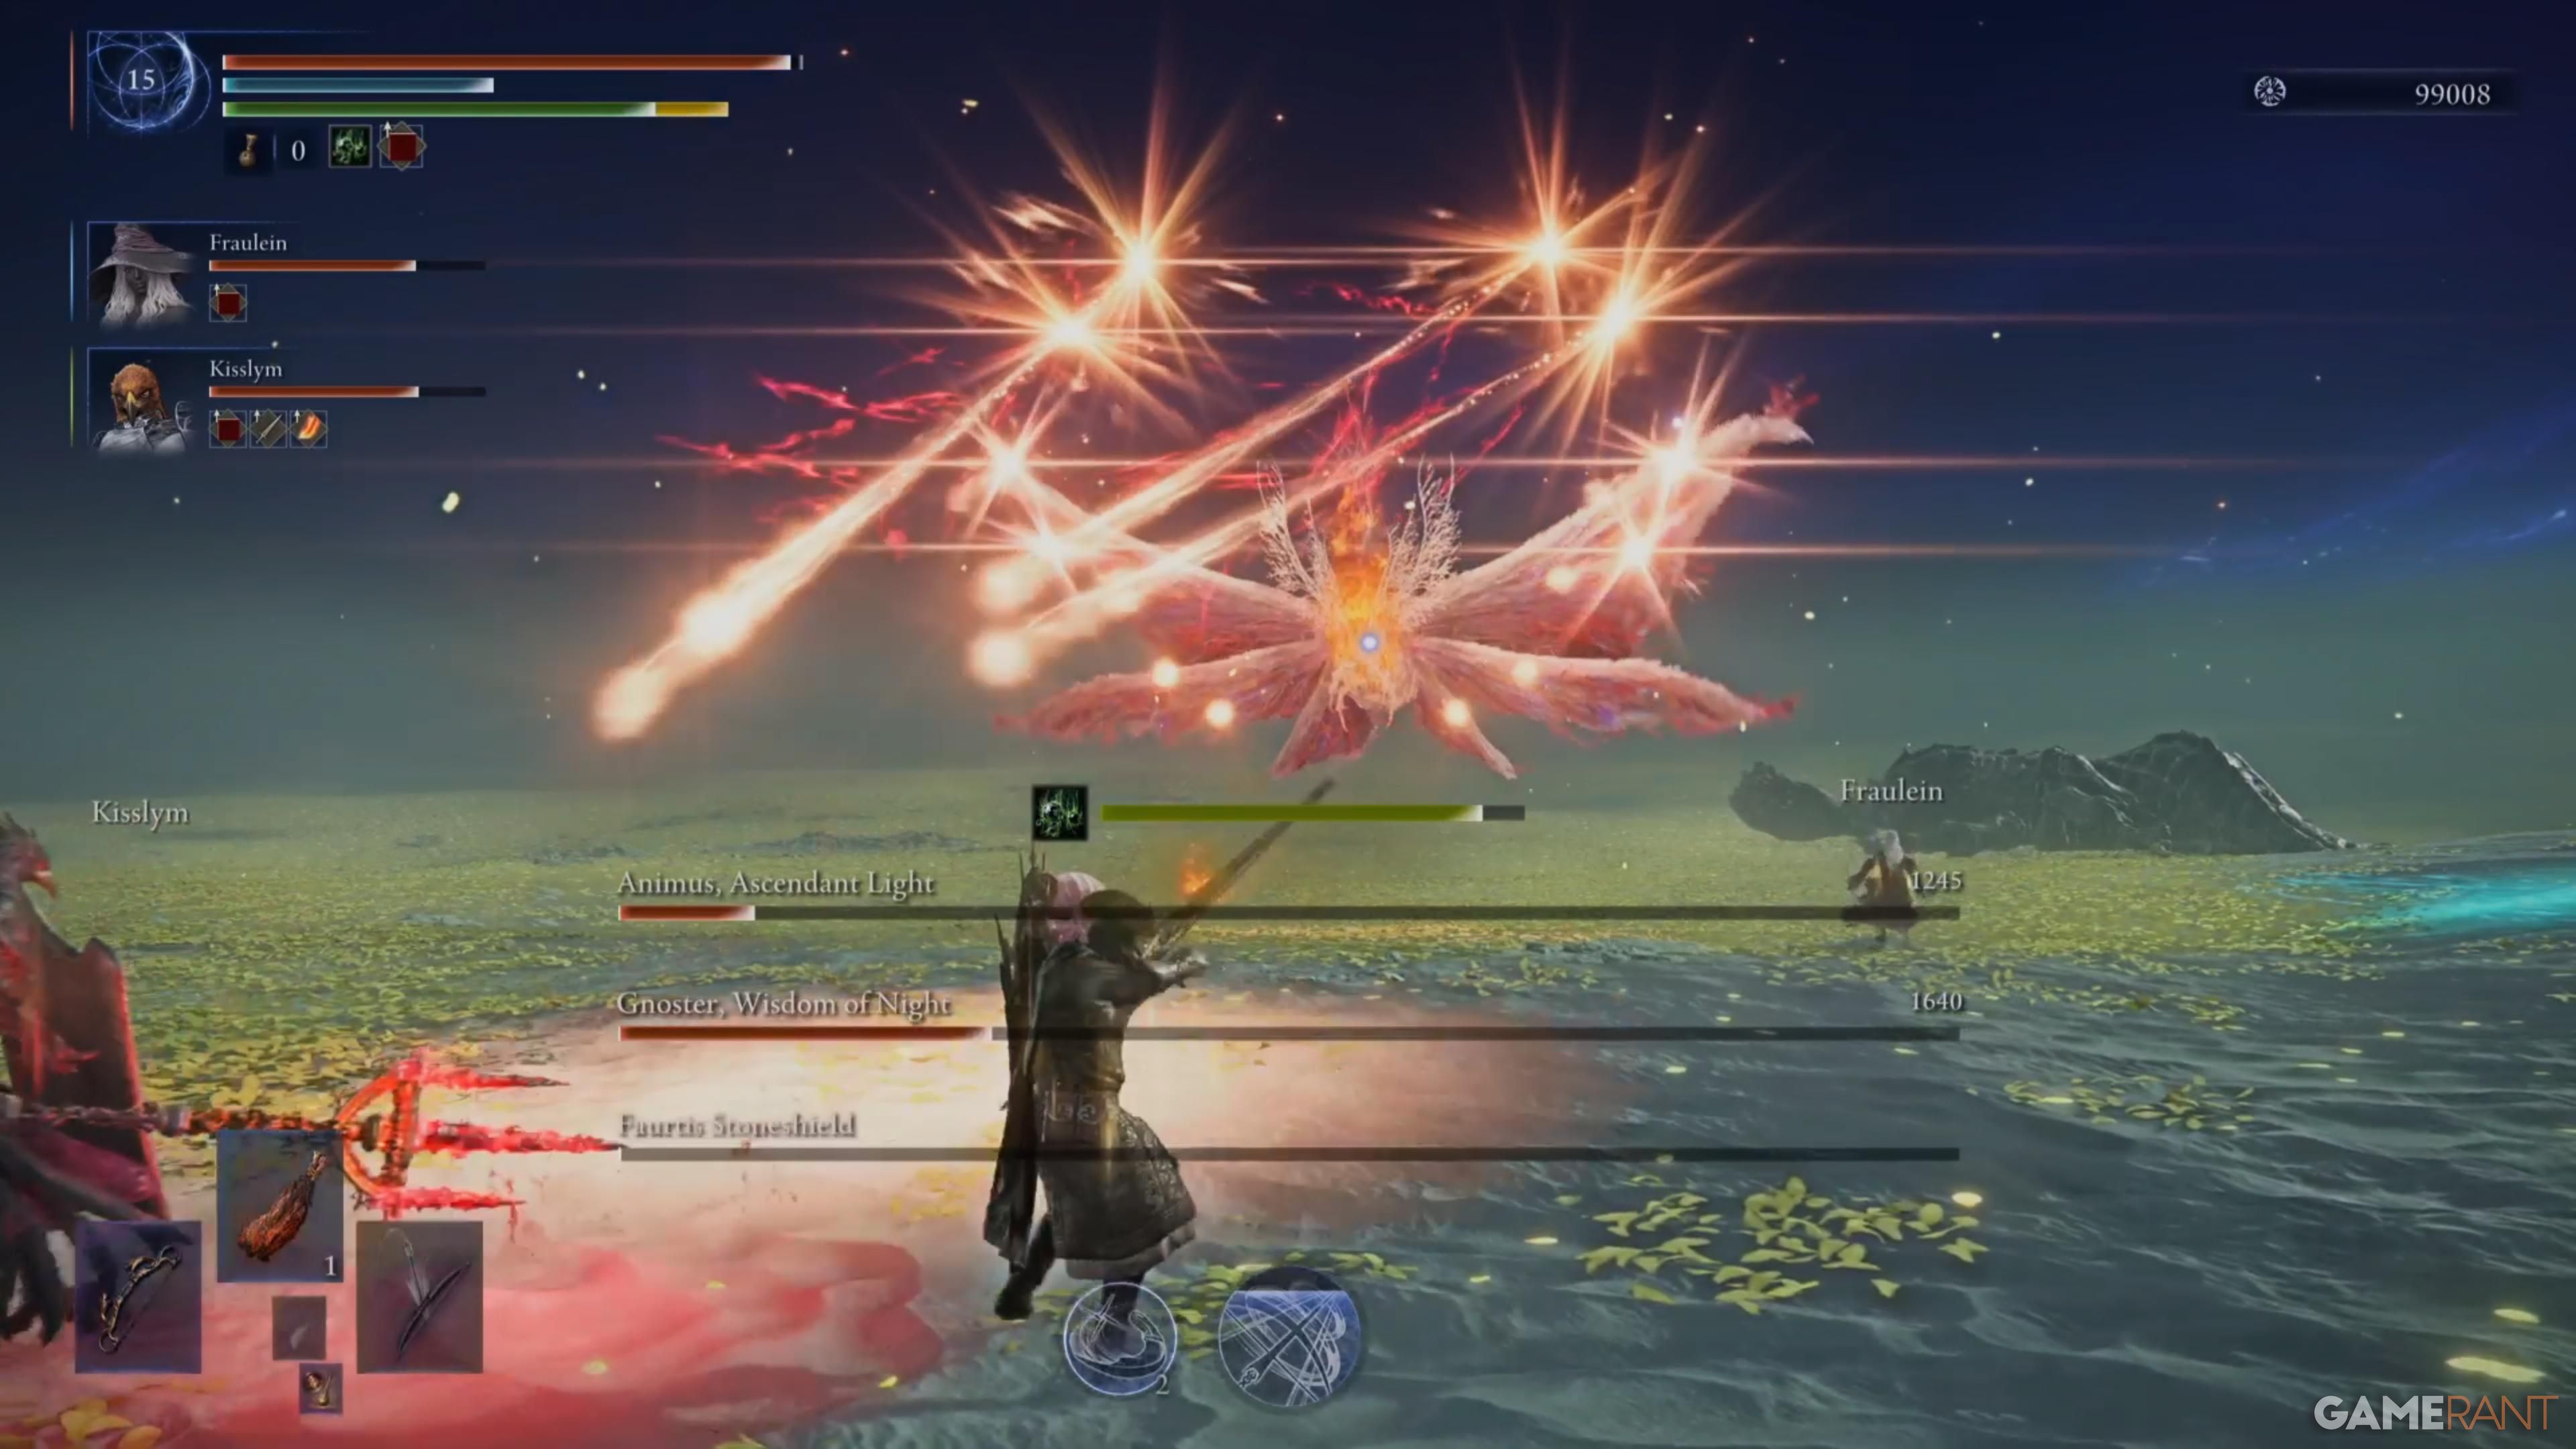 | Possessed Gnoster unleashes multiple projectiles targeting a player’s location. |
| Double Grab | 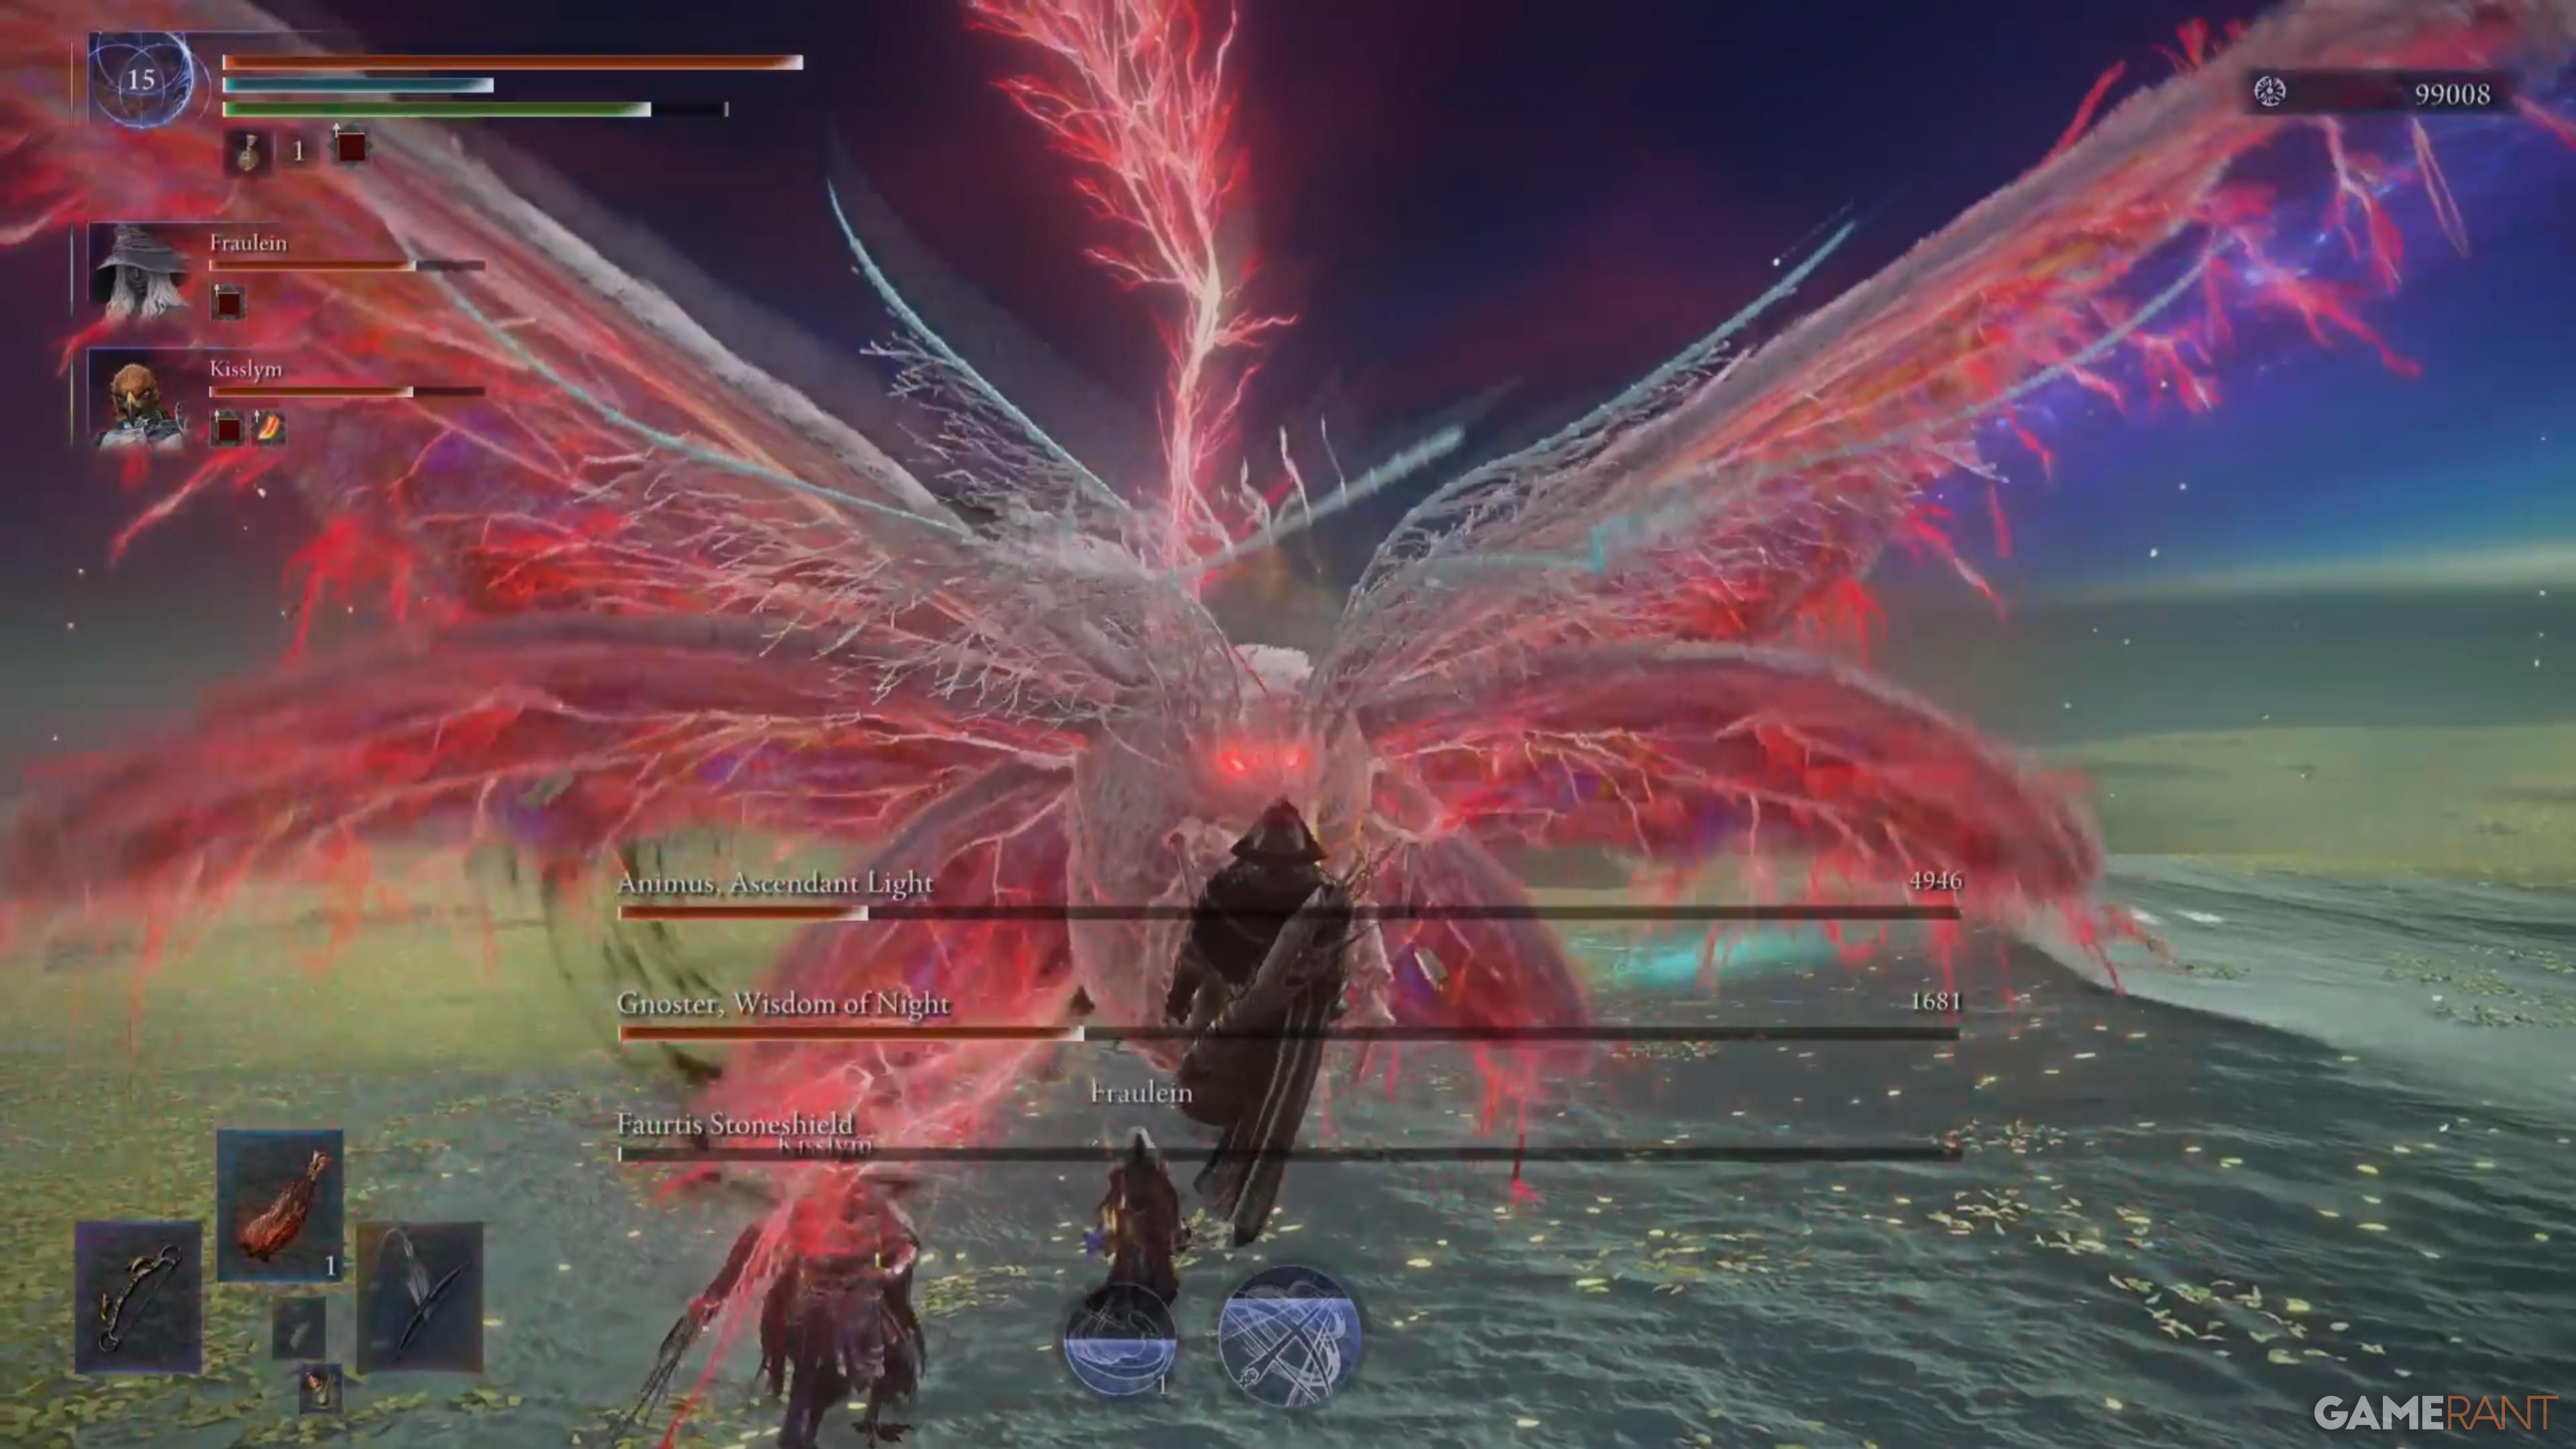 | The boss sways side to side before flying in for a grab, which it can perform twice in a row. |
| Light Rain |  | Possessed Gnoster begins flying rapidly through the air, causing multiple projectiles to rain down from the sky at high speed. This lasts for a few seconds. |
| Crimson Oribital Laser | 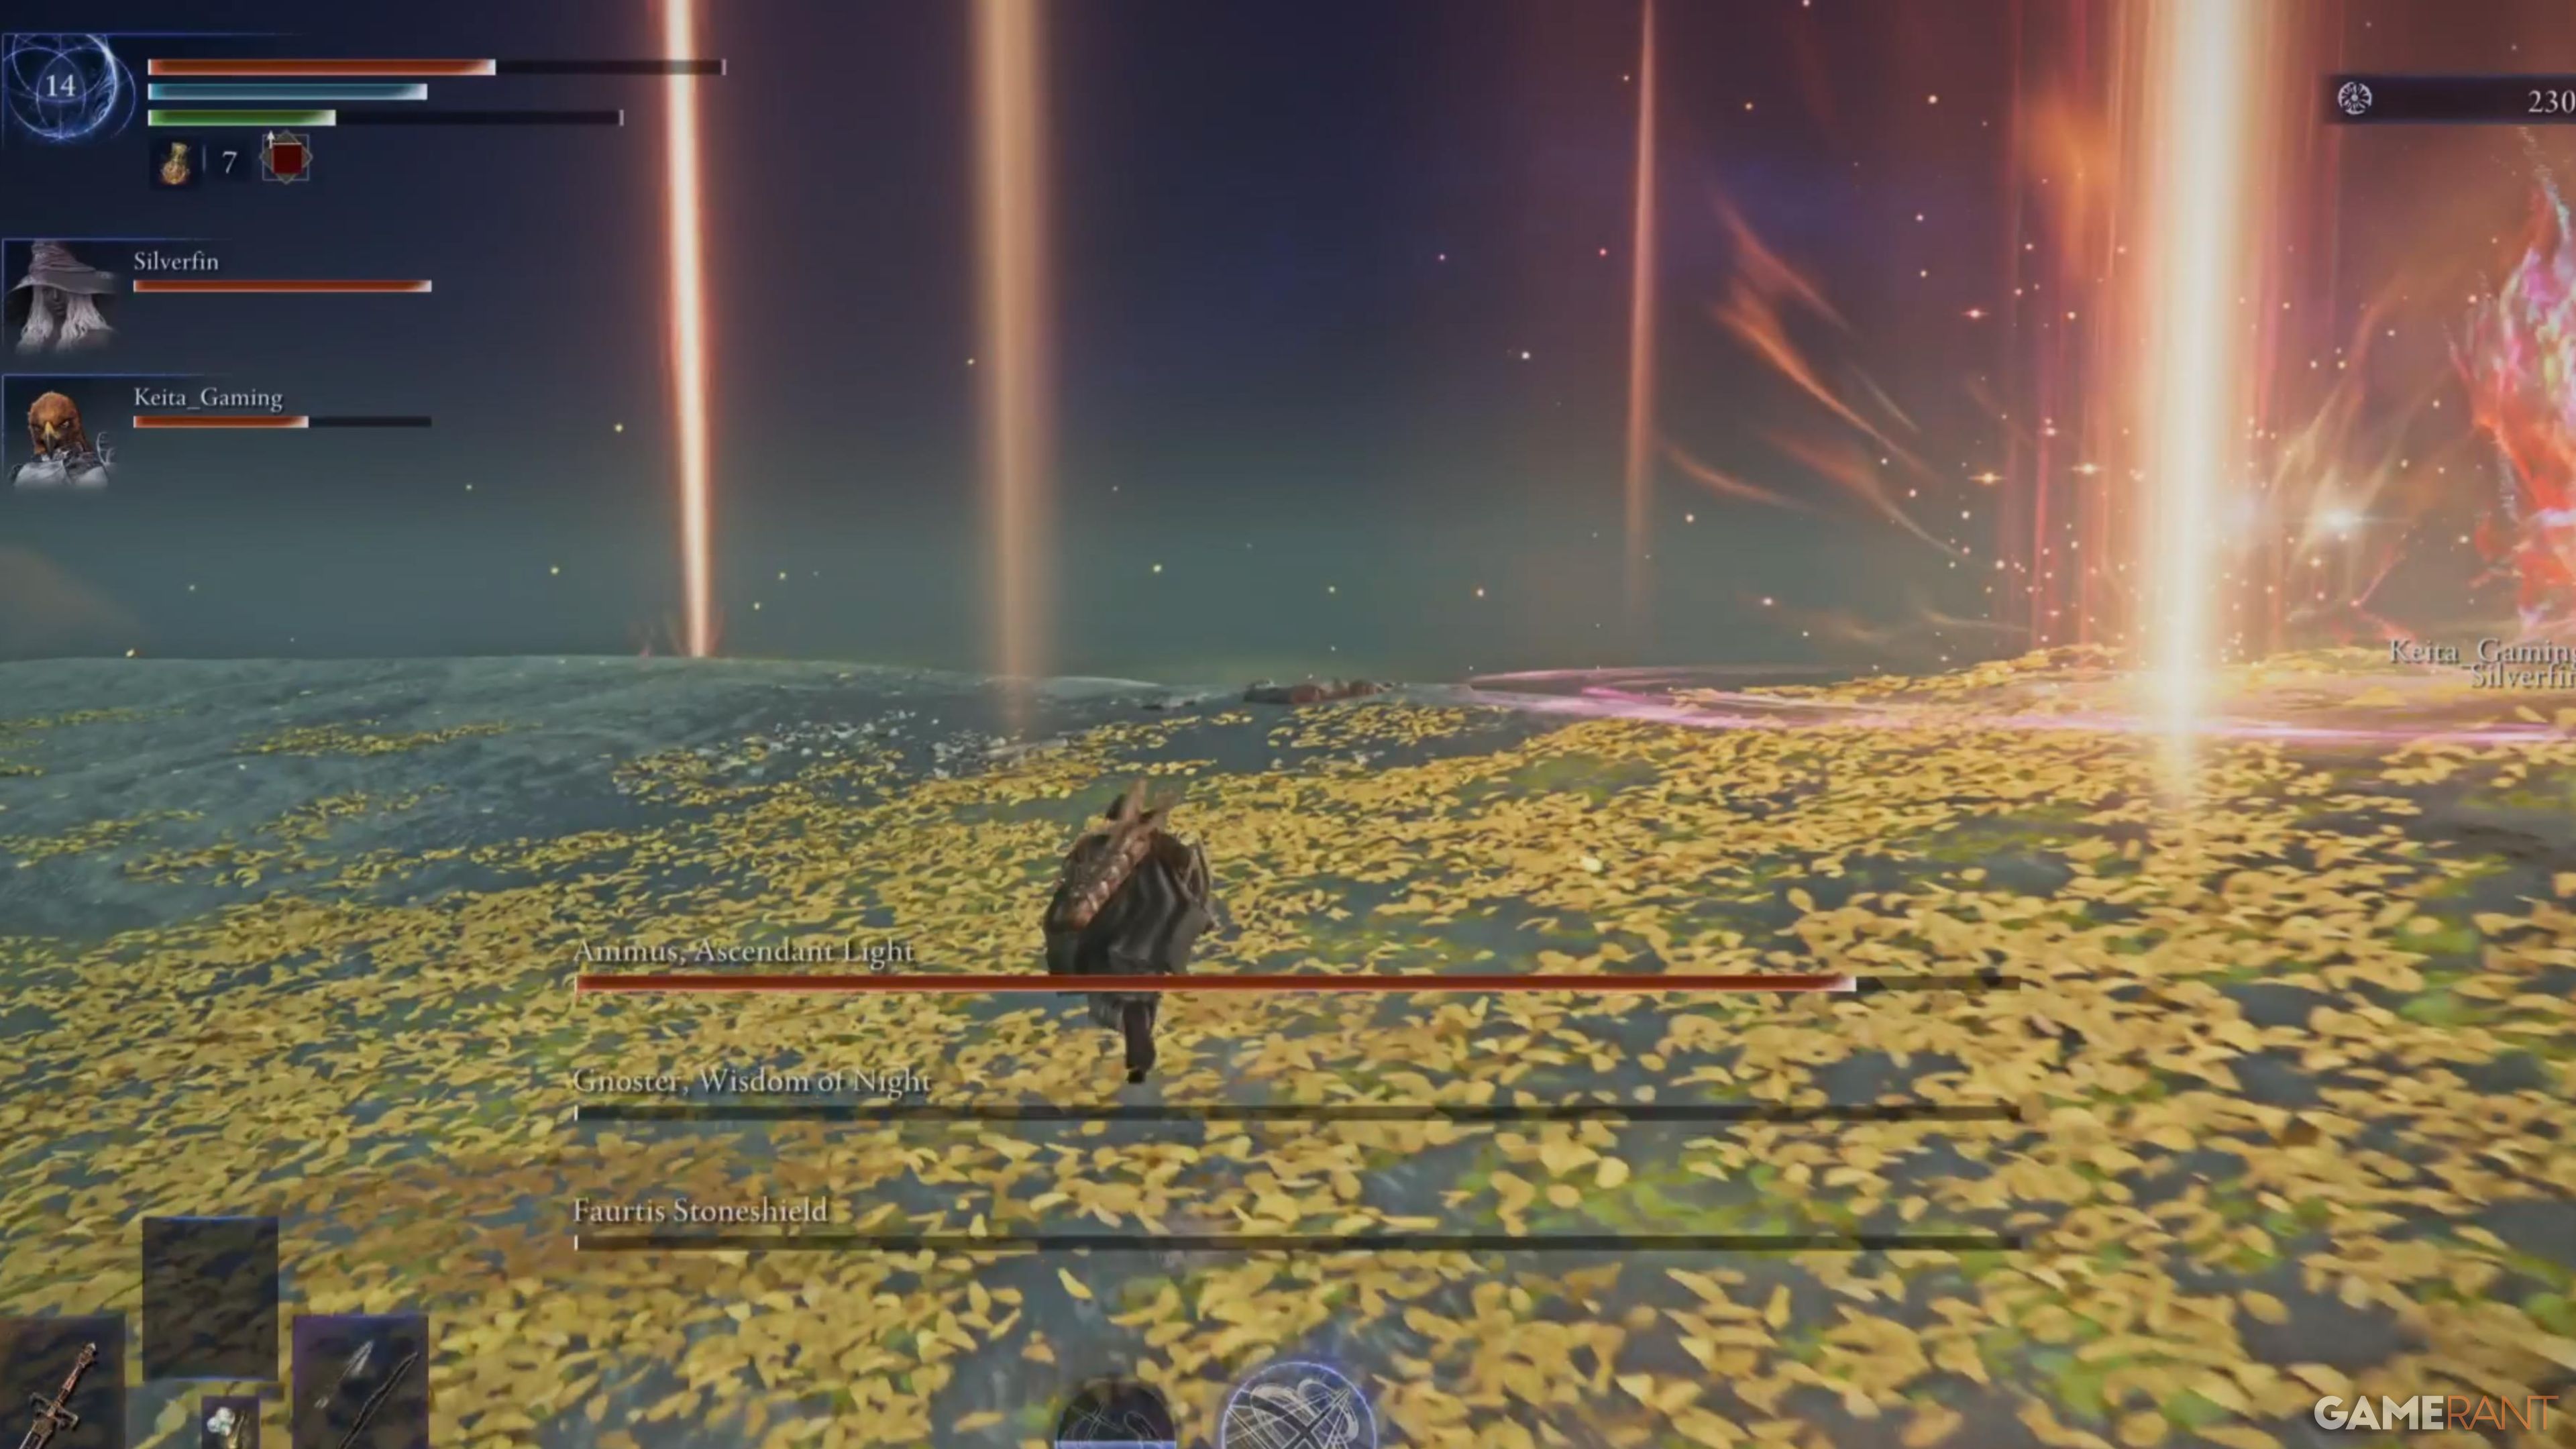 | While possessing no one, Animus begins firing multiple orbital lasers across the entire boss arena. After a few seconds, one massive laser shoots down and persists for a couple of seconds. |
Everdark Sovereign Sentient Pest Weaknesses
Regarding elemental damage, Fire is definitely the most advantageous choice in this case. The bosses exhibit slight vulnerability towards Lightning and Holy, but also have a higher tolerance for Magic. Given that players possess a Recluse in their team, it would be more strategic for her to concentrate on Faurtis rather than Gnoster. Besides Fire, Rot, Bleed, Frost, and Sleep are quite effective against these bosses. Notably, Bleed and Frost are exceptionally potent due to the additional damage they cause, which a Duchess can exploit if her ability is prepared.
Obtaining fire-based weapons isn’t particularly challenging since there are numerous camps and larger religious institutions where bosses may drop them as loot. If your weapon already has an initial fire effect, consider altering the Shifting Earth event to Crater for the opportunity to upgrade it to Legendary status.
In a battle, if you come across a weapon marked as “Equip passive,” which boosts your attacks to inflict fire damage, remember to equip it on your secondary hand (off-hand) instead of the main hand, even when you don’t intend to actively use it during the fight.
Another option is choosing the Rotted Woods event, as it provides a considerable possibility of acquiring a Rot weapon from the numerous bosses or the fortress itself.
How To Beat Everdark Sovereign Sentient Pest
Counters, Team Comps, & Best Strategies For Sentient Pest (Everdark Sovereign)
The second phase of both Everdark Sovereign fights and the encounter with Sentient Pest introduce increased danger, escalating the intensity of their attacks, thus making the battles harder and occasionally challenging to manage effectively.
Phase Two Strategy
The initial stage of our battle mirrors the second part of Gnoster’s original encounter, but here, the boss starts with a full health bar instead of starting at half. At the start of the fight, the boss circles the arena, zeroing in on one player specifically. Faurtis takes care of the circling maneuver while Gnoster repeatedly attacks the singled-out player with projectiles. Following a few laps, the boss smashes the ground, causing a massive explosion of rocks. It’s essential to dodge this event, as it inflicts significant damage and exposes you to subsequent attacks.
By remaining near the boss, it may thrust its body towards that side, so be cautious and try not to get too aggressive with your attacks. This move is quite predictable, so keep an eye out for it.
One of the boss’s most lethal actions is the orbital laser. It starts by emitting a faint light over a player, which is followed by a continuous laser beam that persists for several seconds.
This attack can drastically reduce your health bar in a short amount of time, compelling you to concentrate solely on evading it.
Nightfarers armed with ranged weapons or fire-focused abilities should primarily aim to inflict damage on Gnoster during combat. Given that Gnoster has limited health in the initial phase, if you have a robust setup, you might not encounter many of its attacks before it is defeated.
Phase Three Strategy
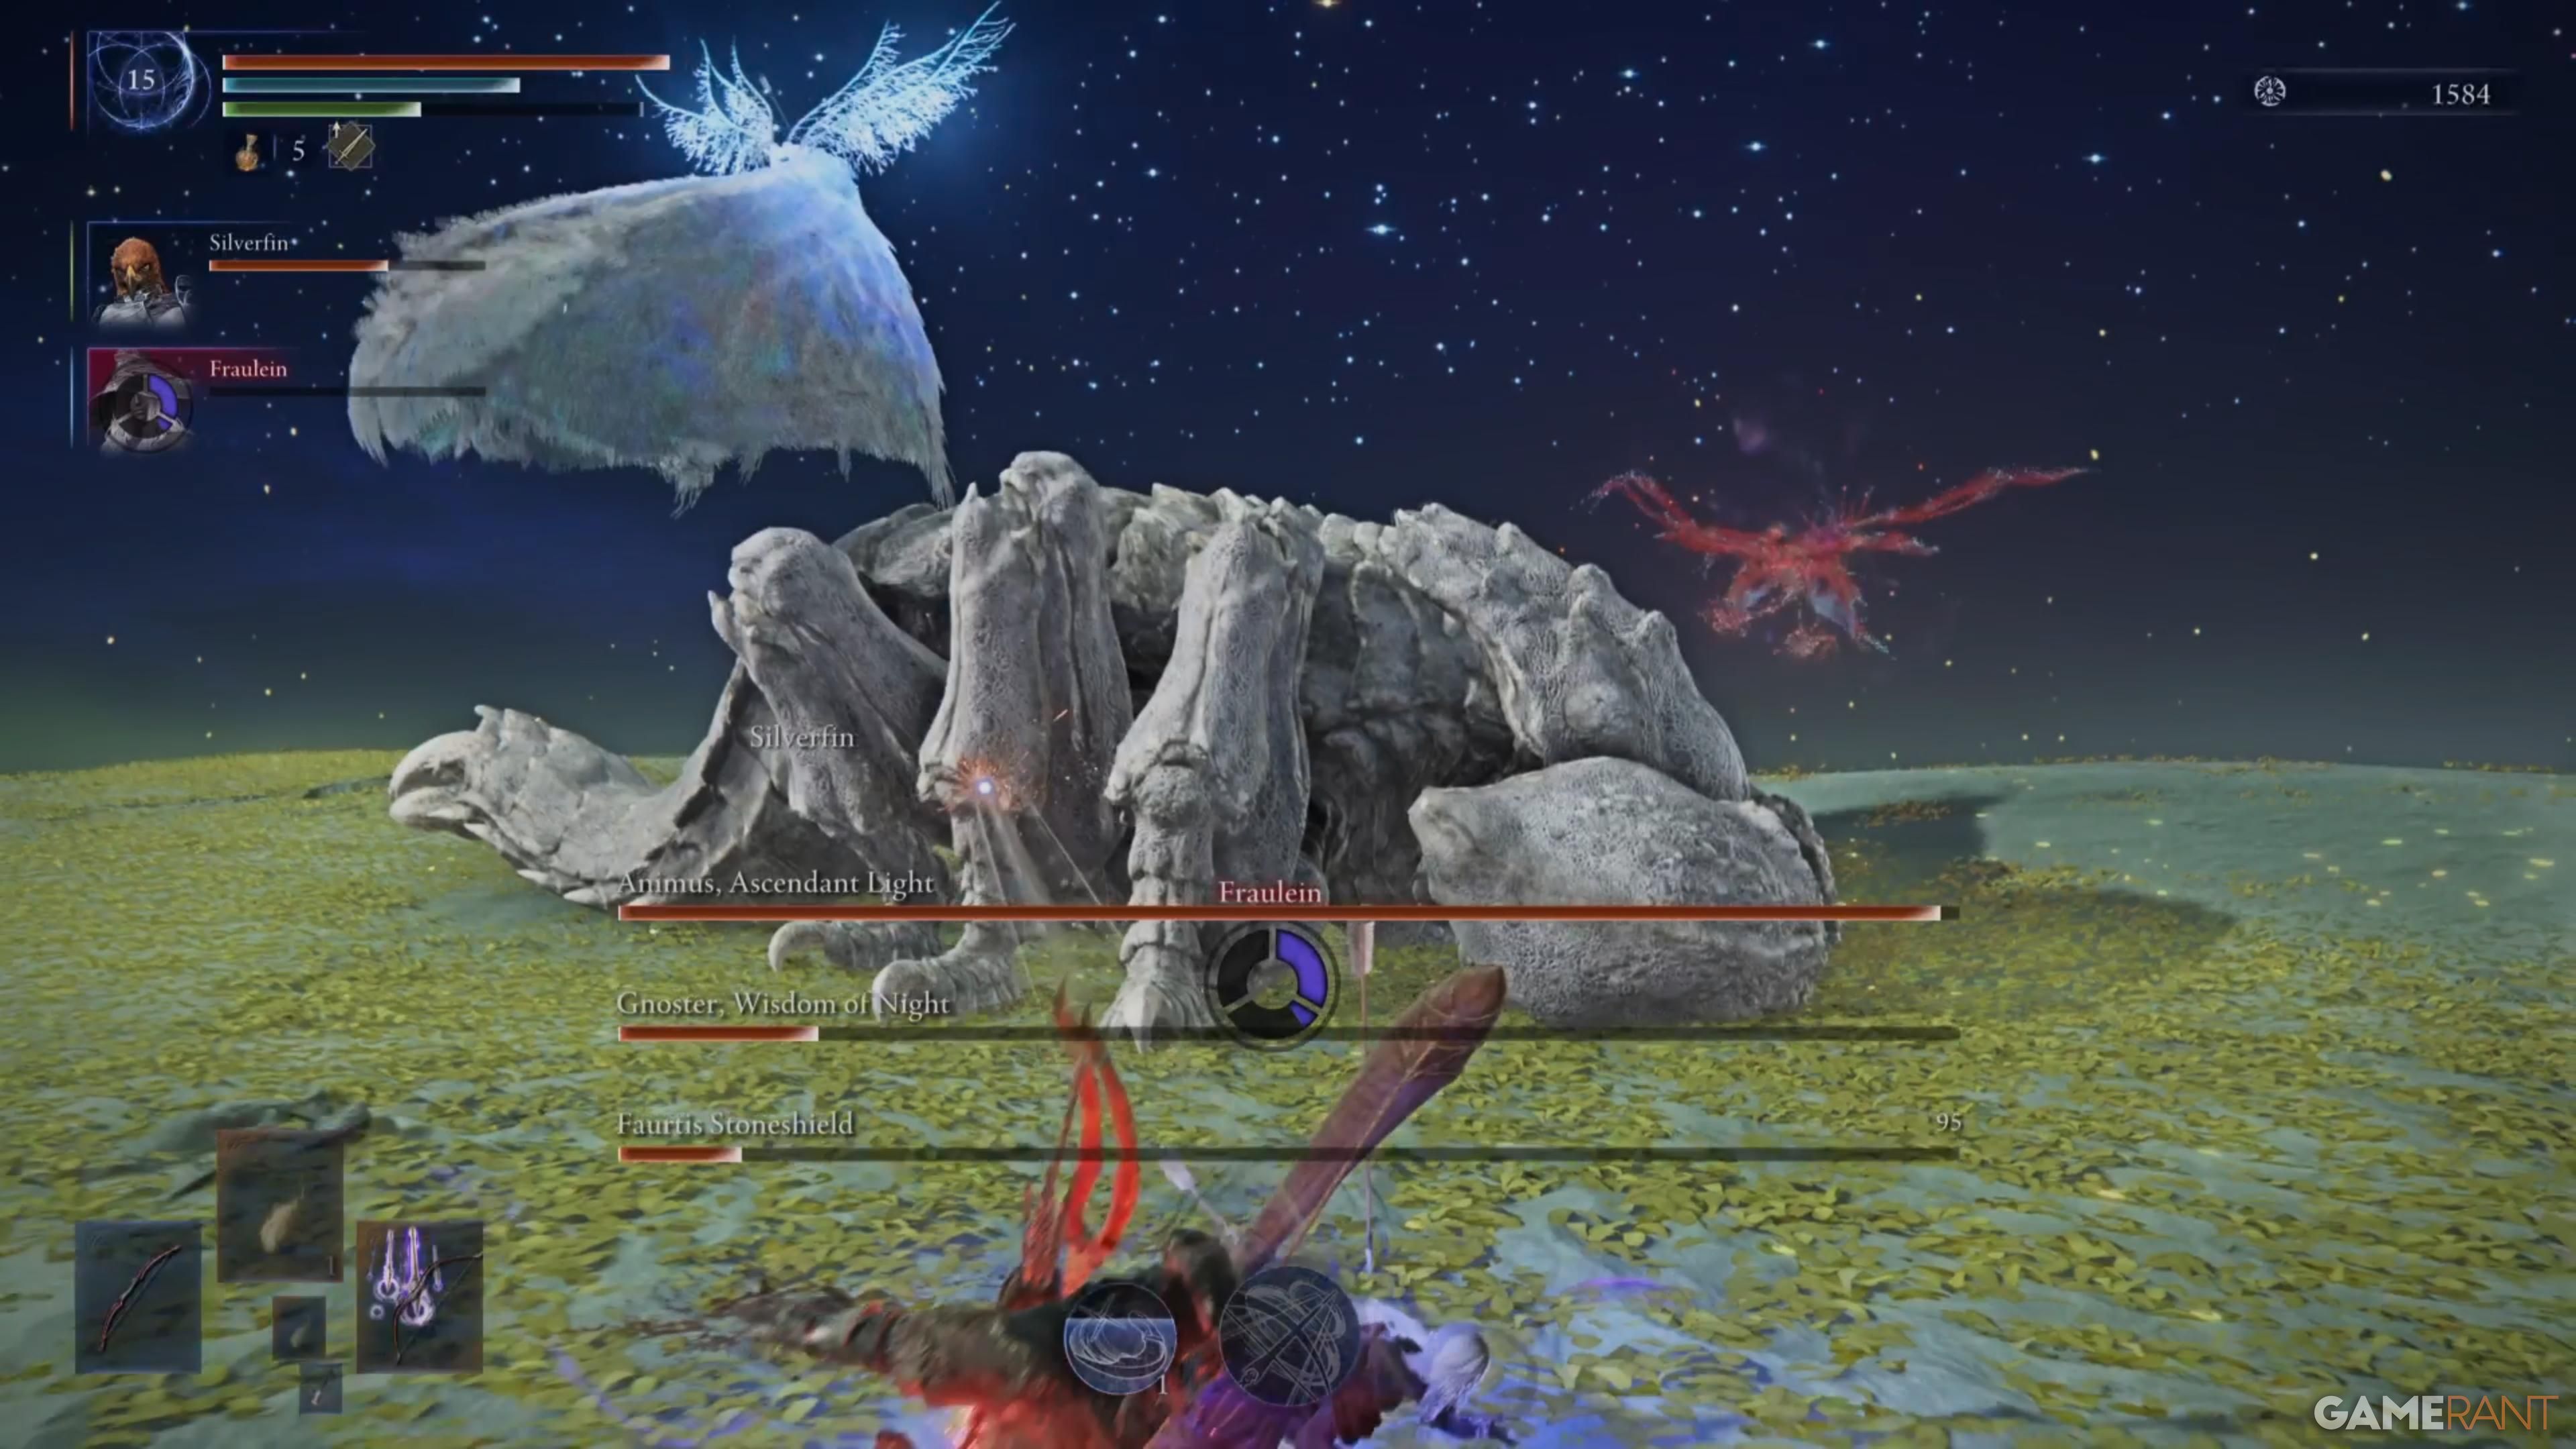
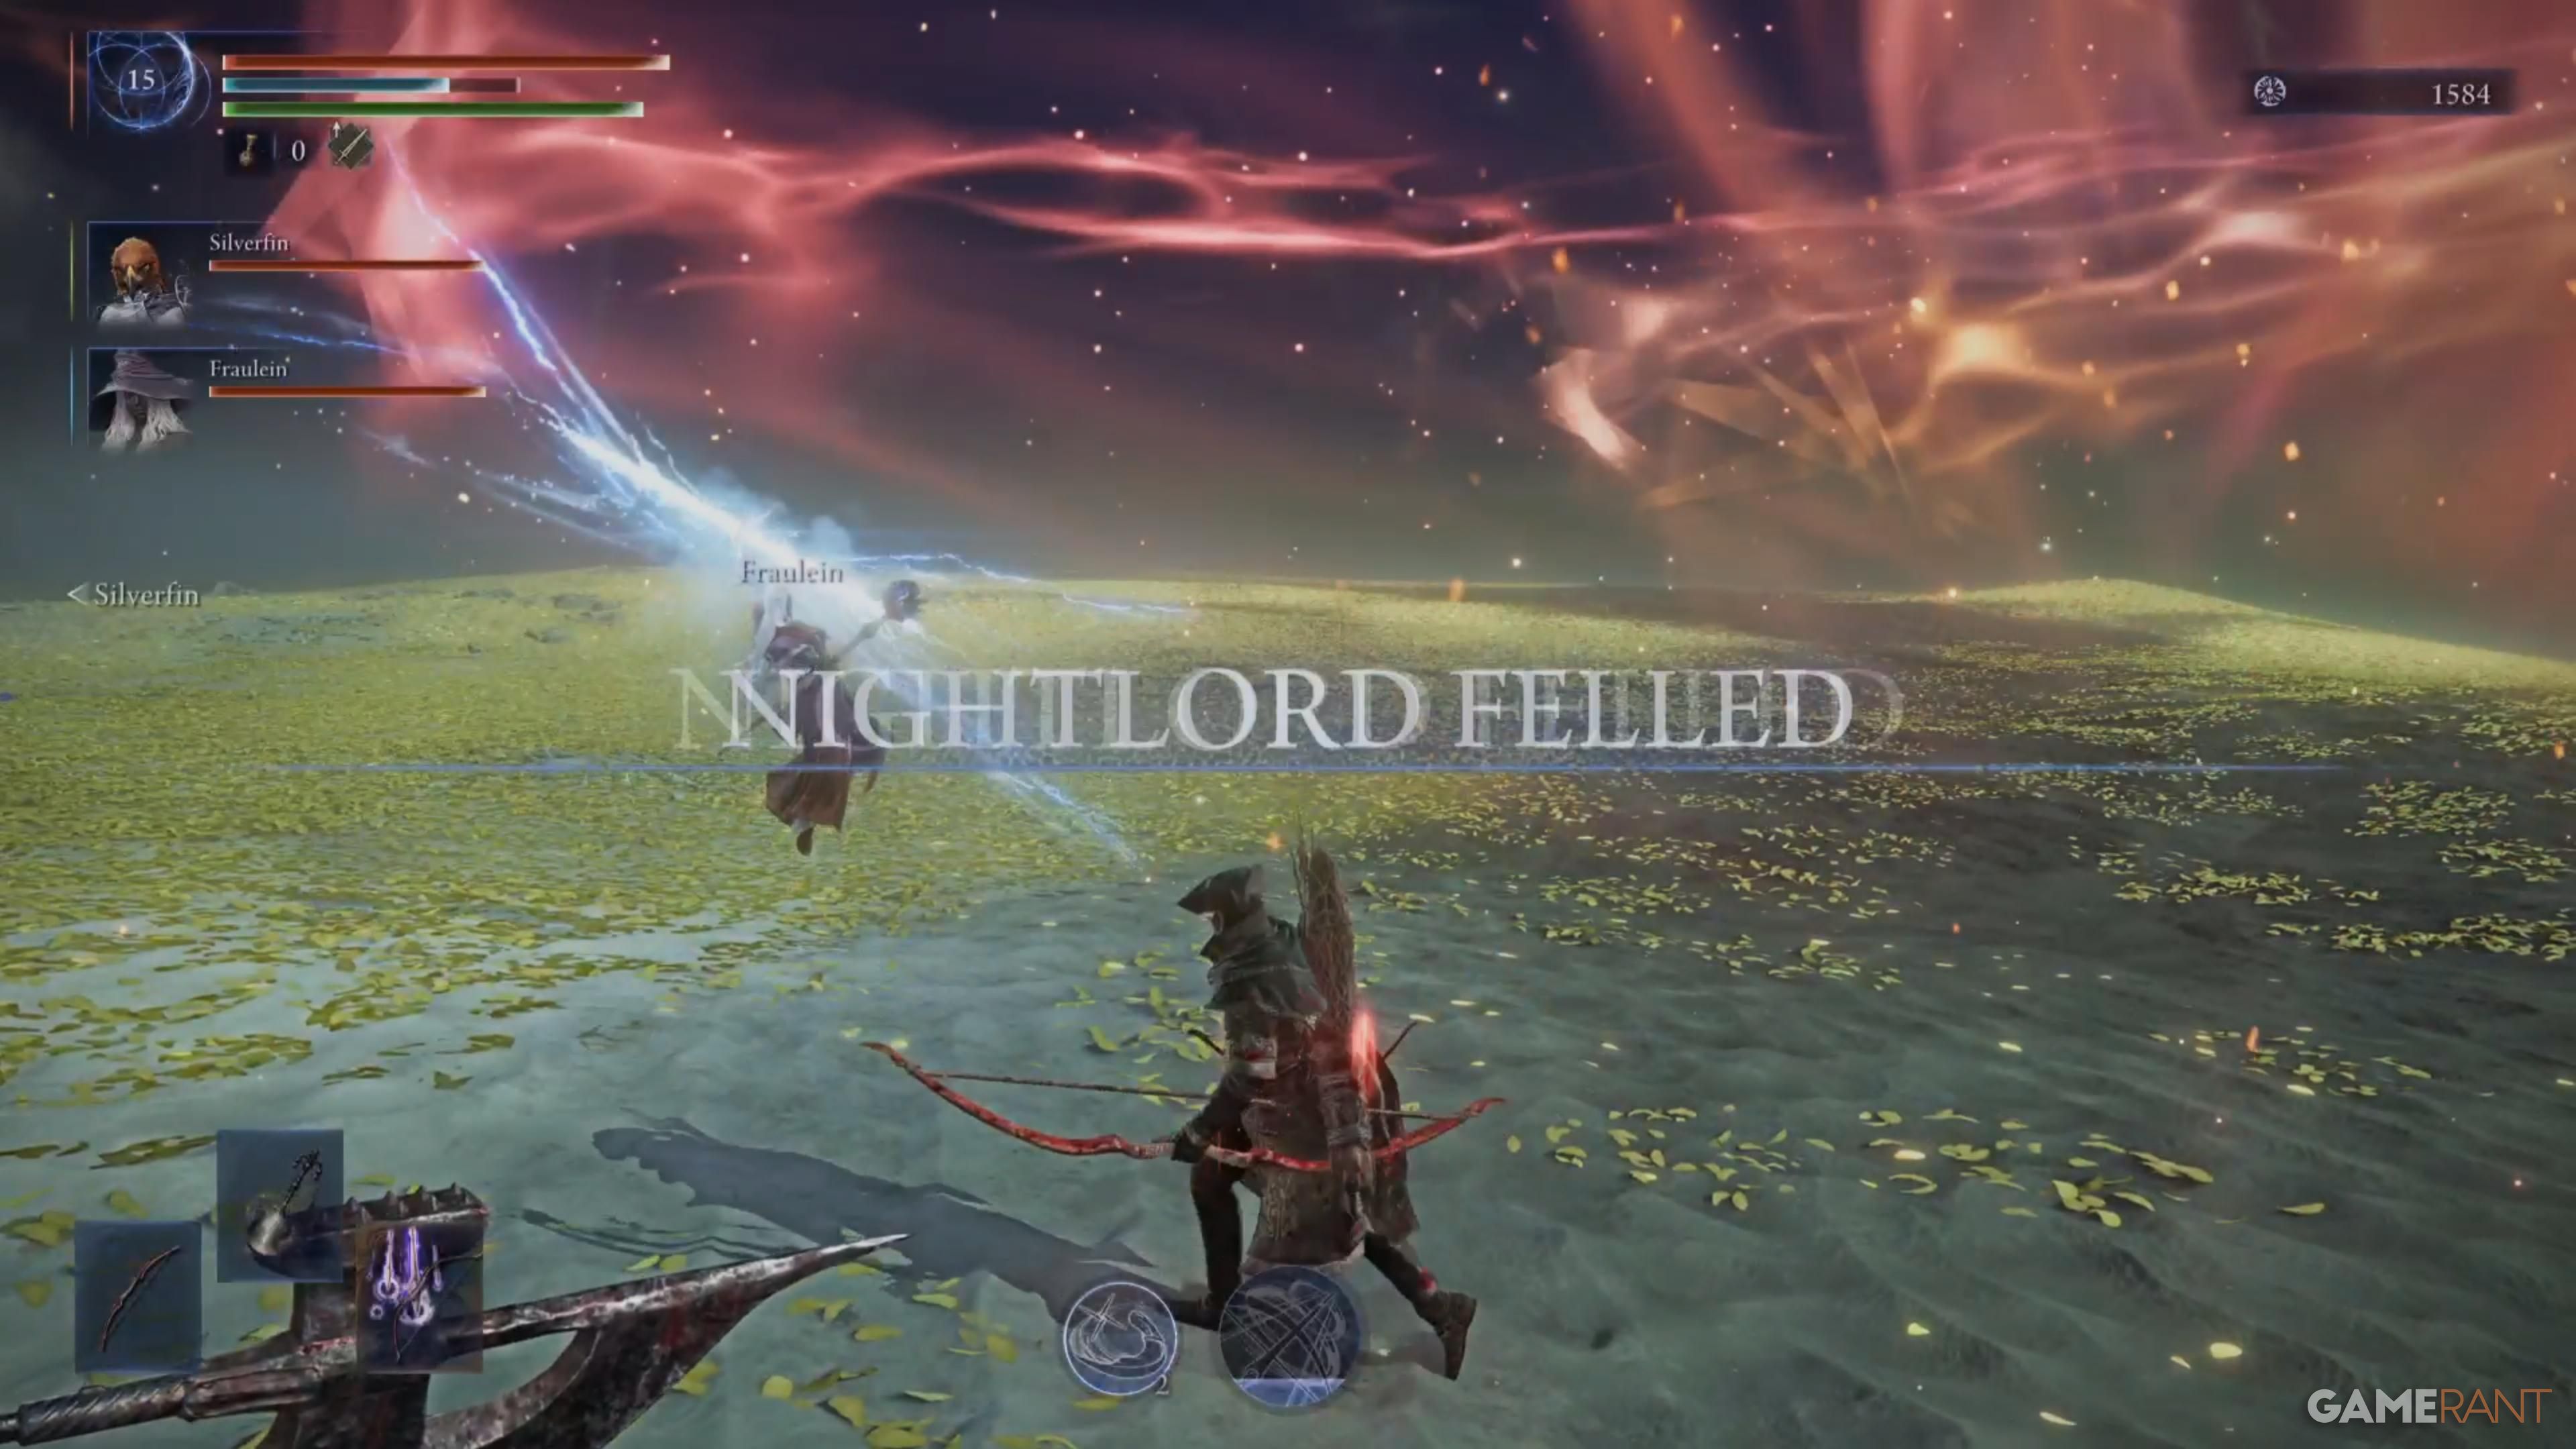
In the third stage, a new boss named Animus emerges, initially inactive and employing just one attack – a supercharged orbital laser. If you manage to defeat two bosses, Animus will resurrect them both, leaving you with three formidable foes. While battling all three, keep an eye out for the moment when one of the bosses is defeated. During this instant, Animus will move towards it and initiate a possession process. This is your chance to attack from afar if you can. Do as much damage as possible before the possession finishes, because even during this animation, Animus takes some damage itself.
When a boss gets possessed, it comes back with roughly half its original health, and all its attacks become stronger, causing bursts of red explosions throughout the battlefield. Now is an excellent opportunity to defeat the other non-possessed boss because it won’t revive until Animus moves out of its current host and selects a new one. This usually takes some time, so you can concentrate on defeating the single remaining boss once that happens, as hitting the possessed one will also cause damage to Animus.
As a fervent admirer, let me share my strategy: Once I depart from my current vessel, Animus resumes its flight, seeking a new dwelling. If all three titans are still standing, it’s ideal for one comrade to target Gnoster while the remaining two focus their efforts on Faurtis. With each transition, Animus sustains harm, so if we manage to deal significant ranged damage during two or three such transitions, the battle should be on the verge of conclusion.
It’s crucial to keep in mind that once an opponent is knocked out, they can still be targeted by the orbital laser. Be cautious when trying to revive them; wait a short while for the laser to cease firing before you attempt to assist them.
Best Everdark Sovereign Sentient Pest Team Comps

For the Sentient Pest, an ideal team setup would be a Raider partnered with a Recluse and Ironeye. This combination works best because having a tank-like Nightfarer focusing on Faurtis and maintaining aggro enables the other two players to concentrate on Gnoster or assist the Raider if Animus controls Faurtis. Wylder can be a good substitute if you prefer to swap out Ironeye or Raider, particularly if he possesses the Relic that triggers a fire follow-up attack after using his skill. This enhancement significantly increases his fire damage, making it more effective against this boss.
Ironye serves a crucial role by designating one of the wandering leaders and also brings teammates back to life when they fall. It’s advantageous to outfit Ironye with the artifact that boosts his skill count by one, thus enabling him to retain one skill for marking and another for evading grabs or hazardous attacks. Recluse has the greatest damage potential, significantly so if the player discovers potent spells during the journey and knows how to combine them effectively using her Magic Cocktail.
Everdark Sovereign Sentient Pest Reward
What Do You Get For Beating Everdark Sovereign Sentient Pest?
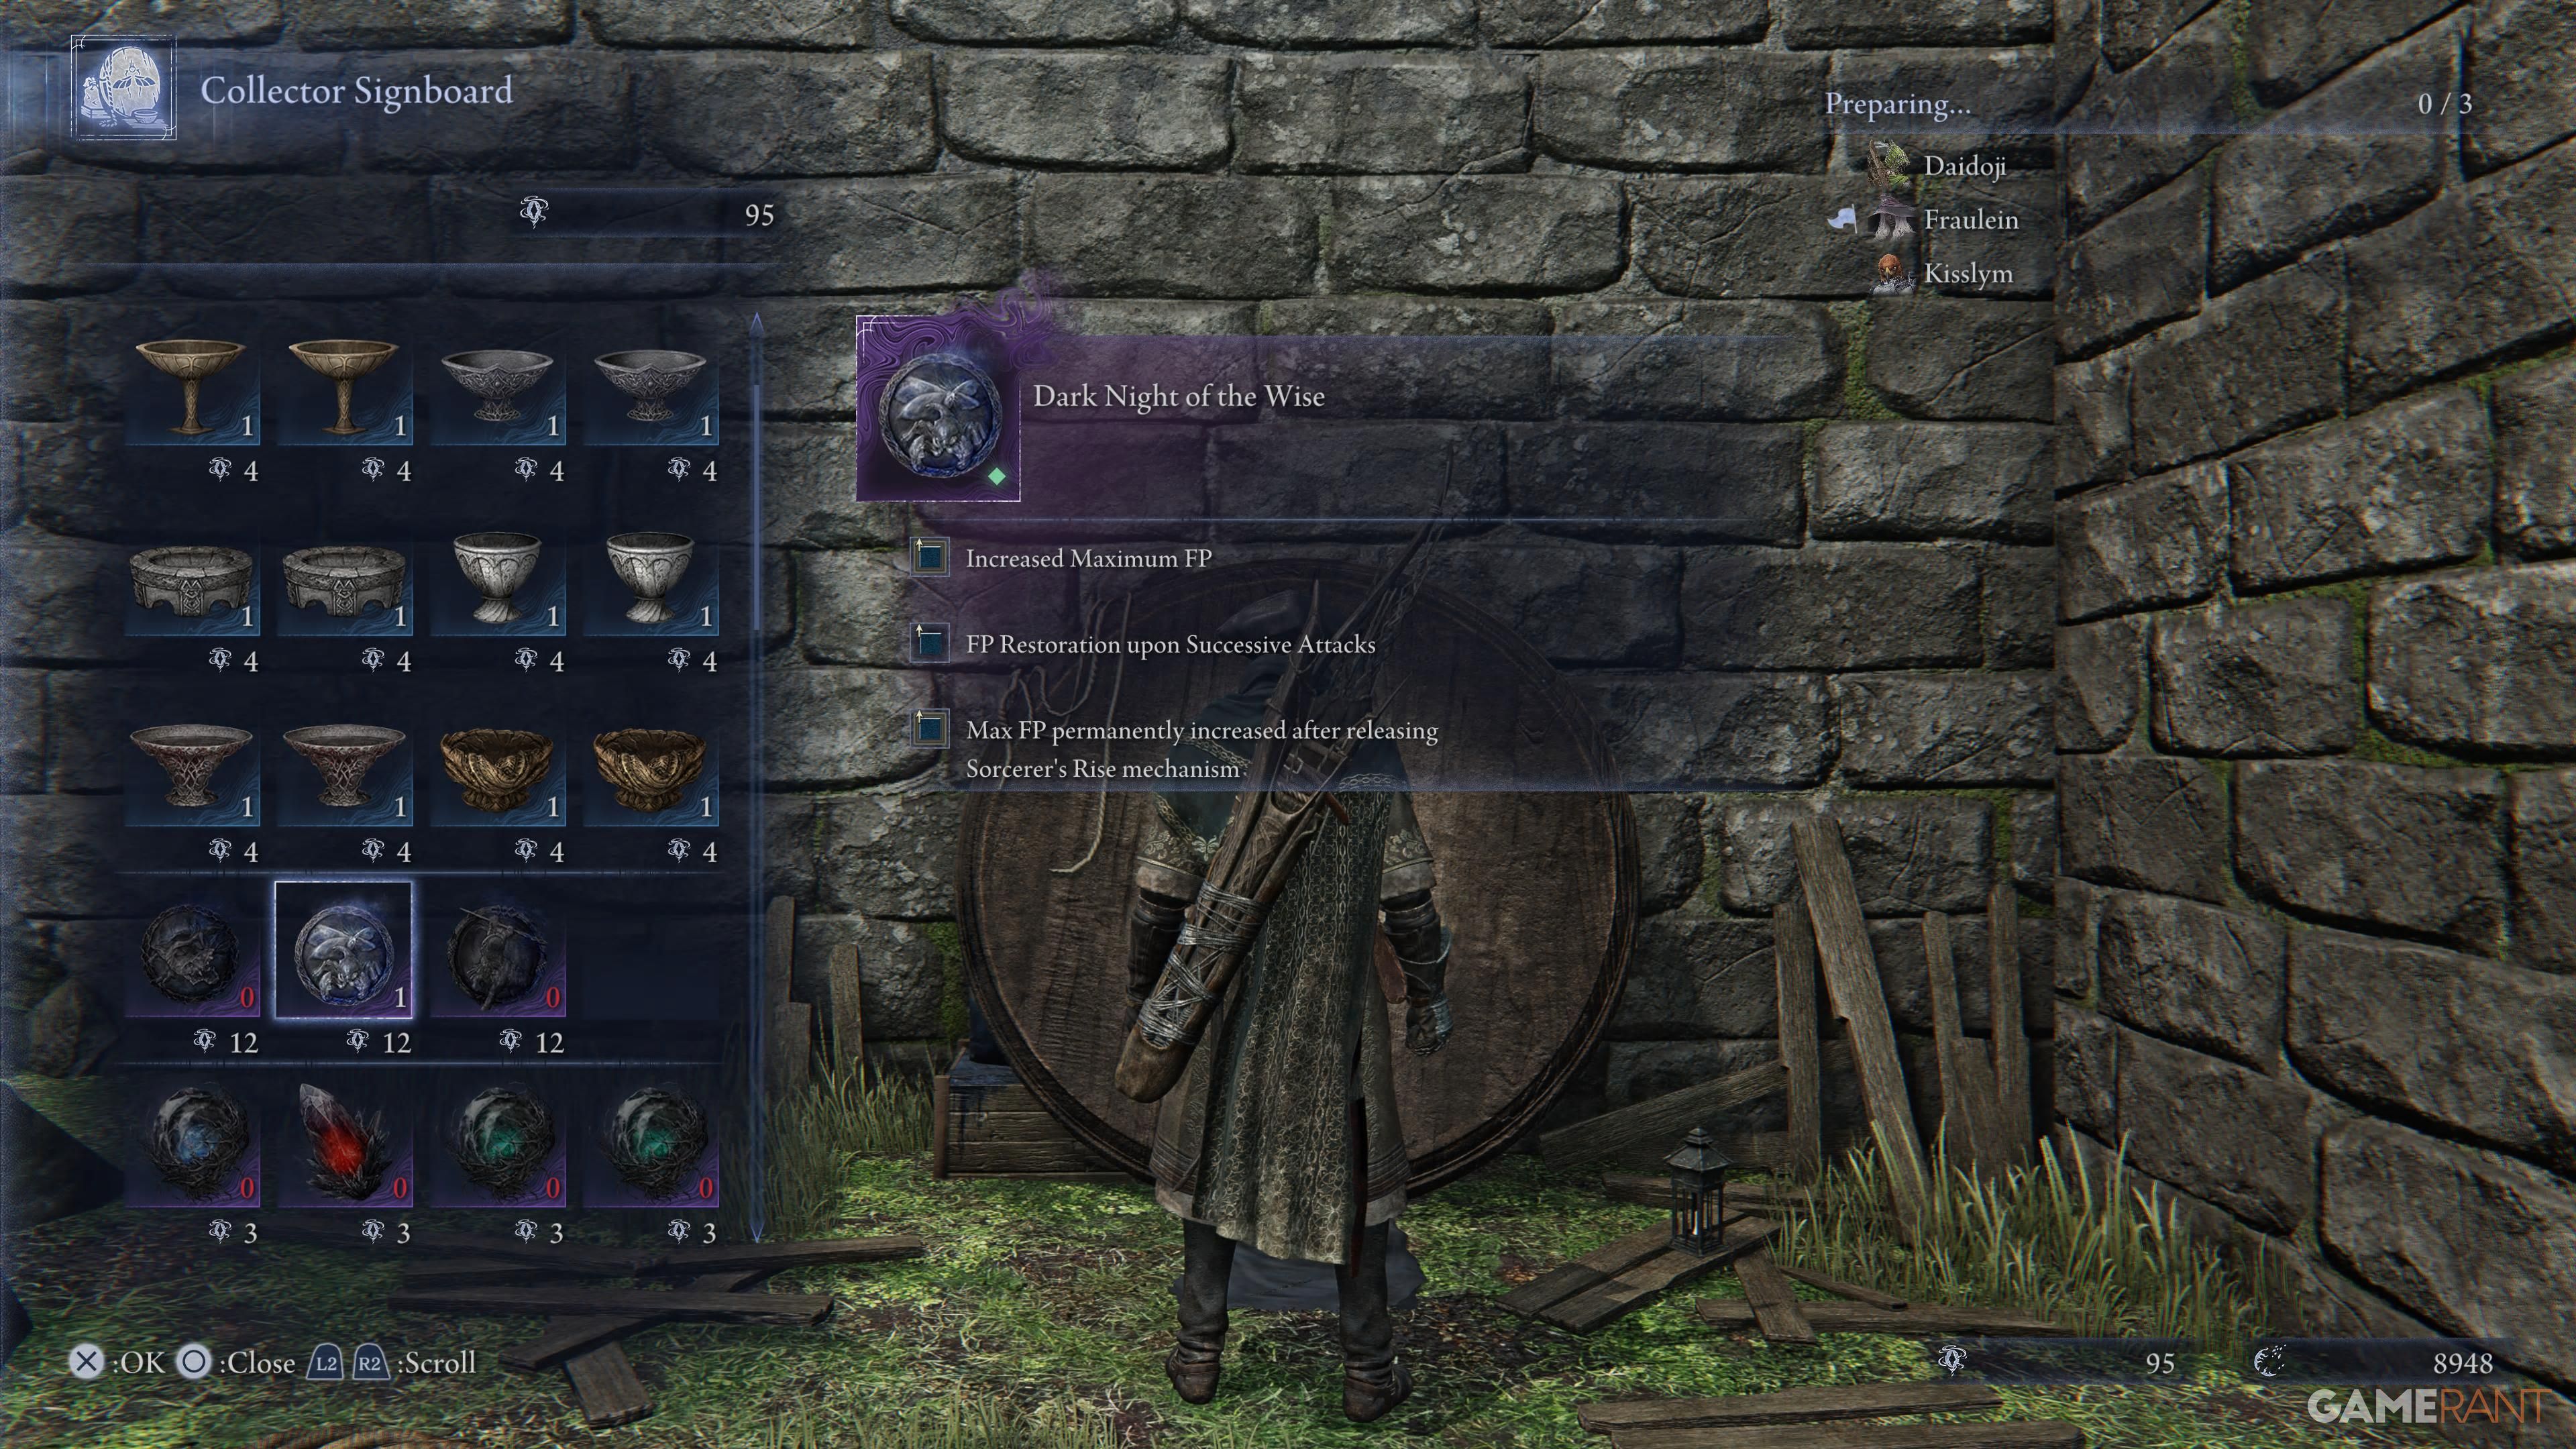
Upon successfully finishing the Everdark Sovereign Sentient Pest expedition for the very first time, you’ll receive a set of Relics, Murk, and 25 Sovereign Sigils. In subsequent attempts, you’ll receive 5 Sovereign Sigils. This newly acquired currency can be used to buy the Dark Night of the Wise Relic, which comes with these effects:
– Increased attack power
– Enhanced defense capabilities
– Boosted mana regeneration rate
– A chance to inflict additional damage on enemies
By completing the Everdark Sovereign Sentient Pest expedition for the first time, you’ll get a bunch of Relics, Murk, and 25 Sovereign Sigils. In future attempts, you’ll receive 5 Sovereign Sigils. You can use these to buy the Dark Night of the Wise Relic, which will make your attacks stronger, boost your defenses, speed up your mana regeneration, and sometimes deal extra damage to enemies.
- Increases Maximum FP
- FP Restoration upon Successive Attacks
- Max FP permanently increases after releasing Sorcerer’s Rise mechanism
This relic is particularly advantageous for Mage Nightfarers such as Recluse, Revenant, and Duchess. The more Focus Points (FP) you have, the more spells or incantations you can cast without concern. Additionally, other Nightfarers who heavily utilize high-cost weapon skills will also reap benefits from this relic. With this relic, you can concentrate on activating all Rises during the Expedition, thereby increasing your FP and amassing a variety of items at the end.
Read More
- Clash Royale Best Boss Bandit Champion decks
- Vampire’s Fall 2 redeem codes and how to use them (June 2025)
- Mobile Legends January 2026 Leaks: Upcoming new skins, heroes, events and more
- World Eternal Online promo codes and how to use them (September 2025)
- Clash Royale Season 79 “Fire and Ice” January 2026 Update and Balance Changes
- Best Arena 9 Decks in Clast Royale
- M7 Pass Event Guide: All you need to know
- Clash Royale Furnace Evolution best decks guide
- Best Hero Card Decks in Clash Royale
- Clash of Clans January 2026: List of Weekly Events, Challenges, and Rewards
2025-07-04 04:34