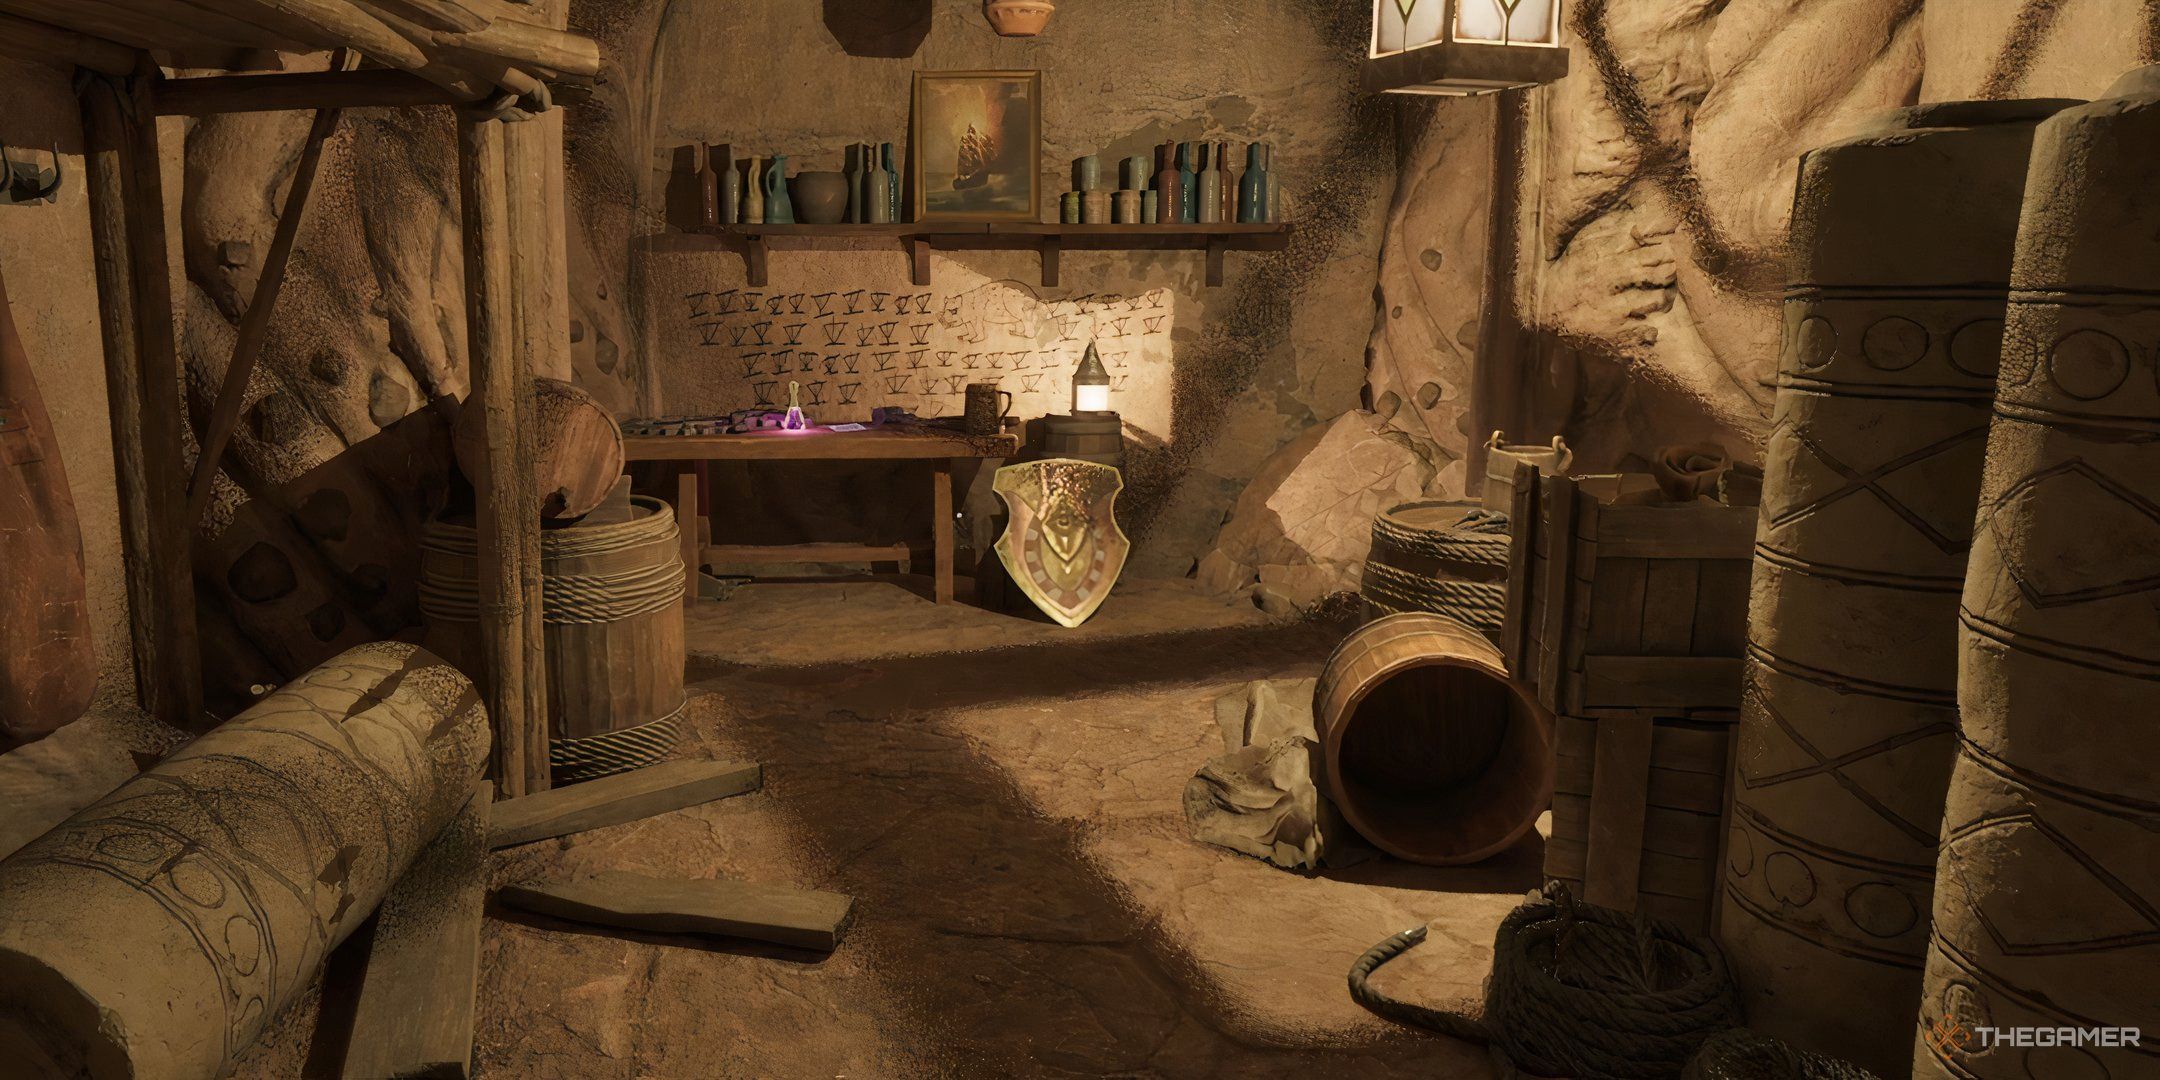
When you initially dive into the world of Avowed, your very first acquisition will be a weapon embedded within the corpse on the shoreline. The game offers an array of weapon options, and these weapons are categorized depending on how your character wields them, such as single-handed or double-handed items.
Besides the regular varieties, you can additionally discover exceptional weaponry known as unique weapons through exploration, completing bounties, or embarking on quests. As you’ll primarily employ and enhance these unique weapons, it’s crucial to familiarize yourself with all the locations where they can be found.
This article is a work-in-progress and we’ll add more weapons as we find them within the game.
One-Handed Melee Weapon Locations

These are various weapons that can be wielded singly, offering rapid attacks within a brief combat radius. Typically, these weapons come with swift attack speeds and the ability to carry an additional item in their non-dominant hand.
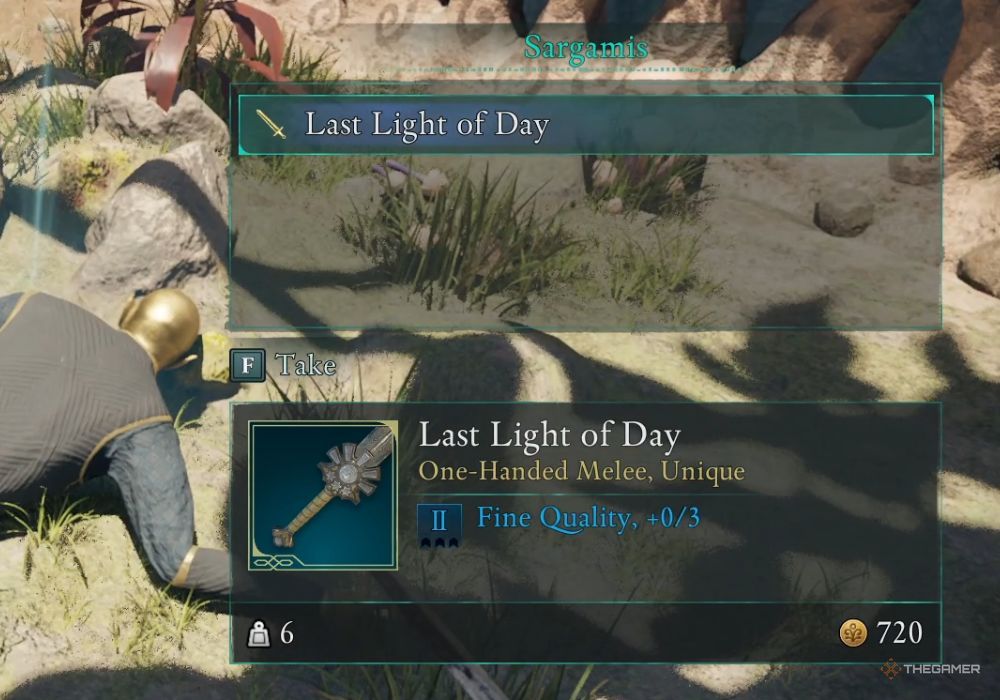
Obtain the Last Light of Day, an exceptional early-game melee weapon in Avowed, by completing the Dawntreader quest. You’ll find this mission in close proximity to the Aedyran Embassy in Paradis. To acquire this weapon, overcome Sargamis at the conclusion of the quest.
This weapon restores a portion of your health upon defeating an enemy, and it additionally adds some extra fire damage with every strike.
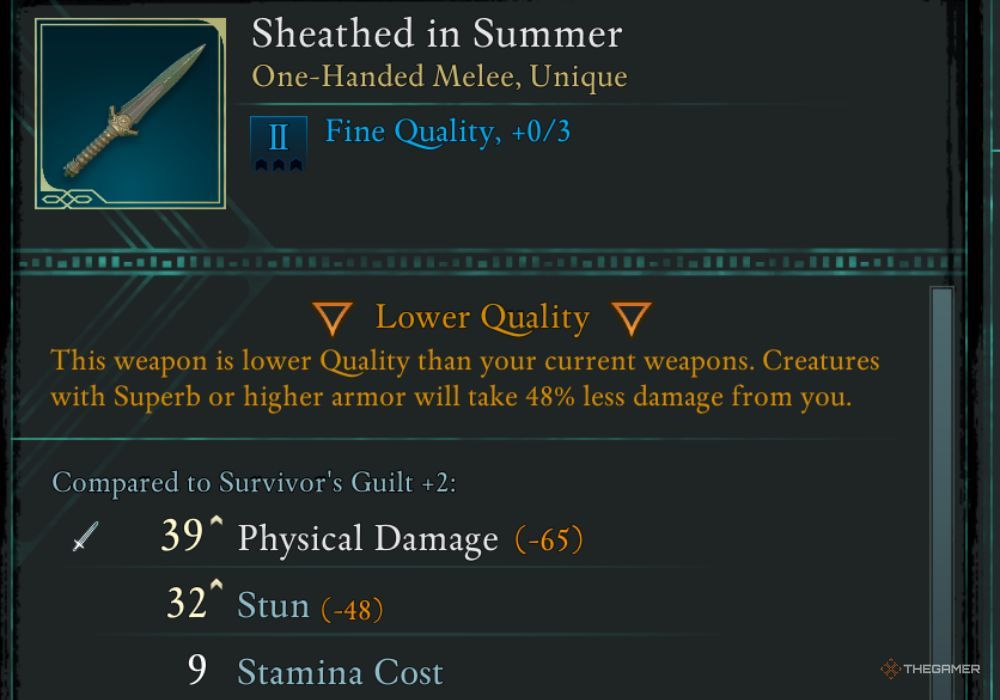
You can get Sheathed in Summer dagger by completing the Octav the Firebrand bounty in Dawnshore.
This weapon intensely concentrates flames upon enemies, dealing extra fire damage for every successful strike during a powerful assault.
To locate Drawn In Winter, make your way to the Watcher’s Mirror region on the eastern part of Dawnshore. There, you’ll spot it lodged in a tree close to the Ancient Memory landmark. Be prepared for a fierce battle once you retrieve it.
With each hit, this weapon boosts the frost damage, simultaneously amassing a substantial amount of frost on the adversaries during powerful attacks.
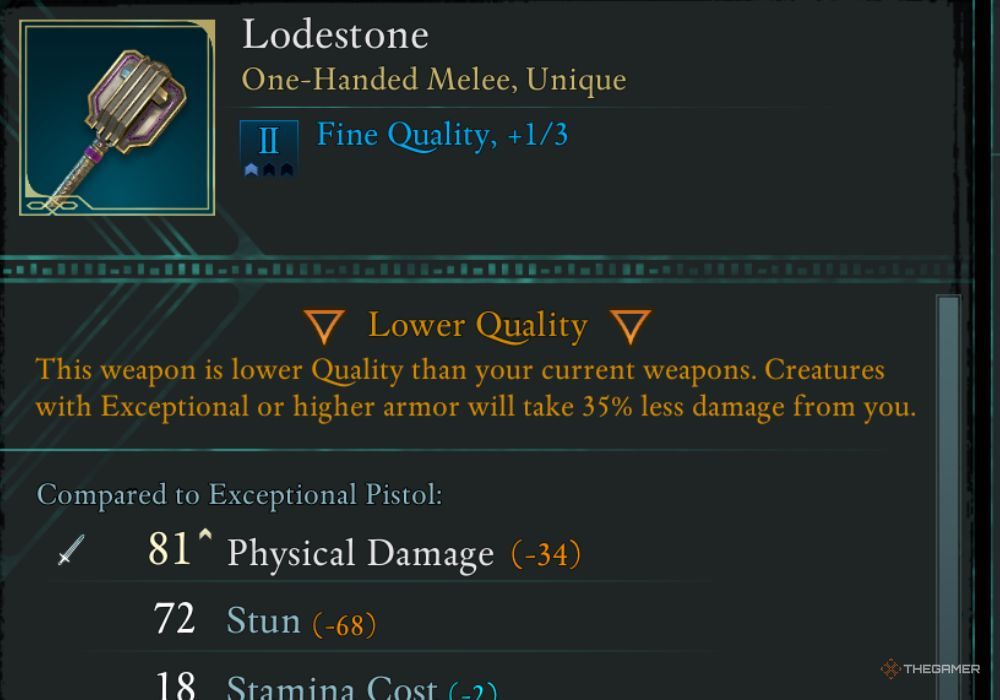
You can acquire the Lodestone weapon from Stephan’s shop, which is located on the northwestern part of Fior Mes Iverno. The cost for this item is 3,780 units of currency.
It makes your power attack deal a bit of stun while increasing your general stun as well.
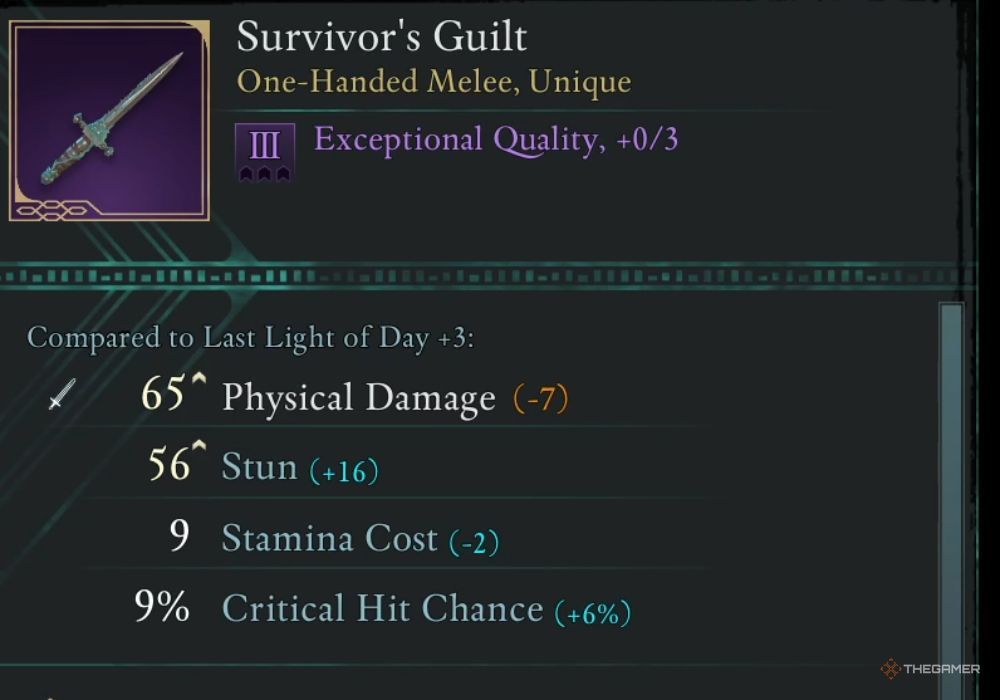
In the hidden depths of Belderreno’s Deceitful Cavern, nestled high above Naku Tedek, lies the dagger associated with Survivor’s Guilt. Overcome the bounty within this location, and then scale some nearby rocks to claim your prize.
This weapon deals bonus frost damage on hits while accumulating Frost heavily after a full combo.
As a gamer, I stumbled upon Woodman’s Labor weapon while exploring the region located to the southwest of Felipe’s Depression.
As a seasoned gamer, I’ve come across some pretty cool gear, but none quite like this one. This baby deals extra damage to Beasts and Primordials, making them quake in their digital boots! But wait, there’s more: after landing a full combo with it, watch out as an Area of Effect (AoE) bursts into action!
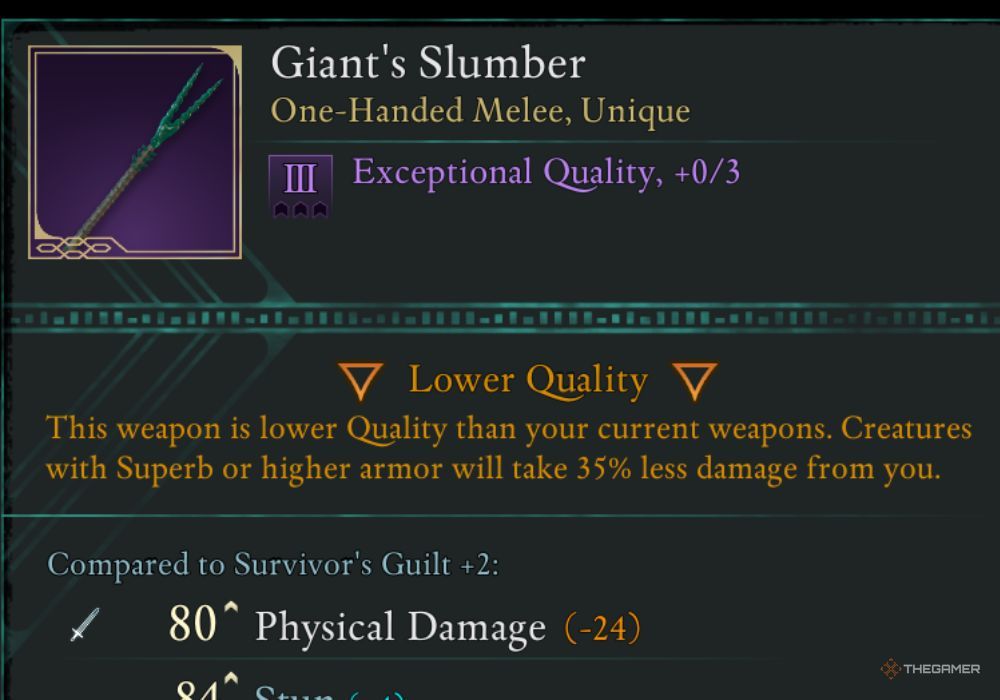
Along your journey towards the final part of Inner Naku Tedek, you’ll find a weapon embedded within a giant’s corpse. Retrieving it will undoubtedly initiate a colossal fight, so prepare yourself accordingly.
The weapon noticeably boosts the amount of damage you inflict on ships, and it also causes a moderate stun when you launch powerful attacks.
The location of the Emperor’s Reach is at the southern-western part of Shatterscarp, within the scene of the Dreamthralled Dwarf bounty battle. To put it simply, you can find it hidden inside a soldier submerged in this central body of water.
With this weapon, you gain additional damage and speed upon vanquishing a foe, and it even stuns surrounding companions with its unique, powerful strikes.
Two-Handed Melee Weapon Locations
Among the items you’ll encounter while traversing The Living Lands are powerful weapons, boasting significantly increased damage and stunning effects, but they come with slower attack speeds. Unfortunately, these heavy weapons cannot be used in conjunction with a secondary armament.
On Castol’s Folly island, nestled atop a large structure on its northwestern side, you’ll come across The Philosopher’s Riddle – a concealed two-handed melee weapon. As you scale this building, keep your eyes peeled and you’ll spot the sword embedded in the ground as if it were waiting for you to find it!
In addition to inflicting extra poison damage, this weapon also boosts your attack speed once you’ve completed its entire combo against an opponent.
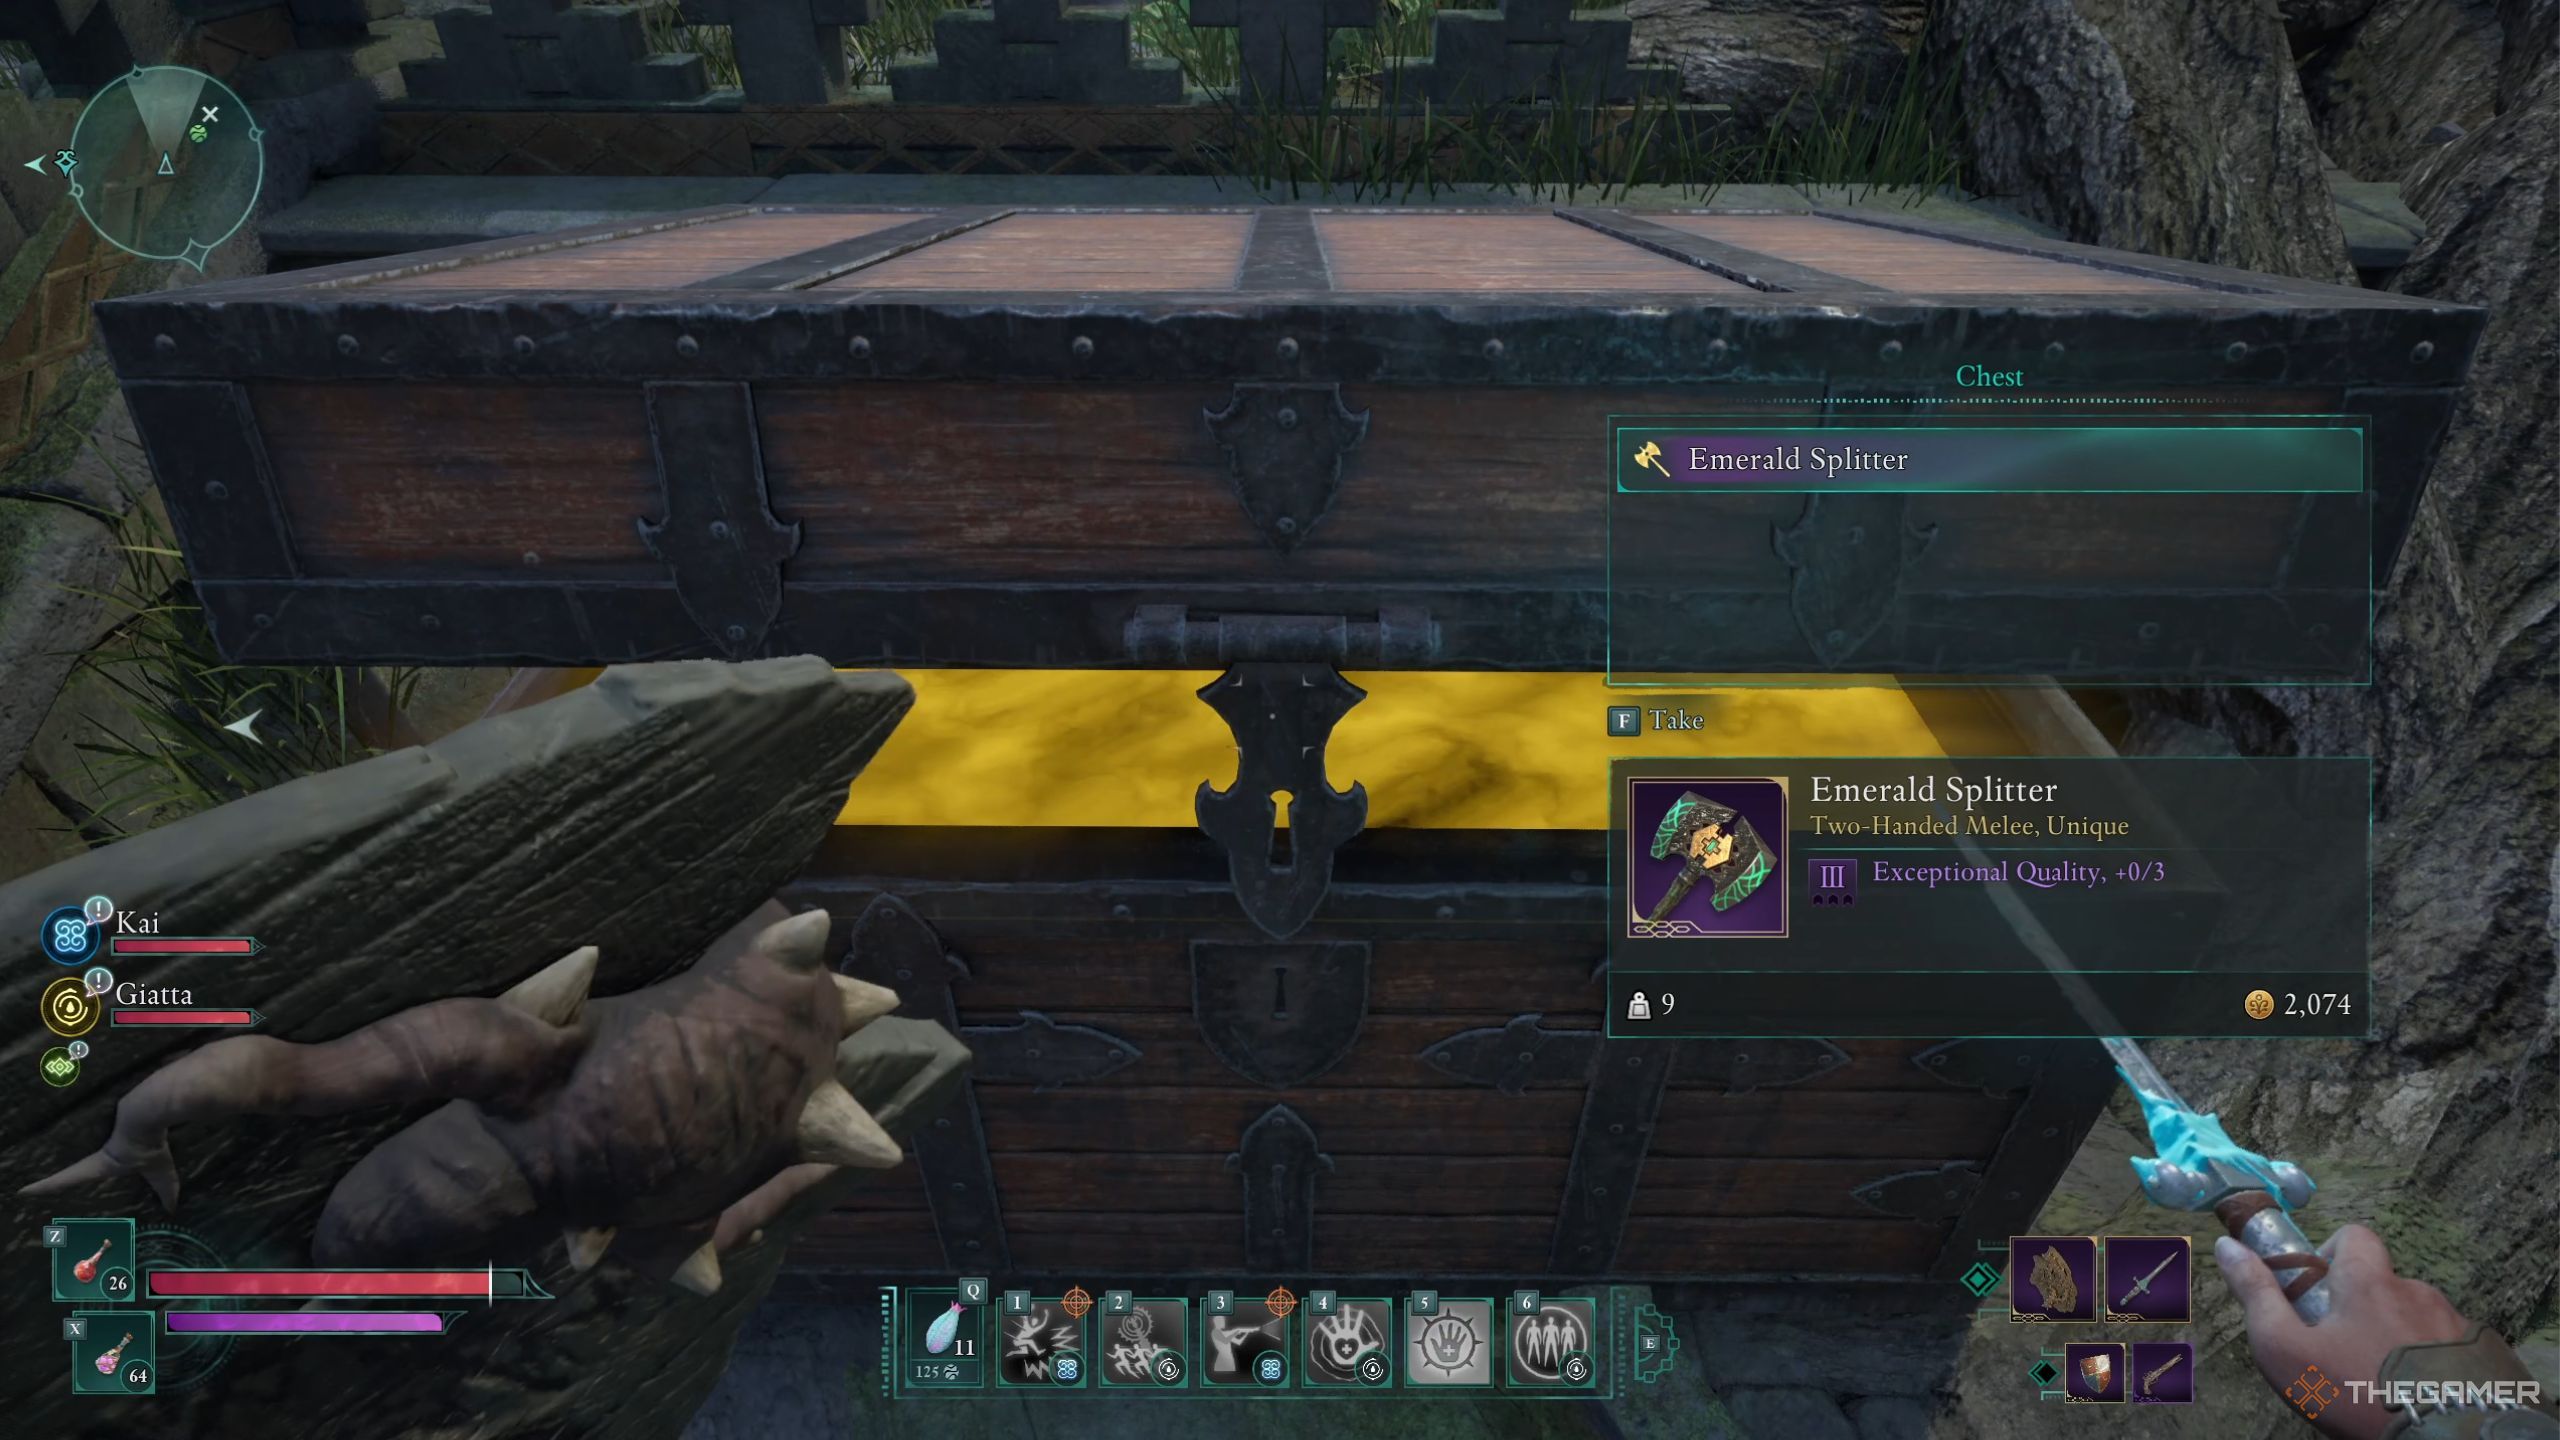
At the Pargrun Waystation, which lies to the northeast of Fior Mes Iverno, you can discover the Emerald Splitter. Navigate your way into the structure by employing some agile movements and inside, you’ll come across a gleaming treasure chest.
With this weapon, you inflict a significant amount of poison build-up on Primordials when executing powerful attacks, boosting the damage dealt to them.
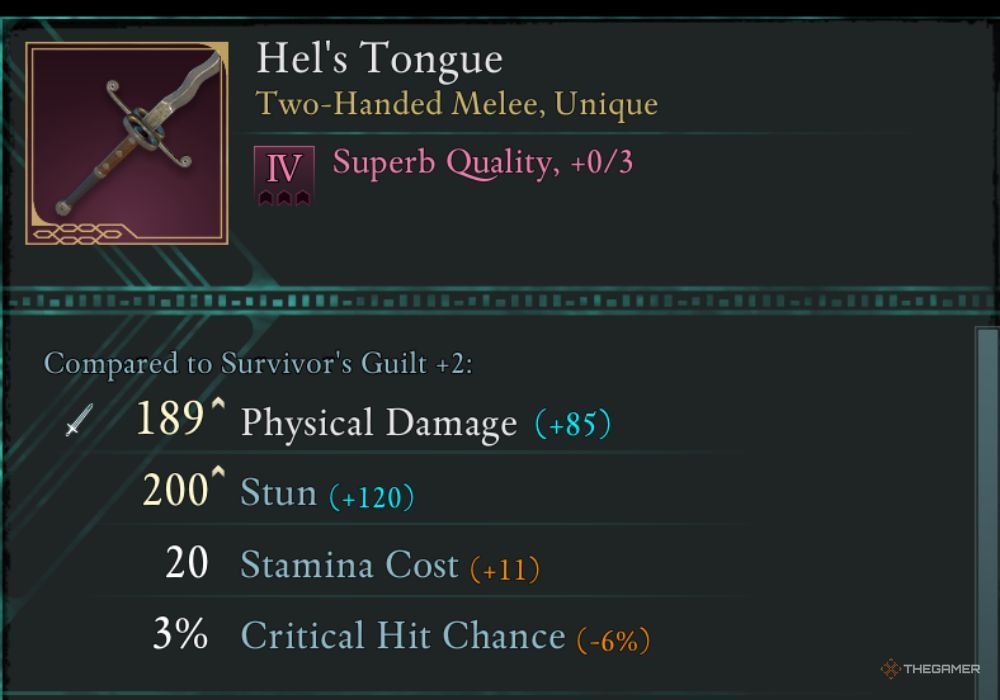
In the game Avowed, Hel’s Tongue is an exceptional weapon. You can discover it atop the Twin Offerings Overlook towers following the resolution of this area’s bounty.
Besides inflicting a large amount of physical harm and incapacitating foes with a stun, this weapon offers an additional benefit: it restores your vitality upon power attack kills. Furthermore, depending on the enemy’s condition, strikes from this weapon may also trigger bonus fire or frost damage.
One-Handed Ranged Weapon Locations
This collection encompasses various kinds of handguns and wands, all of which are suitable for being held with just one hand.
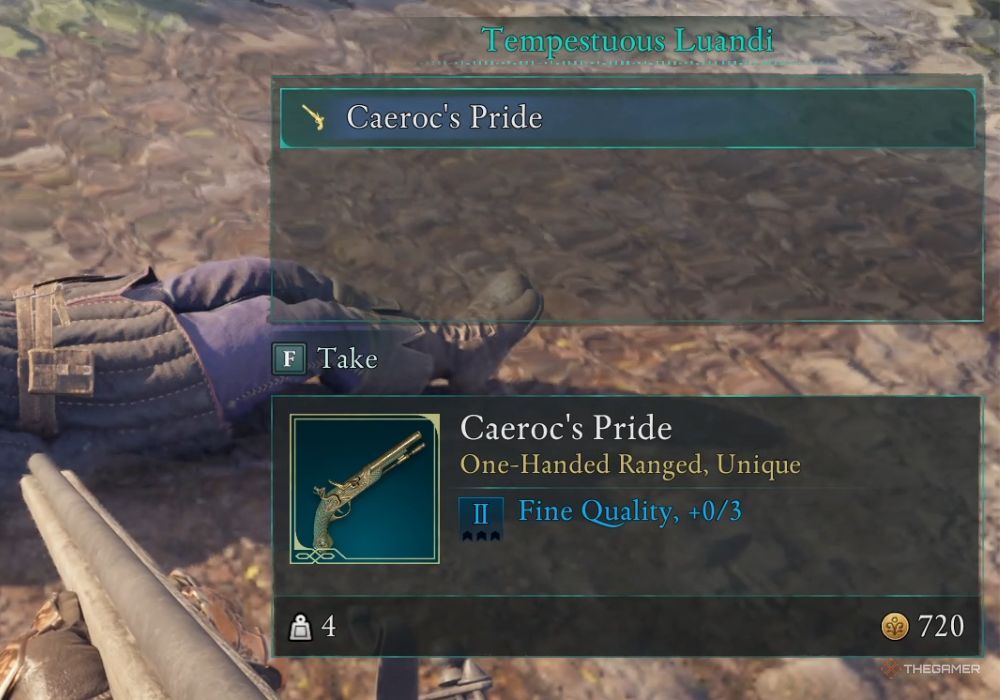
In Dawnshore, the distinctive pistol known as Caeroc’s Pride will be yours to keep once you complete the “Tempestuous Luandi” bounty located close to Castol’s Folly isle.
It’s capable of handling a significant buildup of force during power strikes, and it additionally offers extra shock damage with every hit.
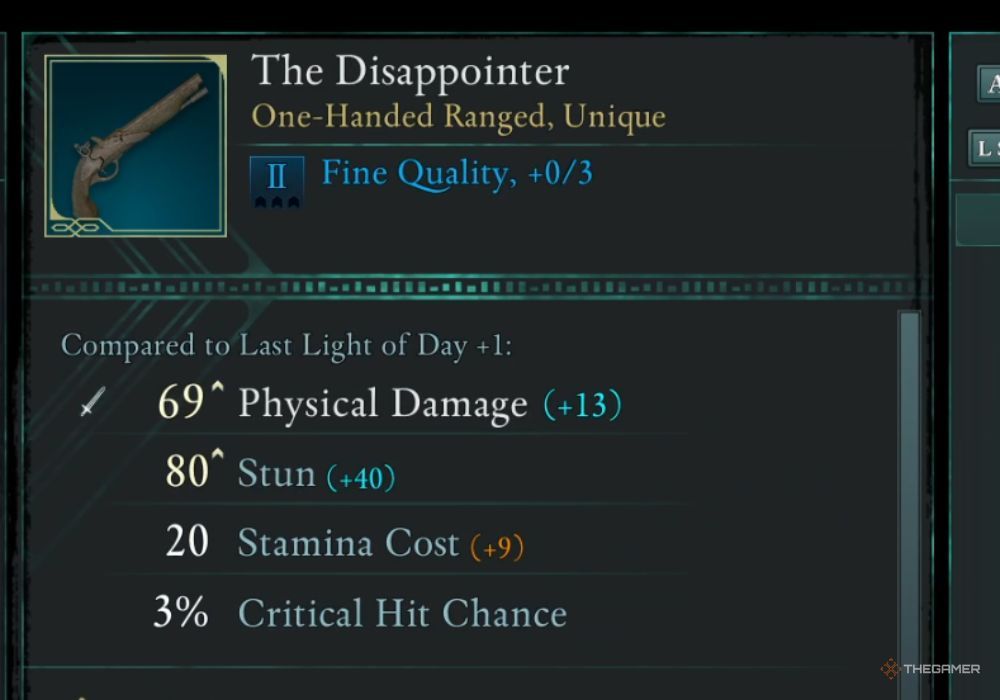
You can pick up the Disappointer pistol by making your way to the merchant located on the upper left side of Northern Paradis and purchasing it for 3,600 of your in-game currency.
This weapon decreases your attack damage but also deals a bonus bleed damage on attacks.
In the city of Emerald Stairs, nestled within the steps themselves, you’ll discover a shop. Inside this shop, you’ll come across a merchant named Abritt. It is from him that you can acquire Minoletta’s Conduit, which will cost you 1,875 of the local currency.
This weapon increases your attack damage and wand range alongside some bonus shock damage on hits.

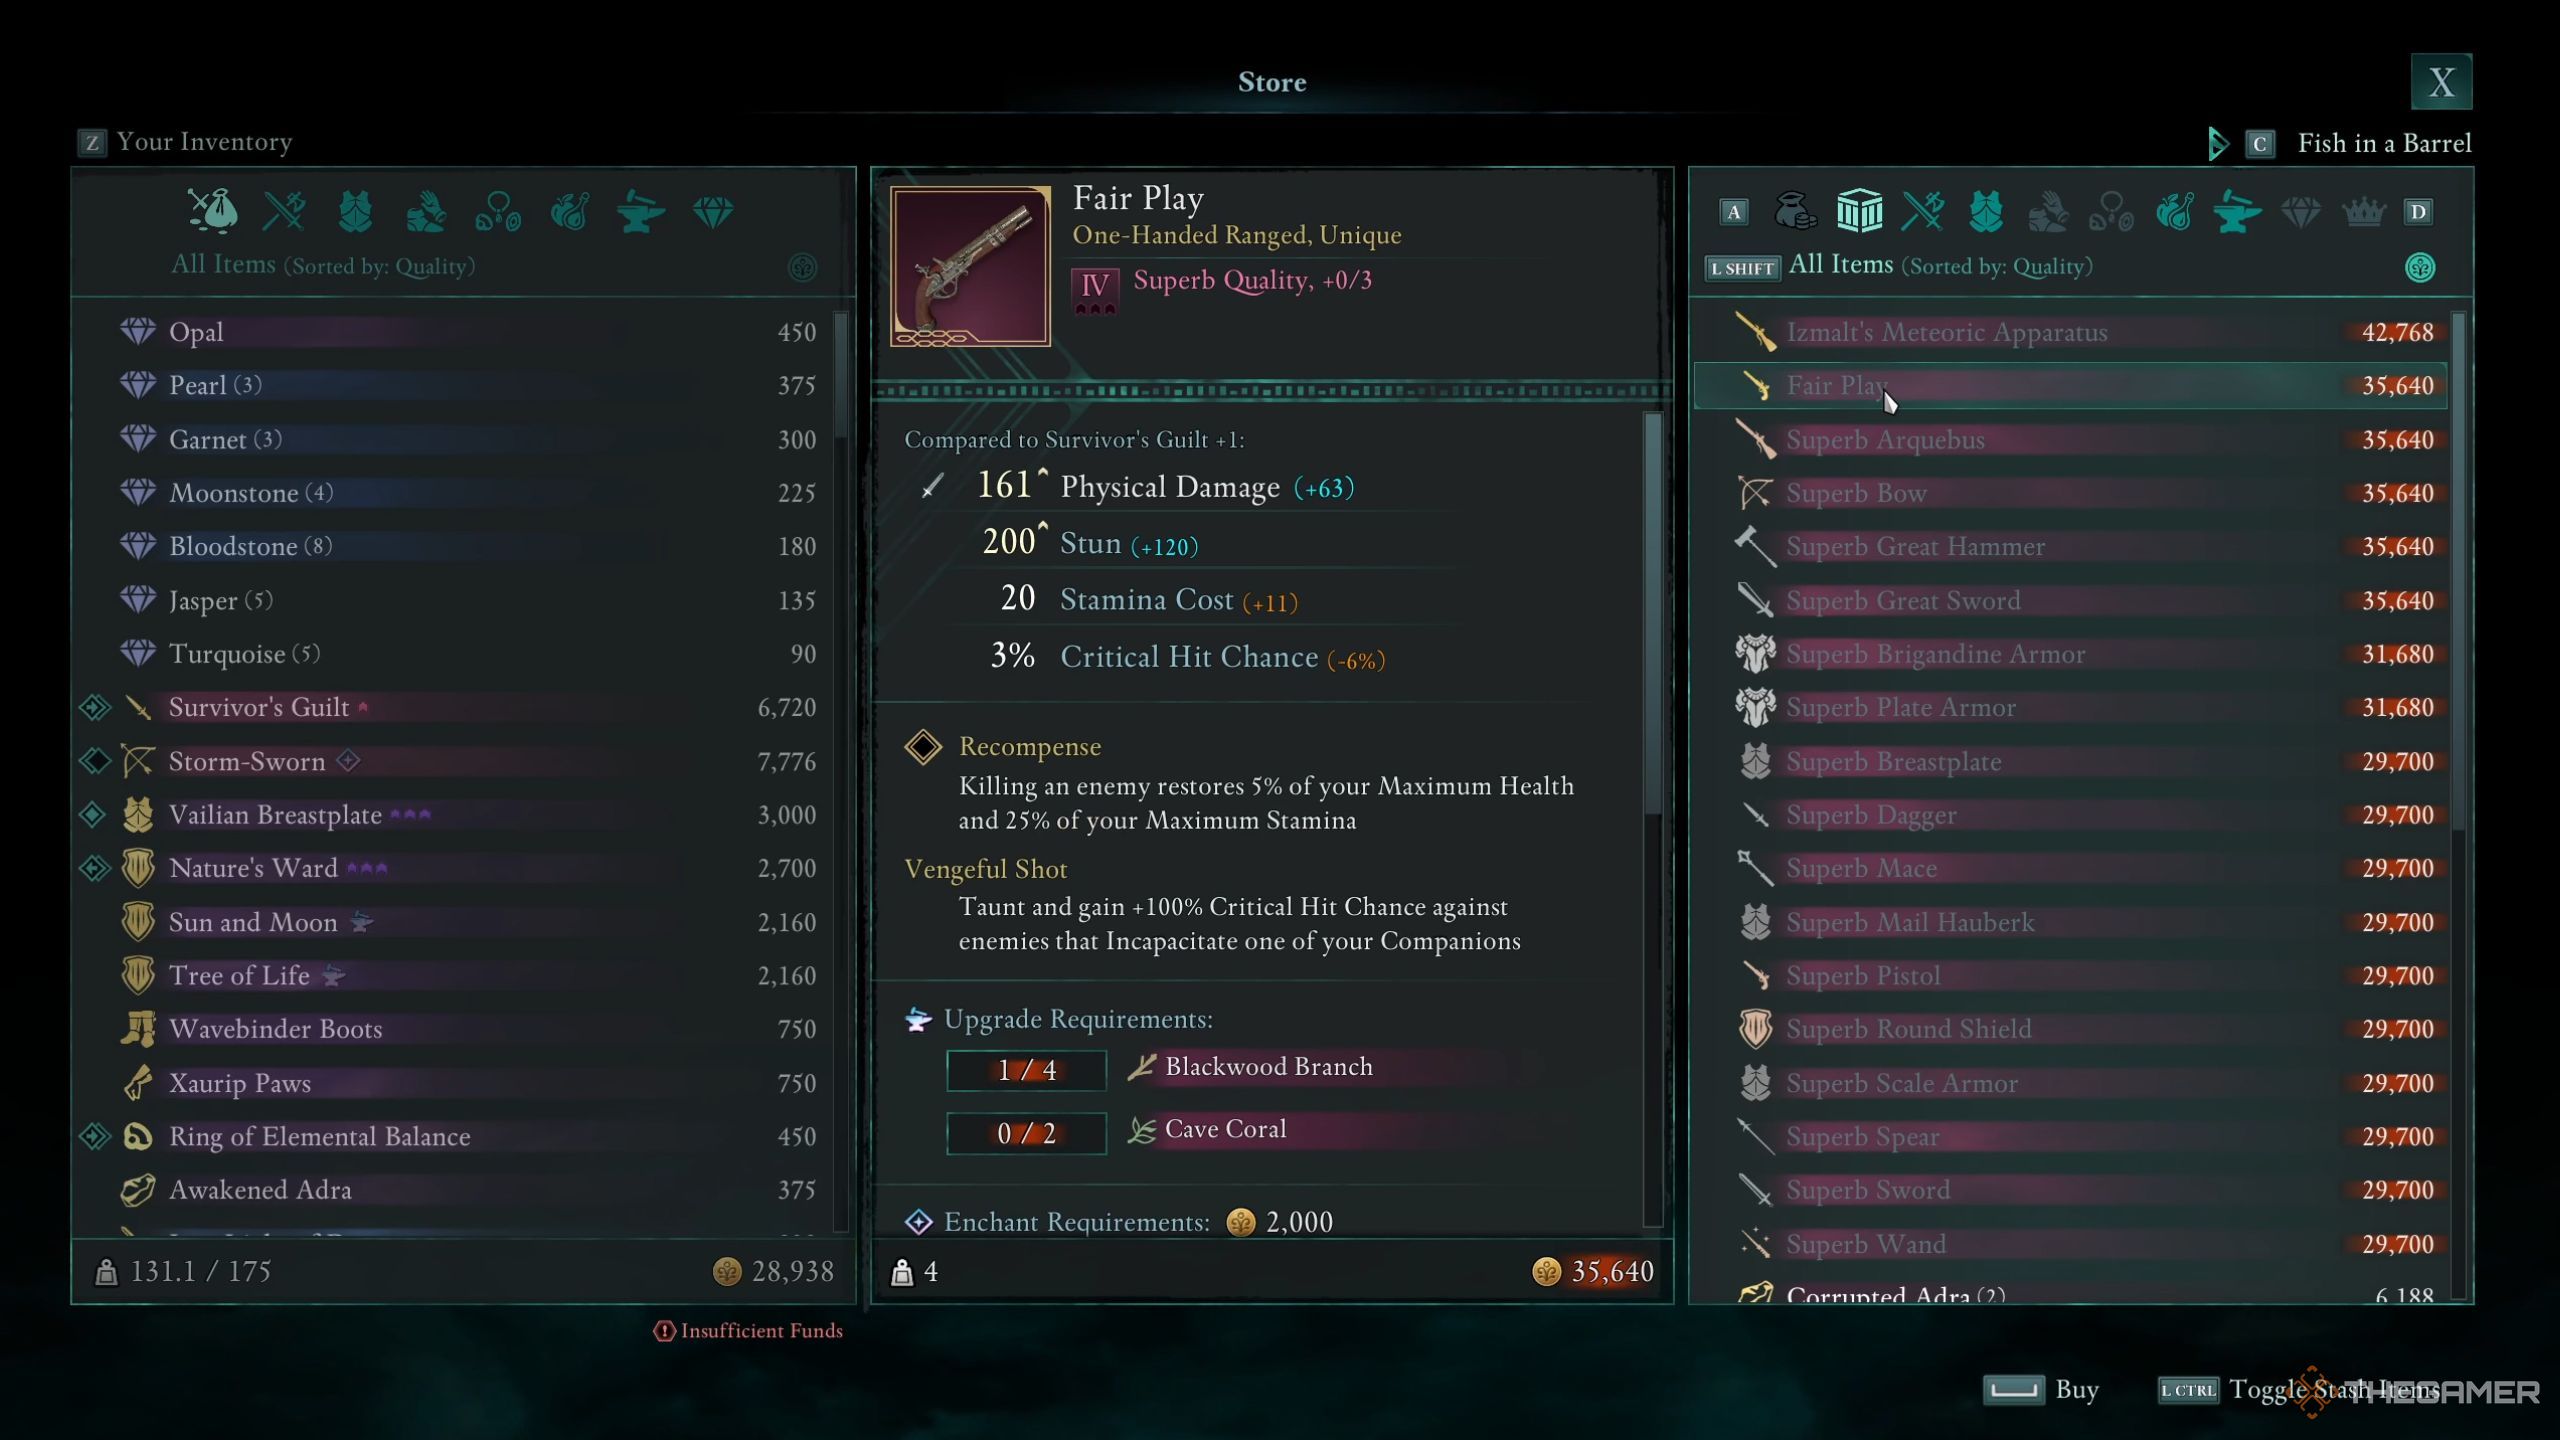
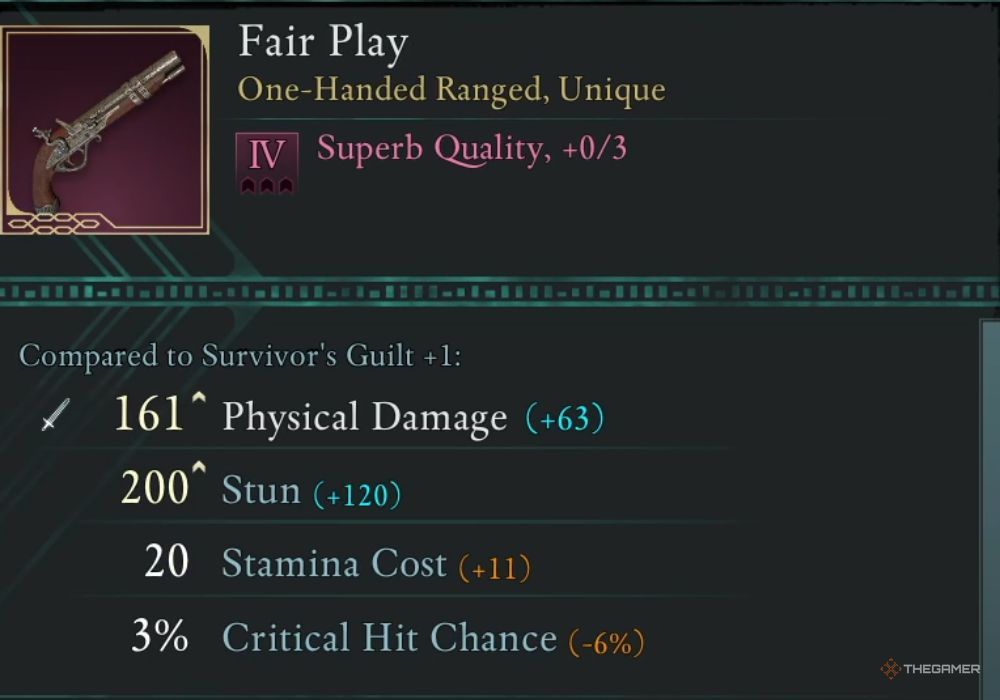
For 35,640 currency, you can buy the Fair Play pistol from the trader called Kampeki in Thirdborn.
Should an enemy knock over your comrade, you can provoke them instead, resulting in a guaranteed 100% critical hit chance.
In the vast expanse of the Great Sand Sea, you’ll discover the Whisper of Exiles staff. The location is marked exactly where ‘Great’ is denoted on your map. To retrieve it, you’ll need to employ lockpicks to unlock the chest that holds it.
This staff enhances your attacks by adding extra cold damage to successful hits, and furthermore, it causes cold build-up to surrounding foes following a complete combo sequence.
Two-Handed Ranged Weapon Locations
Arquebuses and Bows are among the game’s top-tier weapons, capable of delivering impressive scores, but they require both of your equipment slots for usage. Additionally, the reload time on an Arquebus can sometimes be rather lengthy.
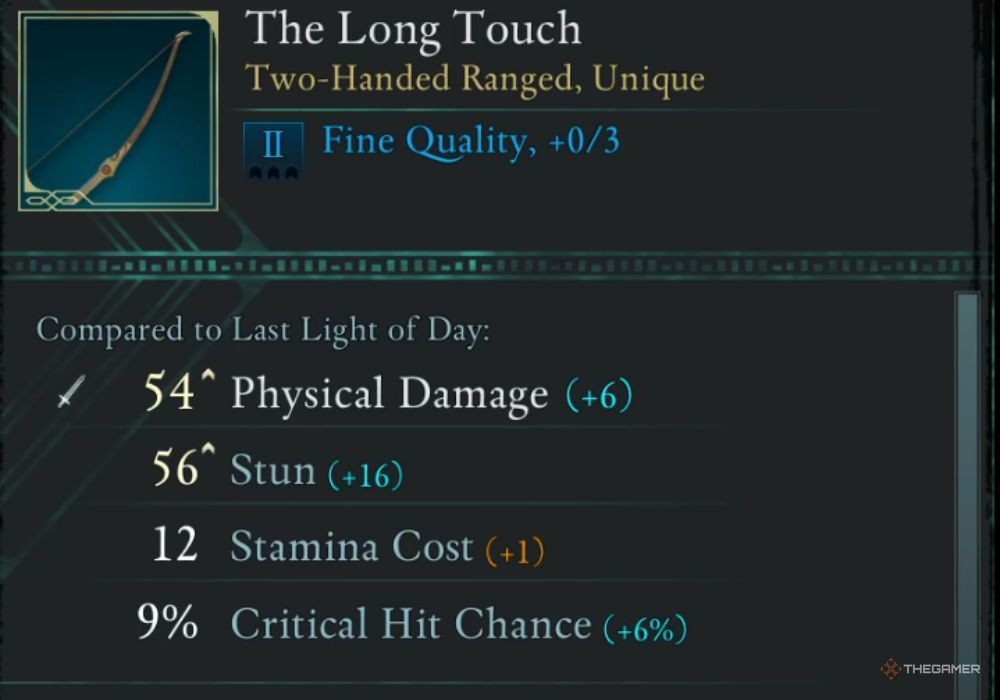
This bow can be bought from the merchant on the top of Northern Paradis for 4,320 currency.
It boosts the harm dealt to fully healthy foes, and at the same time, raises your critical strike probability when performing a powerful attack after aligning your shot.
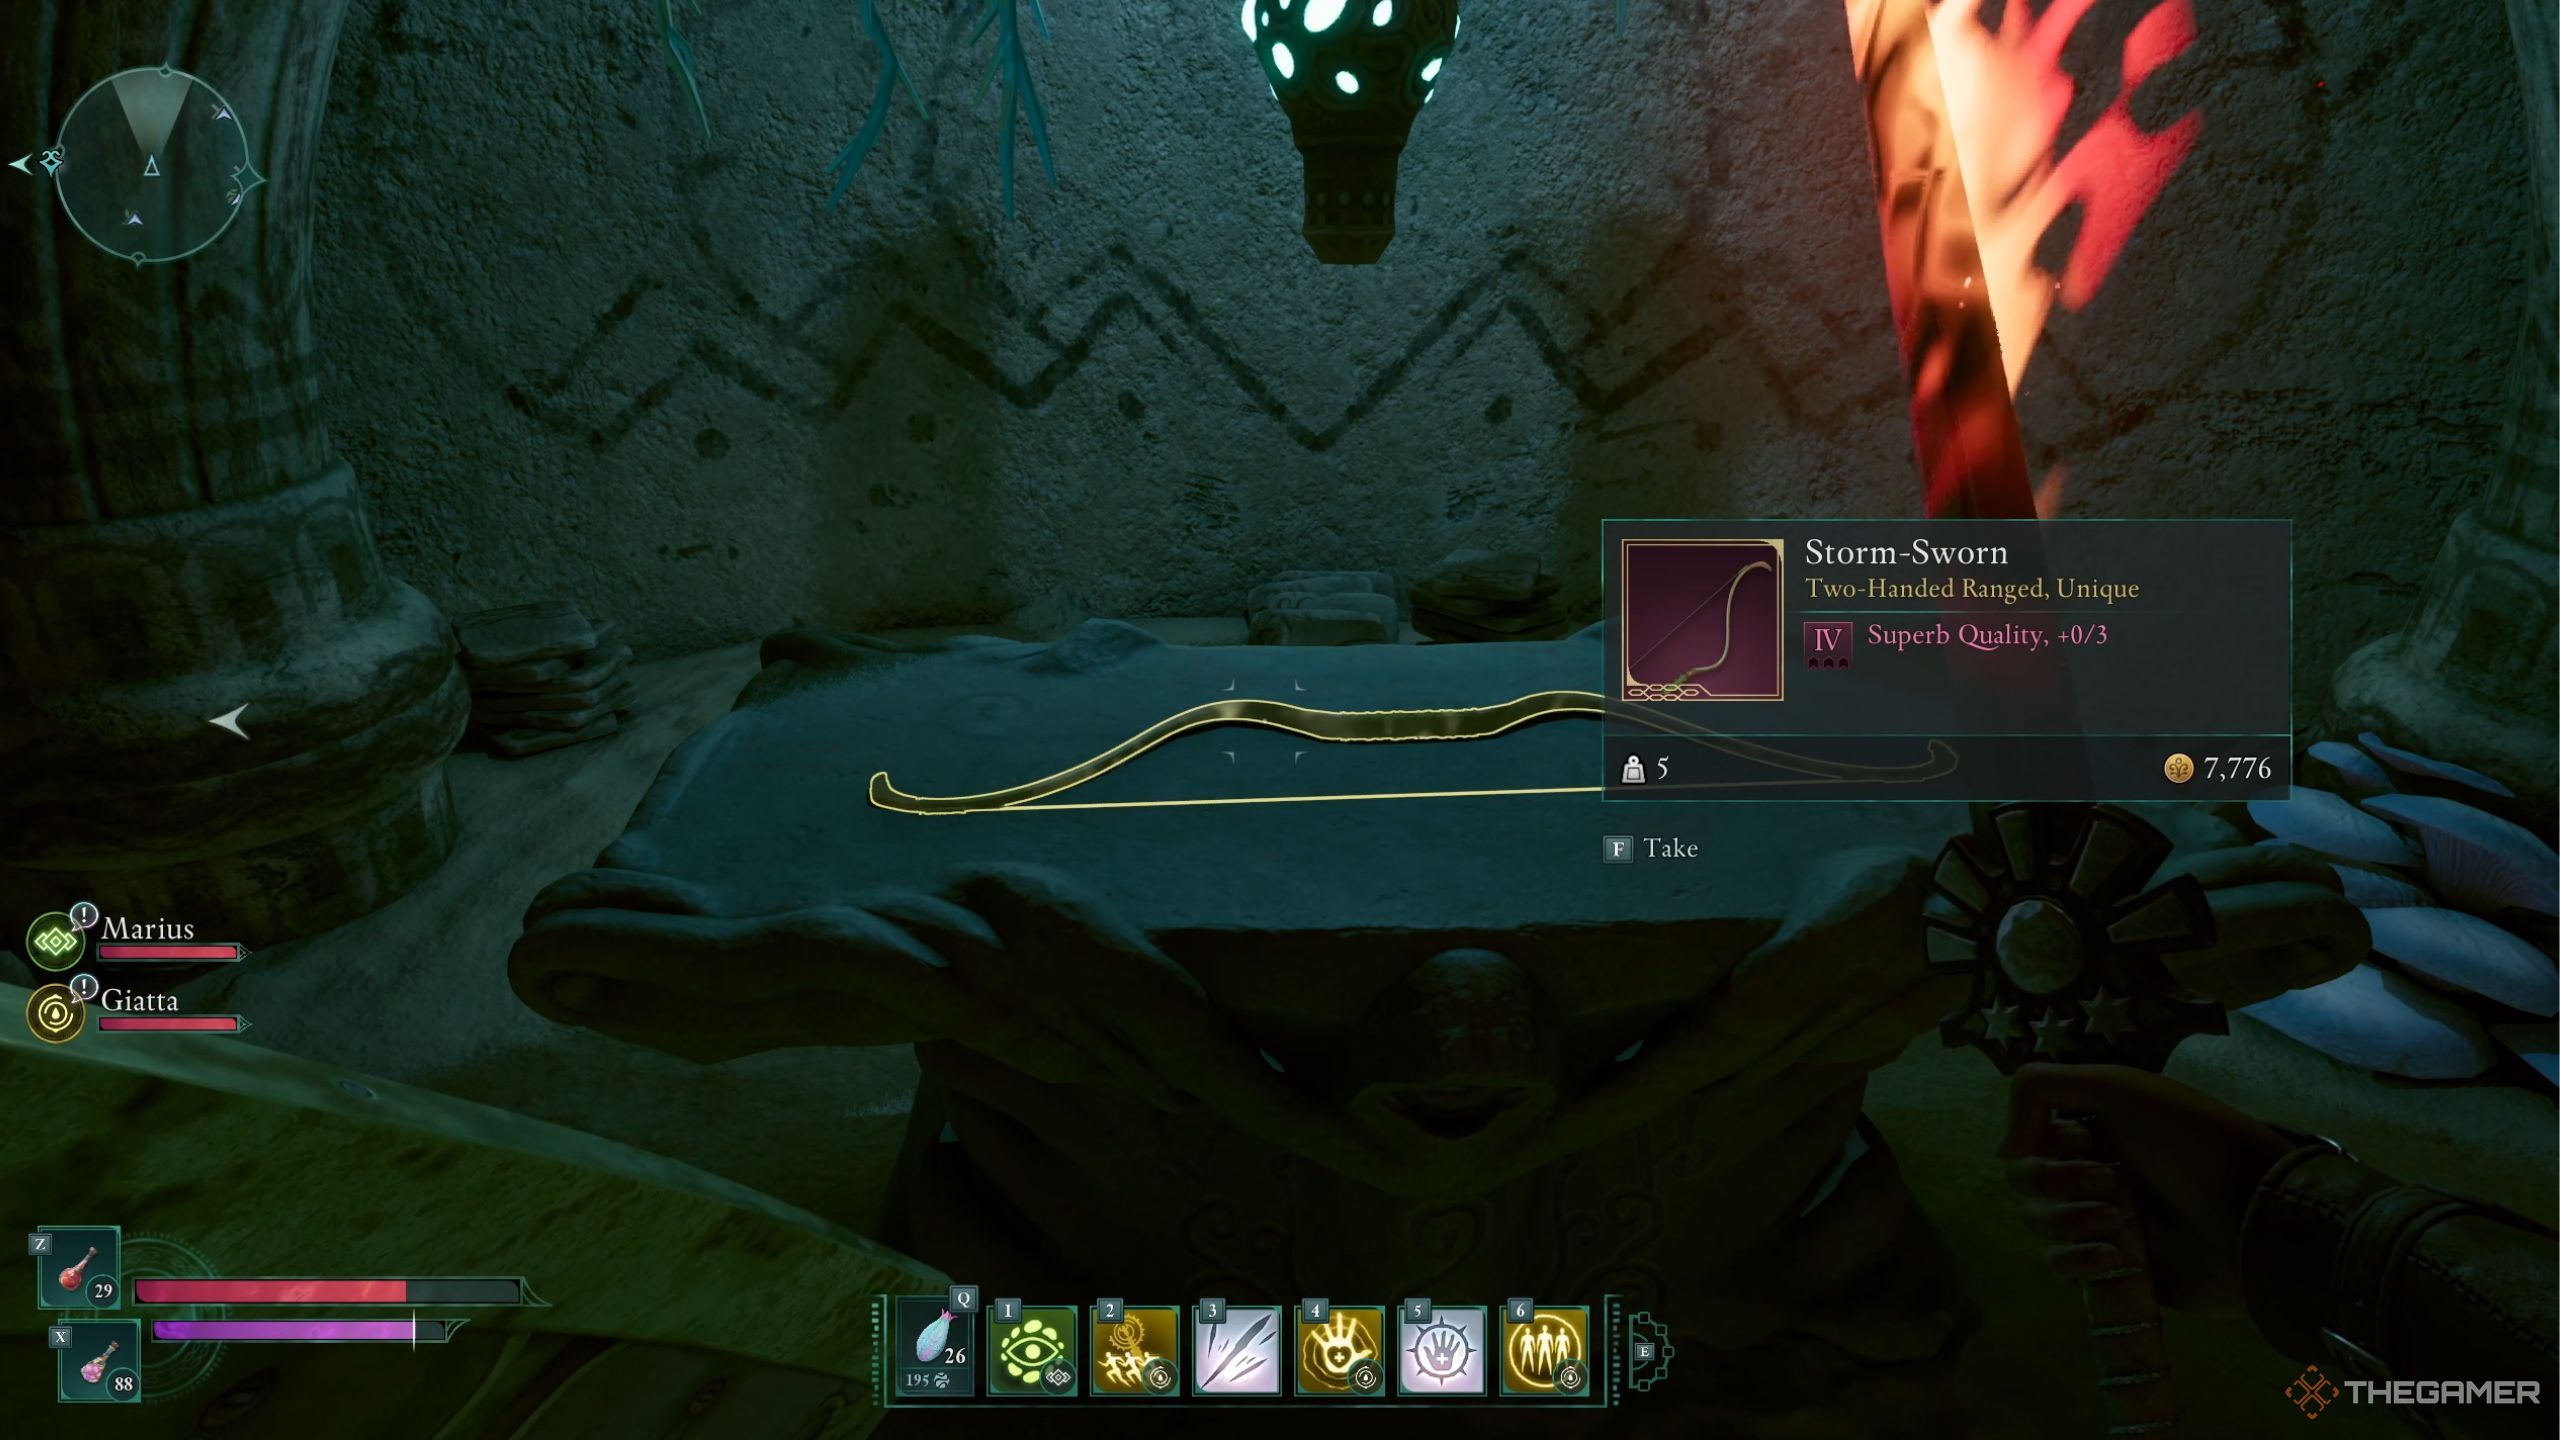
To obtain the Storm-Sworn bow, navigate your way northeastward from the Leviathan’s Hollow in Shatterscape. After descending several flights of stairs, you will come across a locked door. To access the bow within, activate three generators nearby to unlock this door.
When you vanquish an enemy, this captivating bow has the ability to inflict both stunning and shock build-up on surrounding foes, as well as increasing the shock damage it deals upon successful hits.
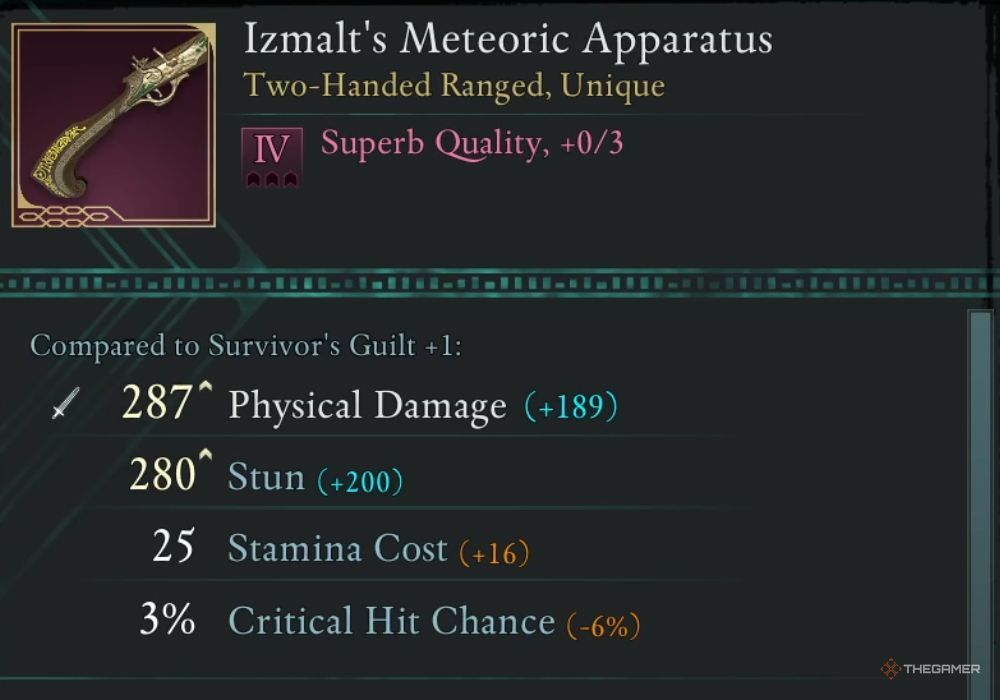
The cost for Izmalt’s Meteoric Apparatus is a substantial 42,768 units of currency. If you happen to possess such an amount, you are welcome to seek out the vendor named Kampeki, who can be found in Thirdborn.
Using this tool, close-combat strikes deliver a significant stun and push opponents away. Defeating an enemy causes a buildup of fire damage to surrounding foes.
Off-Hand Weapon Locations
Ultimately, this collection encompasses all the shields and Grimoires that can be fitted into the second equipment slot of your setup, given that a single-handed item is placed in the initial slot.
In this area, you can discover an initial, rare off-hand item that is situated in the same location as the Pyromancer’s Key in Dawnshore. To locate it, proceed to the northern part of Berath’s Gateway, then venture westward. You will come across a hiking trail here, and the item will be at the end of this path on higher ground.
Utilize these unique spellbooks for casting spells such as Fan of Flames, Arcane Veil, Grimoire Snap, and Missile Salvo.
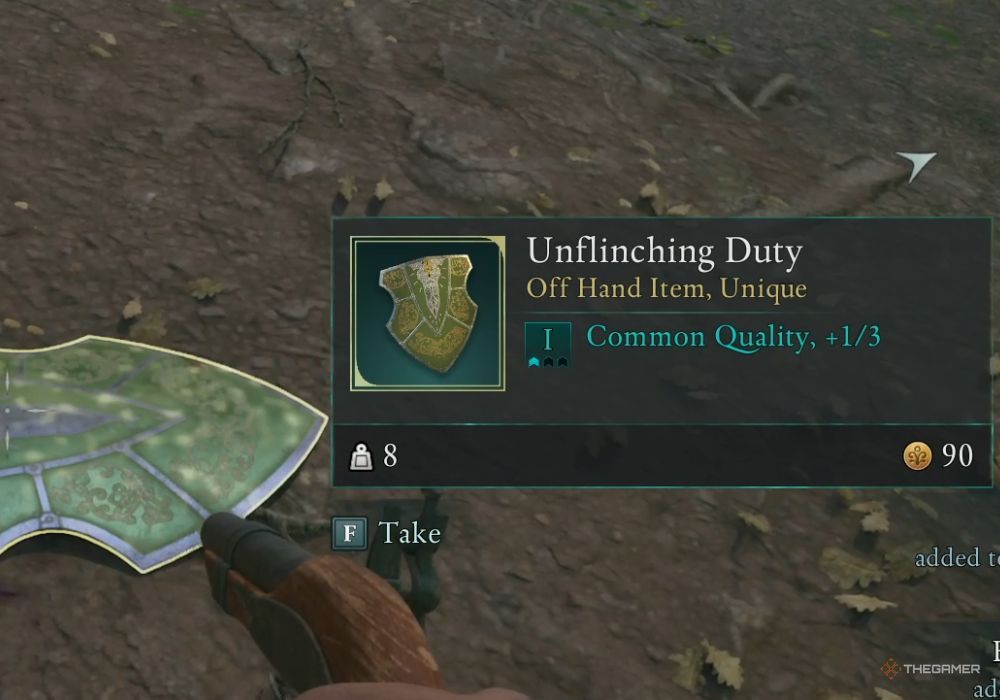
In the course of advancing the main plot, you can obtain the relentless protection known as Unflinching Duty. This is achieved by moving through the storyline and ultimately reaching the end of Strangleroot in Dawnshore, where you engage in combat with a bear. Upon successfully vanquishing the bear, the shield will be found lying near the body of a fallen soldier.
As a fan, I’d express it like this: “This gadget provides a slight dodge opportunity, saving me from taking melee damage, and at the same time, boosts my endurance.
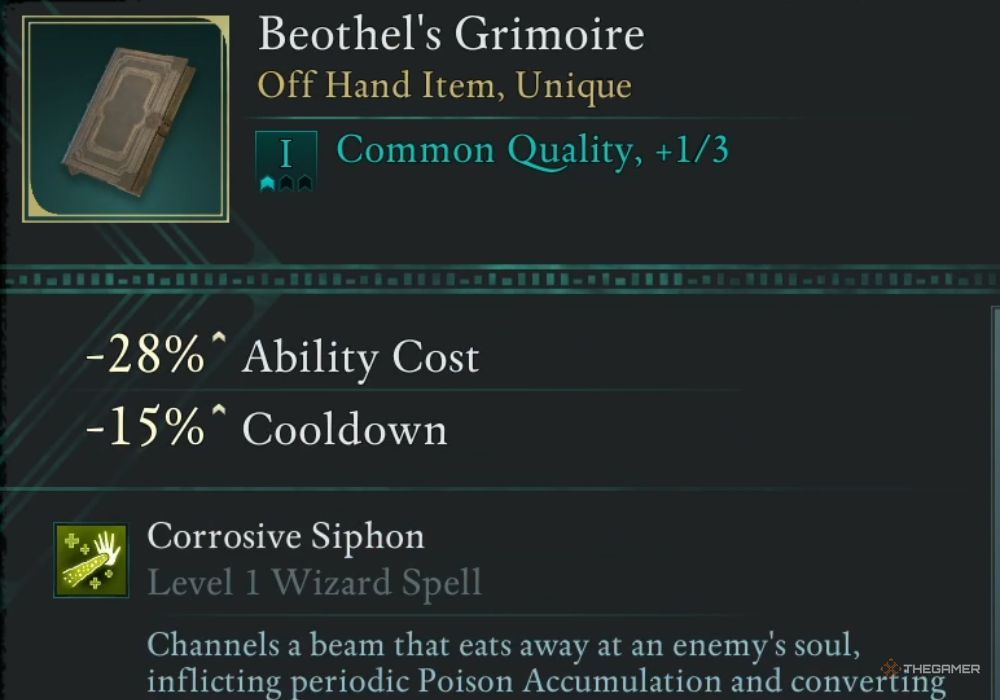
In the Market District region of Paradis, you can effortlessly acquire Beothel’s Grimoire from a vendor named Merylin.
In addition to its lower cost and cool-down period, this item allows you to activate Corrosive Siphon, Arcane Veil, Parasitic Staff, and Blizzard capabilities as well.
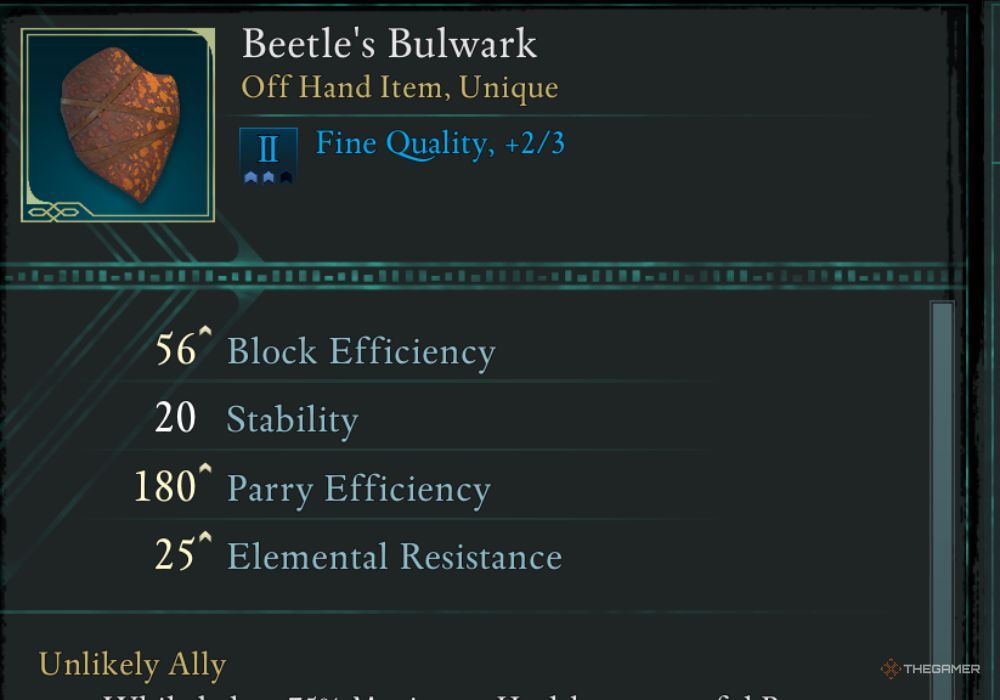
The protective Barricade known as Beetle’s Bulwark can be purchased from Sanza’s Trading Post, located in the north of Paradis, for a cost of 4,500 units of currency.
When you execute a successful parry with less than 75% health, it boosts the item’s ability to withstand fire and calls upon a beetle ally to aid you in combat.
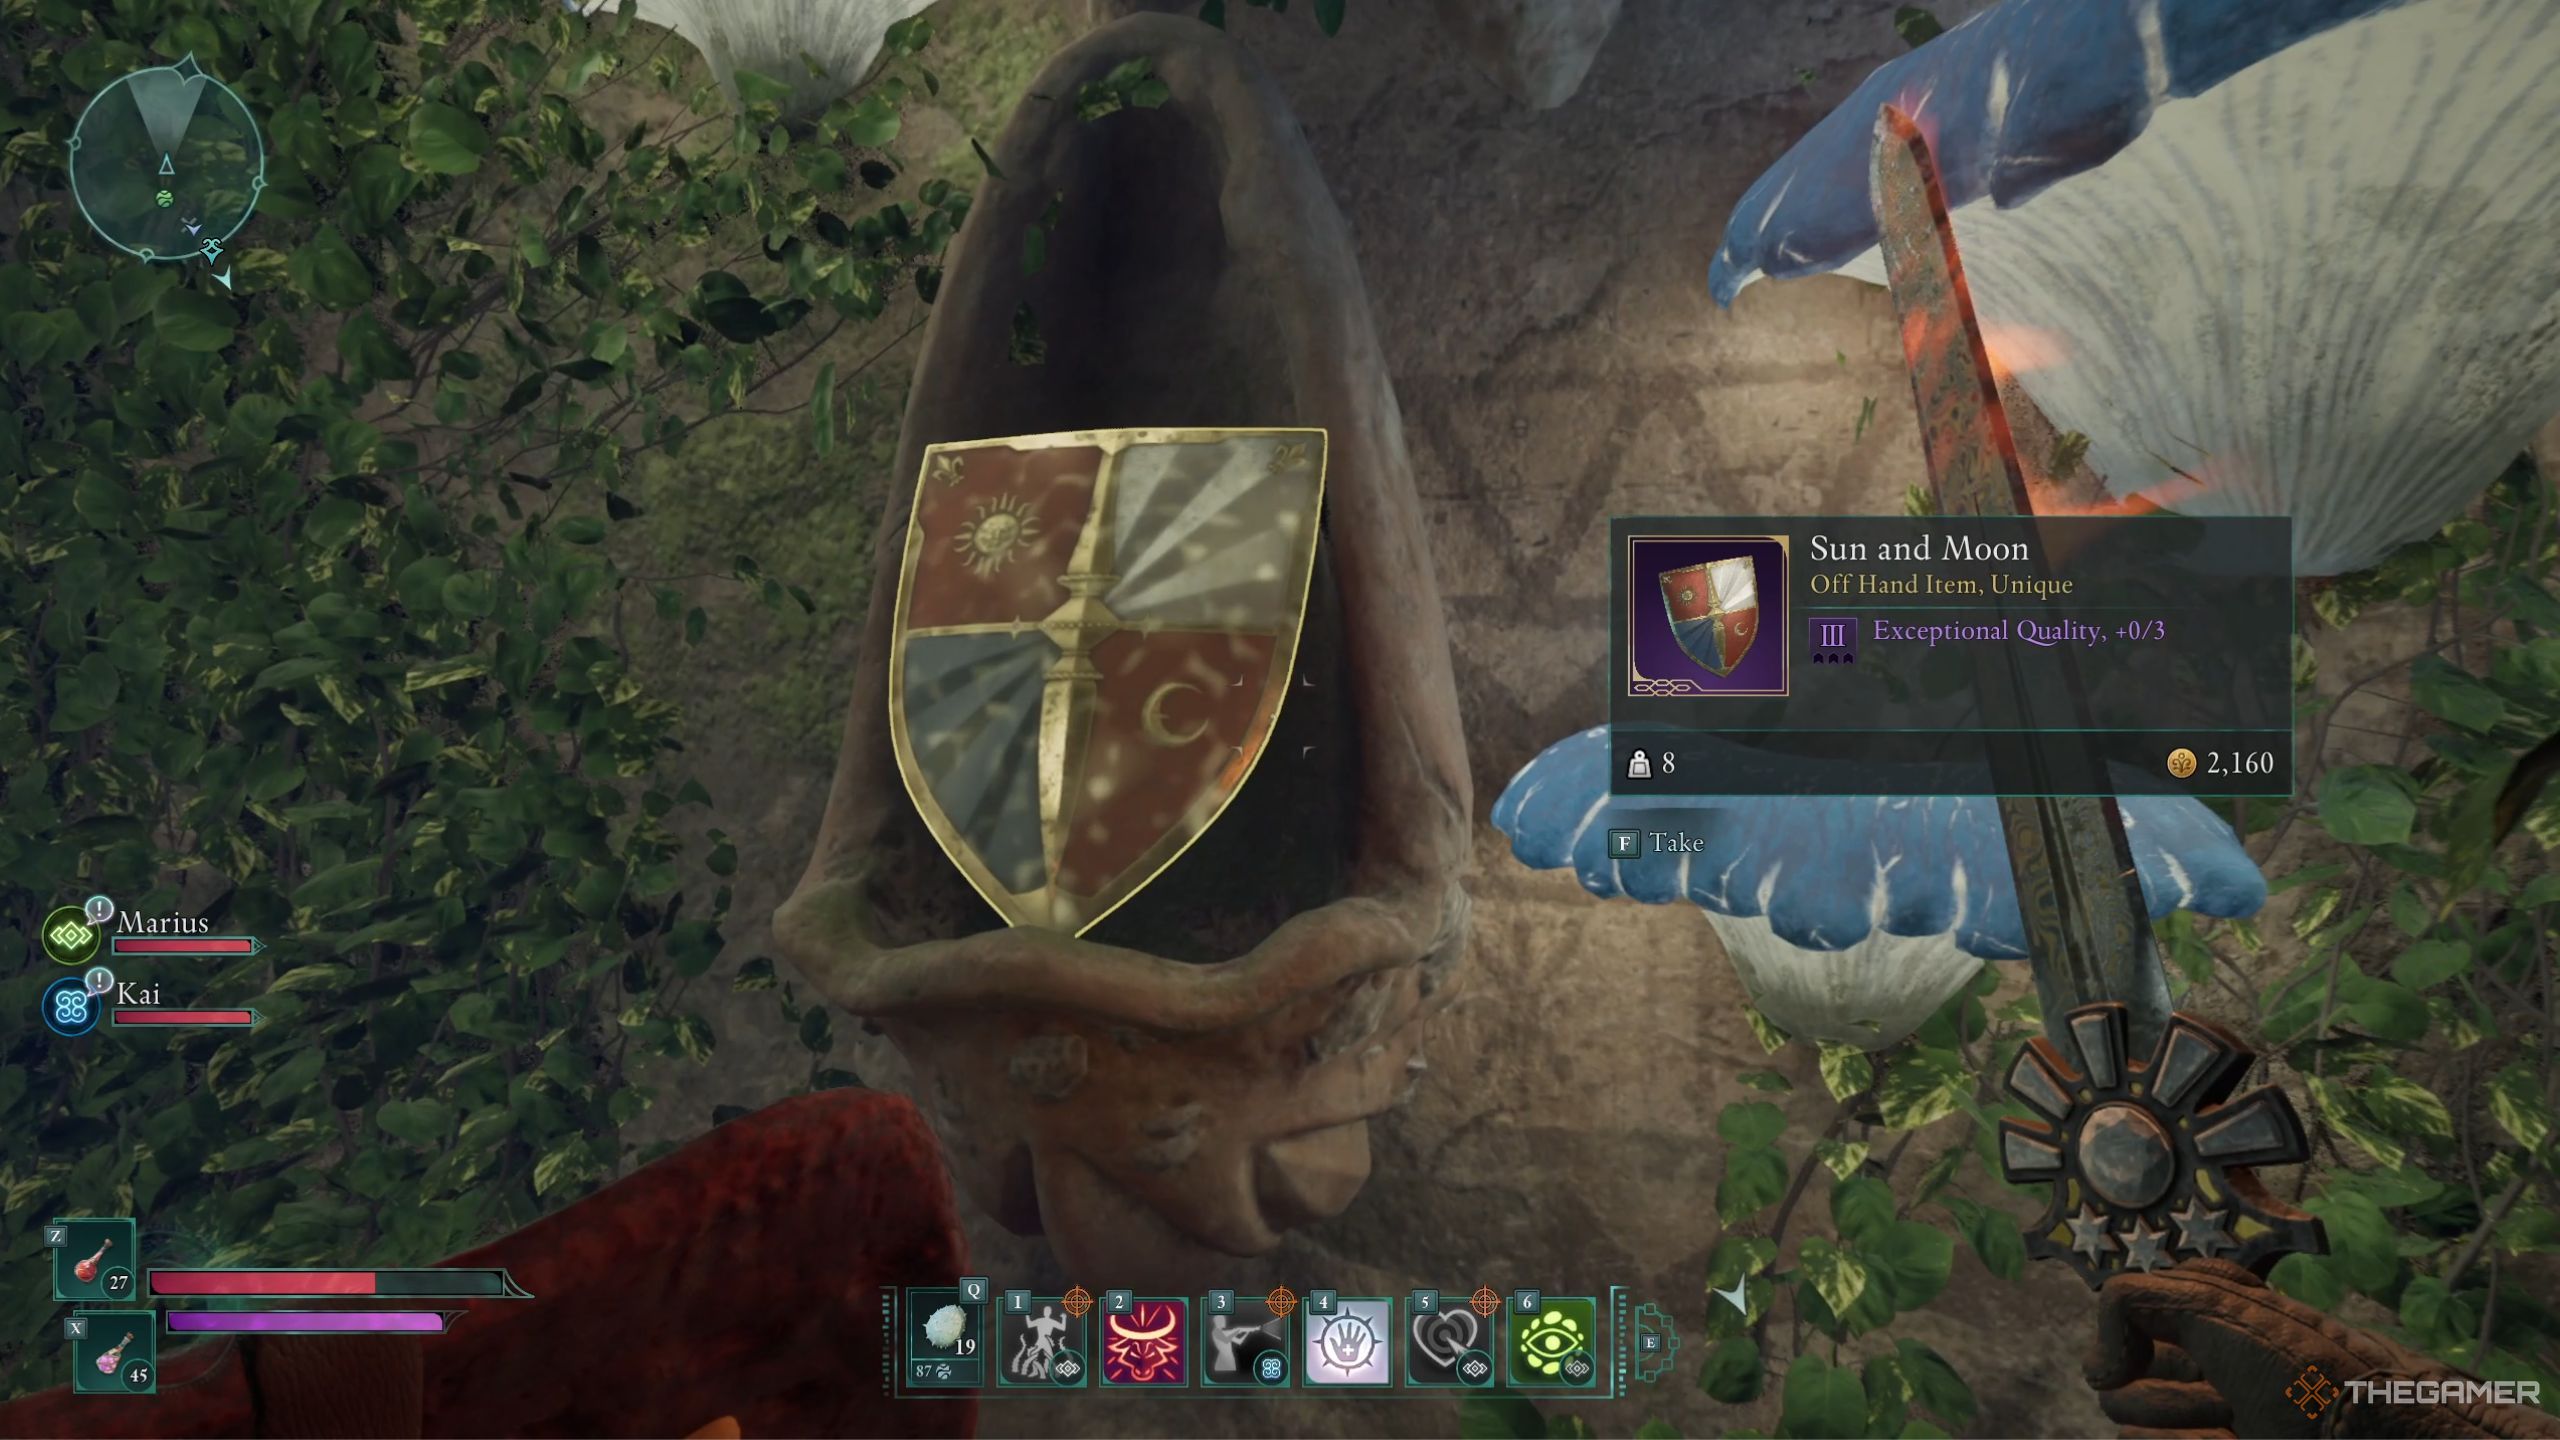
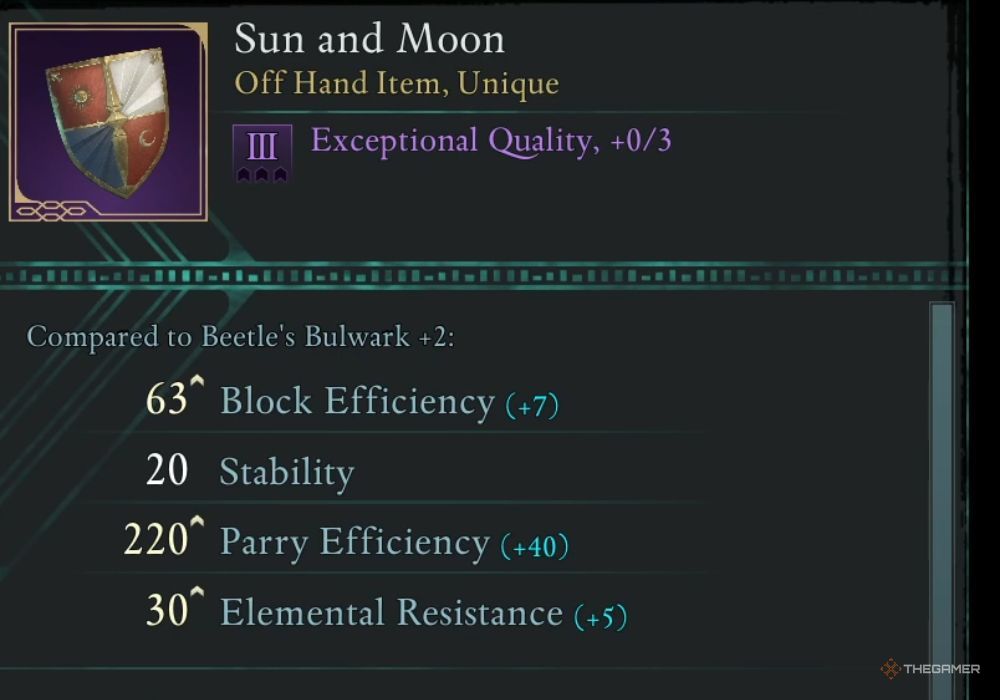
The Sun and Moon shield is located in the region known as Felipe’s Depression, which is situated below Fior Mes Iverno on your map. Near Felipe’s notes, you’ll discover an old, rusty key. Use this key to unlock a door by climbing the nearby stairs, and you’ll acquire the shield.
Hope that helps! If you need more assistance or have any other questions, feel free to ask. 😊
It restores your wellbeing during the day and vitality at night when your specific stats are low.
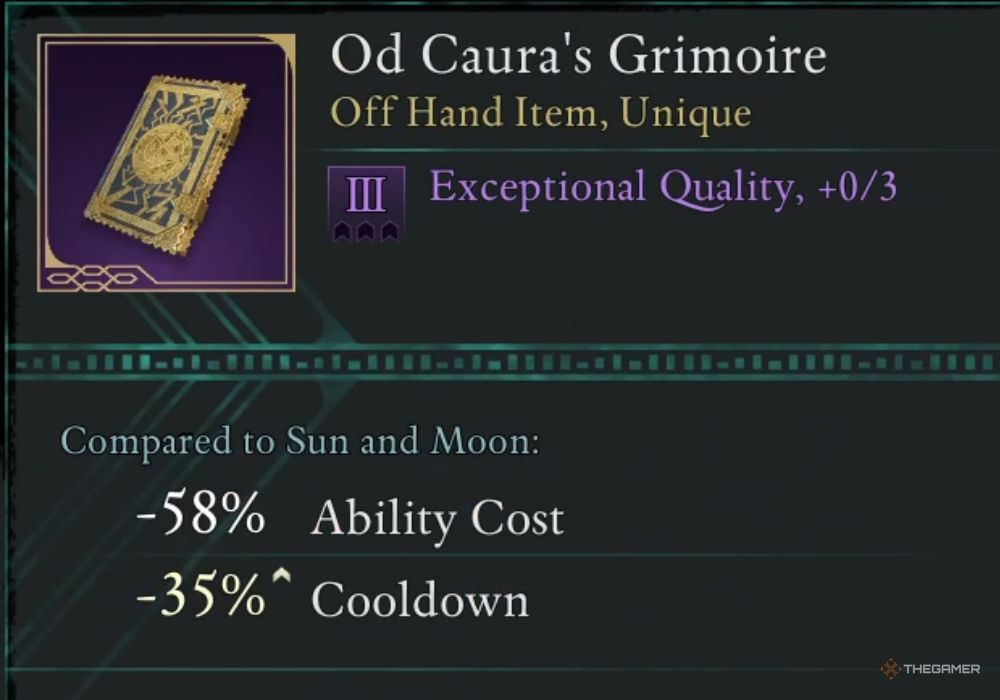
In the hidden cache of Emerald Stair’s Pargrun, you can acquire Od Caura’s Grimoire by finding the golden treasure chest situated in the heart of the subterranean region.
Besides significantly reducing the price and cooling time for these abilities, the Grimoire also grants you the power to cast Chill Blades, Ring of Fire, Returning Storm, and Pull of Eora spells.
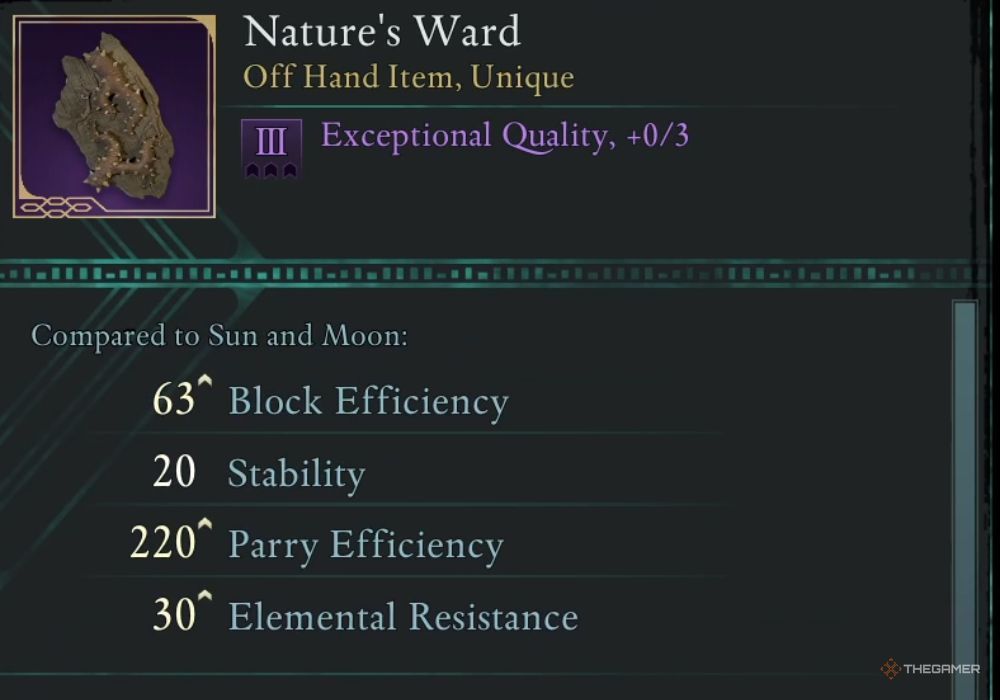
Nature’s Ward is a strong shield that can be acquired at the Earthy Aegis treasure map location.
There’s a 50% probability that it will cure your poisoned state, and additionally, it will inflict damage on opponents following a successful block of their melee attacks.
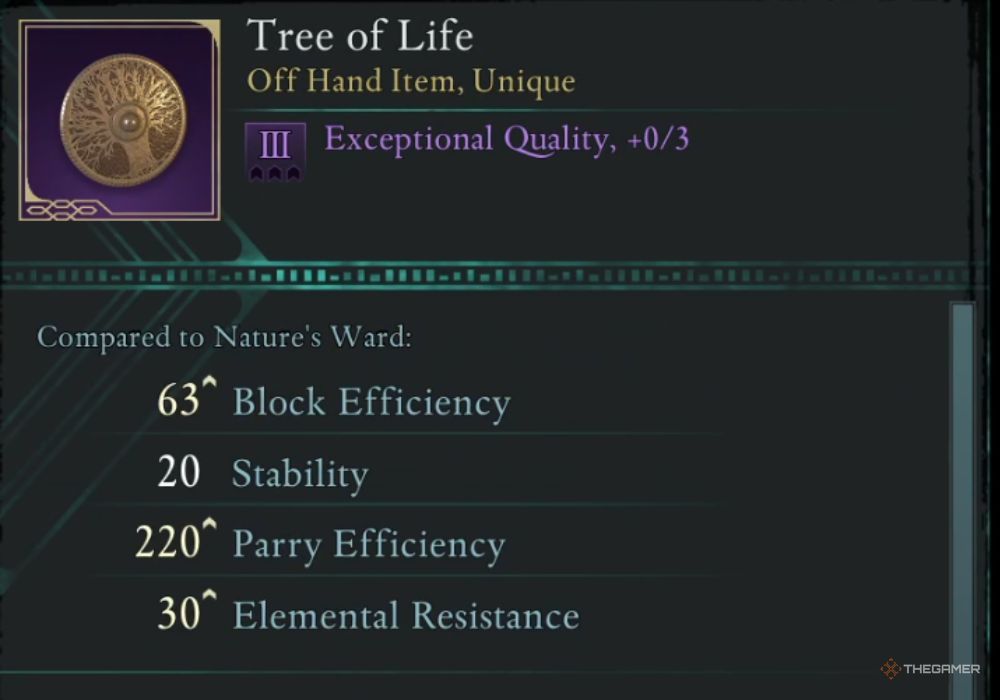
You can get the Tree of Life shield by completing all the bounties in Emerald Stairs.
If your health is below 70%, it has the ability to gradually restore it, and it additionally offers a modest level of resistance against Fire, Frost, and Shock damages.
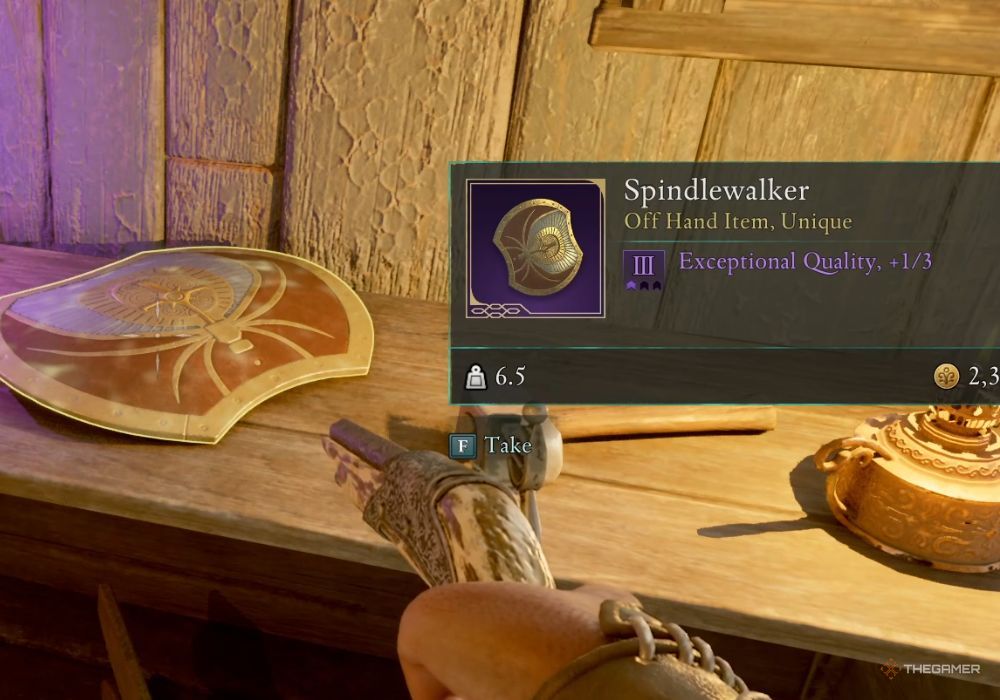
To locate the Spindlewalker shield, head to the most southerly structure within the Scaedclef district of Scatterscarp. It’s essential that you retrieve the laboratory key as part of the “That Which Remains” quest if you wish to gain access to this location.
With this protective barrier, your movement won’t be hindered by the webs any longer. On a successful block, however, the shield can launch webs back at your adversaries to hinder their progress instead.
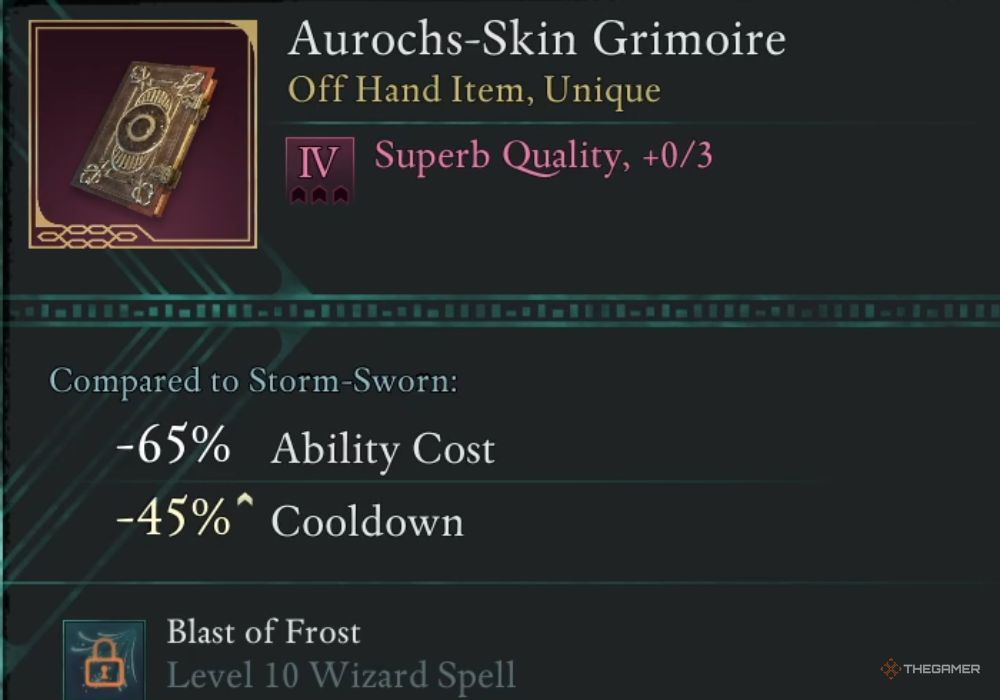
In the last chamber of mage Ryngrim’s realm, you’ll discover the Aurochs-Skin Grimoire. Following your conversation with her, you’ll be able to access a hidden room located on the right side of the chamber, which will grant you this artifact.
With this, you’ll be able to employ skills such as “Frost Blast”, “Multiple Shots”, “Ice Column”, and “Arcane Seal”.
This grants you access to various abilities including “Frozen Strike”, “Salvo of Missiles”, “Pillar of Ice”, and “Enchantment of Arcane”.
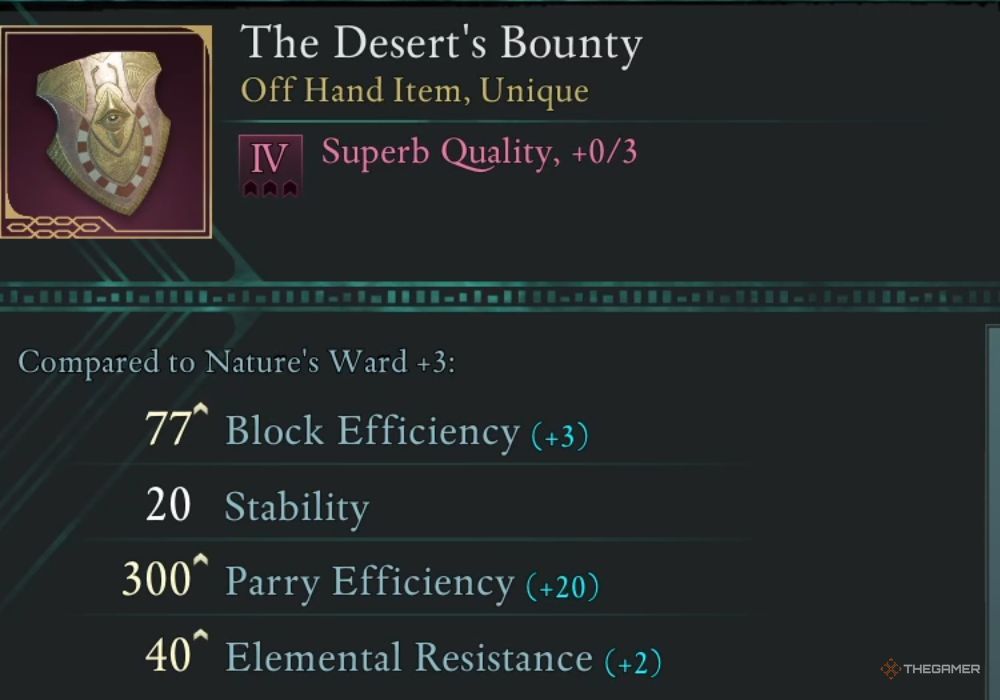
In the enigmatic Shatterscarp region, nestled within the Sand Sea Ruins, I stumbled upon the elusive Desert’s Bounty shield. Hidden among these ancient remnants, I discovered a chamber with an immense pool at its heart. By the pool’s edge, I unveiled a concealed passageway, where the shield lay in wait, its discovery made possible by a cleverly placed switch nearby.
In addition to boosting your endurance, this shield offers protection against both fire and frost buildup – it’s fire-resistant during the day and resistant to frost accumulation at night.
Read More
- Clash Royale Best Boss Bandit Champion decks
- Mobile Legends January 2026 Leaks: Upcoming new skins, heroes, events and more
- Clash Royale Furnace Evolution best decks guide
- Vampire’s Fall 2 redeem codes and how to use them (June 2025)
- Best Hero Card Decks in Clash Royale
- Mobile Legends: Bang Bang (MLBB) Sora Guide: Best Build, Emblem and Gameplay Tips
- Best Arena 9 Decks in Clast Royale
- Clash Royale Witch Evolution best decks guide
- Brawl Stars Steampunk Brawl Pass brings Steampunk Stu and Steampunk Gale skins, along with chromas
- Brawl Stars December 2025 Brawl Talk: Two New Brawlers, Buffie, Vault, New Skins, Game Modes, and more
2025-02-14 06:39