One-handed swords of extraordinary might and intrigue are prominent within the arsenal of weapons found in the expansive world of Elden Ring. These weapons vary greatly in form and scale, ranging from basic designs to those that seem almost supernatural in their destructive capabilities.
When choosing a weapon to wield in the Lands Between, players ought to consider arming themselves with equally formidable charms to complement the power and potential of these mighty weapons. While straightforward stat enhancements are beneficial, there are numerous artifacts that seamlessly blend with the enchantment of brandishing a massive sword and inflicting colossal damage on any adversary.
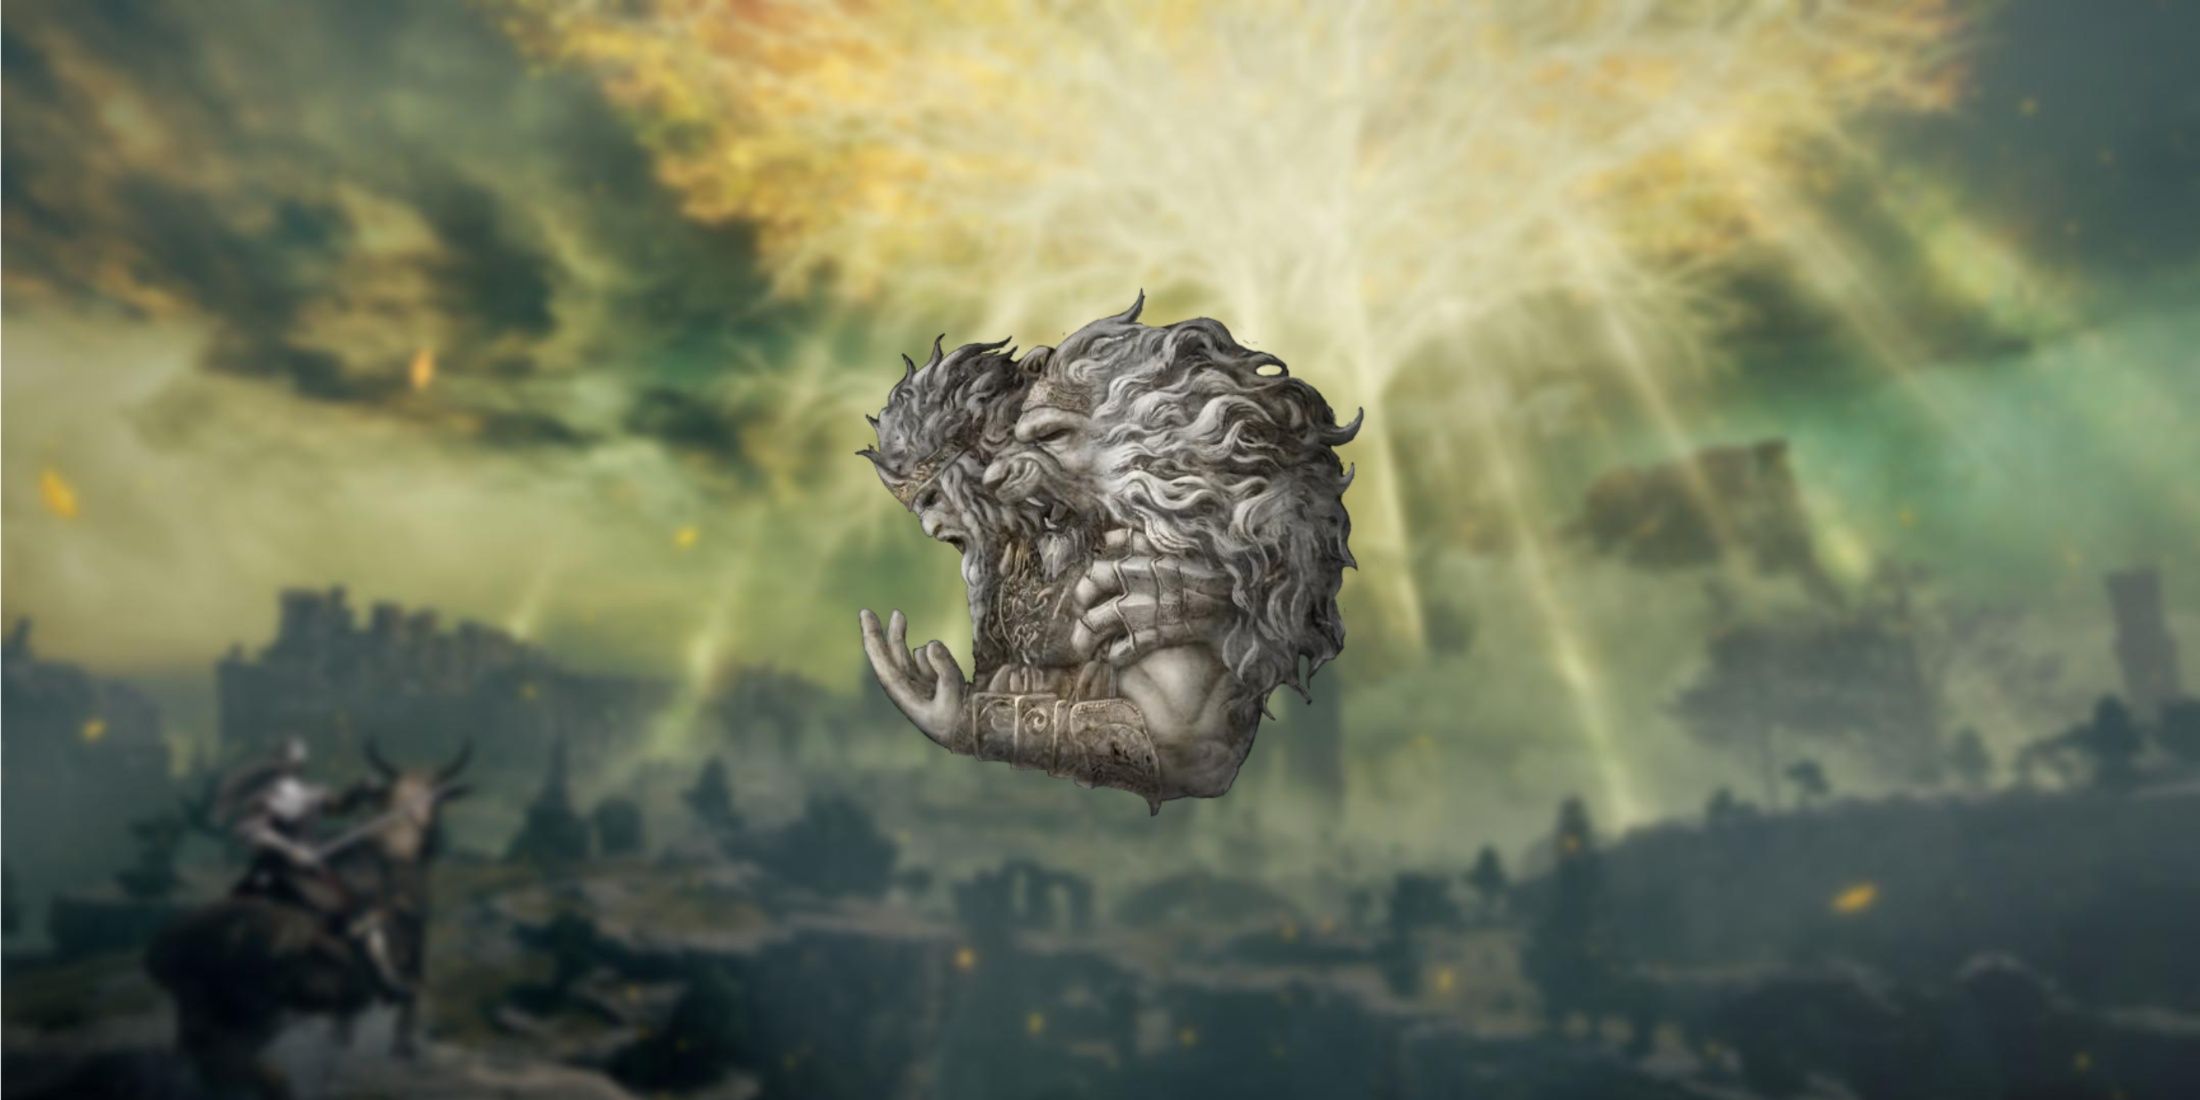
8. Godfrey Icon
Fire, Earth, Wind And Lightning
- Raises the attack power of charged spells and skills by 15%
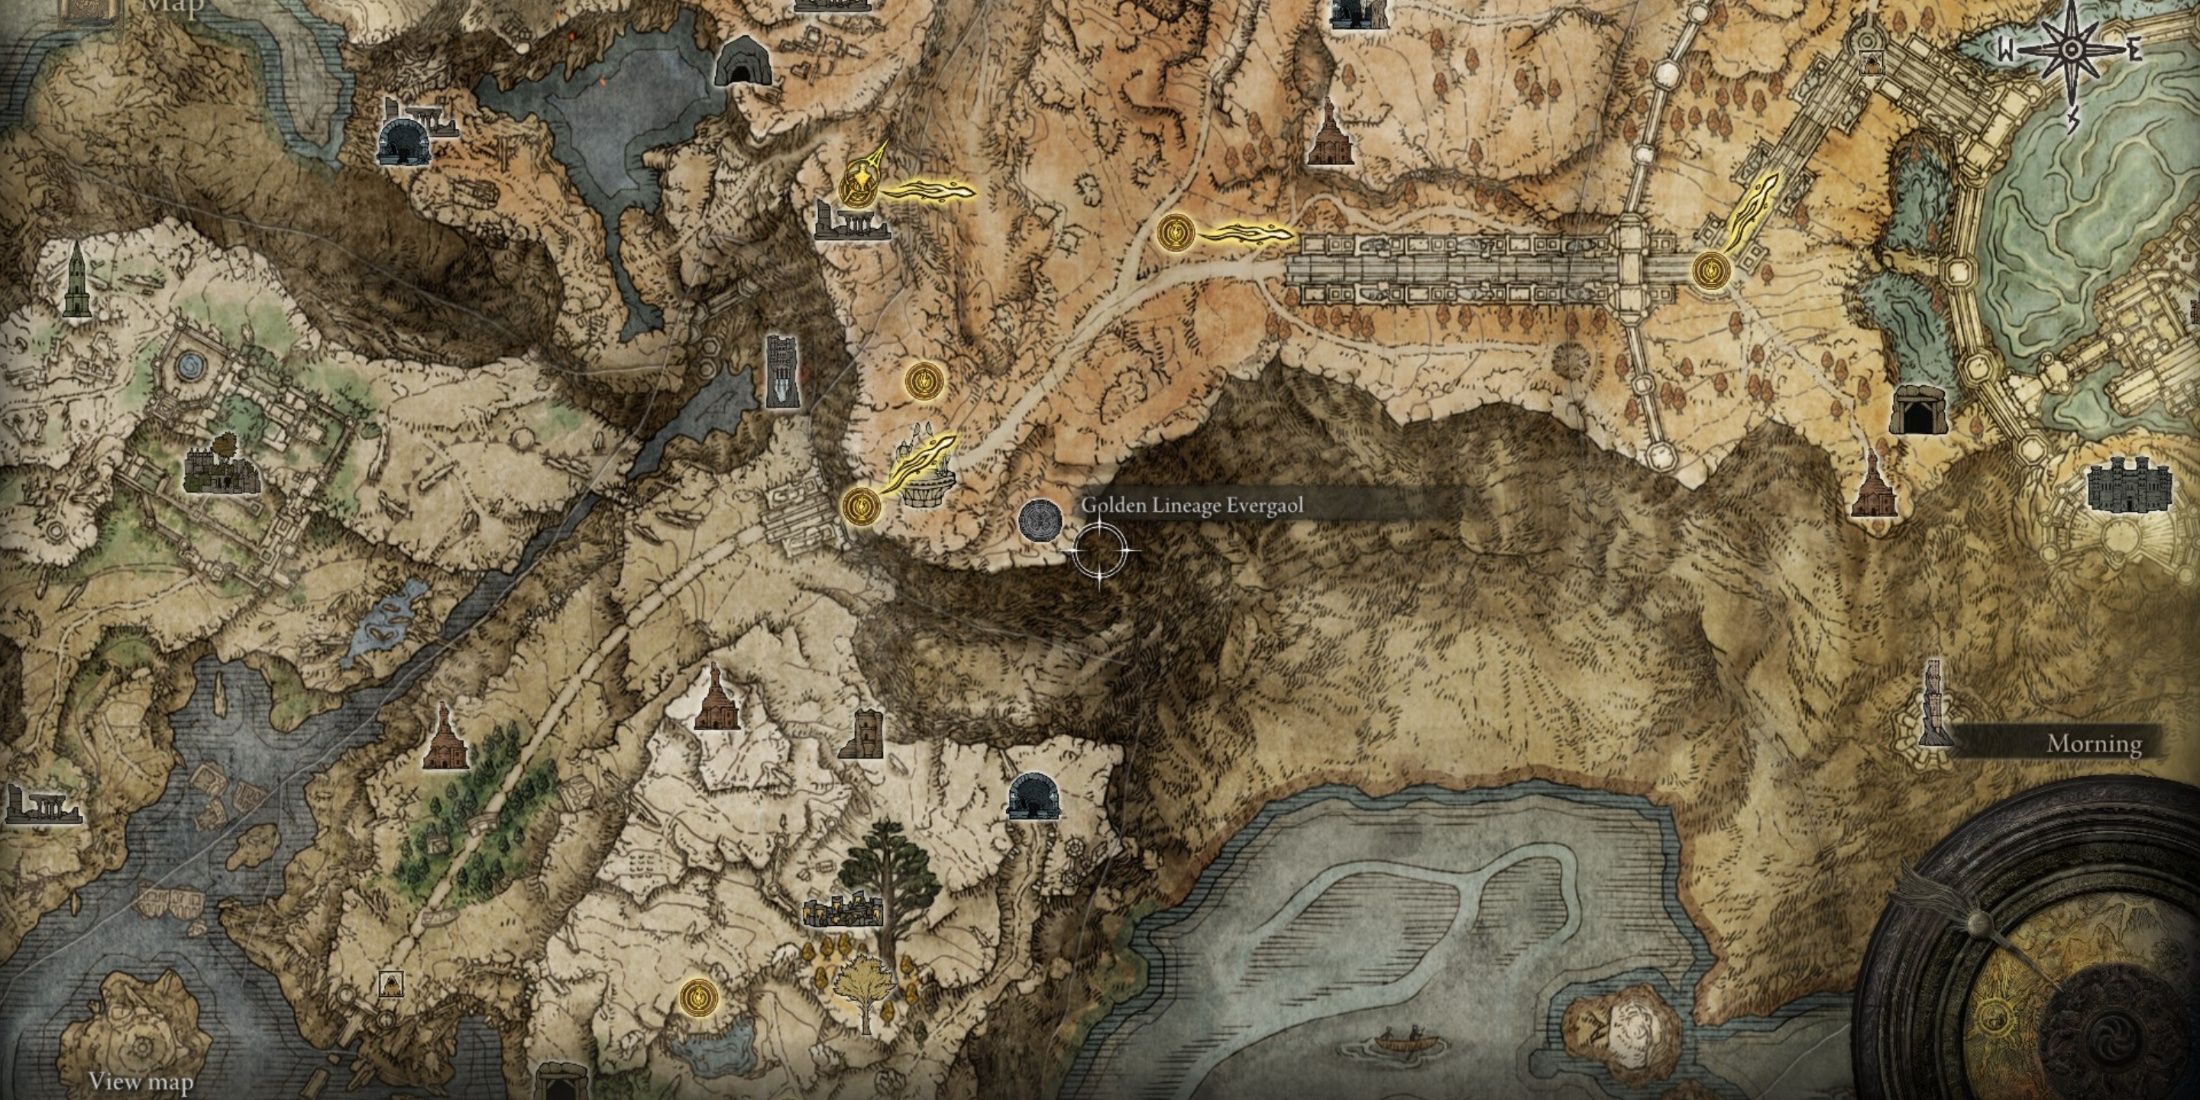
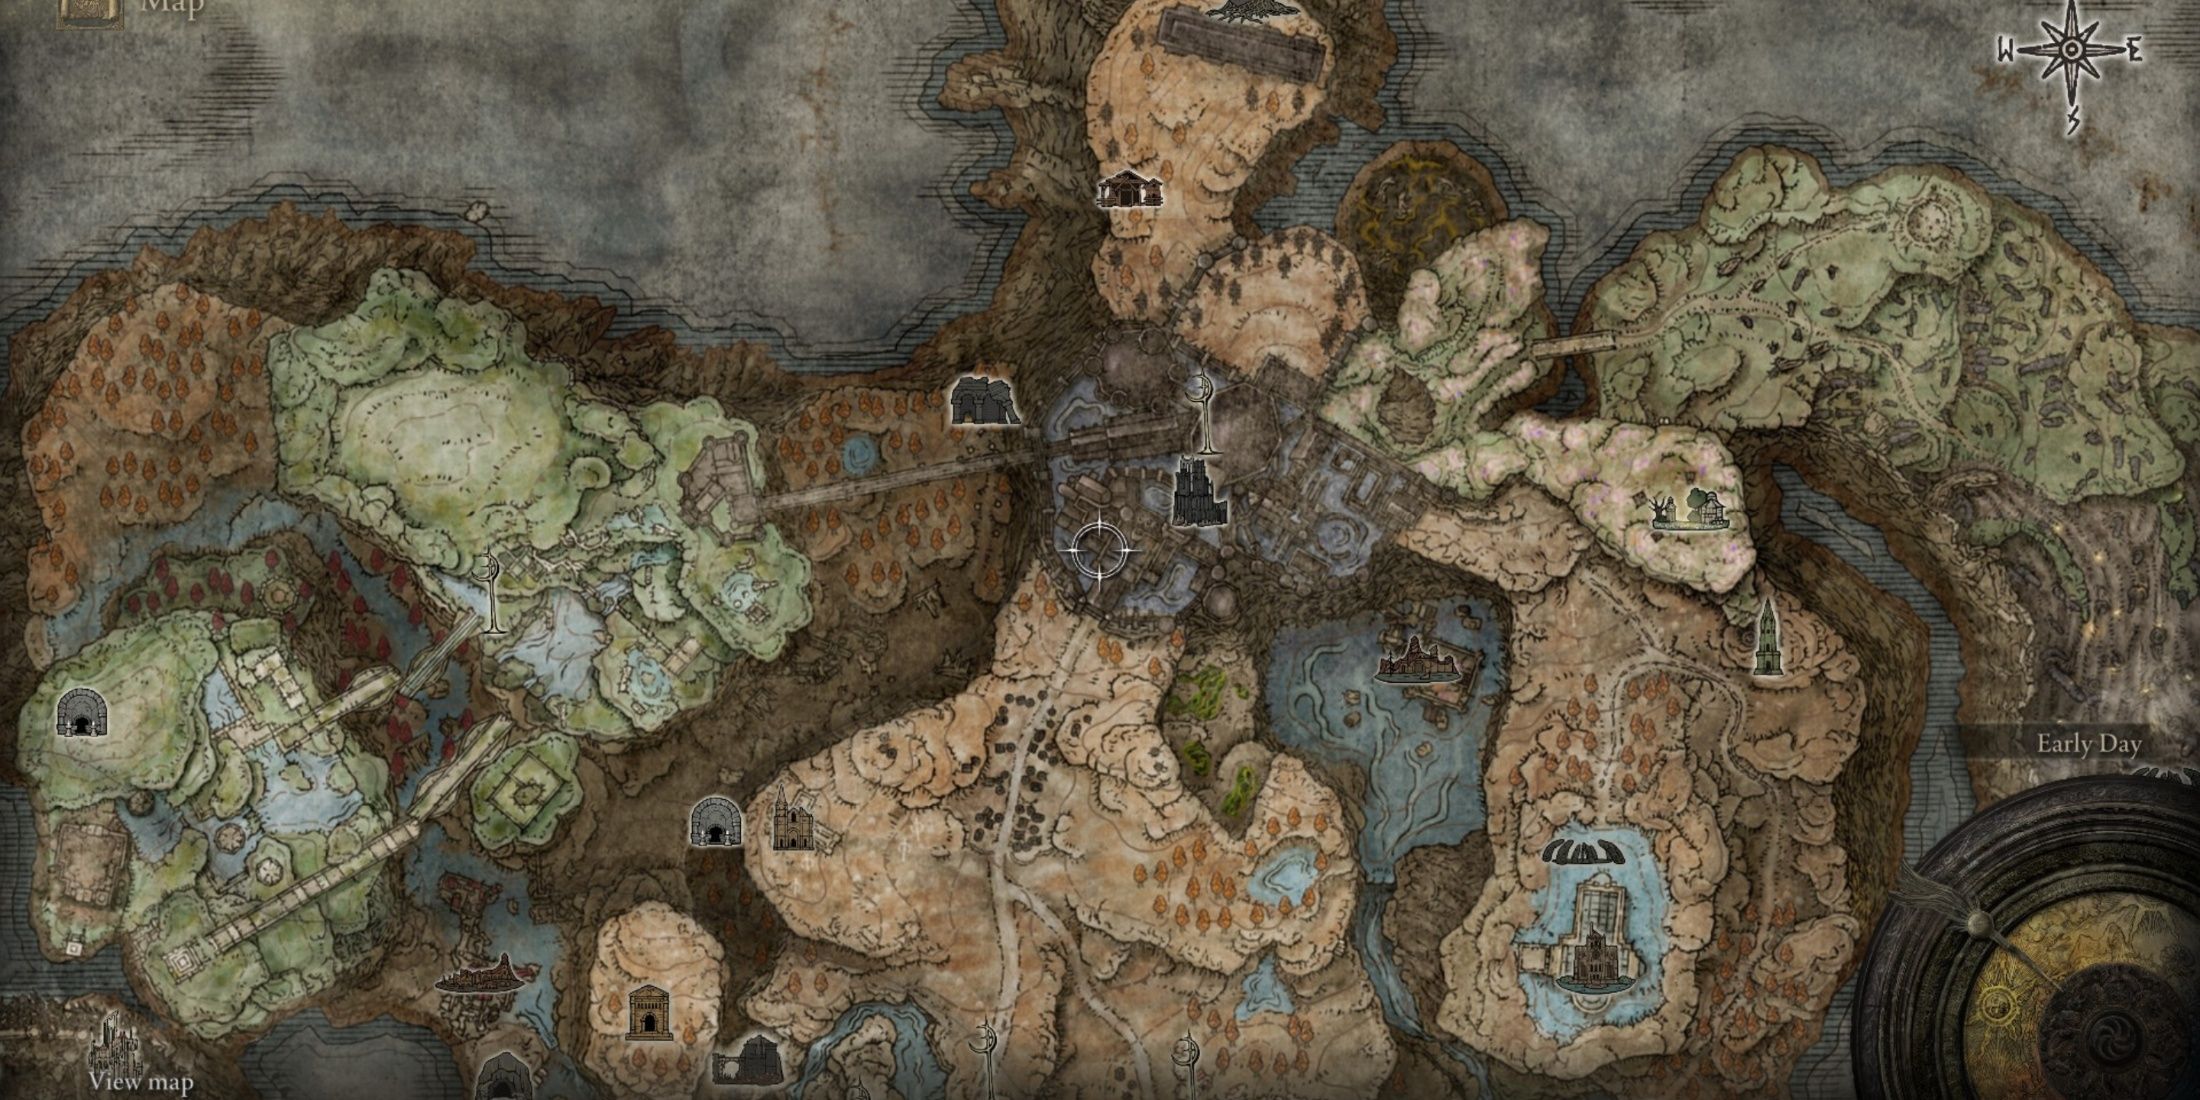
- Drops from Godefroy the Grafted, found in Golden Lineage Evergaol. Full Guide.
- Base Game
The Godfrey Icon Talisman, provided midway through the game, significantly amplifies all charged skill weapons and performs exceptionally well against later bosses. When combined with special weapons like the Moonlight Greatsword, it transforms this heavy frost weapon into a rapid-fire spell-casting tool.
In many cases, a greatsword may possess an impressive skill set, but players might struggle to fully leverage these abilities due to high focus point (FP) costs or other constraints. However, with a 15% increase in effectiveness, the weapon becomes a significant addition to most greatsword-focused builds, finding its place within numerous strategies.
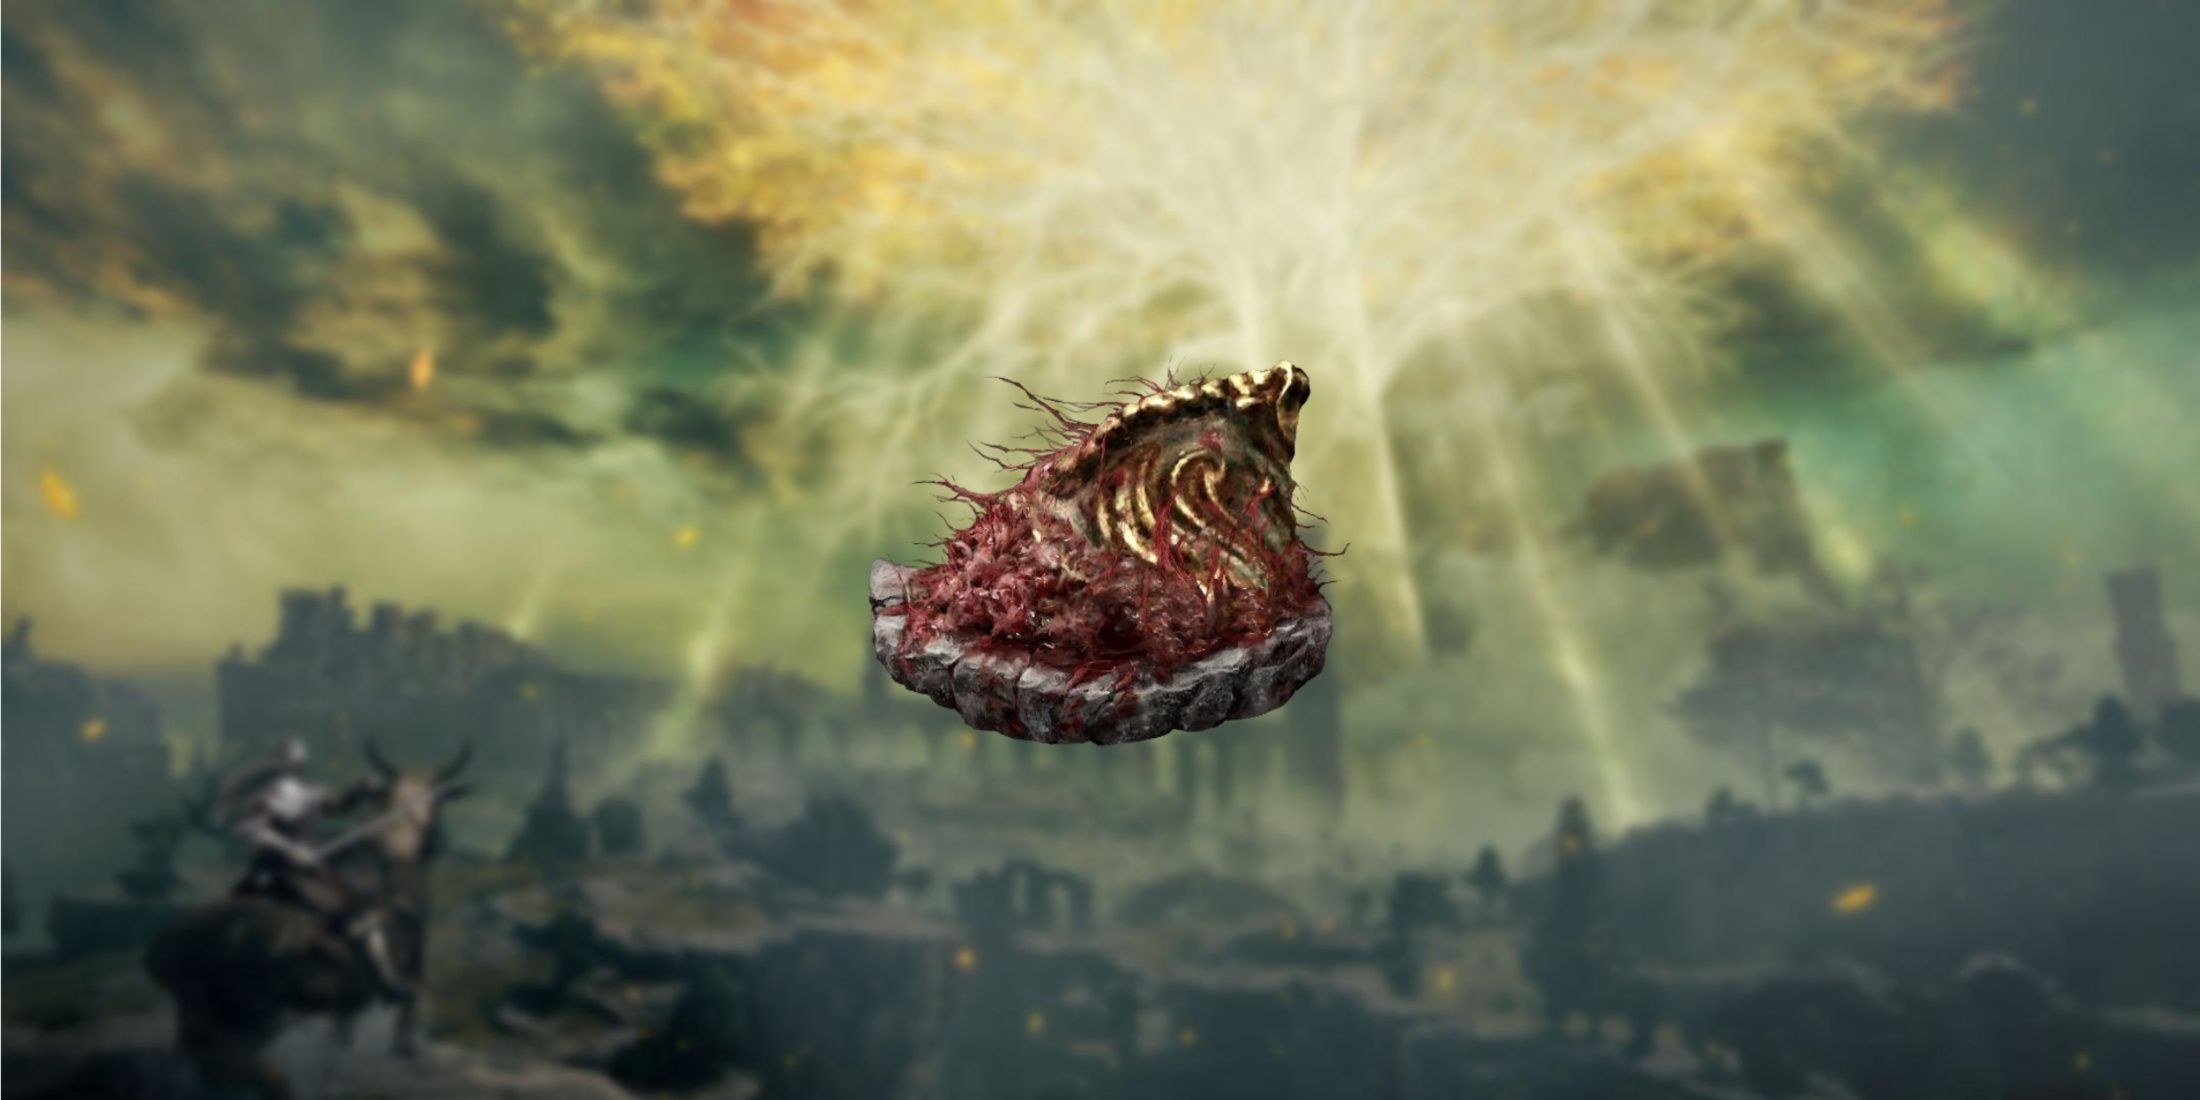
7. Viridian Amber Medallion +3
Keep The Hits Coming
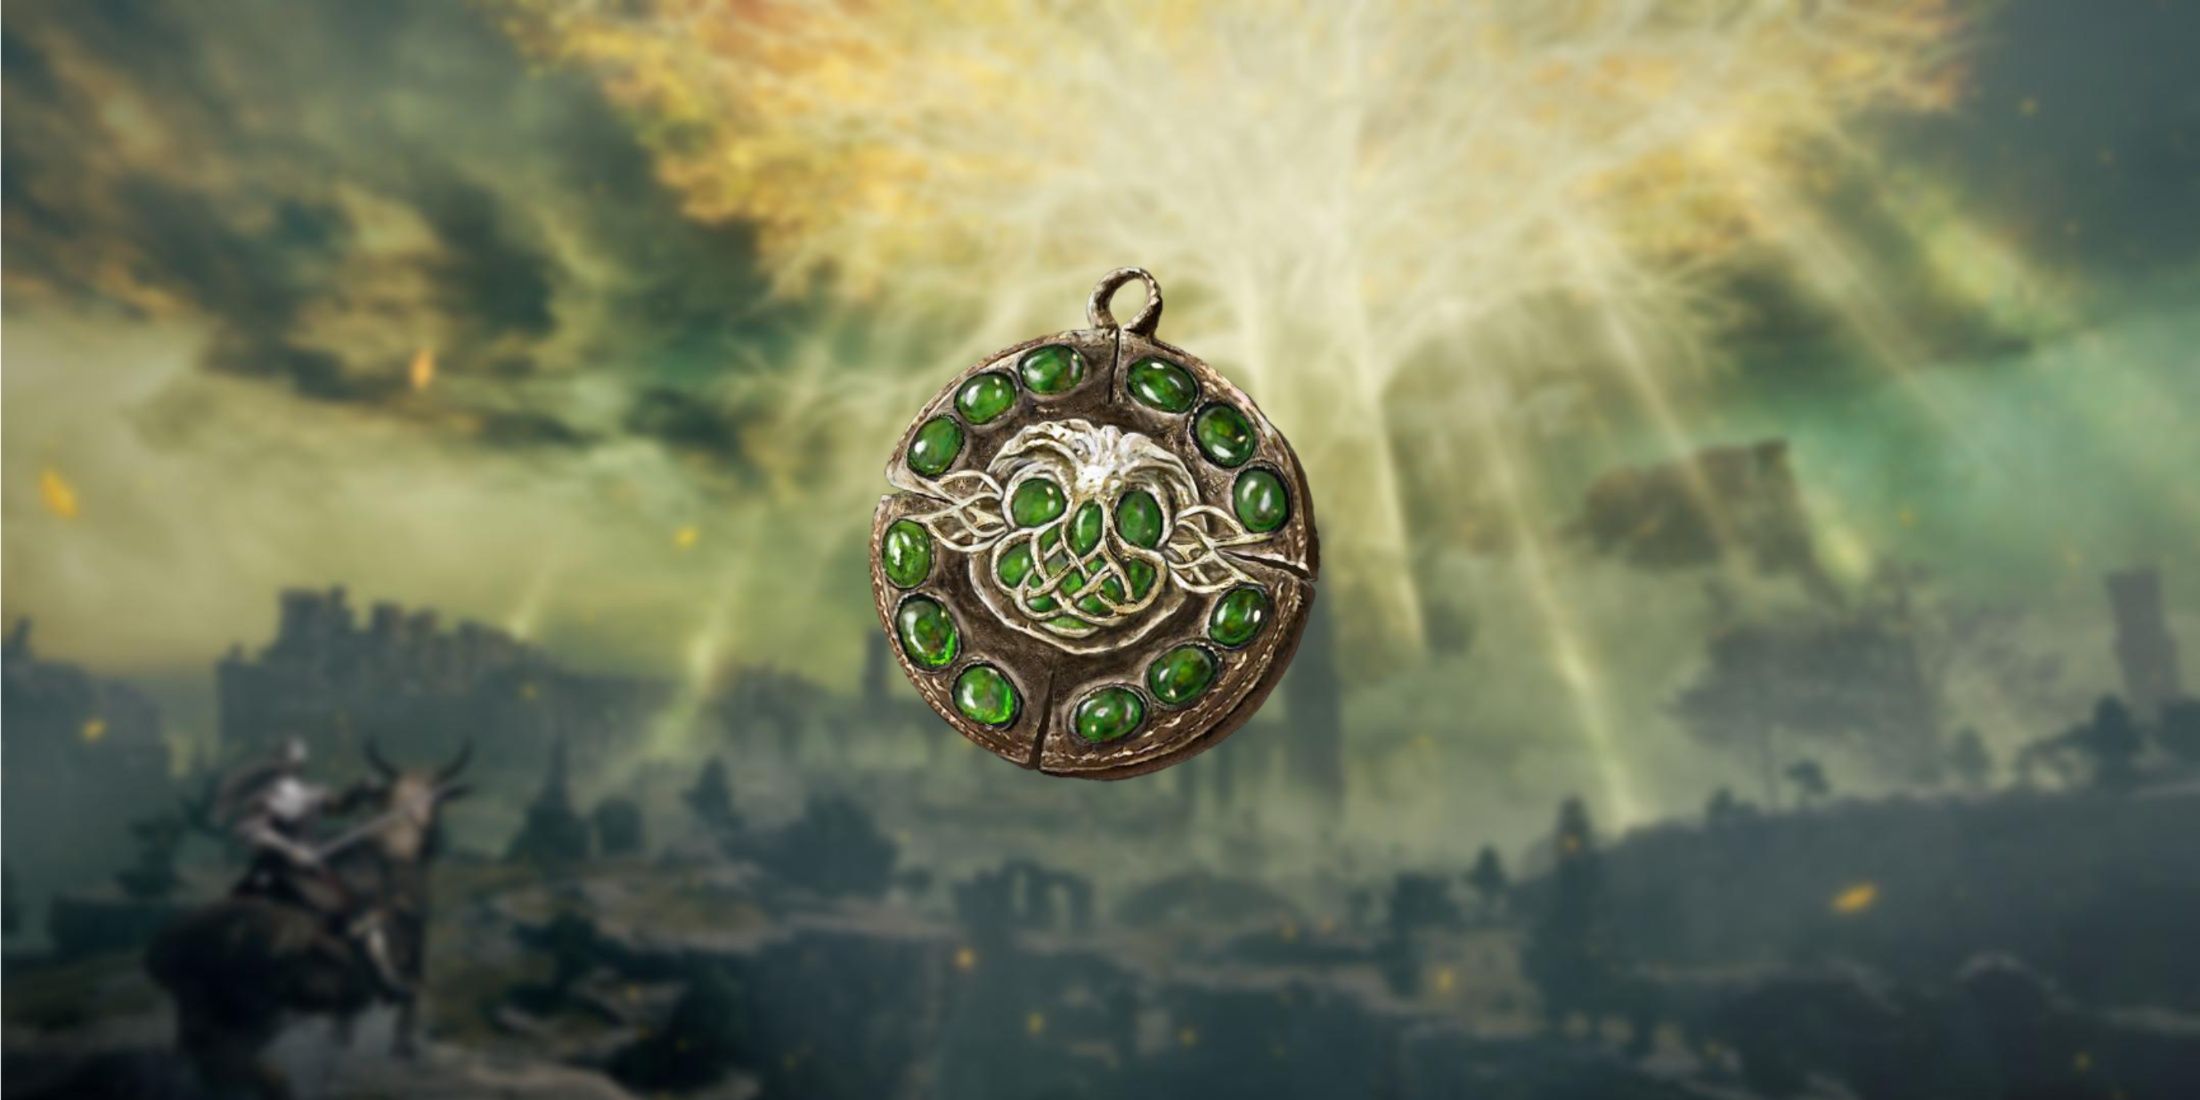
- Raises Maximum Stamina
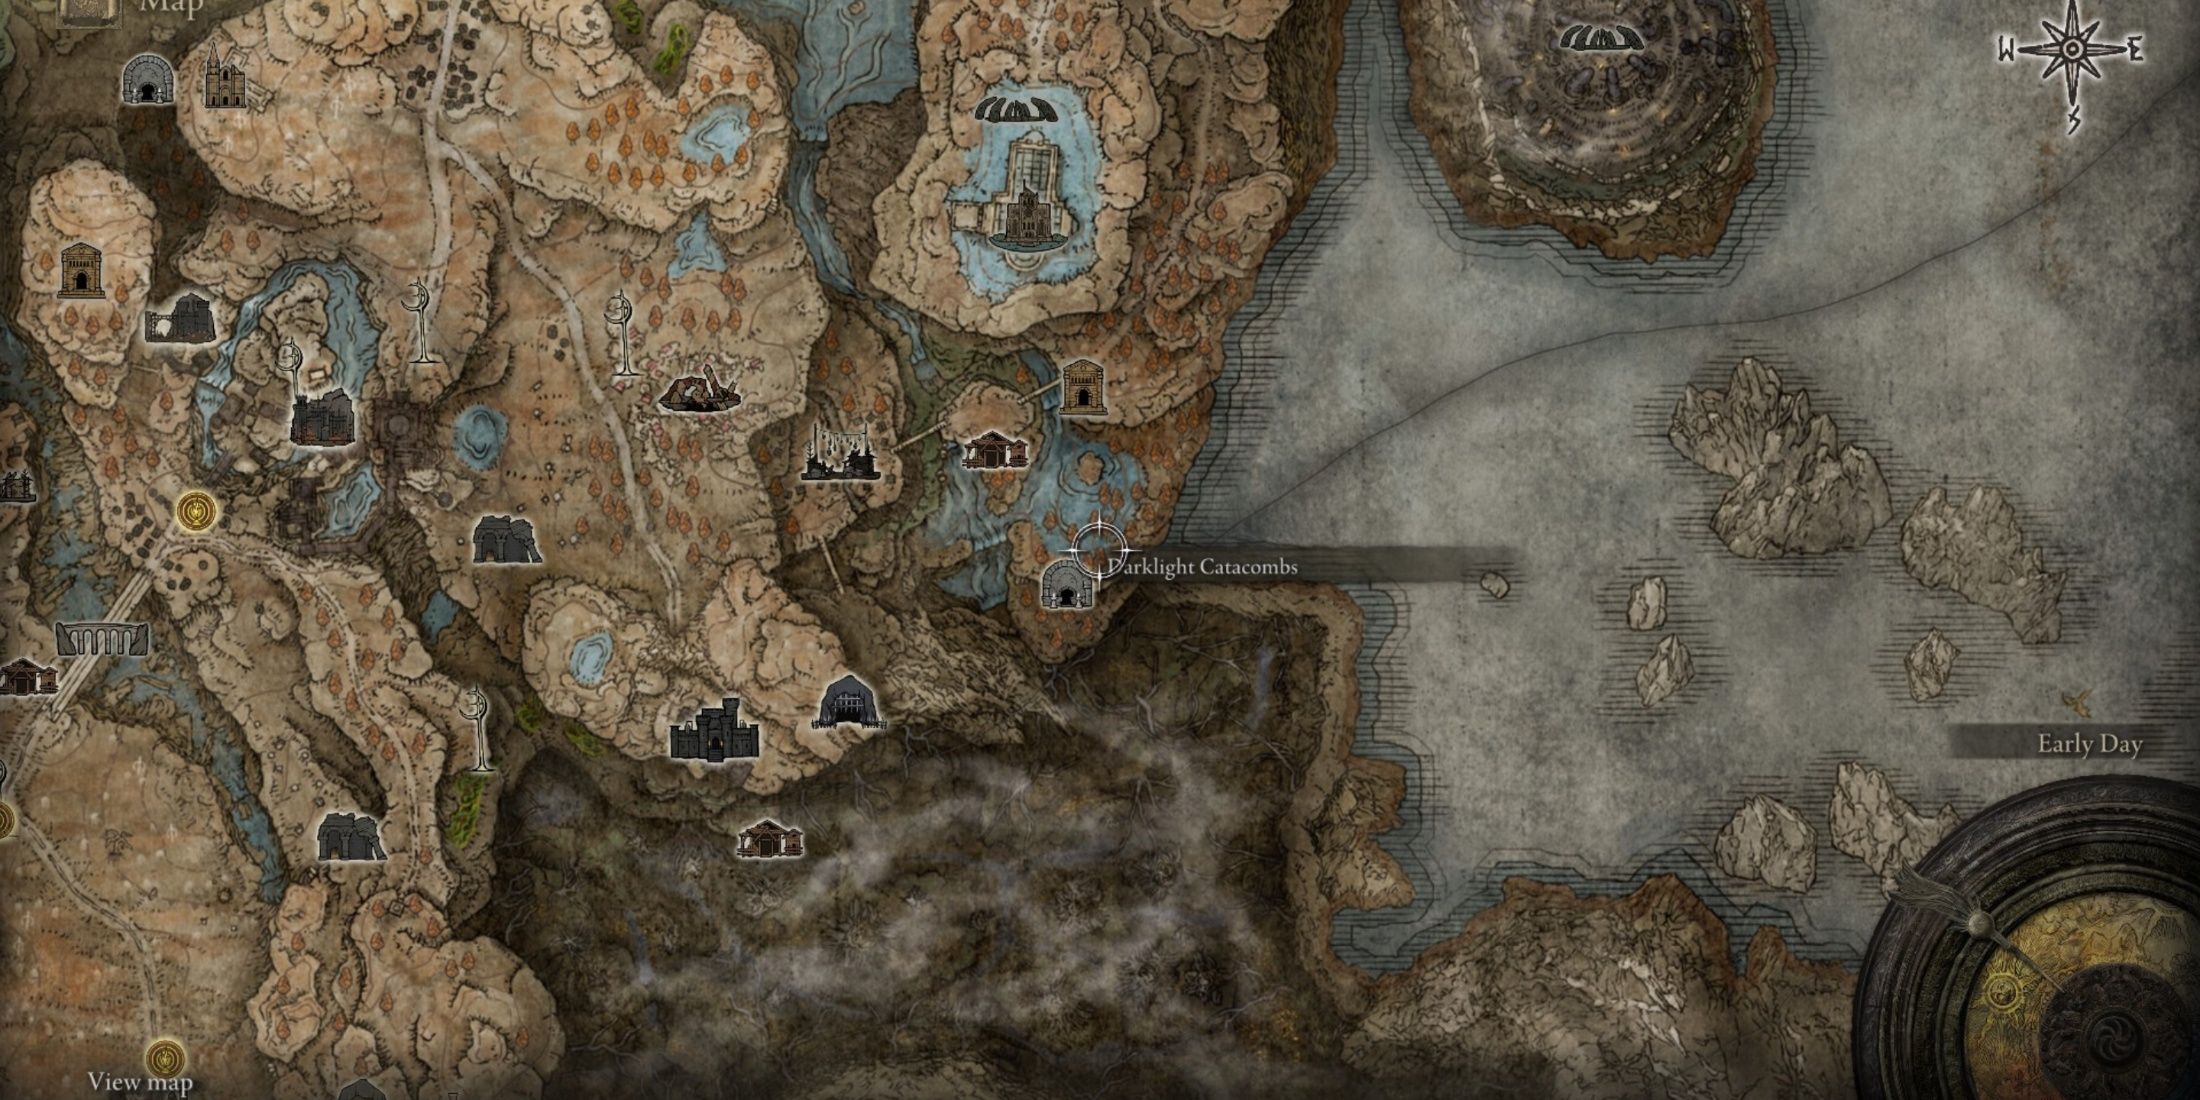
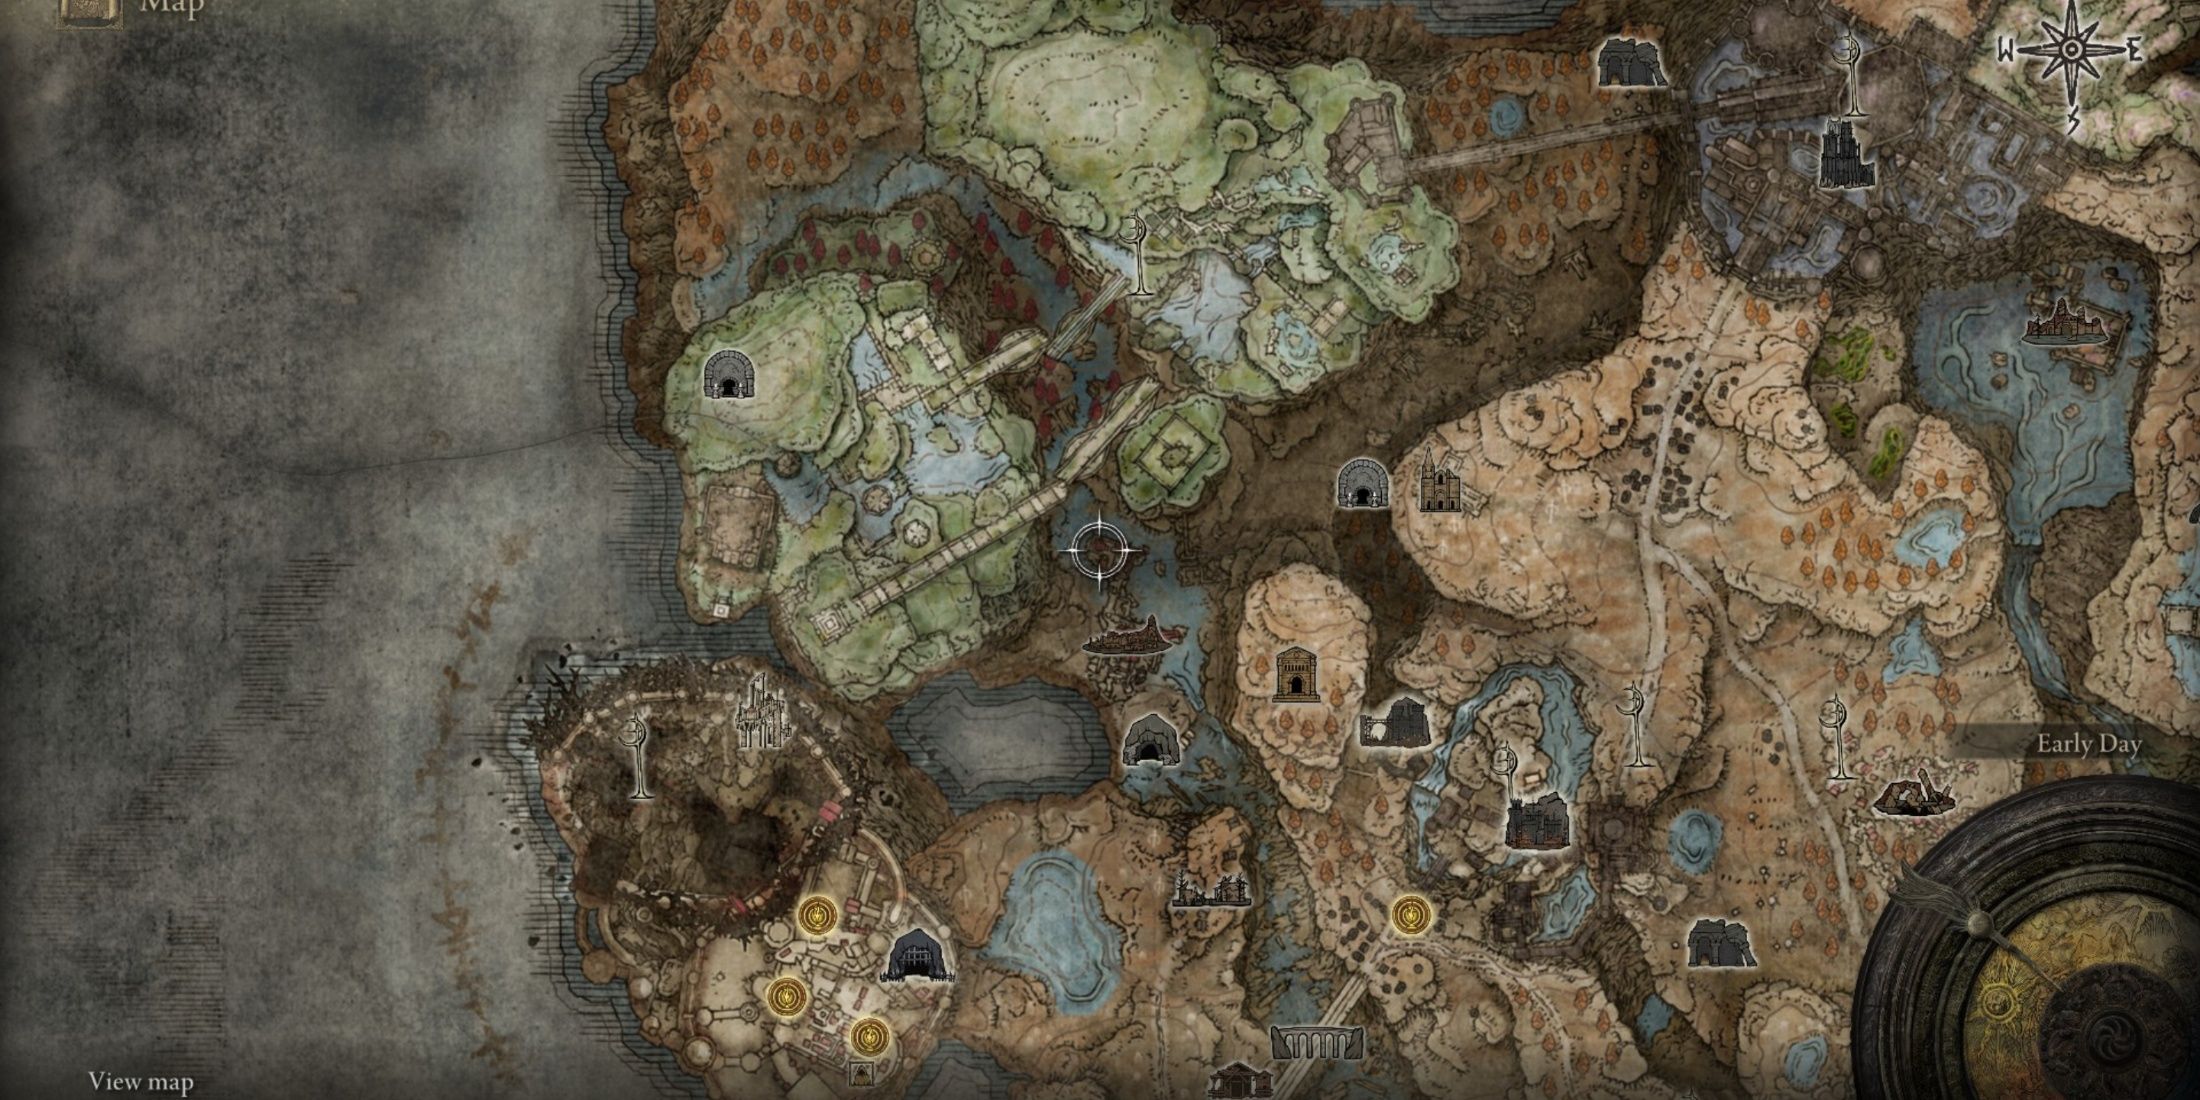
- It can be found in Darklight Catacombs, right after the first, +3 Guide
- Base Game (DLC for +3)
Greatwords are weighty. Weighty weapons require endurance, so a talisman that lessens this burden is an excellent method for enhancing damage and duration during boss battles that can be quickly overwhelmed.
In various parts of the Lands Between, you’ll encounter different iterations of the item. The tiniest boost, which is also the first version, can be found quite early in the Weeping Peninsula. The most effective enhancement among them is discovered at the heart of the DLC. Having a consistent 11% bonus stamina is extremely beneficial for wielding massive weapons with ease and maintaining aggression to swiftly conclude fights.
6. Shard of Alexander
The Power Of A Fellow Warrior
- Greatly boosts the attack power of Skills by 15%
- Drops from Iron Fist Alexander after completing his questline. Full guide.
- Base Game
An additional powerful charm works in tandem with your mastery of greatswords; received as a prize upon completion of Alexander’s mission, it allows players to harness the synergy between this artifact and the Godfrey Idol, amplifying their combat abilities significantly.
As the game reaches its peak, players are led on a journey that takes them to the crumbling land of Farum Azula at the end. However, after gathering all necessary items, the remaining few boss battles and downloadable content prove relatively easy to conquer with long-range attacks and powerful impacts.
5. Claw Talisman
Death From Above

- Increases jump attack damage by 15%, 7.5% in PvP
- Located at Stormveil Castle, on a corpse situated on a watchtower. Full Guide.
- Base Game
This exceptional choice for an early game item, the claw talisman, essentially turns your gaming experience into a fun-filled bunny-hopping adventure, complete with extraordinary damage for good measure. The unique feature of this talisman is the powerstance technique, a move introduced as far back as Dark Souls 2. This allows players to wield two identical weapons simultaneously, one in each hand, enabling them to swing, slam, and execute anything that dares to cross their path.
In some instances, certain weapons are left behind with no immediate concern, but during the next game session, a companion will be necessary to retrieve or pick up these items. Once acquired, however, the world becomes ripe for exploration and destruction at the player’s whim.
4. Two-Headed Turtle Talisman
Lower Downtime, Higher DPS
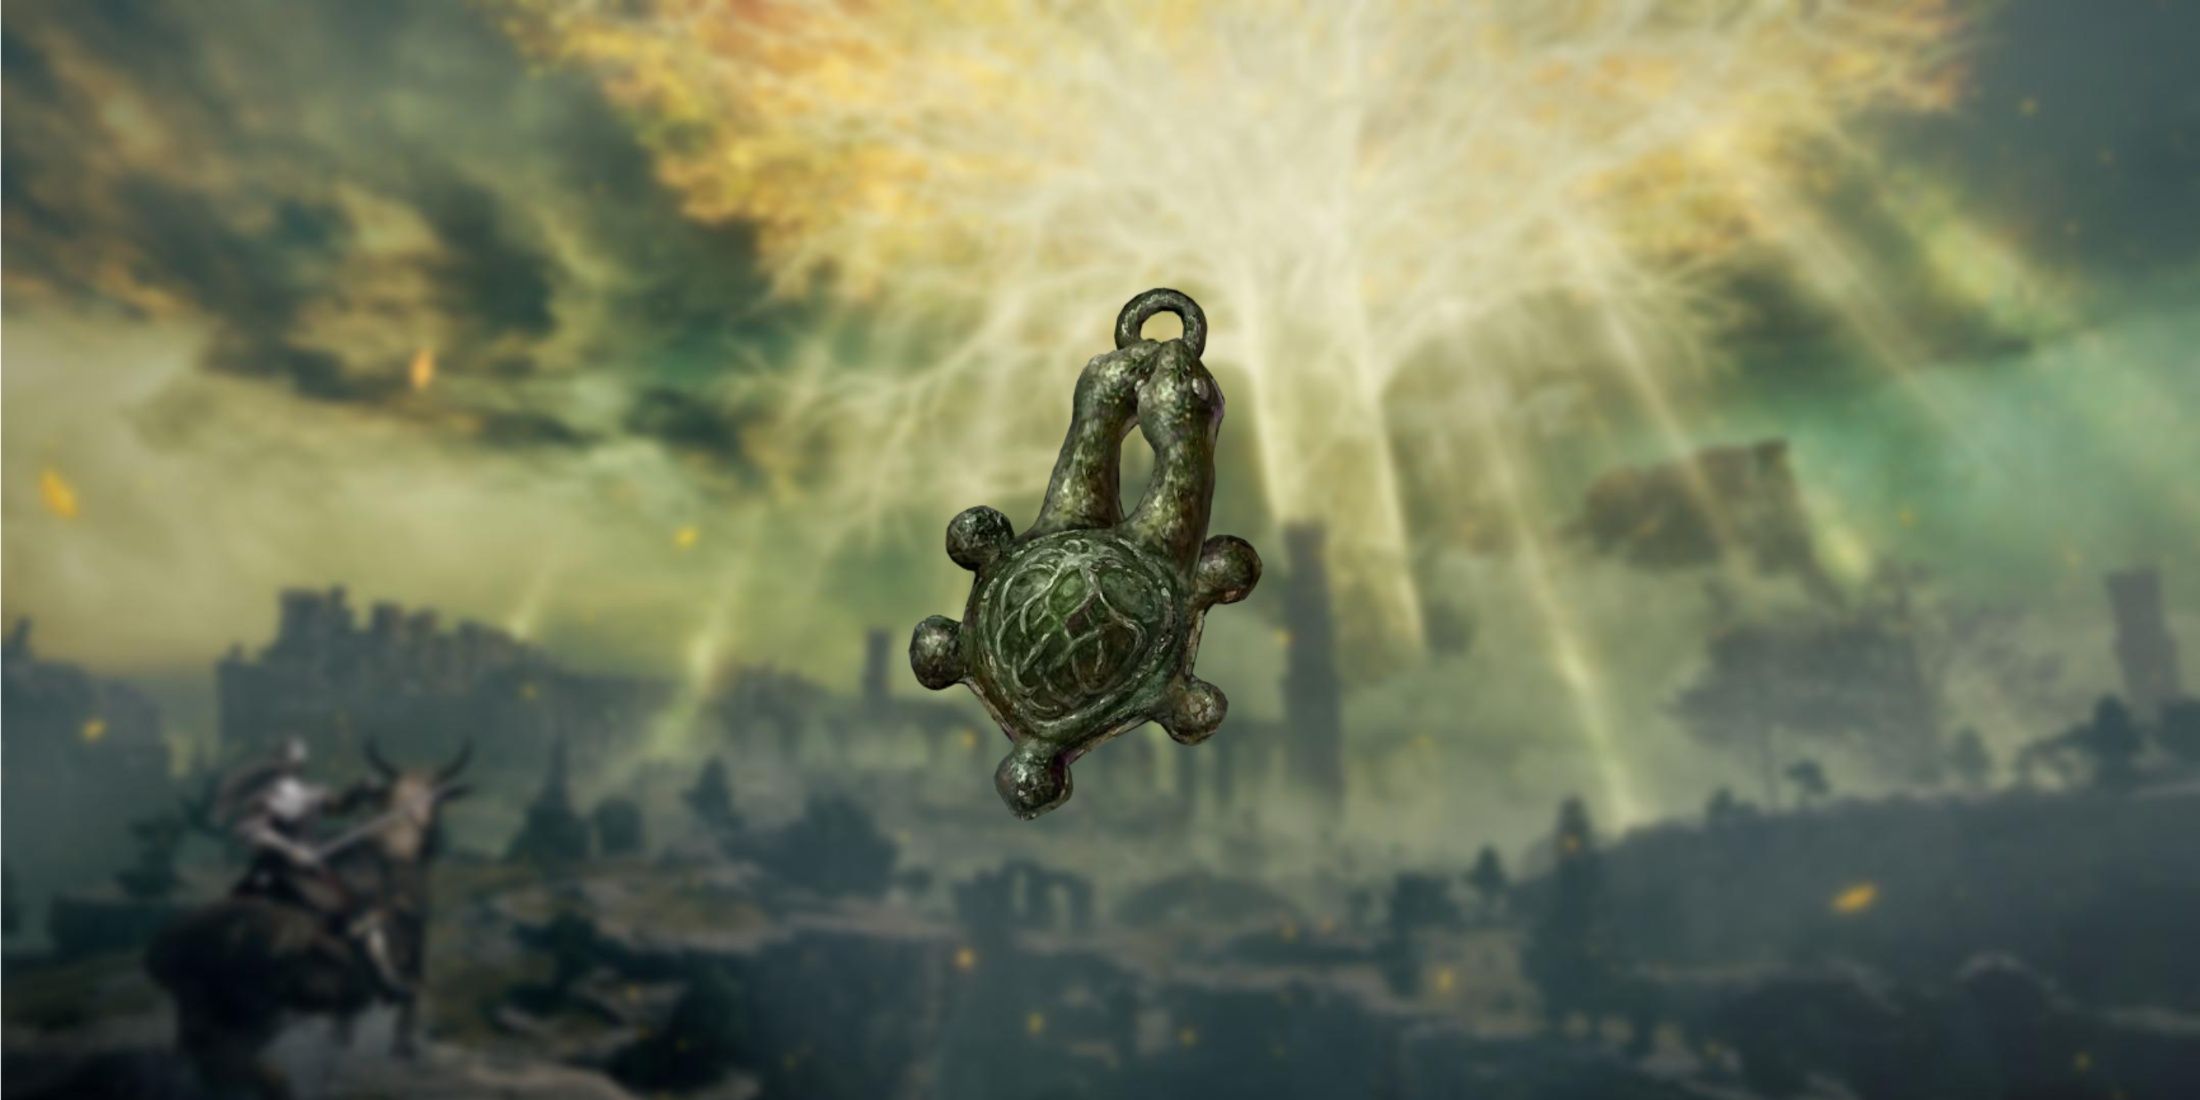
- Greatly raises stamina recovery speed by 22.5%
- A cave located under a waterfall, east of Rivermouth Cave. Full Guide.
- DLC
If not just a large energy gauge, but also rapid recovery and continuous attack capabilities make fighting virtually relentless and nearly impossible to stop. The initial turtle character is included in the base game, but it’s strongly recommended to find its counterpart too, as you’ll definitely notice a difference and battles will become much easier.
Reducing the drawbacks associated with high stamina consumption makes greatswords behave more like daggers in terms of attack rate and frequency of hits. In critical situations, the capacity to repeatedly roll is indispensable, and this small turtle enables players to quickly return to combat when needed.
3. Axe Talisman
Charge It Up And Swing Away
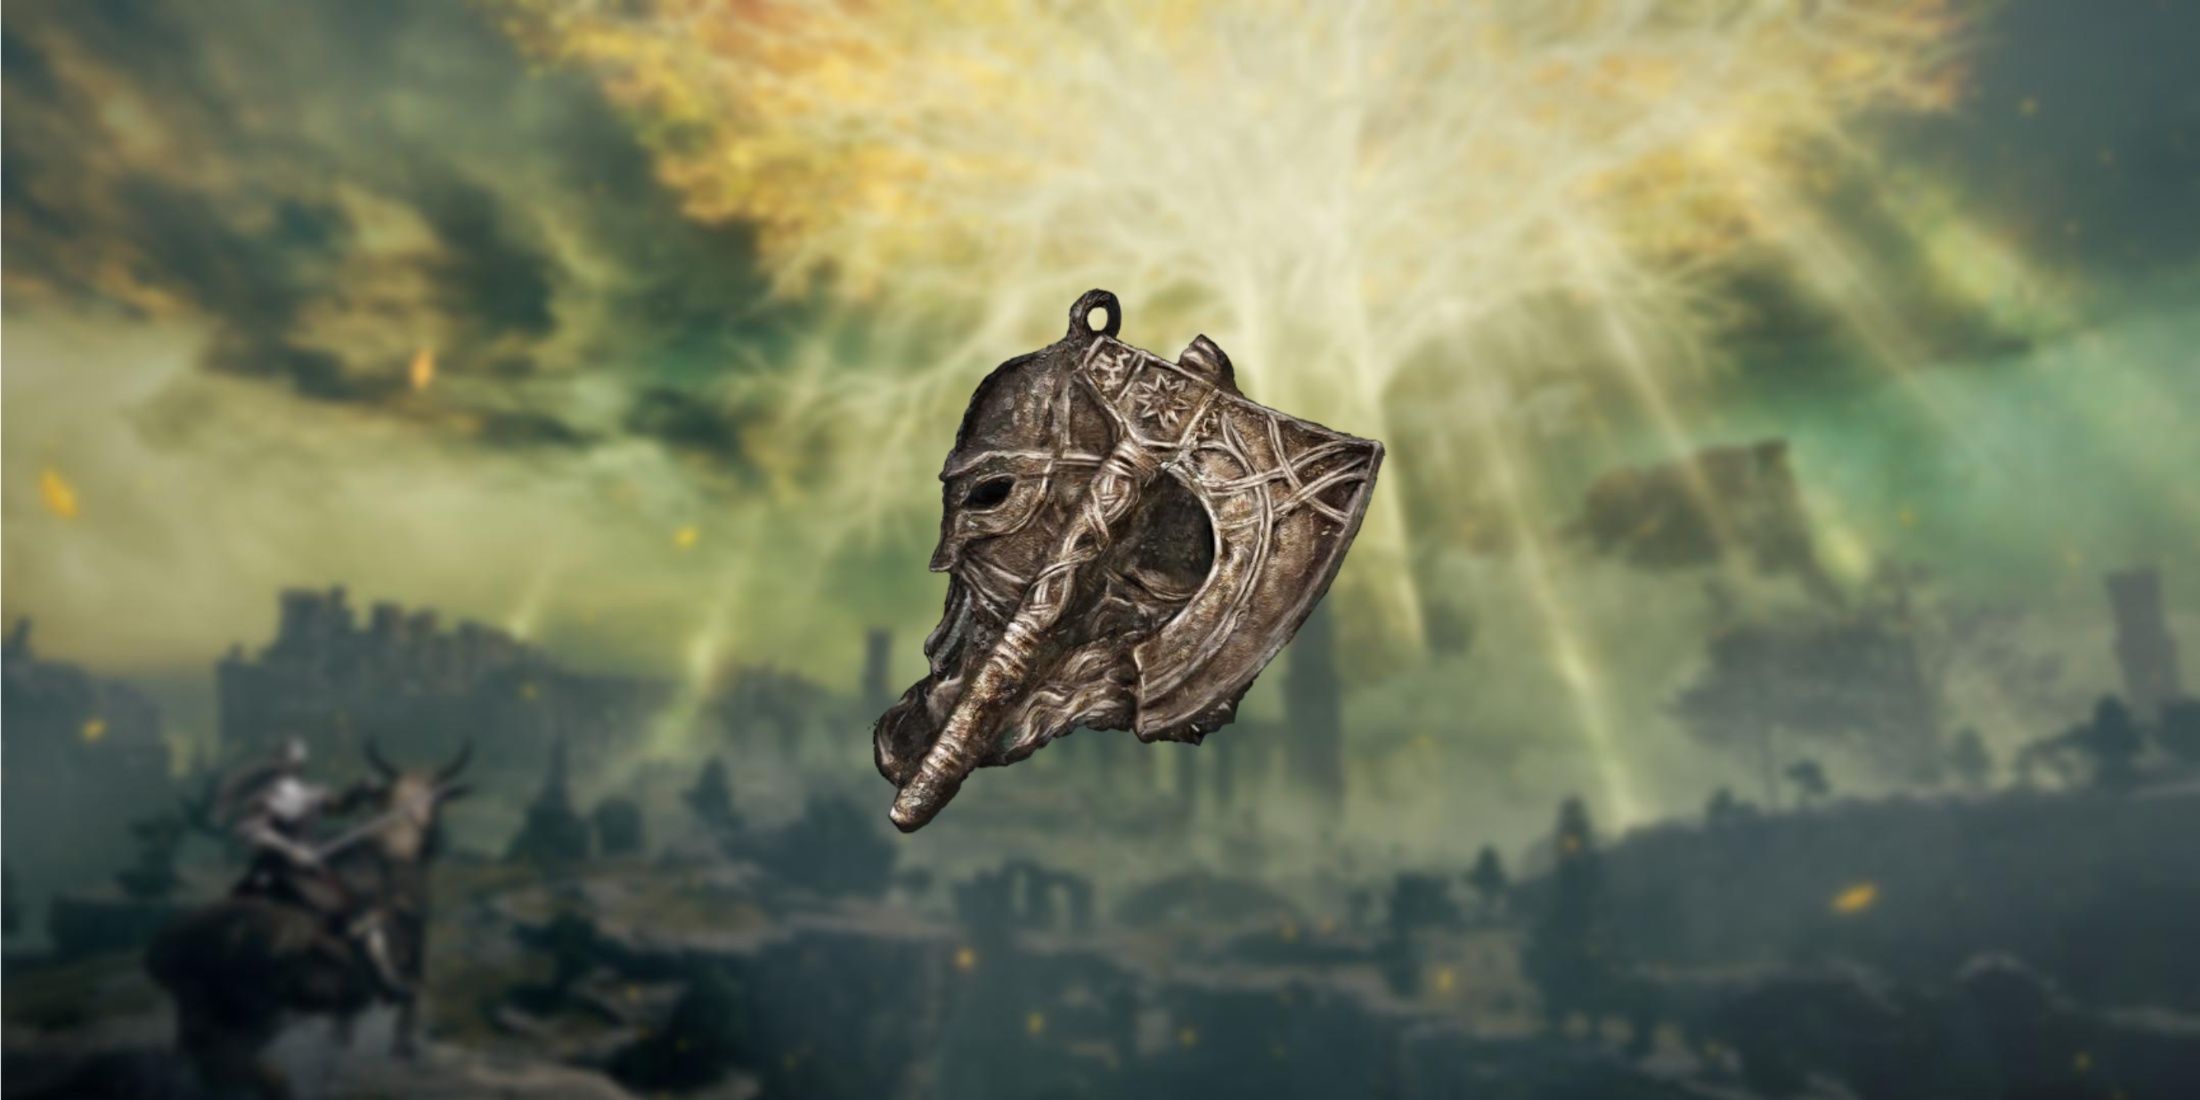

- Located in the cellar of Mistwood Ruins, eastern Limgrave. Full Guide.
- Increases Charge Attack damage by 10%
- Base Game
As a gamer, I wouldn’t fall for misleading names. Even though the advertisement suggests it’s for axes, this unexpectedly potent charm works best with greatswords. It’s got no drawbacks whatsoever and offers a significant bonus – making it an invaluable addition to my arsenal.
In less than five minutes after starting the game, players can grasp the basics, and they can essentially keep this tool handy throughout the entire game. There’s something incredibly gratifying about maintaining pressure on the right trigger until the sound cue plays, at which point you let go to inflict a massive amount of damage, made even sweeter by this small accessory.
2. Talisman of Lord’s Bestowal
Take A Breather Then Get Stuck In
- Increases poise after using a flask of tears
- Shadow Keep. Can be found beside the big golden tree. Full Guide.
- DLC
HP (Health Points) is crucial, but persistence in the battle is equally vital. This charm serves as aid to those who find it challenging to employ an Estus Flask effectively. Enhancing their poise will allow players to possibly inflict a few additional strikes with their greatsword, all while shirking off any incoming attacks from the adversary.
With additional boosts from health flasks and consumables, players can withdraw, recover, and then re-engage in combat feeling invigorated, as if they’ve triggered a second wind of their own. This is particularly beneficial when wielding heavy weapons, as it eliminates the frustration of having a powerful strike nullified, making battles seem less demanding and causing bosses to crumble like dominos.
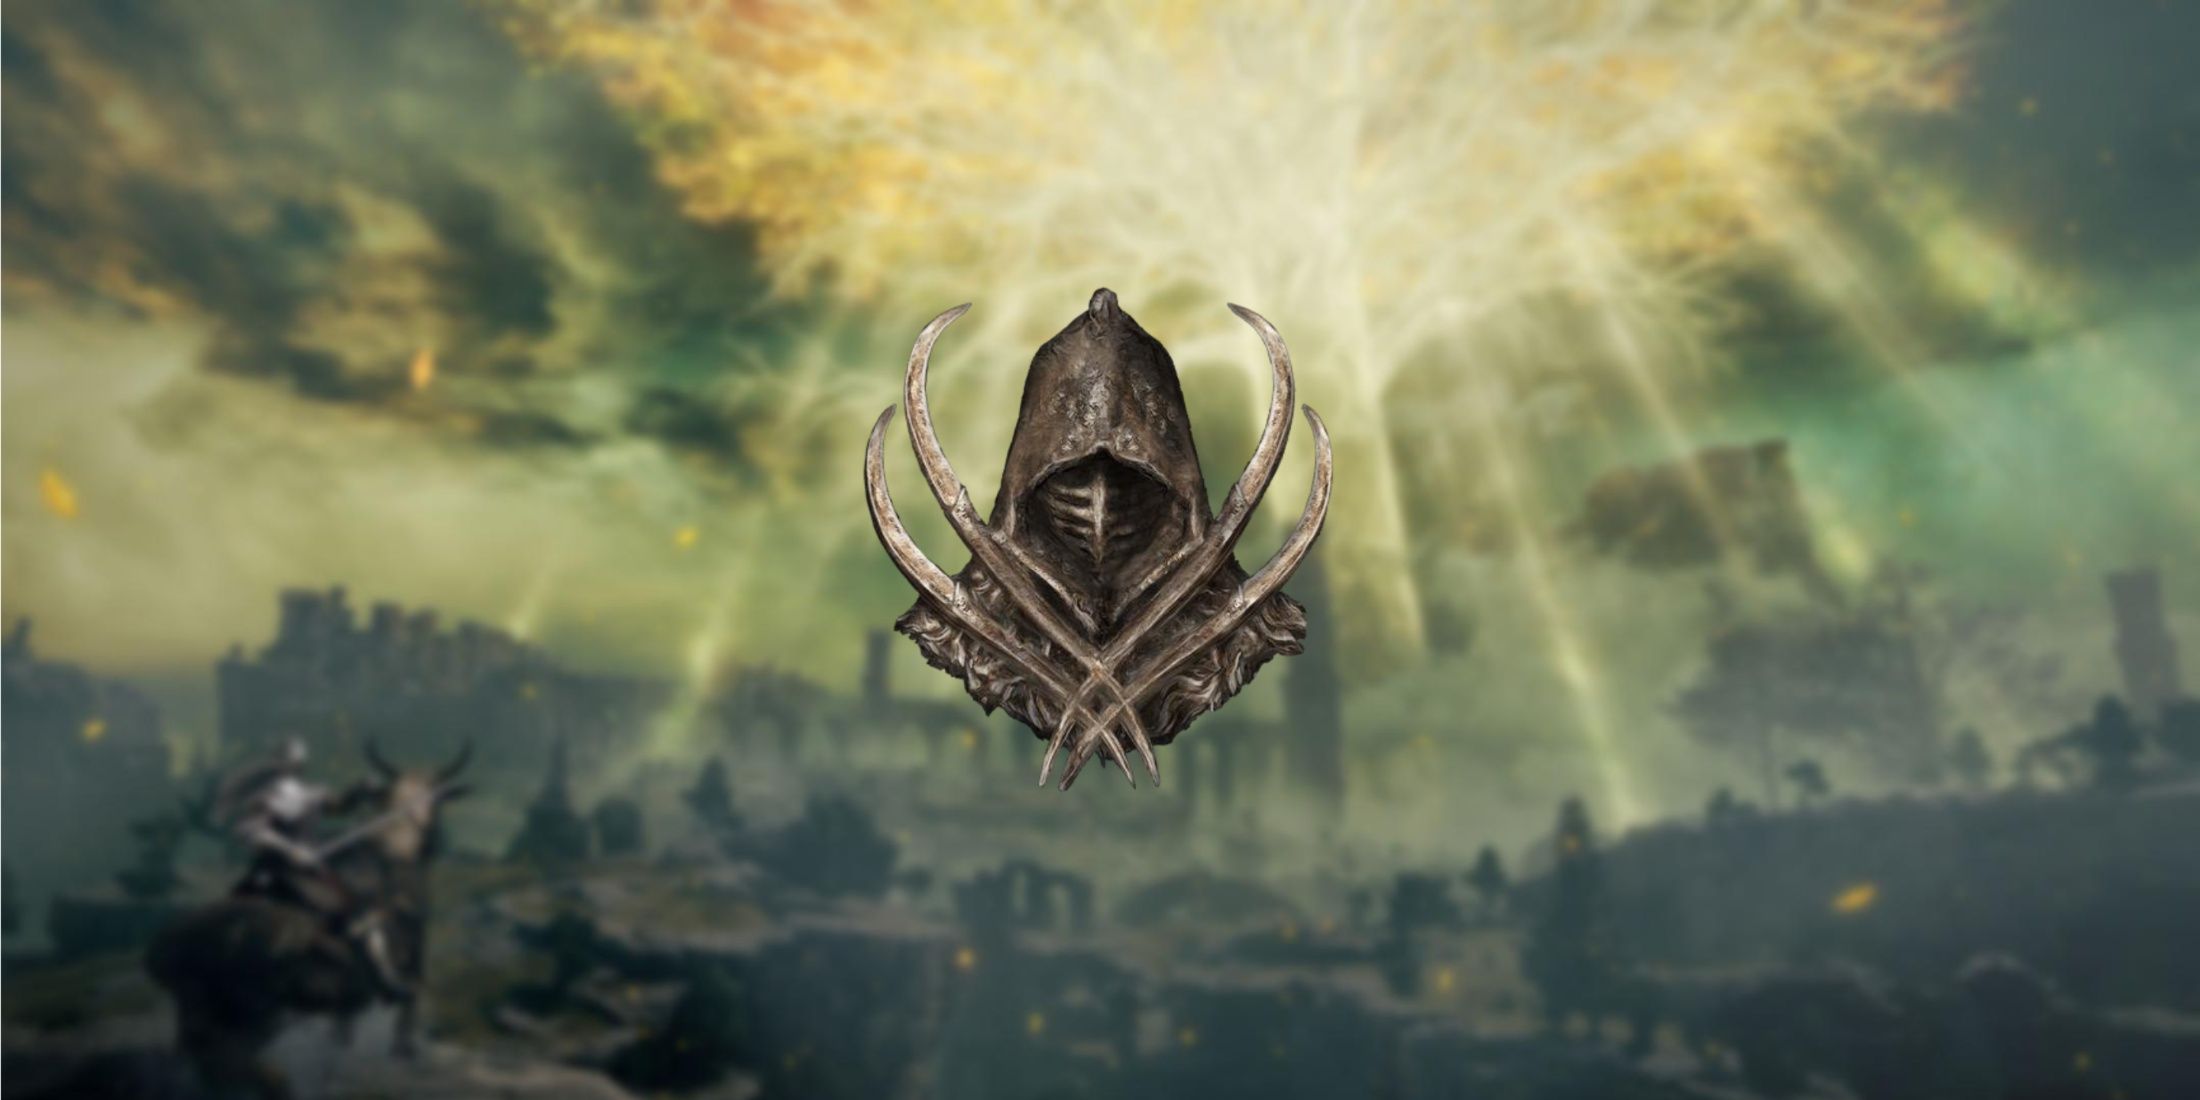
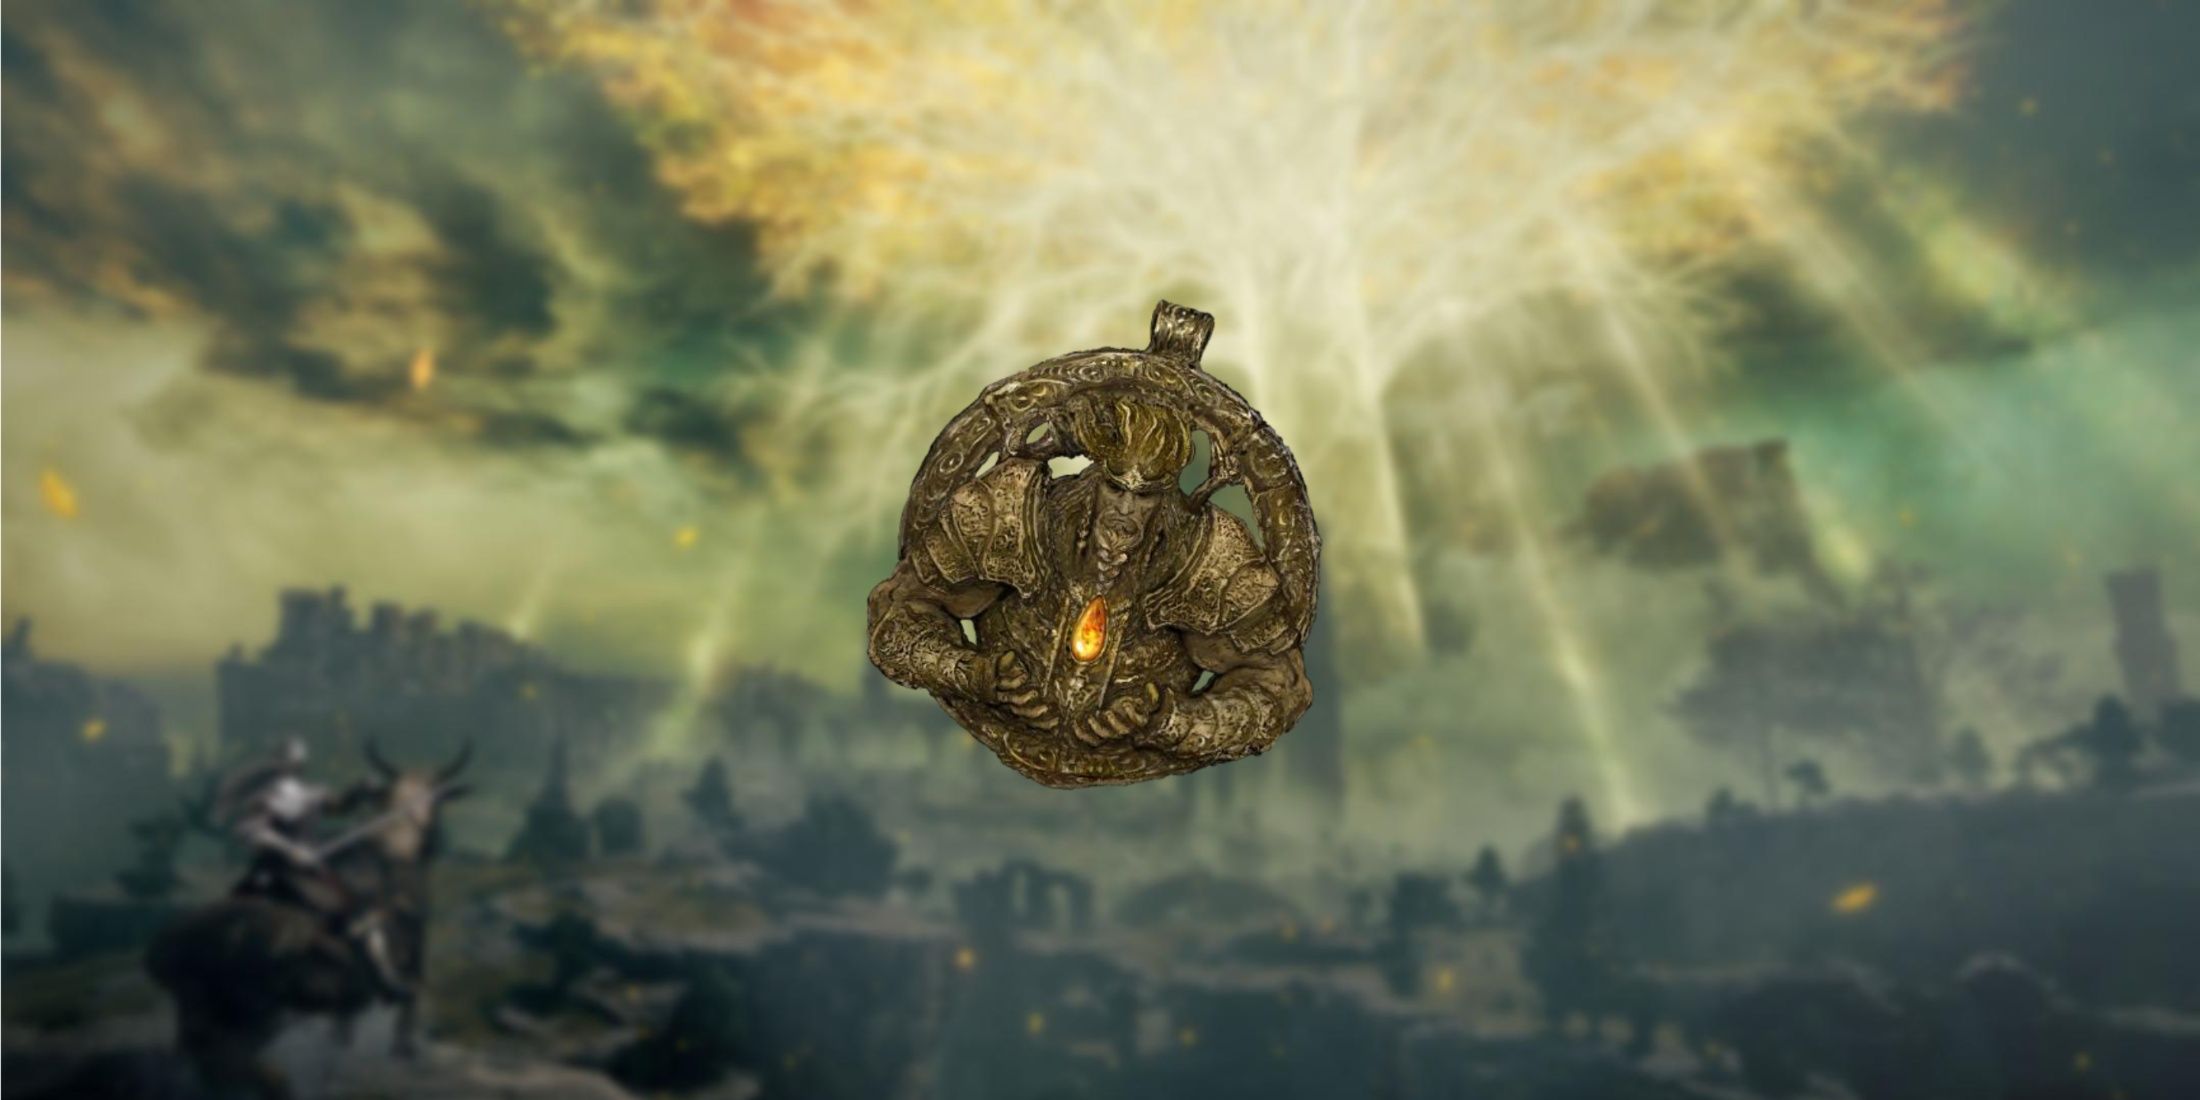
1. Two-Handed Sword Talisman
Heavy Damage For Heavy Weapons
- Enhances attacks with two-handed weapons by 15%
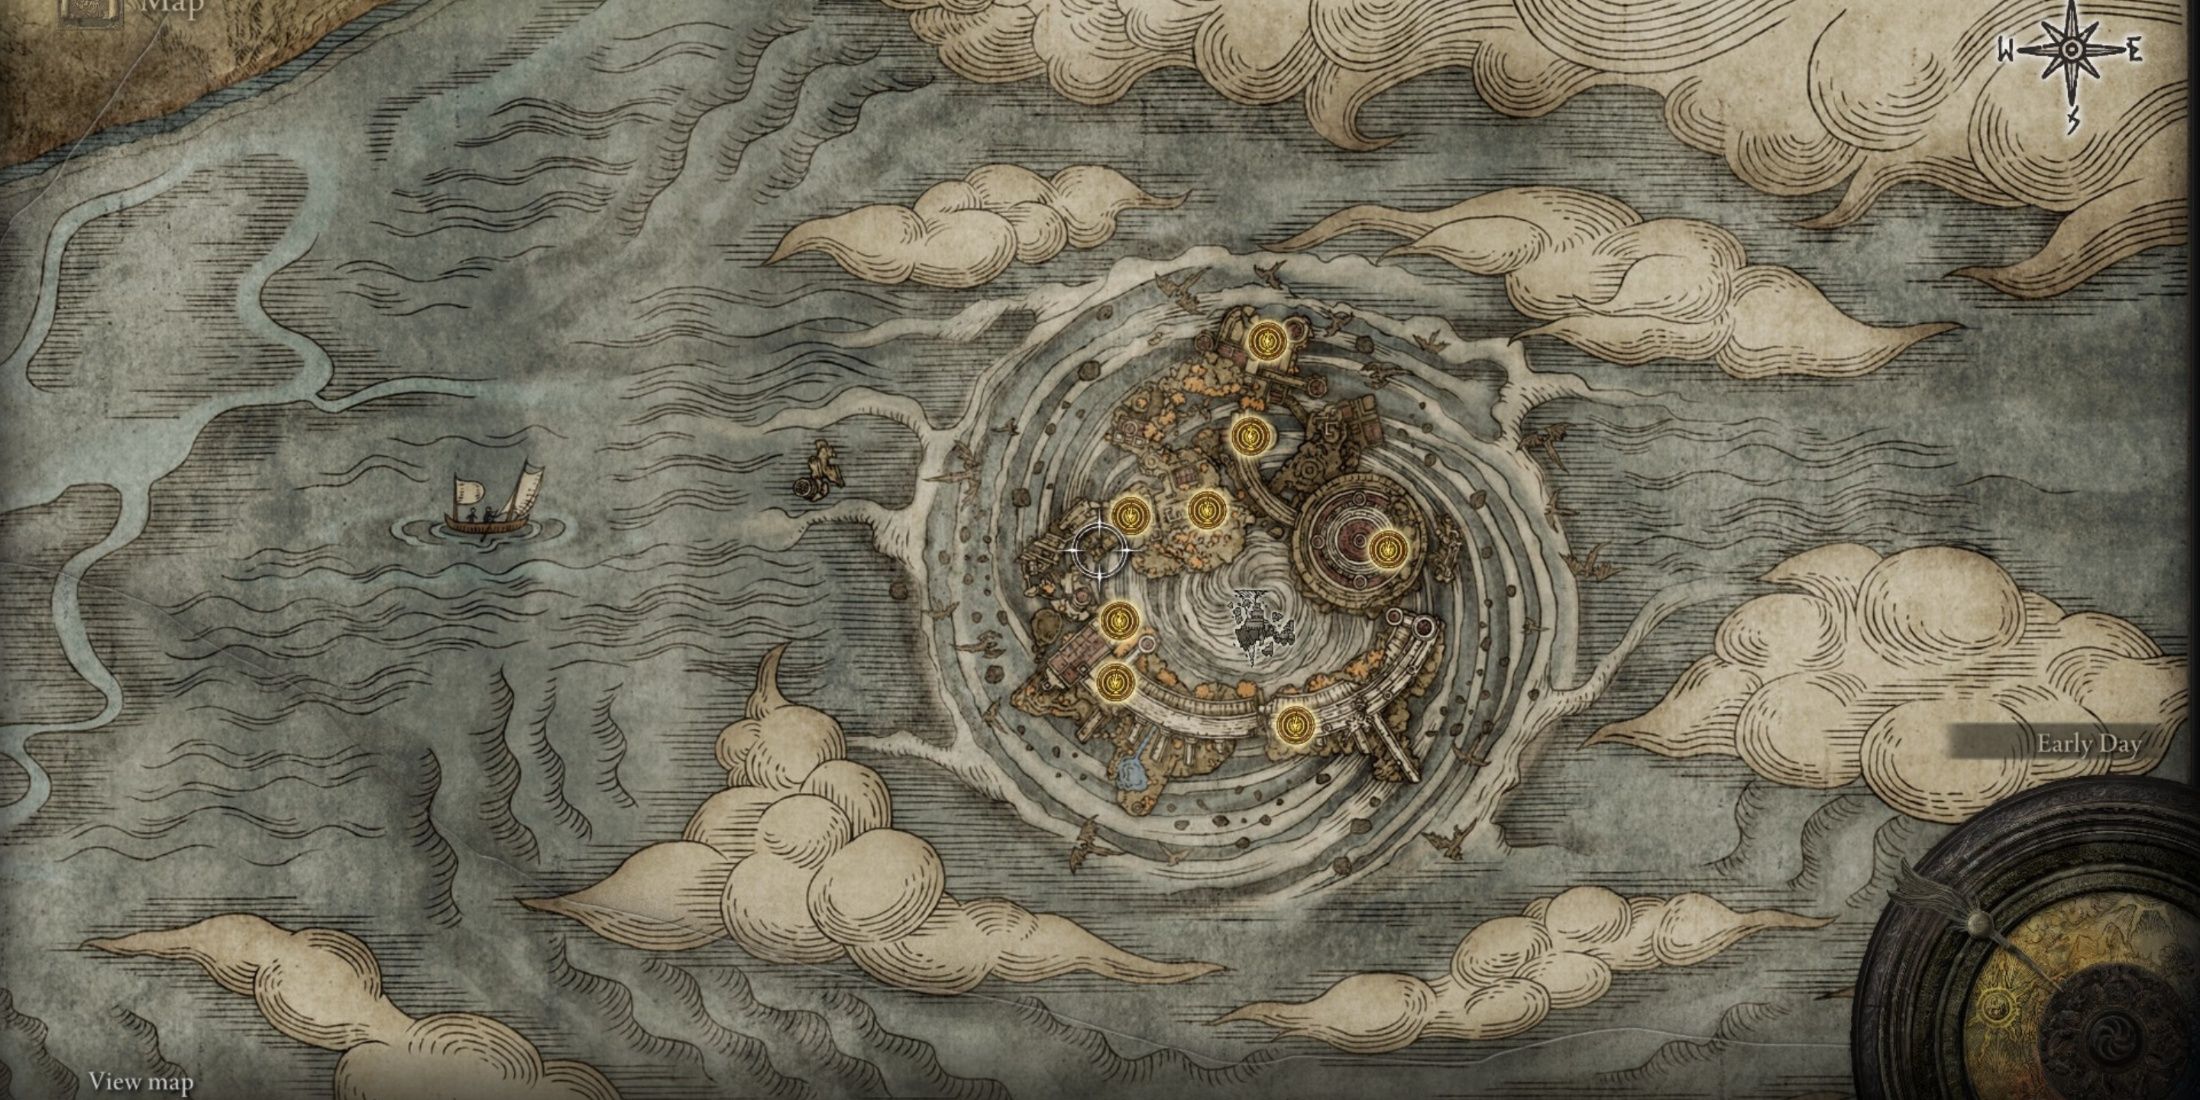
- Temple Town Ruins: Located inside the ruins’ highest structure. Full Guide
- DLC
It’s quite evident that this talisman appears to be tailor-made for wielders of greatswords, given its design featuring a figure grasping one. As such, it stands out as an optimal and decisive choice among talismans for those engaged in combat with a greatsword.
It’s preposterous that there’s a 15% boost given for essentially doing nothing in the game. That’s why it’s hidden in the DLC, only accessible after battling through some challenging levels first. This could potentially be the most overpowering damage increase talisman across the entire game when earned.
Read More
- Clash Royale Best Boss Bandit Champion decks
- Vampire’s Fall 2 redeem codes and how to use them (June 2025)
- World Eternal Online promo codes and how to use them (September 2025)
- Best Arena 9 Decks in Clast Royale
- Mobile Legends January 2026 Leaks: Upcoming new skins, heroes, events and more
- Country star who vanished from the spotlight 25 years ago resurfaces with viral Jessie James Decker duet
- How to find the Roaming Oak Tree in Heartopia
- M7 Pass Event Guide: All you need to know
- Solo Leveling Season 3 release date and details: “It may continue or it may not. Personally, I really hope that it does.”
- Kingdoms of Desire turns the Three Kingdoms era into an idle RPG power fantasy, now globally available
2025-03-08 05:41