Summary
- The Hound Set provides significant damage buffs early on, making it a valuable choice for swift and deadly gameplay.
- The Fallen Star and War Hero Sets offer exclusive bonuses, providing strong stat boosts.
- The Bard Set enhances loot drop rates and Lacrima gain, encouraging strategic use for better gear acquisition in the long run.
In the game “The First Berserker: Khazan“, if a player prioritizes weaponry and damage, armor follows closely as a crucial aspect of their character’s build. It provides substantial boosts to various stats, significantly altering the amount of damage the player can withstand. The set mechanic is an engaging feature that allows for more specialized build options and encourages players to hold onto specific armor pieces to unlock higher-tier bonuses.
When journeying through the game and its narrative, armor enhancements will be gradually obtained or dropped, enabling players to customize their appearance with a preferred set. However, it’s crucial to have a robust armor setup during the initial stages that can support the player effectively throughout the early game without encountering many problems. For those aiming for top performance during the opening phases, here are the optimal armor sets for The First Berserker in the early Khazan stage.
9. Hound Set
Take On The Beasts
| Pieces | Effect |
|---|---|
| 2 | Damage Increase 5% |
| 3 | Stamina Recovery Increase 20% |
| 4 | Against Beasts: DMG Increase 10% |
| 5 | Potent Blow: DMG Increase 10% |
- How to get: Enemy drop/crafted with Hound Scroll (Skoffa Cave)
The Armor Collection, titled “The Hound Set,” offers a streamlined, light, yet robust defense system that maintains a sense of agility for the player. Simultaneously, it empowers them to inflict substantial damage through potent multiplicative bonuses. Enhancements to damage typically manifest in two ways: basic boosts and multiplications. The latter holds more strength, making it extraordinary when found on a single set, especially considering that much of the set can be obtained relatively early within the gameplay.
Though you might need a bit longer to get the chest plate, the other advantages built into this armor set are substantial enough to make it a worthwhile choice. Since there’s no requirement to pair the armor with a specific weapon, players can mix and match other item sets for the remaining slots while still enjoying nearly all the perks of the Hound set.
8. Fallen Star/War Hero Set
Something Extra To Start The Journey With
Fallen Star:
| Pieces | Effect |
|---|---|
| 2 | Max Stamina +100 |
| 3 | Max Health +150 |
| 4 | Stamina Recovery Rate 30% |
| 5 | Netherworld Energy Increase 1 |
War Hero:
| Pieces | Effect |
|---|---|
| 2 | Extra Vitality 5 |
| 3 | Extra Endurance 5 |
| 4 | Extra Proficiency 5 |
| 5 | Extra Strength 5 |
| 6 | Extra Willpower 5 |
- How to get: Complete the second main mission and collect the items from the mailbox barrel at the Crevice
As a devoted gamer, I’ve come across two unique armor collections that are truly coveted: The War Hero and Fallen Star sets. These aren’t just any armors; they’re tied to conditions beyond the game itself. The Fallen Star set is my lucky charm, granted to those who pre-ordered this epic journey, while the War Hero set is a badge of honor exclusively for those who splurged on the deluxe edition. It’s no secret that developers sometimes entice us early adopters or deep-pocketed gamers with exclusive items. While it may not be pay-to-win, these armors certainly carry their own weight, and I find myself snatching them up early in the game, often within the first few areas.
Essentially, The Fallen Star equipment equips a player with all the necessary stats for a successful journey throughout gameplay, and it even offers an extra healing ability which is incredibly useful when battling numerous tough and aggressive bosses. On the other hand, The War Hero set operates in much the same manner but enhances Lacrima-upgradable stats, effectively granting the player 25 additional levels from the start. While they may not be visually striking or boast the most extraordinary effects, they are reliable, secure, and deliver results.
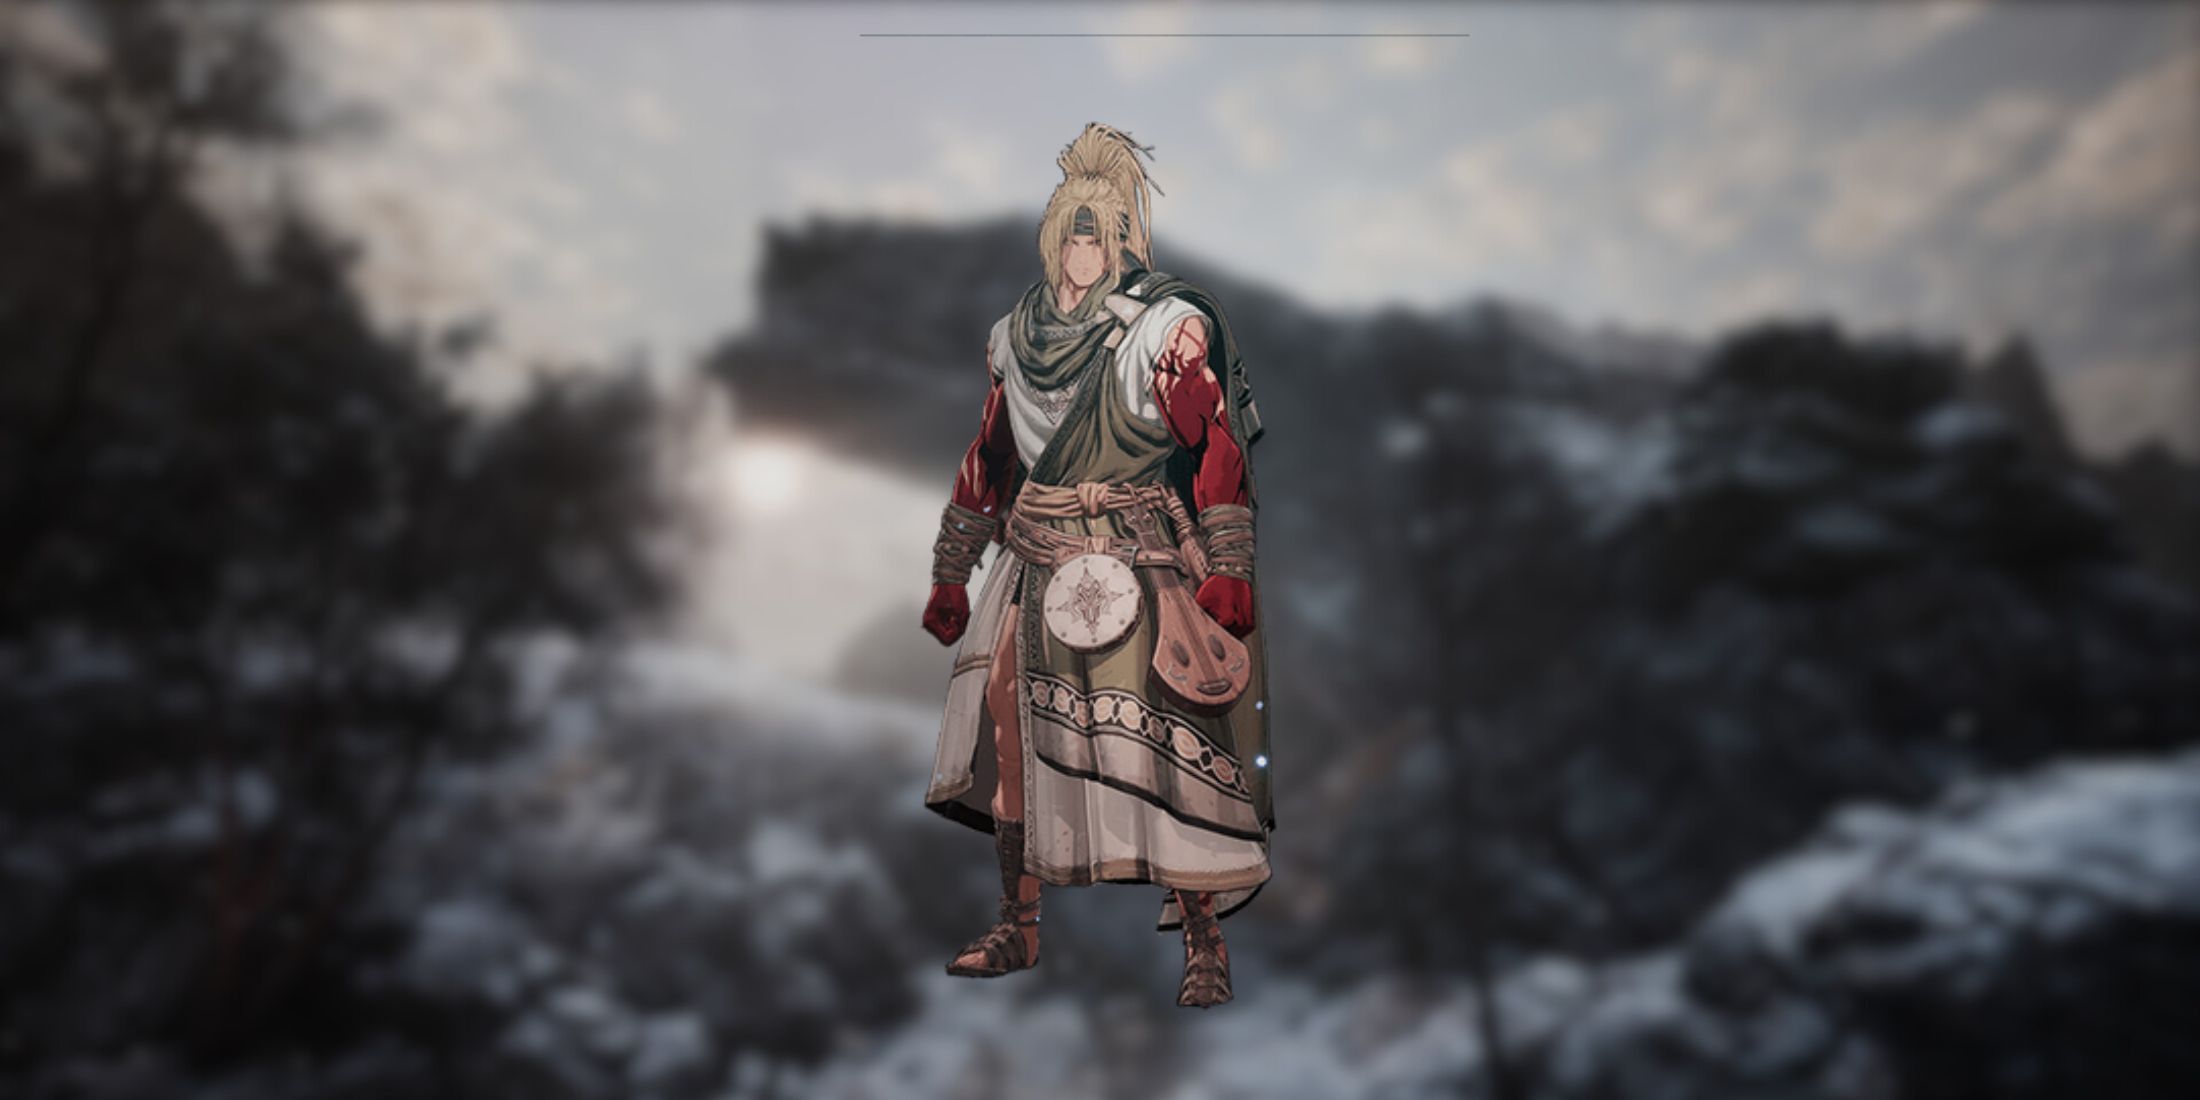
7. Bard Set
Loot Galore
| Pieces | Effect |
|---|---|
| 2 | Unscathed: Stamina Recovery Rate 80% |
| 3 | High-Grade Item Drop Rate 20% |
| 4 | Weapon Drop Rate 15% |
| 5 | Lacrima Gain 25% |
- How to get: Enemy drop/crafted with the Bard’s scroll (Palemion Citadel)
Occasionally, just a tad more resources could make all the difference. The Bard’s gear is primarily designed to enhance utility, offering players an option to swap out some battle-focused stats for boosts in item acquisition and Lacrima gain instead. While it may not be necessary for every game session, this set can prove quite beneficial when gathering new armor sets over time, given the increased drop rate for various types of items.
Beyond acquiring extra equipment, players also receive an impressive enhancement to their Lacrima acquisition rate. This speedily allows them to boost their character’s stats, significantly elevating the character’s power level, which outweighs any potential loss in damage or other statistics from the item set itself. The optimal strategy is to don this set late in a boss battle to reap the advantages of improved chances while having a more combat-focused set for tackling most of the fight. It’s an excellent asset to incorporate into your playthrough and one that continues to pay off right up until the end credits.
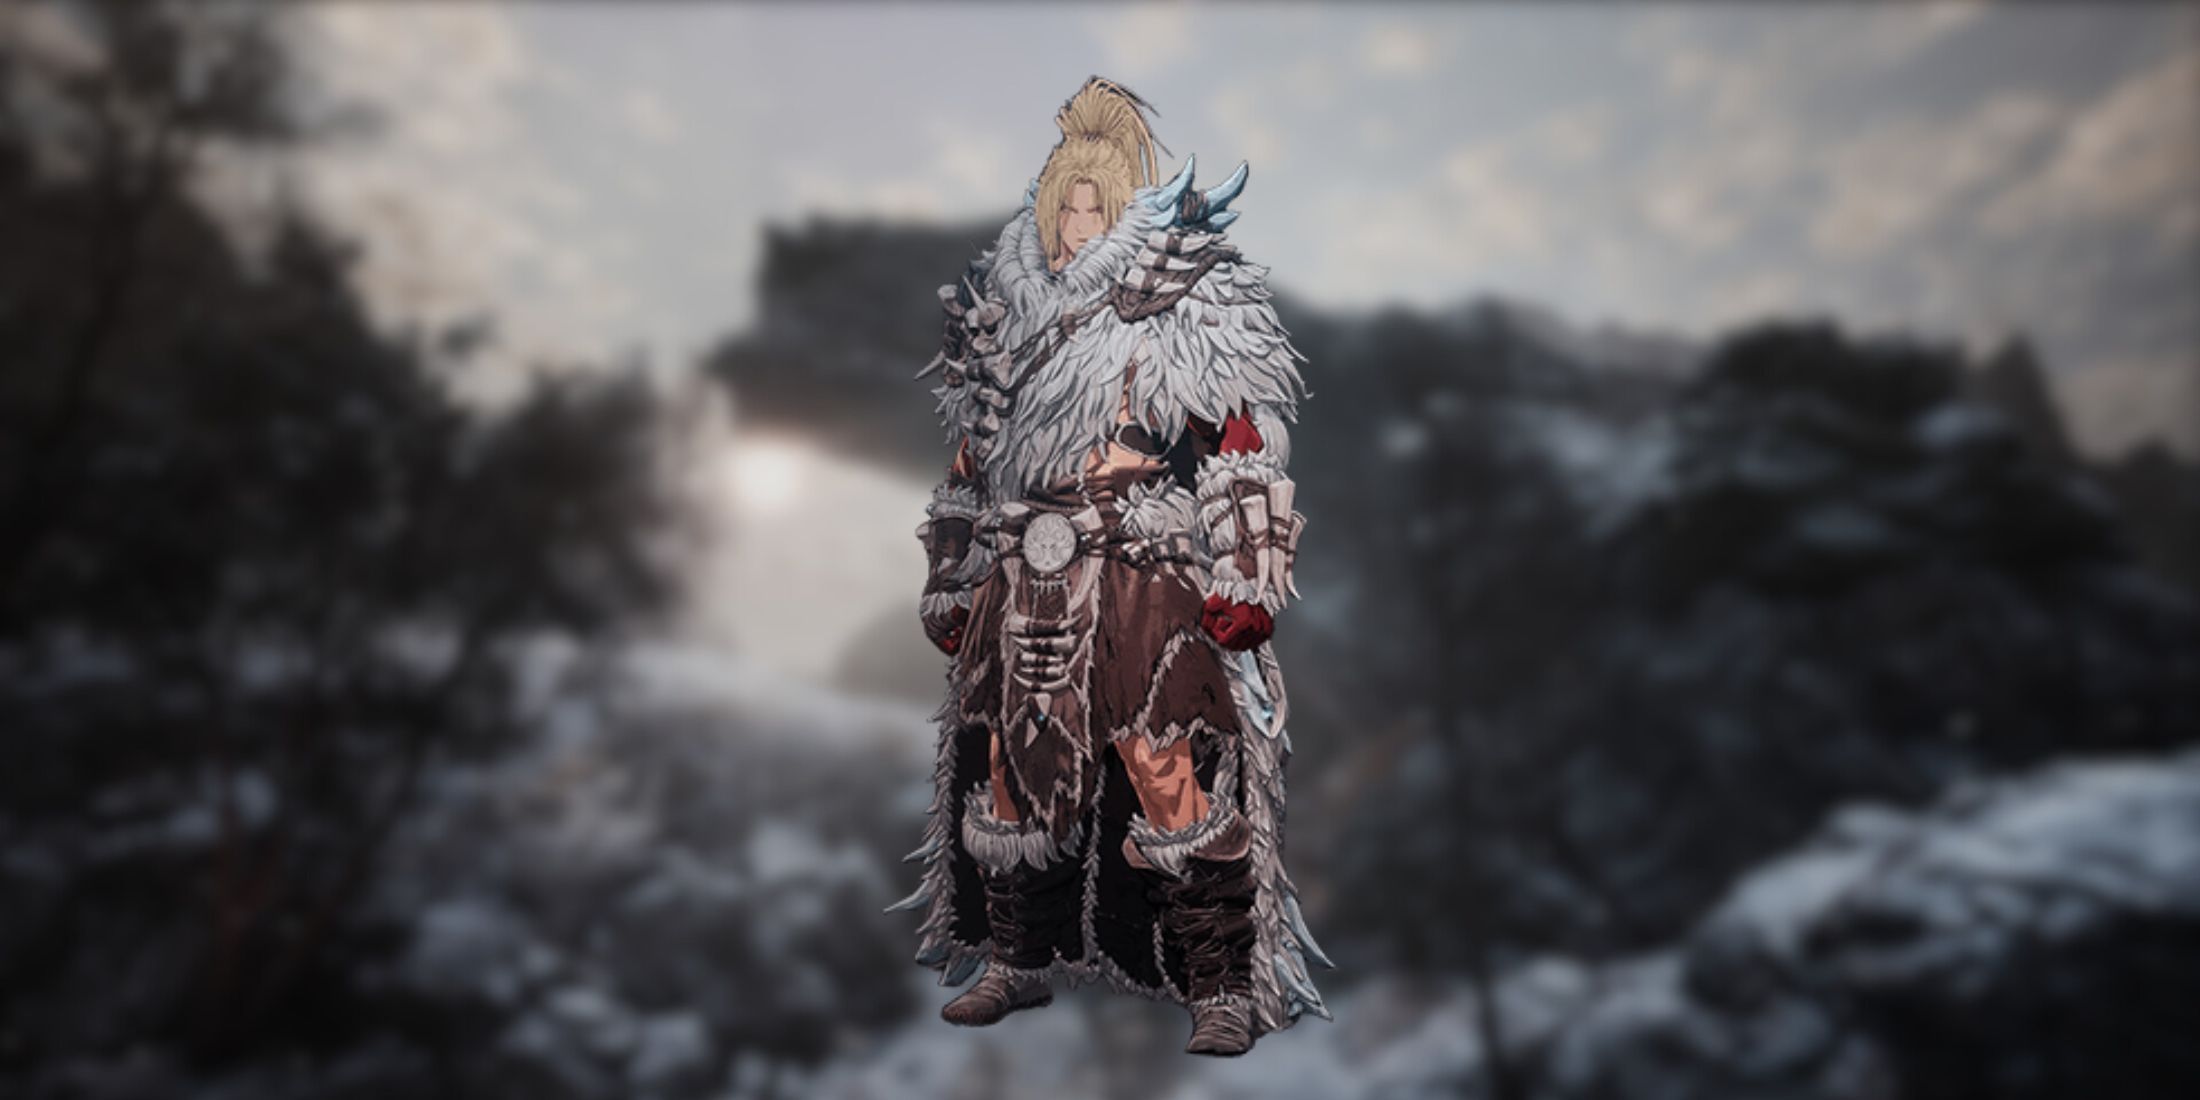
6. Frozen Mountain Set
Enduring Through The Winter
| Pieces | Effect |
|---|---|
| 2 | Health Recovery Increase 20% |
| 3 | Extra Endurance 10 |
| 4 | Unscathed: 50% Received DMG Decrease 100% |
| 5 | Brutal Attack: Health Recovery 10% |
| 6 | Unscathed: DMG Increase 30% |
- How to get: Enemy drops, drops from Yetuga/Frozen Mountain Scroll (Escaping Linon Mine)
In the game “The First Berserker: Khazan, two essential aspects – durability and endurance – are invaluable, as they control how long a player can engage in combat and withstand continuous attacks inflicted upon them. The Frozen Mountain equipment set is an outstanding initial pick and continues to be effective in advanced stages due to its design that incorporates several percentage-based stats. This setup significantly boosts healing capabilities and resistance to damage, making it a strong consideration for any player.
As a passionate gamer, I must say, the progression between each tier in this game feels like a significant leap forward. What’s fascinating is that players can repeatedly battle the initial boss, turning it into a farmable resource. This allows them to acquire an entire set of Yeti-themed armor before the game has even properly started!
Now, don’t get me wrong, Yetuga isn’t particularly menacing, but by engaging him in combat a few times, you can obtain a complete set of this armor that excels in every conceivable category. It’s quite the advantage to start off with such powerful gear!
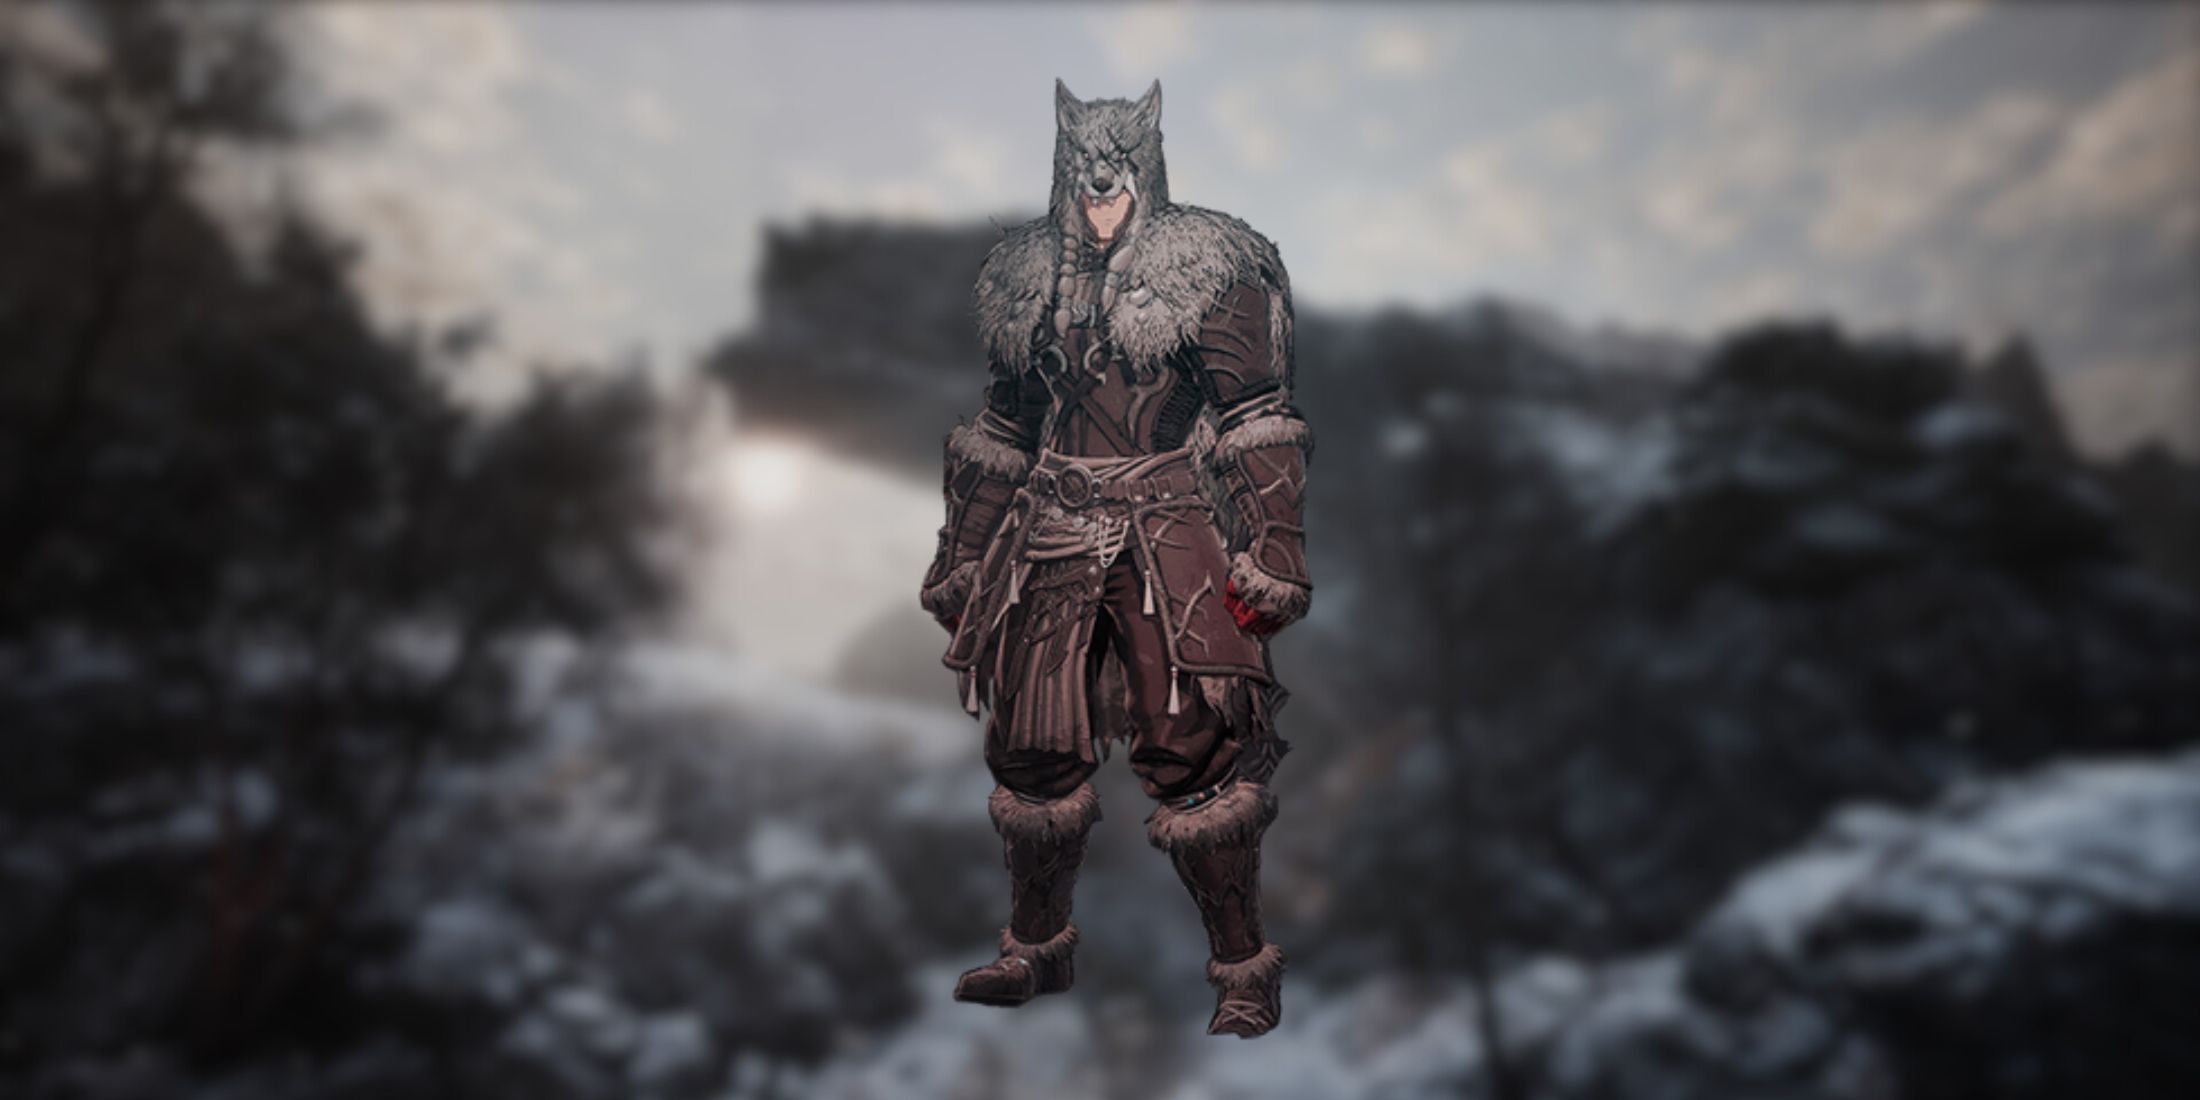
5. Ashen Wolf Set
Howl To The Moon
4.
| Pieces | Effect |
|---|---|
| 2 | Dodge Stamina Cost Decrease 10% |
| 3 | Health Recovery Increase 20% |
| 4 | Composed and Potent Blow: Stamina DMG Increase 10% |
| 5 | Netherworld Energy Increase 1 |
| 6 | Potent Blow: DMG Increase 15% |
- How to get: Enemy drops, drops from Yetuga/Frozen Ashen Wolf Scroll (Phraugh Village)
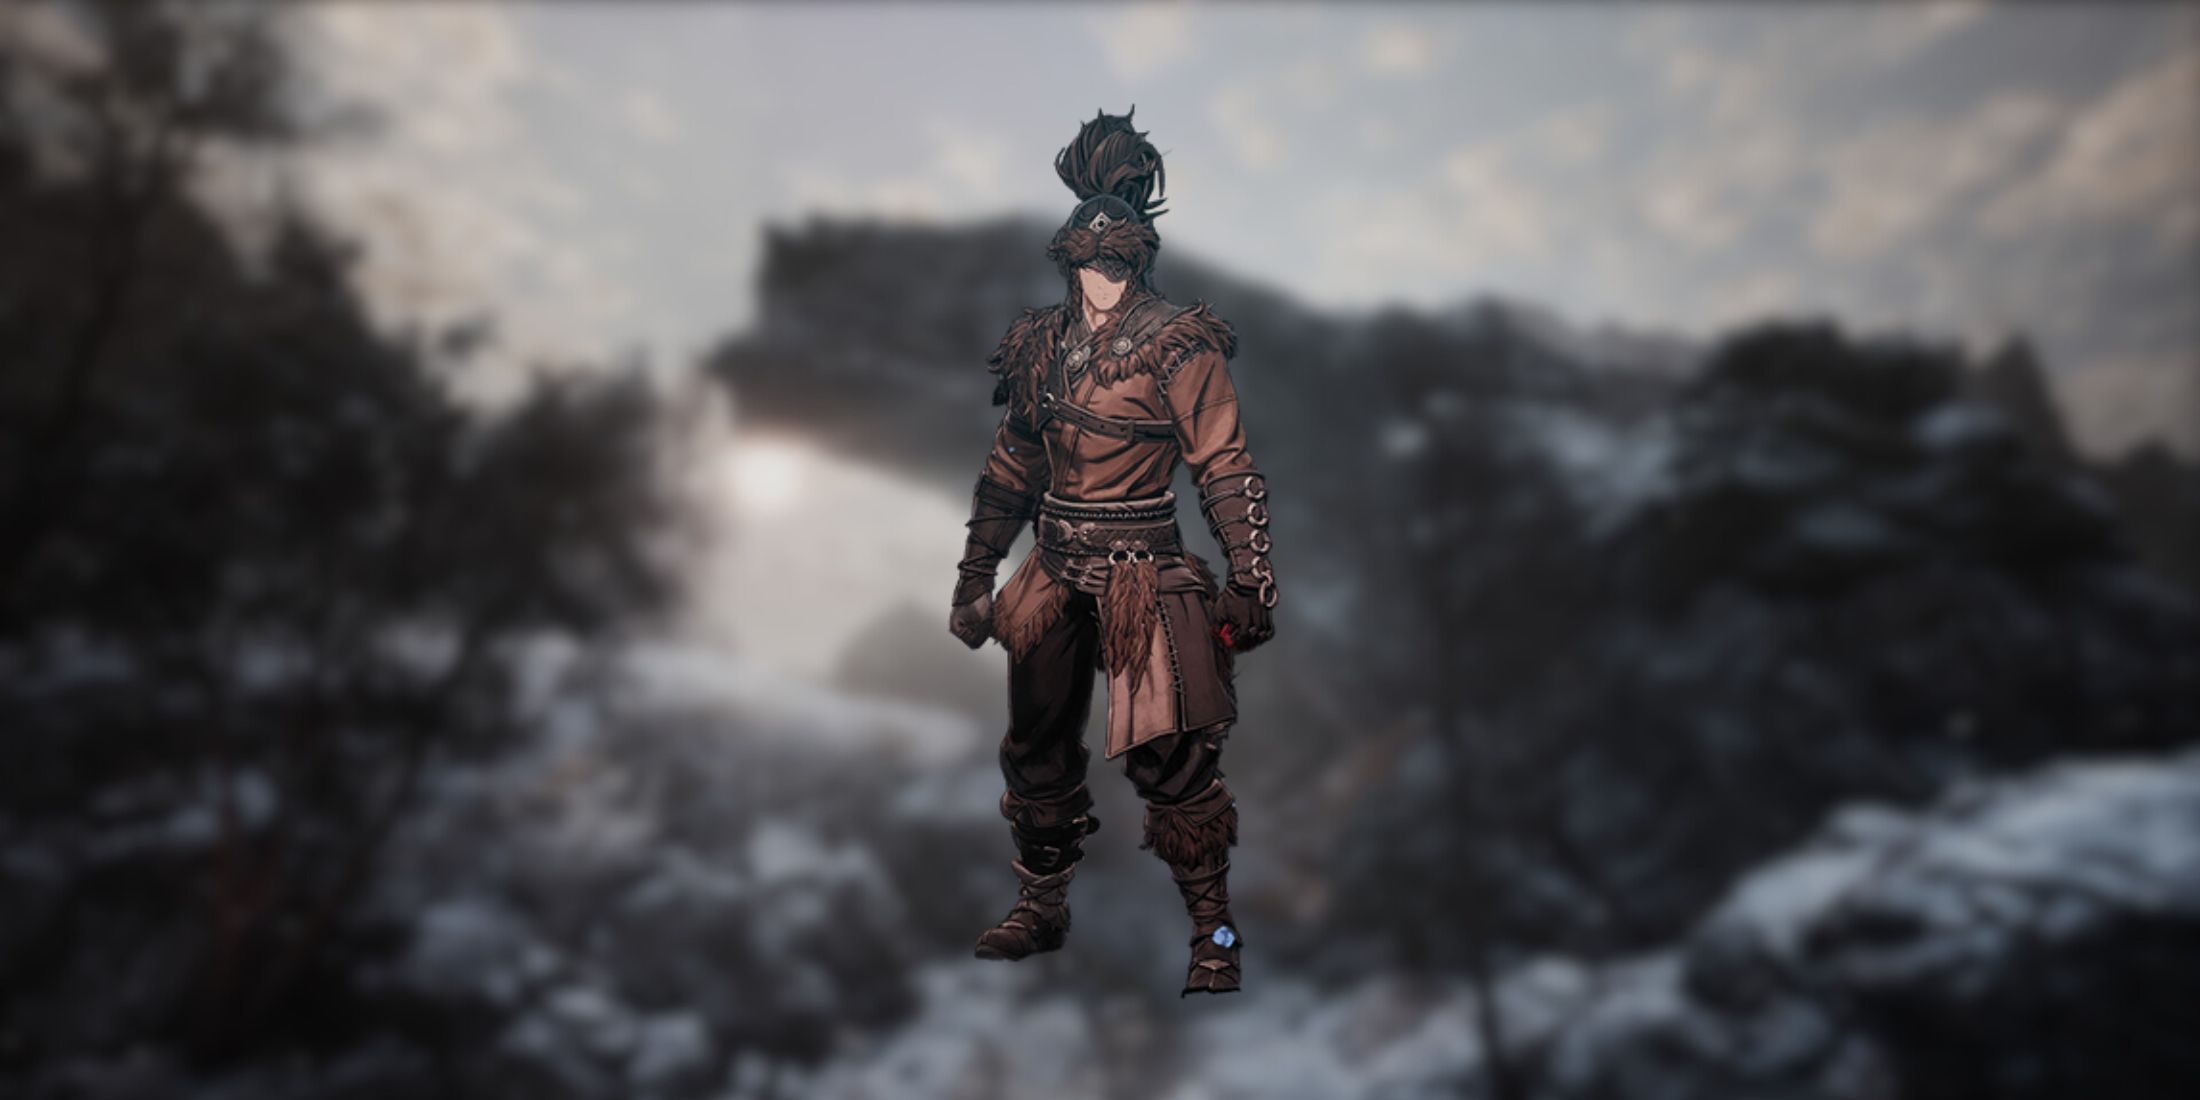
From Yetuga’s Ashen Wolf collection, you get a set that offers numerous robust buffs early in the game, making the player exceptionally potent. The standout feature is the extra Netherworld Energy slot, amplifying the healing potential during battles, further enhanced by another bonus within the set, adding even more healing power.
This armor setup emphasizes agility for movement and powerful strikes. When used together, each attack can significantly deplete an enemy’s health. It’s quite robust, though you need a greatsword to complete the full set. Despite needing a specific weapon, it’s worth considering due to its numerous advantages.
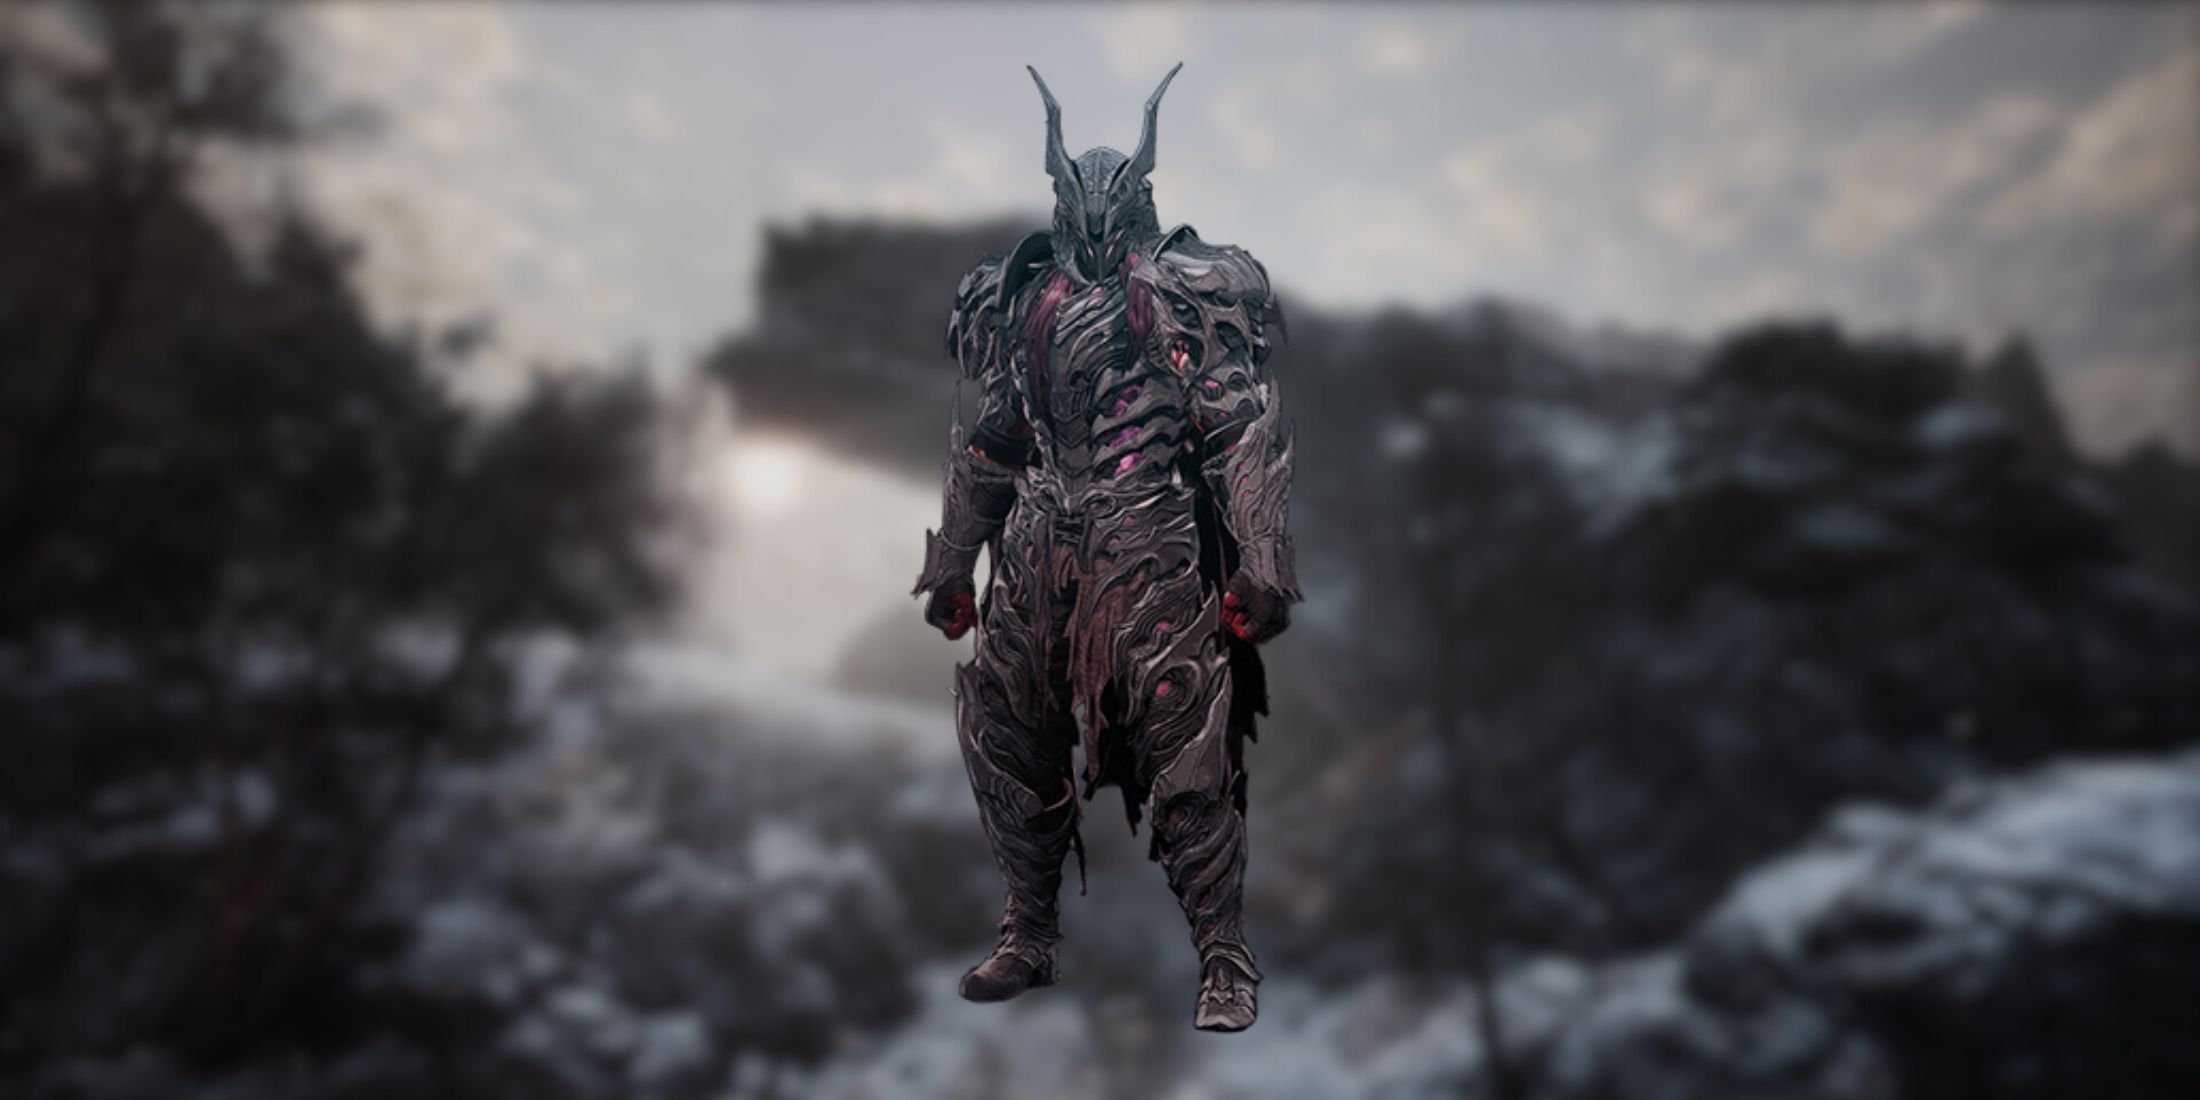
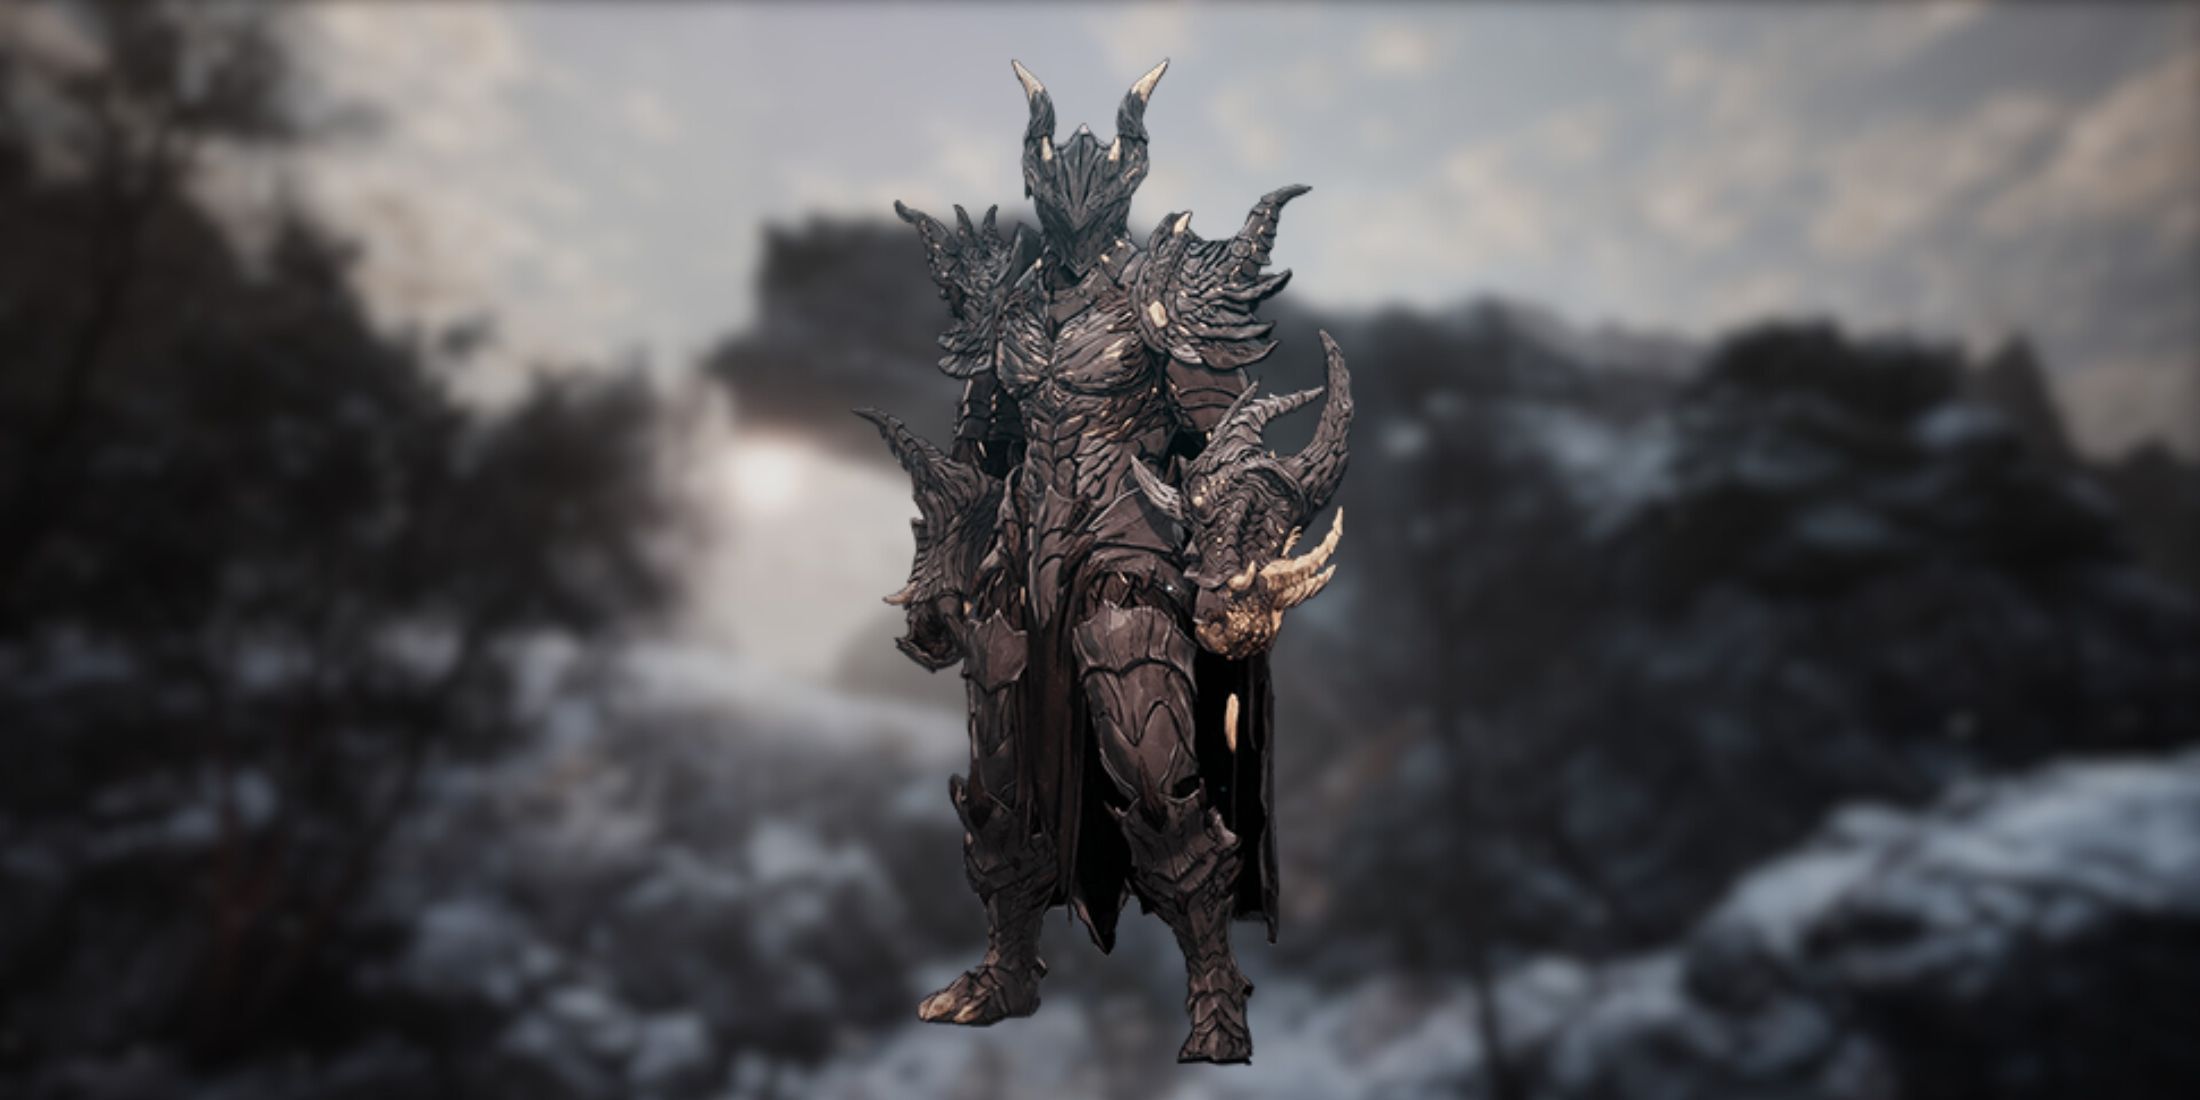
3. Soul Eater Set
Reap Their Life
| Pieces | Effect |
|---|---|
| 2 | Max Stamina +100 |
| 3 | Enemy Defeated: Health Recovery 5% |
| 4 | Stamina Recovery 15% |
| 5 | Brutal Attack: DMG Increase 15% |
| 6 | Learn: Phantom Judgement |
- How to get: Enemy drops, drop from Blade Phantom and Keshta the Unyielding/crafted with Soul Eater’s Scroll (Aldevir Central District)
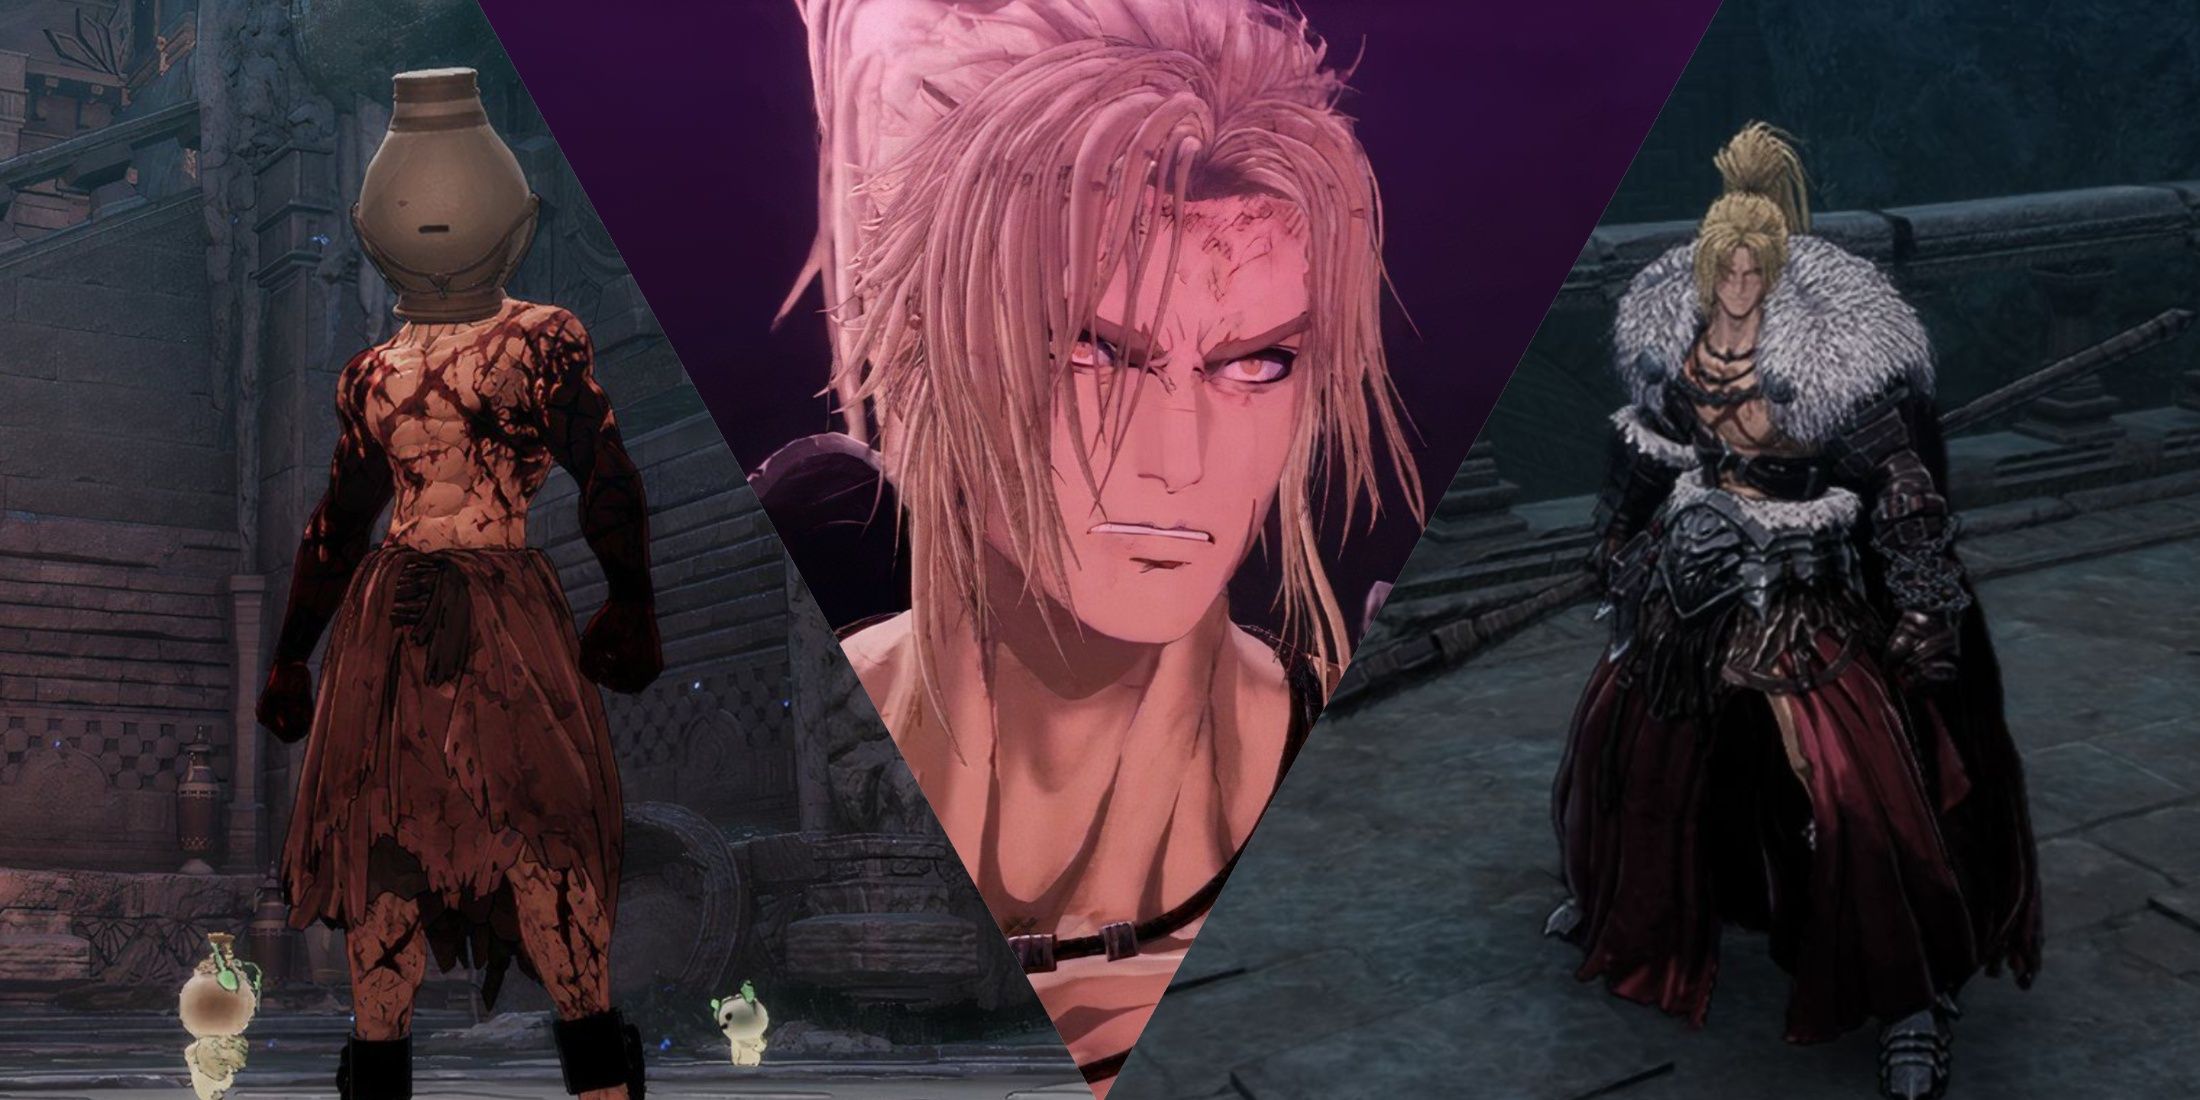
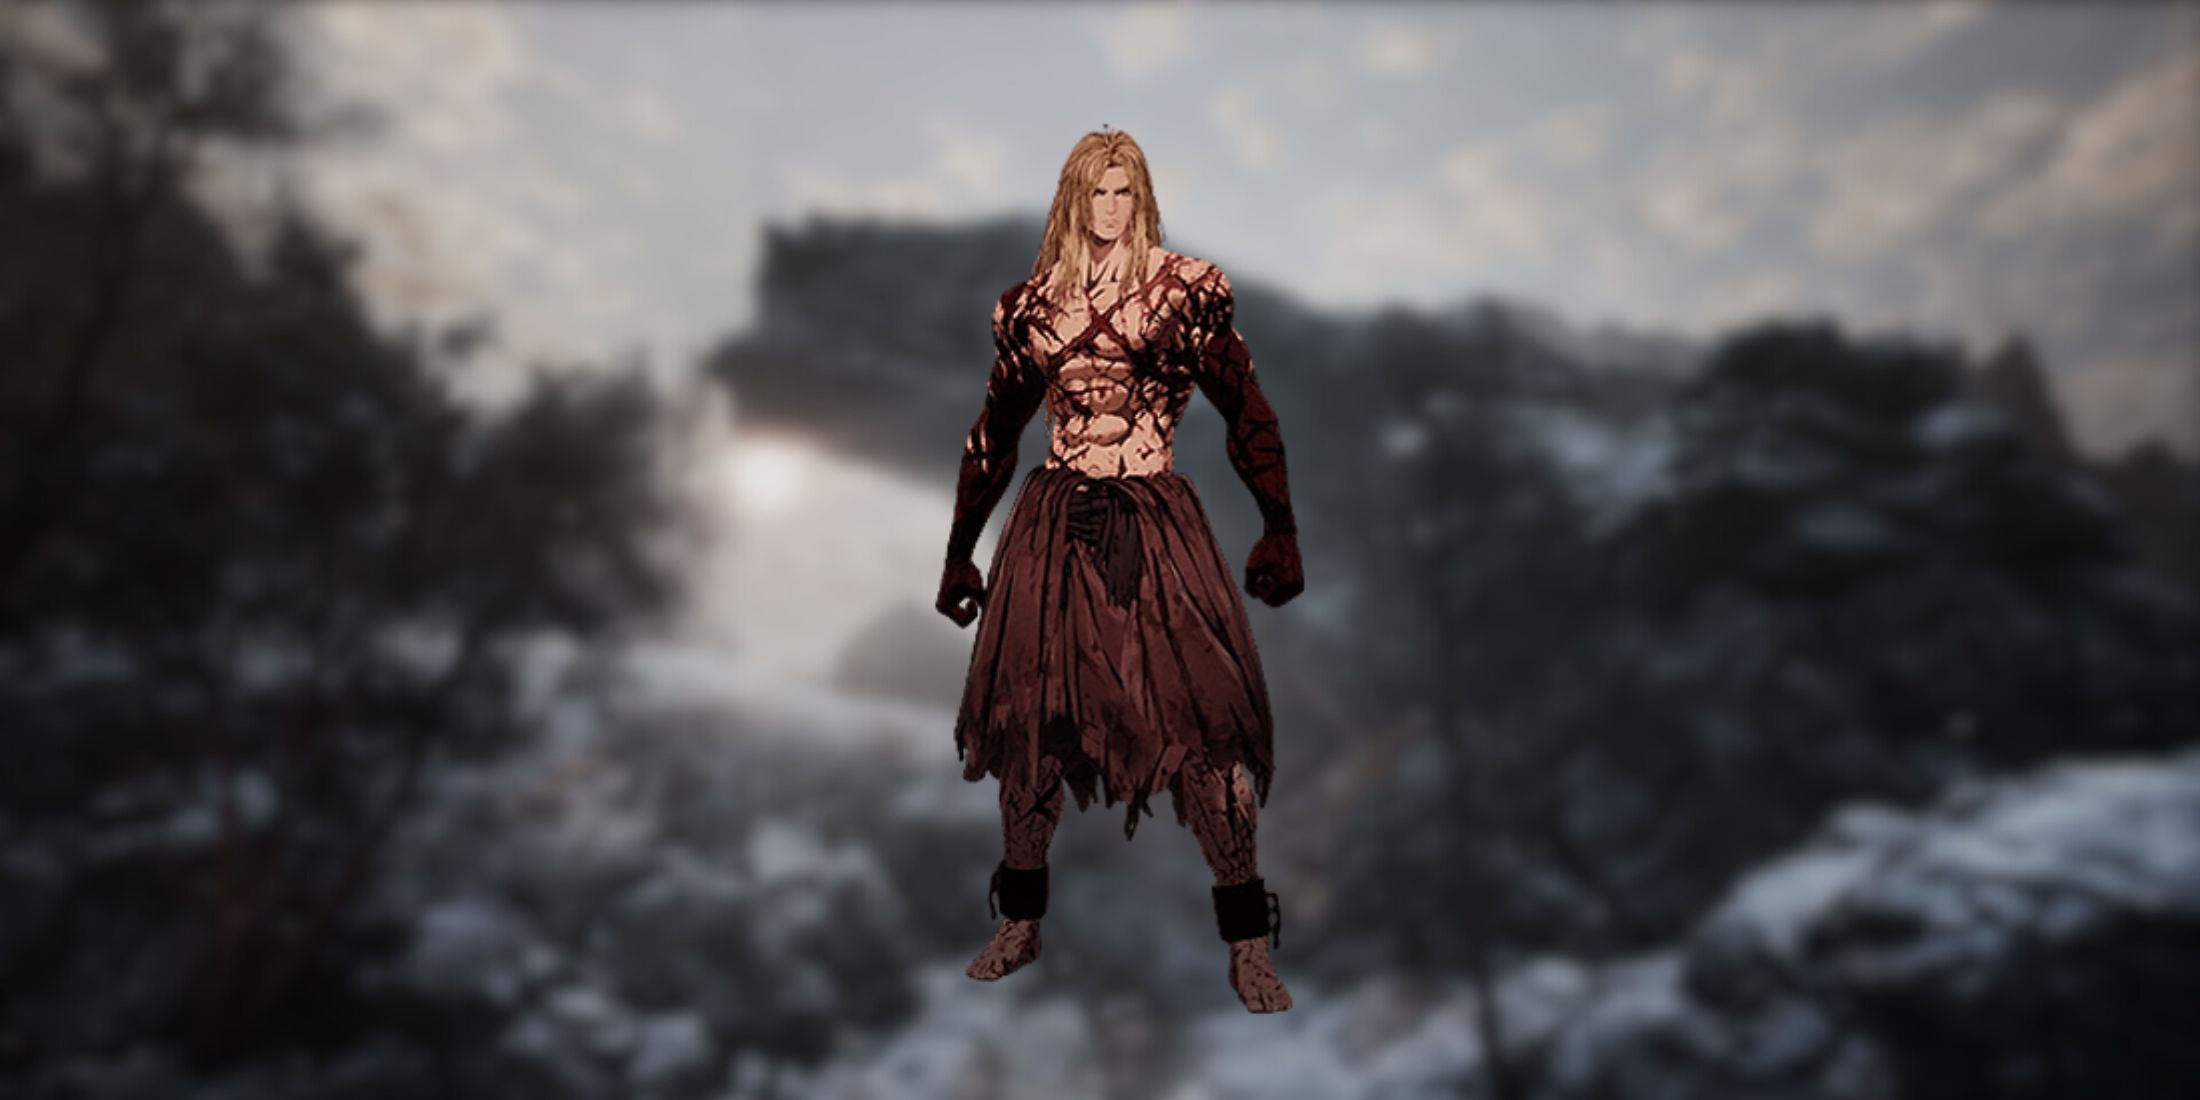
Without first examining the statistics, it’s safe to say that the Soul Eater set stands out as one of the most visually striking ones in The First Berserker: Khazan. This set has the power to transform the player into a menacing dark demon, poised to strike anyone who dares to cross its path. One of the primary attractions of the set is its health recovery feature, which can be obtained with as few as three items from the set. This feature offers an impressive level of survivability as you navigate through the game levels.
In simpler terms, the second unlock is called Phantom Judgement. This move can be applied to any of the three weapons and allows players to reset an enemy’s exhaustion timer, a feature that becomes incredibly strong when used against larger enemies or bosses. This means players can deliver more attacks before needing to switch to defensive play again, making the whole set feel fantastic and one of the best options available overall due to its powerful buffs.
2. Fallen Lord Set
A Spear’s Best Friend
1. 
| Pieces | Effect |
|---|---|
| 2 | Charged Attack: DMG Increase 10% |
| 3 | Brink Dodge: Stamina Recovery Rate Increase 25% for 10s |
| 4 | Enemy Exhausted: DMG Increase 10% |
| 5 | Full Moon: DMG Increase 15% |
| 6 | Spiral Thrust: DMG Increase 15% |
- How to get: Drop from Viper, Fallen Lord’s Scroll (Silent Temple)
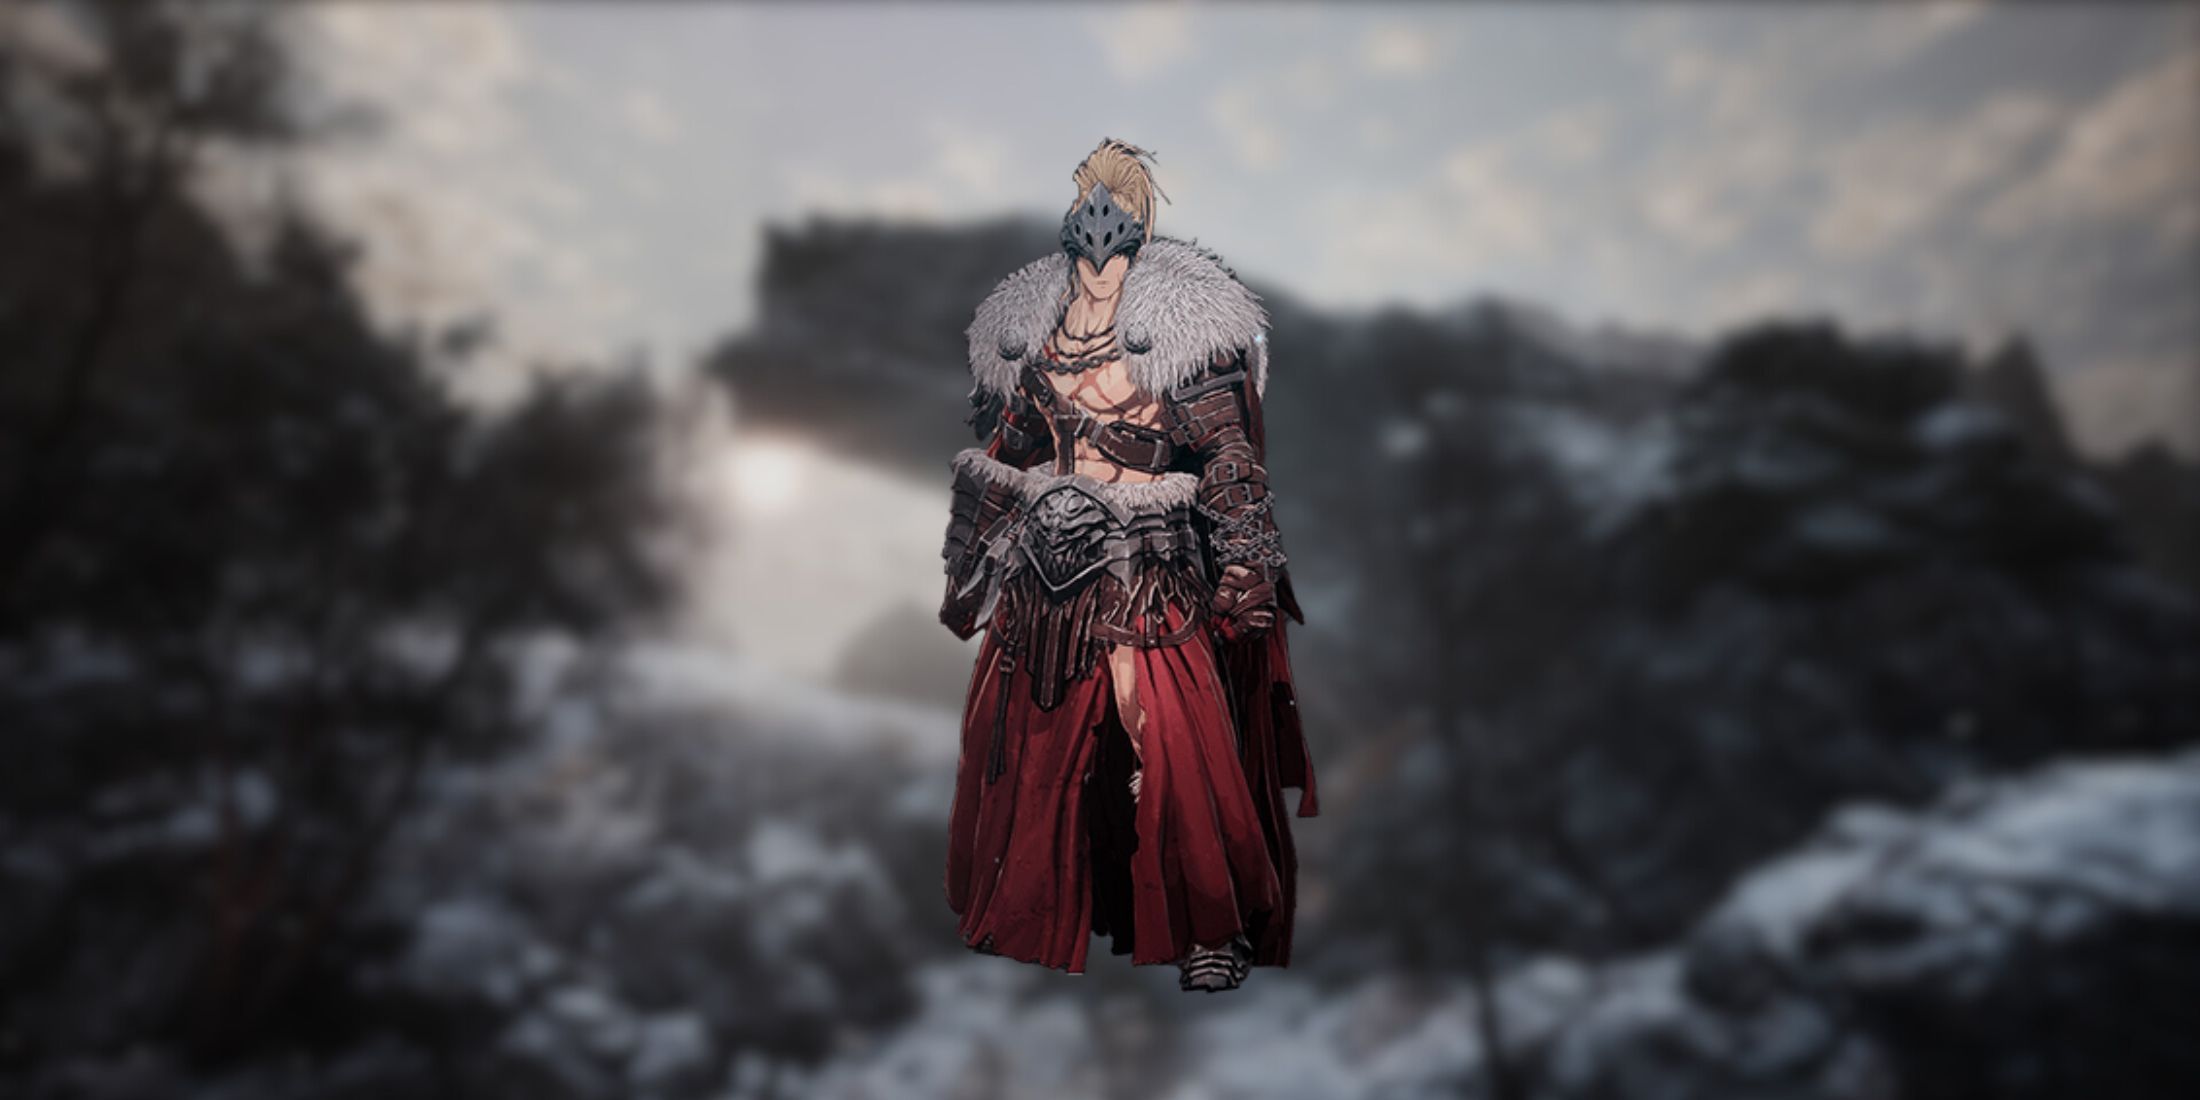
If you’re fond of spears, this armor set is definitely worth considering, even from the start. Enhancing the power of charged attacks offers a significant advantage to your gameplay, and the additional 10% damage when an enemy is staggered makes your powerful strikes feel unmatched.
Using a complete set obtained early from defeating a single boss allows players to maximize the full potential of the set’s bonus, significantly enhancing some top-tier spear abilities to unprecedented levels, all without requiring additional effort from the player. This set essentially provides excellent overall buffs and presents no downsides whatsoever. Moreover, it entices players to experiment with the spear weapon class, which is undeniably one of the strongest among the three available options.
Read More
- Clash Royale Best Boss Bandit Champion decks
- Vampire’s Fall 2 redeem codes and how to use them (June 2025)
- Mobile Legends January 2026 Leaks: Upcoming new skins, heroes, events and more
- World Eternal Online promo codes and how to use them (September 2025)
- Clash Royale Season 79 “Fire and Ice” January 2026 Update and Balance Changes
- Best Arena 9 Decks in Clast Royale
- Best Hero Card Decks in Clash Royale
- Clash Royale Furnace Evolution best decks guide
- Clash Royale Witch Evolution best decks guide
- How to find the Roaming Oak Tree in Heartopia
2025-04-01 16:10