
Players familiar with past Monster Hunter Stories games will quickly understand how Monster Hunter Stories 3: Twisted Reflection works. However, those new to the series might find it a bit overwhelming at first.
Although the Stories games borrow a lot from the main series, changing to turn-based battles means they also need some new features and adjustments.
Combat Basics
Battles can be hectic, and even though the game allows you to switch up your Monsties and equipment, having a well-planned team is key – especially if you want to be prepared for all kinds of monsters.
Attack Types
Stories features a combat system similar to older Fire Emblem games, utilizing a weapon triangle. This triangle consists of three different types, influencing how attacks perform.
- Power, which is red.
- Speed, which is blue.
- Technical, which is green.
Okay, so the different attack types don’t have any special effects on their own. They’re all about how they counter each other in battles. Basically, it’s a rock-paper-scissors thing – one type is strong against another, and it goes like this:
- Power beats Technical.
- Technical beats Speed.
- Speed beats Power.
When you attack, you can select the type of attack you want to use for standard attacks and most Skills. However, certain Skills don’t have an attack type, and therefore can’t be used to start a Head-to-Head battle.
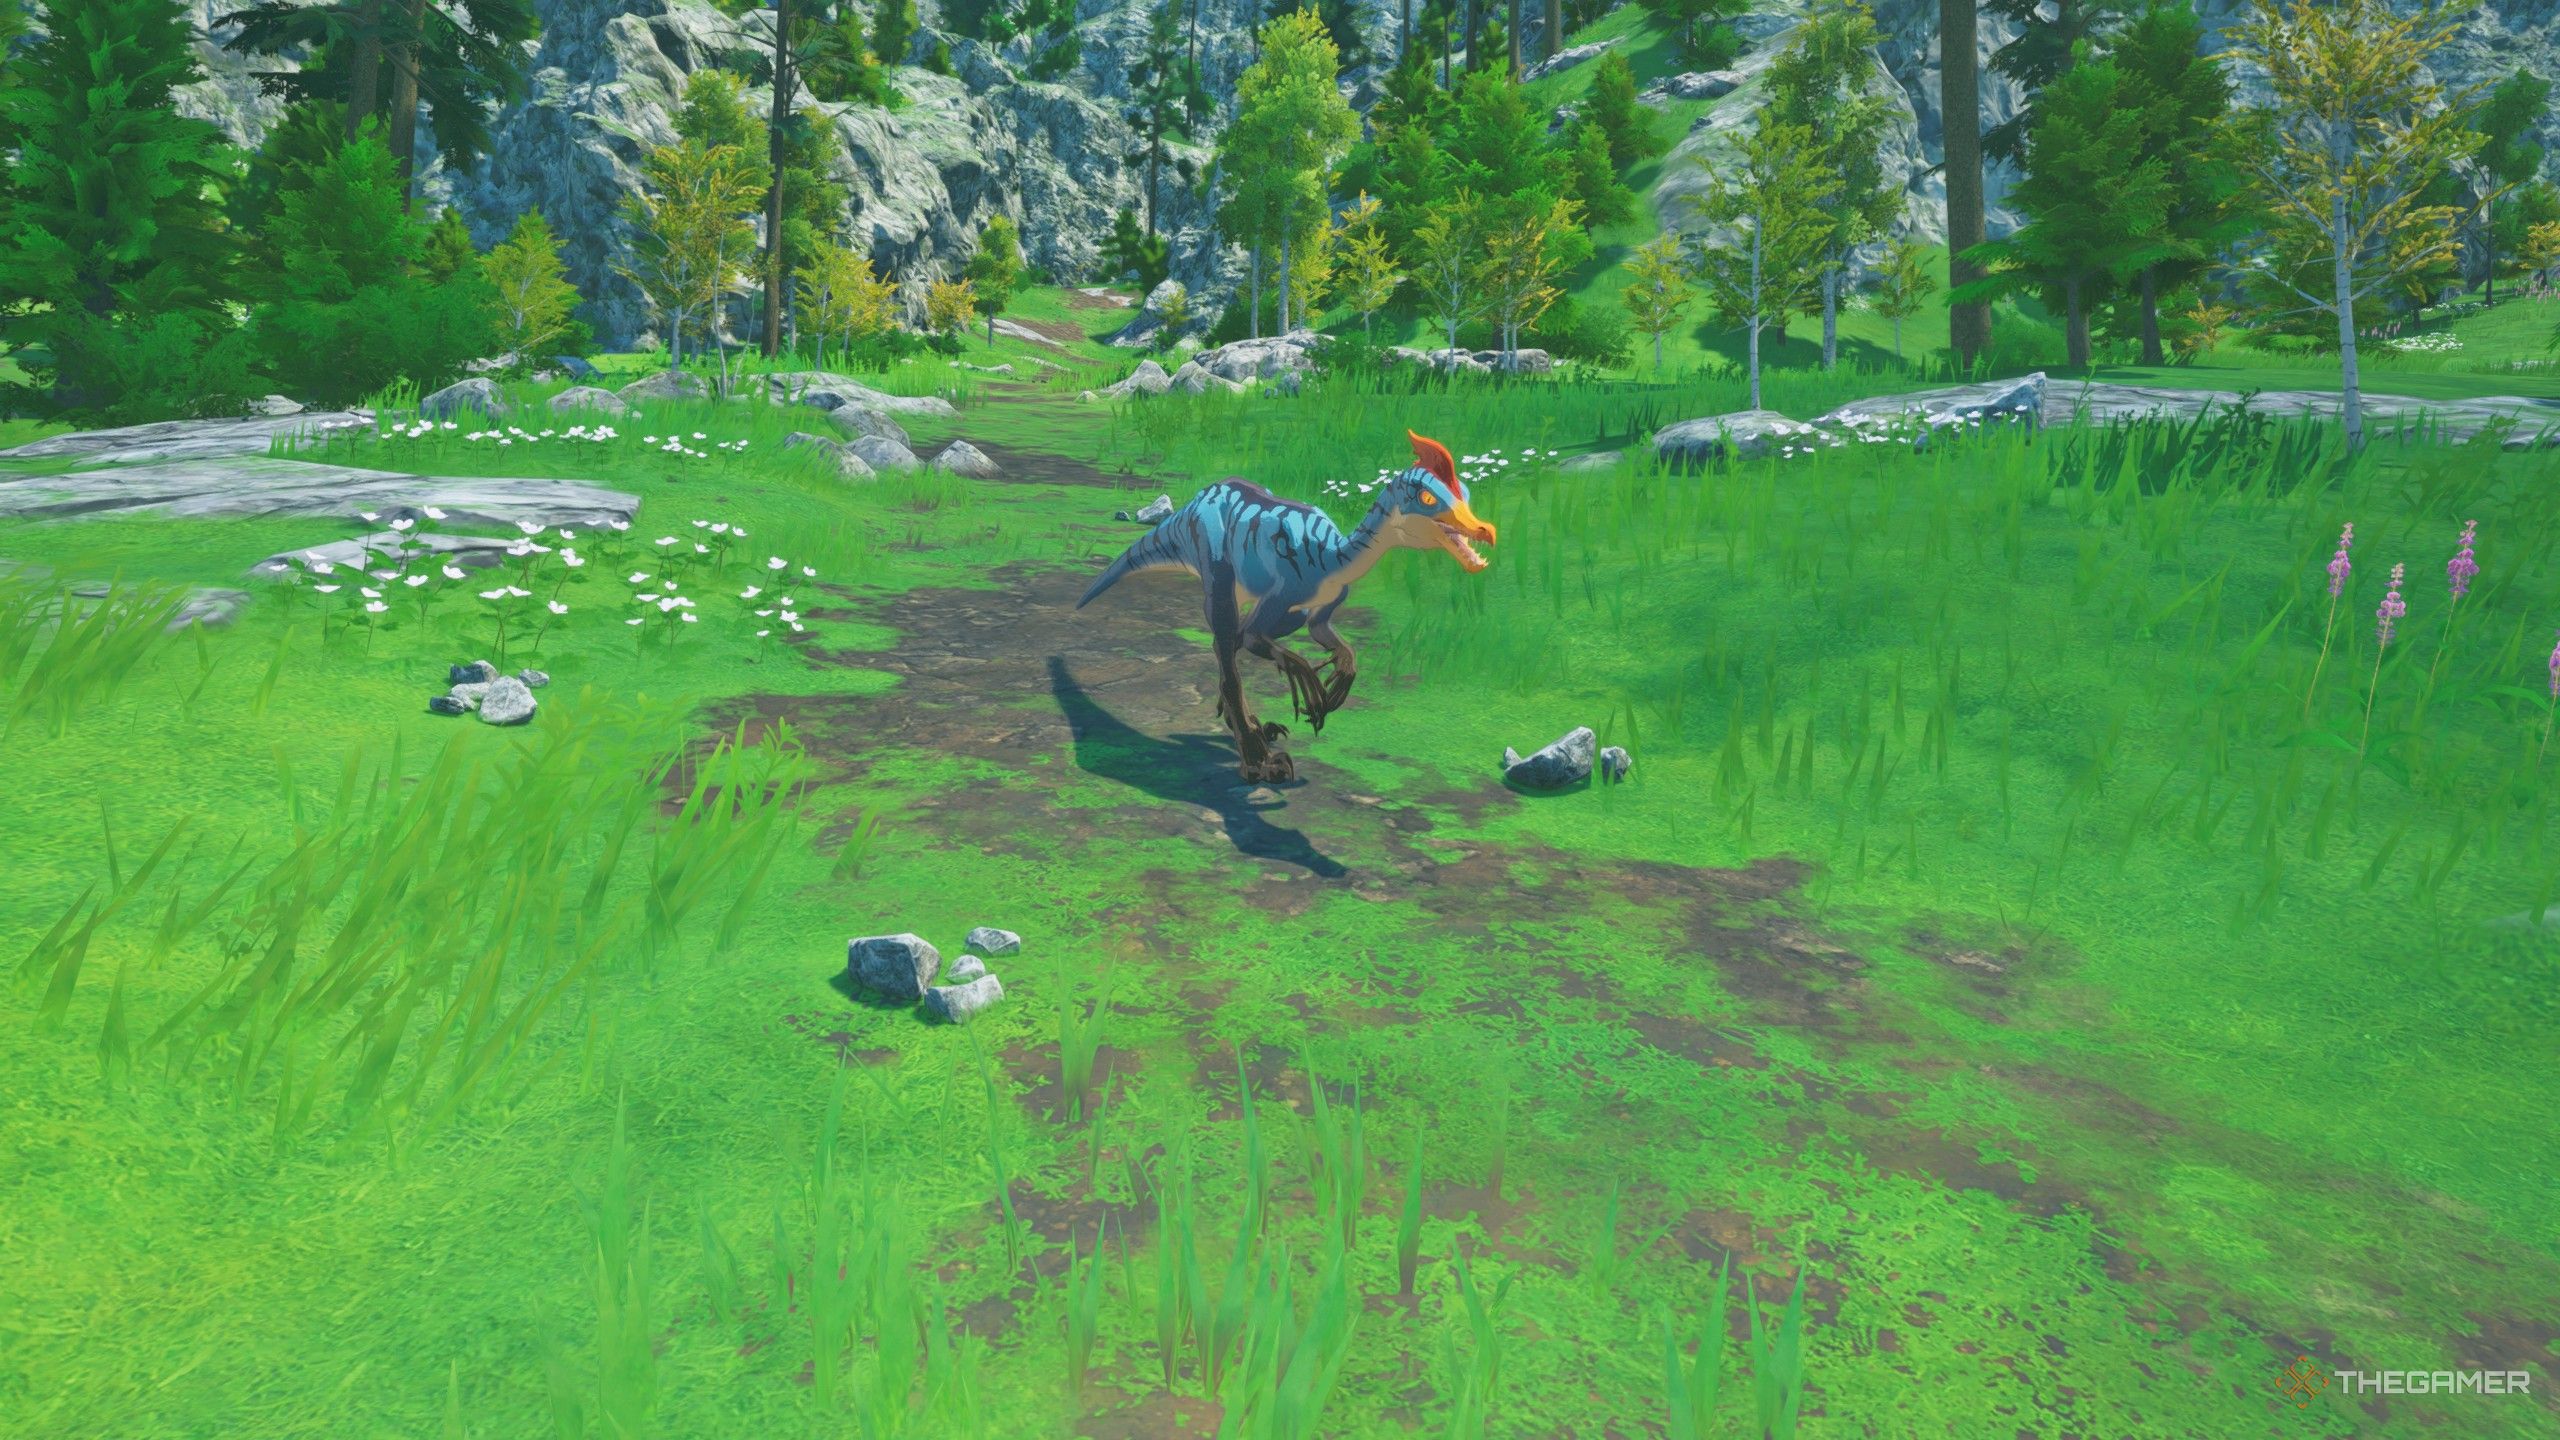
Each Monstie has a set attack type. For instance, Ratha is a Power-type, meaning their standard attacks will always be Power-based. While some Monstie Skills are specifically tied to certain attack types, others don’t have any particular type associated with them.
Elements
You can use many different elements, but they don’t have any special qualities on their own. However, each monster has unique strengths and weaknesses against those elements.
The elements are as follows:
- Fire
- Water
- Lightning
- Ice
- Dragon
- Non-elemental
How well you resist different elements depends on your armor and decorations, and each monster has its own unique elemental weaknesses. The type of elemental damage you deal is based on your weapons, and each monster also has its own unique elemental defenses.
Through Habitat Restoration, you can also raise monsters to have two elements.
Unlike characters, each monster skill has its own specific element. Their standard attacks will always use the element that’s been assigned to them, so it’s important to remember this during battles. You can see a monster’s weaknesses and resistances by checking its stats while you’re fighting it.
Head-To-Heads And Double Attacks
You’ll always see who the enemies are going to attack at the start of each round, except when they use an attack that hits everyone. If an enemy uses any attack, it will start a Head-to-Head.
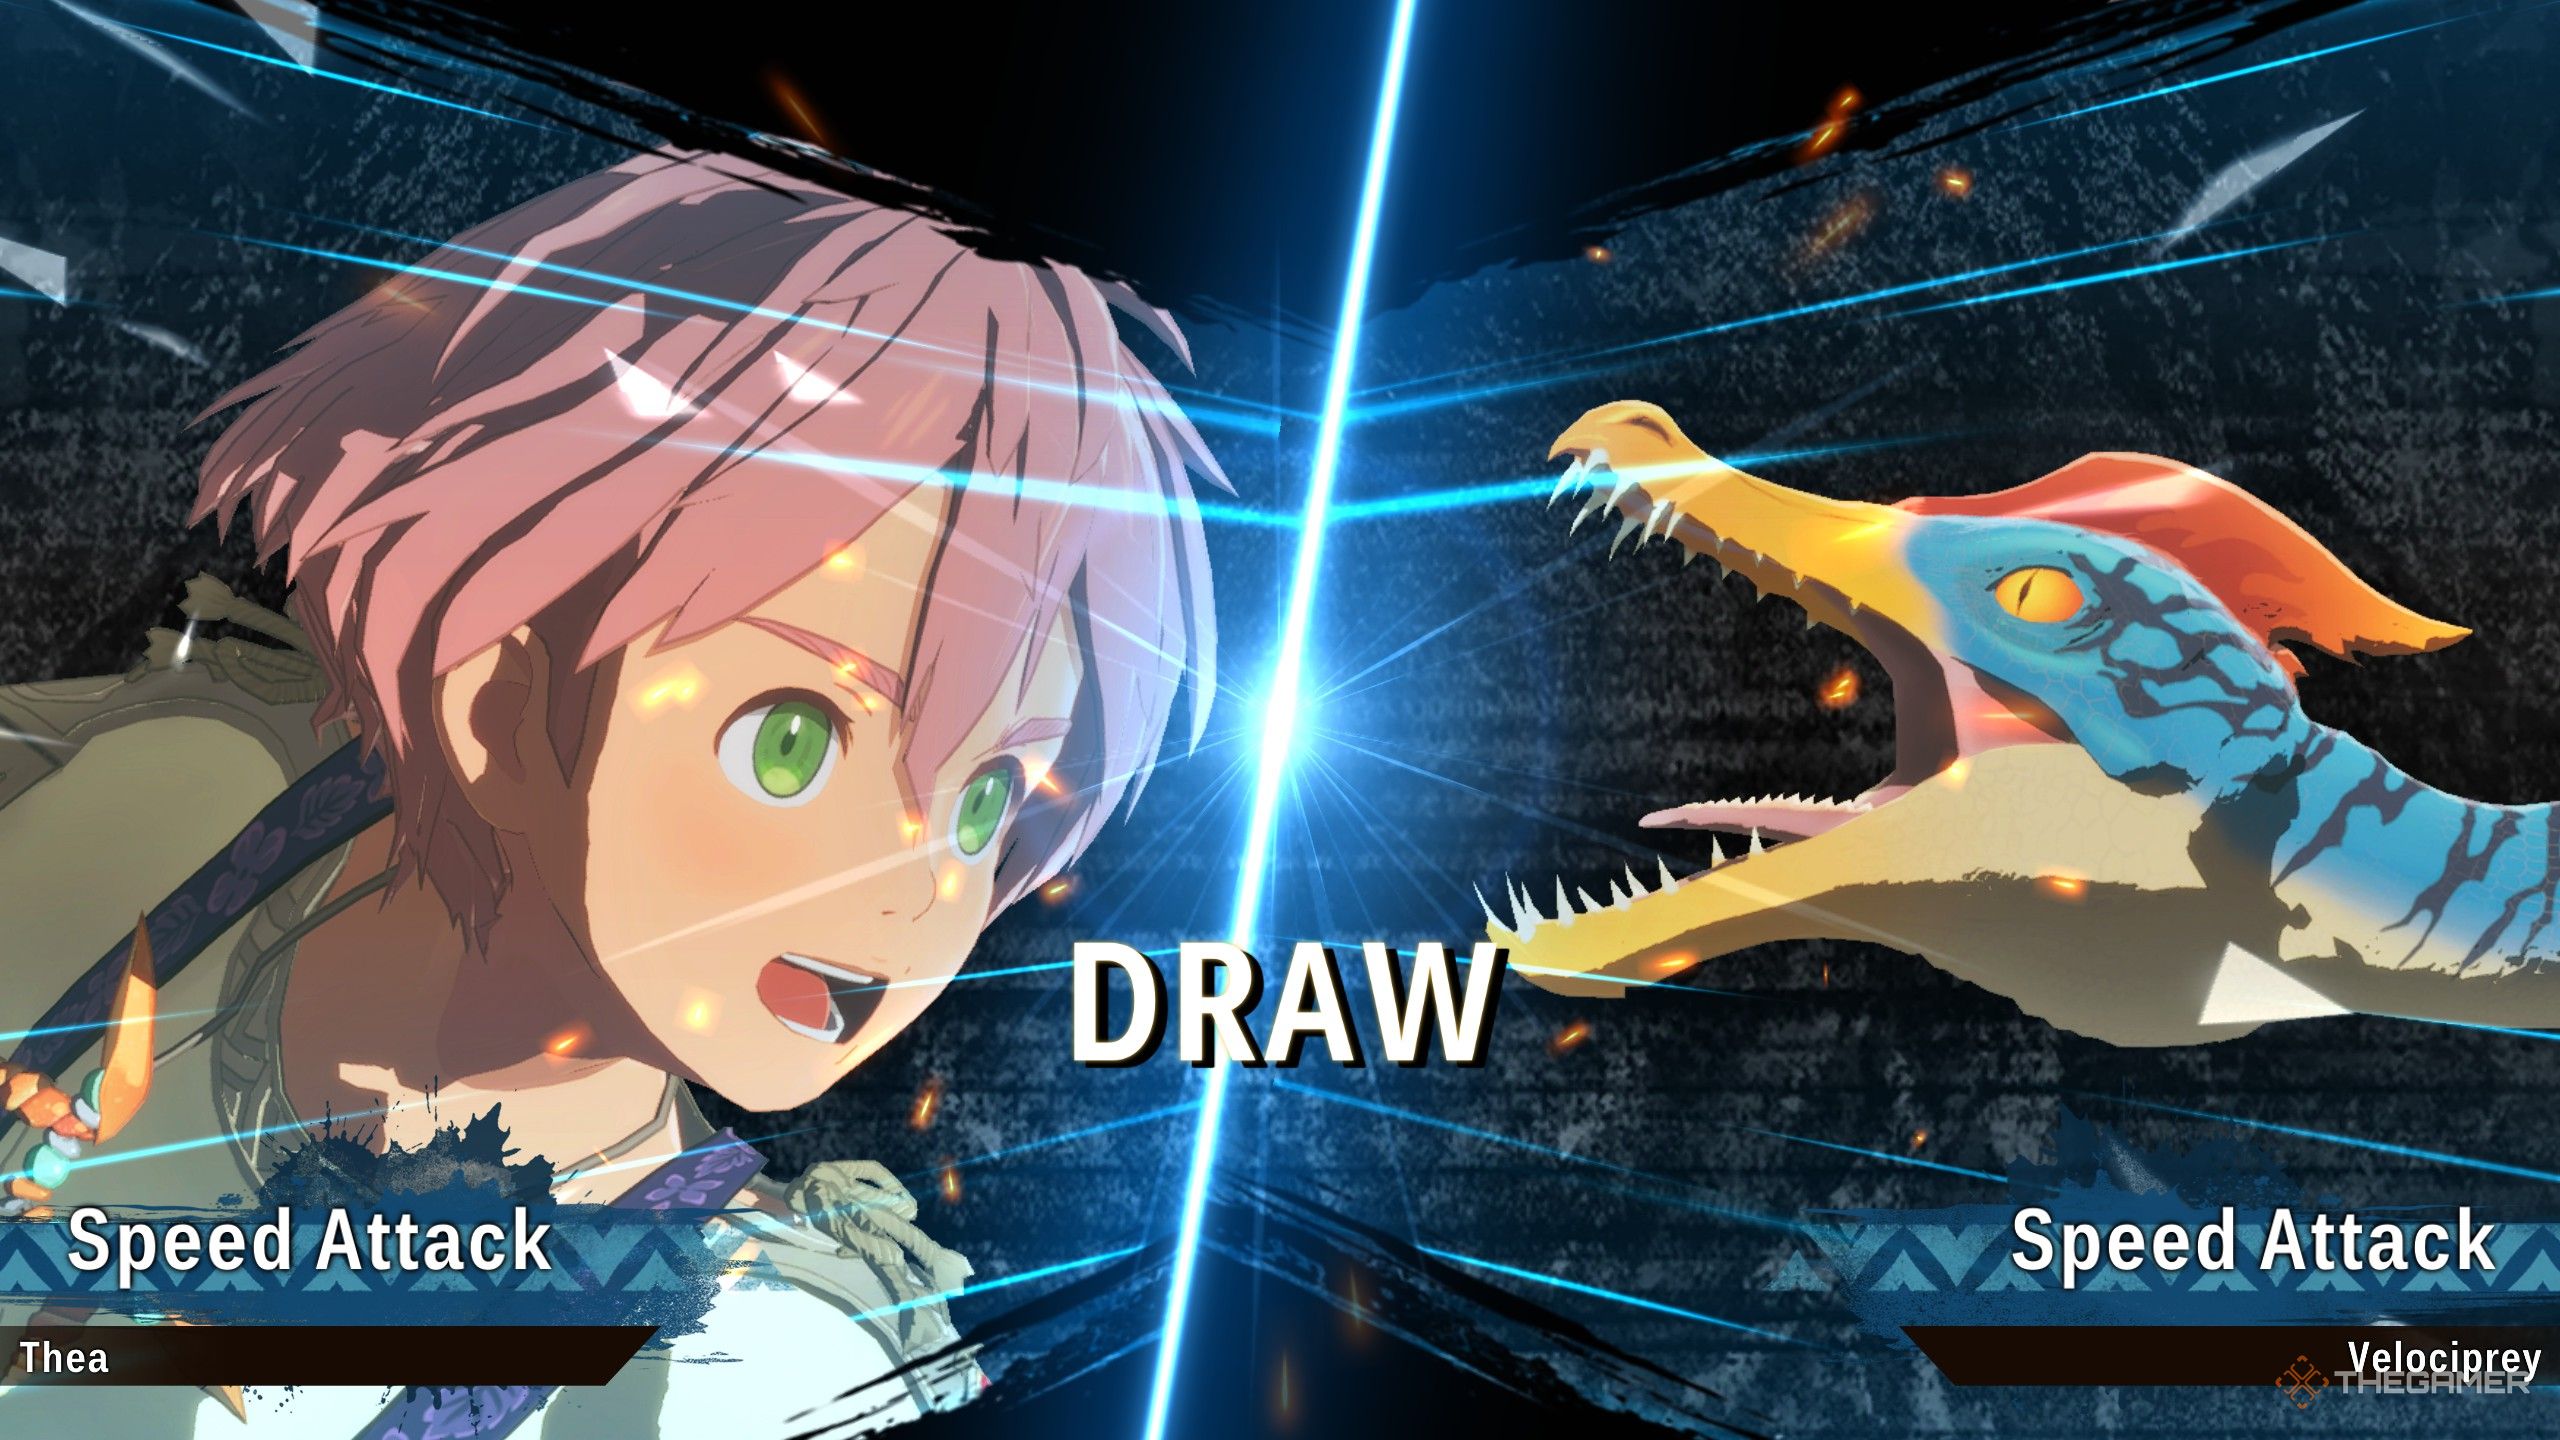
In a Head-to-Head battle, the types of attacks you and your opponent use matter. The outcome – a win, loss, or draw – depends on how well your attacks match up. These battles can start with either standard attacks or special Skills.
- If you win, the damage you take from the enemy attack is reduced, and yours does more.
- If you lose, your damage dealt is reduced while you take more damage from the enemy attack.
- If you draw, you both deal the regular amount of damage.
Double Attacks are a new addition to the battle system. If you and your Monstie both win a Head-to-Head, you’ll perform a Double Attack. This attack deals a lot of extra damage, completely stops the enemy from attacking, and significantly boosts your Kinship Gauge. However, a few things need to happen first to trigger it.
- Either you or your monster must be targeted.
- You and your monster’s attack types must match.
- You cannot be using a skill, only a regular attack. Your Monstie is allowed to use skills.
Riding And Kinship Skills
As you fight, your Kinship Gauge – the blue crystal above your hearts – fills up with almost everything you do. It fills up especially quickly when you use Skills and win battles against opponents.
Each Monstie has its own special Kinship Gauge, and it stays with them even when you switch them out of battle or they’re revived.
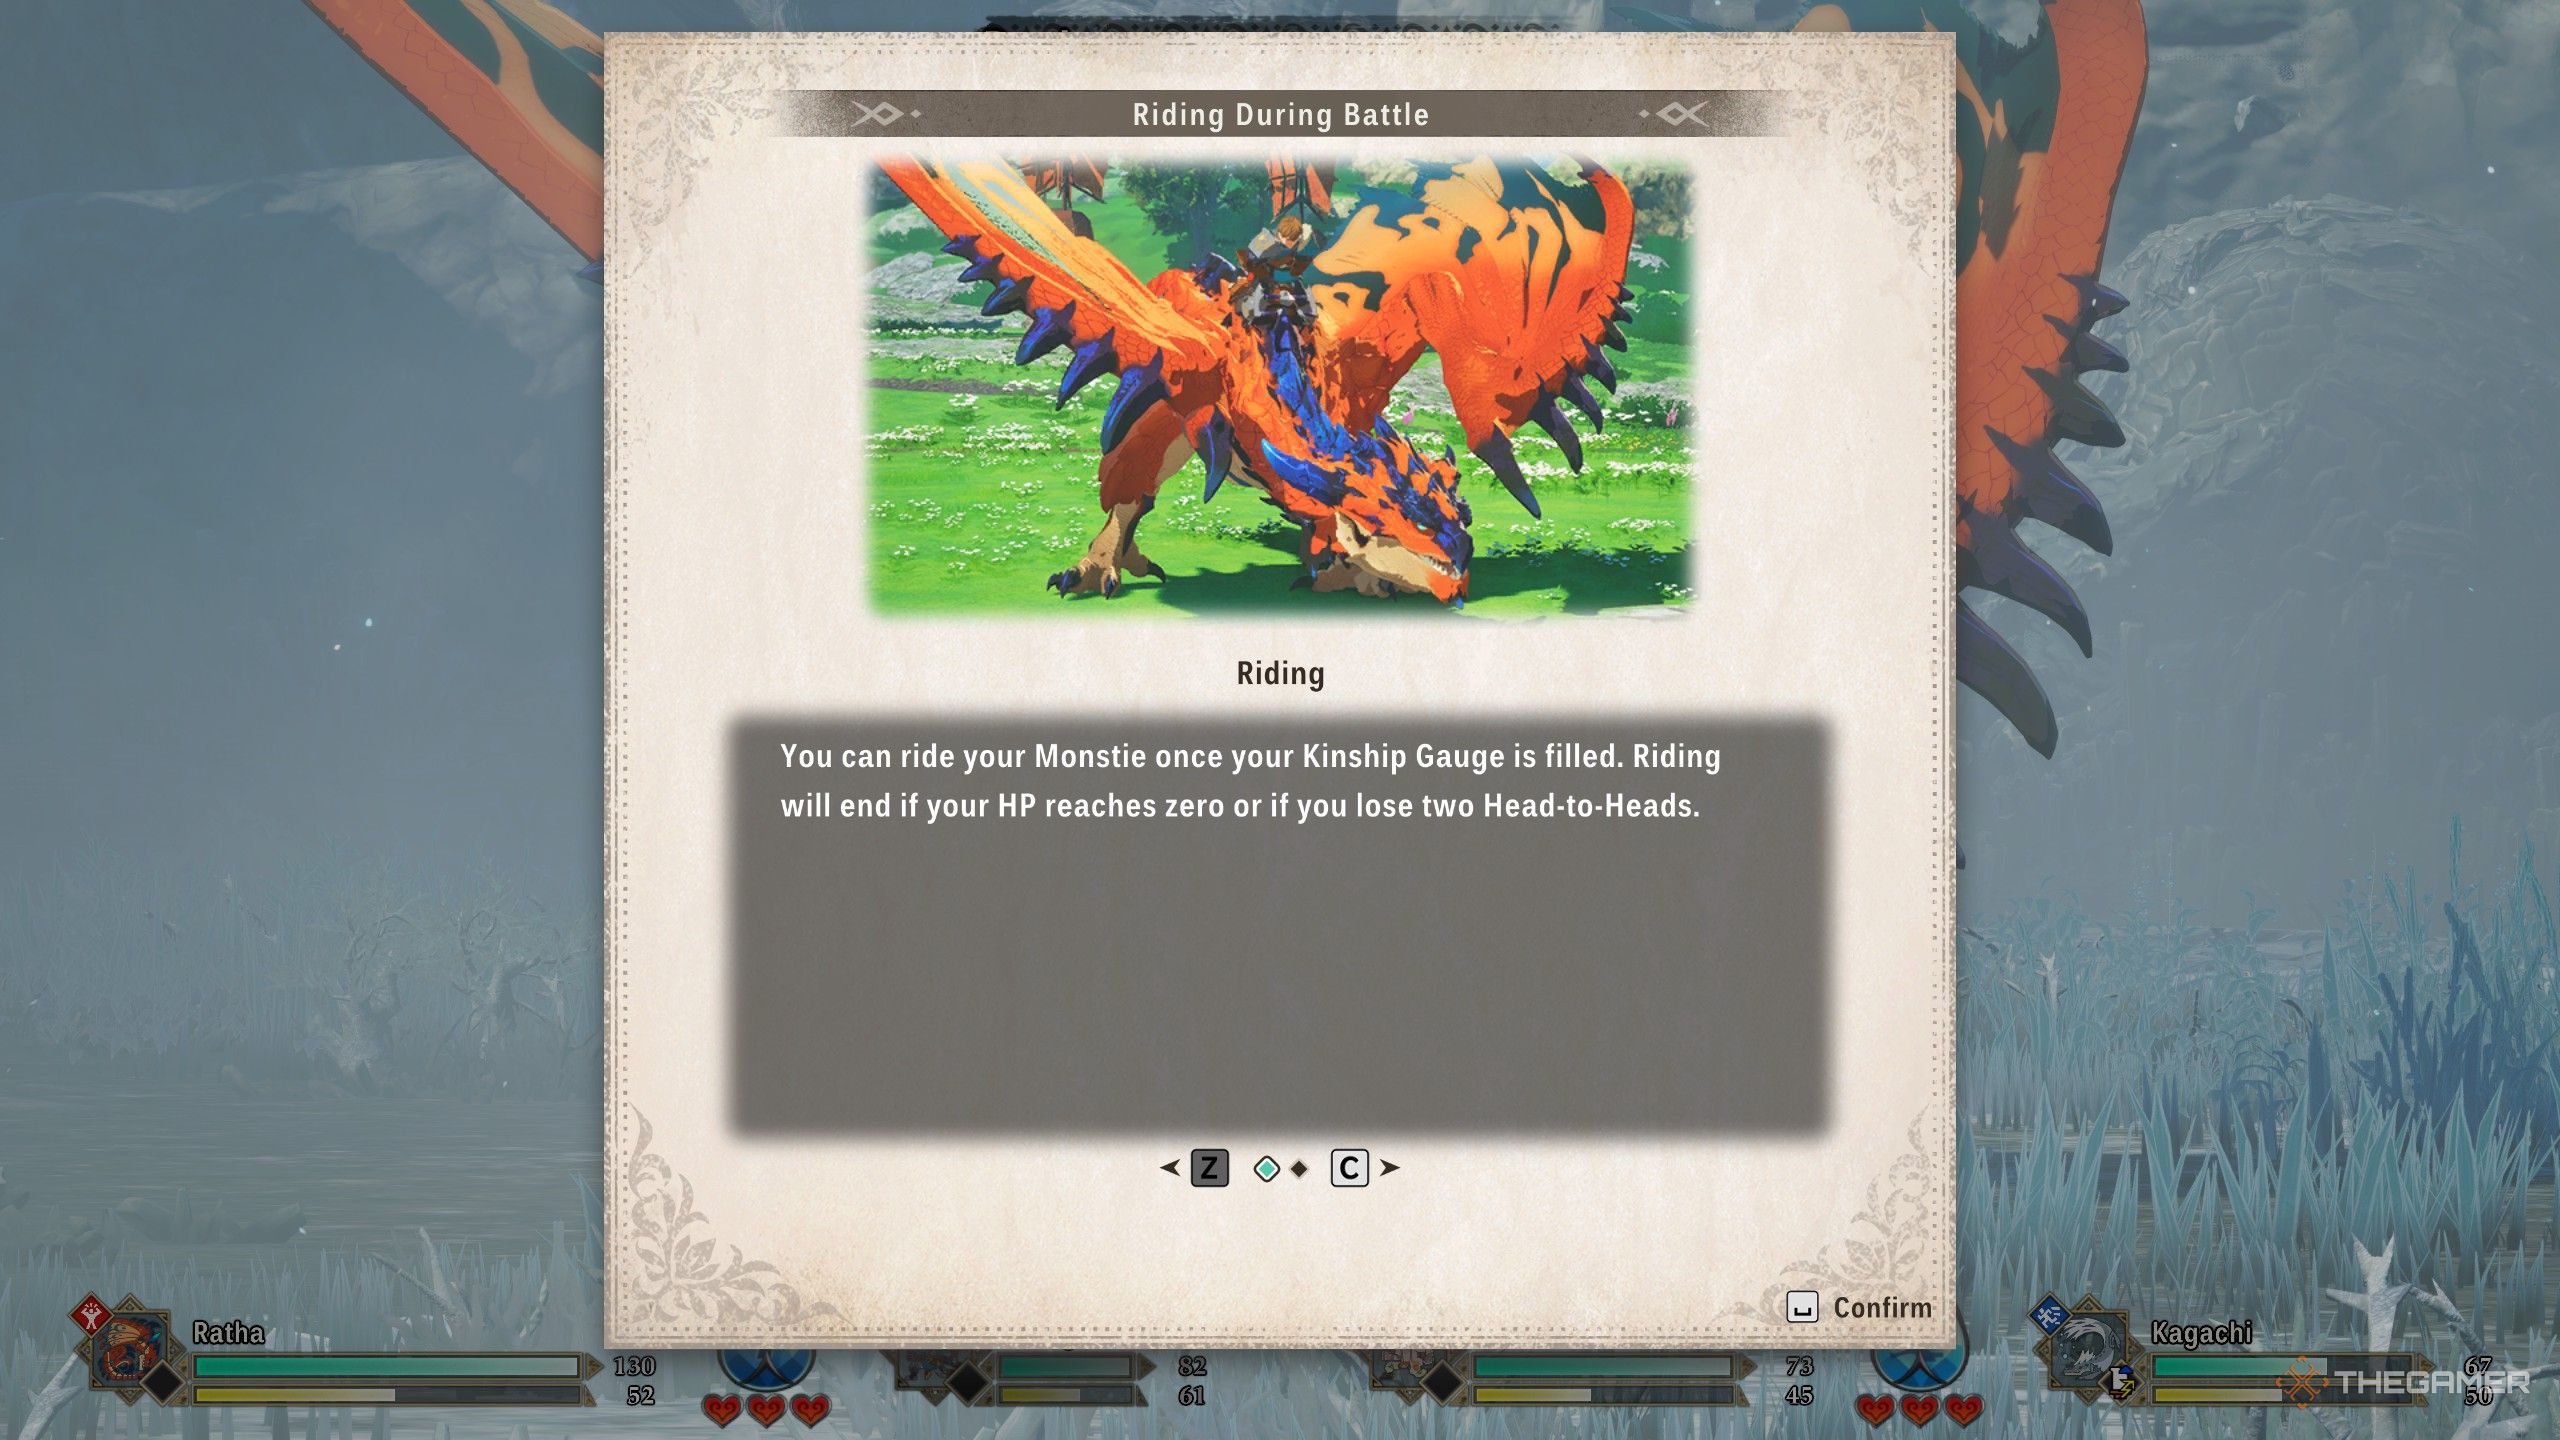
Once you’ve built a strong bond with your Monstie (shown by a full Kinship Gauge), you can ride it! While riding, you’ll be able to use your Monstie’s special skills, but you still get to choose what kind of regular attack to perform. Plus, your health combines with your Monstie’s, giving you a shared health pool.
When you’re riding a creature, you’ll unlock Kinship Skills. These skills aren’t based on any specific attack type, but they’re very strong, and how much damage they do depends on your Kinship Level. You increase this level in a similar way to how you fill your normal Kinship Gauge. You’ll stay mounted until you lose several battles or run out of health, giving you ample opportunity to build up your Kinship Level.
If your partner is also riding a Monstie, you can use a Double Kinship Skill. This attack combines both of your Kinship Levels for a truly powerful strike.
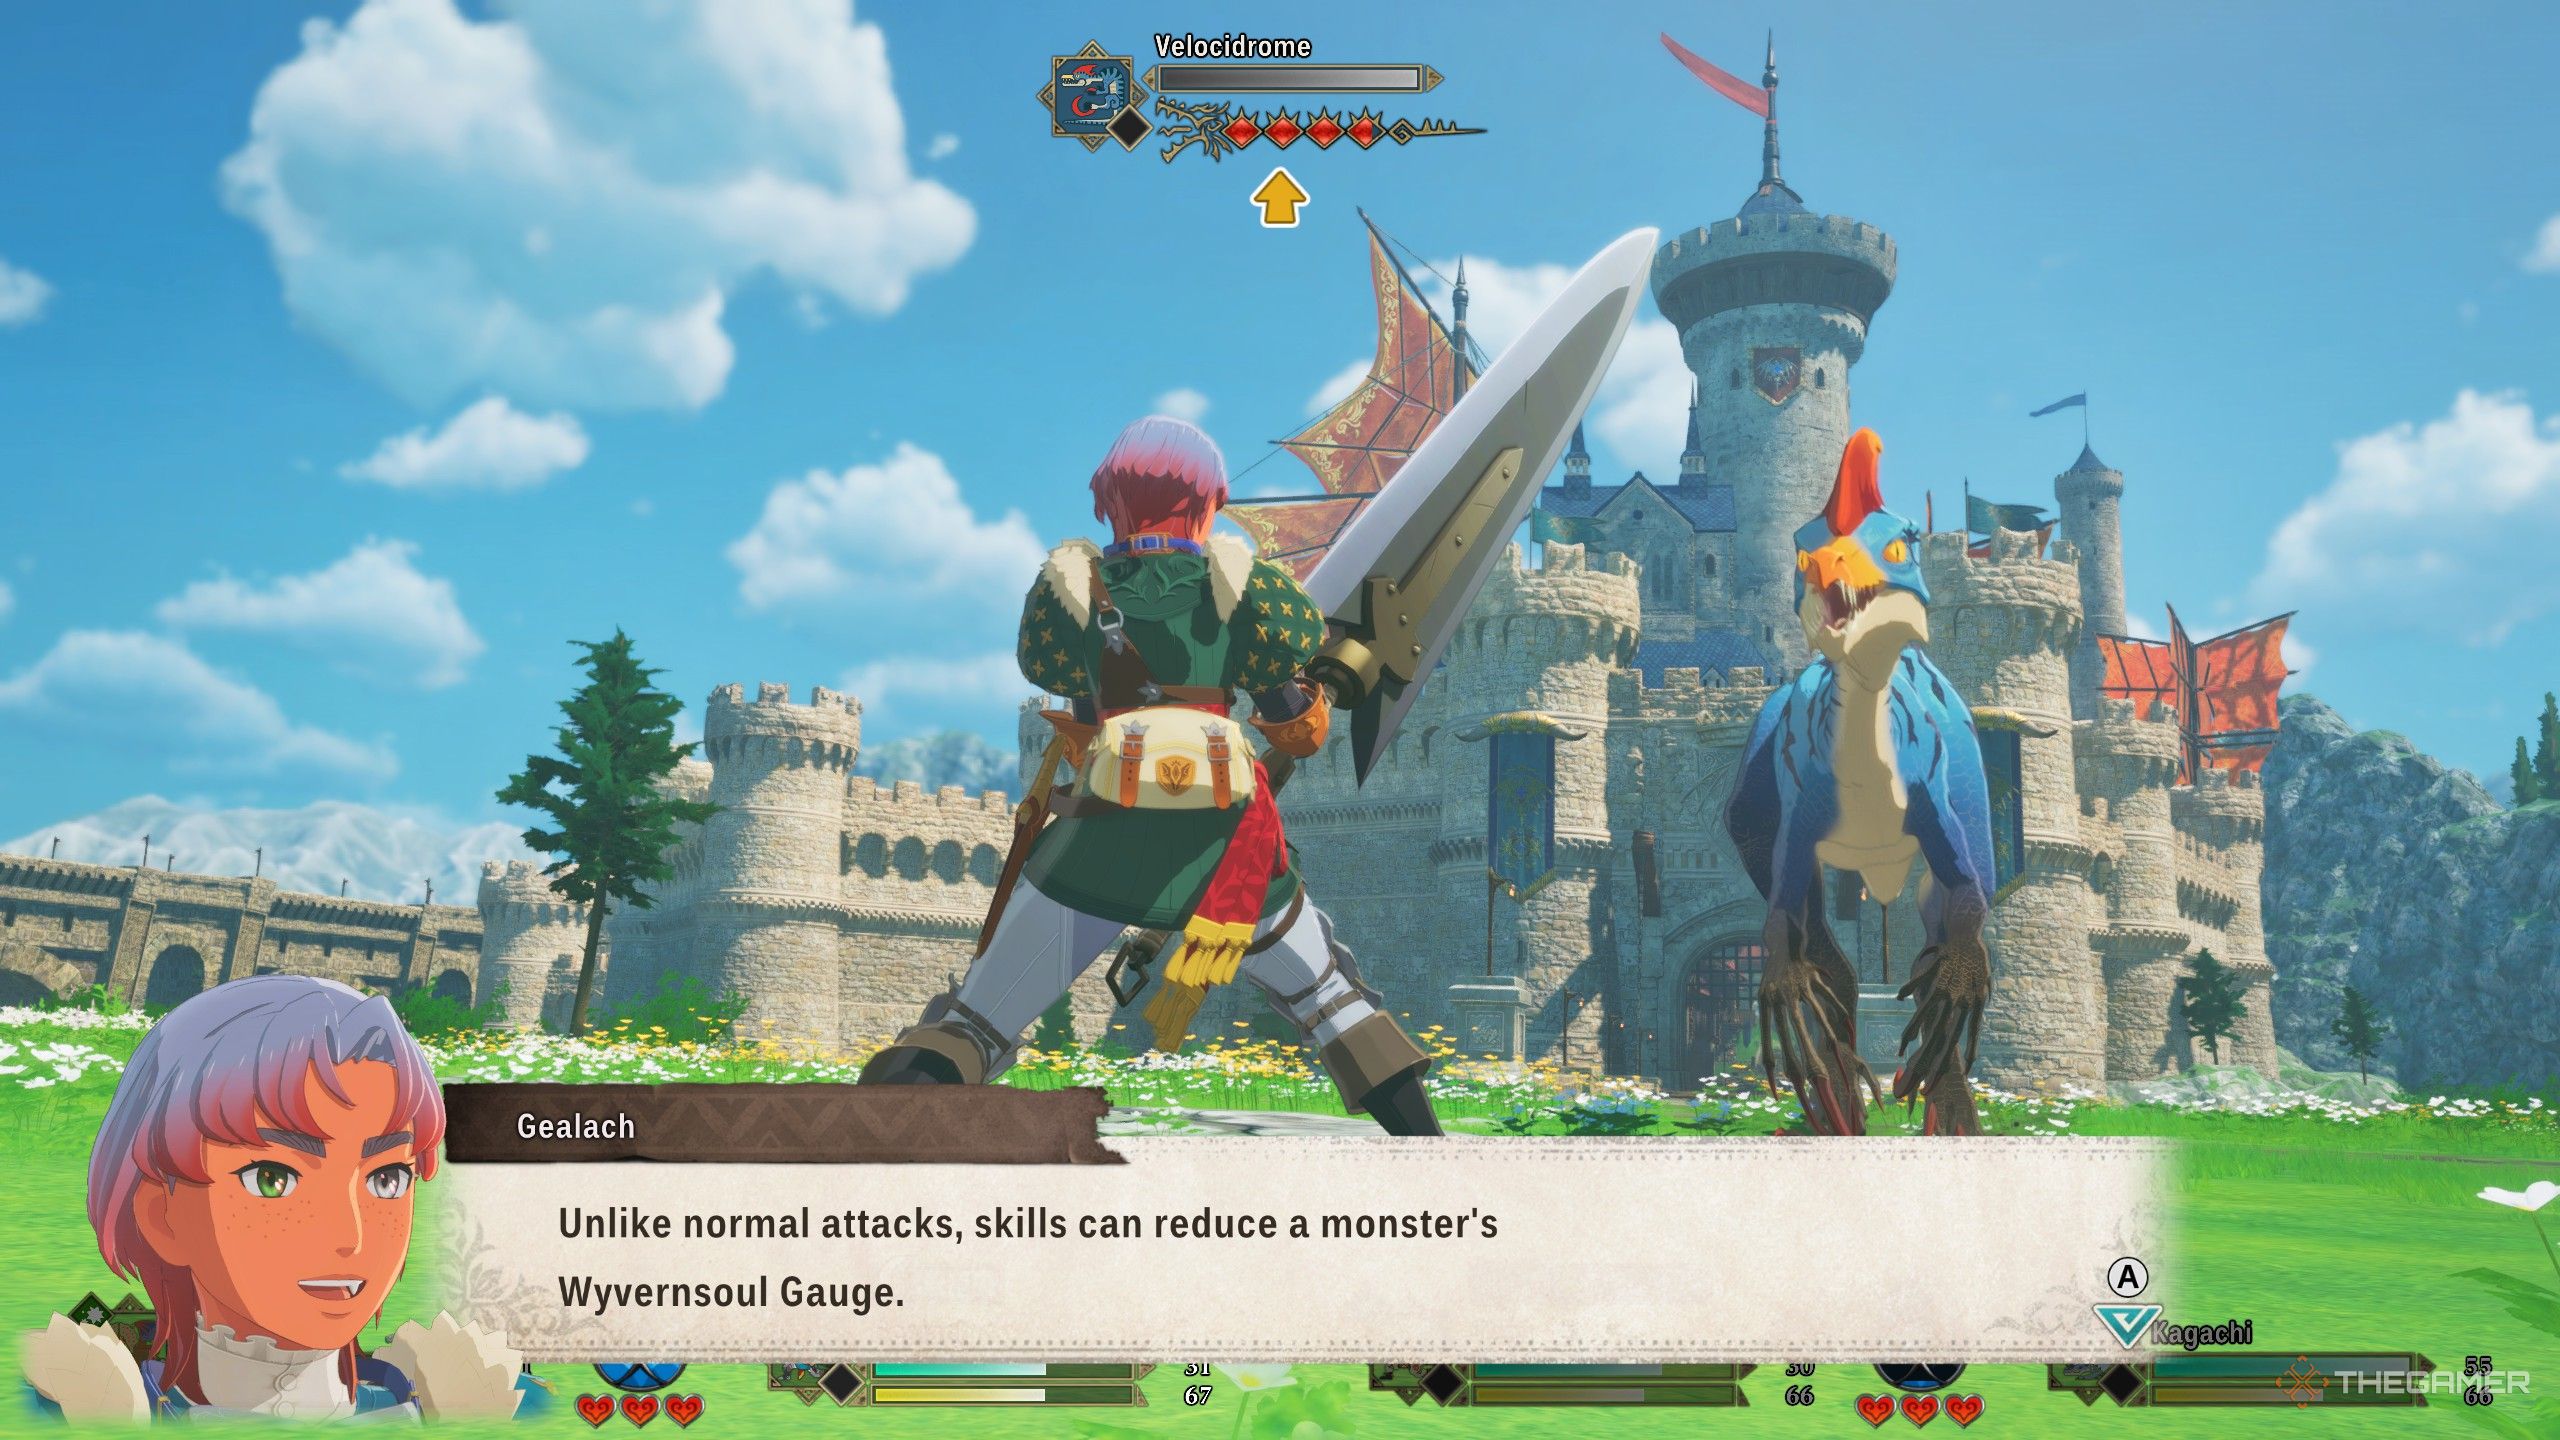
Wyvernsoul And Synchro Rush

Each monster has a Wyvernsoul Gauge displayed under their health bar. While it functions slightly differently for regular enemies compared to bosses, the basic principle remains consistent.
Using attacks and Skills depletes the Wyvernsoul Gauge. Standard attacks with most weapons (excluding the Hammer) won’t directly affect this gauge. However, each Skill has a ‘Wyvernfell’ stat, which determines how much damage it does to the Wyvernsoul Gauge.
When you fill the Wyvernsoul Gauge on most monsters, they’ll fall over. You have a choice at this point: you can let them fall completely, which gives you a free turn to attack without them fighting back.
Another key move is the Synchro Rush. To activate it, you need to press the button that appears on the screen. It only shows up for a few seconds, so stay focused! When successful, a Synchro Rush lets everyone attack the monster simultaneously, dealing huge damage and quickly filling the Kinship Gauge.
Once a monster gets back up after being knocked down, it will usually refill most of its Wyvernsoul Gauge.
Stronger monsters will have a bigger red orb next to the Wyvernsoul Gauge. When the Gauge empties, the monster gets tired and a new blue Gauge appears. While tired, most of its attacks will fail, giving you a chance to prepare your strongest attacks.
The Fatigued state is temporary, but any damage dealt during it affects the standard red Wyvernsoul Gauge. Once that Gauge is empty, the enemy will fall as usual.
Stamina And Skills
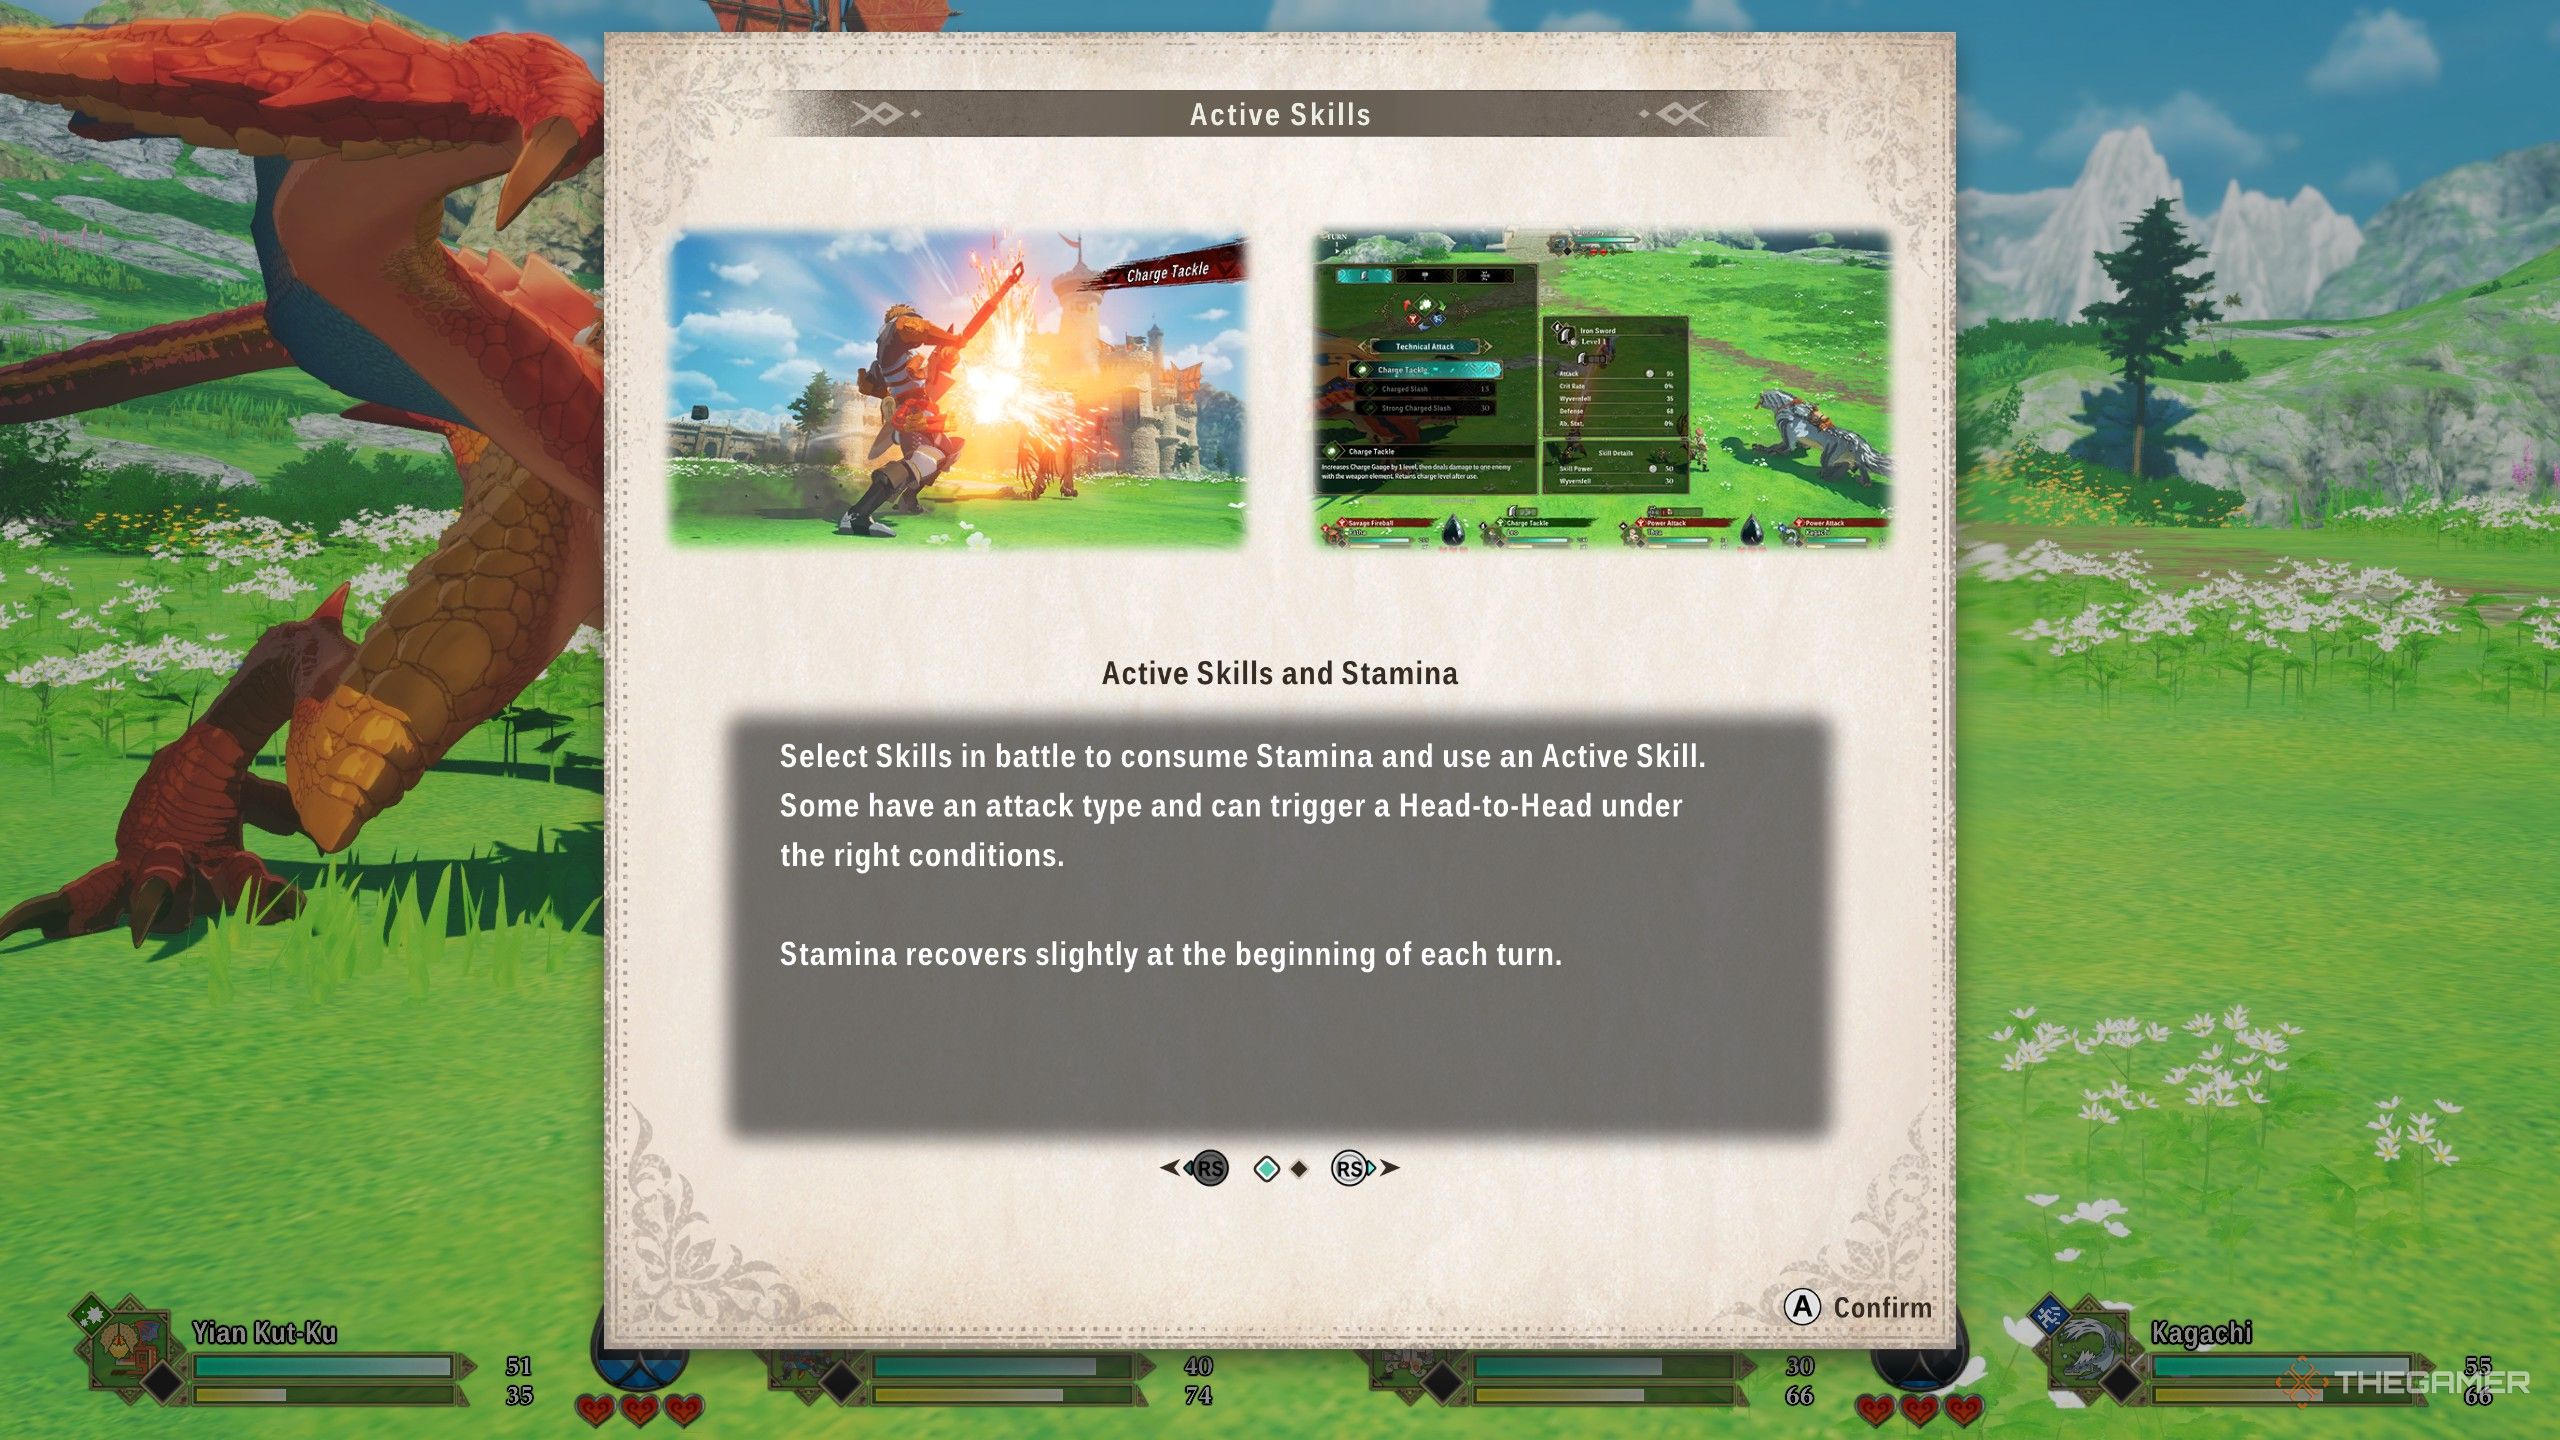
During battles, you, your monstie, and your teammates all share a Stamina bar. You use Stamina to perform Skills. Stamina automatically refills each turn, but only if you don’t use a Skill during that turn.
Your Monsties won’t automatically use basic attacks. Instead, they tend to exhaust their Stamina before resorting to them, except when trying to win a Head-to-Head battle.
Breaking Monster Parts
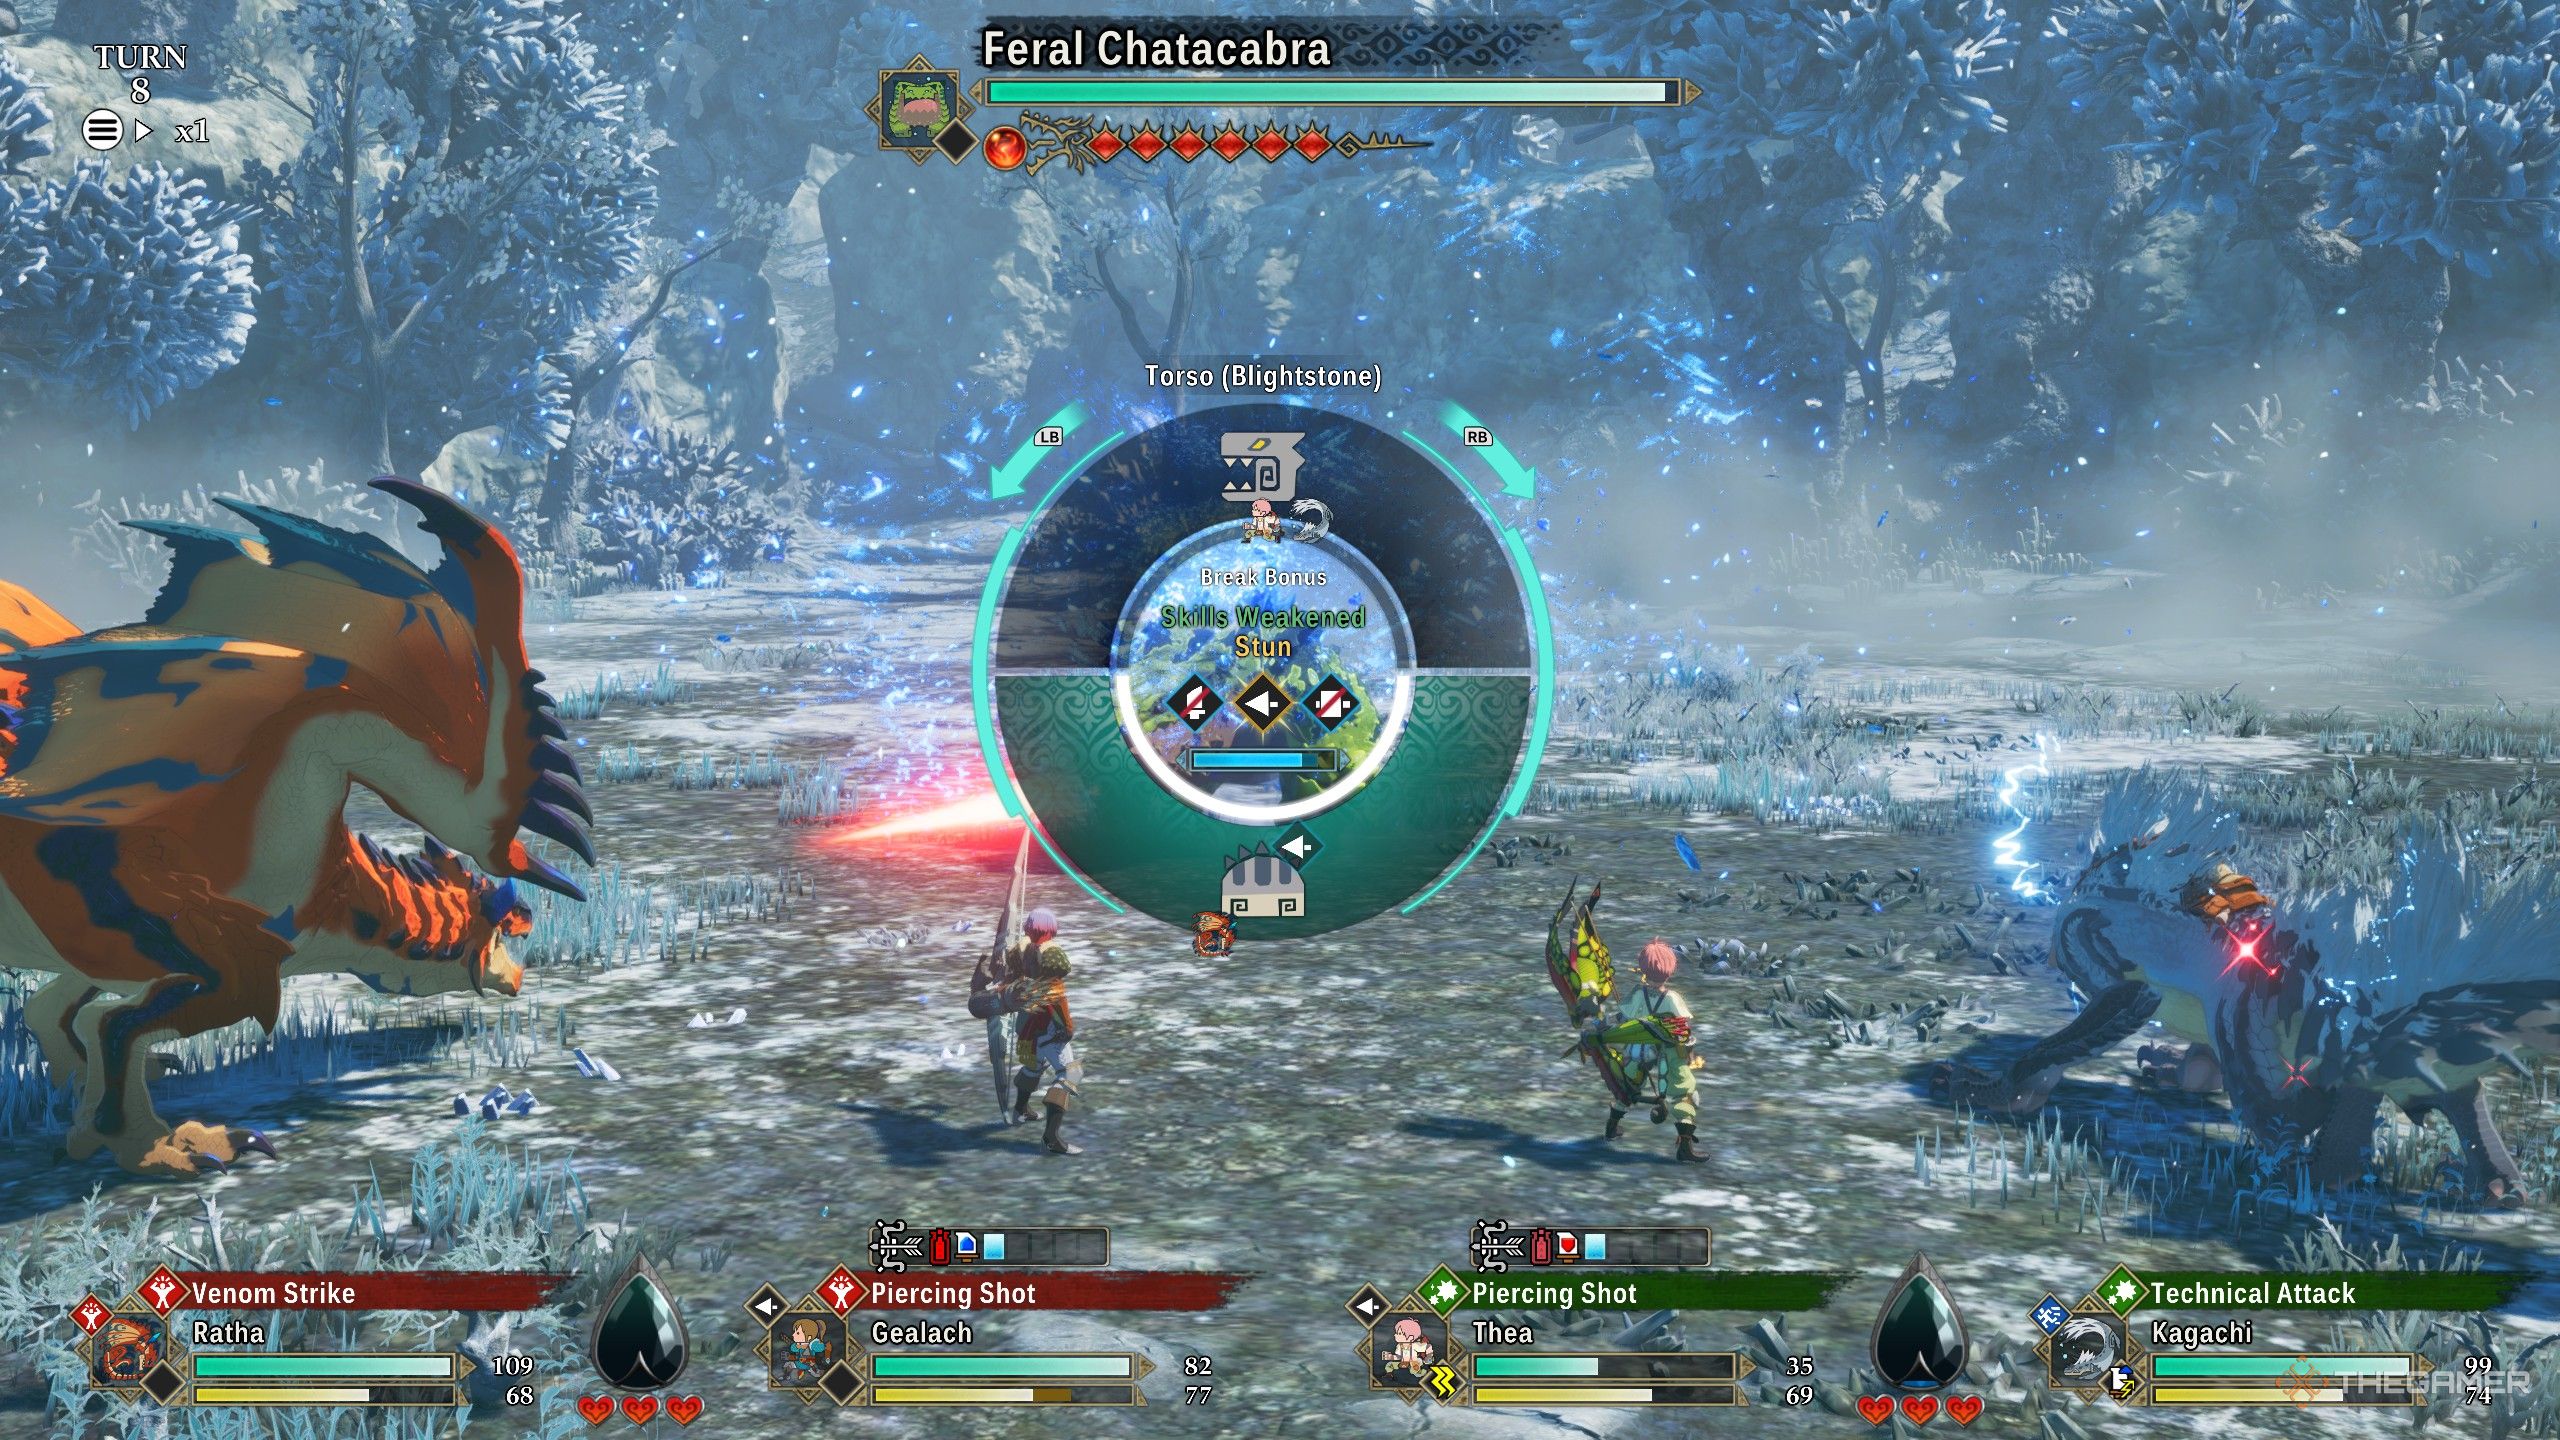
Just like in other Monster Hunter games, bigger monsters have parts you can damage and break off. Each part is weakest against a certain type of weapon. For instance, heads are usually more vulnerable to blunt weapons, and tails often break easier with slashing weapons. You can see these weaknesses when you target specific body parts.
As a hunter, I’ve noticed that when you break monster parts, they don’t just cause normal damage. Some of the effects are obvious, but others are hidden! Usually, breaking a part really hurts the Wyvernsoul Gauge, or it can even force a monster to change what it’s doing – like knocking a Paolumu out of the air. It’s a key part of mastering the hunt!
Sometimes, monsters will have their attacks altered if you break certain body parts. For example, the Gypceros can use a Flash attack that causes a status effect. While breaking its head won’t stop it from using Flash, it will make the attack fail every time, giving you a free opening. Pay attention to which body parts a monster uses for its attacks, as breaking them can change or weaken those attacks.
Weapon Types
The game features a total of six weapons, with two options for each weapon type. Each weapon also has special characteristics that will feel familiar to players of the main series.
Slashing Weapons
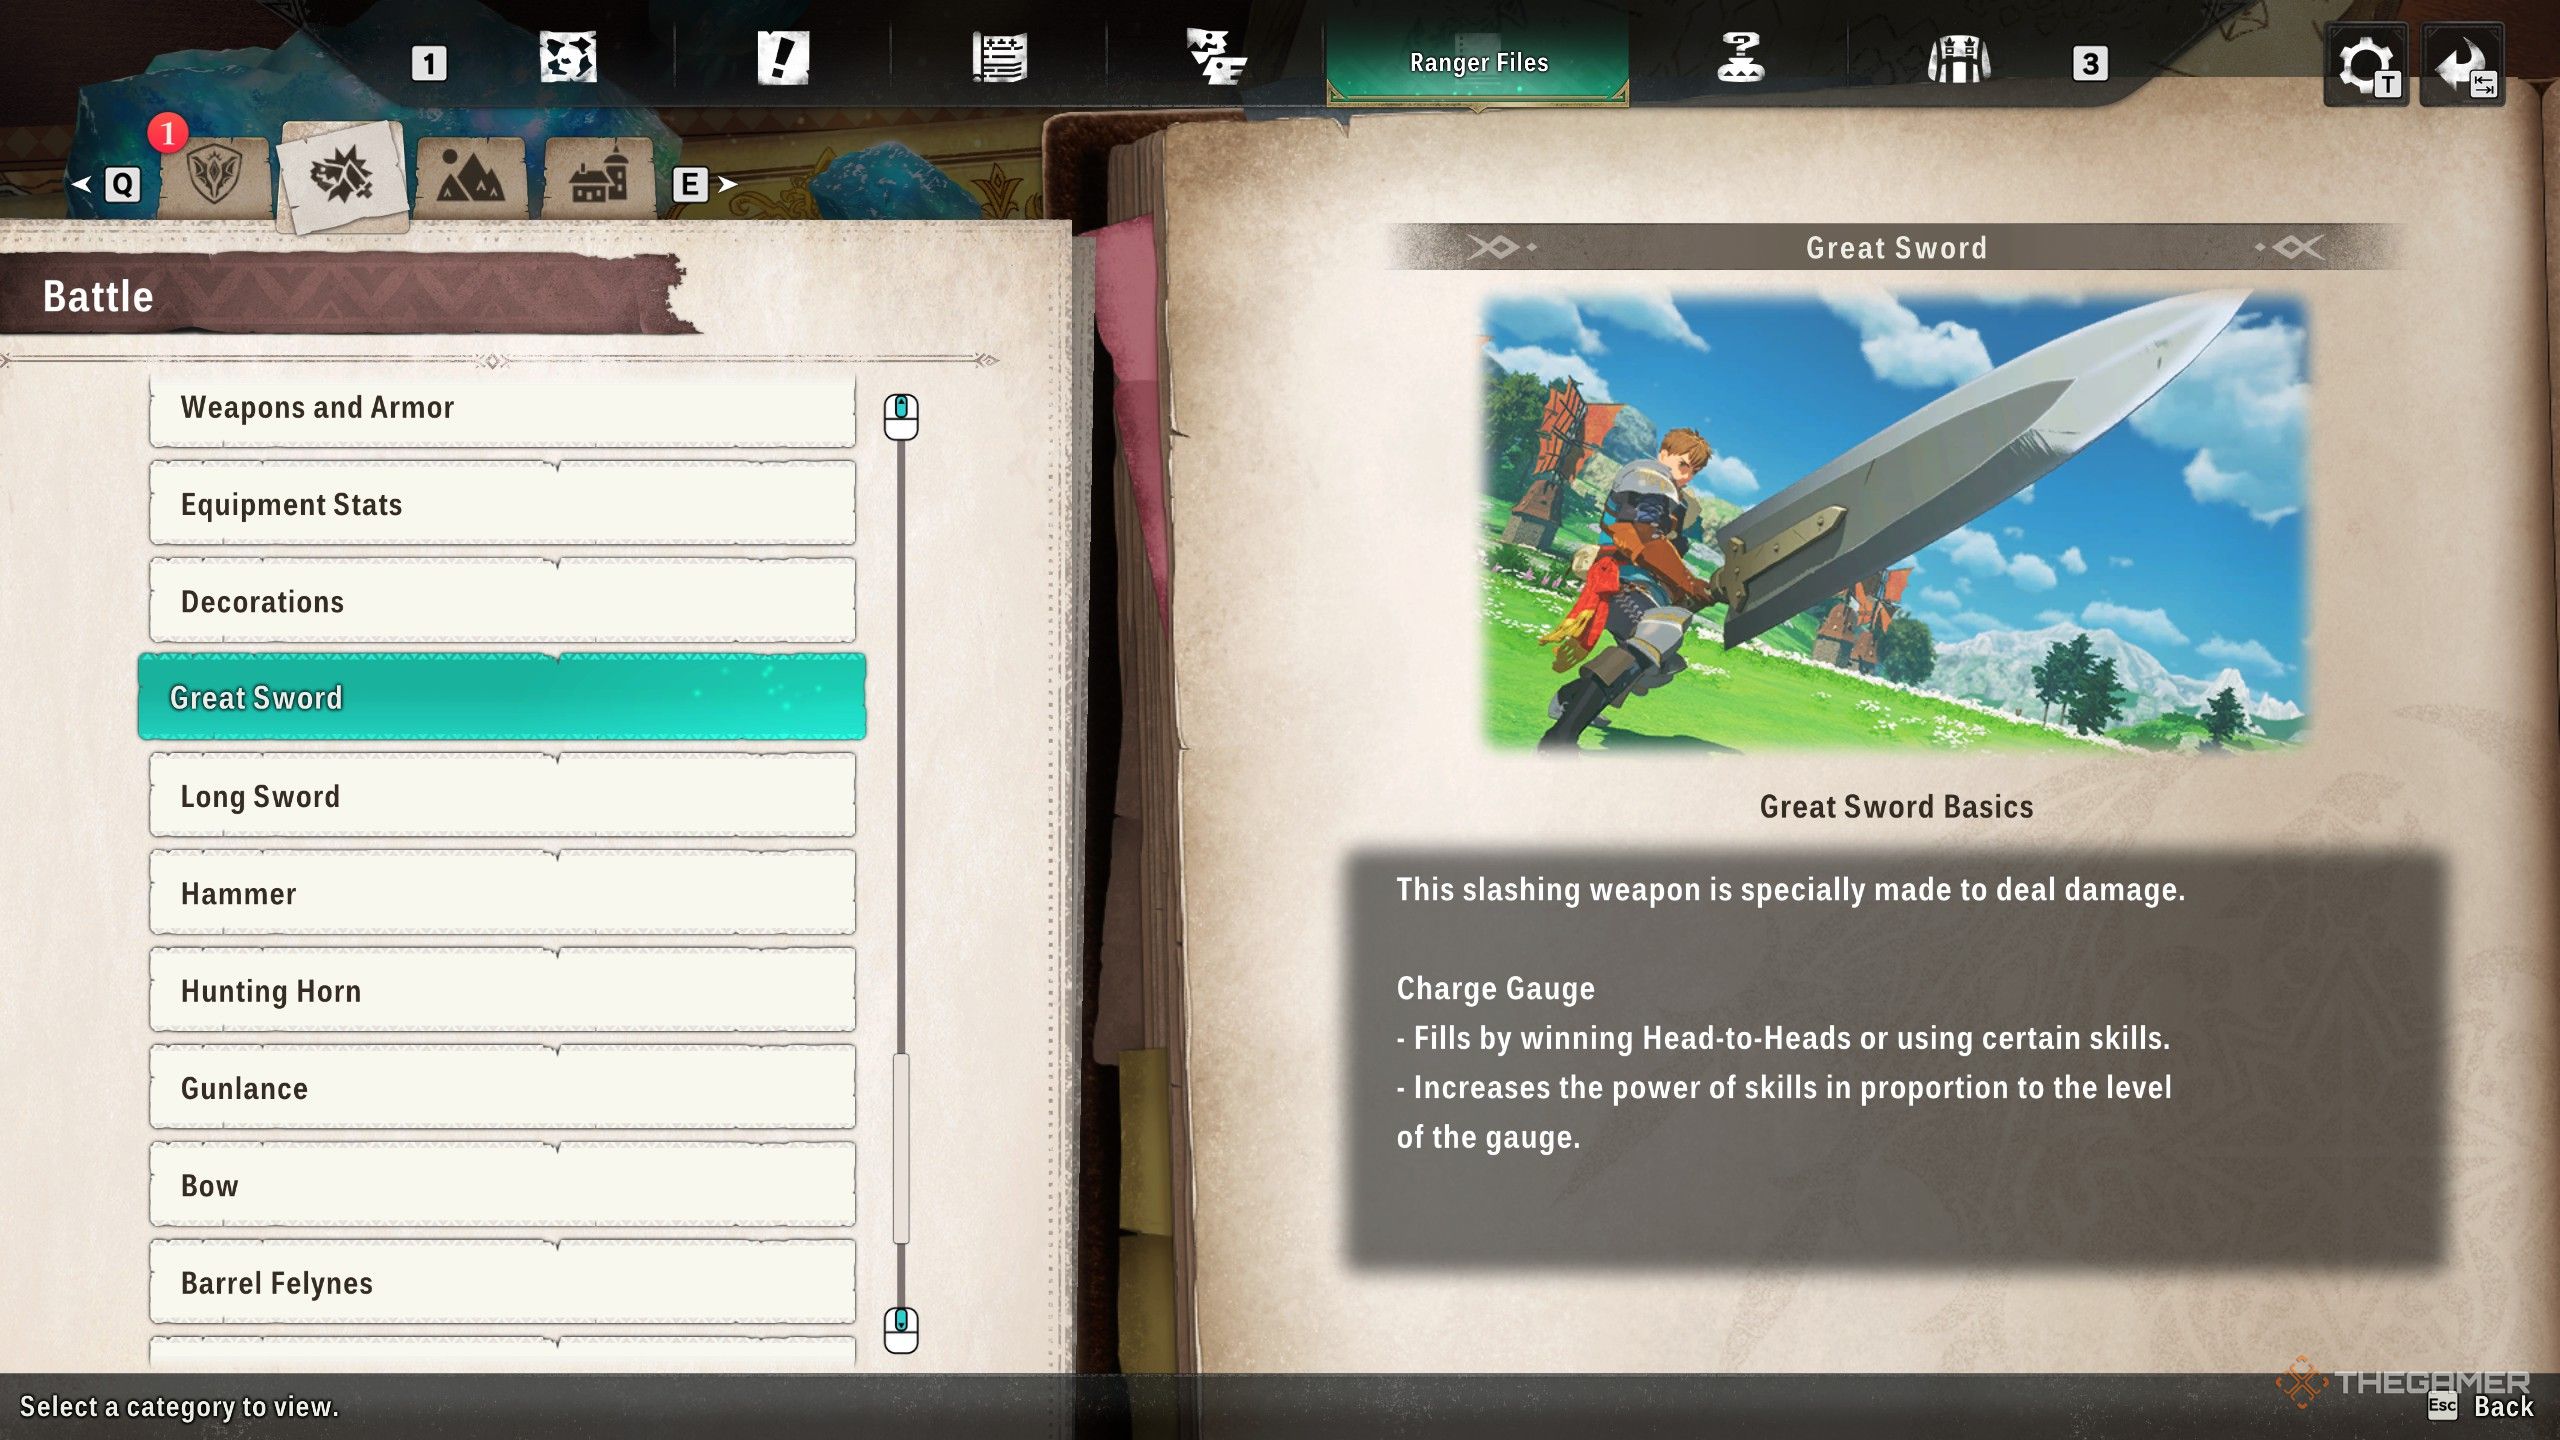
The two Slashing weapons are Great Sword and Long Sword.
-
Great Sword
- Has a Charge Gauge that is used for many of its attacks.
- The higher the Charge Gauge is filled, through using certain Skills and winning Head-To Heads, the more powerful many Skills will be.
- Its Skills are focused around dealing high damage.
-
Long Sword
- Has a Spirit Gauge that is filled by using certain Skills or winning Head-to-Heads.
- With the Spirit Gauge filled with at least one segment, you can perform Stance Attacks, which are Skills with unique reaction effects.
- These end in the Special Sheathe, where your regular attacks deal more damage and has a unique Unsheathing attack. The length of Special Stance is determined by the Spirit Gauge.
The Great Sword is best for straightforward, powerful attacks. The Long Sword, on the other hand, requires more planning but offers much more flexibility in how you customize your character.
Blunt Weapons
The two Blunt weapons are Hunting Horn and Hammer.
-
Hunting Horn
- Each Hunting Horn has unique Melody effects that are activated through using Skills after placing the correct notes on the Melody bar.
- Each note corresponds to an Attack Type. Performing a Power Attack grants a red note, a Technical Attack a green note, and a Speed Attack a blue note.
- Mainly offers support Skills, though excels in being able to provide buffs and deal damage at the same time.
-
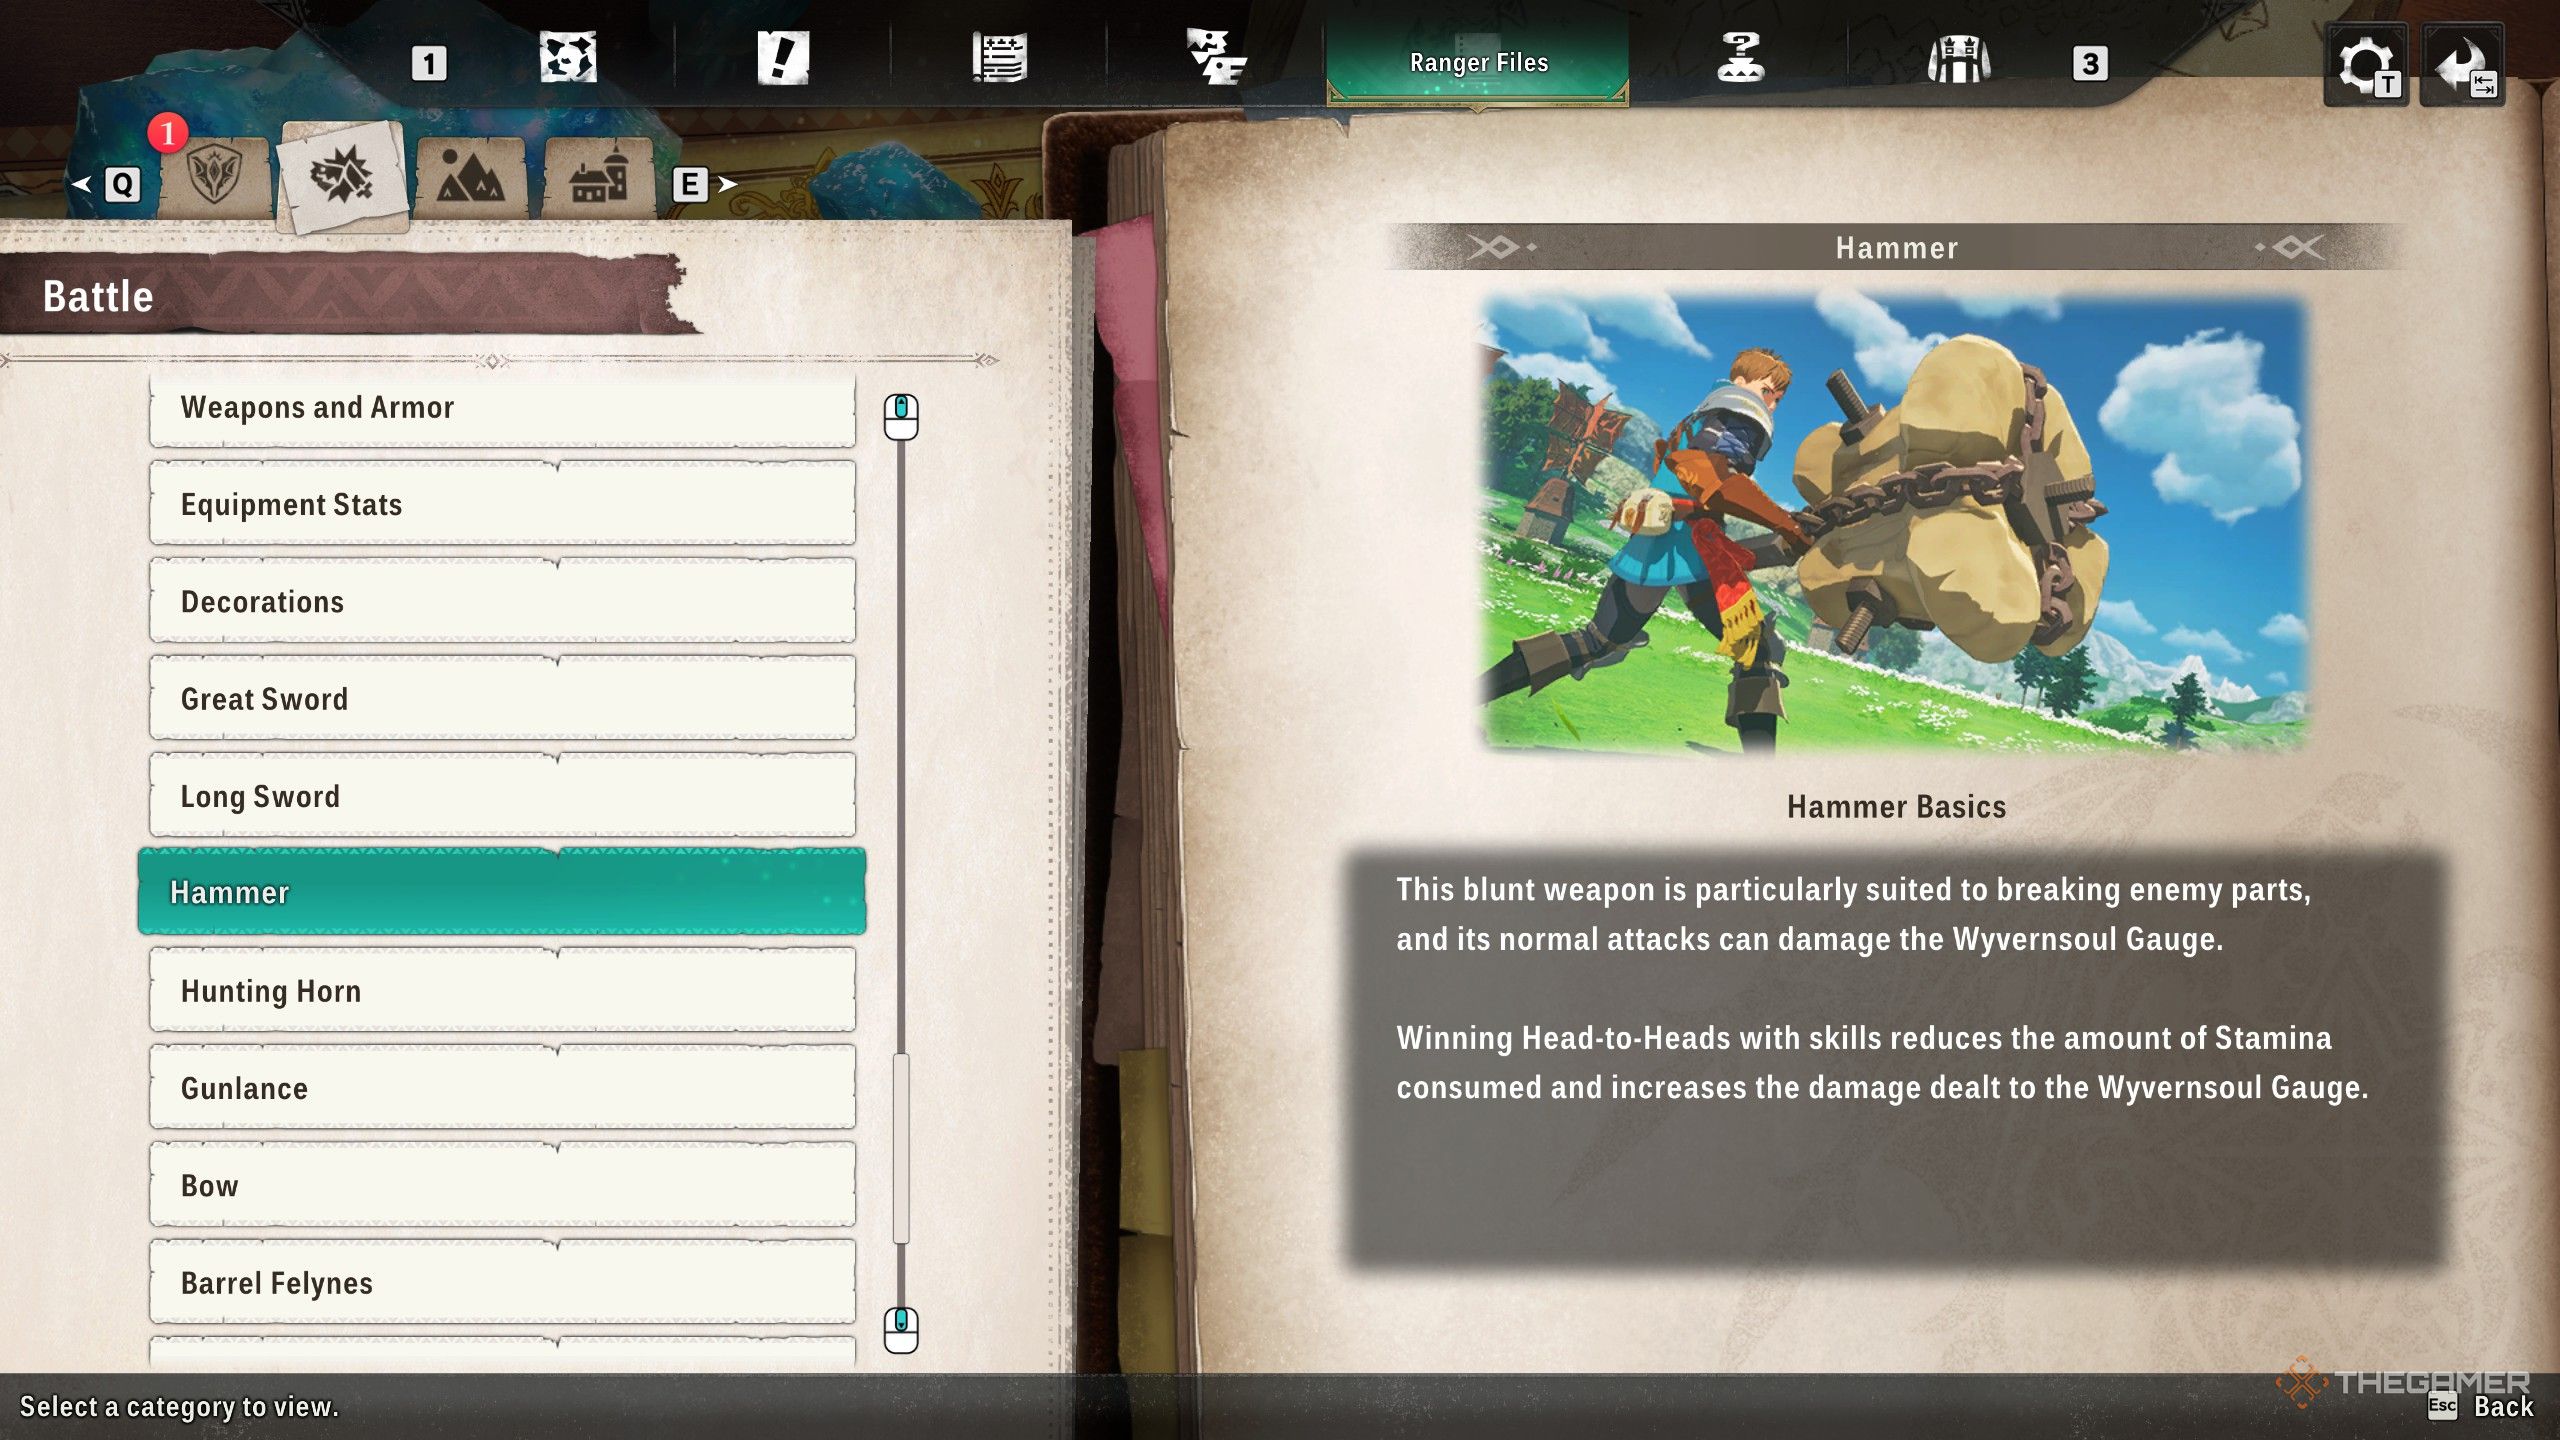
Hammer
- Like the Great Sword, can deal great raw damage, though requires much less setup.
- Its skills are primarily based around breaking monster parts.
- Can damage the Wyvernsoul Gauge even with regular attacks.
The Hunting Horn is a challenging weapon because you need to switch between different attacks to build up a powerful melody, but mastering it provides fantastic support for your team. The Hammer, on the other hand, is simpler to use, letting you concentrate solely on dealing damage without many complicated mechanics.
Piercing Weapons
The two Piercing weapons are the Bow and Gunlance.
-
Gunlance
- The Gunlance has access to many protective Skills to draw aggro from monsters, as well as guard against certain attacks to reduce damage.
- It also has access to Shells, which are used to perform certain Skills. These must be reloaded, though Head-to-Heads and certain Skills can help reload or prevent the consumption of Shells entirely.
-
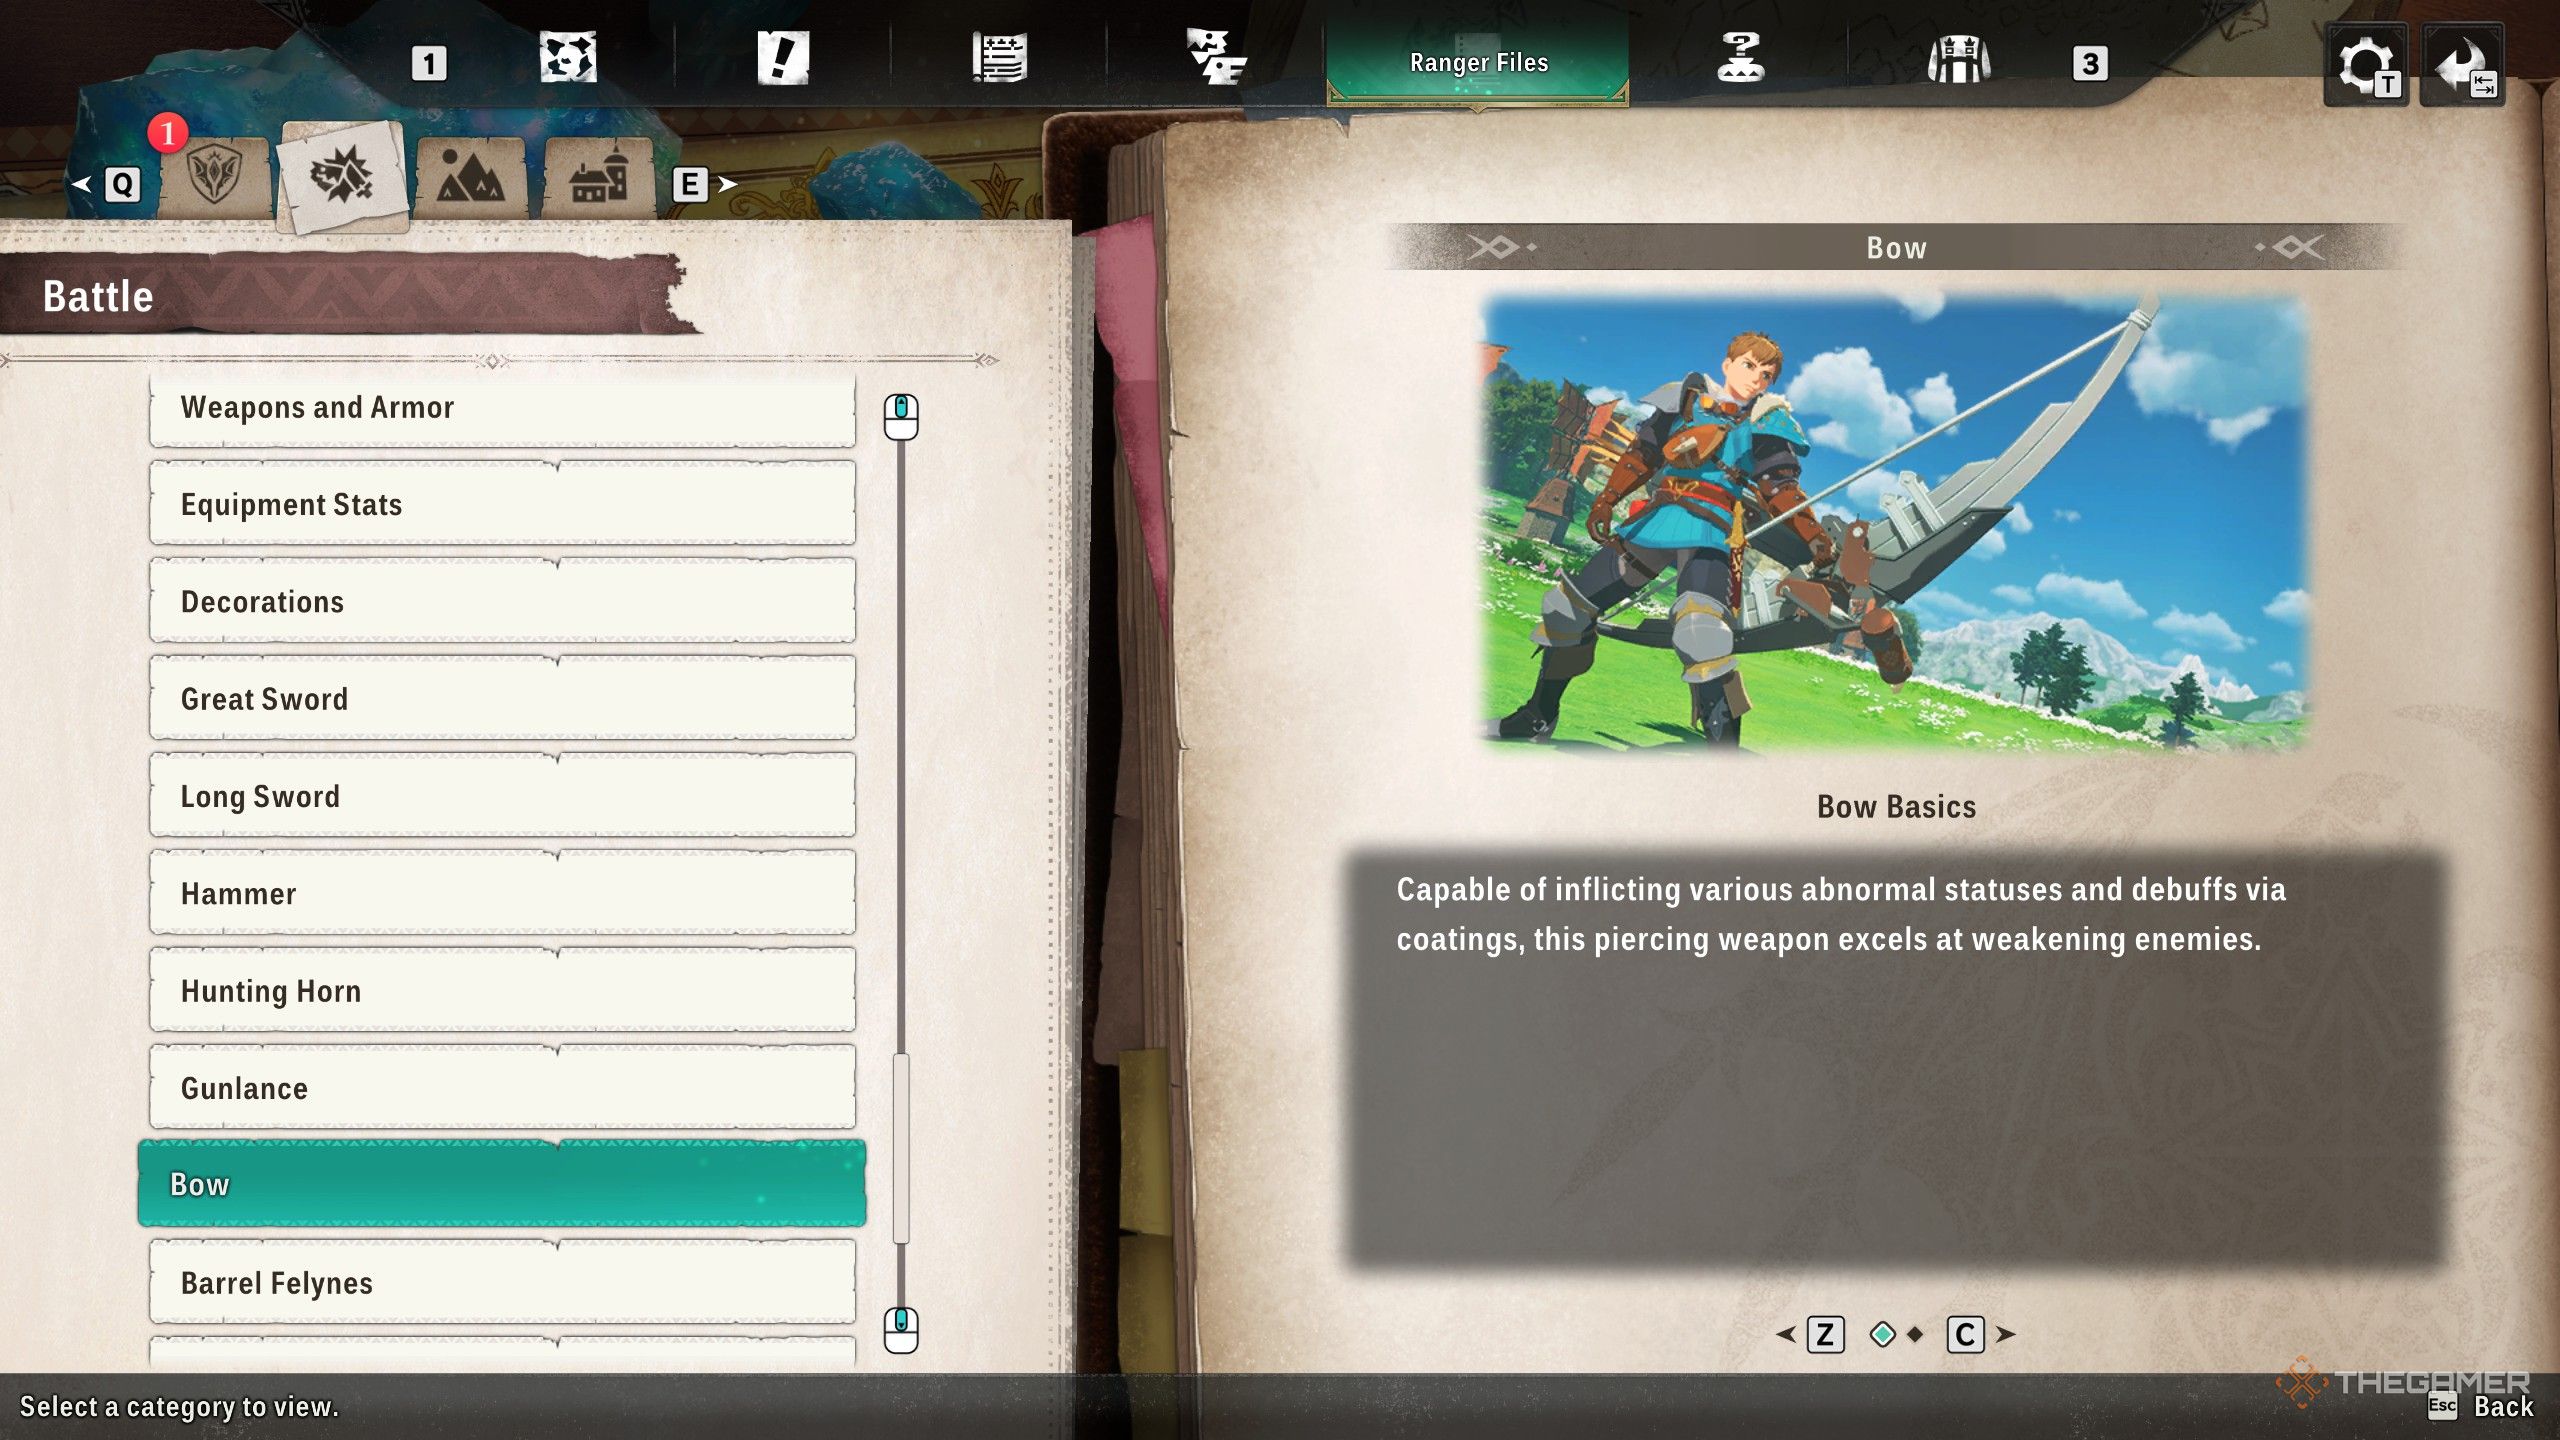
Bow
- Can use Coatings, allowing for increased damage or applying status effects.
- Has a Charge Gauge, which allows for the use of certain powerful Skills.
- The higher the Charge Gauge, the more powerful your Coatings become.
Okay, so as a Gunlance player, I’ll say it’s a tricky weapon to master, but it seriously gives you the best defense in the game – nothing else even comes close! And I love playing Bow because it’s so flexible. You don’t need to constantly fill up that charge gauge to do well, which is great. It’s actually pretty effective even while you’re building up to a powerful shot.
Allies
As a fan, one of the coolest things about this game is you’re never alone in battle! You always have a buddy fighting with you, and each one is unique – they’ve got their own weapon and a Monstie, plus a bunch of skills that can really work with how I like to play. It’s awesome because you can build a team that perfectly matches your style!
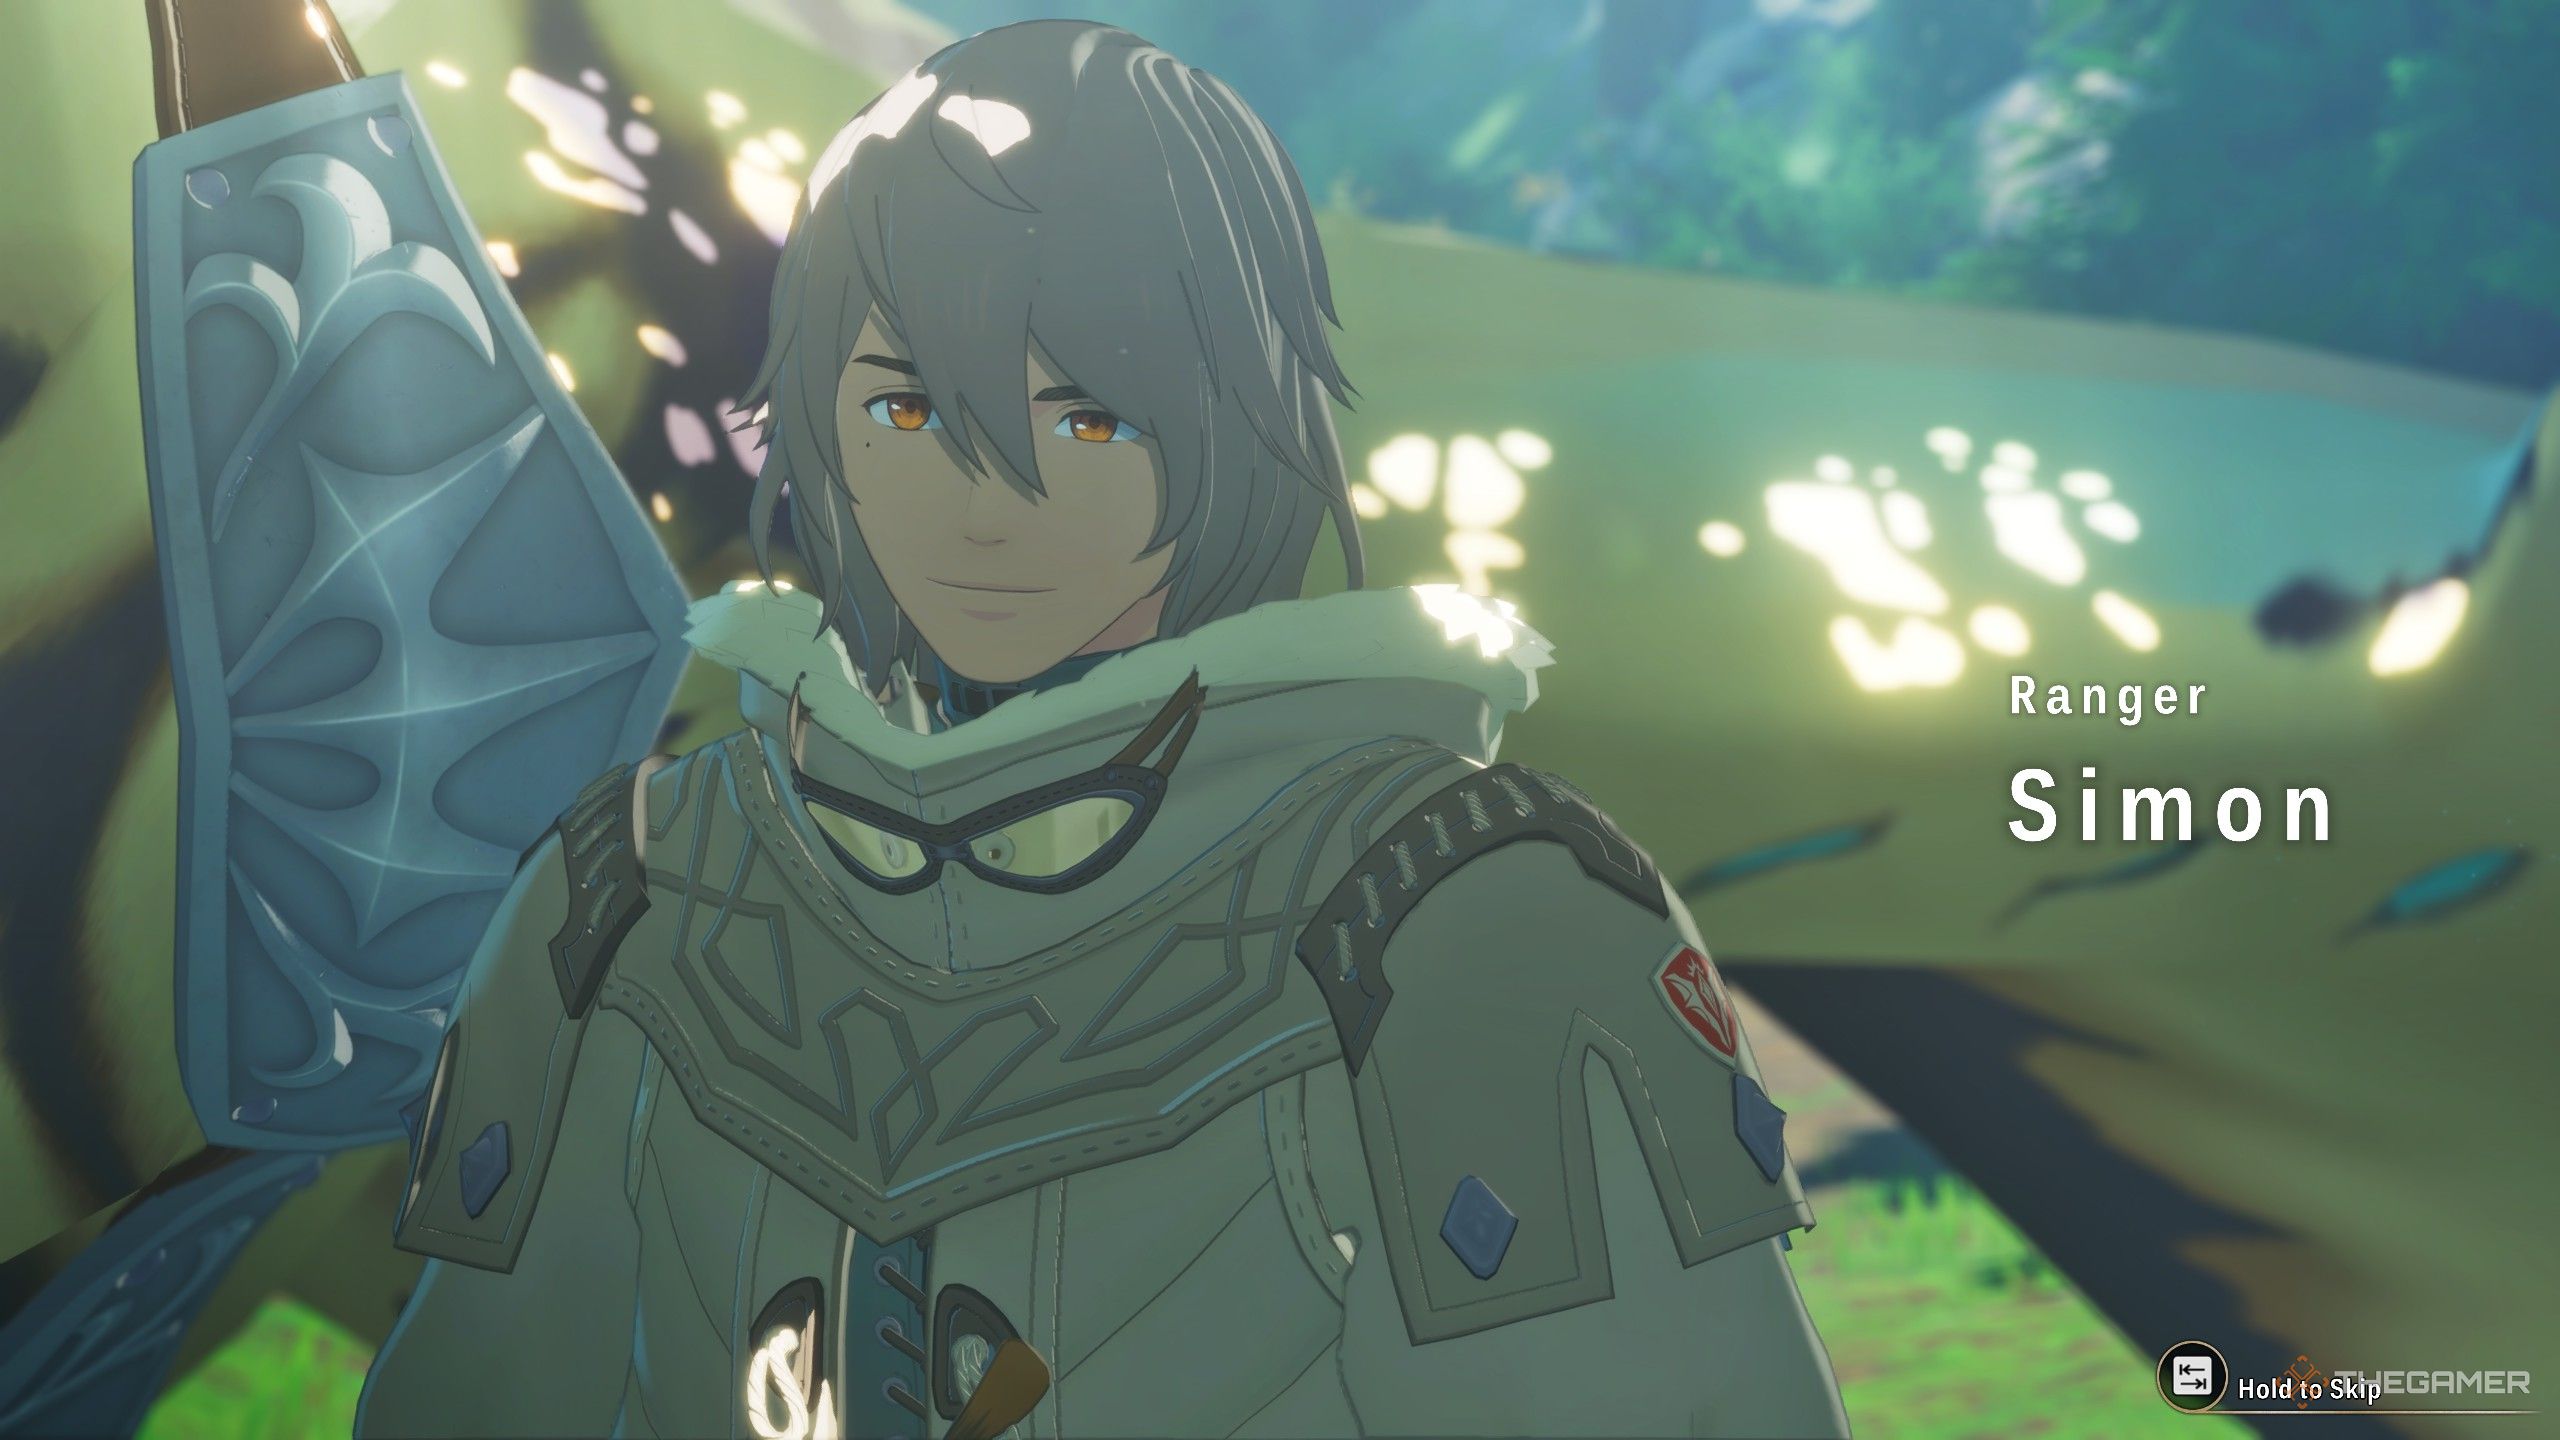
Simon
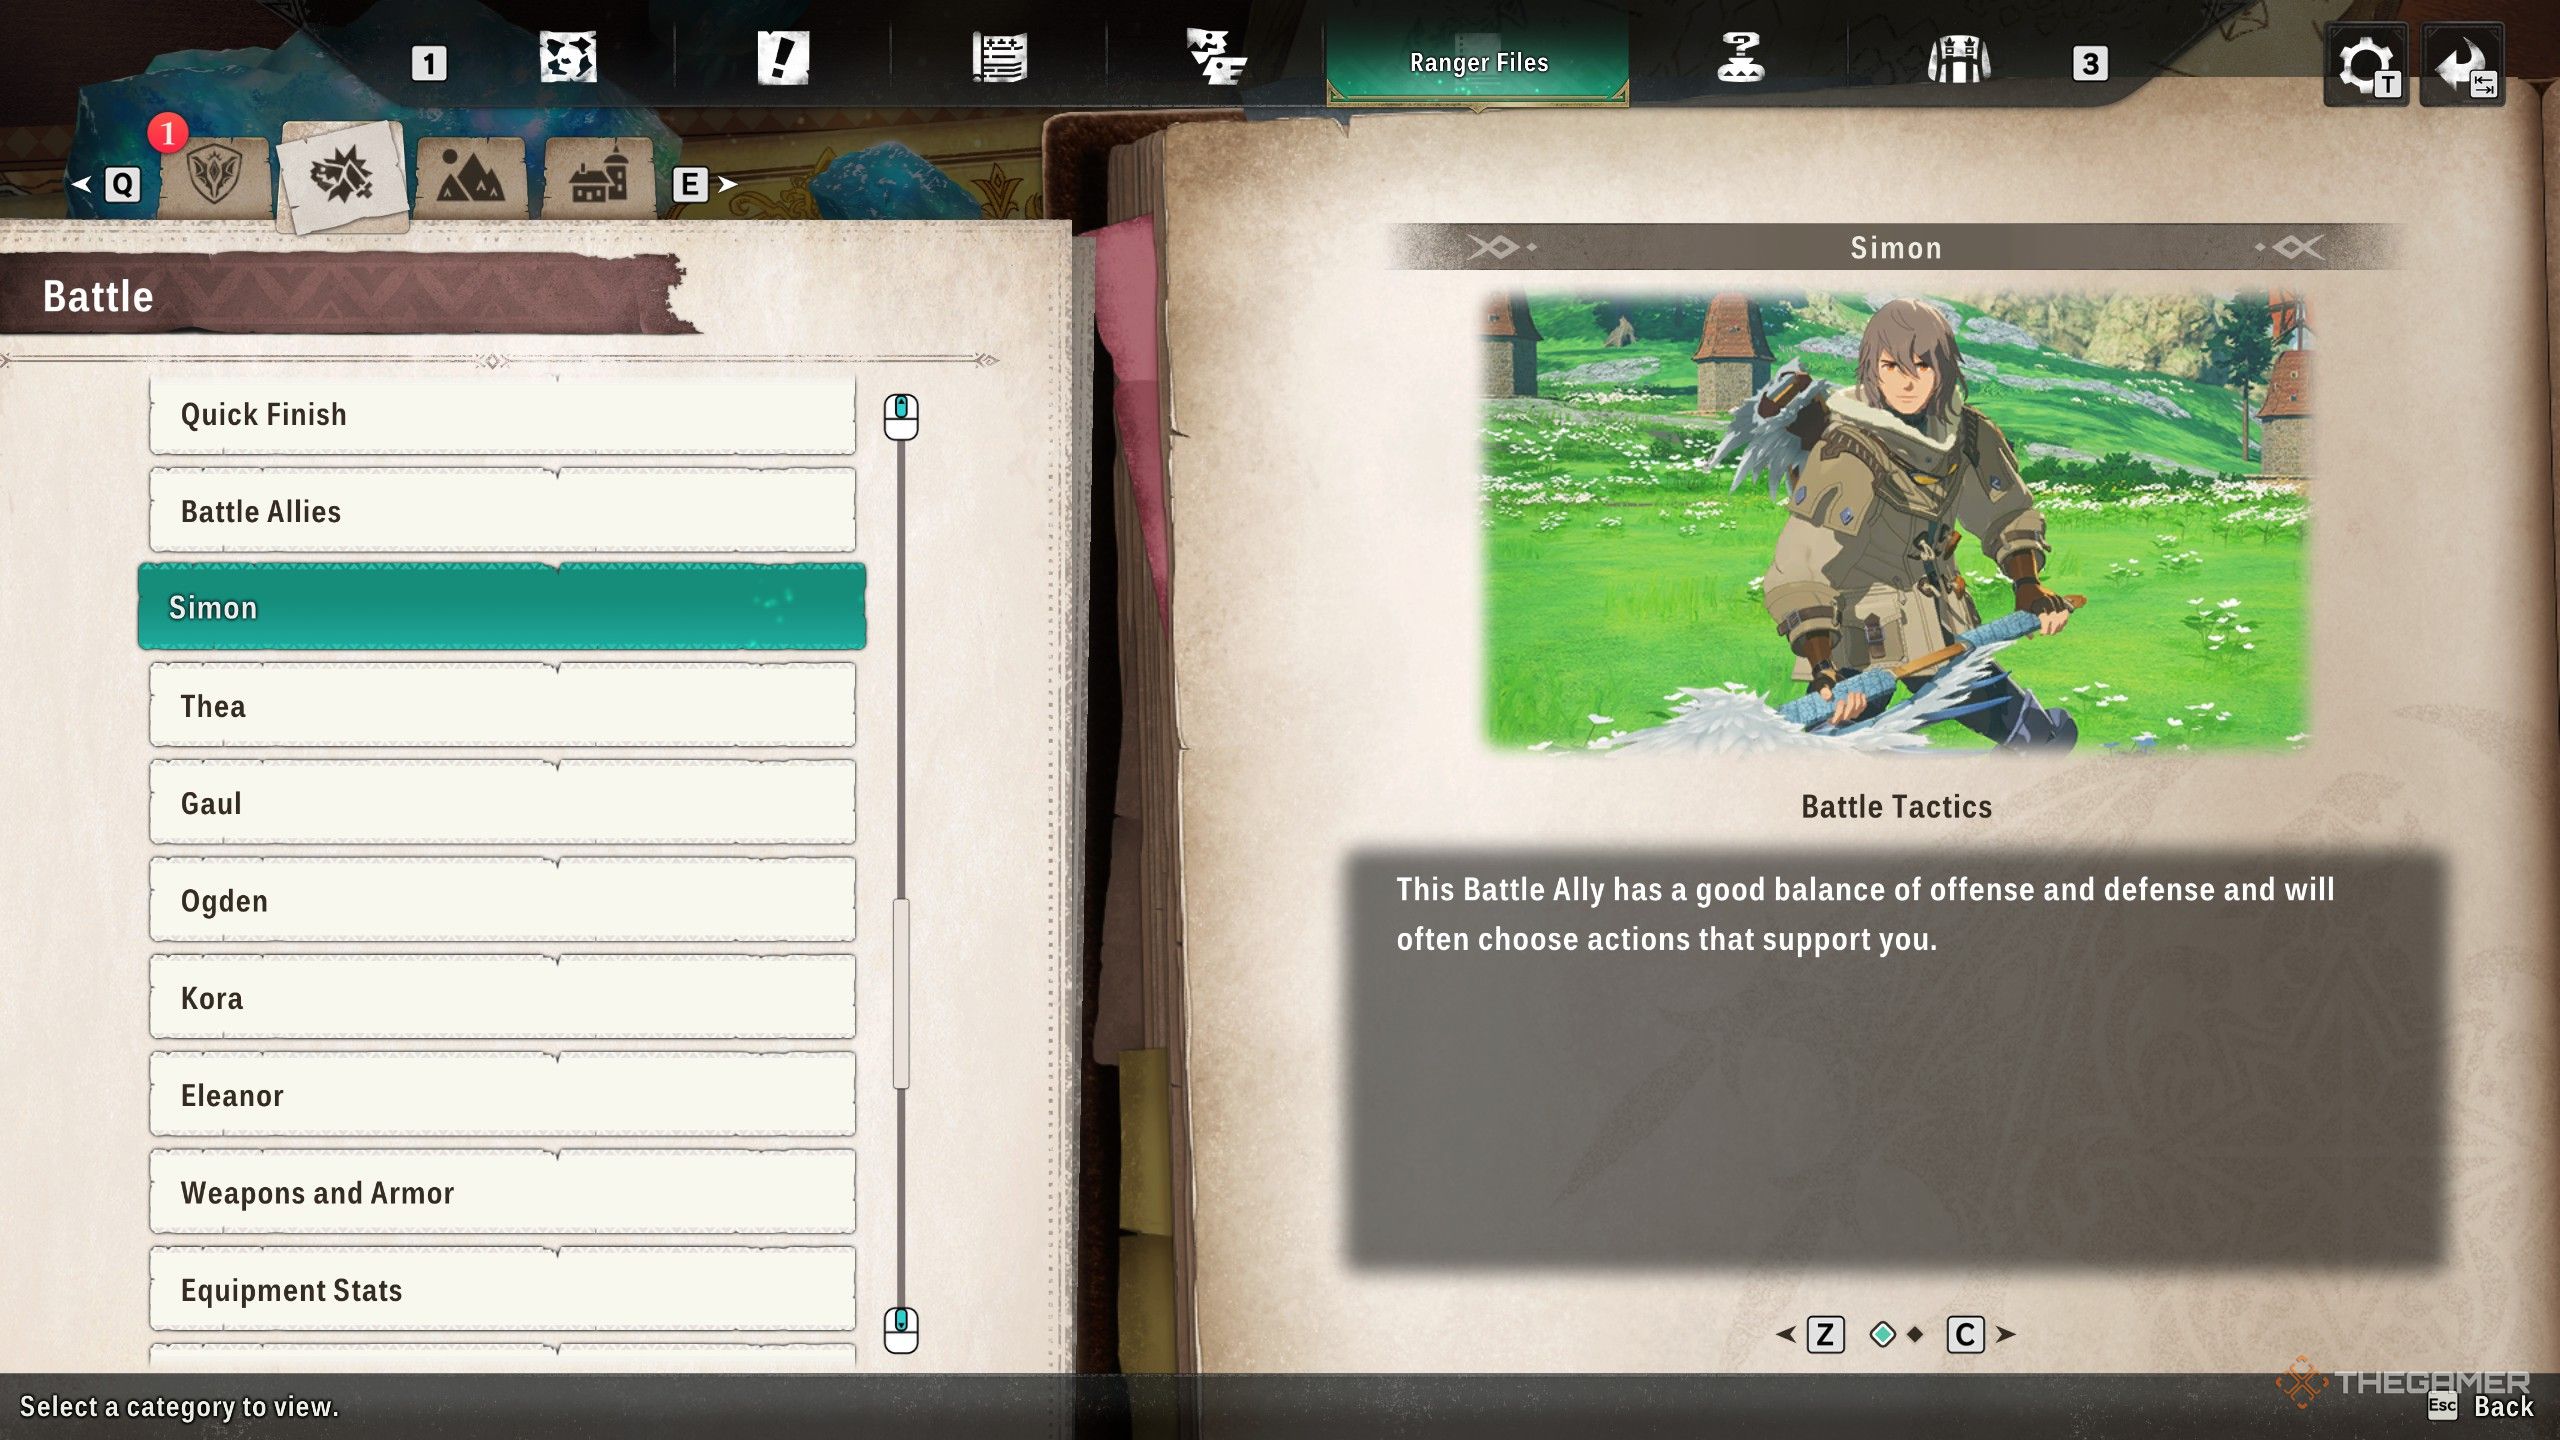
Simon is a strong teammate who excels at defeating Feral monsters. He deals a lot of damage, is hard to hit, and provides helpful items to keep you alive.
-
Simon
Weapon Katana (Lightning) Active Skills - Spirit Blade
- Spirithelm Breaker
- Spirit Release Slash
- Wild Slash
- Absolute Evasion
- Sakura Spiritblade
- Lunge Stance
- Unsheathing Strike
- Cheer
Passive Skills - Feral Monster Chaser
- Soul Kinship (s)
- Iai Mastery (s)
- Evasion Ability (s)
- Dragon Buster (s)
-
Fawn
Element Ice Attack Type Speed Skills - Icicle Realm
- Ice Spray
- Sealbreaker (m)
- Ice Attack Boost (s)
- Freezing Burst+
- Diamond Raid
- Evasion Ability (s)
Thea
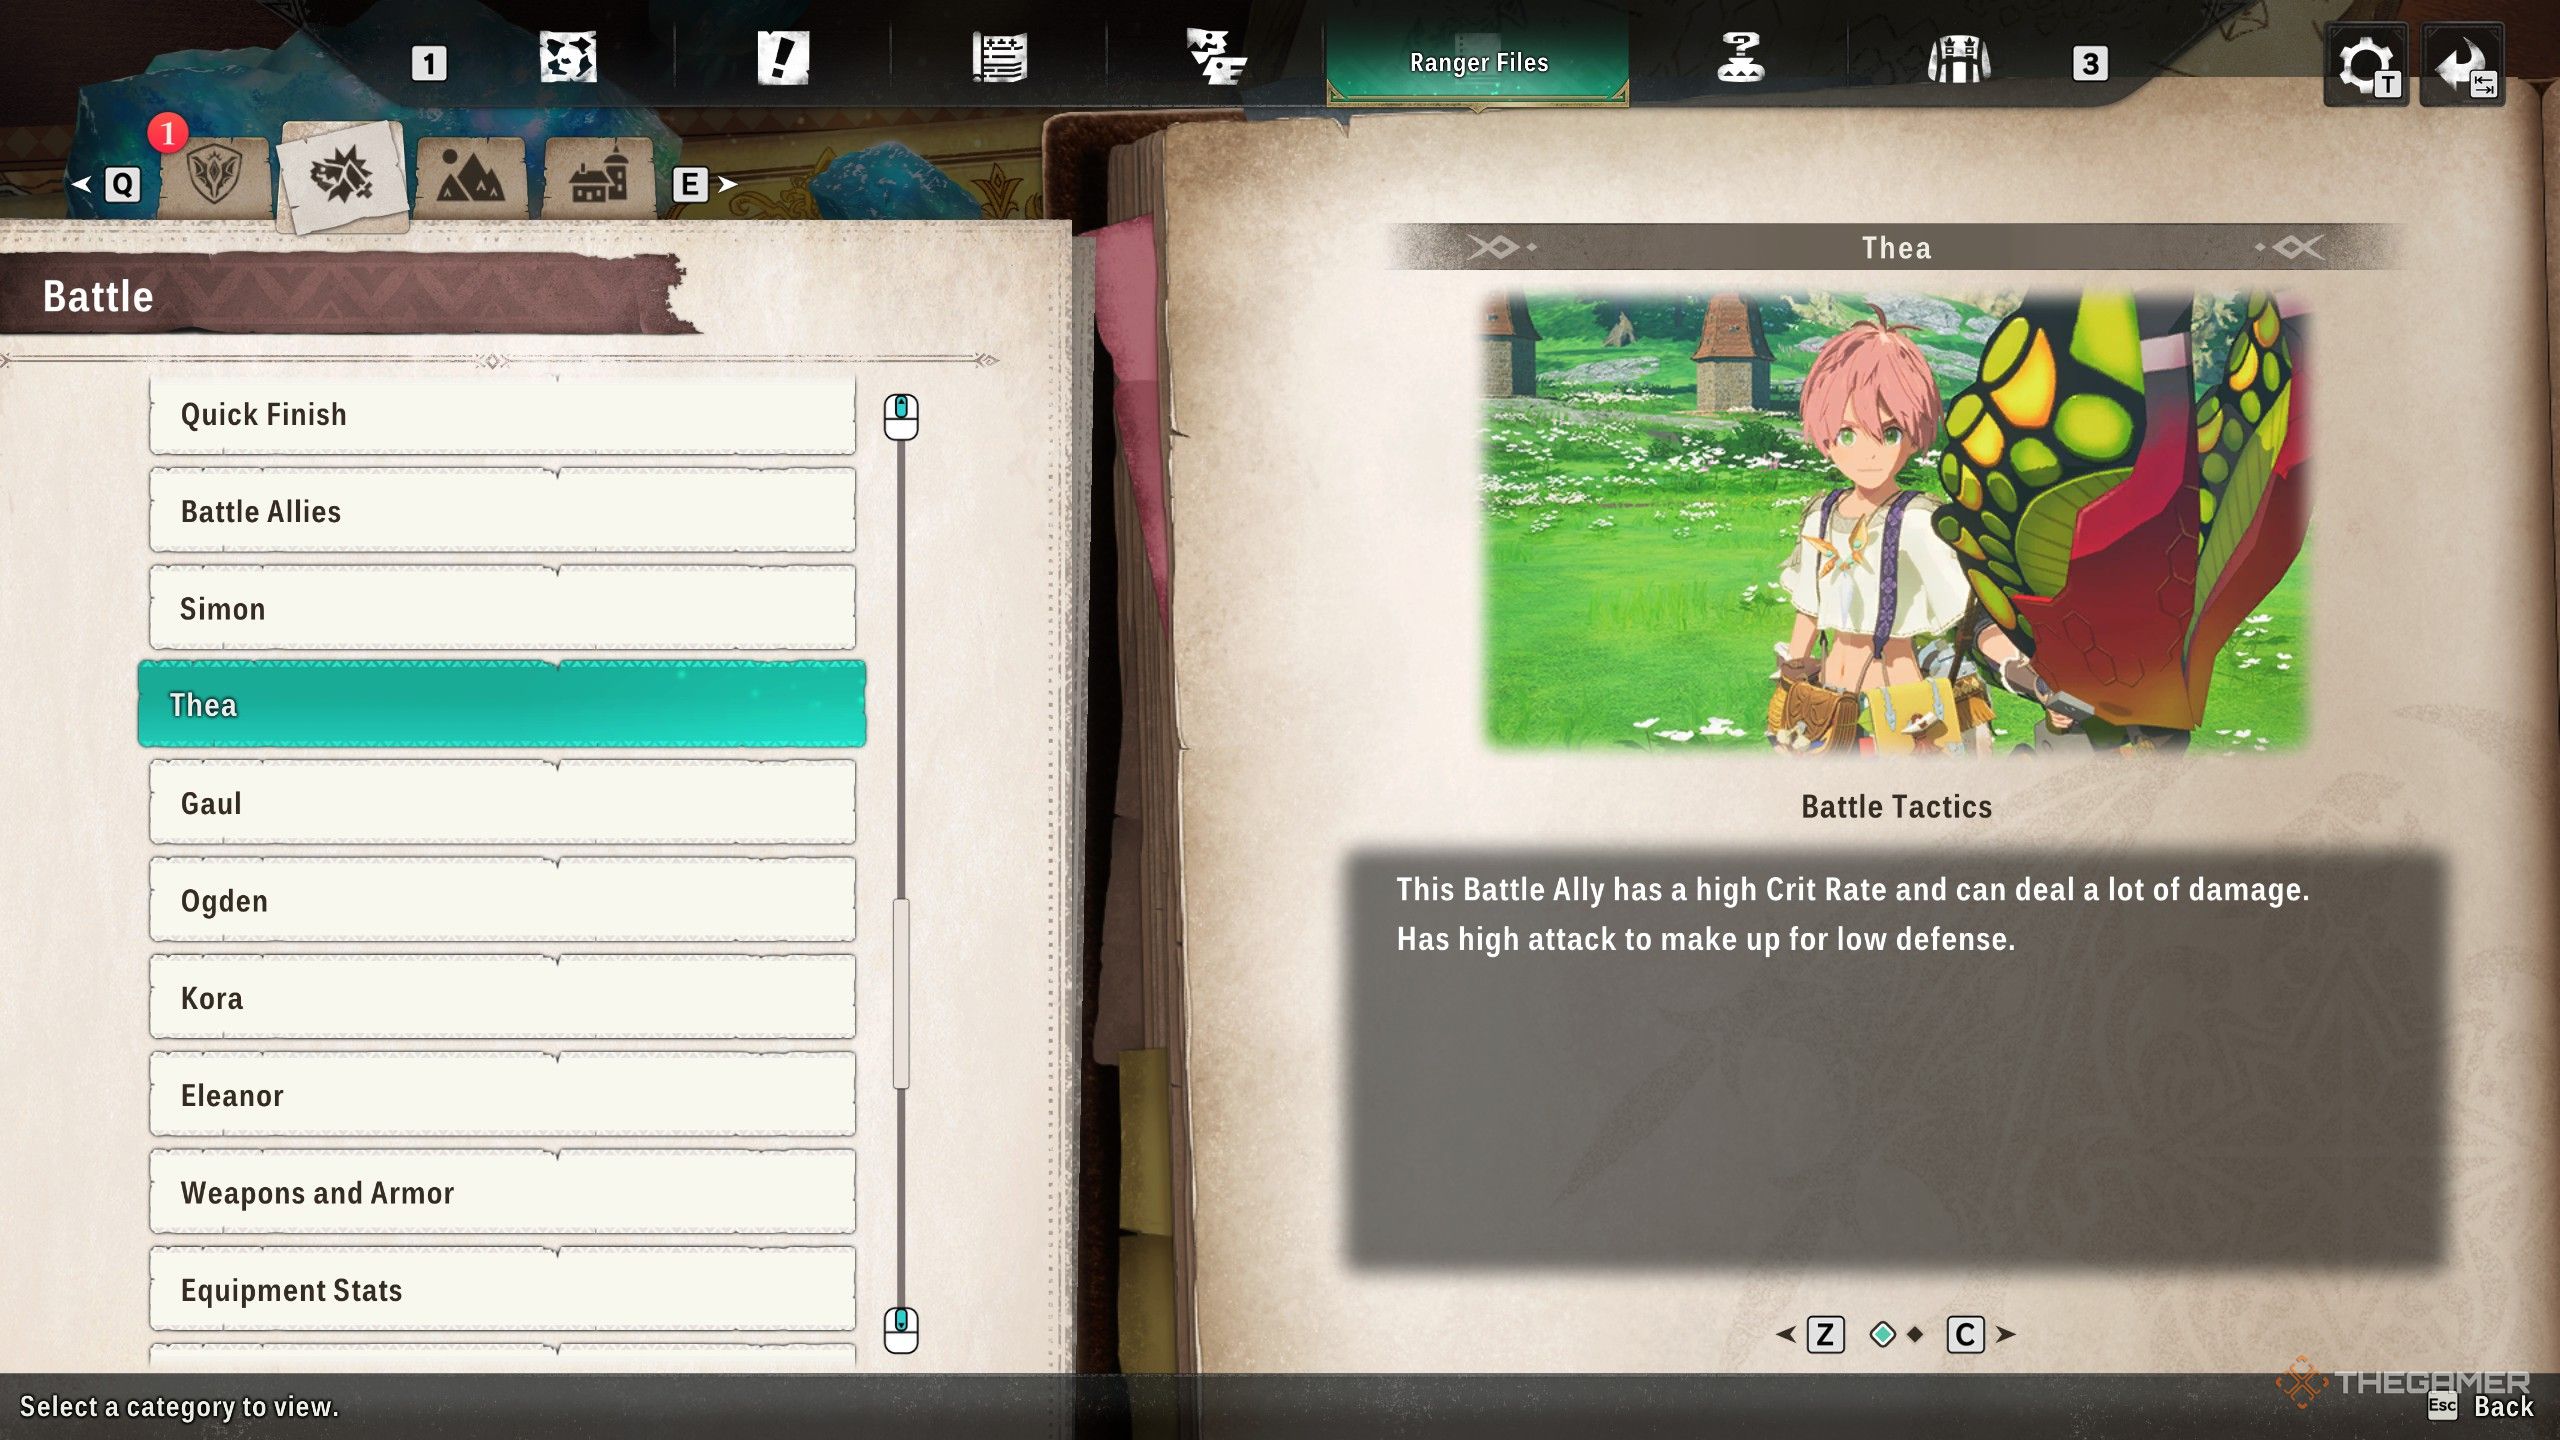
Thea is a skilled archer with a variety of powerful abilities. Her special move, Poogie Parade, becomes even stronger as you discover more Poogies.
-
Thea
Weapon Bow Active Skills - Aerial Aim
- Poison Coating
- Defense Down Coating
- Poogie Parade
- Piercing Shot
- Power Coating
- Absolute Evasion
Passive Skills - Sixth Sense
- Synchonize (s)
- Bow Mastery (s)
- Kinship Skill+ (s)
- Critical Kinship (s)
-
Kagachi
Element Lightning Attack Type Speed Skills - Kadachi Fury
- High Voltage
- Thunder Attack Boost (s)
- Thunder Drop
- Thunderball
Kora
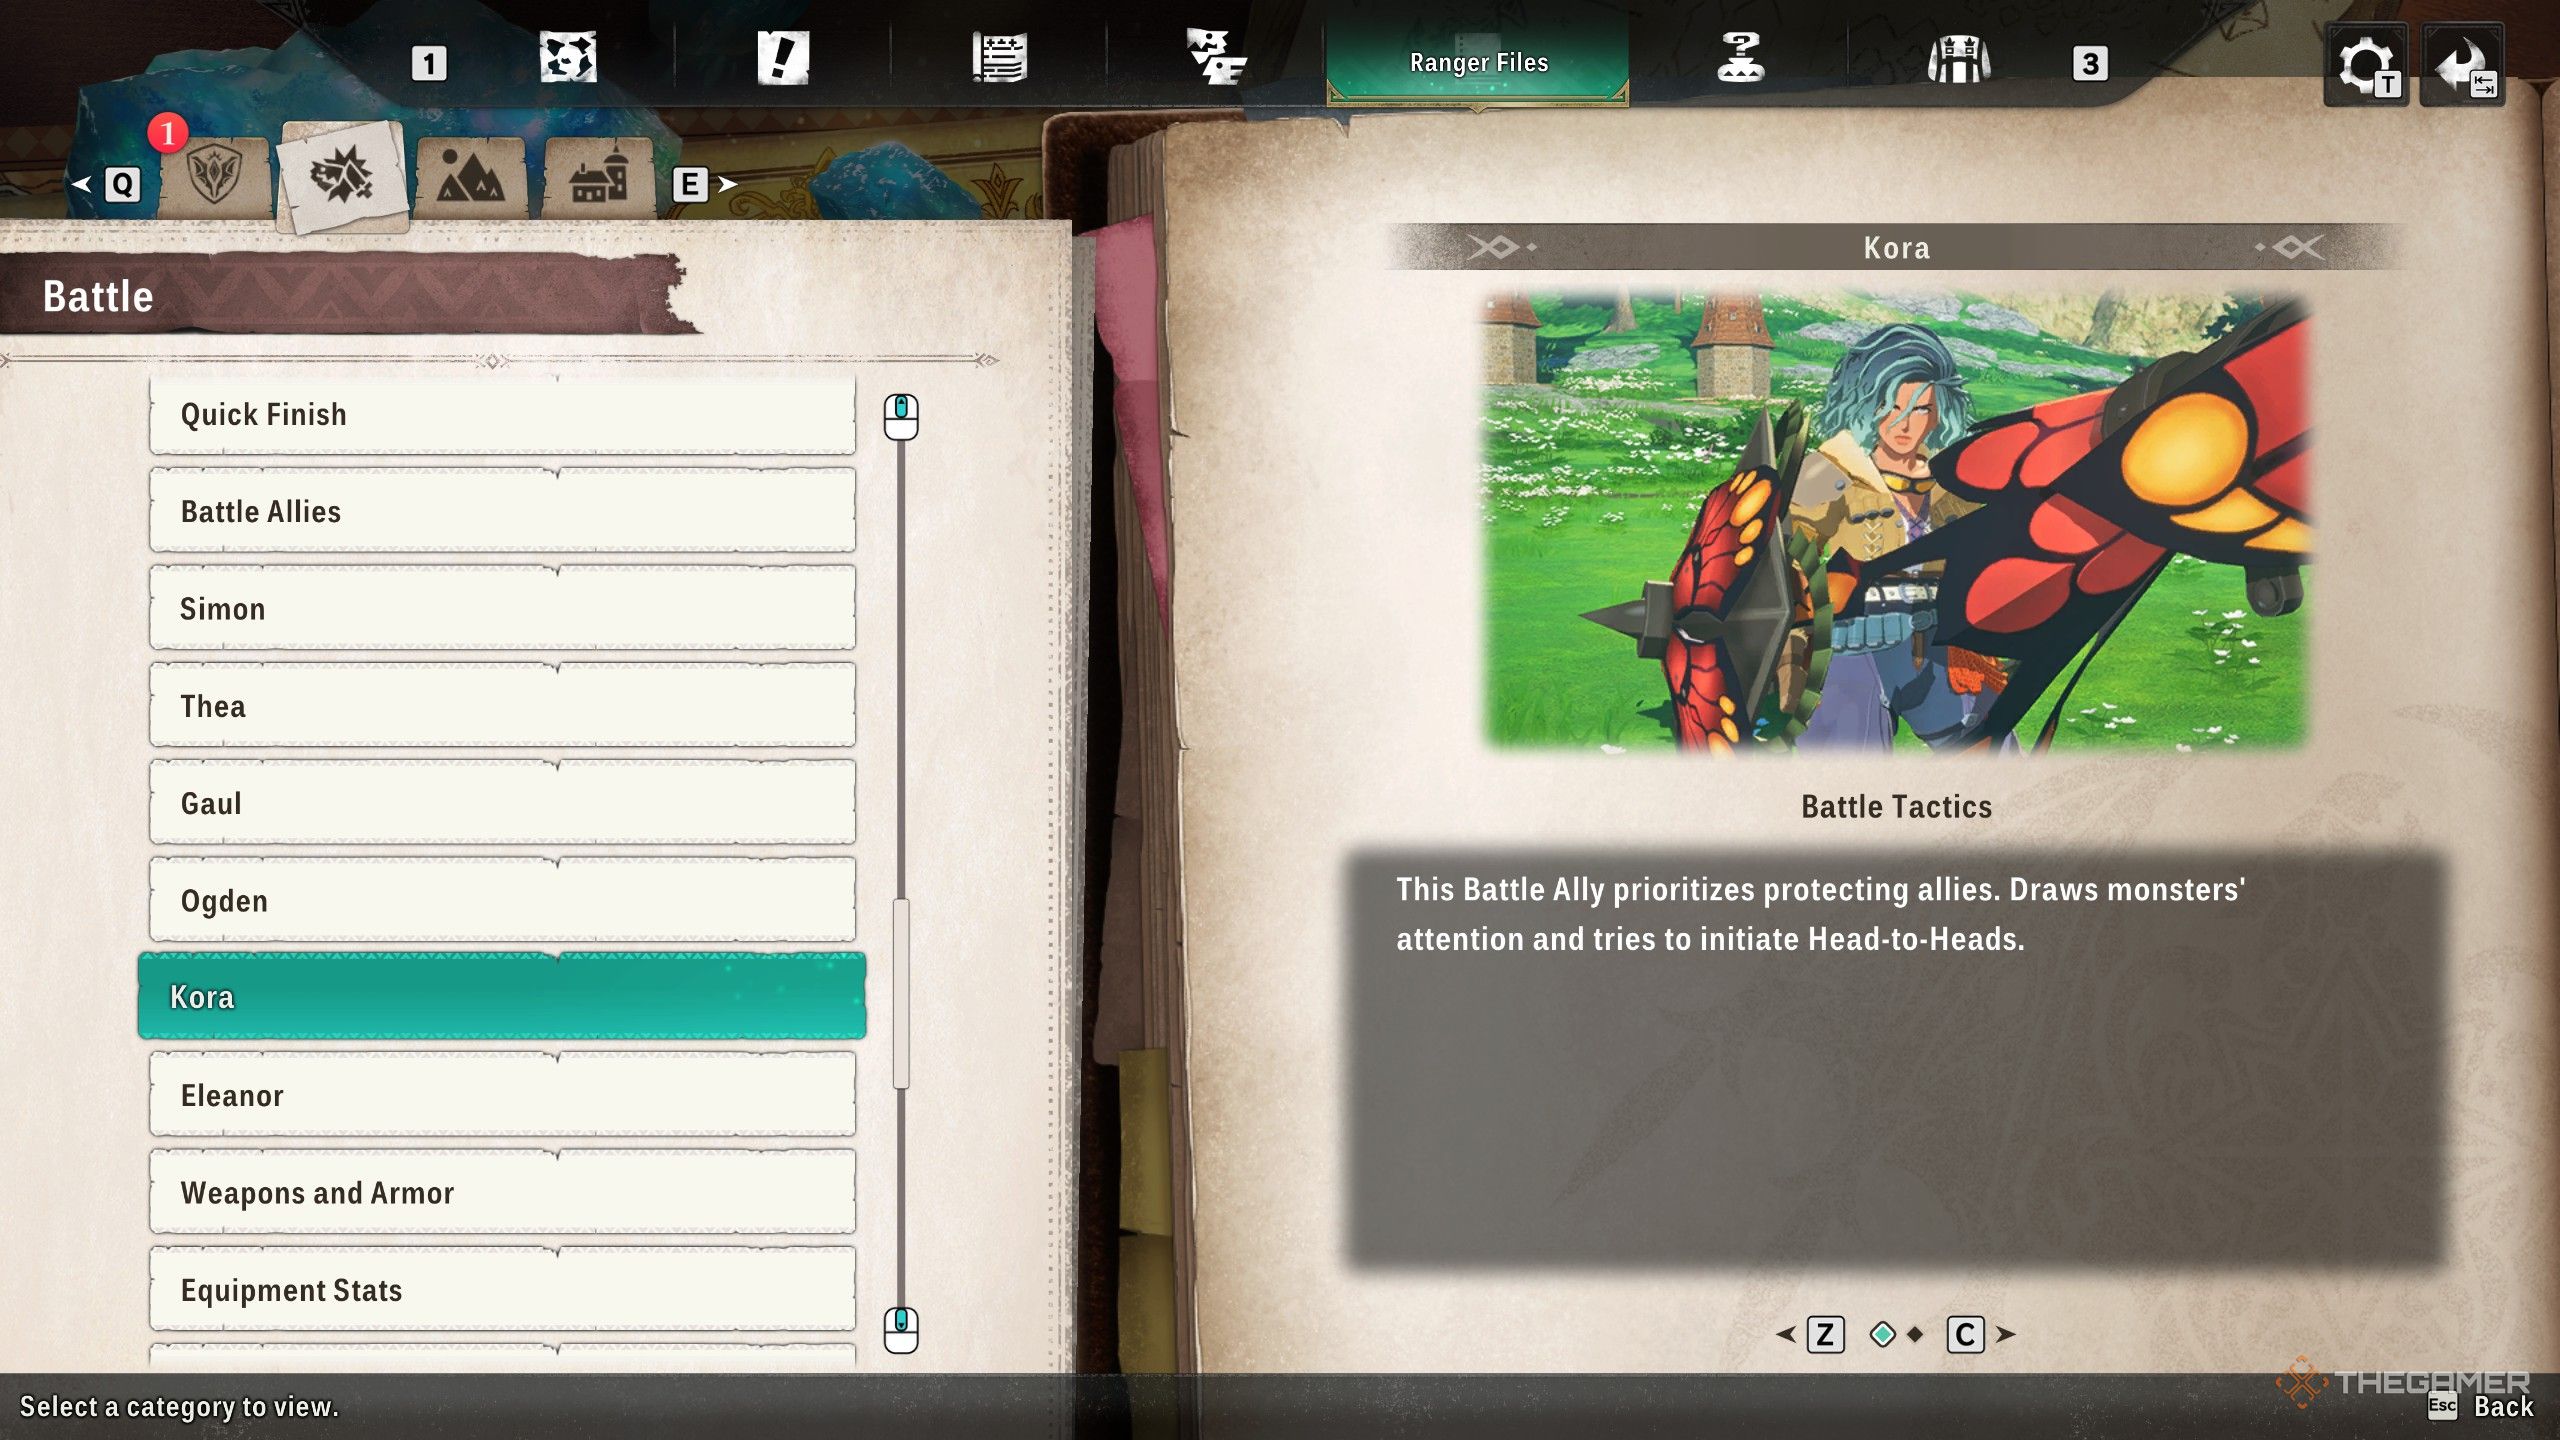
Kora functions as a classic tank character. While she can deal significant damage, her main job is to protect allies by attracting enemy attention and absorbing damage, allowing her to withstand even the most powerful attacks.
-
Kora
Weapon Gunlance Active Skills - Wyvern’s Blaze
- Shelling
- Shielding Stance
- Guard Reload
- Taunt
Passive Skills - Divine Blessing (s)
- Vicious (s)
- Instigator (s)
- All-Elements Boost (s)
- Potential (s)
- Guard Chance (s)
-
Gravy
Element Fire Attack Type Power Skills - Magma Surge
- Bishaten Embers
- Fire Defense Boost (s)
- Divine Blessing (m)
- Spreading Beam
- Rock Shield
- Health Boost (s)
Ogden
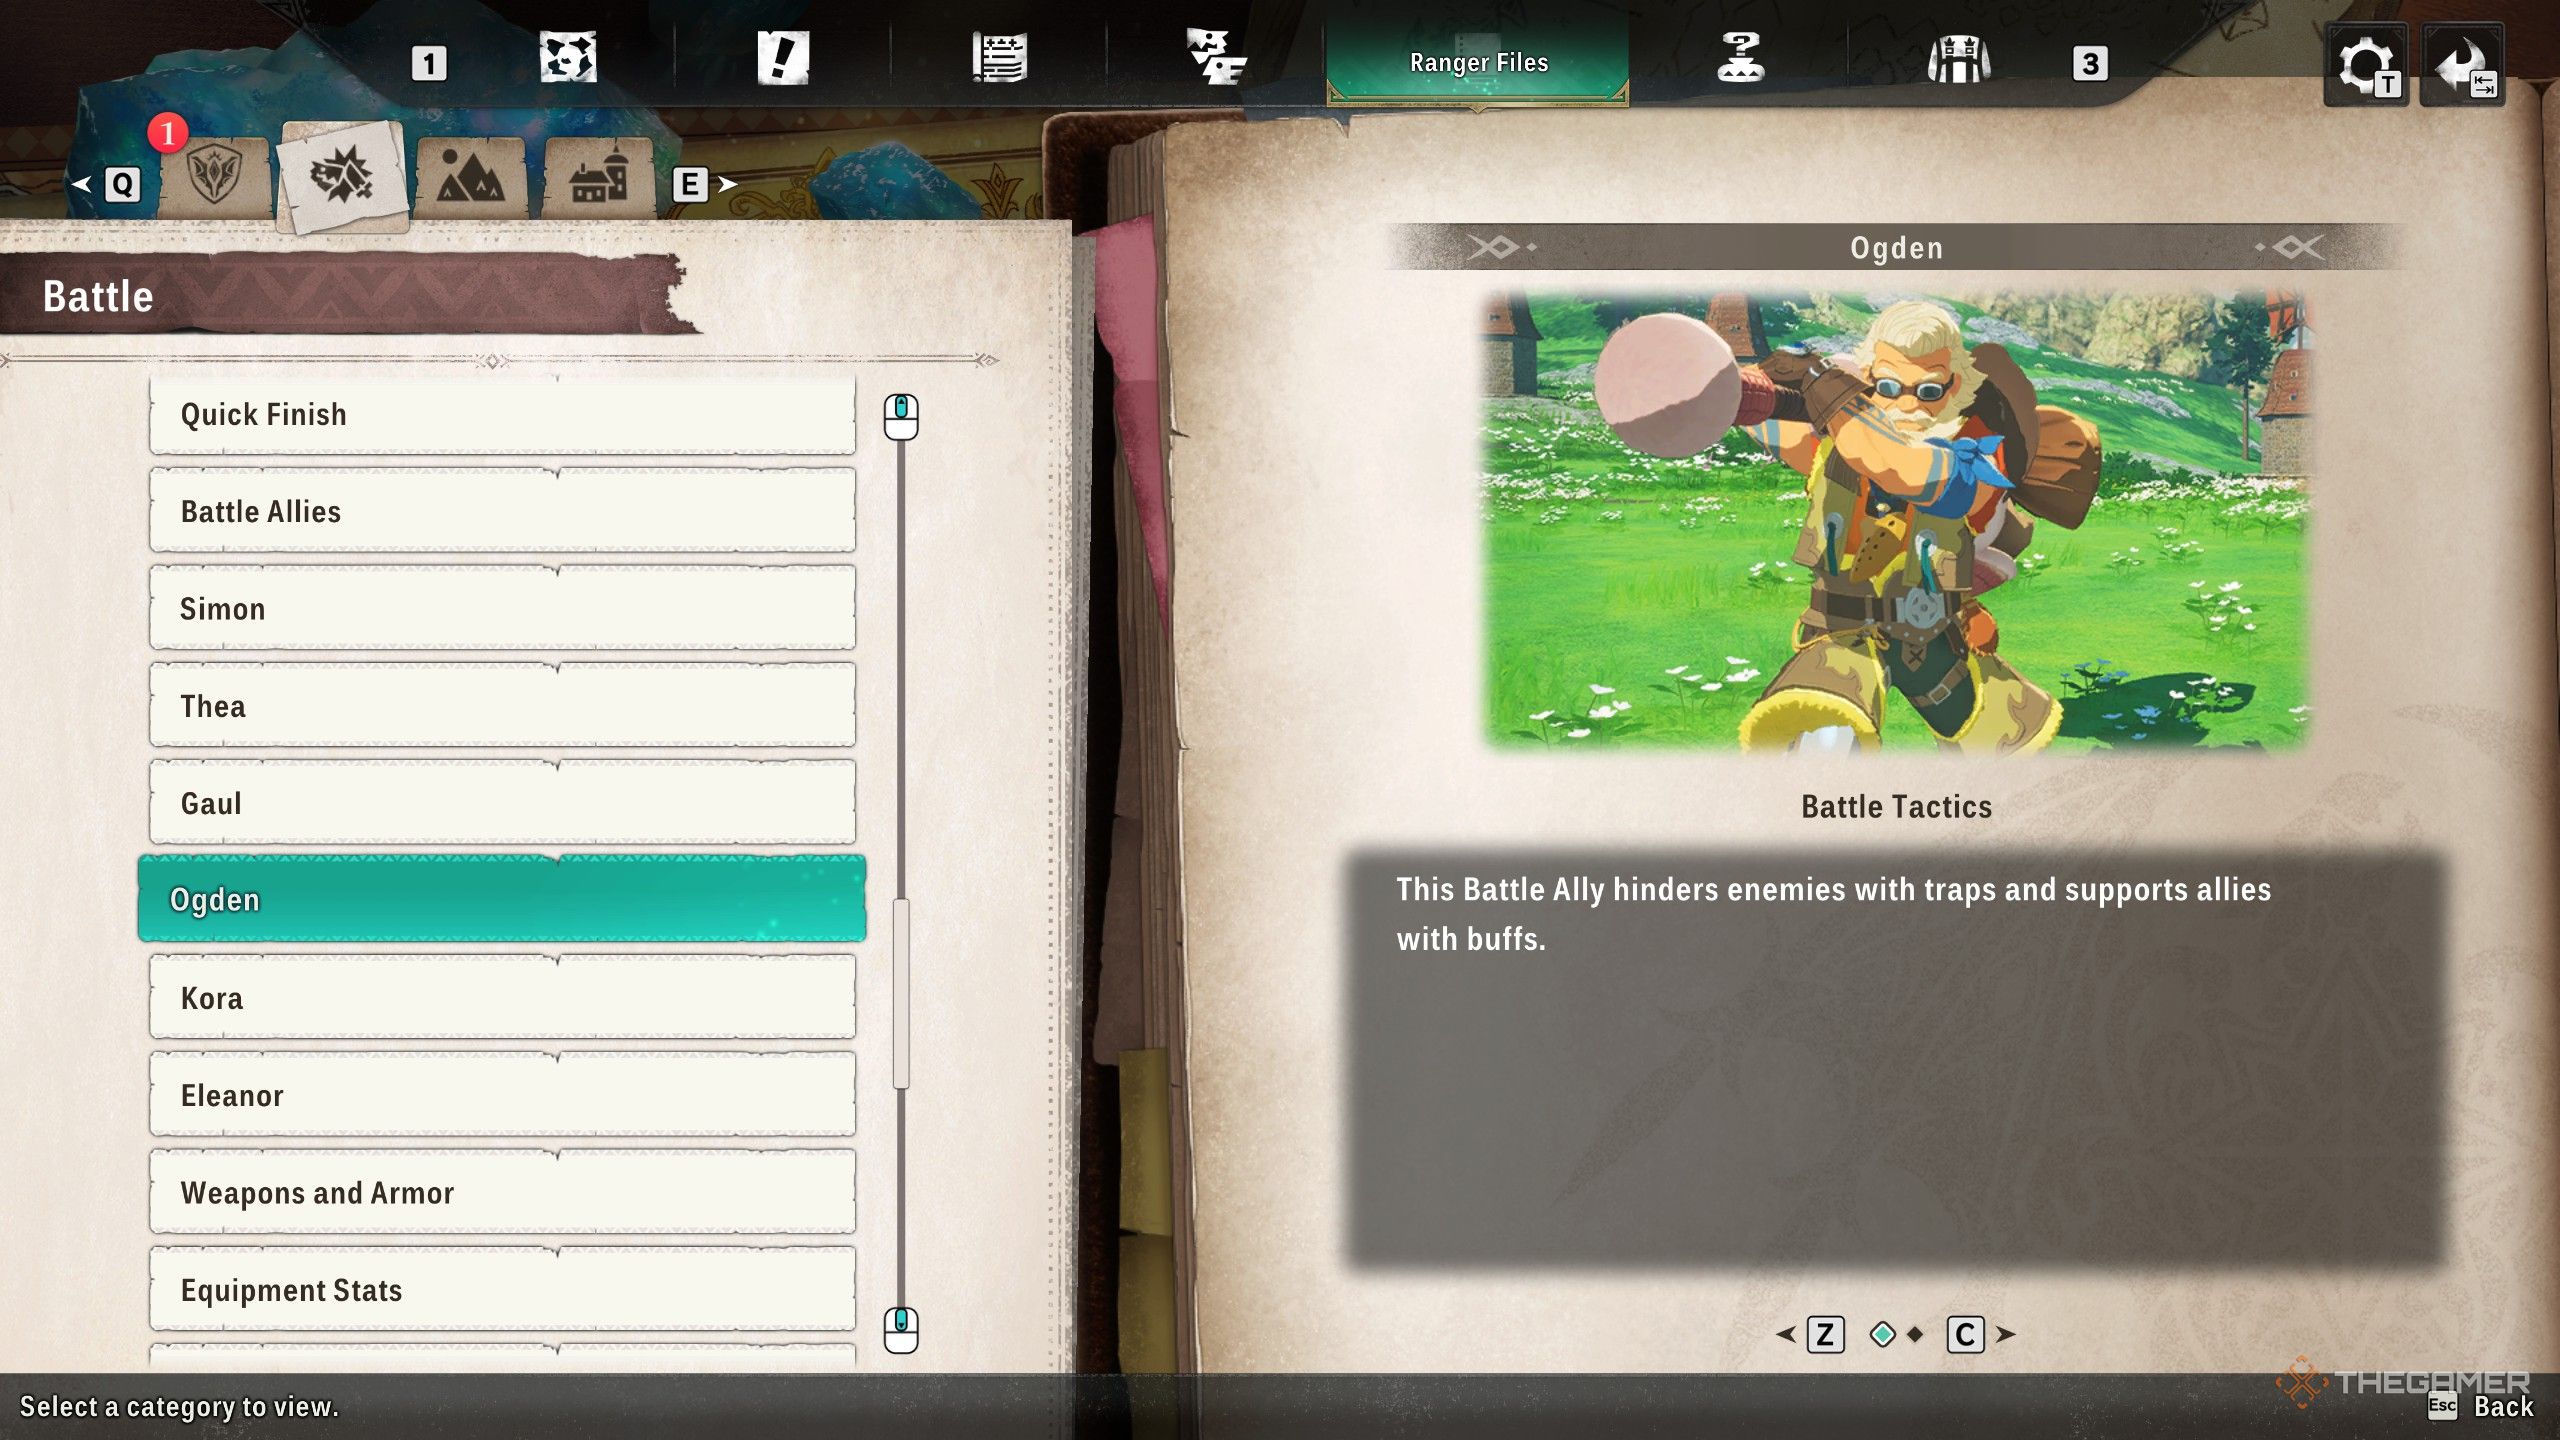
Ogden is a skilled, tech-focused character. He uses his Hunting Horn to give the team lots of helpful boosts, and he also has access to special items like traps and knives that can inflict status effects on enemies.
-
Ogden
Weapon Hunting Horn Active Skills - Wyvernfell Melody
- Magnificent Trio
- Defensive Ditty
- Lyrical Legato
- Absolute Evasion
- Comforting Melody
- Magnificent Trio Style
- Power Paean
- Spriny Staccato
Passive Skills - Sealbreaker (s)
- Partbreaker (s)
- Polychrome Performer (s)
- Salt In Wound (s)
- Dragon Buster (s)
-
Chirpy
Element Normal Attack Type Technical Skills - Venom Surprise
- Omni Chaser S
- Antivenom (m)
- Salt In Wound (m)
- Venom Shot
- Debilitating Lilt
- Inflit Rate Up (m)
Gaul
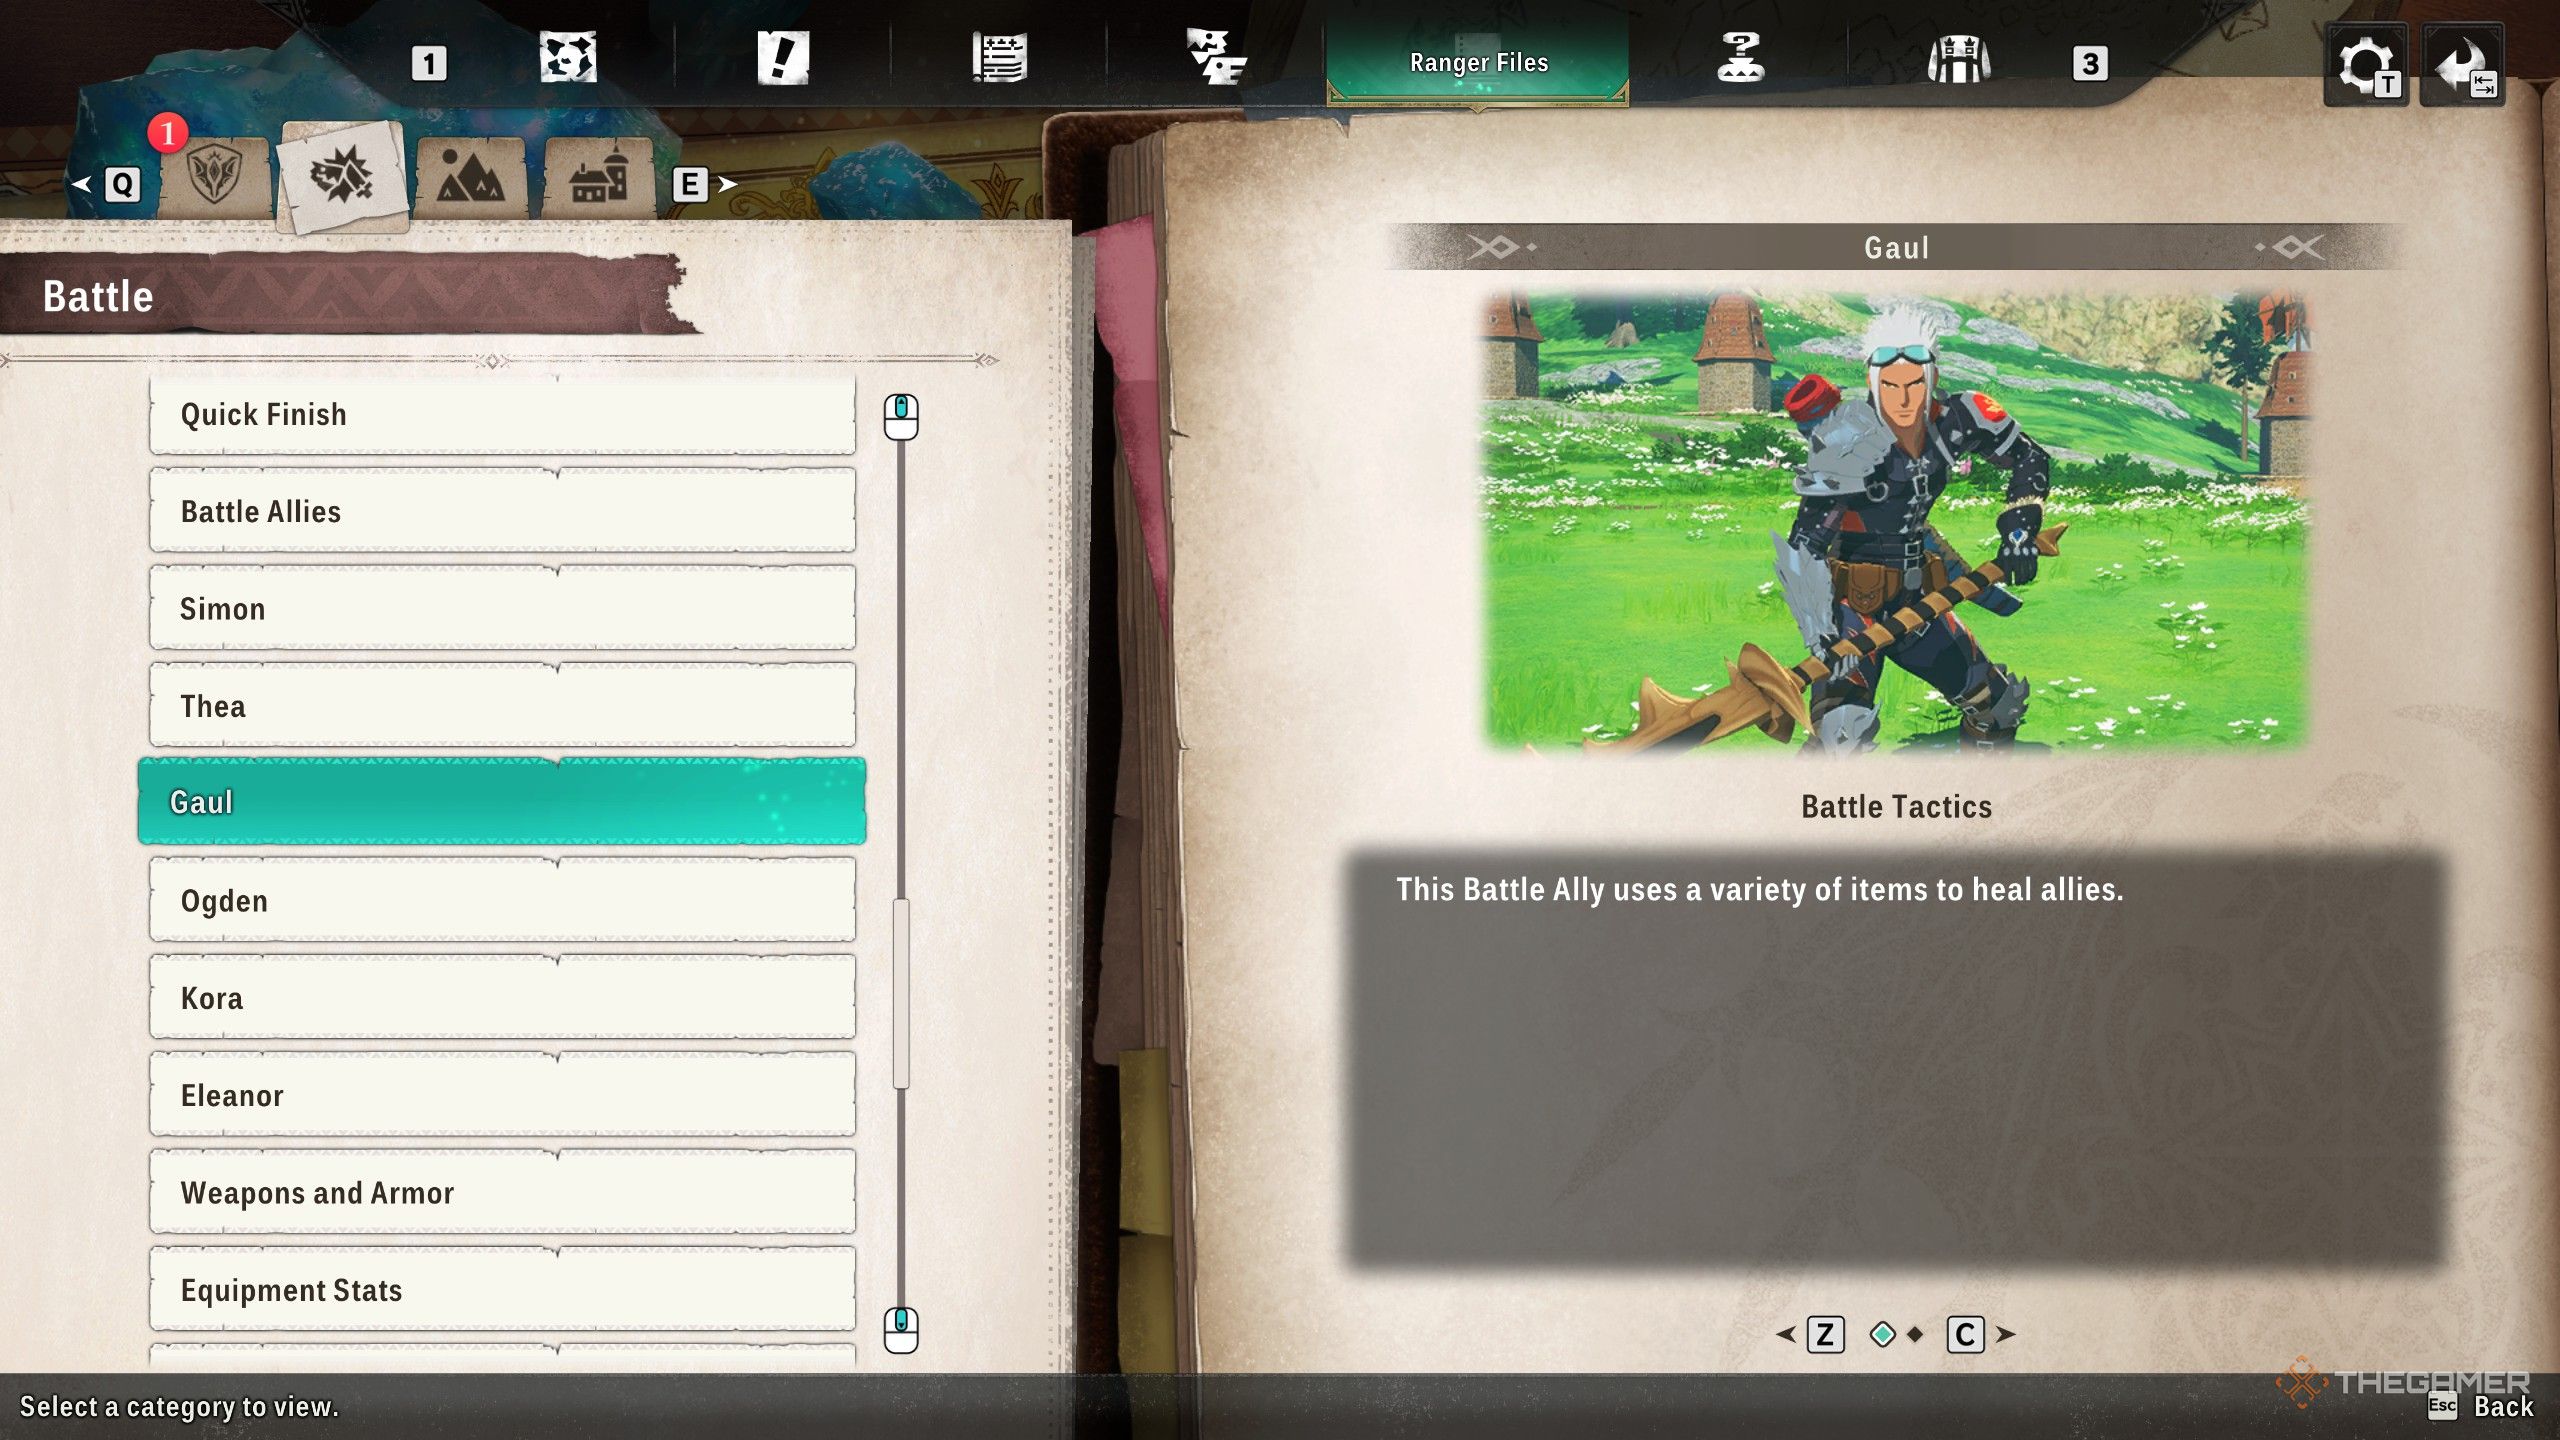
Gaul fights much like Simon, but his special ability, the Murray Multiplicator, is a huge advantage. It lets him apply five negative effects to a single enemy immediately.
-
Gaul
Weapon Katana Active Skills - Spirit Blade
- Lunge Stance
- Spirithelm Breaker
- Murray Multiplicator
Passive Skills - Inflict Rate Up (s)
- Sef-Heal (s)
- Long Sword Mastery (s)
- Panacea (s)
- Item Saver (s)
-
Legia
Element Ice Attack Type Speed Skills - Icicle Realm
- Ice Drill
- Tenacity (s)
- Quick (s)
- Frost Veil
- Debuff Chaser P
- Elemental Assault (s)
Eleanor
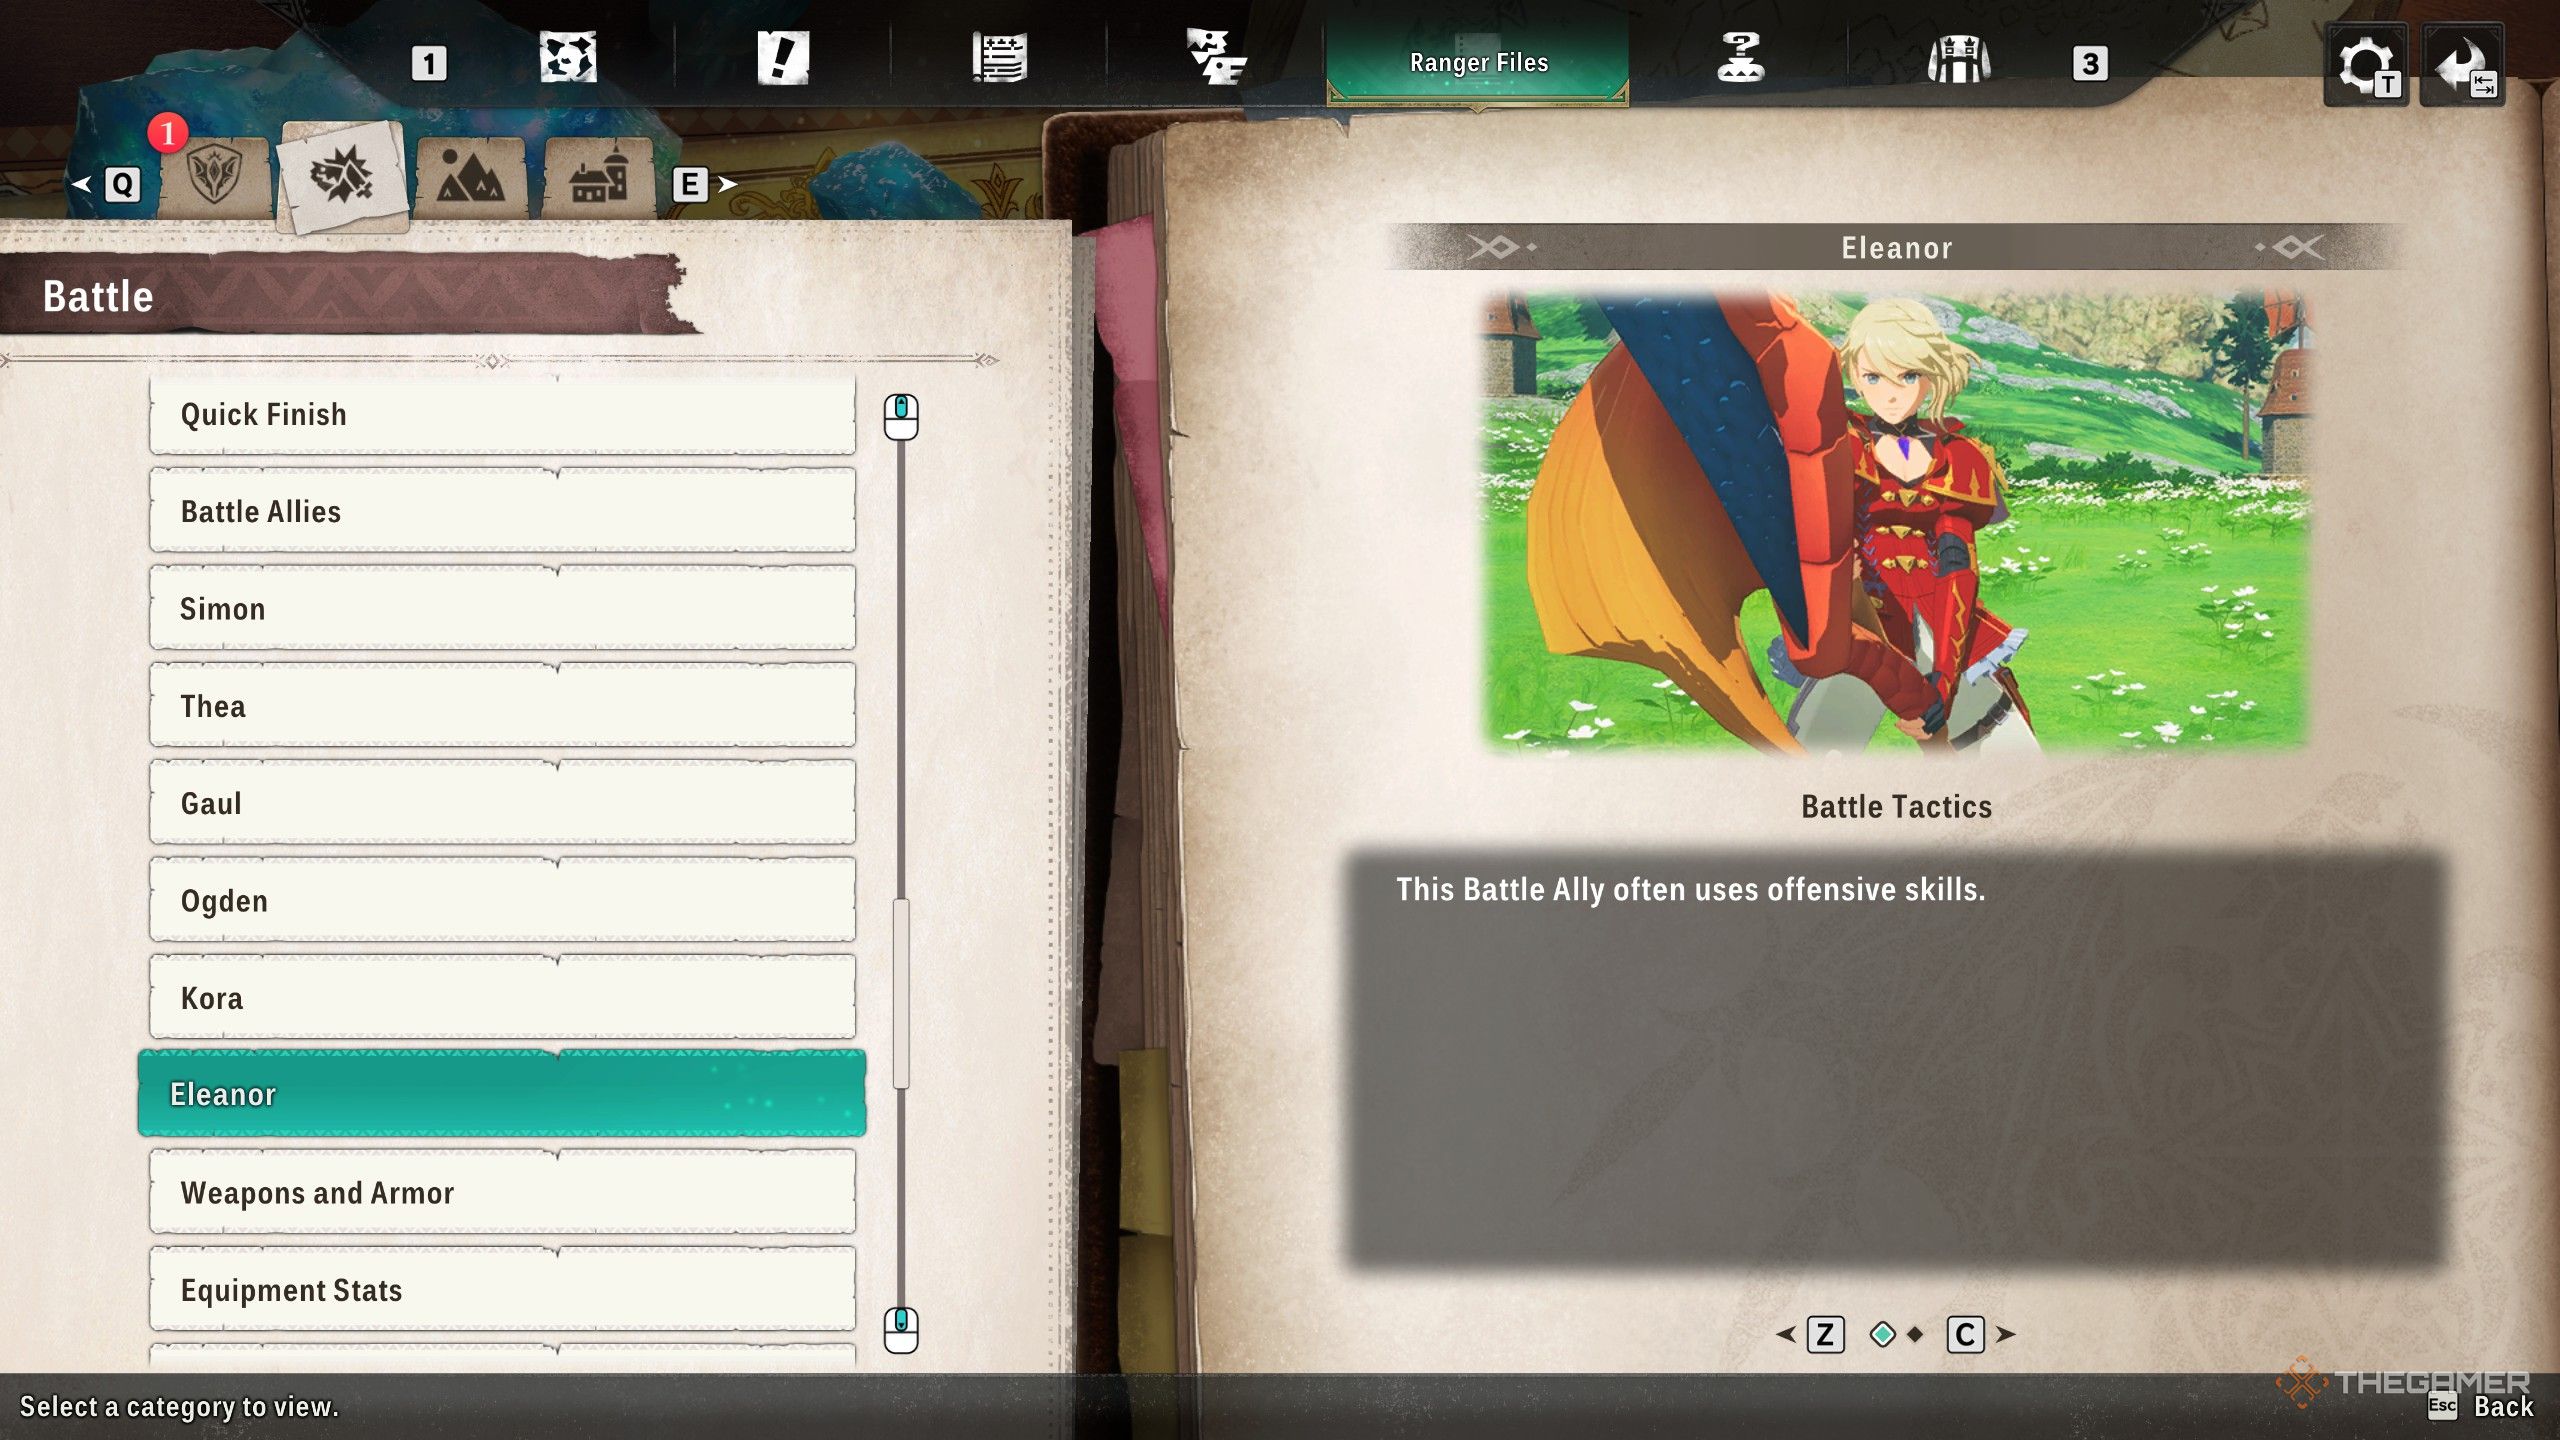
Eleanor is a straightforward, aggressive fighter. She excels at dealing high damage and actually gets stronger when her health is low.
-
Eleanor
Weapon Great Sword Active Skills - Charge
- Charged Slash
- Slash
- Fortified Spirit
- Charge Tackle
- Strong Charged Slash
- Pep Talk
Passive Skills - Heroics (s)
- Soul Kinship (s)
- Charge Burst (s)
- Slugger (s)
- Fire Attack Boost (s)
-
Angie
Element Fire Attack Type Power Skills - Anja Assault
- Killer Tackle
- Health Boost (s)
- Blightproof (s)
- Burning Fang
- Blazeball
- Fire Attack Boost (m)
When selecting your companions, you can also define general battle strategies for them, allowing you to fine-tune how they act in combat.
2026-03-12 14:16