Everywhere you explore in Where Winds Meet, you’ll uncover new stories. While many of these tales stand alone, they also hint at a larger world, subtly connecting characters and places. The enigmatic Palace of Annals is a prime example of this interconnectedness.
With strange soldiers from the Aureate Pavilion appearing and the Hanging Blade group suddenly leaving, you must investigate what occurred. You also need to understand why Lucky Seventeen stayed behind to protect those who raised him. The only way to find out is to defeat him in battle.
Lucky Seventeen Location
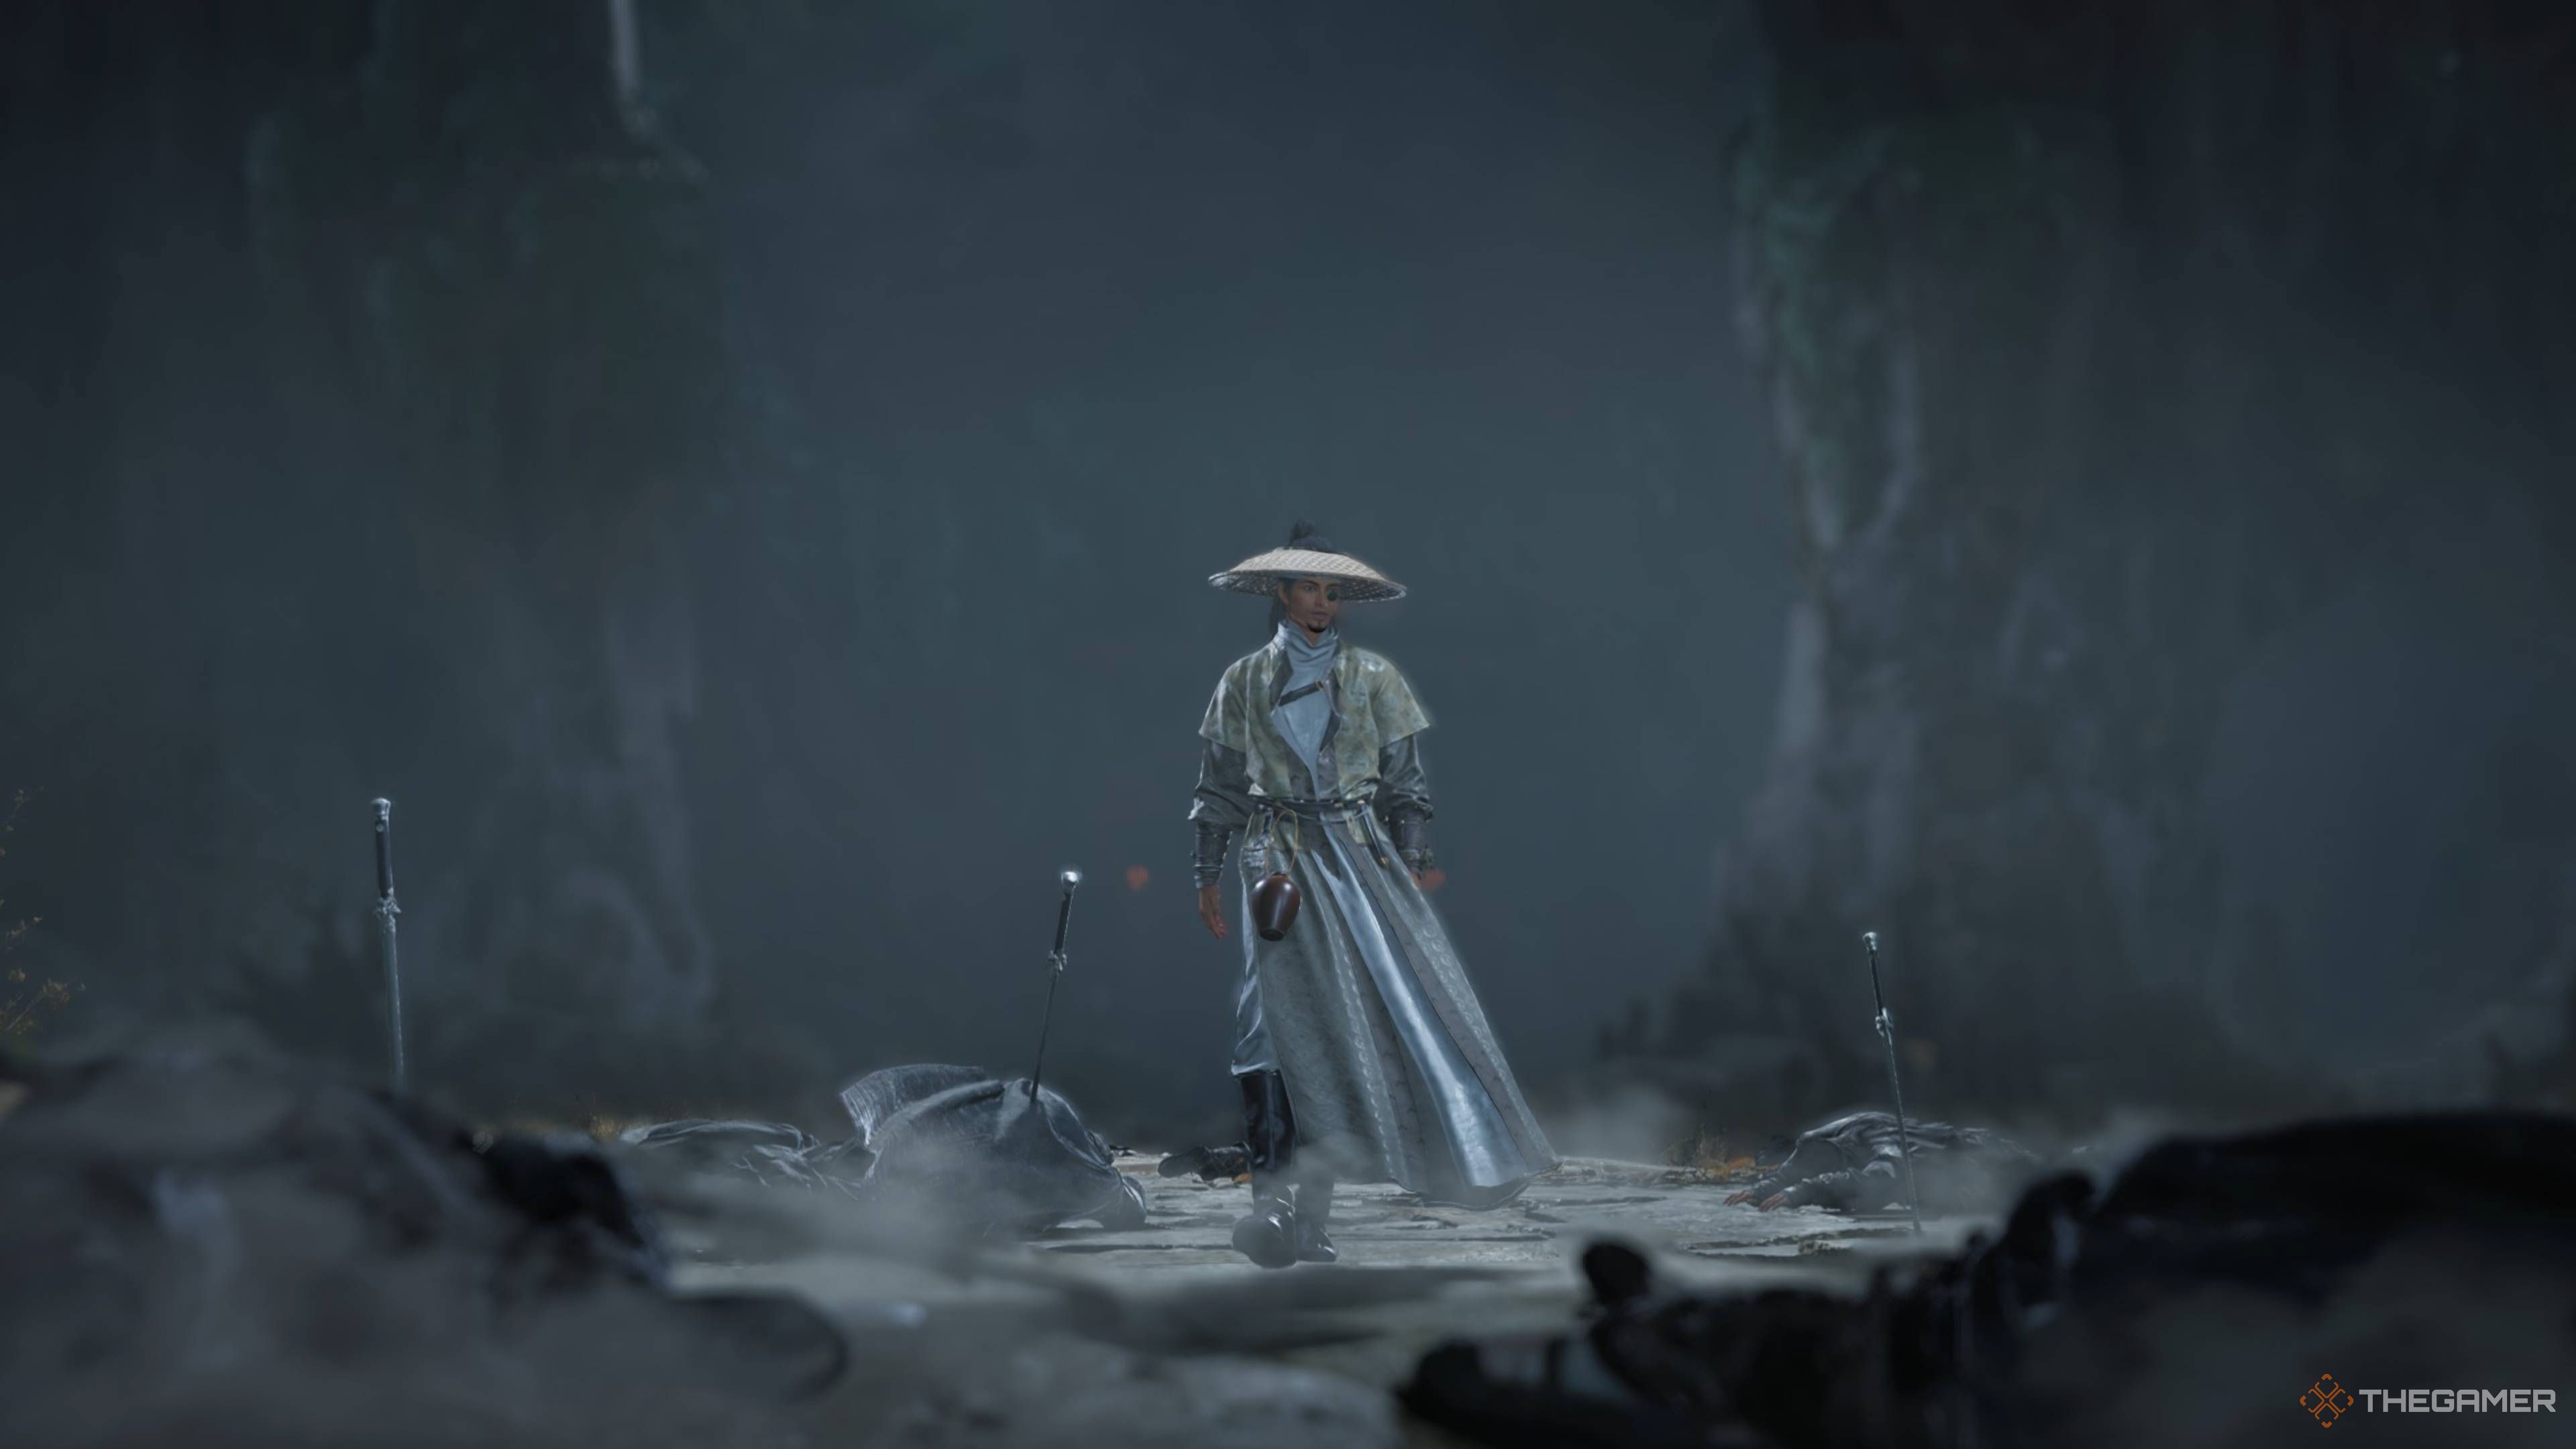
As you probably guessed, Lucky Seventeen is located at the very end of the Palace of Annals. Getting there requires reaching the lowest level first, which will take some investigation.
Once you arrive at the Palace of Annals, turn right and go towards the center. It’s a good idea to use the Grand Lightness skill to quickly get past the powerful enemies in this area. When you reach the main building, go inside and start looking around – your character will guide you to all the important locations.
After carefully searching and breaking through a weak section of floor to get to a locked room, you’ll hear someone moving around in a hidden space behind a bookcase. You can open this space by activating a concealed switch in the room, which will reveal a staircase leading down below.
Beat the enemy in this area, then go down the stairs to the bottom floor. You’ll find Lucky Seventeen still busy making weapons.
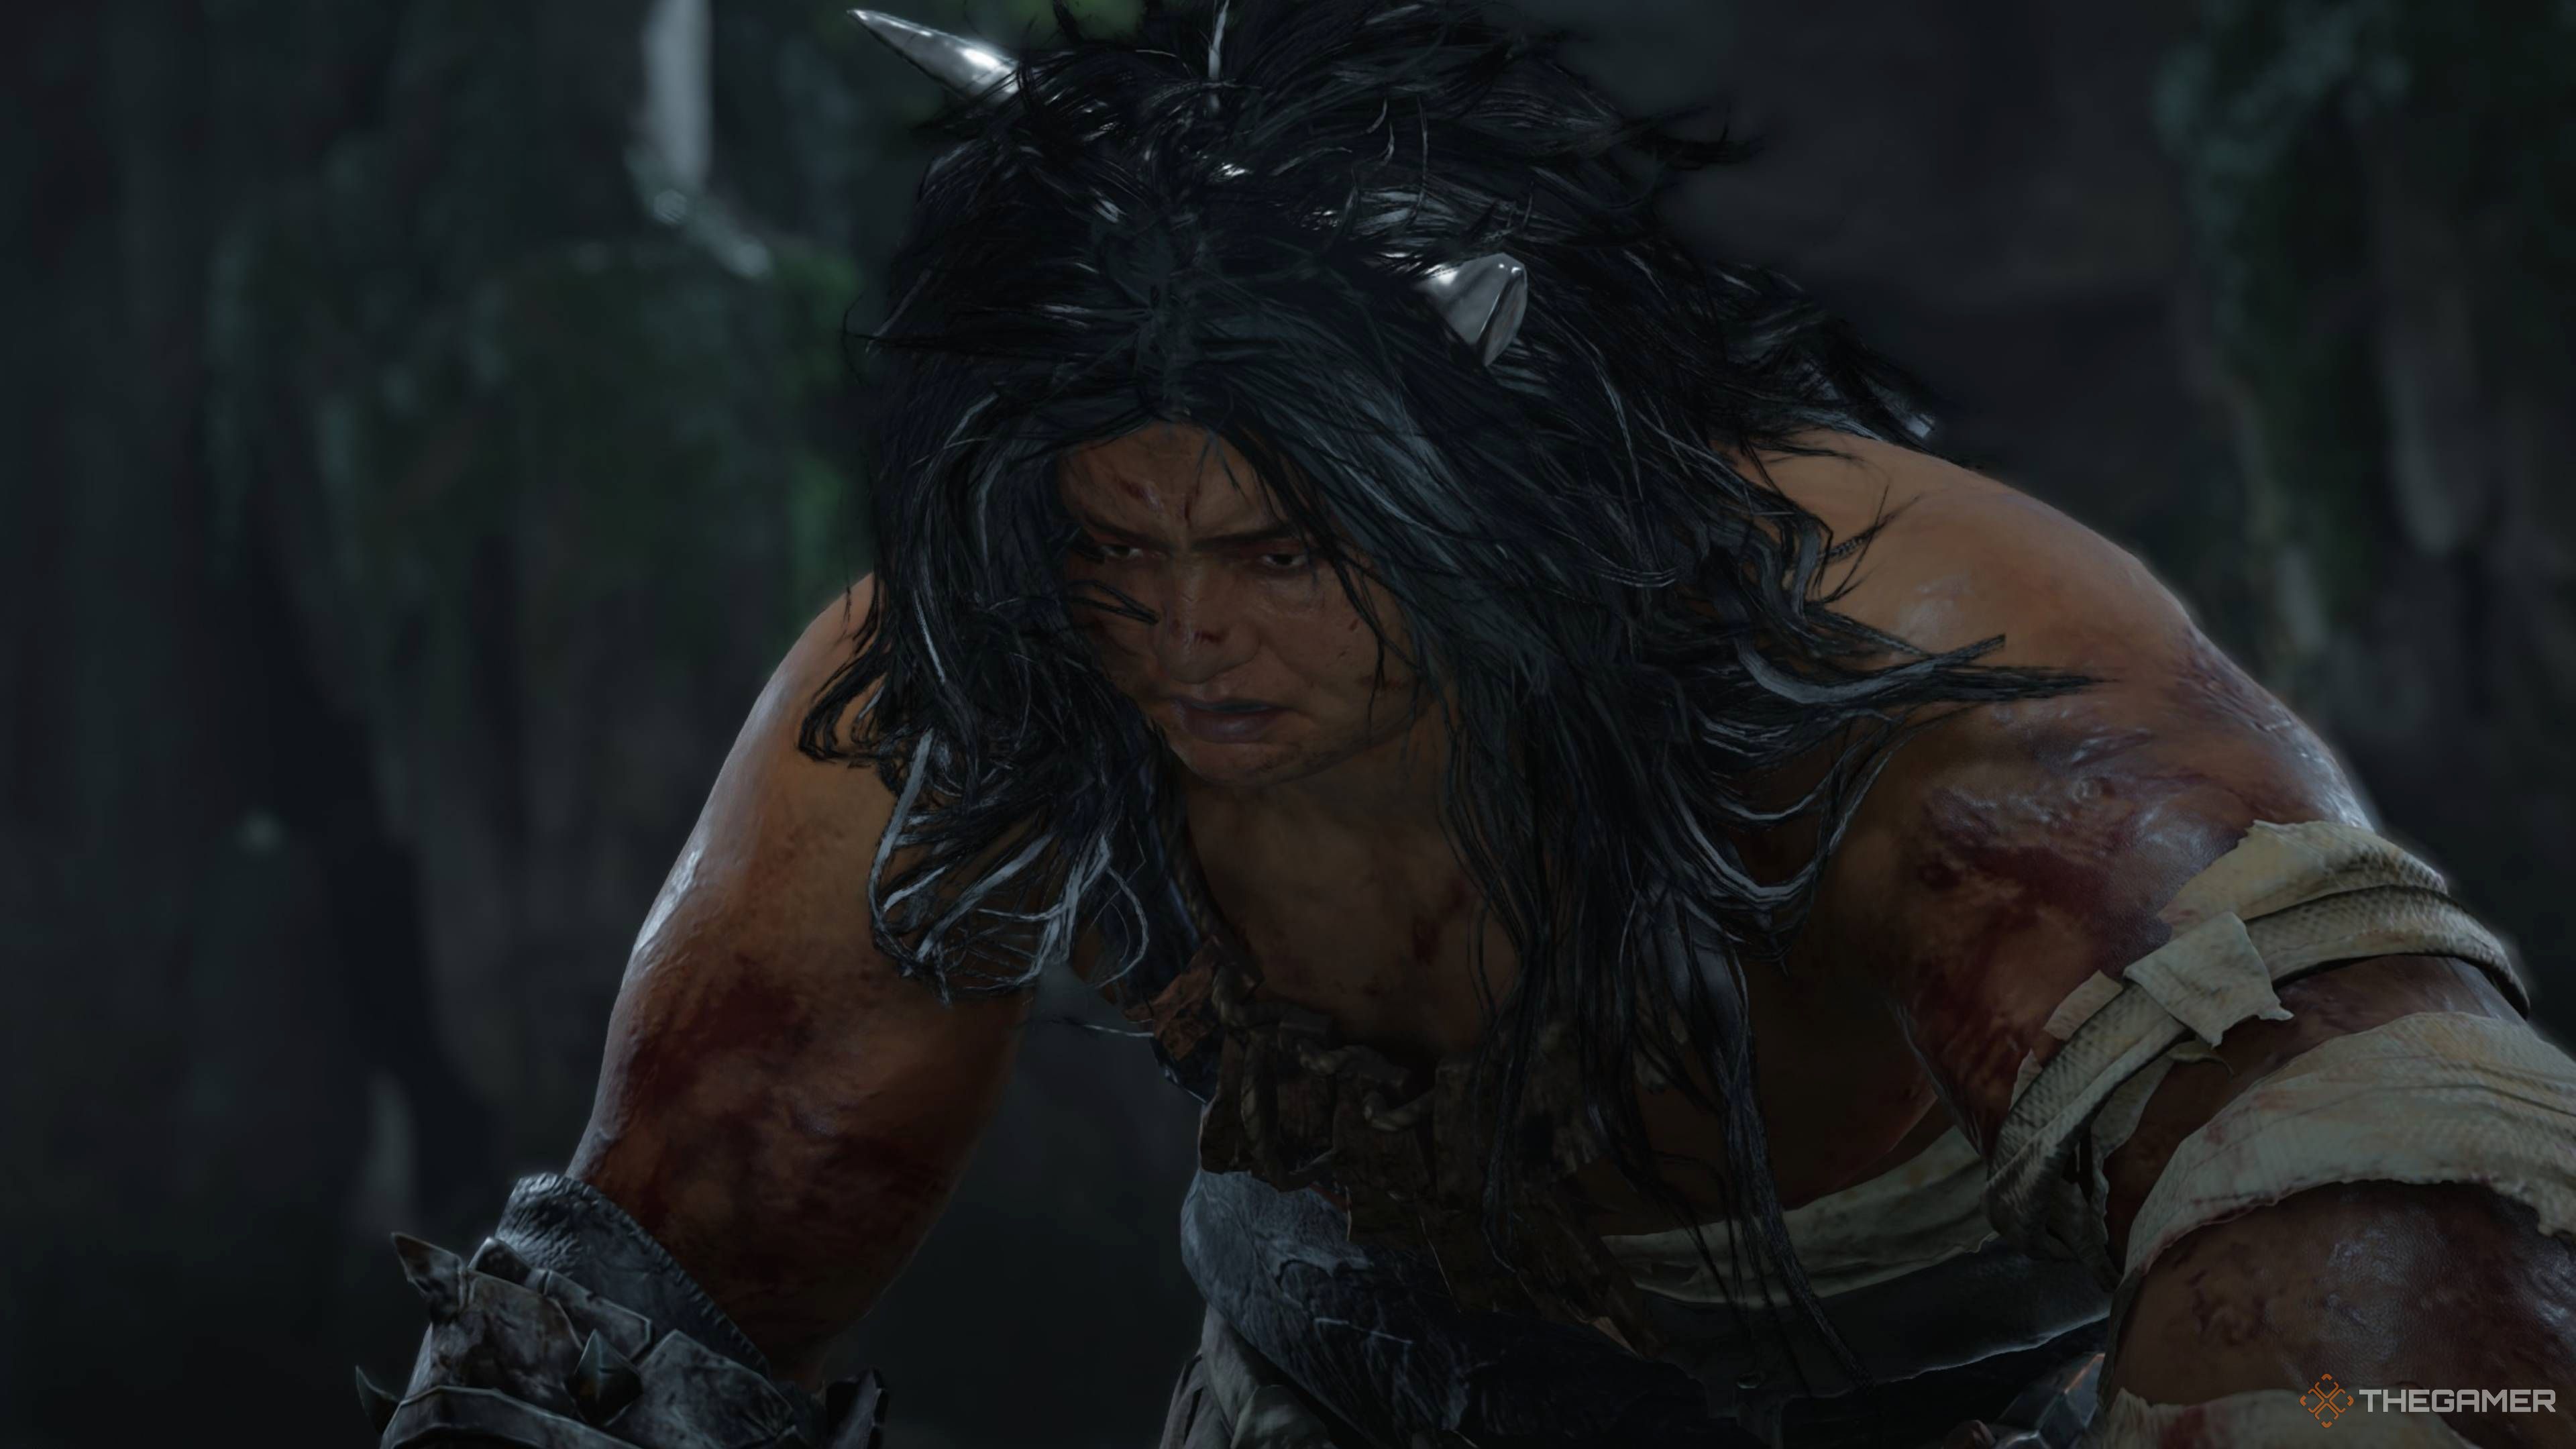
How To Beat Lucky Seventeen
Lucky Seventeen is incredibly large, far bigger than a normal person. This is the result of spending countless hours building weapons and developing immense strength. Because of this, they don’t even need to use the swords they make – their own body is a powerful weapon.
These enemies primarily fight using only their fists and feet, but in the second stage, they’ll sometimes hit you with a large piece of metal they’re carrying. Here’s a breakdown of their attacks and how to defeat them.
As a fan, I’ve learned that Lucky Seventeen gets a little trickier when their health gets low. They actually have a smaller version of their second phase attack that they’ll throw at you, so you really need to keep an eye out for it!
Phase One
At the start of the fight, Lucky Seventeen relies on quick punches and kicks. While it’s a slow-moving enemy, it can attack surprisingly fast without much of a tell, so you need to watch closely for any small movements it makes.
At the beginning of a fight, opponents will often rush towards you quickly to get close. This attack is very fast, so be prepared to move out of the way or block it. After using this move, they’ll be vulnerable for a few seconds – use that opportunity to attack them. Lucky Seventeen does this often, so consistently attacking during their recovery will quickly reduce their health and energy.
Okay, so in this phase, this boss has this really obvious golden attack. Basically, their arms start glowing gold, then they slam them into the ground, ripping up the floor in front of them. The cool thing is, once they start that attack, they kinda get stuck facing forward for a bit, which gives me a perfect chance to run around behind them and hit them with everything I’ve got!
Sometimes, the boss will turn red and slam the ground. This is a standard attack that you can block or deflect like any other. Be careful, because they usually follow up with a fast attack that’s hard to see through all the effects, so be prepared to deflect again right away.
Lucky Seventeen primarily attacks with a series of punches and kicks, each delivered with slightly varied timing. A key part of their attack is a low sweep with their legs, which they often follow up with another kick or punch while still crouched. This combination can include up to four attacks, so it’s important to stay nearby and be prepared to block.
Lucky Seventeen sometimes mixes up its attacks by canceling one move and immediately starting another. This makes it best to deflect attacks at the very last moment, instead of trying to predict them beforehand.
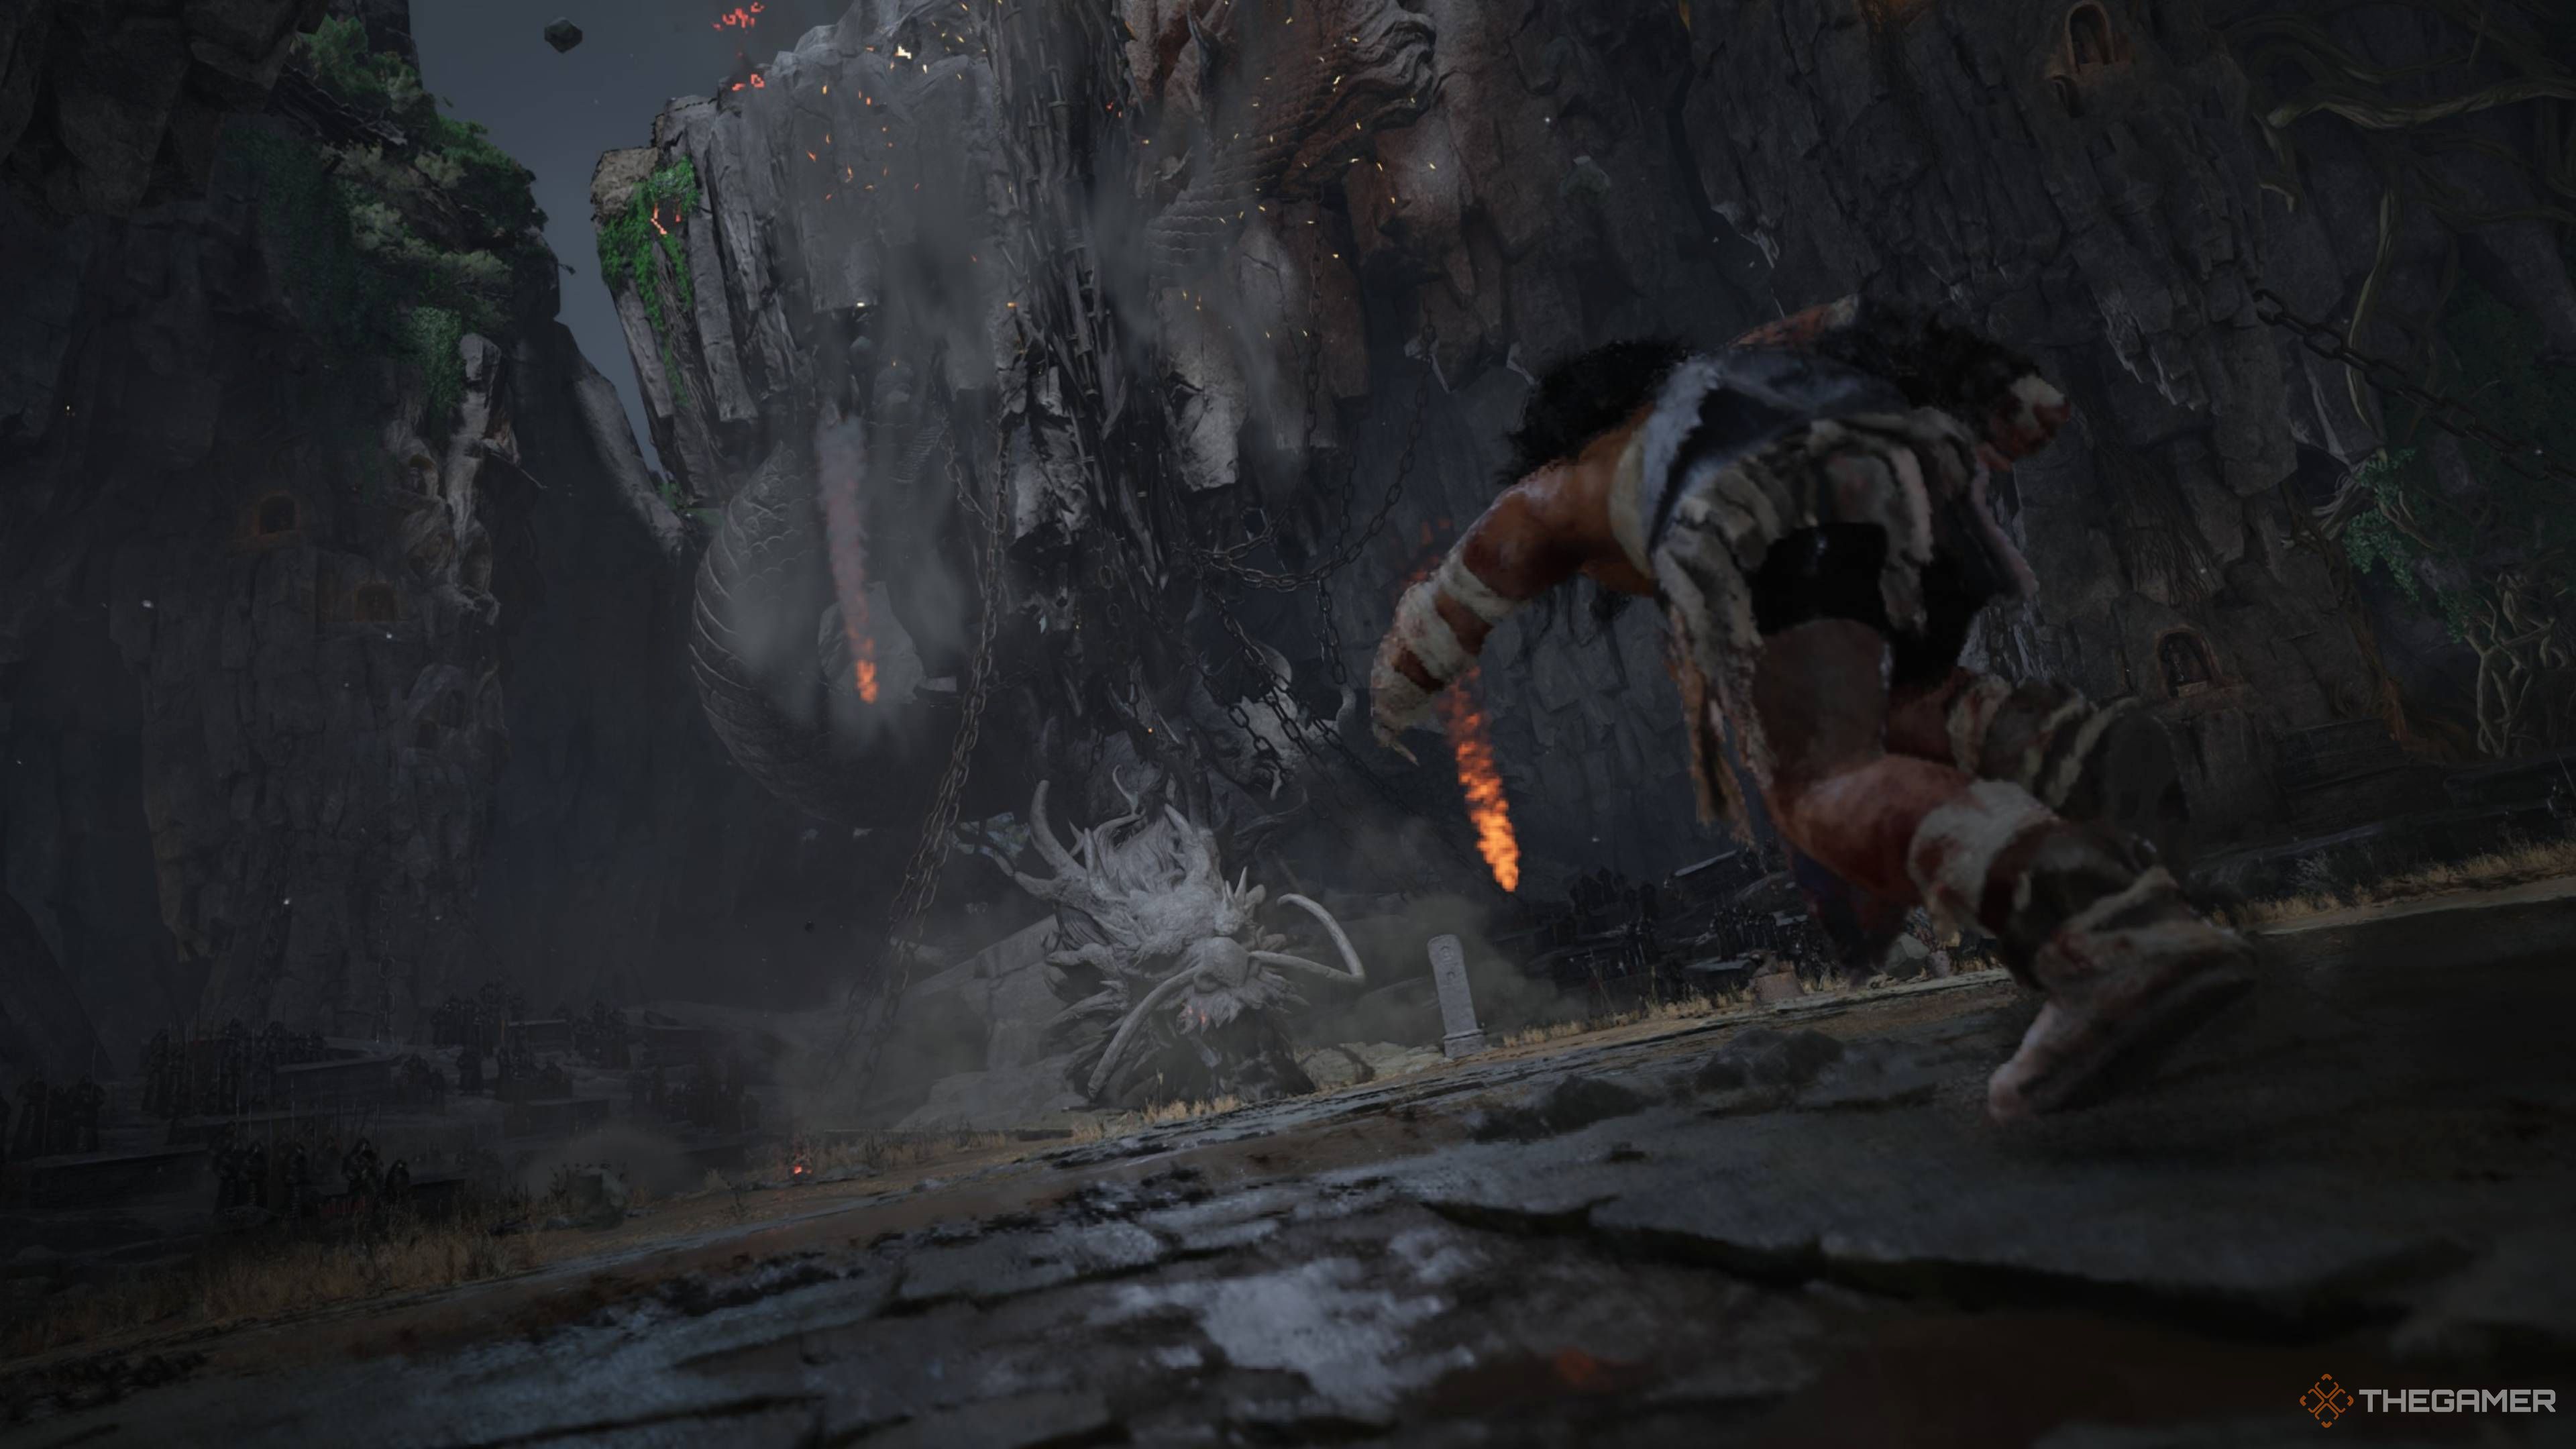
Phase Two
After being injured by their own weapons while protecting the dragon statue, they’ll attack you with a huge piece of metal and use more long-distance attacks.
At the start of the battle, Lucky Seventeen will probably plant their makeshift weapon in the ground and then throw the swords from their back as fast-moving projectiles. This attack is very quick and difficult to block reliably, making dodging a safer option.
Okay, so this boss has a tricky attack. They always start with a sideways swing, but after that, it gets random. They’ll either just keep swinging a bunch more times in a row, or they’ll jump up and come crashing down right in front of them. You really have to watch for that initial swing to know what’s coming next!
This attack hits a small area, so a quick sidestep is usually enough to avoid getting hurt.
They’ve added a forward kick to their attacks, usually followed by two weapon swings. The pauses between these swings are long enough that you should be able to get in one or two hits if you’re using a faster weapon, and still have time to avoid their attacks by dodging or blocking.
The enemy now has a new, glowing gold attack. It works very similarly to their attack from the first phase, but reaches a little further. Stick to the same strategy: run around behind them and keep attacking.
One tricky attack they have is a fast push with their weapon that can briefly throw you off balance, leaving you vulnerable to more attacks. This happens quickly, so watch for them to hold their weapon with both hands – that’s your cue to dodge or block.
When Lucky Seventeen’s health drops below 50% during this fight, they’ll jump back and cover their weapon with a poisonous mist. Their attacks themselves don’t change, but getting hit now is much more dangerous. You can even be poisoned while blocking, so it’s important to stay at full health throughout this part of the battle.
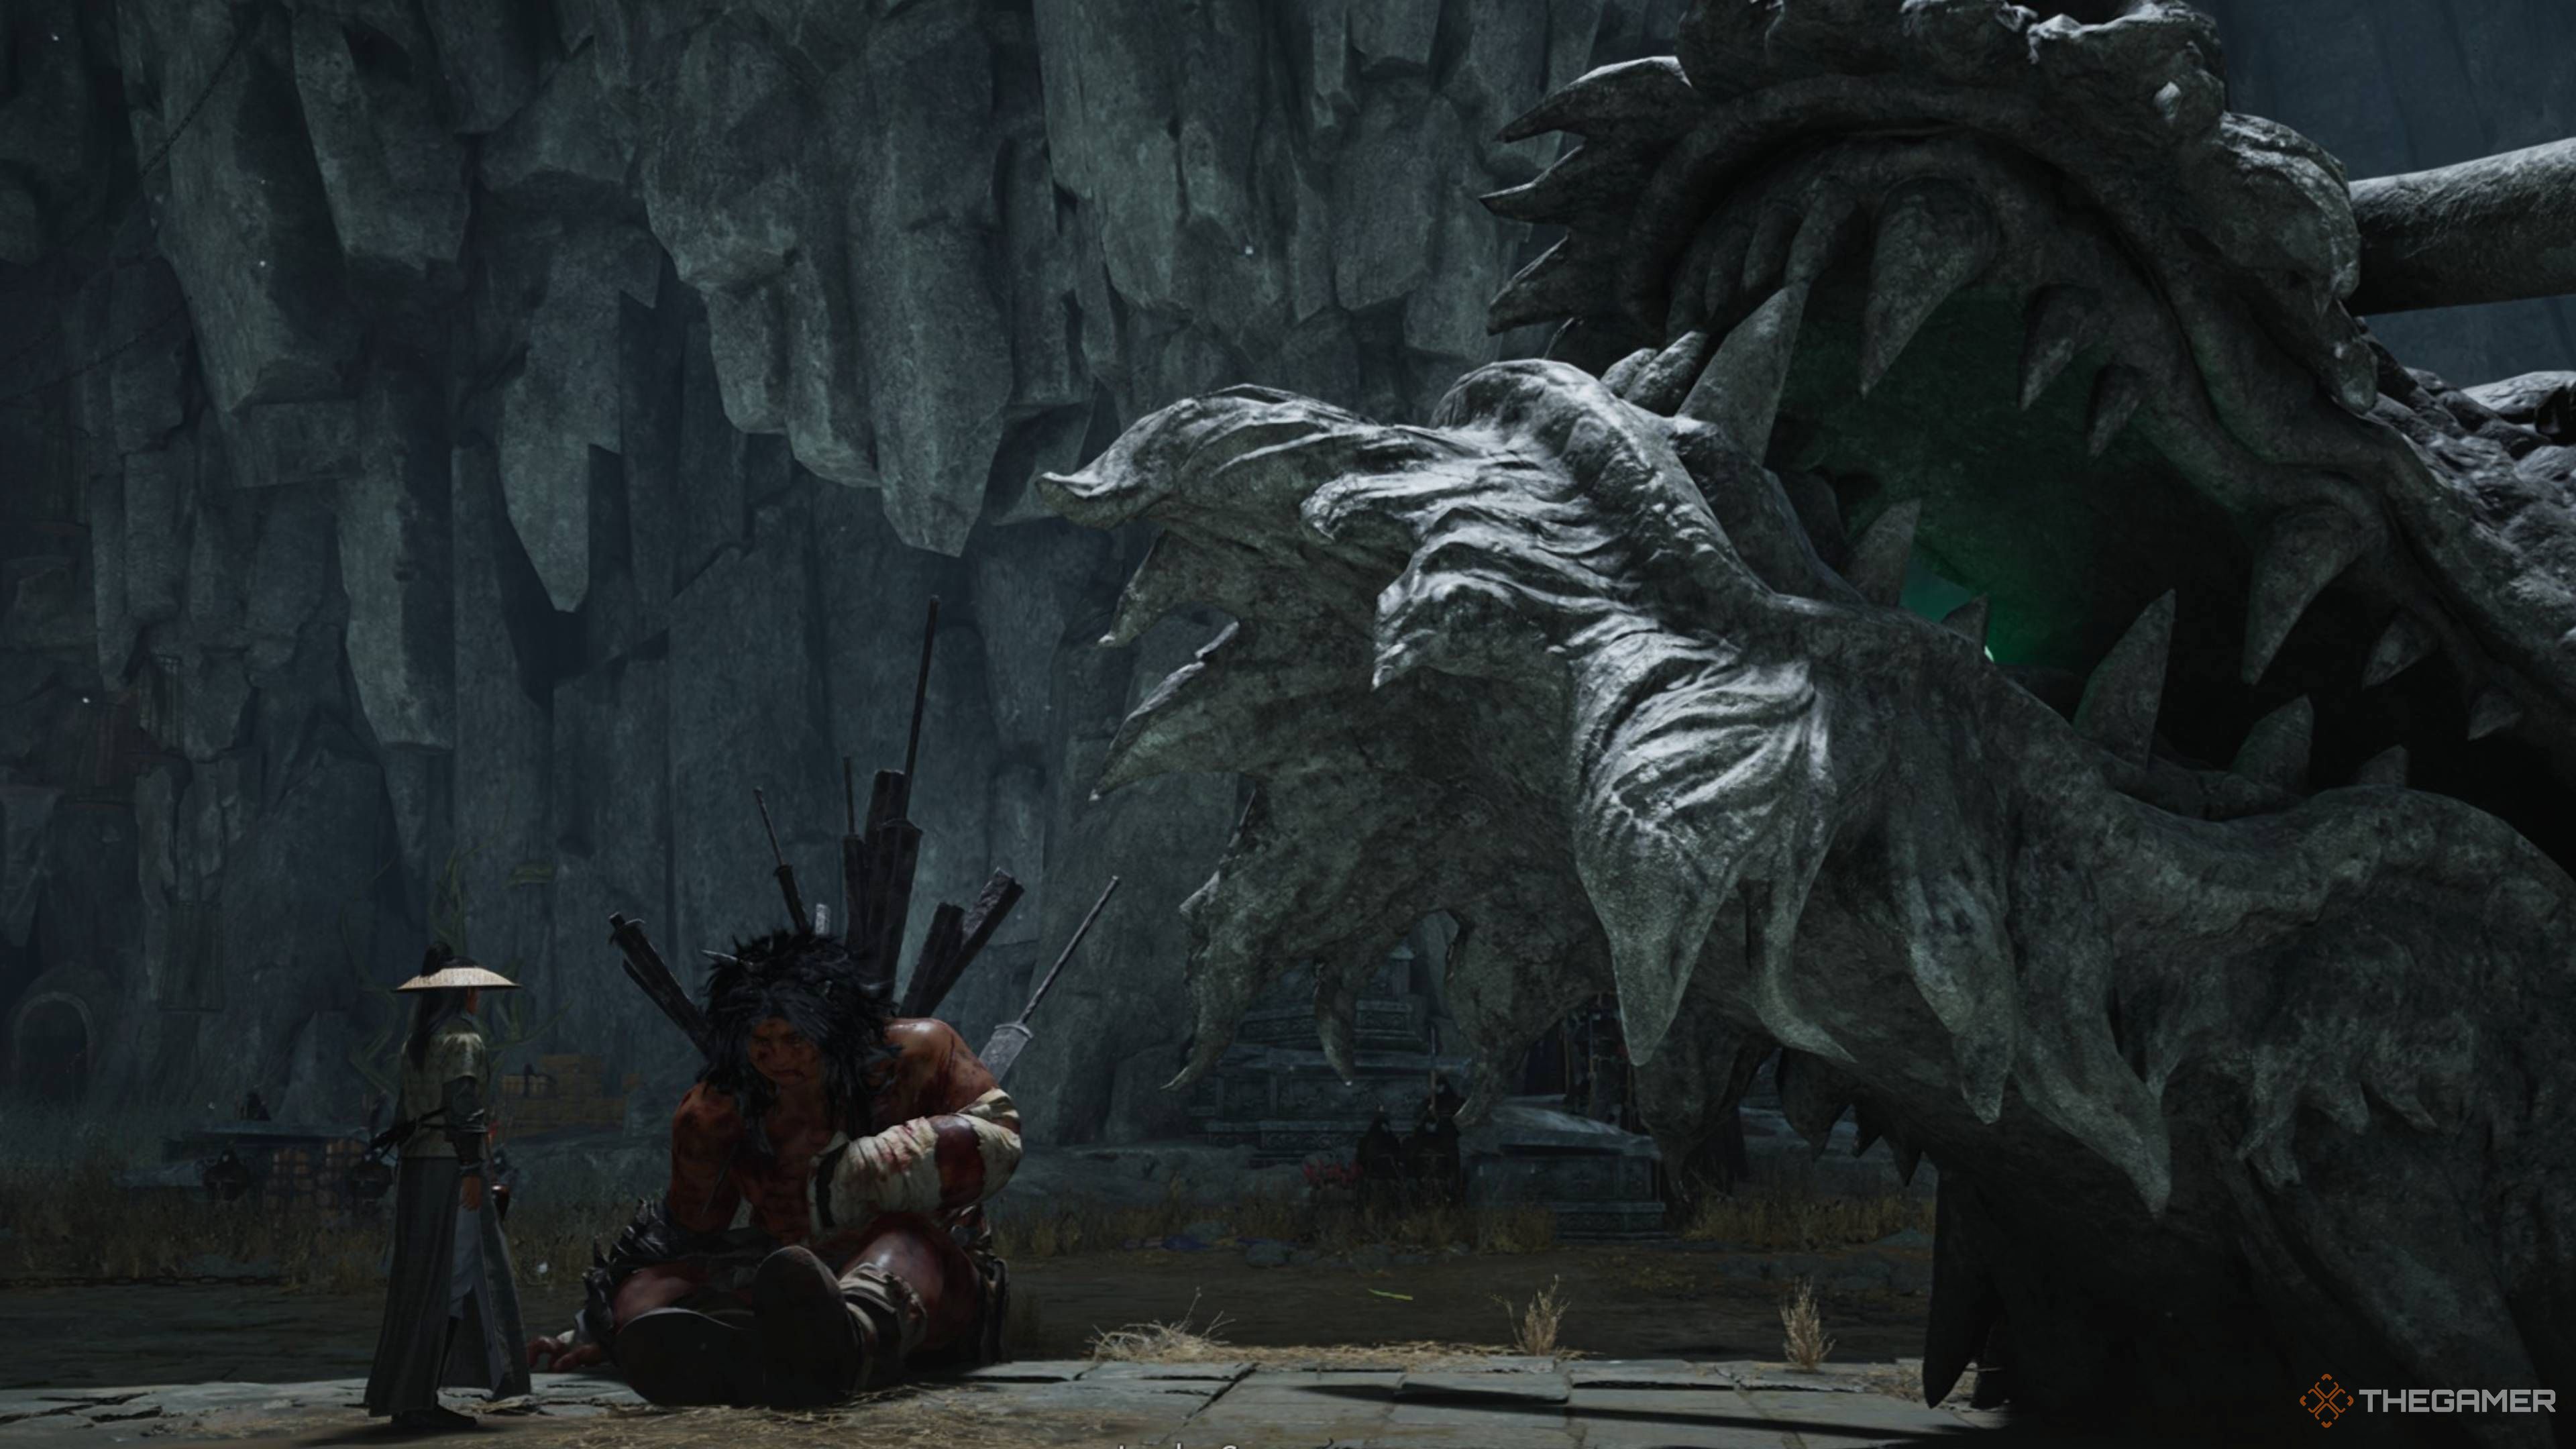
Lucky Seventeen is a manageable boss fight. Even though the boss changes its attacks in the second phase, you can generally use the same timing and tactics as before. Once you defeat it, you’ll be able to collect the Buddha’s Light Jade – Yang from the dragon statue and finish the quest.
If you wander away from the arena, be aware that coming back will restart the Palace of Annals questline, forcing you to fight Lucky Seventeen again.
Read More
- Clash Royale Best Boss Bandit Champion decks
- Clash Royale December 2025: Events, Challenges, Tournaments, and Rewards
- December 18 Will Be A Devastating Day For Stephen Amell Arrow Fans
- Clash Royale Furnace Evolution best decks guide
- Clash Royale Witch Evolution best decks guide
- Mobile Legends X SpongeBob Collab Skins: All MLBB skins, prices and availability
- Mobile Legends November 2025 Leaks: Upcoming new heroes, skins, events and more
- Mobile Legends December 2025 Leaks: Upcoming new skins, heroes, events and more
- Esports World Cup invests $20 million into global esports ecosystem
- BLEACH: Soul Resonance: The Complete Combat System Guide and Tips
2025-12-03 17:36