Tainted Grail: The Fall of Avalon abounds with concealed mysteries and opportunities for interaction, making it effortless for players who aren’t meticulous in their exploration to overlook valuable loot and other items. One such example is the asylum introduced at the beginning of the game; tucked away within are two optional mini-bosses that dispense helpful starting equipment. However, they can easily be missed if one isn’t careful.
To get the optimal beginning in “Tainted Grail: The Fall of Avalon”, it would be beneficial to thoroughly explore the entire asylum, searching for items you can carry along with you. Here’s where you can locate these two bosses and the loot they drop once defeated:
1. Boss 1 Location:
2. Boss 2 Location:
3. Loot Dropped by Boss 1:
4. Loot Dropped by Boss 2:
Tainted Grail: The Fall of Avalon – Secret Asylum Boss Locations
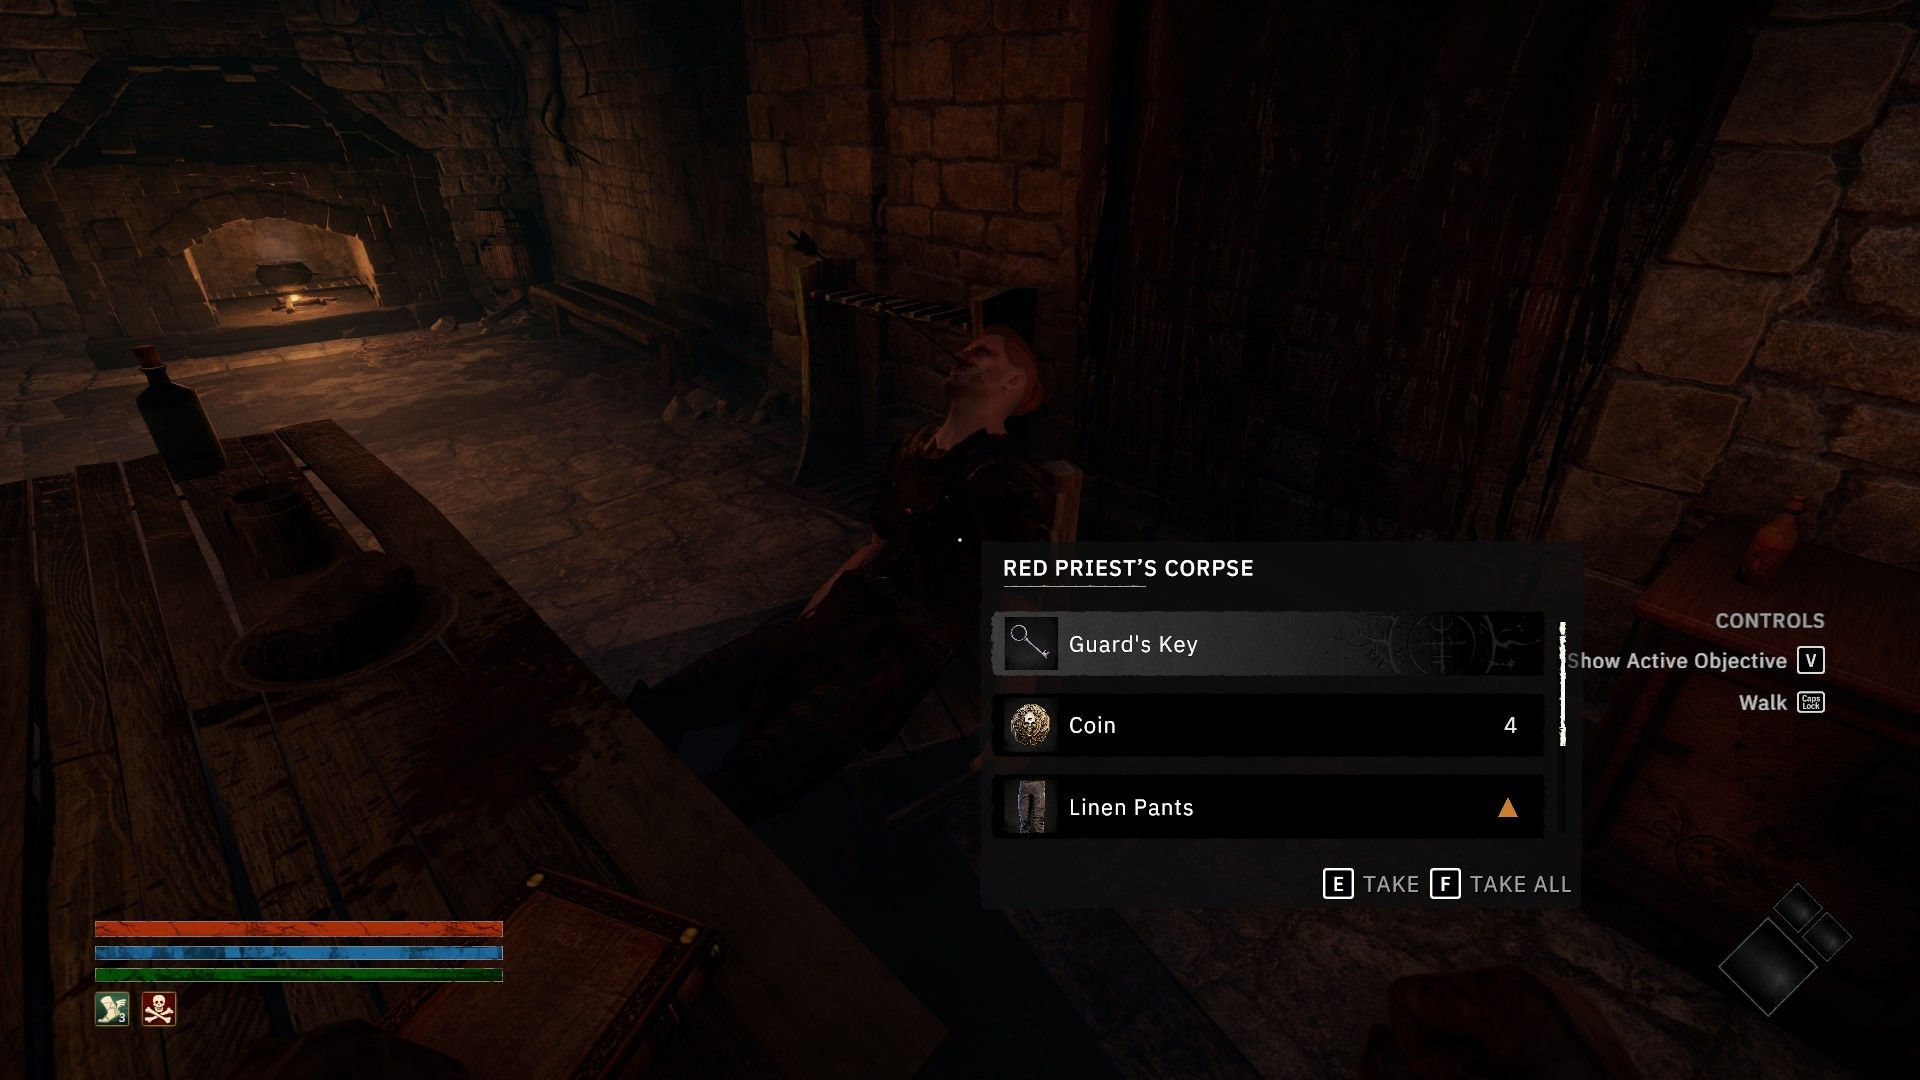
In the asylum, you’ll find two mini-bosses, but before venturing into their chambers, you’ll require the ‘Guard’s Key’. This crucial item can be found on the body of a deceased guard located to your right from your initial cell. Once Caradoc liberates you, proceed in a right direction, then continue along the hallway. You’ll find the keys on a corpse, and don’t forget to gather lockpicks, useful ingredients, and a meal recipe from nearby tables and containers as well.
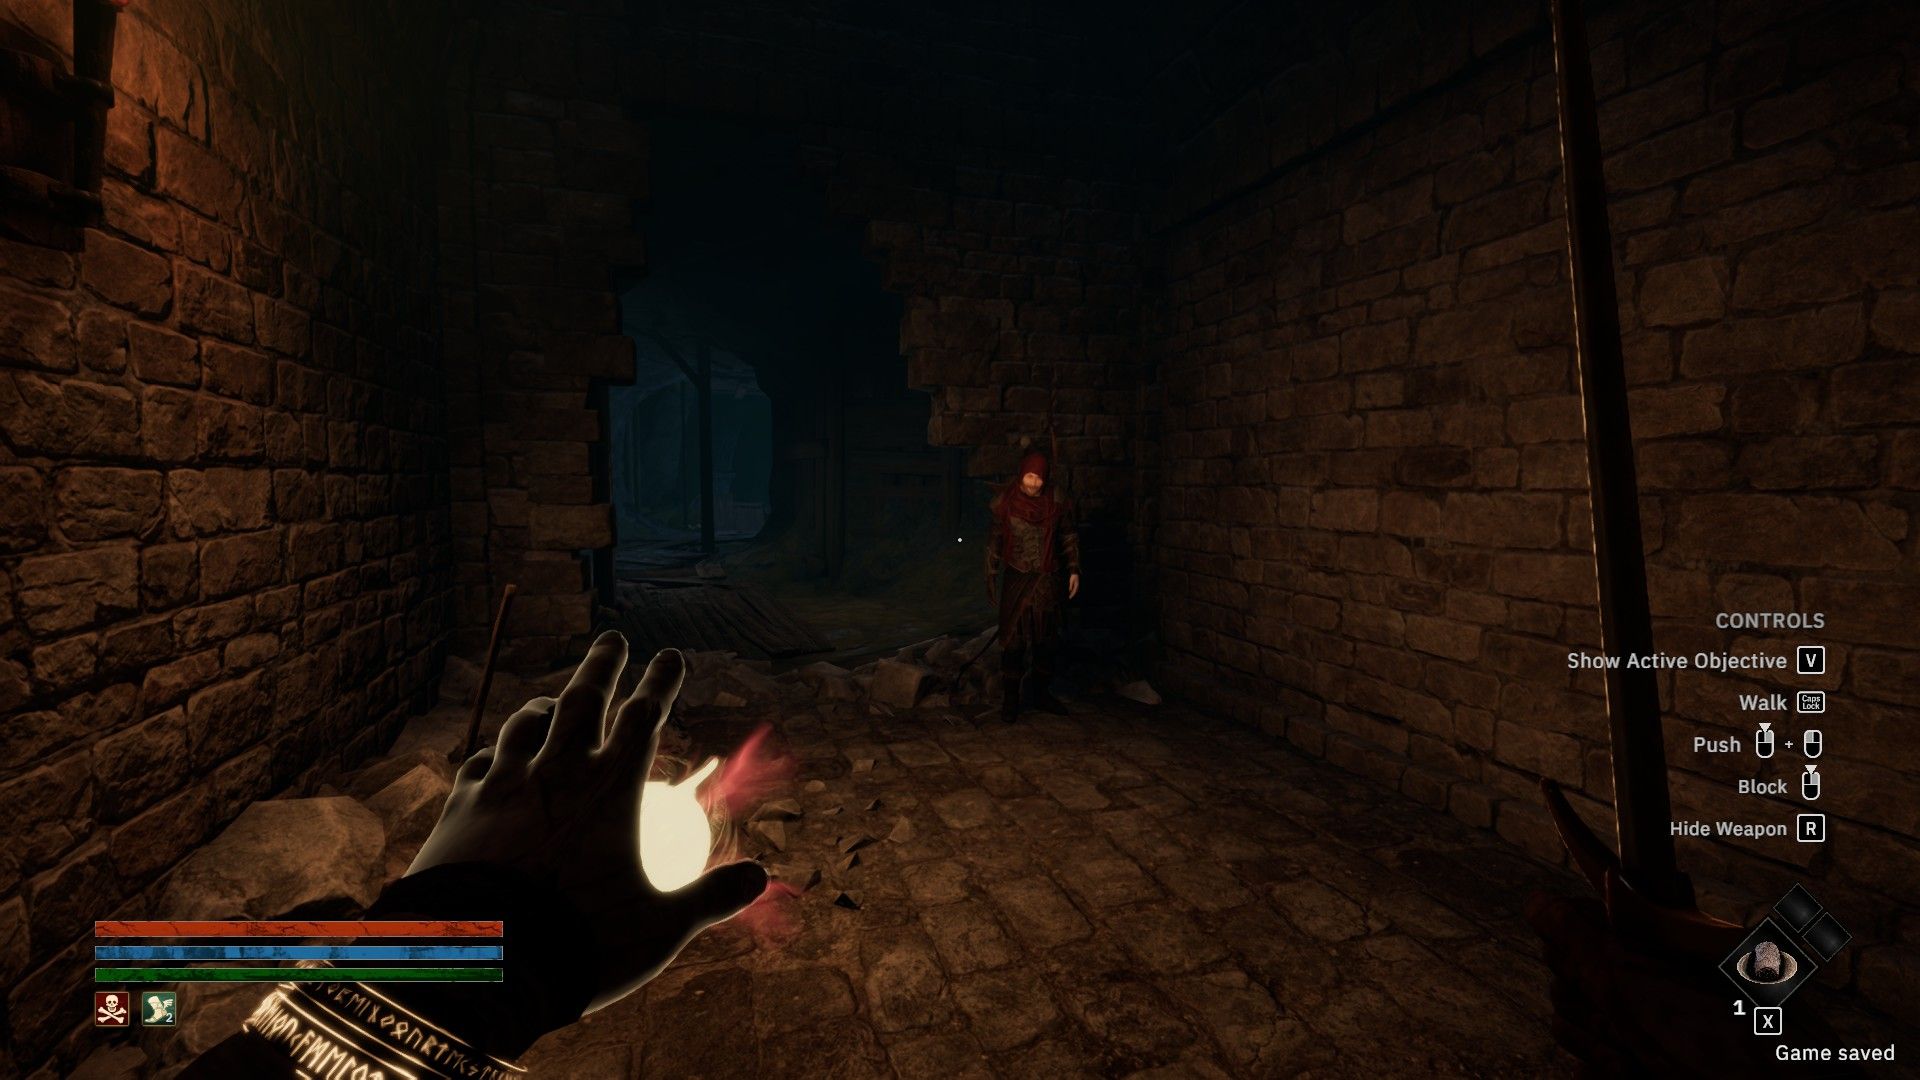
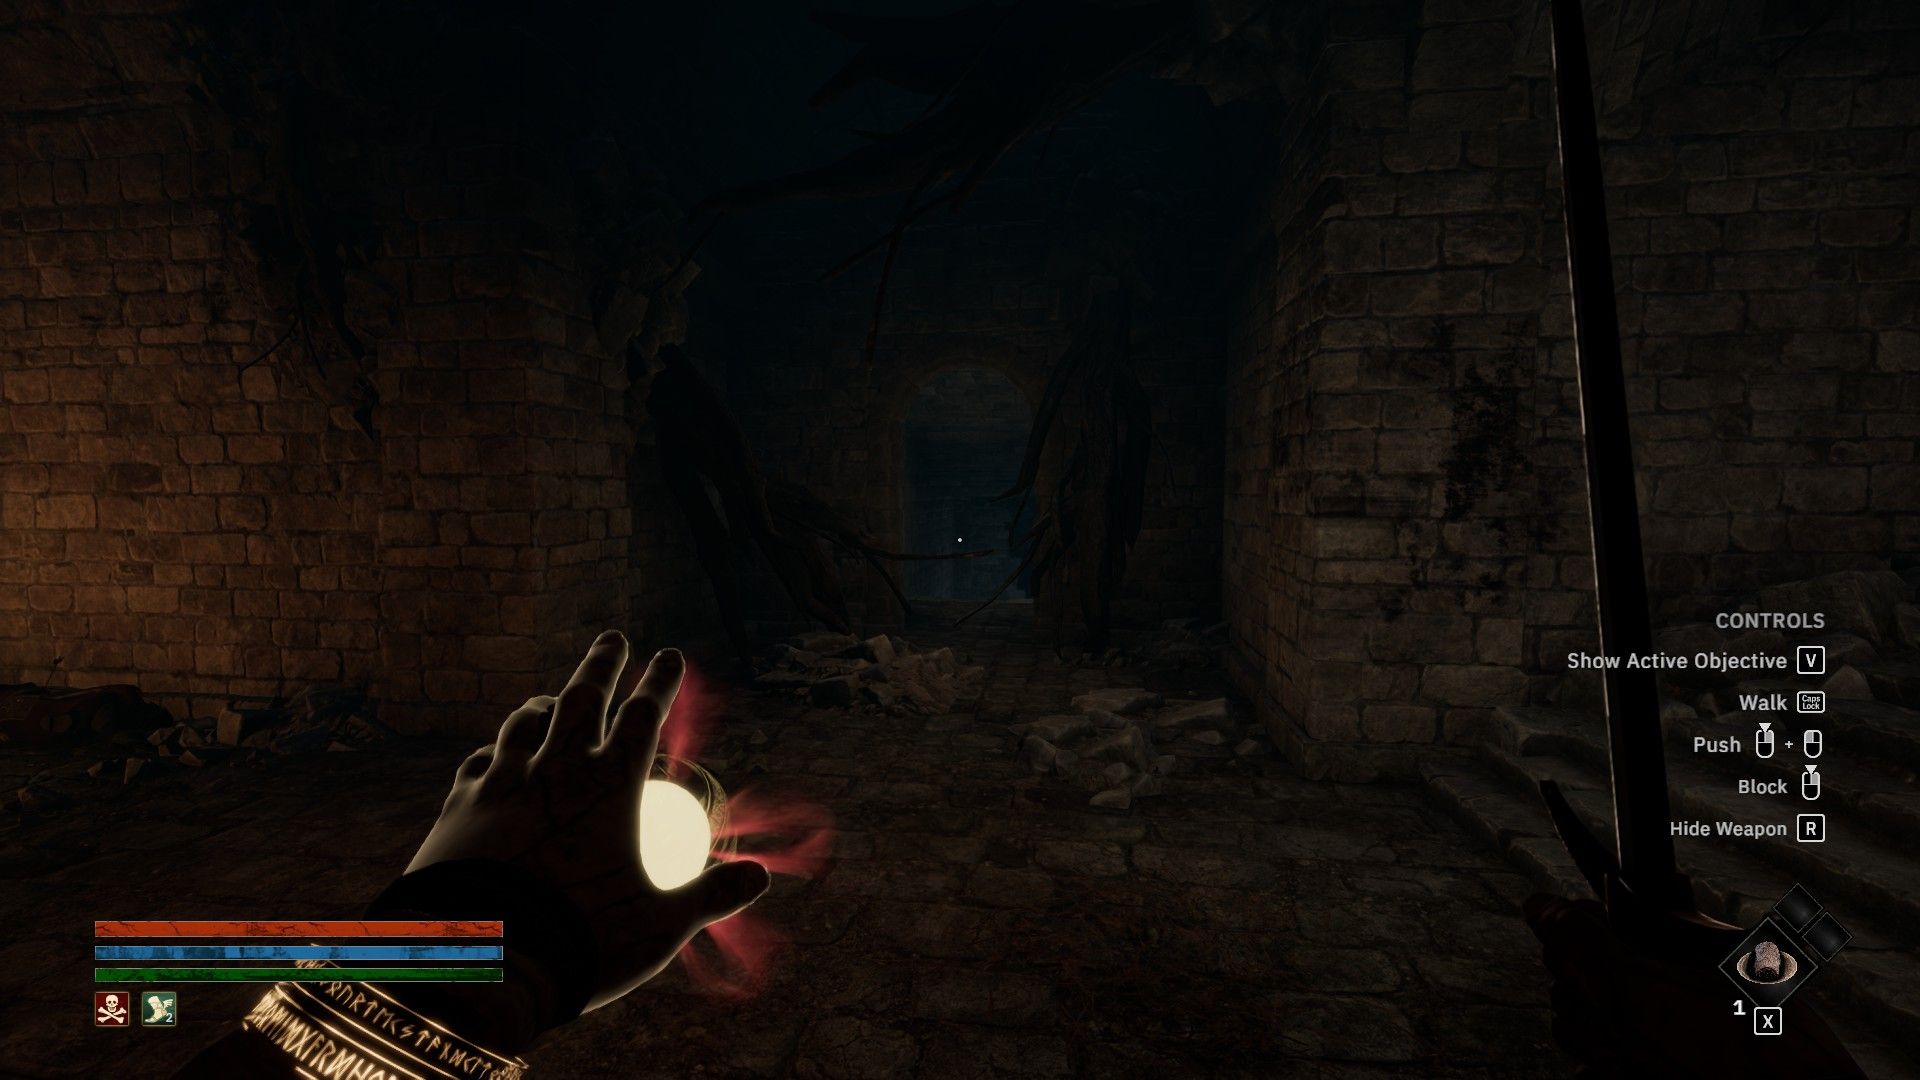
Investigate the entire asylum until you get to where Caradoc is stationed by a wall opening. Retrieve the bow and arrows from the deceased person near the fire, afterwards, proceed to the opposite side from where Caradoc stands. Follow this path, and you’ll encounter your first secretive boss along the way.
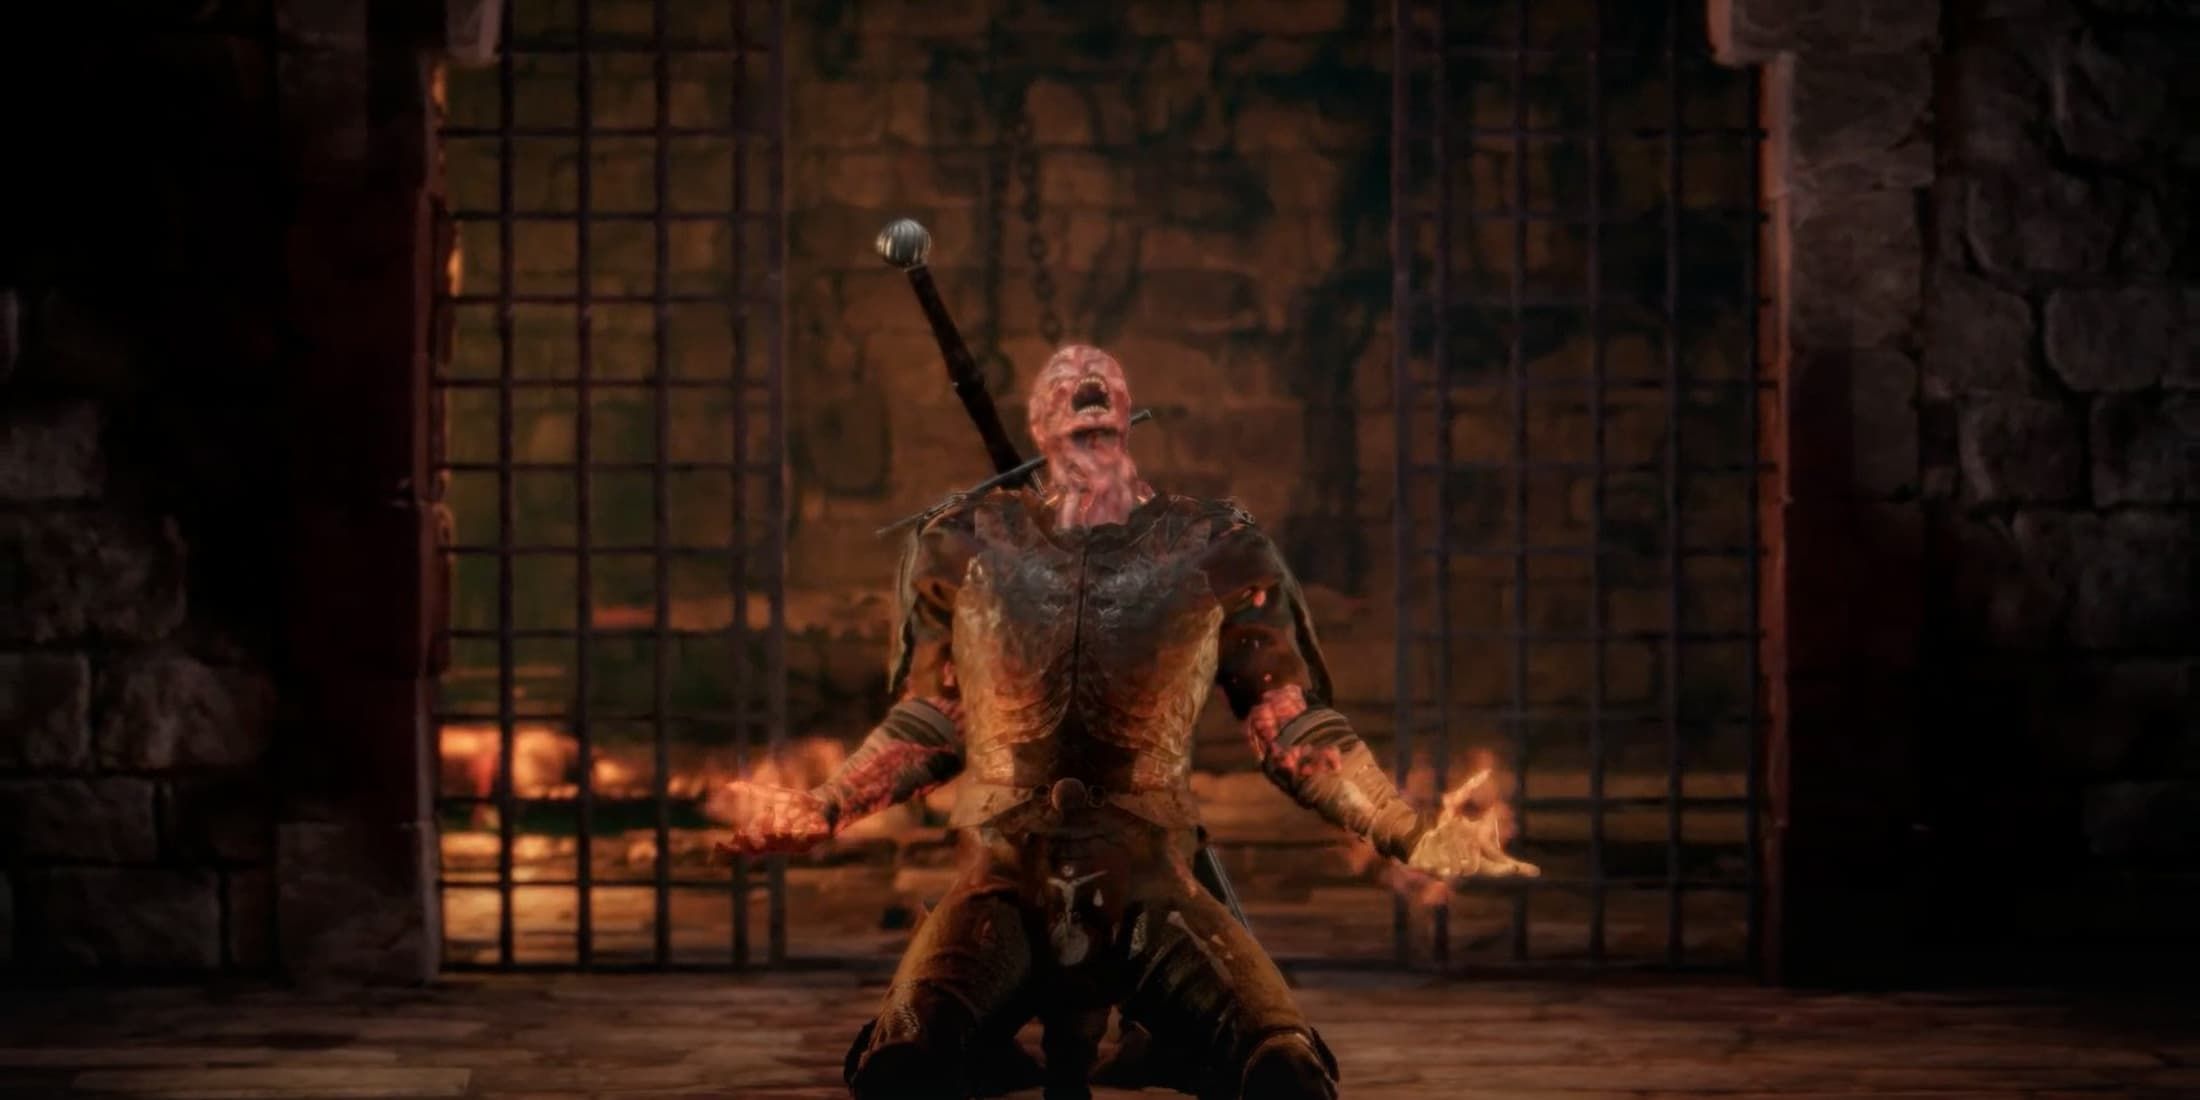
The Wailing Effigy
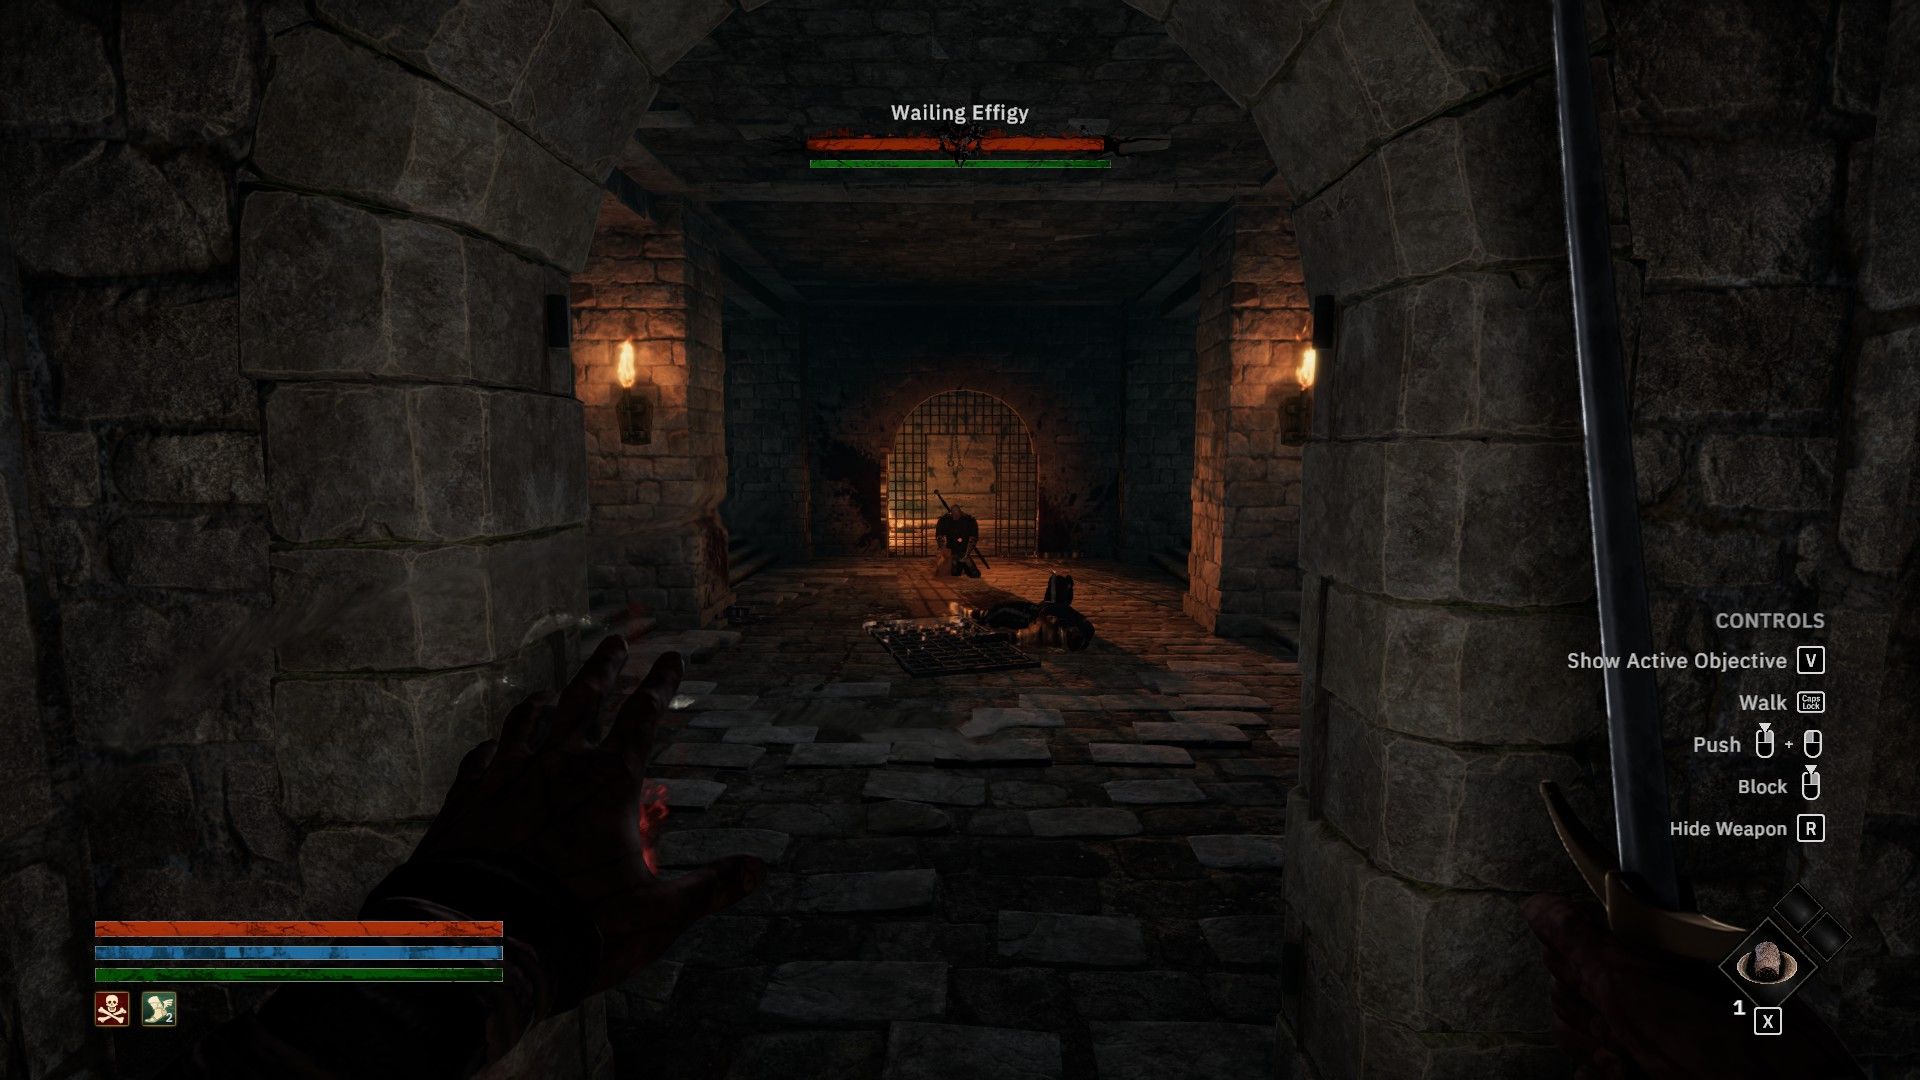

The Grieving Statue is a distorted figure resembling a humanoid, wielding a massive sword and capable of hurling fireballs at you. Despite its complex skillset appearing somewhat straightforward, it packs quite the punch. Avoid or deflect his attacks, take advantage by landing some hits yourself, and you’ll find it quickly succumbs to your blows.
Making full use of Dash and Dash Attacks is a great practice to get used to in this game.
Upon defeat, the Wailing Effigy will discard the Heavily Mournful Armor and a Common Broadsword. The former offers additional Max health by 5 and 2.0 points of Armor, maintaining a light weight of just 2.5 units of Load. The latter isn’t particularly remarkable.
The Frantic Berserker
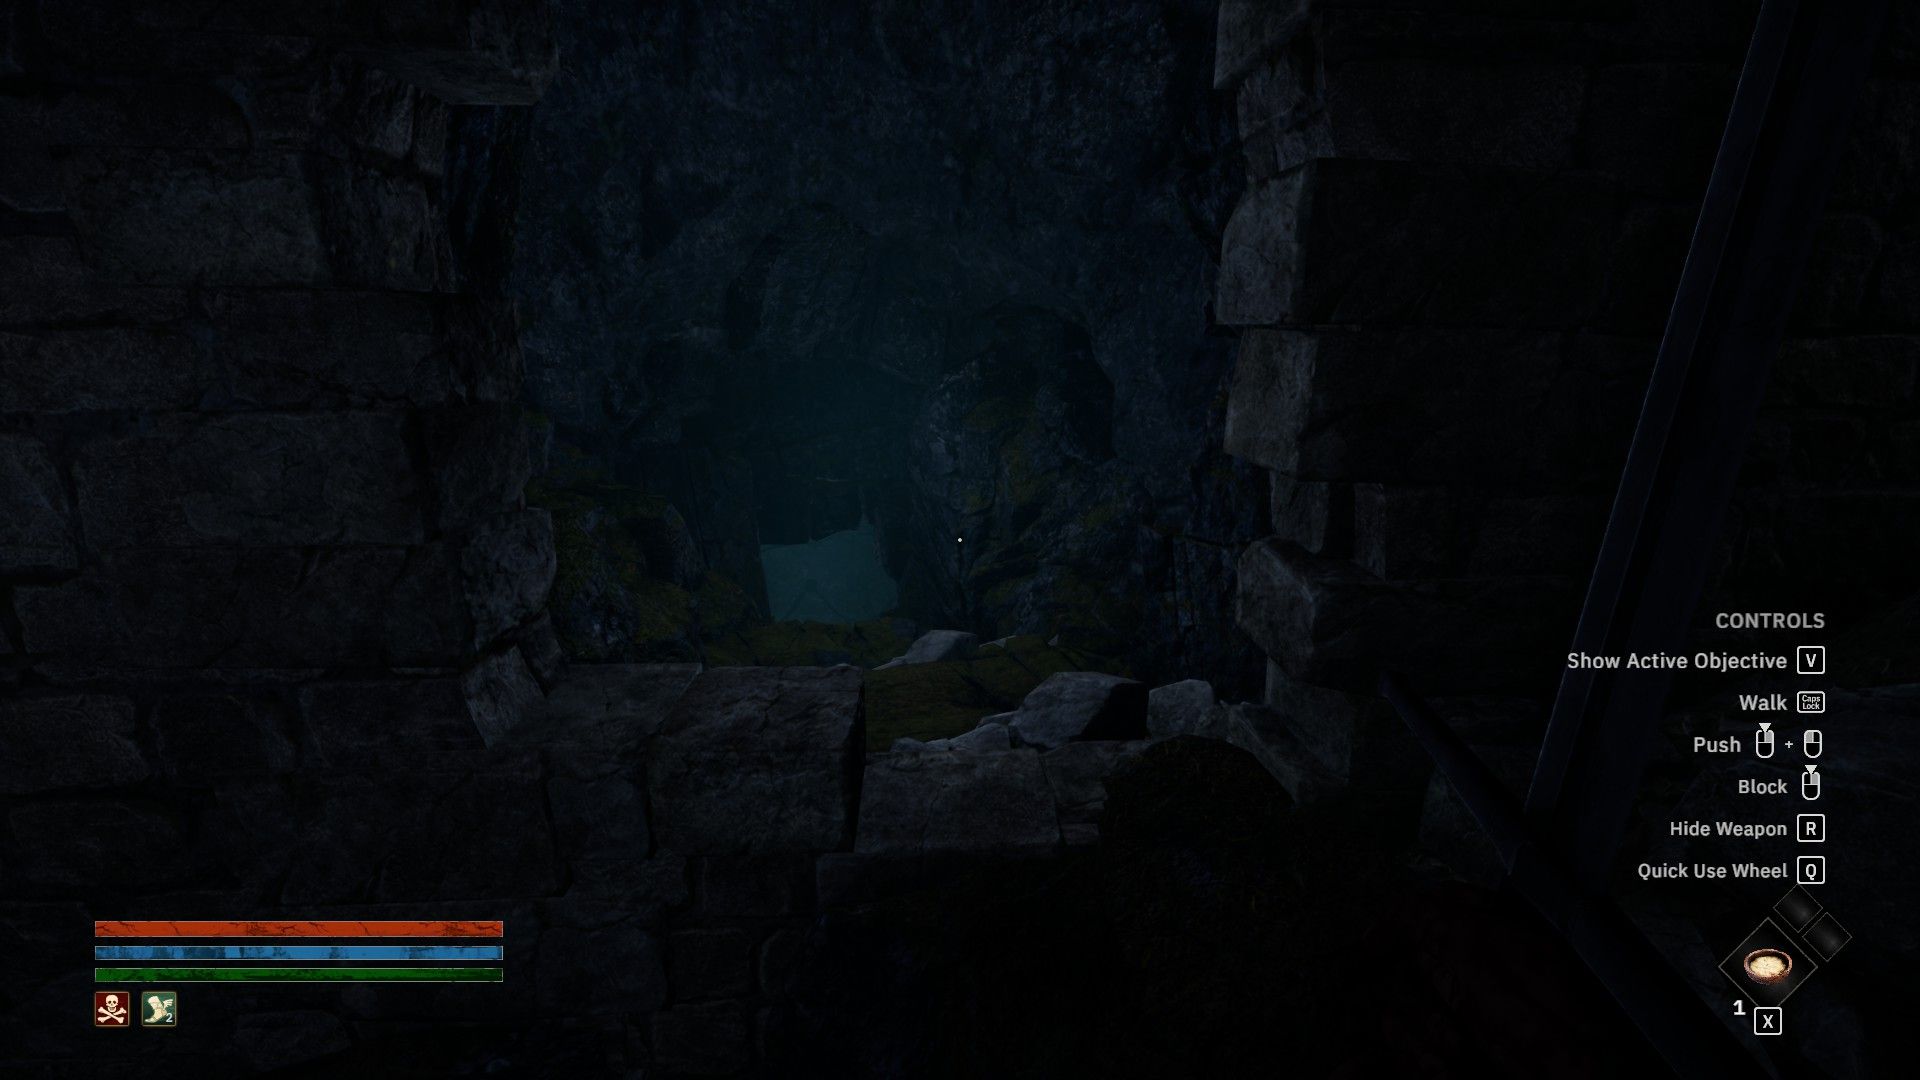
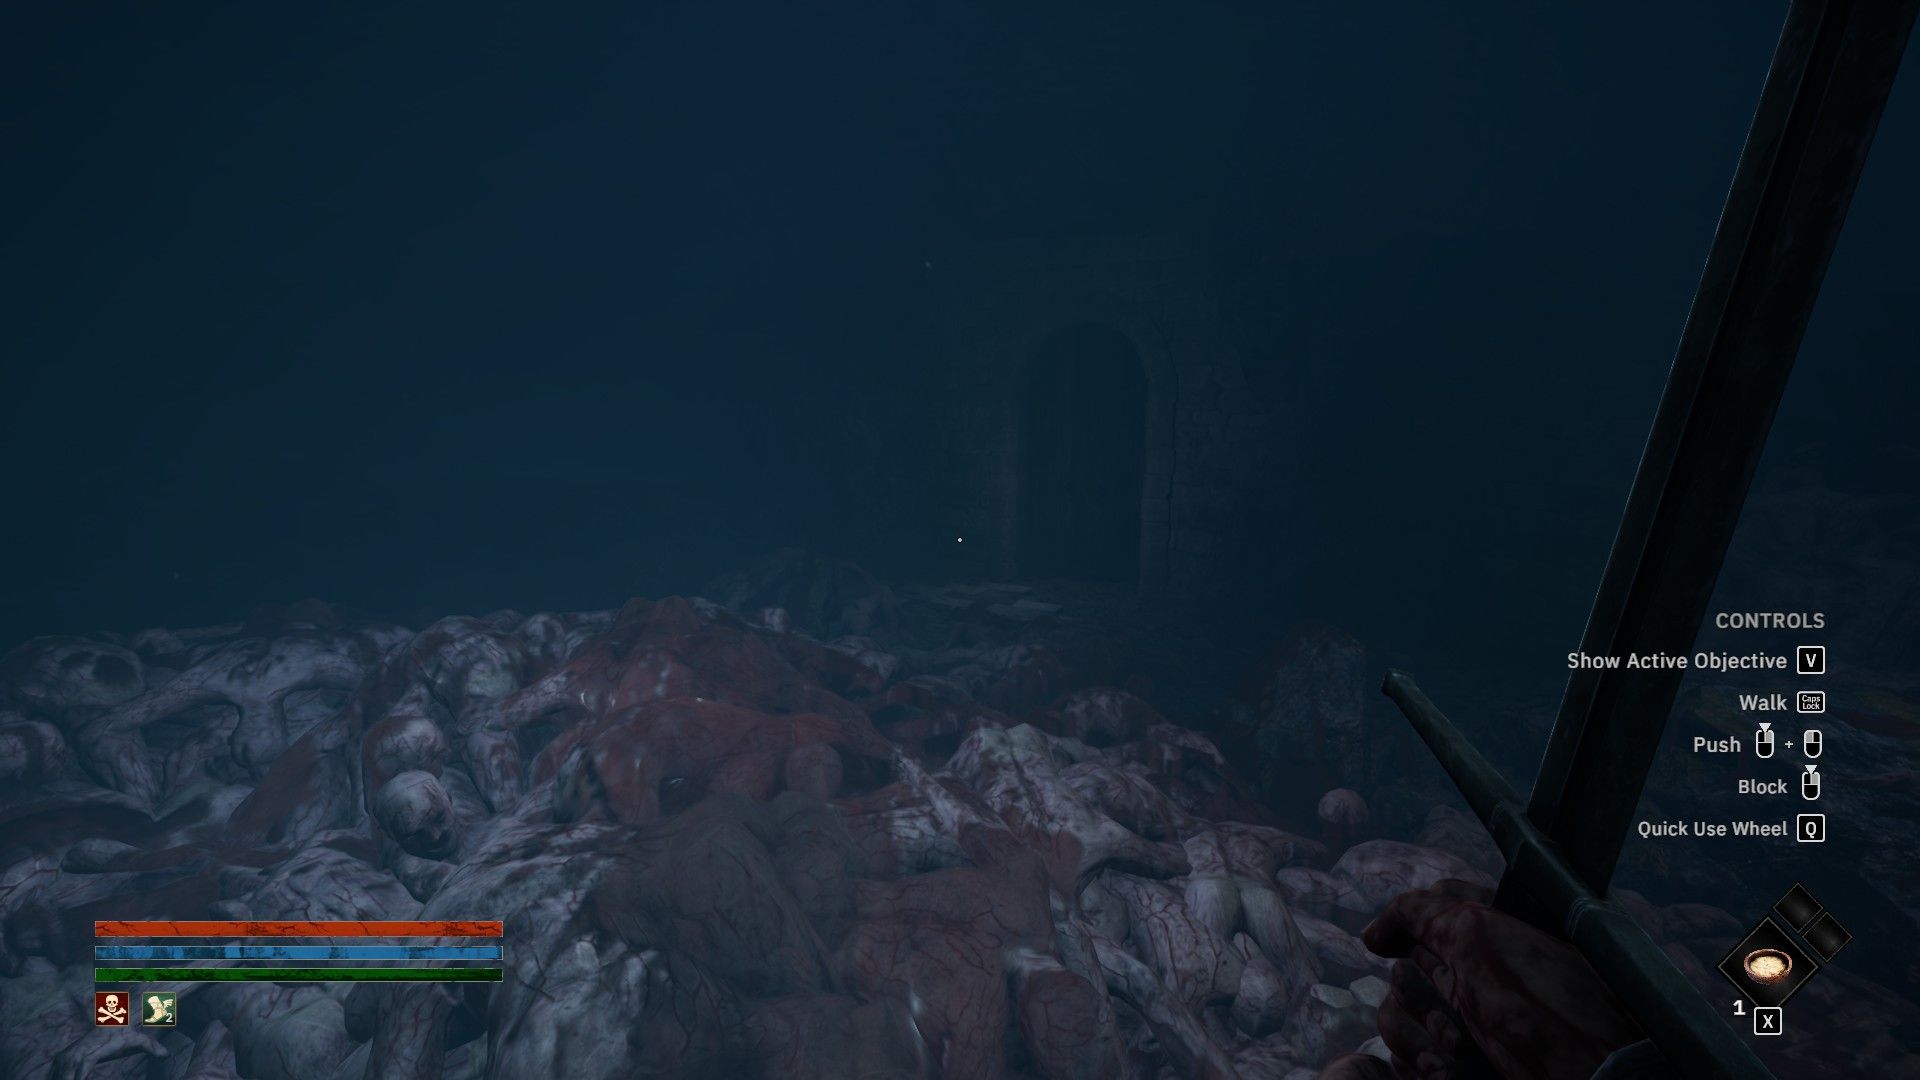
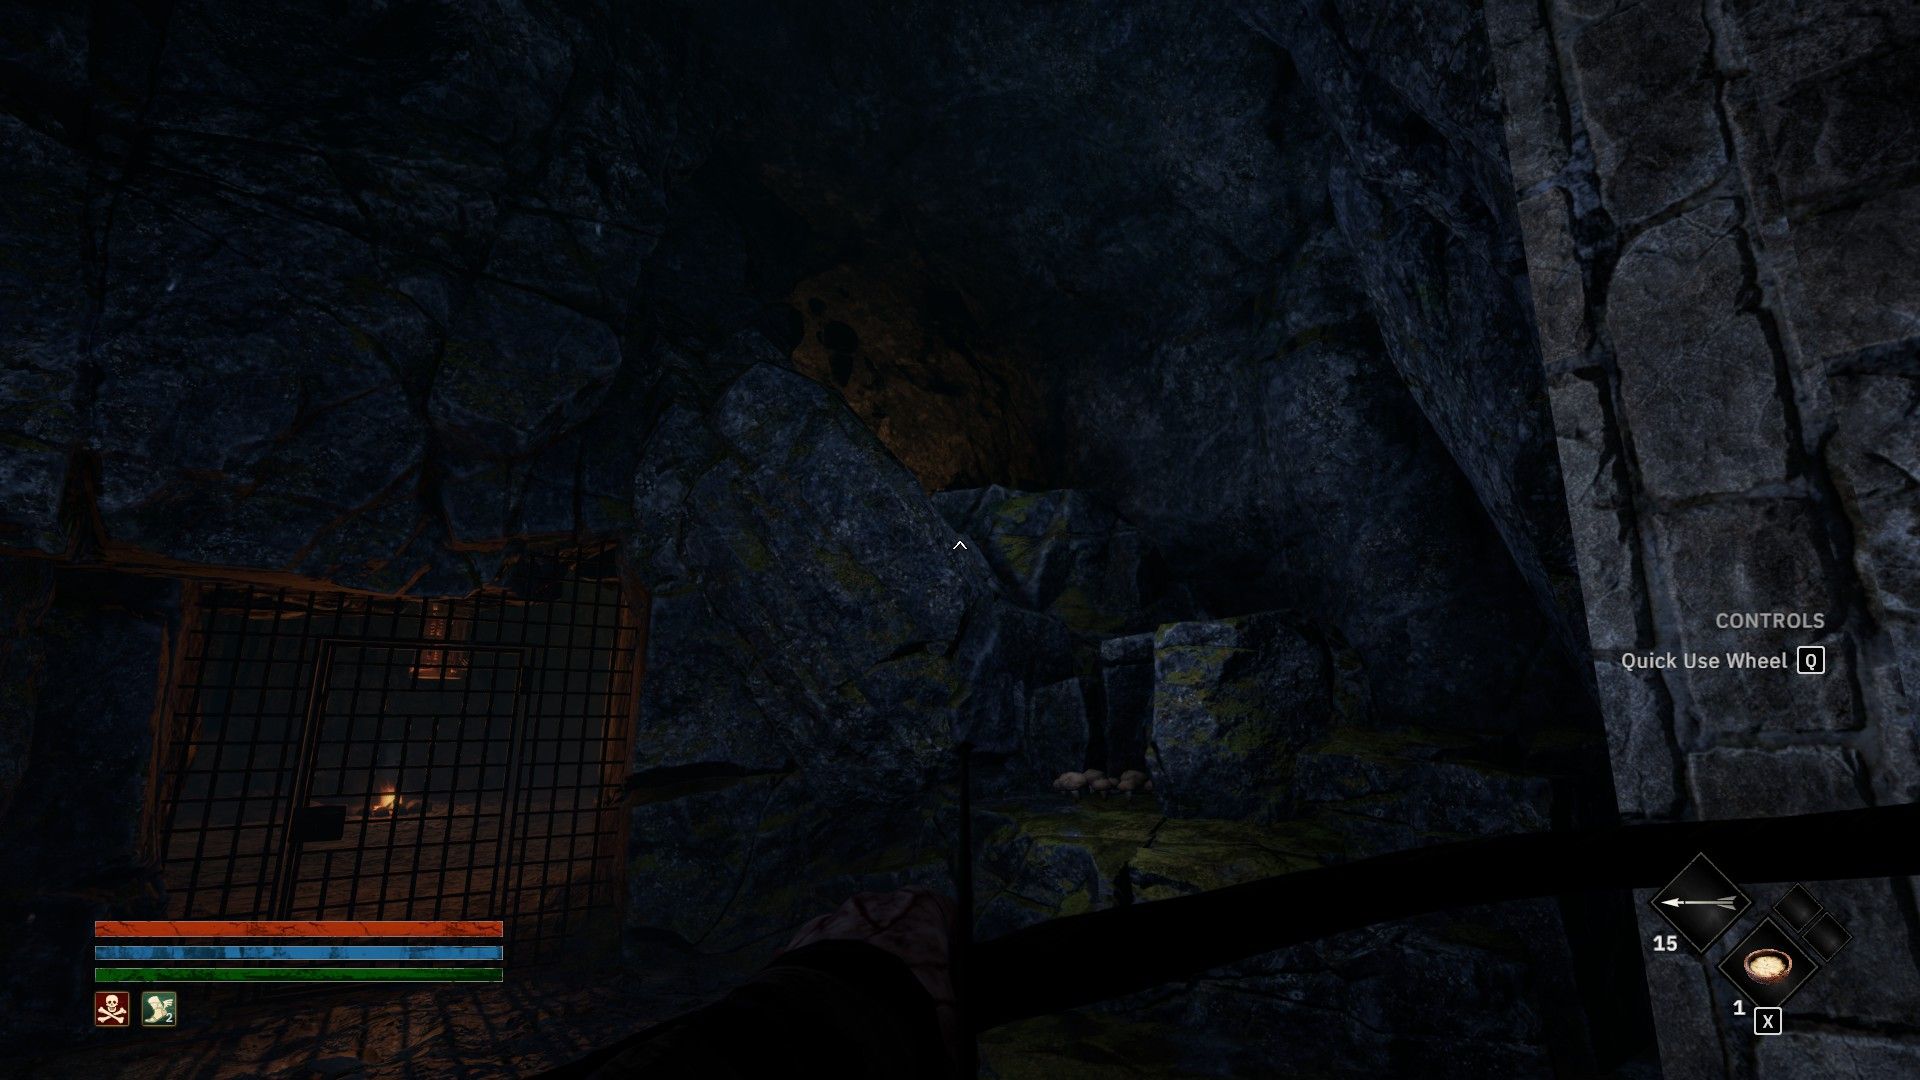
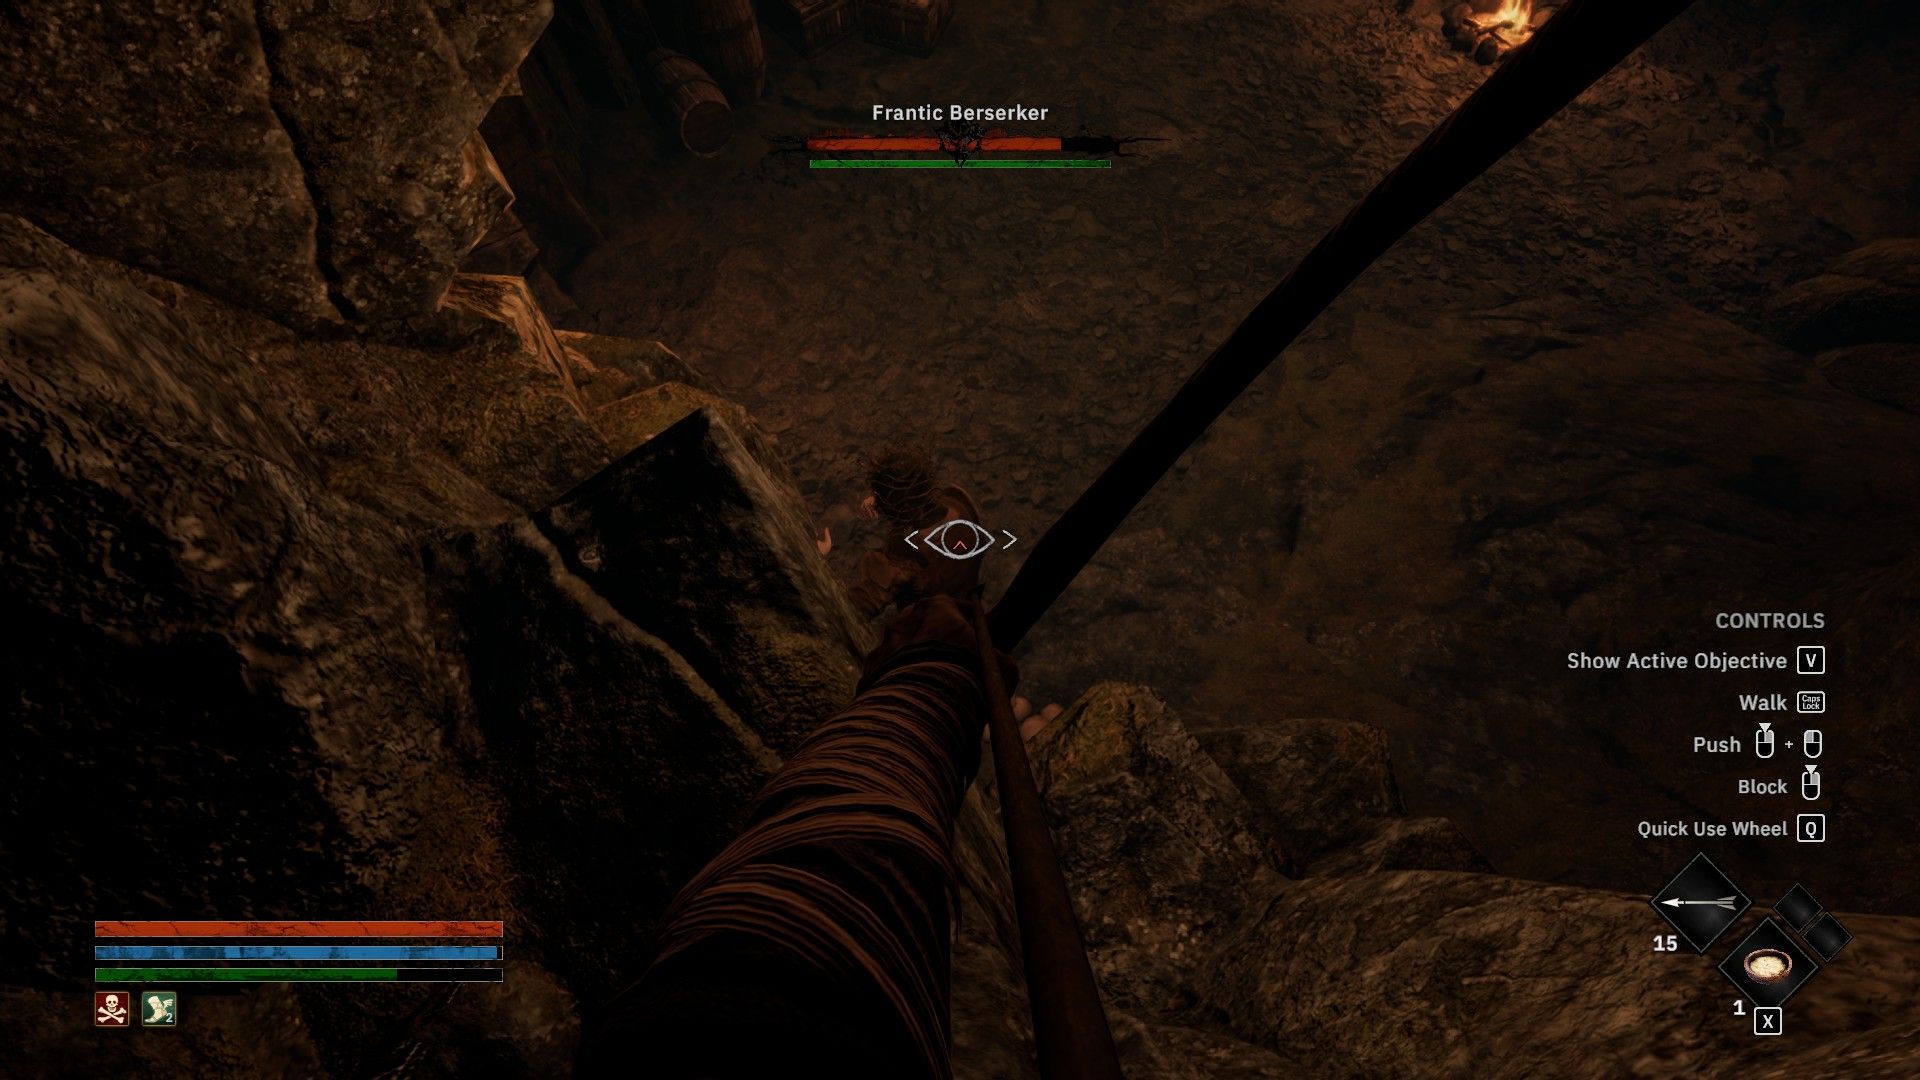
After completing the Wailing Effigy, make a U-turn to retrace your steps, then locate the tiny gap in the wall to your left. This passage will lead you to an underground crossroads. To your right, you’ll find Sirja who will trade a ring that increases your Max Mana for a healing potion. On your left, there’s a mound of deceased bodies with a distant door that needs to be unlocked. Proceed through the door and continue along the path until you arrive at the Frantic Berserker’s cell.
This leader may not be armed, but his assaults are formidable. What’s more, striking him with a close-combat weapon causes some of the impact to bounce back at you, rendering it difficult to defeat him in hand-to-hand combat unless you possess sufficient healing abilities to counterbalance the damage reflection.
A superior strategy for dealing with him involves climbing the ledge on his right side and raining down arrows and spells. Given his low health, your initial skill selection won’t significantly impact the outcome. You’ll have plenty of ammunition, as there are 15 arrows waiting at the corpse near Caradoc, which should be sufficient to defeat him.
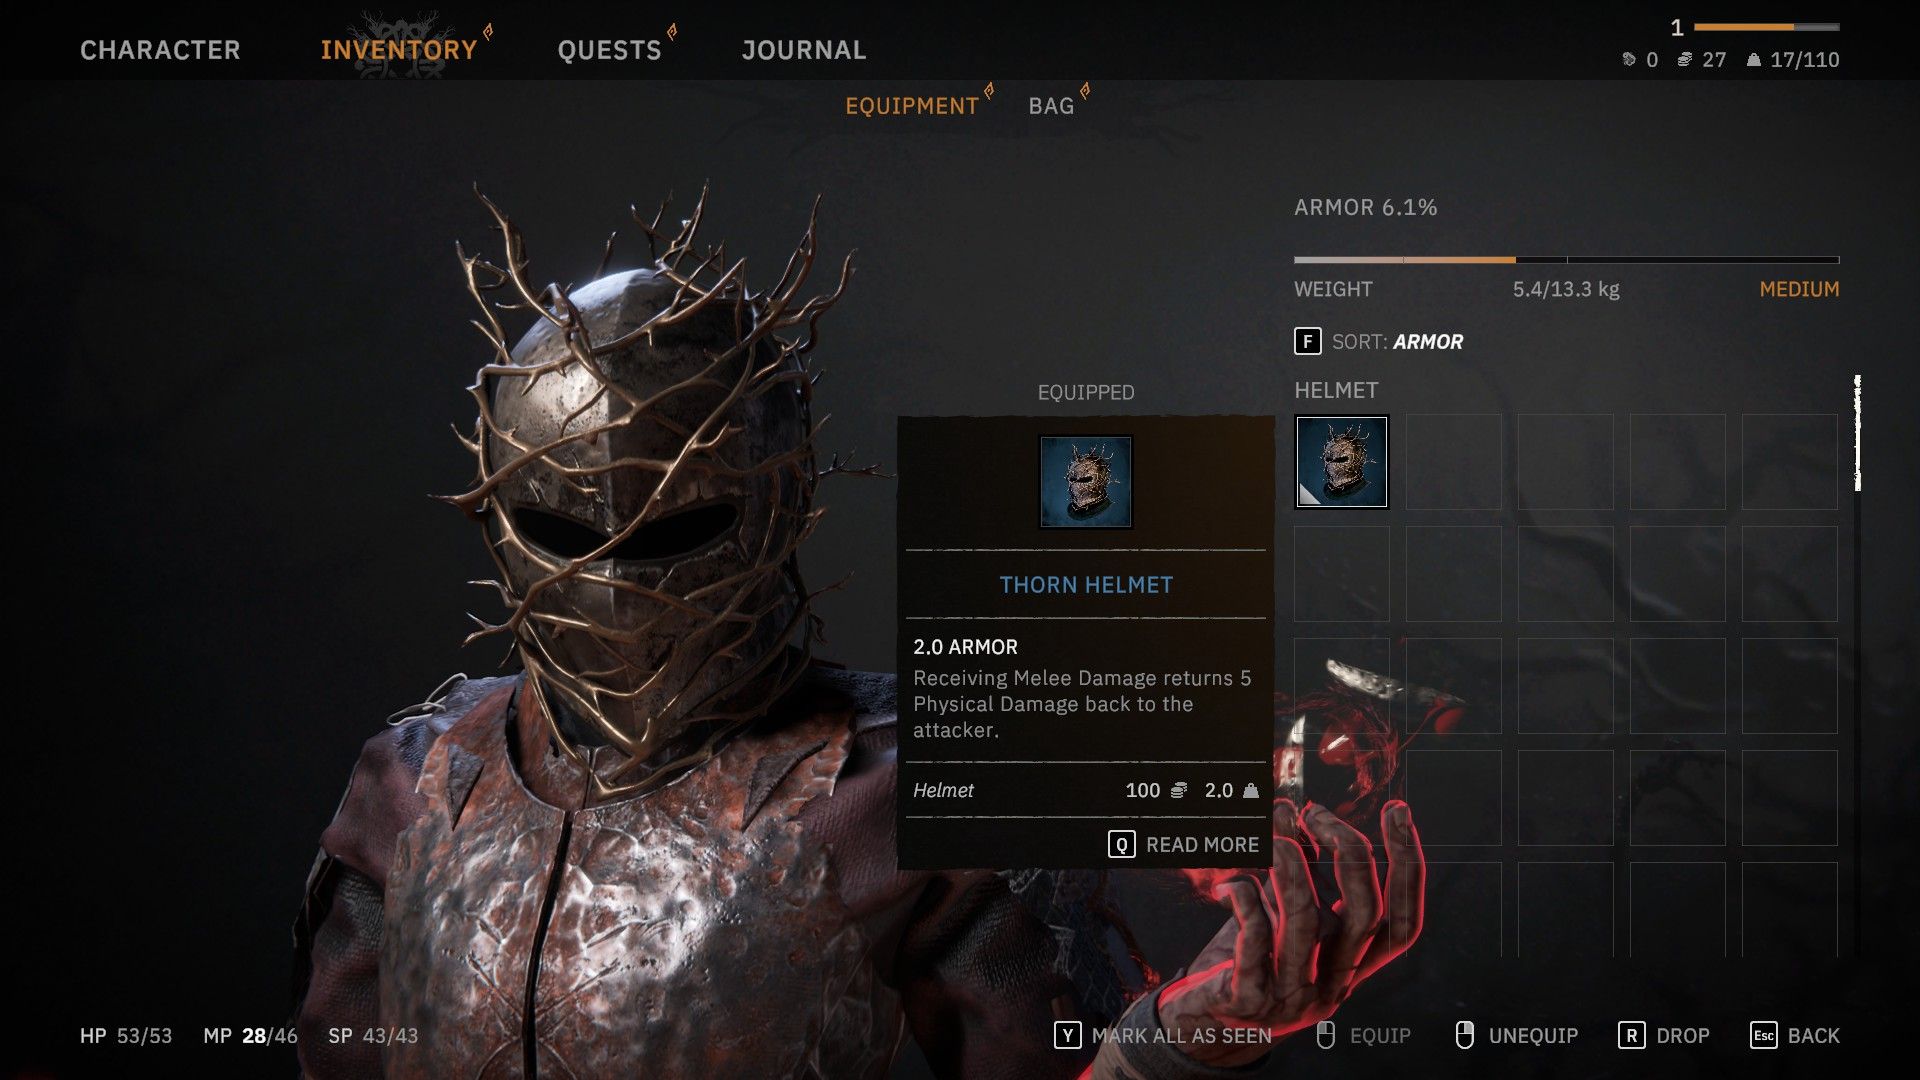
After it dies, the Frenzied Warrior will leave behind the Thorn Helmet, an item that mirrors 5 points of Physical Damage back to melee assailants when you are struck. Additionally, it will drop Athlete’s Pride, a ring that boosts your Maximum Stamina by 5.
Read More
- Clash Royale Best Boss Bandit Champion decks
- Brawl Stars December 2025 Brawl Talk: Two New Brawlers, Buffie, Vault, New Skins, Game Modes, and more
- Best Hero Card Decks in Clash Royale
- Clash Royale December 2025: Events, Challenges, Tournaments, and Rewards
- Call of Duty Mobile: DMZ Recon Guide: Overview, How to Play, Progression, and more
- Best Arena 9 Decks in Clast Royale
- Clash Royale Witch Evolution best decks guide
- Clash Royale Best Arena 14 Decks
- All Boss Weaknesses in Elden Ring Nightreign
- Deneme Bonusu Veren Siteler – En Gvenilir Bahis Siteleri 2025.4338
2025-05-27 11:33