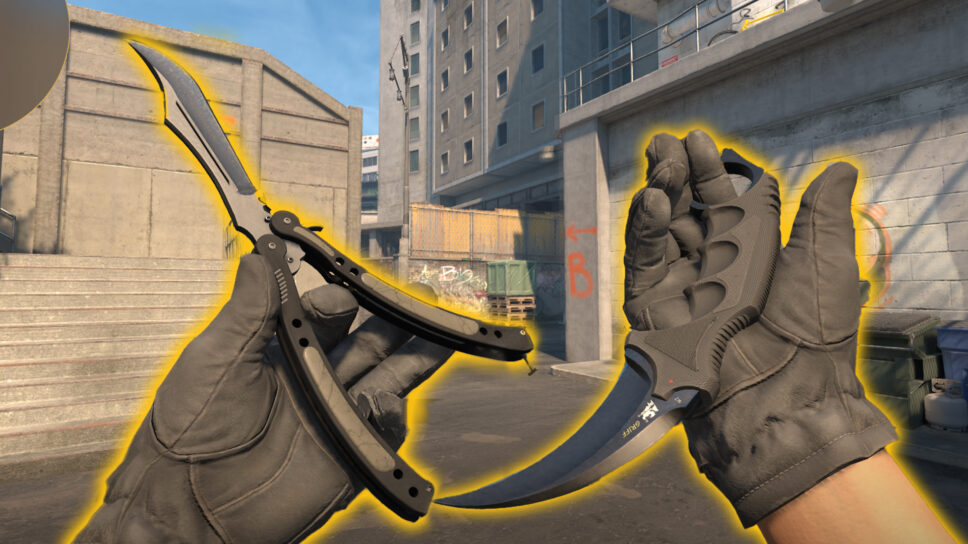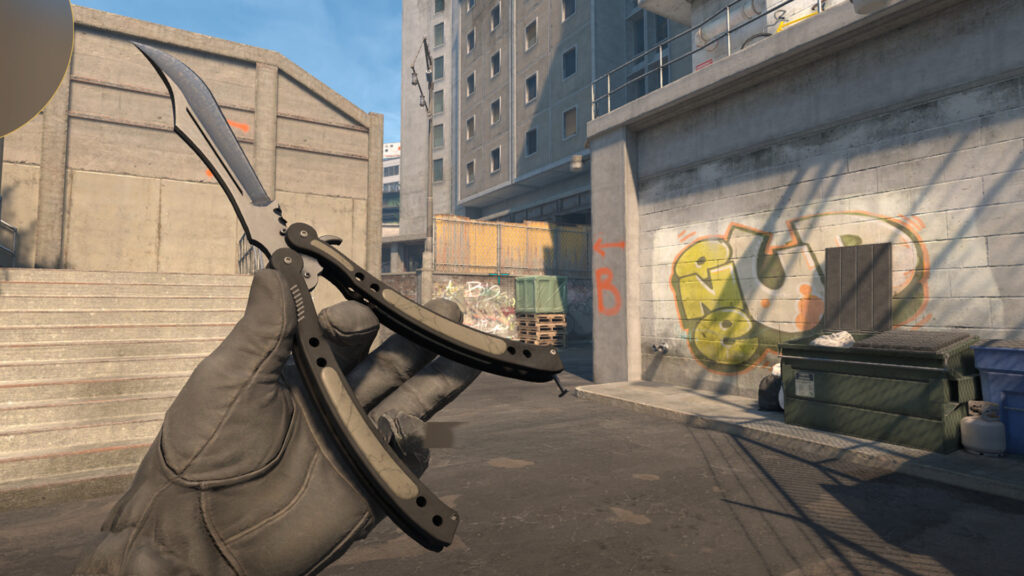
Inspect in CS2 allows you to appreciate your skins a lot more.
A comprehensive look at the weapon inspection feature in Counter-Strike 2 is essential, just as it is in other first-person shooter games. Here’s all you need to know about inspecting weapons in CS2, including its purpose, benefits, and a brief guide on how to reassign the function to a preferred key if desired.
Weapon Inspect in CS2
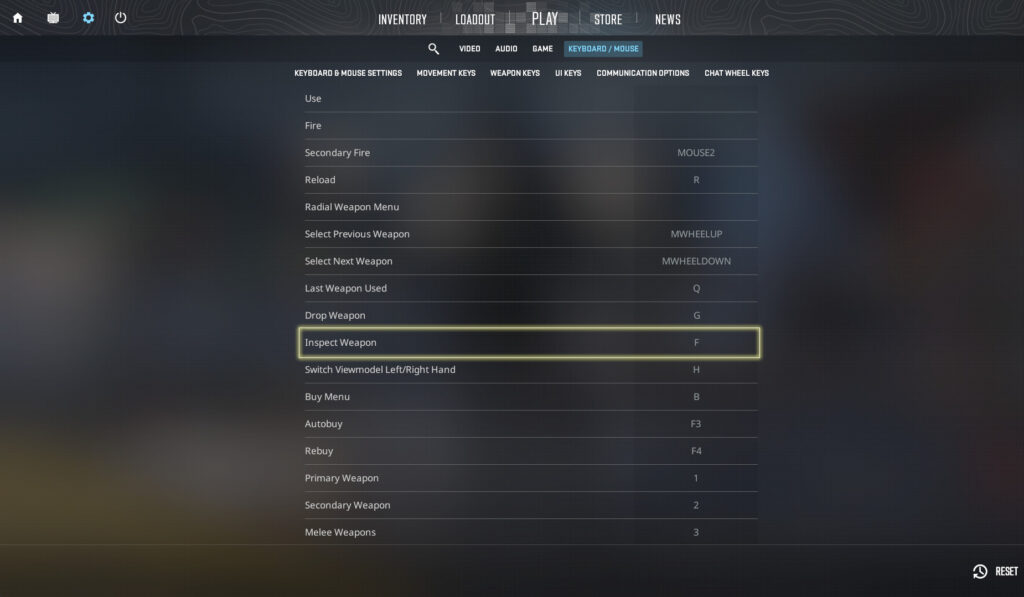
In Counter-Strike 2, the standard hotkey for examining your weapon is ‘F‘. If you’d like to change this keybinding, you can do so either via the console or the options menu.
In Counter-Strike: Global Offensive, the option to examine weapons was introduced on August 14, 2013, during the Arms Race update. Initially, players were able to view their primary, secondary, and melee weapons in a visually distinctive manner, thanks to custom animations.

With the release of the Counter-Strike 2 update, players gained the ability to examine various items such as the bomb, grenades, and molotovs.
Taking a closer look at your weapon’s appearance will allow you to fully appreciate the latest gold item you’ve received by opening your case. Additionally, you can inspect weapons that your teammates leave behind or those obtained from defeated enemies. This is an excellent method for admiring your new acquisitions!
As a gamer, I can tell you from personal experience that not only firearms need checking over – melees and knives can be inspected too. There’s something uniquely thrilling about catching the gleam of a top-dollar karambit at just the right moment; it’s an indescribable sensation that no other gaming experience can replicate.
How to rebind Inspect in CS2
In CS2, you have two options to reassign the Inspect key: either using the console or the settings menu. Using the console allows you to bind a specific key for inspecting certain weapons like a “keyboard shortcut for inspecting knife.” If you opt for the settings, you can simply adjust the Inspect key binding there as well.
Through the console (Inspect current weapon)
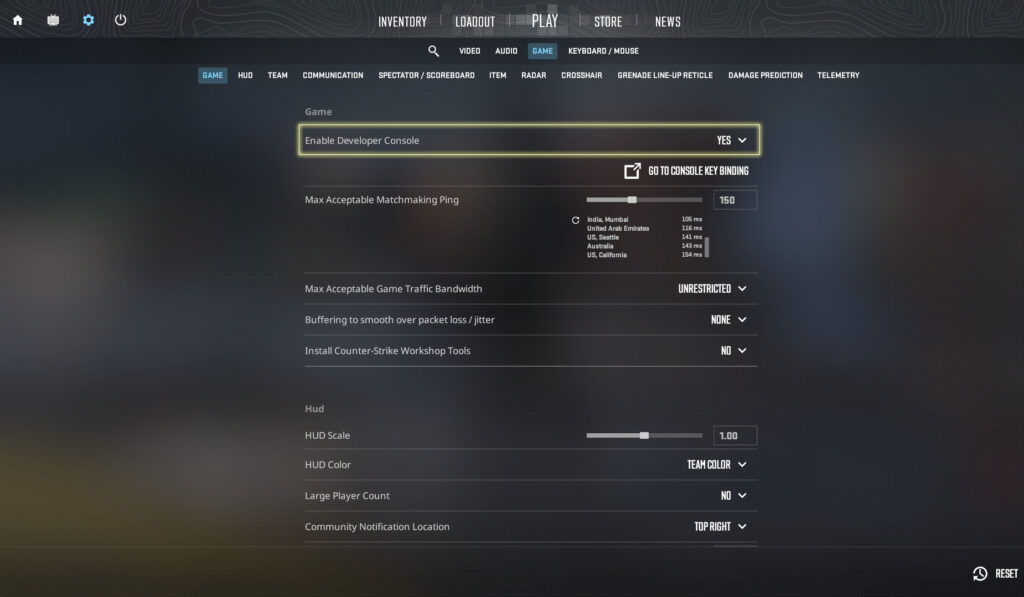
Make sure that Enable Developer Console in Settings > Game is set to Yes.

- Press ~ to open the console.
- Type in bind [KEY] “+lookatweapon”. The example below will bind the inspect to the G key:
- bind G “+lookatweapon”
- Close the console and try out your new inspect key!
Through the console (Inspect knife)
Again, make sure that the Console is enabled.
- Press ~ to open the console.
- Type in bind [KEY] “slot3; +lookatweapon; -lookatweapon”. The example below will bind the inspect to the 3 key:
- bind 3 “slot3; +lookatweapon; -lookatweapon”
- Close the console and try out your new inspect key!
In this configuration, you’ll automatically check your knife every time you press the 3 key. Keep in mind that this action will also alter your original “switch to knife” keybinding.
Through the in-game settings

- Press Esc to access the menu
- Click Settings
- Go to Keyboard/Mouse
- Find the Inspect Weapon option under Weapon Keys and click it.
- Press the key you want to rebind Inspect Weapon to.
Read More
- Clash Royale Best Boss Bandit Champion decks
- Vampire’s Fall 2 redeem codes and how to use them (June 2025)
- World Eternal Online promo codes and how to use them (September 2025)
- Best Arena 9 Decks in Clast Royale
- How to find the Roaming Oak Tree in Heartopia
- Mobile Legends January 2026 Leaks: Upcoming new skins, heroes, events and more
- Solo Leveling Season 3 release date and details: “It may continue or it may not. Personally, I really hope that it does.”
- ATHENA: Blood Twins Hero Tier List
- Country star who vanished from the spotlight 25 years ago resurfaces with viral Jessie James Decker duet
- M7 Pass Event Guide: All you need to know
2025-03-27 20:11