Clash Royale isn’t just about smart strategy – it’s also about getting into your opponent’s head. Top players can make their opponents panic and waste their resources. A surprisingly effective way to do this is with Wall Breakers, which only cost two elixir. These units create immediate pressure on the opponent’s tower, forcing them to react and potentially disrupt their whole strategy. We’ll explore how to use Wall Breakers not just to deal small amounts of damage, but to control the pace of the game and gain a psychological advantage.
Key Takeaways
- Force Your Opponent’s Hand: The true strength of Wall Breakers is their ability to dictate the match. Their low cost forces an immediate reaction, disrupting your opponent’s strategy and creating positive elixir trades that give you control.
- Build for Relentless Pressure: A successful Wall Breaker deck is fast and synergistic. Keep your average elixir cost low and include cards that either protect your Wall Breakers or bait out the spells that counter them.
- Outsmart with Smart Tactics: Don’t just send them to the bridge and hope for the best. Master advanced plays like split-lane pushes to divide defenses and time your attack for right after your opponent uses their key counter-spell.
Why Are Wall Breakers a Steal at 2 Elixir?
I used to think Wall Breakers weren’t that big of a deal – just two cheap skeletons with bombs. But honestly, that’s where they get you! They’re so inexpensive that opponents often ignore them, and that’s when they become really dangerous. They can totally catch you off guard and turn a whole battle around if you’re not careful.
Wall Breakers aren’t powerful just because of their damage; it’s the pressure they put on your opponent. They often make opponents play more expensive cards, giving you a slight edge. If used well, Wall Breakers can be a surprisingly efficient way to attack, showing that a small, quick unit can be incredibly valuable.
How We Perceive a Card’s Value
It’s easy to underestimate Wall Breakers because they only cost two elixir. Many players consider them weak and easily replaced. But ignoring them can be a big error. If a Wall Breaker reaches the Crown Tower, it can deal significant damage – around 20% of the tower’s health. That’s a lot of damage for such a low cost! This often forces your opponent to use elixir to defend, potentially ruining their plans and the cards they wanted to play.
The Reality of Power vs. Cost
Wall Breakers are incredibly valuable because they’re cheap to deploy. This lets you play cards more often, quickly getting back to the cards you really need for offense or defense. They also allow you to keep constant pressure on your opponent without spending a lot of elixir. As one player pointed out, placing them at the back of your push effectively saves two elixir, making your opponent react later. They’re especially strong in fast-paced decks, where their continuous attacks can be overwhelming if your opponent can’t adapt to your card rotation.
Clash Royale’s Most Surprising Elixir Costs
In Clash Royale, elixir is the most important resource. From the start, players learn that a card’s strength is usually linked to how much elixir it costs – a powerful, expensive card like the P.E.K.K.A should be stronger than a cheaper one like the Knight. While this is generally true, some cards are surprisingly effective for their low elixir cost, providing incredible value and potentially changing the outcome of a match. When used skillfully, these cards can give you a significant edge and catch your opponent off guard. Let’s explore some of the best cards that offer a huge impact for a surprisingly small elixir investment.
Wall Breakers (2 Elixir)
Wall Breakers are a surprisingly powerful offensive unit, costing only two elixir. They can quickly deal significant damage to a Princess Tower, forcing your opponent to respond right away. This often leads to them using more than two elixir to defend, giving you an immediate elixir advantage and putting them on the defensive. Their speed and strong attack make them a persistent threat, demonstrating that even low-cost troops can have a major impact on the game.
Goblin Barrel (3 Elixir)
The Goblin Barrel is a well-known card that many players find frustrating, and with good reason. It only costs three elixir, but can quickly destroy an opponent’s tower if they don’t have a spell to stop it. When thrown at a tower, it demands an immediate reaction. If the opponent recently used a spell like The Log or Arrows, those three Goblins can easily take down the tower. This card is often used in decks designed to trick opponents into wasting their cheap spells, allowing more powerful cards to attack without being countered. Its low cost combined with its high damage makes it surprisingly effective.
Mini P.E.K.K.A (4 Elixir)
The Mini P.E.K.K.A. is a powerful card for only four elixir! It’s incredibly effective at both defending and attacking. It can quickly destroy tough opponents like the Golem or Royal Giant, and if it gets to the enemy tower, it usually means a win. Some players don’t realize just how much damage it does, thinking of it as a weaker version of the regular P.E.K.K.A. But with its quick speed and high damage to single targets, it’s a serious threat that can easily turn a good defense into a winning attack. For just four elixir, it’s a fantastic card that can both eliminate tanks and help you win the game.
Skeleton Army (3 Elixir)
It’s incredibly rewarding to see a low-cost Skeleton Army defeat much stronger, more expensive troops like a P.E.K.K.A. or Prince. This card excels at defense, offering great value for its cost. Although easily stopped by area-of-effect attacks or spells, its strength is in creating a big elixir advantage. A well-timed Skeleton Army can completely halt an enemy attack, giving you the resources to launch a powerful counter-attack. Both beginners and experienced players will find the Skeleton Army is surprisingly effective against single, ground-based enemies.
Spirit Cards (1 Elixir)
Don’t underestimate one-elixir cards like Spirits! They’re surprisingly useful and flexible in the game. Each Spirit – whether it’s the Ice Spirit’s freeze, the Electro Spirit’s stun, or the Fire Spirit’s area damage – offers something special for a very low cost. They’re great for quickly getting back to key cards in your deck, supporting an attack, or providing cheap defense. Spirits can even disrupt enemy attacks by resetting charging troops like the Prince or Sparky, making them a valuable addition to almost any deck.
Fireball (4 Elixir)
Although a Fireball costs four elixir, it’s incredibly useful and feels like a great deal. It’s a versatile card that can handle many situations in Clash Royale. Need to eliminate a troublesome Wizard or Witch hiding behind a tank? Fireball. Dealing with a large group of Barbarians or Minions? Fireball. Trying to quickly destroy a tower with low health? Fireball! Its ability to counter both troops and buildings makes it a dependable and valuable card. Often, a well-timed Fireball can provide more benefit than its four elixir cost.
What Makes a Card Valuable (Besides Elixir)?
It’s a common mistake for new players to think a card is good simply because it doesn’t cost much elixir. While elixir is important, it’s not the only thing that makes a card strong. A card’s true strength comes from how well it performs for its cost – what it does, not just how cheap it is.
When building a Clash Royale deck, a card’s true value isn’t just about its stats – it’s about how much pressure it puts on your opponent, how many different situations it can handle, and whether it forces them to react. Does the card need an immediate response? Can it protect against several attacks? Can it catch your opponent off guard? These are the qualities that make a card truly powerful. Recognizing these strengths is crucial for building a deck that’s both fun to play and consistently wins. Let’s explore what makes a card a valuable addition to your strategy.
Damage vs. Elixir Cost
When figuring out how good a card is, a simple way to look at it is how much damage it does for the amount of elixir it costs. A card that does a lot of damage with very little elixir is a great deal. Wall Breakers are a perfect example. They only cost 2 elixir, but they force your opponent to react immediately. If they hit a tower, they can quickly take off a large portion of its health. This makes them valuable because your opponent has to spend elixir to defend against them, often giving you an advantage. It’s not just about the damage itself, but the pressure they put on your opponent.
How Speed and Mobility Change the Game
How quickly a card moves can dramatically shift a match’s momentum. Fast troops like the Hog Rider or Ram Rider can immediately pressure your opponent, forcing them to defend before their tower is destroyed. However, slower, tankier cards also have a benefit. Placing a Golem or Lava Hound on your side of the arena not only starts a gradual attack, but also lets you build up elixir. As the tank advances, you regain elixir, allowing you to create a large and powerful supporting force behind it. Mastering this control of pace and elixir usage is an advanced skill, and it all begins with understanding how fast a card moves.
The Power of a Versatile Card
When you only have limited space for cards in your deck, it’s best to choose cards that can do multiple things. Cards that excel on both attack and defense are incredibly valuable. For example, the Valkyrie can quickly eliminate groups of enemies and then lead a counterattack, while the Musketeer can effectively target both flying and ground troops from a distance. The new Card Evolutions feature makes these versatile cards even better. Evolved Wall Breakers are much more powerful and can survive longer to cause more damage. A versatile card is one you can use in almost any situation, so it’s never a wasted pick.
Does Card Rarity Actually Matter?
Many players believe a deck filled with powerful, rare (Legendary) cards guarantees victory, but that’s not always true. Surprisingly, some of the most effective cards in the game are common or rare. This is because they’re easier to upgrade, allowing them to become stronger than your rare cards that haven’t been leveled up as much. Also, lower-rarity cards often work really well together and offer a lot of strategic options. For example, a well-timed group of Skeletons can defeat a much stronger enemy, and a quick Goblin Barrel can even win you the game. Ultimately, how you play and how leveled up your cards are matter far more than how rare they are. A skilled player with fully upgraded common cards can often beat someone who simply relies on their powerful, but perhaps under-leveled, Legendaries.
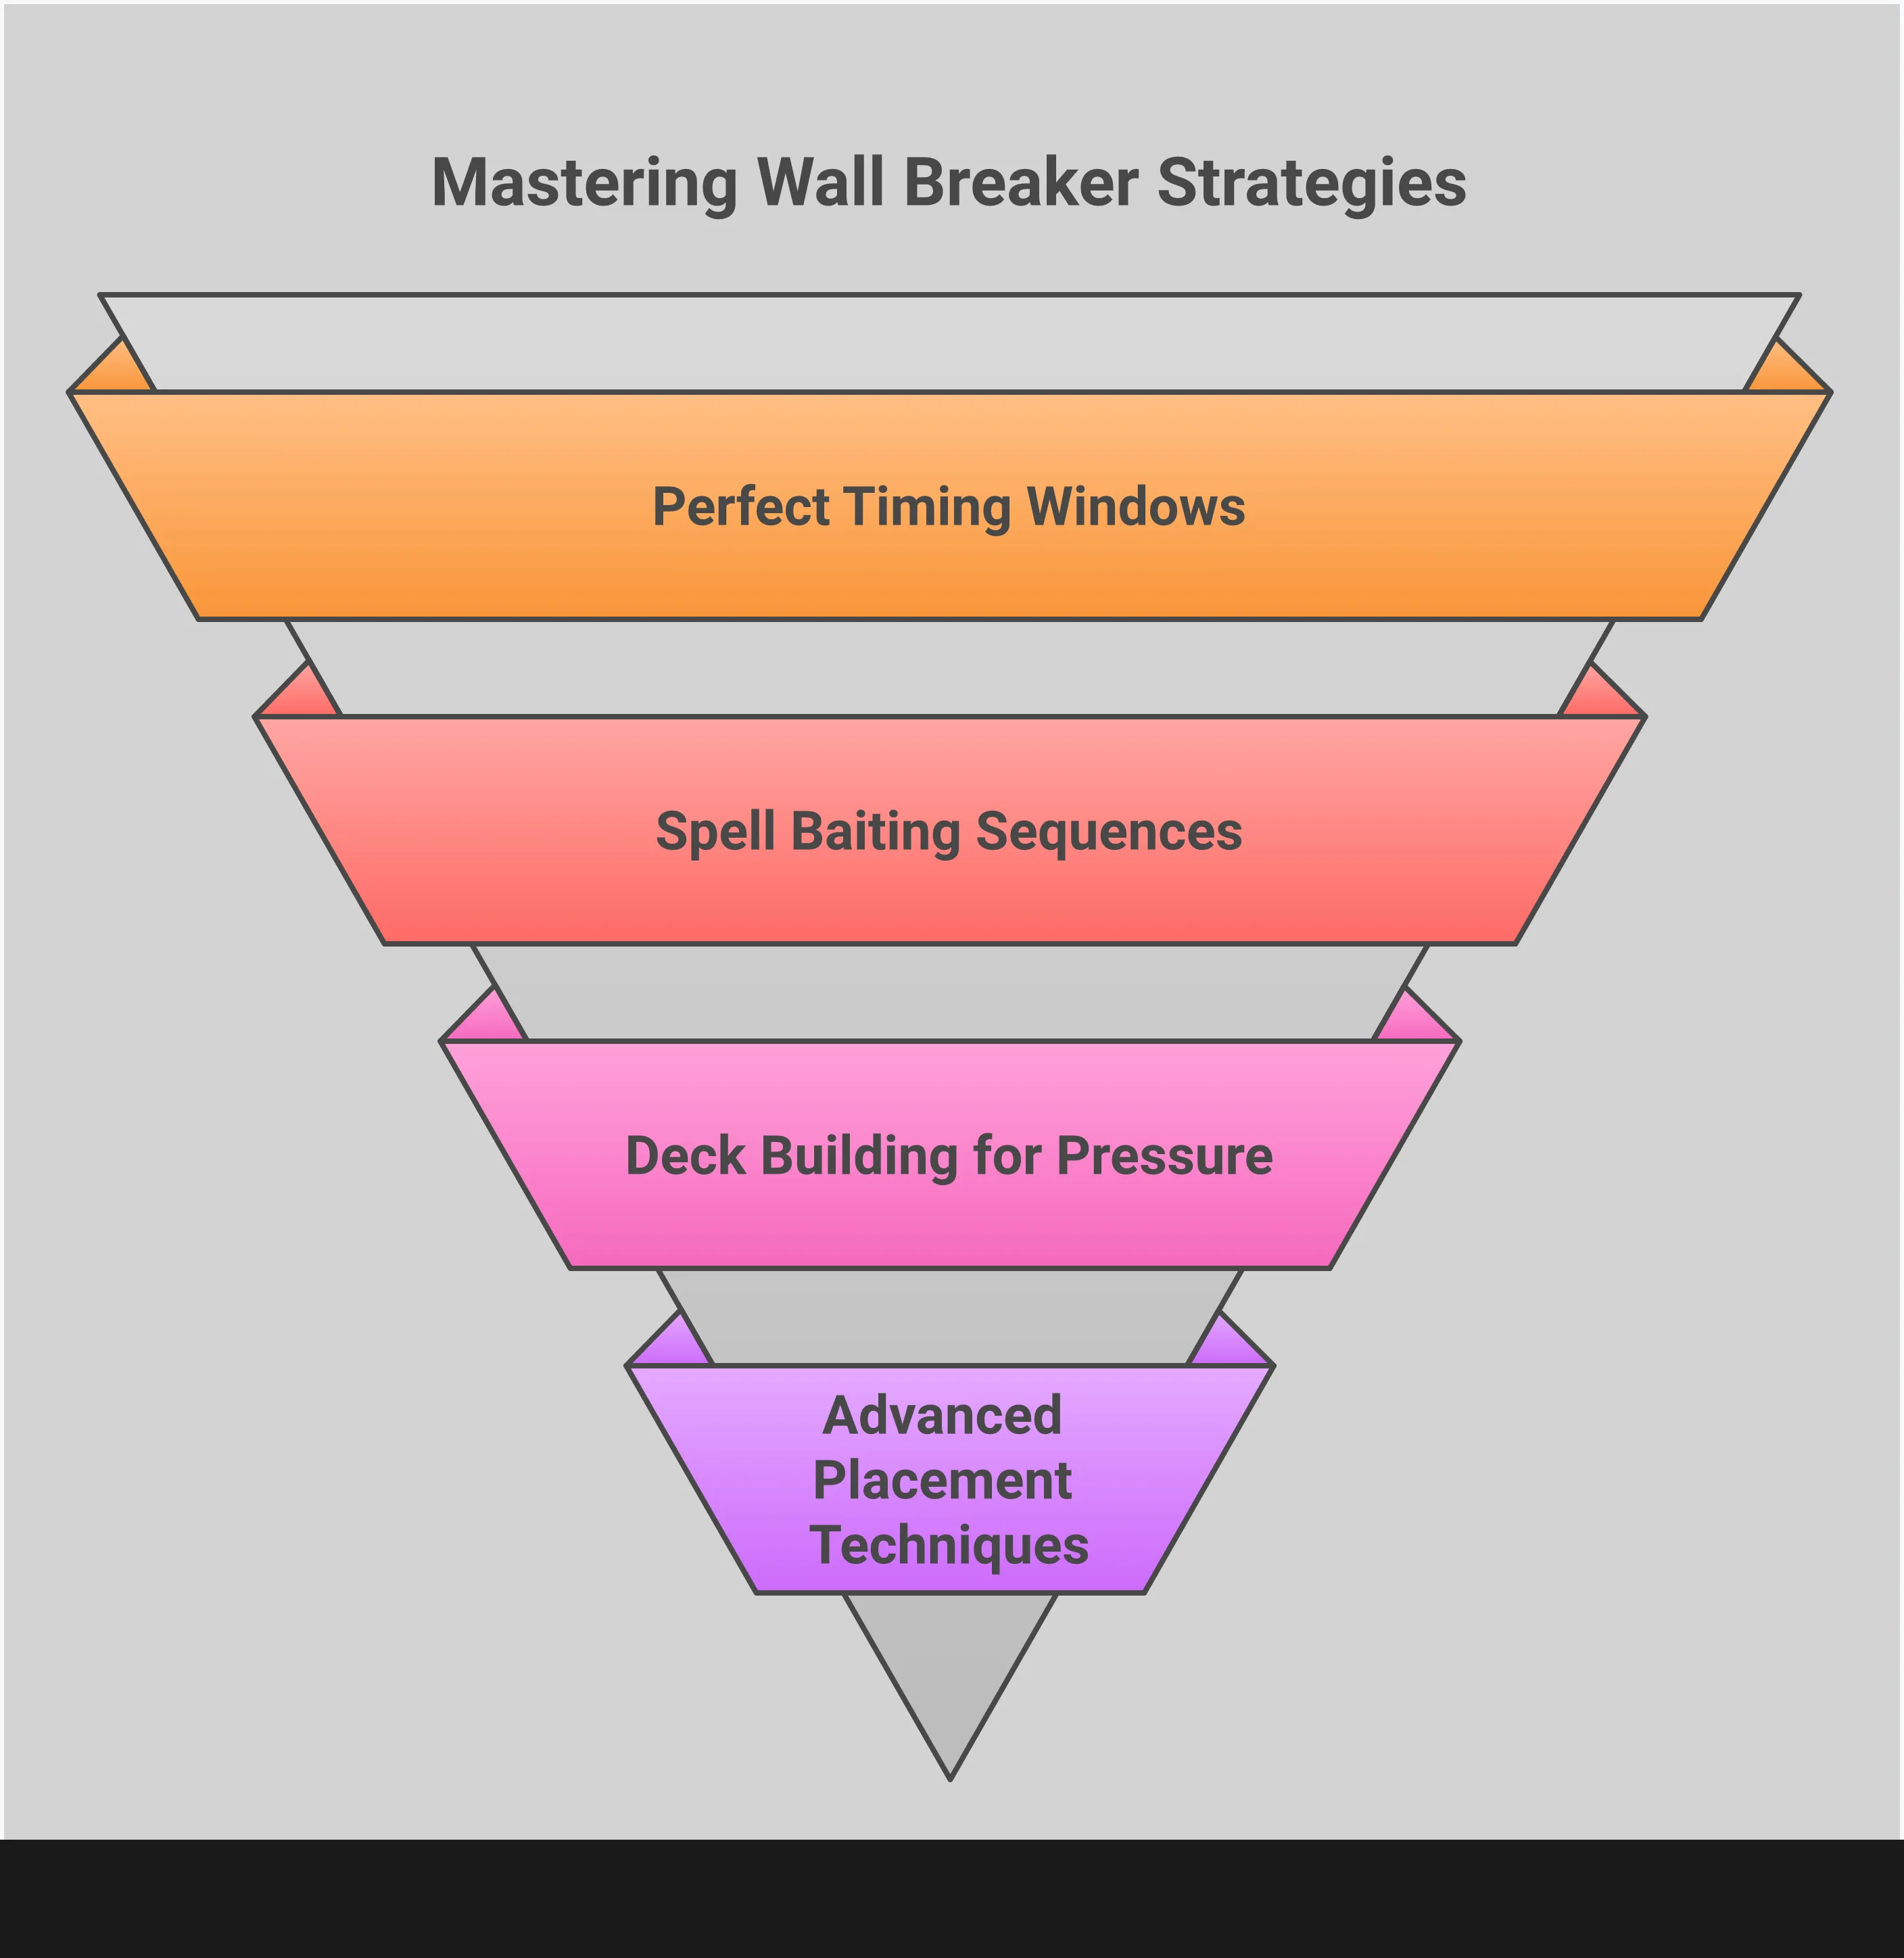
How to Master Your Wall Breakers
Wall Breakers may seem basic, but they actually require quite a bit of skill to use well. They’re not just for dealing a little damage to towers – they can really mess with your opponent’s strategy. To become a Wall Breaker master, you need to learn how to force your opponent to react, lure out their strongest defenses, and create opportunities for your more powerful cards. Once you understand these little skeletons, you’ll be surprised by how effective a two-elixir investment can be. Let’s explore the specific techniques that will transform your Wall Breakers from an annoyance into a serious threat for your opponents.
Know When to Deploy Them
Wall Breakers are all about timing. Sending them to the bridge without other troops is risky, but can be very effective. If your opponent doesn’t defend against them, Wall Breakers can quickly damage their Crown Tower, forcing them to respond. That’s their main strength – they force a reaction. You can use this to your benefit by deploying them when your opponent is low on elixir or their defenses are unavailable. A perfectly timed attack can surprise them, making them spend more elixir than you just to protect their tower from a few skeletons and bombs.
Use Them for Distraction and Bait
A clever way to use Wall Breakers is to trick your opponent. Because they immediately target towers, players will usually react to stop them. You can use this to your benefit by sending a Wall Breaker to force your opponent to use a specific counter, like The Log or Barbarian Barrel. Once they’ve used that card, it’s safe to send in your main attack, such as a Goblin Barrel or Princess. This strategy helps you gain an elixir advantage and control the match by making your opponent play the way you want.
Pair Them with the Right Support Cards
Wall Breakers are most effective when supported by other troops. Using a tank like an Ice Golem or Knight can protect them from damage and allow them to reach the tower. For a faster attack, pair them with a Miner – send the Miner ahead to draw fire, then follow immediately with the Wall Breakers. This quick combination can overwhelm defenses unless the opponent spends a lot of elixir to counter it. Try different supporting troops to find what works best with your overall strategy.
Master the Split-Lane Attack
Instead of focusing all your Wall Breakers on one lane, try splitting them across two! Sending Wall Breakers to both sides of the bridge can really disrupt your opponent, forcing them to split their defenses and Elixir. This is particularly effective if they only have one low-cost, area-damage troop to defend against ground units. A split attack can be overwhelming, and it usually ensures at least one Wall Breaker reaches a tower. By attacking on two fronts, you keep your opponent off balance and make it harder for them to launch a strong counterattack in a single lane.
How to Build a Strong Wall Breaker Deck
A Wall Breaker deck focuses on constant attack. While these small skeletons are weak, they can quickly destroy towers if they reach their target. A successful deck isn’t just about sending them in blindly – it’s carefully built to ensure they connect. The goal is to create a chaotic situation where your opponent is always reacting to your moves, letting you control the pace of the game. Let’s explore how to build a deck that maximizes the potential of these low-cost units.
Choose Cards That Complement Them
Wall Breakers work best with support troops. Look for cards that can either protect them from damage or distract enemy defenses like small spells. Miner is a great teammate – send him ahead to take the first hit while the Wall Breakers follow. Because Wall Breakers quickly threaten the enemy tower, combining them with fast-pushing cards like Goblin Barrel or Hog Rider can be very effective. The idea is to create an attack that’s too much for your opponent to fully defend, guaranteeing some damage to their tower.
Balance Your Elixir Curve
Wall Breakers are effective because they don’t cost much elixir, making them ideal for quick-paced decks. Keeping your deck’s average elixir cost low allows you to consistently attack and overwhelm your opponent before they can react. A smart tactic is to place Wall Breakers towards the back of your arena – this effectively ‘saves’ two elixir because your opponent will need to deal with them as they advance. This gives you extra time to build up elixir for a larger attack. Don’t fill your deck with expensive, slow-moving tanks. Instead, prioritize affordable, flexible cards that let you deploy Wall Breakers frequently.
Know Which Counters to Expect
Your opponent will try hard to defend against your Wall Breakers, so it’s important to anticipate their moves. Small-cost spells like The Log, Zap, and Giant Snowball can easily destroy Wall Breakers before they reach the tower. A good tactic is to use cards like Goblin Barrel or Princess to draw out these spells. Once your opponent has used their cheap spell, it’s a safe time to deploy your Wall Breakers. Keep track of the cards your opponent plays to time your attacks for maximum impact.
Tips for Tournament Play
Wall Breakers can be a powerful advantage in competitive play. They create intense pressure that can throw off even experienced players. If you want to improve your ranking or win tournaments, it’s crucial to learn how to use them effectively. Evolved Wall Breakers are especially strong – they’re much tougher and deal more damage, making it easier to break through enemy defenses. Mastering them can give you a big advantage, as many players consider Evolved Wall Breakers to be incredibly powerful when used skillfully.
Advanced Tactics for Attack and Defense
Okay, so I’ve got the hang of my cards, and now I really want to level up my game. I’m realizing that winning at higher levels isn’t just about having good cards – it’s about being smarter than my opponent. I need to make clever moves, time everything perfectly, and really manage my resources well. If I can do that, I think I can really control the match and turn those close calls into wins!
Apply Constant Pressure
I’ve found that constantly putting pressure on my opponent is a really strong way to win. Cards like Wall Breakers are awesome for this because they force a reaction. If you don’t deal with them right away, they’ll quickly chip away at a Crown Tower, and that makes my opponent waste elixir defending instead of building up their own attack. That constant stress often leads to them making mistakes, which is exactly when I like to launch my big push. Basically, I want them playing my game, reacting to what I’m doing, so I can control how the match plays out.
Use Smart Building Placement
Building placement is crucial in Clash of Clans, just as important as timing your attacks. A strategically placed defensive building can distract enemies like Hog Riders or Golems, protecting your towers. You can also use buildings to gain an advantage – placing one at the back of your base acts like an elixir storage, forcing your opponent to deal with the troops it spawns. This gives you extra time, lets you build a stronger attack, and controls where the next battle takes place.
Time Your Responses Perfectly
In Clash Royale, even a tiny delay can be crucial. Knowing when to play your cards to stop your opponent’s attacks is key to winning. For example, a quick attack with Wall Breakers might look scary, but a well-timed spell like The Log or Zap can weaken them enough for your towers to take them out. Getting good at these small, precise plays lets you defend your tower without spending much elixir, which then allows you to launch a strong counter-attack.
Find Cost-Effective Counters
A solid defense comes down to making smart elixir trades. You don’t need powerful, expensive cards to stop attacks – often, a cheap, simple card will do the trick. For example, if you’re facing tough Wall Breakers, just put a building in their way to slow them down. Using low-cost troops or spells to stop a larger attack can give you an elixir advantage, letting you launch a stronger counterattack.
Manage Your Elixir Like a Pro
At a high level, success in this game really comes down to using your elixir efficiently. Every bit matters! Knowing when to hold back and save elixir, and when to attack, is what distinguishes skilled players from beginners. Even small, low-cost cards can give you a big edge if you play them right. By consistently spending less elixir than your opponent and avoiding unnecessary defensive plays, you can gradually build a significant advantage. An opponent with consistently low elixir will struggle to defend against your winning attacks.
The Advantage of a Quick Cycle Deck
I love playing with quick cycle decks! It’s not just about playing cards fast, it’s about being constantly on the attack and keeping my opponent guessing. The key is to keep my average elixir cost low so I can cycle through my cards quickly and keep the pressure on. It lets me control how the match plays out, make smart elixir trades, and keep my main attack on the field much more consistently than they can. It’s a really active playstyle that requires me to think fast and know how all my cards work together.
Keep the Pressure On
A strong point of a fast-paced deck is its ability to consistently put small amounts of pressure on your opponent. Cards like Wall Breakers demand an immediate reaction – if ignored, they can quickly damage your opponent’s tower. This makes your opponent use their elixir to defend, stopping them from building up for a big attack. By repeatedly playing these low-cost cards, you control how the game unfolds. Your opponent is forced to respond to your moves, giving you time to prepare your next attack and dominate the battlefield.
Create Positive Elixir Trades
Fast-paced decks excel at managing elixir efficiently. They focus on using inexpensive cards to defend against stronger, more costly units, gradually building up an elixir advantage. A simple example is using low-cost troops like Skeletons to divert the attention of a powerful, expensive unit like the Mini P.E.K.K.A., effectively saving elixir and creating an opportunity to attack. Skilled players can also strategically ‘save’ elixir by playing a cheap card to bait a response from their opponent, allowing their own elixir to build up. This consistent, gradual gain in elixir often leads to victory.
Adapt Your Strategy for Different Arenas
As you progress in the game, you’ll encounter different types of decks, and a fast-cycle deck’s ability to adapt is a major advantage. Because your cards cost very little, you can quickly switch up your defenses to deal with whatever your opponent throws at you. Whether it’s an unexpected attack like Skeleton Army or a commonly used, powerful deck, you can get back to your best defensive cards faster than they can launch their offense. This flexibility helps you stay competitive at all levels, letting you adjust your strategy to beat whatever’s popular at your current trophy rank.
Optimize Your Cycle Deck
Creating a strong cycle deck isn’t just about using low-cost cards; it’s about how well those cards work together. A really successful cycle deck usually has an average elixir cost under 3.0, and every card plays an important role. You’ll need a solid way to win (like Hog Rider or Wall Breakers), flexible defenses that can also help with attacks (like Ice Spirit or The Log), and a cheap spell to finish off towers or deal with groups of enemies. When built well, your deck will flow smoothly, meaning you’ll almost always have the perfect card to counter your opponent.
Frequently Asked Questions
Wall Breakers are surprisingly effective, and their low cost is a major reason why. They aren’t meant to be your main source of damage, but rather a way to put pressure on your opponent. For just two elixir, they force a reaction: ignore them and your tower takes damage, or spend elixir to defend, revealing what cards they have and often resulting in you gaining an elixir advantage.
What’s the most frequent error players make with Wall Breakers? It’s sending them to attack a bridge on their own, hoping it works. While surprising your opponent can sometimes succeed, it’s risky. A smarter strategy is to provide support. Use a smaller tank troop like a Knight or Ice Golem to draw fire from the defending tower, or send a Miner ahead to distract the defenses. This gives your Wall Breakers the protection they need to reach their target and break through.
It’s frustrating when your Wall Breakers are easily countered by spells like The Log. To get them to the tower, you need to predict your opponent’s reaction. If they always use The Log to stop your Wall Breakers, trick them into using it first! Include a different card in your deck – something they’ll also want to use The Log on, like a Goblin Barrel or Princess. Play that card first. When they use The Log to deal with it, you’ll have a perfect opportunity to send in your Wall Breakers and get some damage on their tower.
While Wall Breakers work great with fast-cycle decks, they aren’t limited to them. They’re useful in almost any deck because they create pressure and can lead to favorable elixir trades. You can use them in slower, heavier decks to start an early attack, or to make your opponent use their defenses before you launch your main offensive push.
If your opponent is using Wall Breakers, the best defense is to conserve your elixir. Using low-cost spells like Log, Zap, or Giant Snowball at the right moment can stop them effectively. You can also distract them with inexpensive troops like Skeletons or Goblins. Another good strategy is to lure them away from your towers by using a building to redirect their path. Avoid wasting a lot of elixir on defense, as that’s what the attacking player is hoping for.
Read More
- Mobile Legends: Bang Bang (MLBB) Sora Guide: Best Build, Emblem and Gameplay Tips
- Clash Royale Best Boss Bandit Champion decks
- Best Hero Card Decks in Clash Royale
- All Brawl Stars Brawliday Rewards For 2025
- Best Arena 9 Decks in Clast Royale
- Brawl Stars December 2025 Brawl Talk: Two New Brawlers, Buffie, Vault, New Skins, Game Modes, and more
- Clash Royale Witch Evolution best decks guide
- Vampire’s Fall 2 redeem codes and how to use them (June 2025)
- Call of Duty Mobile: DMZ Recon Guide: Overview, How to Play, Progression, and more
- Clash Royale Furnace Evolution best decks guide
2025-10-22 18:20